Pranam Tries To Make Things
MAS.863 - 2016
Week 6: Embedded Programming
Making the Board Blink Programmably
Back to that board from Week 4! This week was actually quite fun, as I could incorporate my computer science background a little bit for embedded programming applications in C. I actually had done some Arduino programming in the past, but nothing too drastic. The board I was working with this time, however, only had an LED and a button, so I wanted to play around with these two components.
Since I didn't have too much time this week and procrastinated as usual, I decided to program the board with the AVRmkII rather than the FabISP. The first check I had to make was to see if the power was going through the board -- it did!

Figure 1. Power going through the board.
For programming, I wanted to use both the Arduino IDE as well as Neil's make files from the terminal. However, when I "burned the bootloader," the IDE threw me an error, the same error I received when making the fuses with Neil's program.
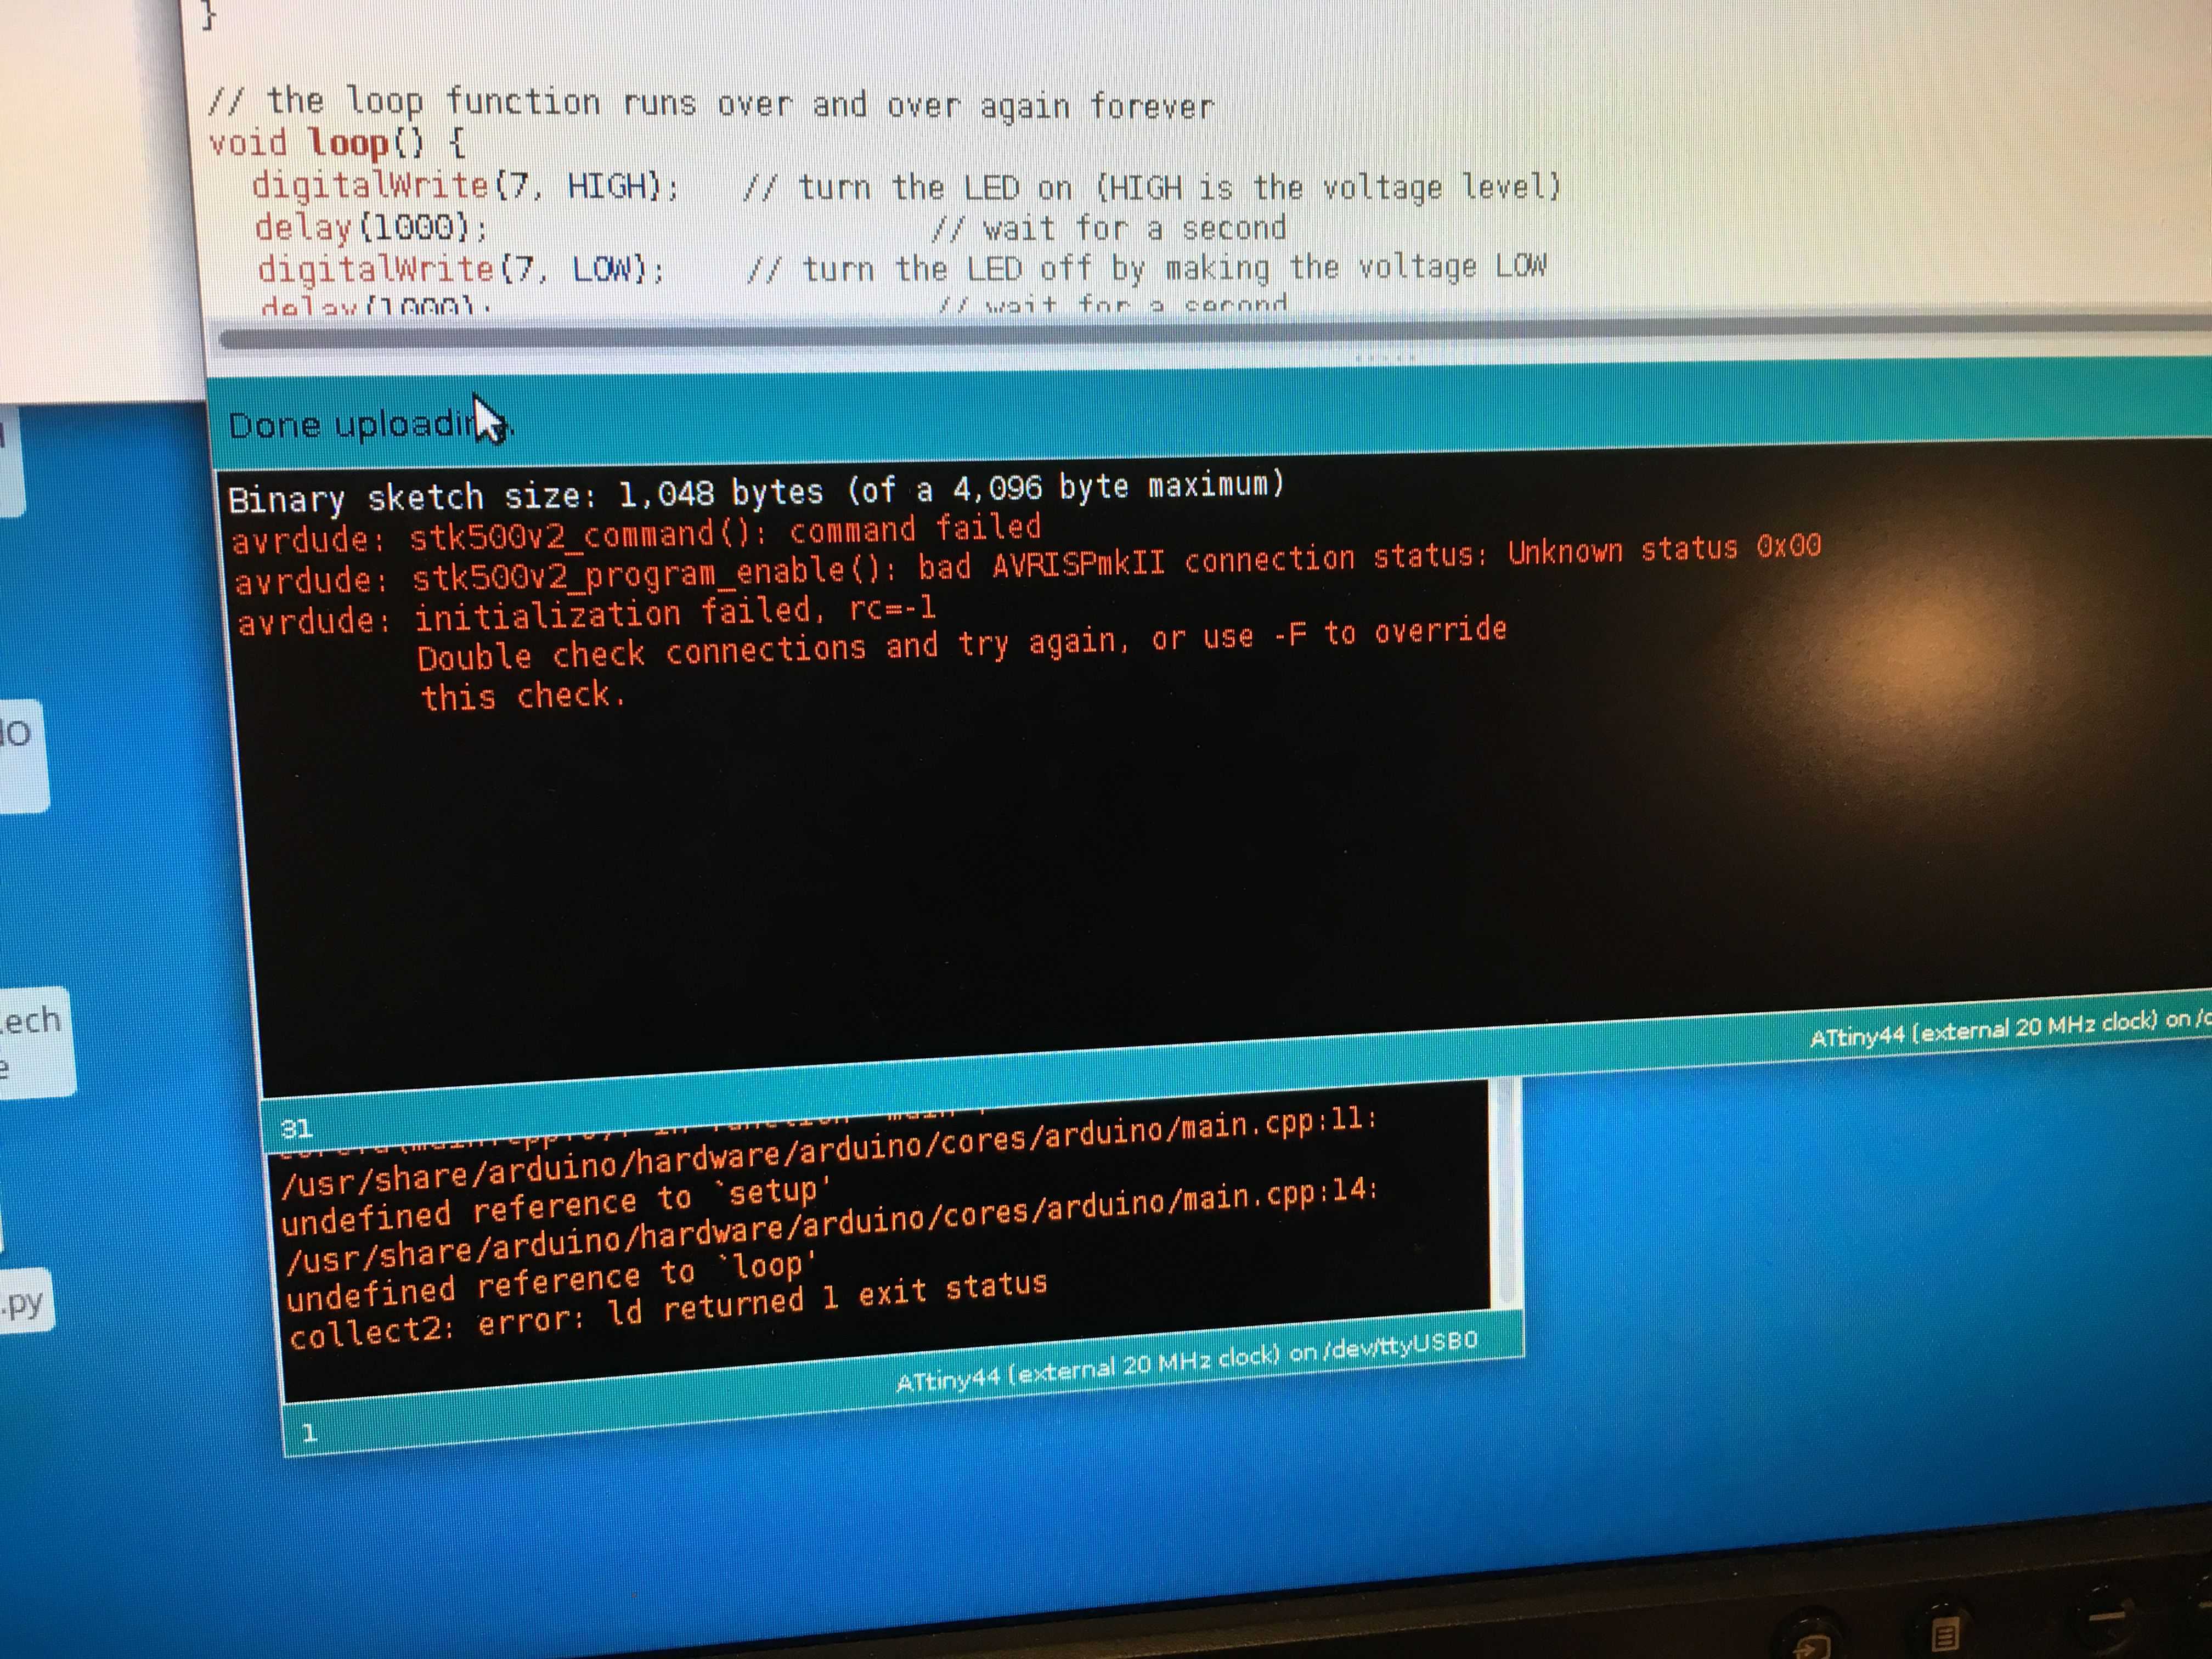
Figure 2. The IDE throwing me an error when uploading the Blink program.
To fix this, TA Amanda instructed me to check all of my connections with the multimeter, and also to ensure that 5 V of power was running through my board.

Figure 3. Time for the multimeter!
Eventually, we realized that the problem was that the resonator had a bridge and thus allowing the software to throw an error when trying to connect to the external clock on the board. I thus fixed the soldering on the board, and was ready to program!
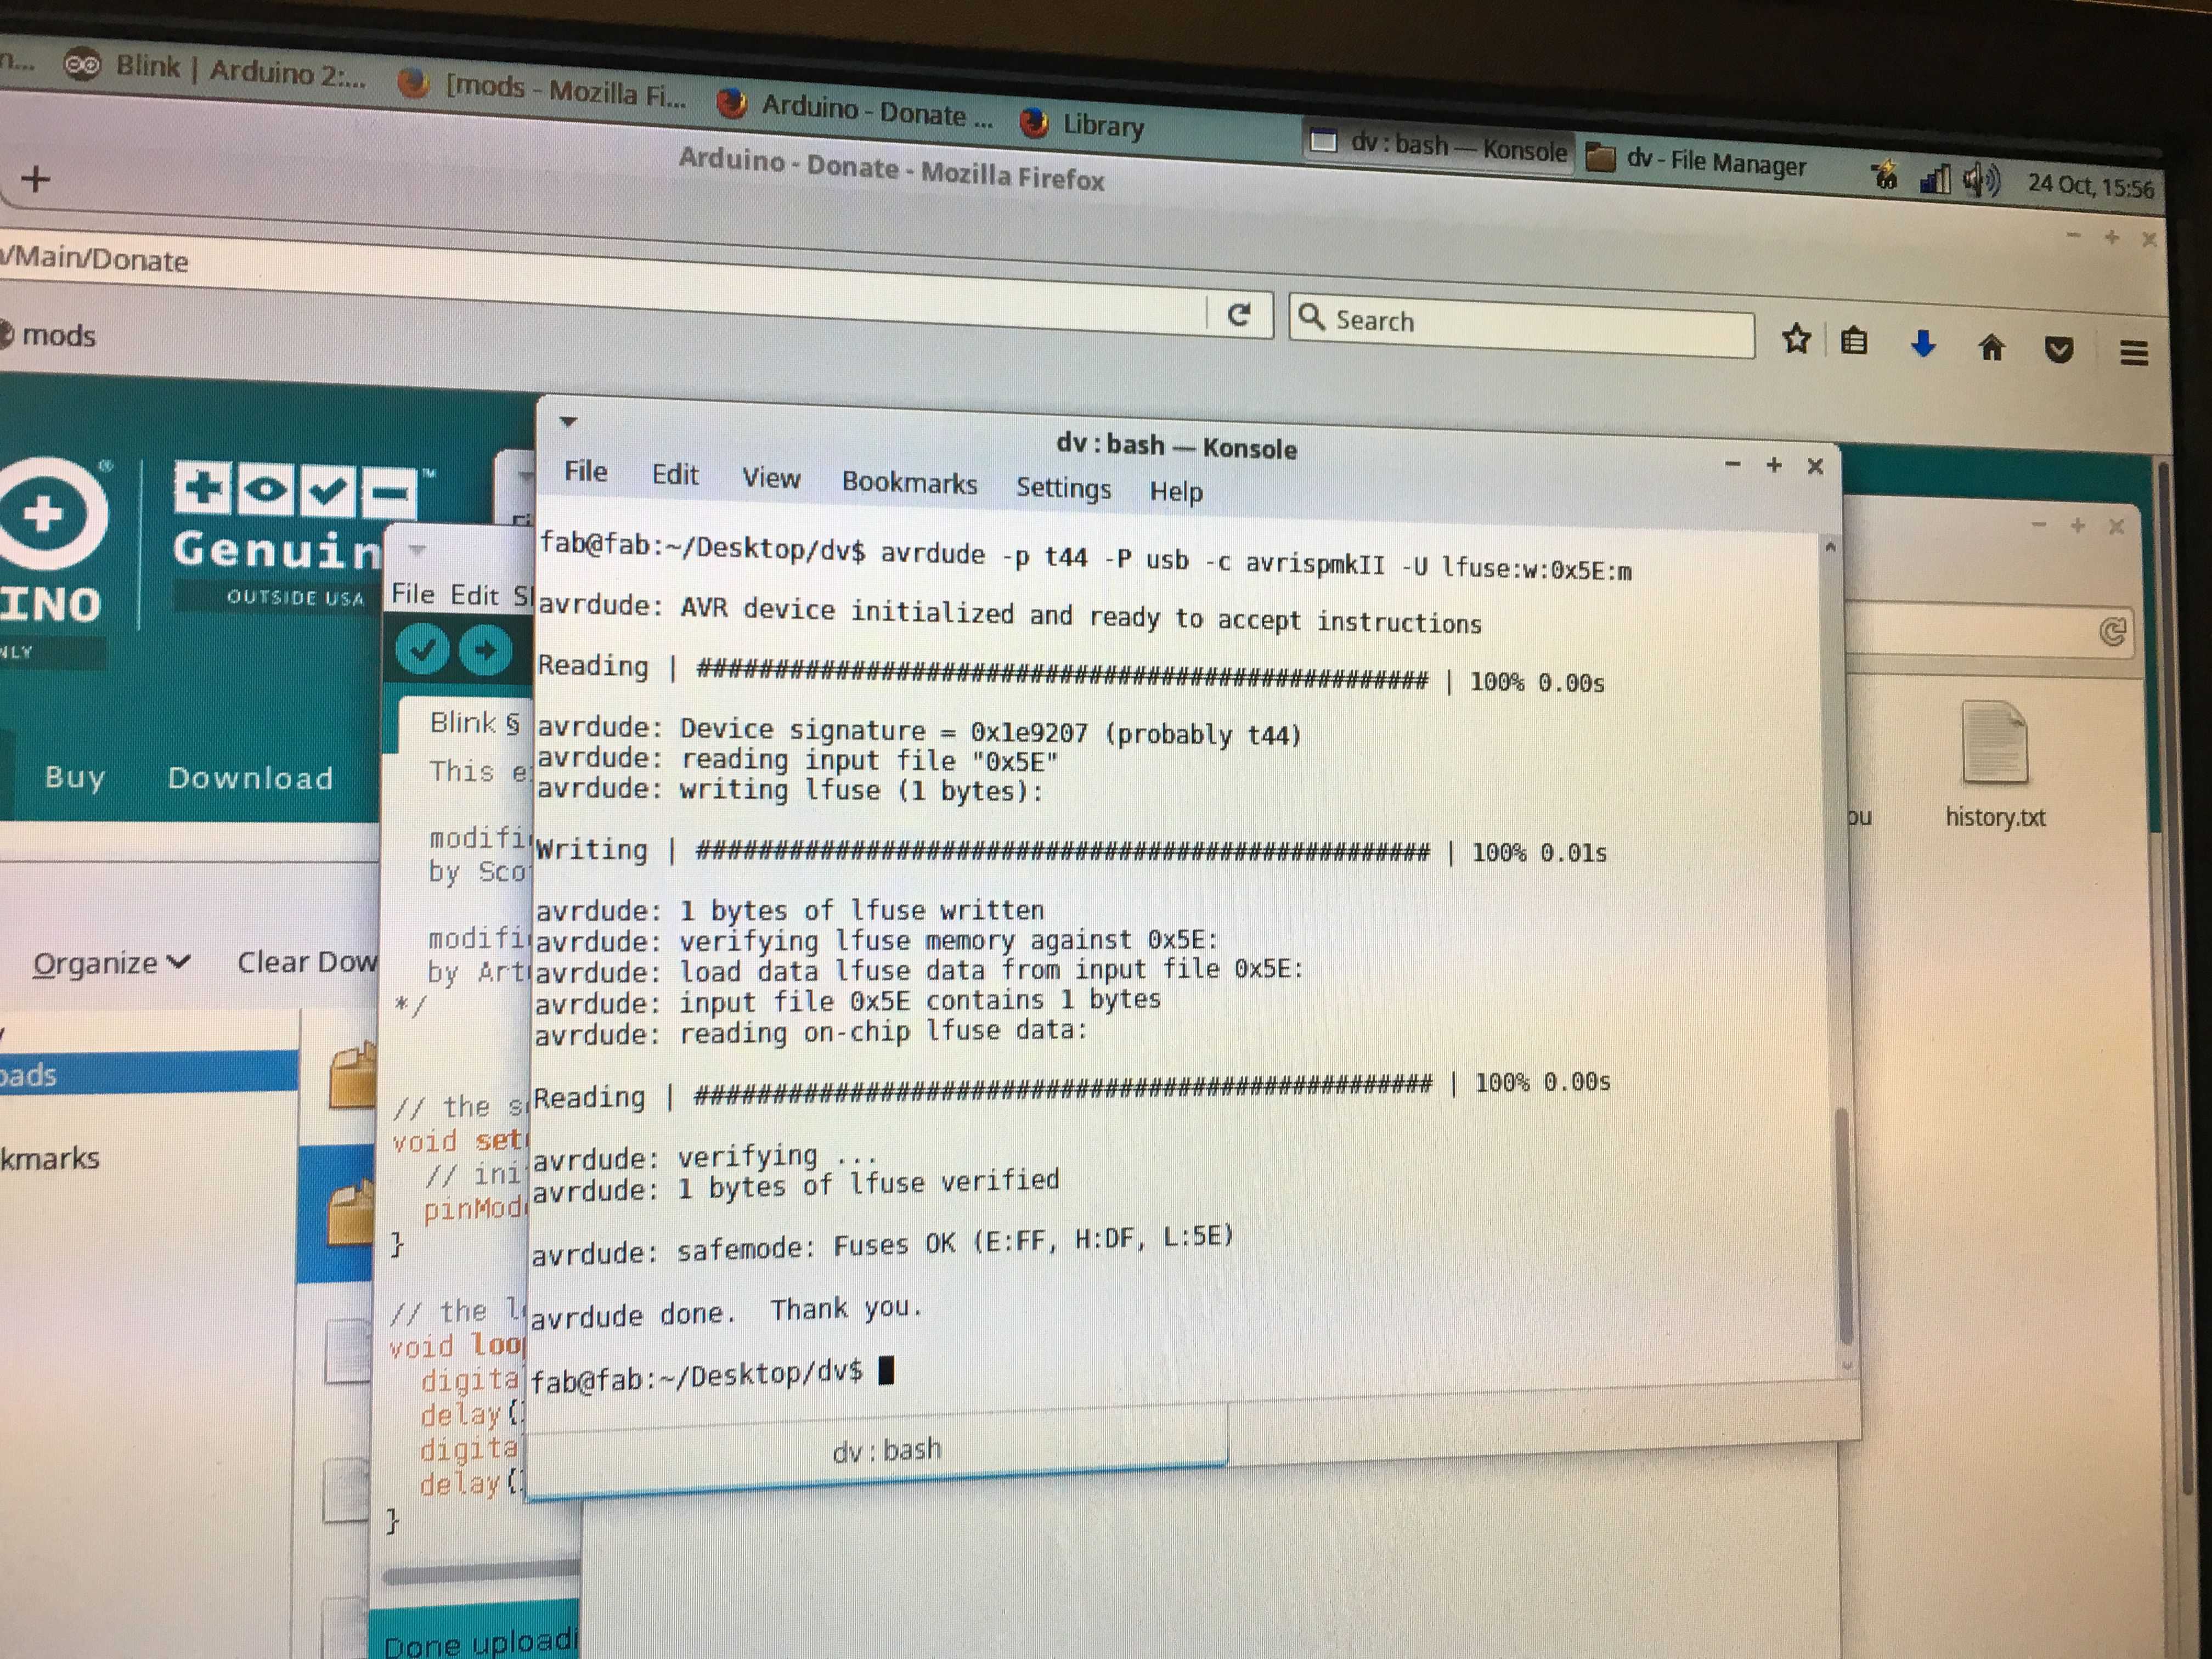
Figure 4. Everything finally working on Neil's software.
The first program I uploaded was the simple Blink program, where I simply declared the pin to read out from (Pin 7), the pin connected to the LED. Then, I simply alternate the voltage of the LED from being HIGH to being LOW with a delay in between.
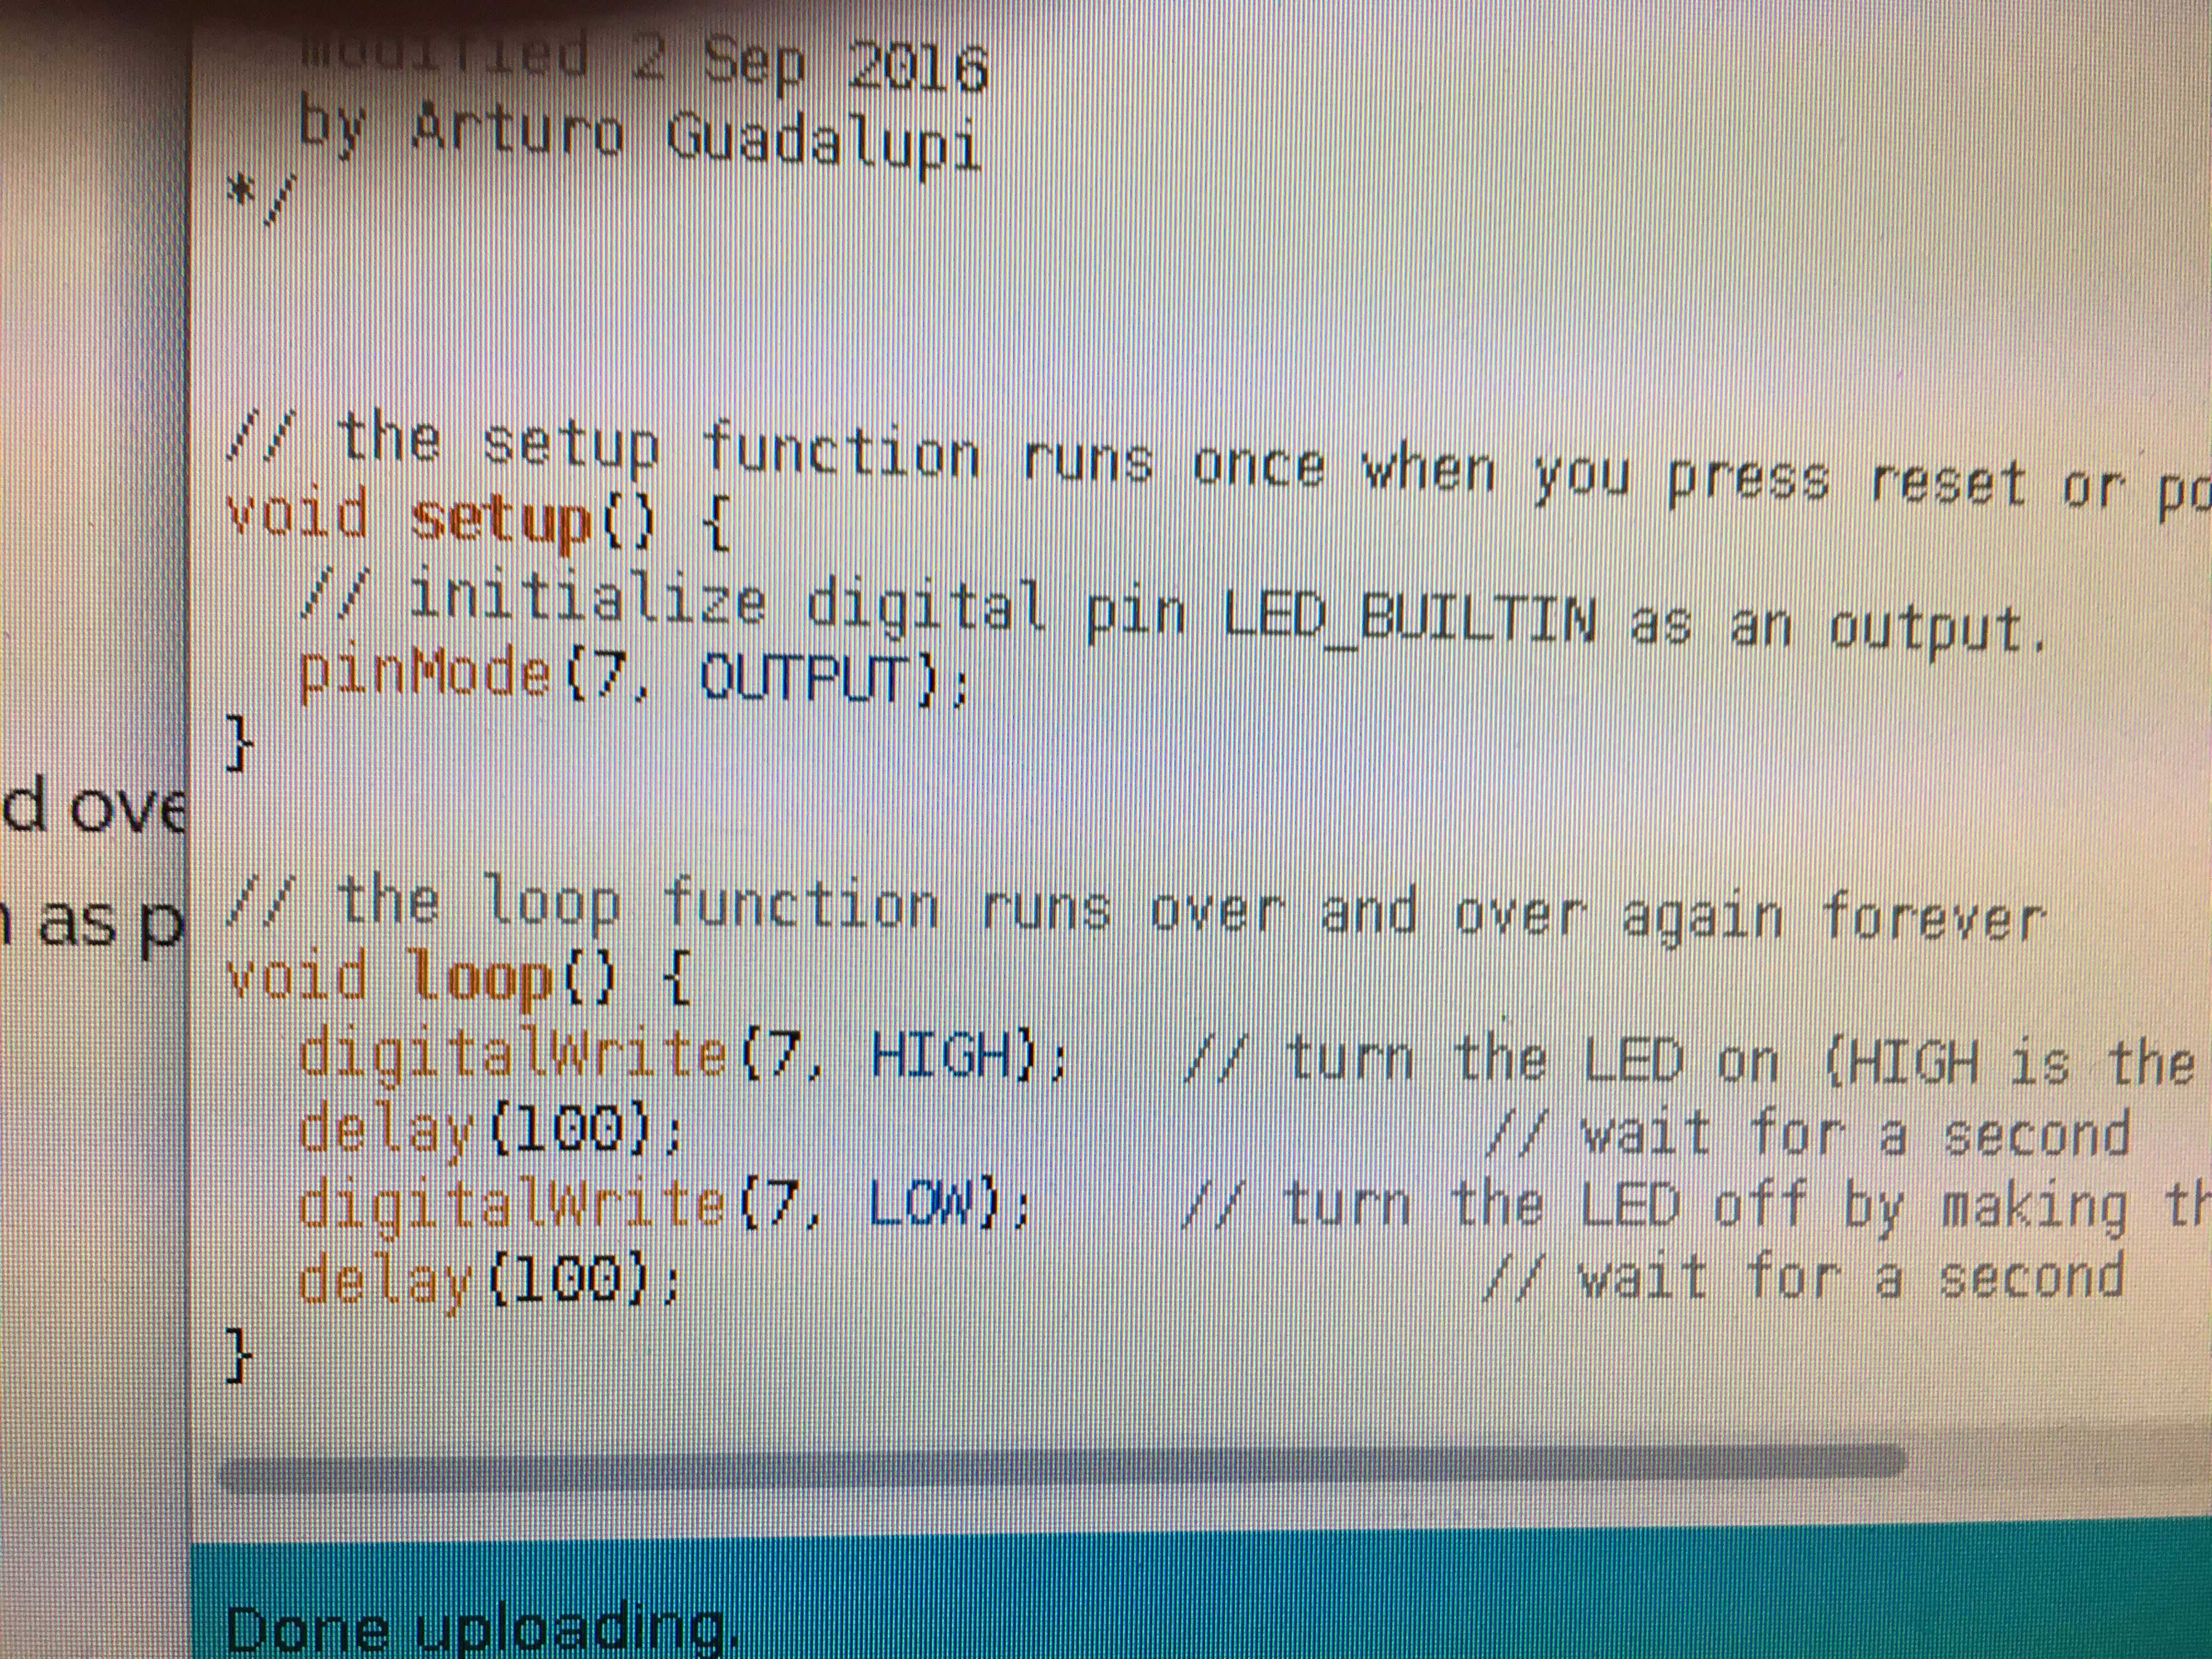
Figure 5. Blink program with 7 as the LED pin.
After uploading, the board blinked beautifully. I then played around with fading the light, and blinking it faster, all independent of the button. Thus, my next goal was to incorporate the button.
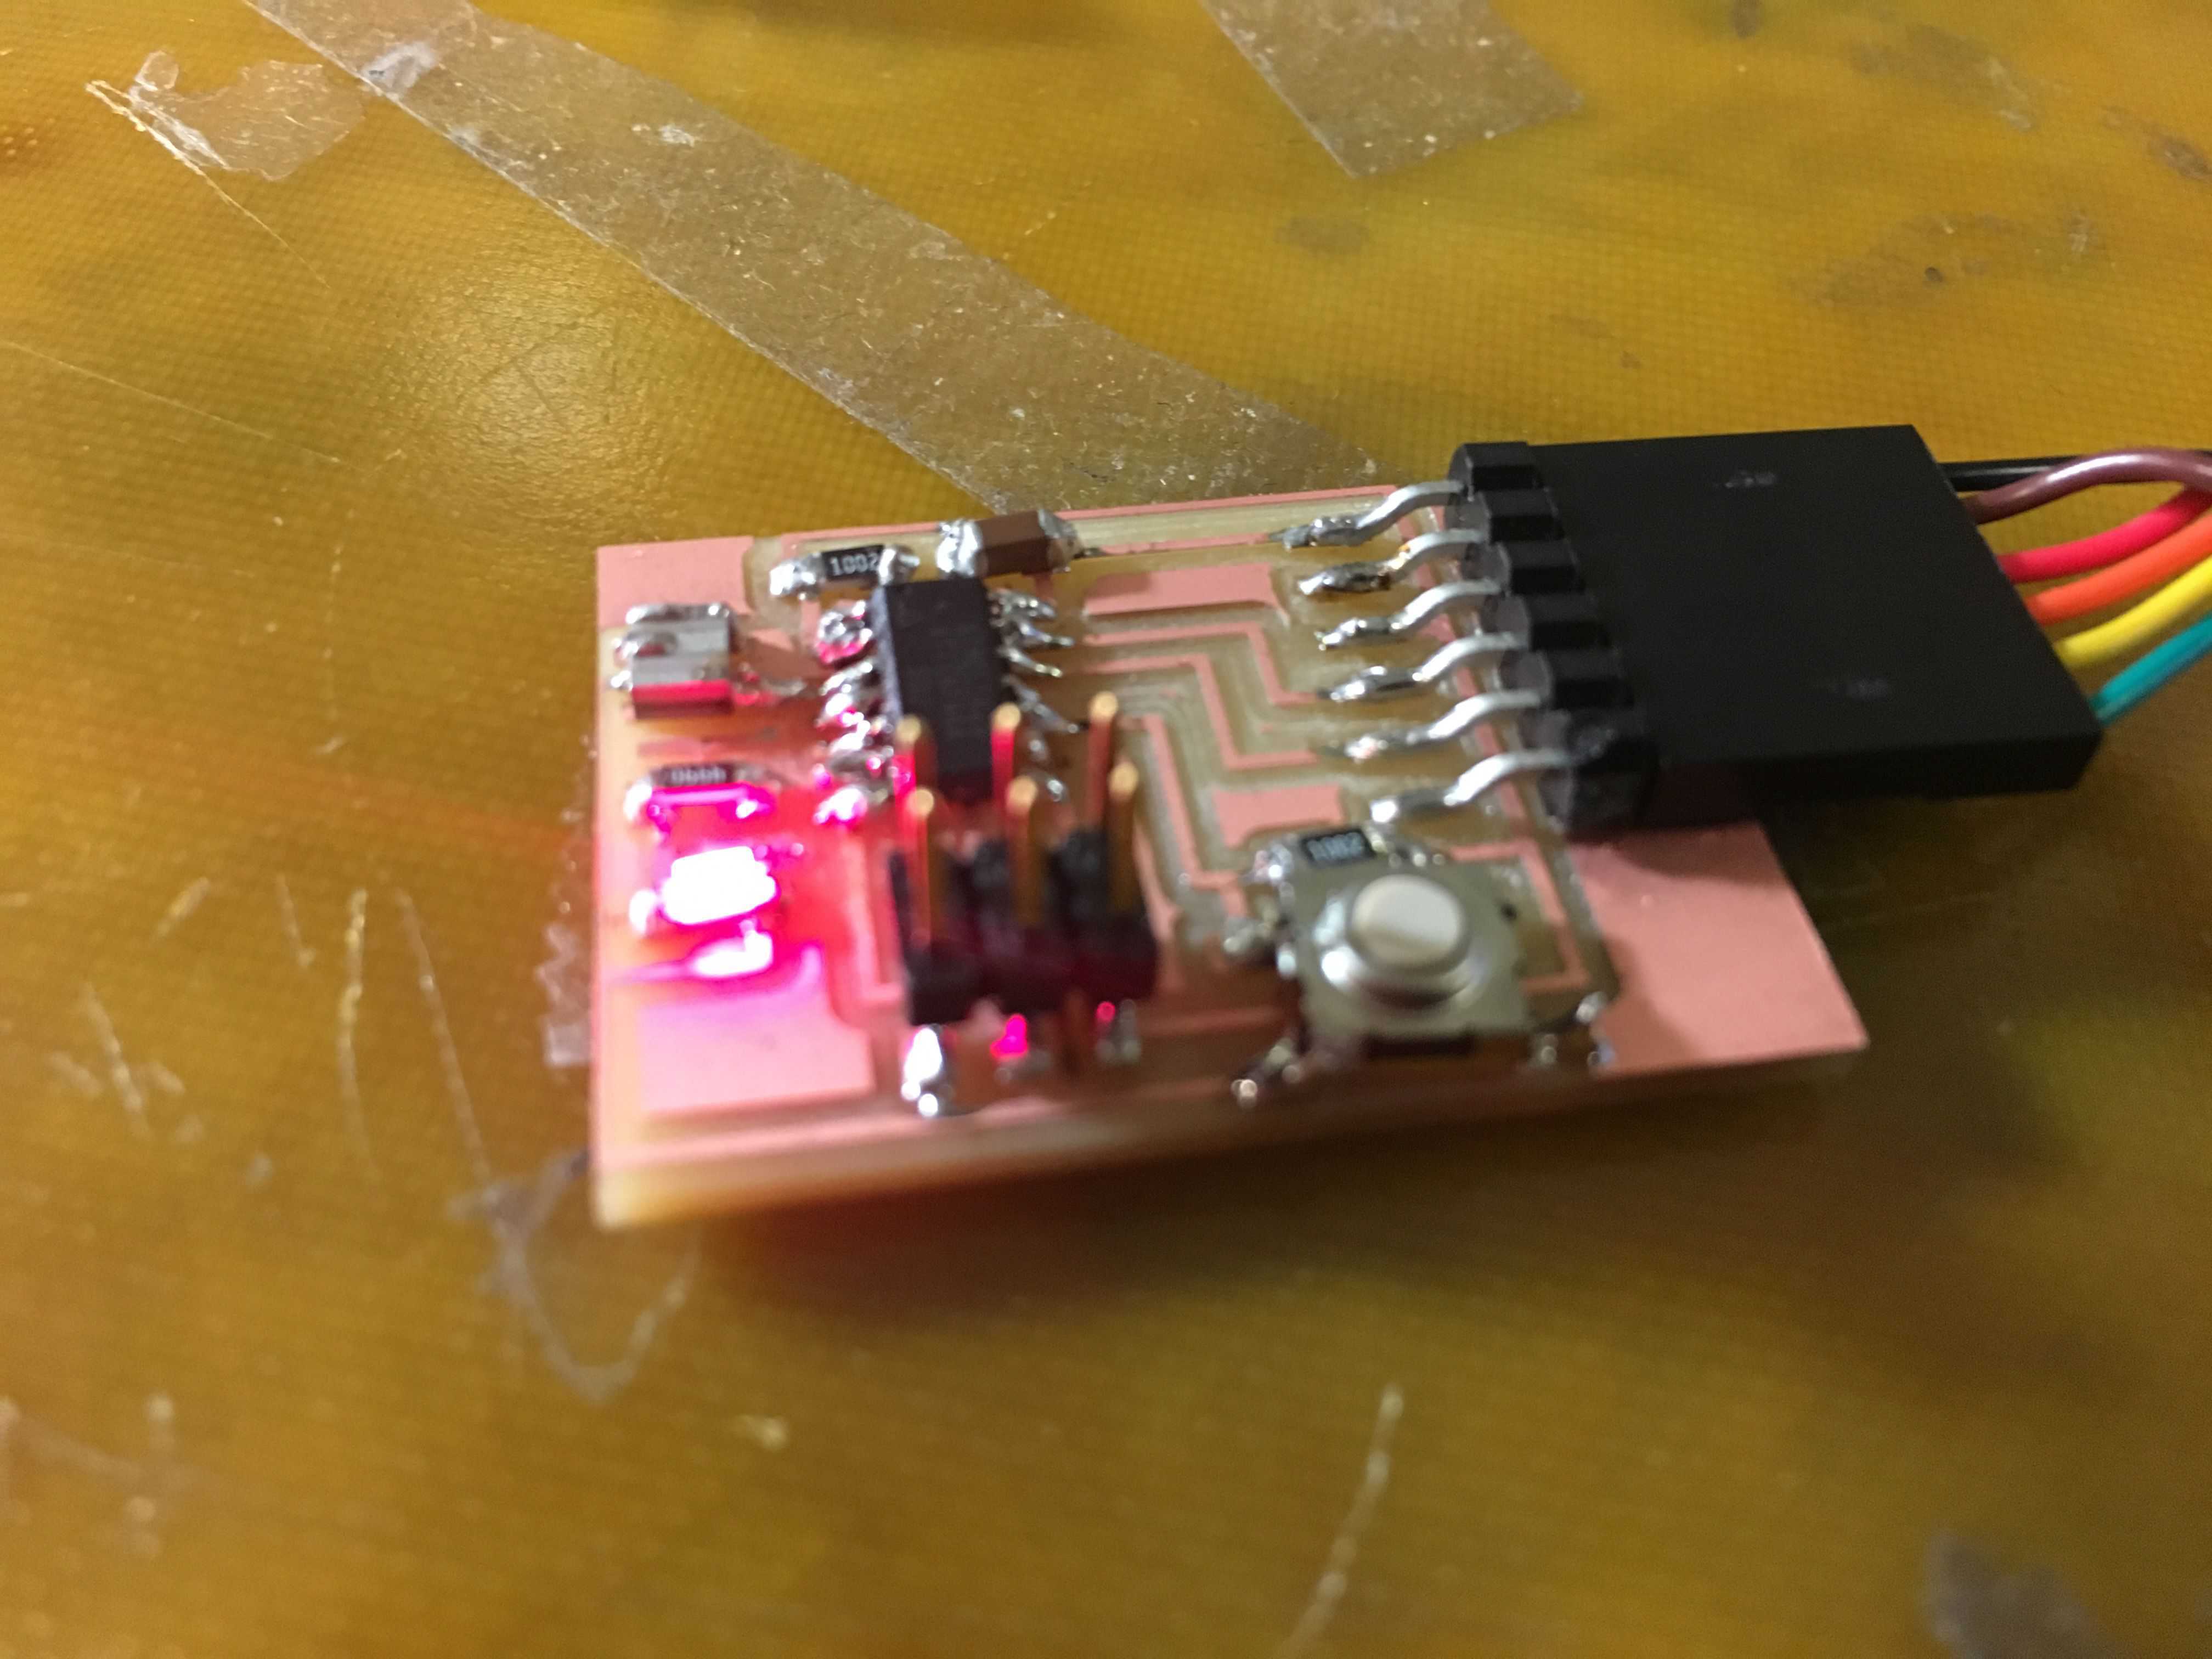
Figure 6. Blinking LED.
To do this, I simply added Pin 3 (the Button pin) as an input, rather than an output, and then used digitalRead, rather than digitalWrite, to change the state of the button, when it was pressed
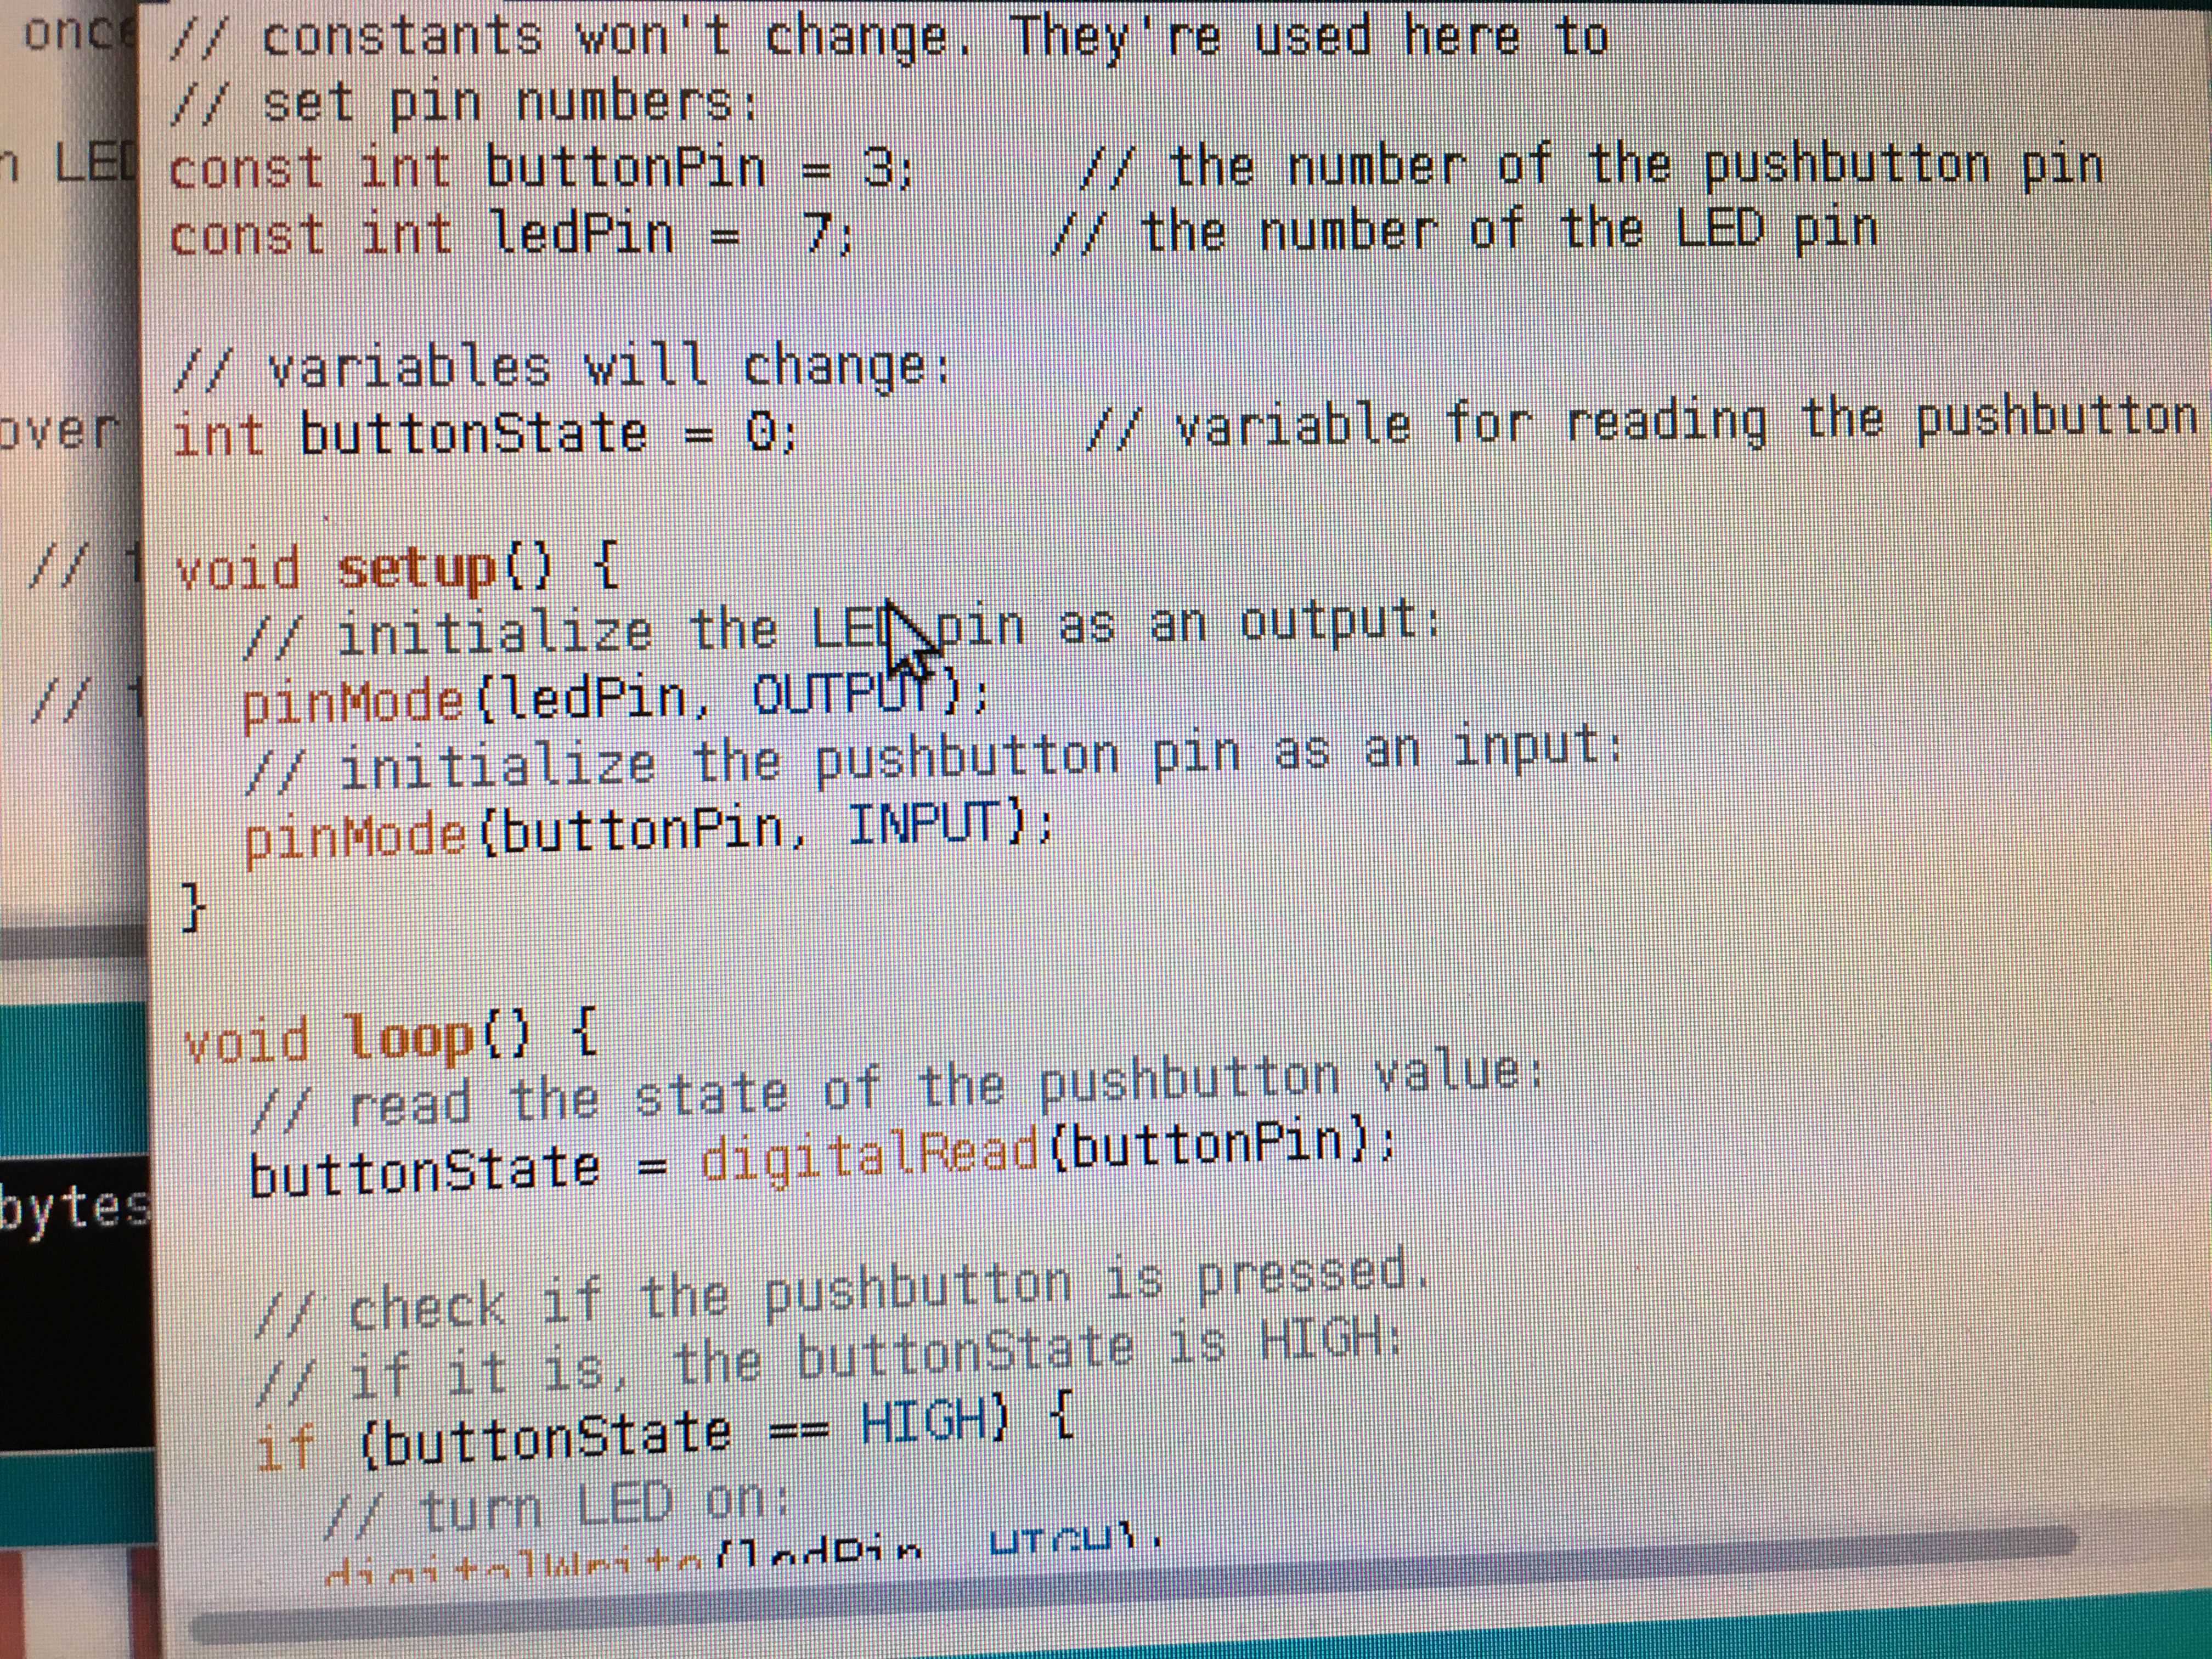
Figure 7. Button program.
Finally, I uploaded the code and the LED would blink when I pressed the button. I tried some more iterations of button blinking, and I look forward to doing more embedded programming for the final project!
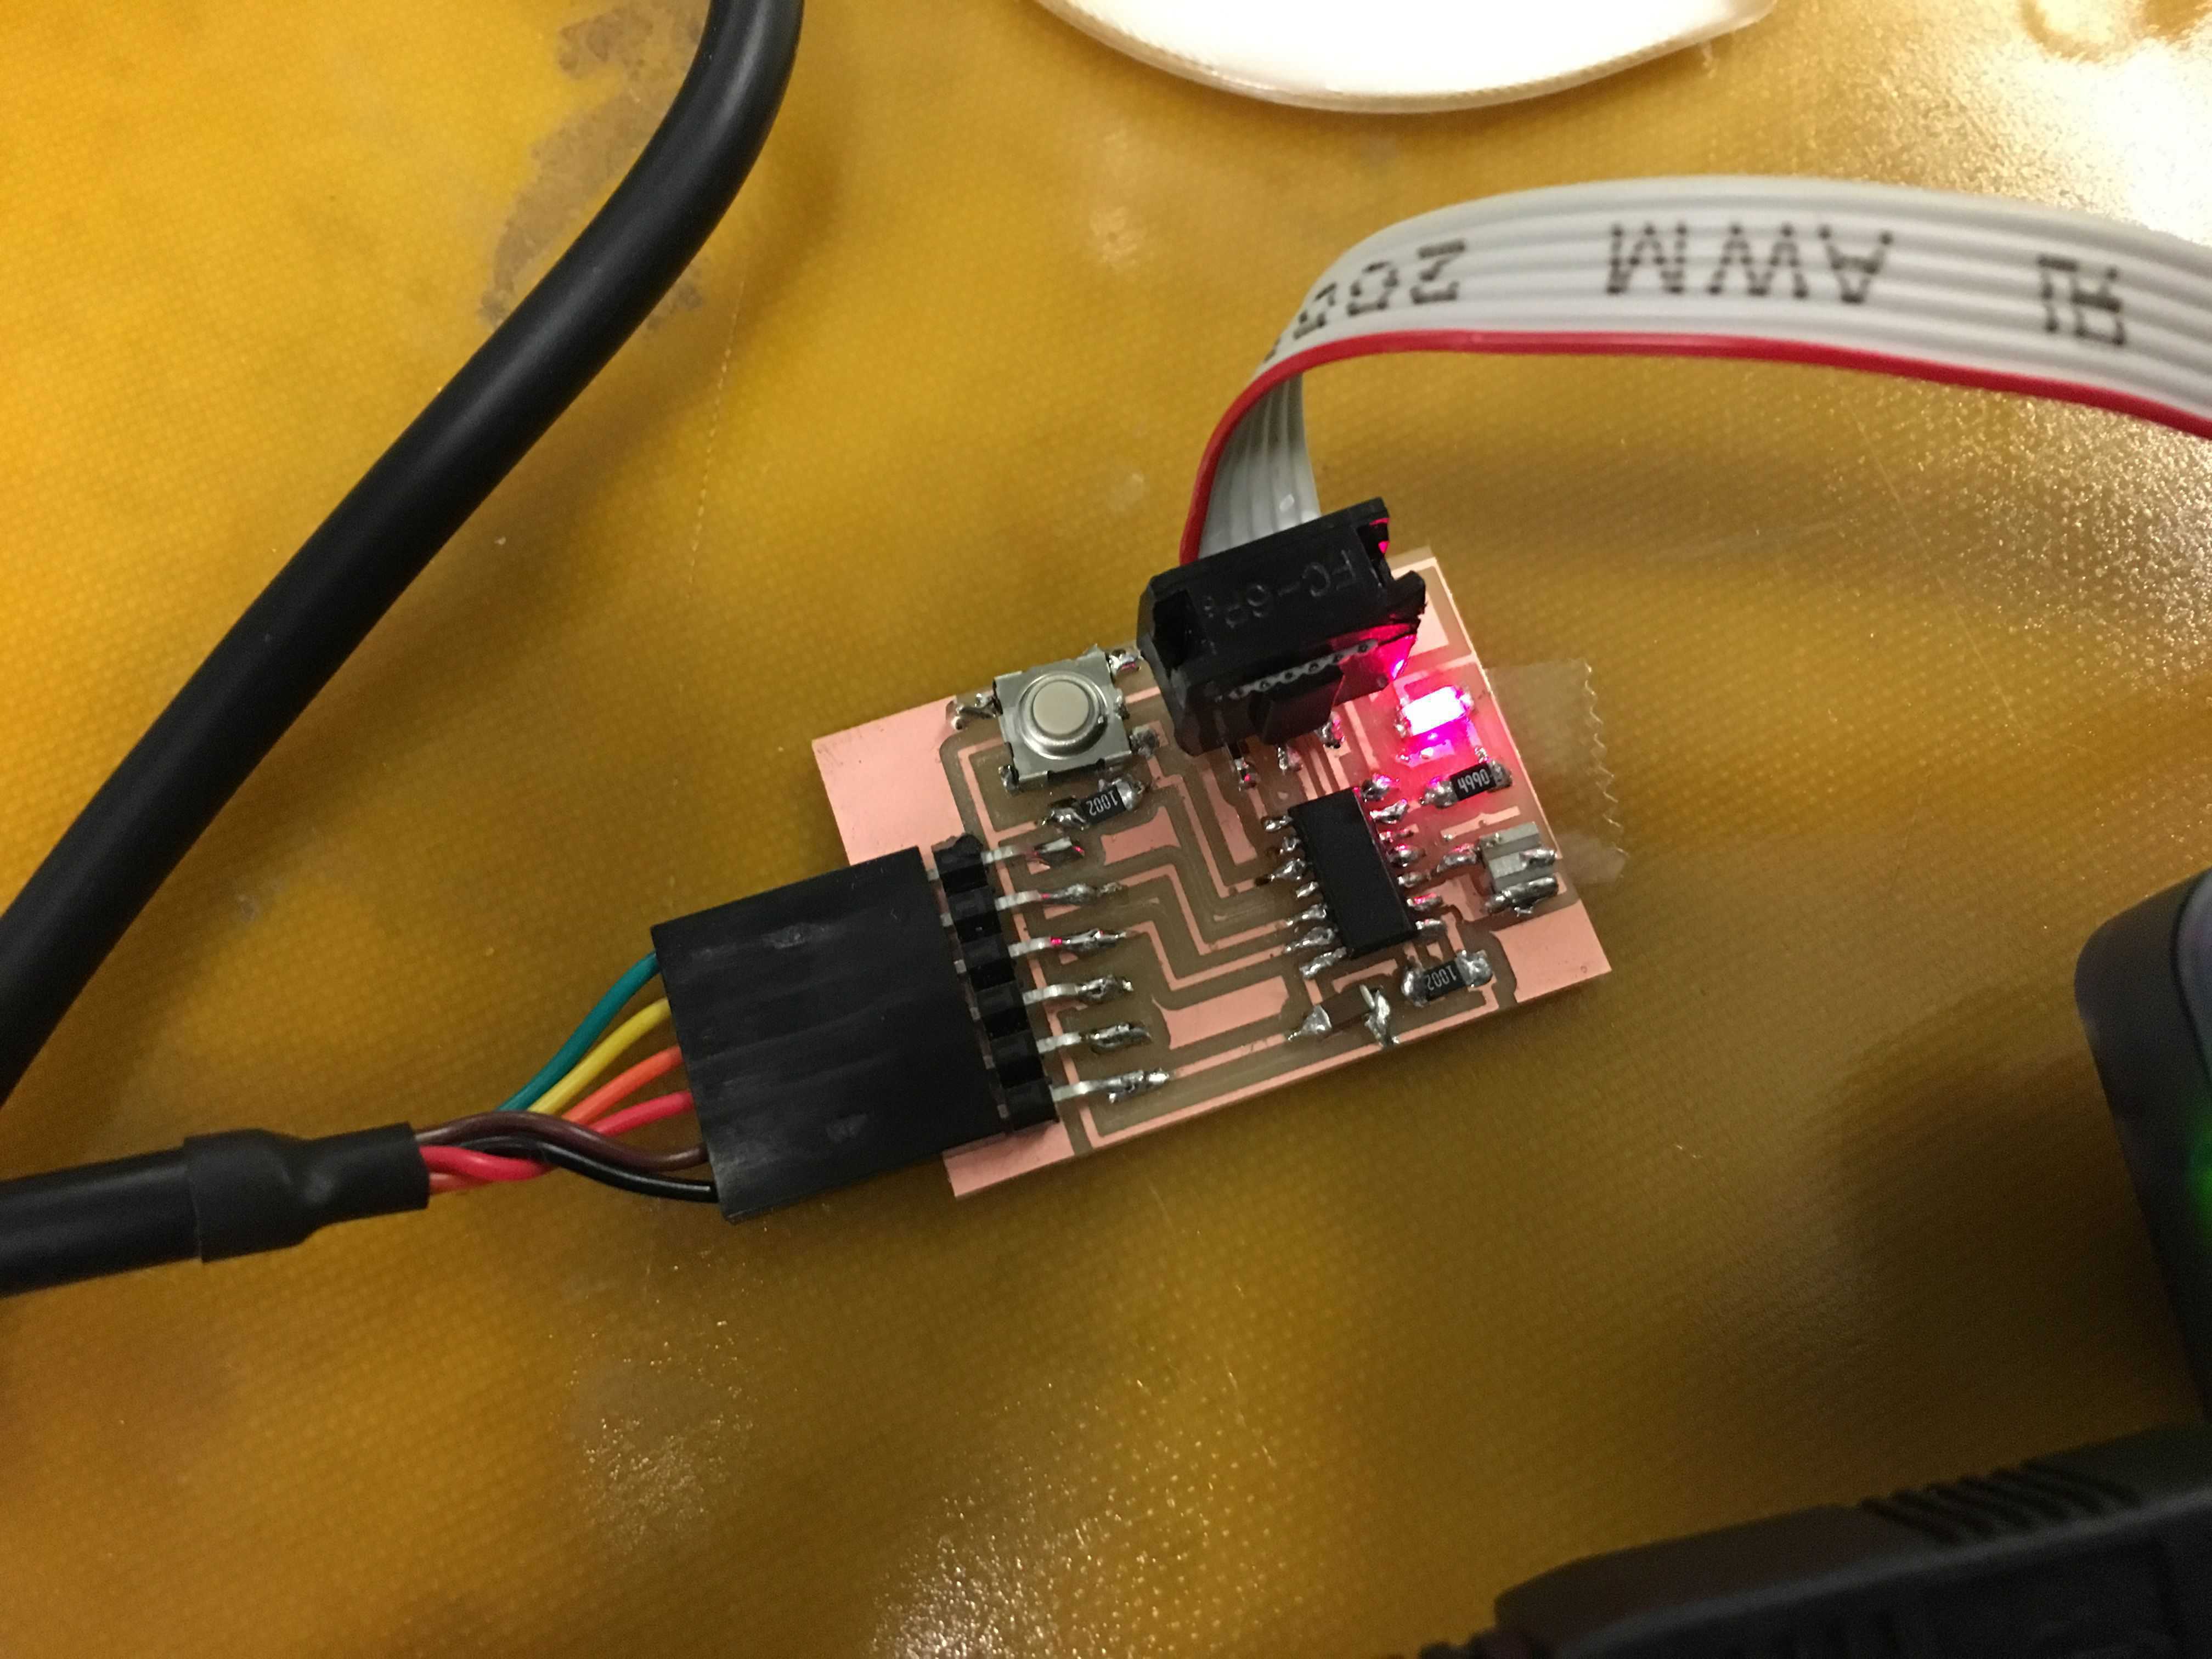
Figure 8. LED blinks when the button is pressed!
| Activity | Tools Used |
|---|---|
| Board Programming | AVRmkII |
| Programming | Arduino IDE, Neil's Software |
| Debugging the Board | Multimeter |