Pranam Tries To Make Things
MAS.863 - 2016
Week 7: Molding and Casting
Molding and Casting My Group's Logo
This week, our assignment was to mold and cast something. It couldn't be too big, but overall, it would require three steps: machining the initial positive mold from wax, pouring a negative mold using some flexible polymer, and then casting the final positive mold with a resin.
Being quite busy this week, I wanted to make a simple model of my group's logo, shown below:

Figure 1. Molecular Machines group logo.
Simple enough! I made a quick polyline drawing in Rhino, and extruded the structure.
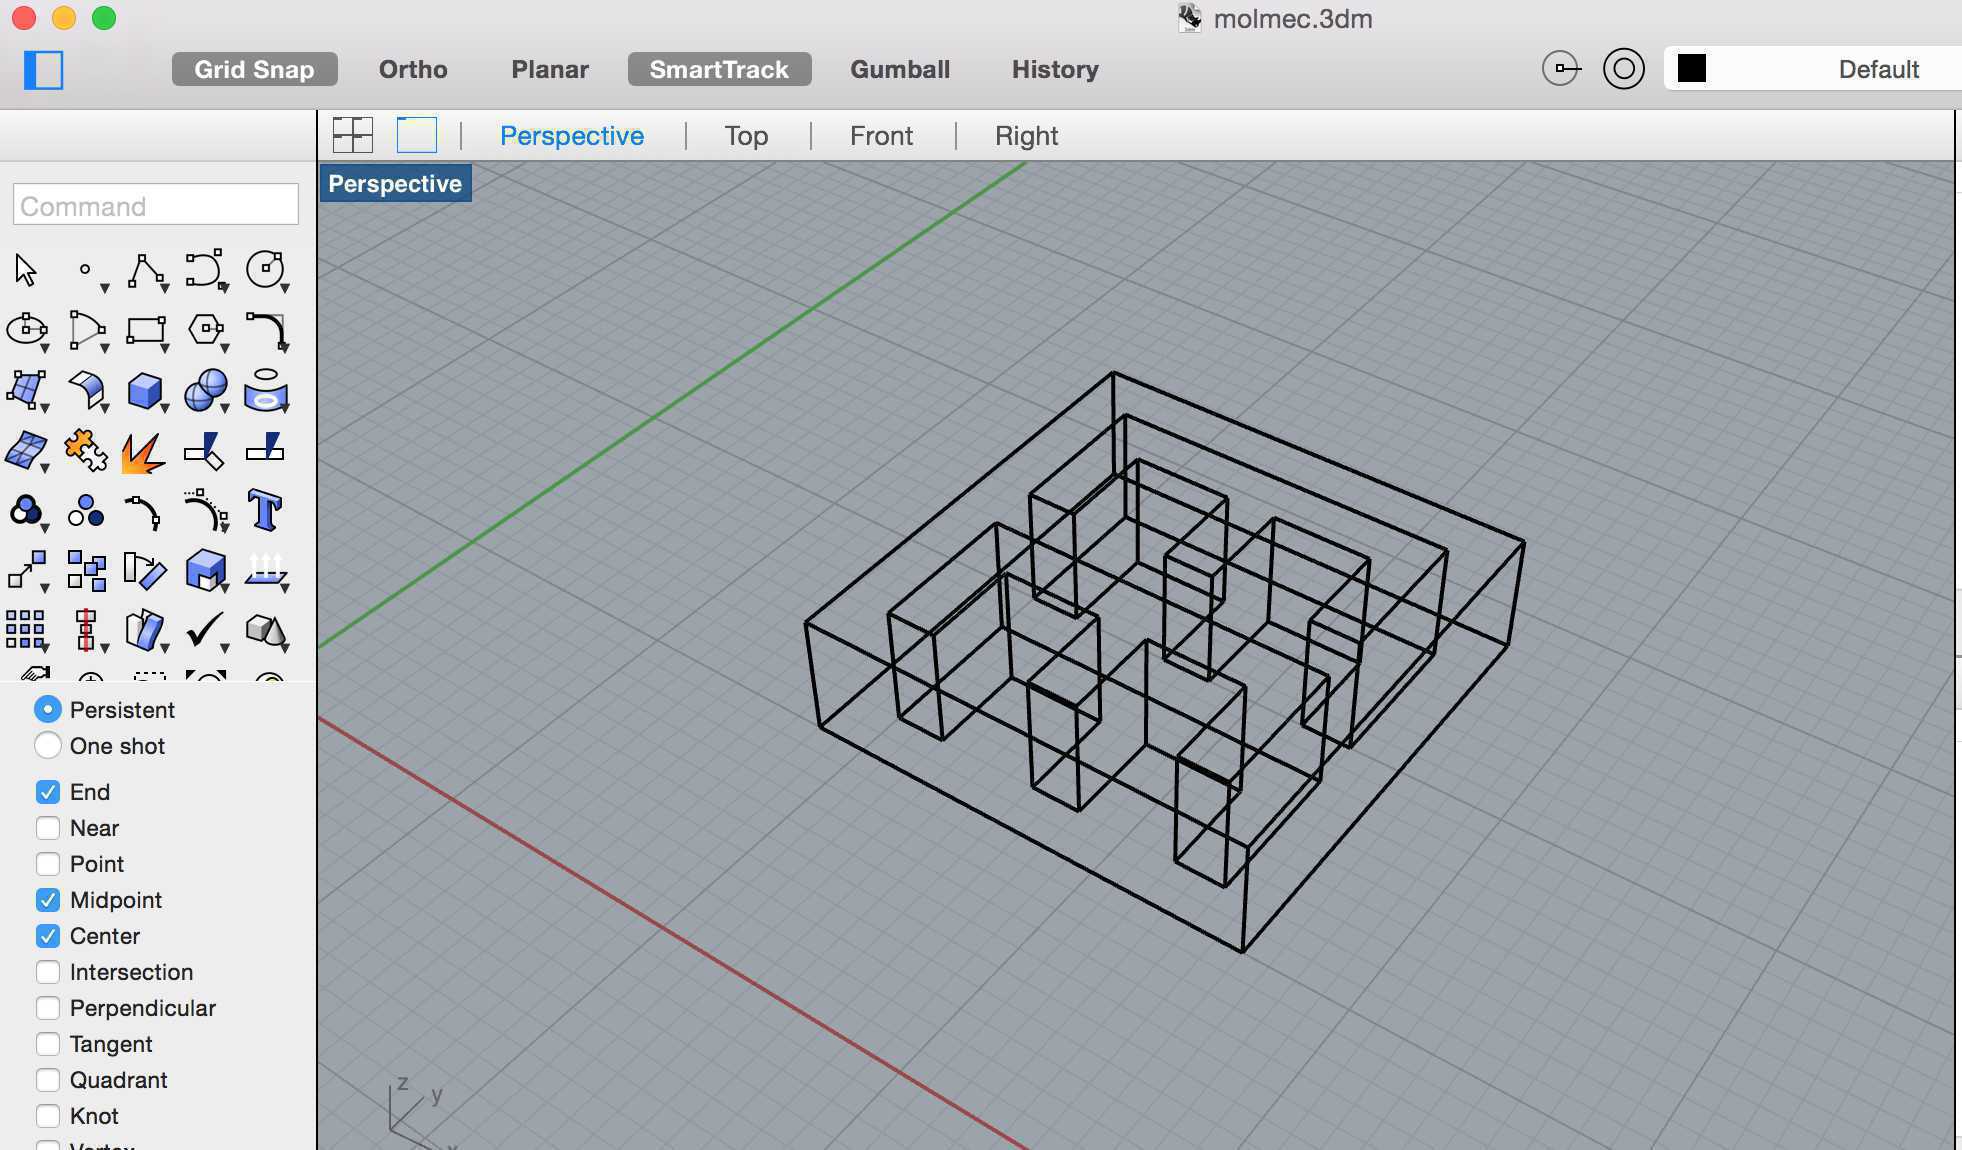
Figure 2. 3D Model of group logo.
Next, I created the toolpath down in the CBA shop with Tom's help. To do this, I specified the conditions using a 1/8 inch endmill, and created a simple toolpath with a depth of 1 inch. It was a little busy getting this part done, but overall, I got it to work. I then sent both the roughing and finishing toolpaths to the ShopBot to machine. As always, I follow the standard process for zeroing the machine, and then allow it to do the cutting.
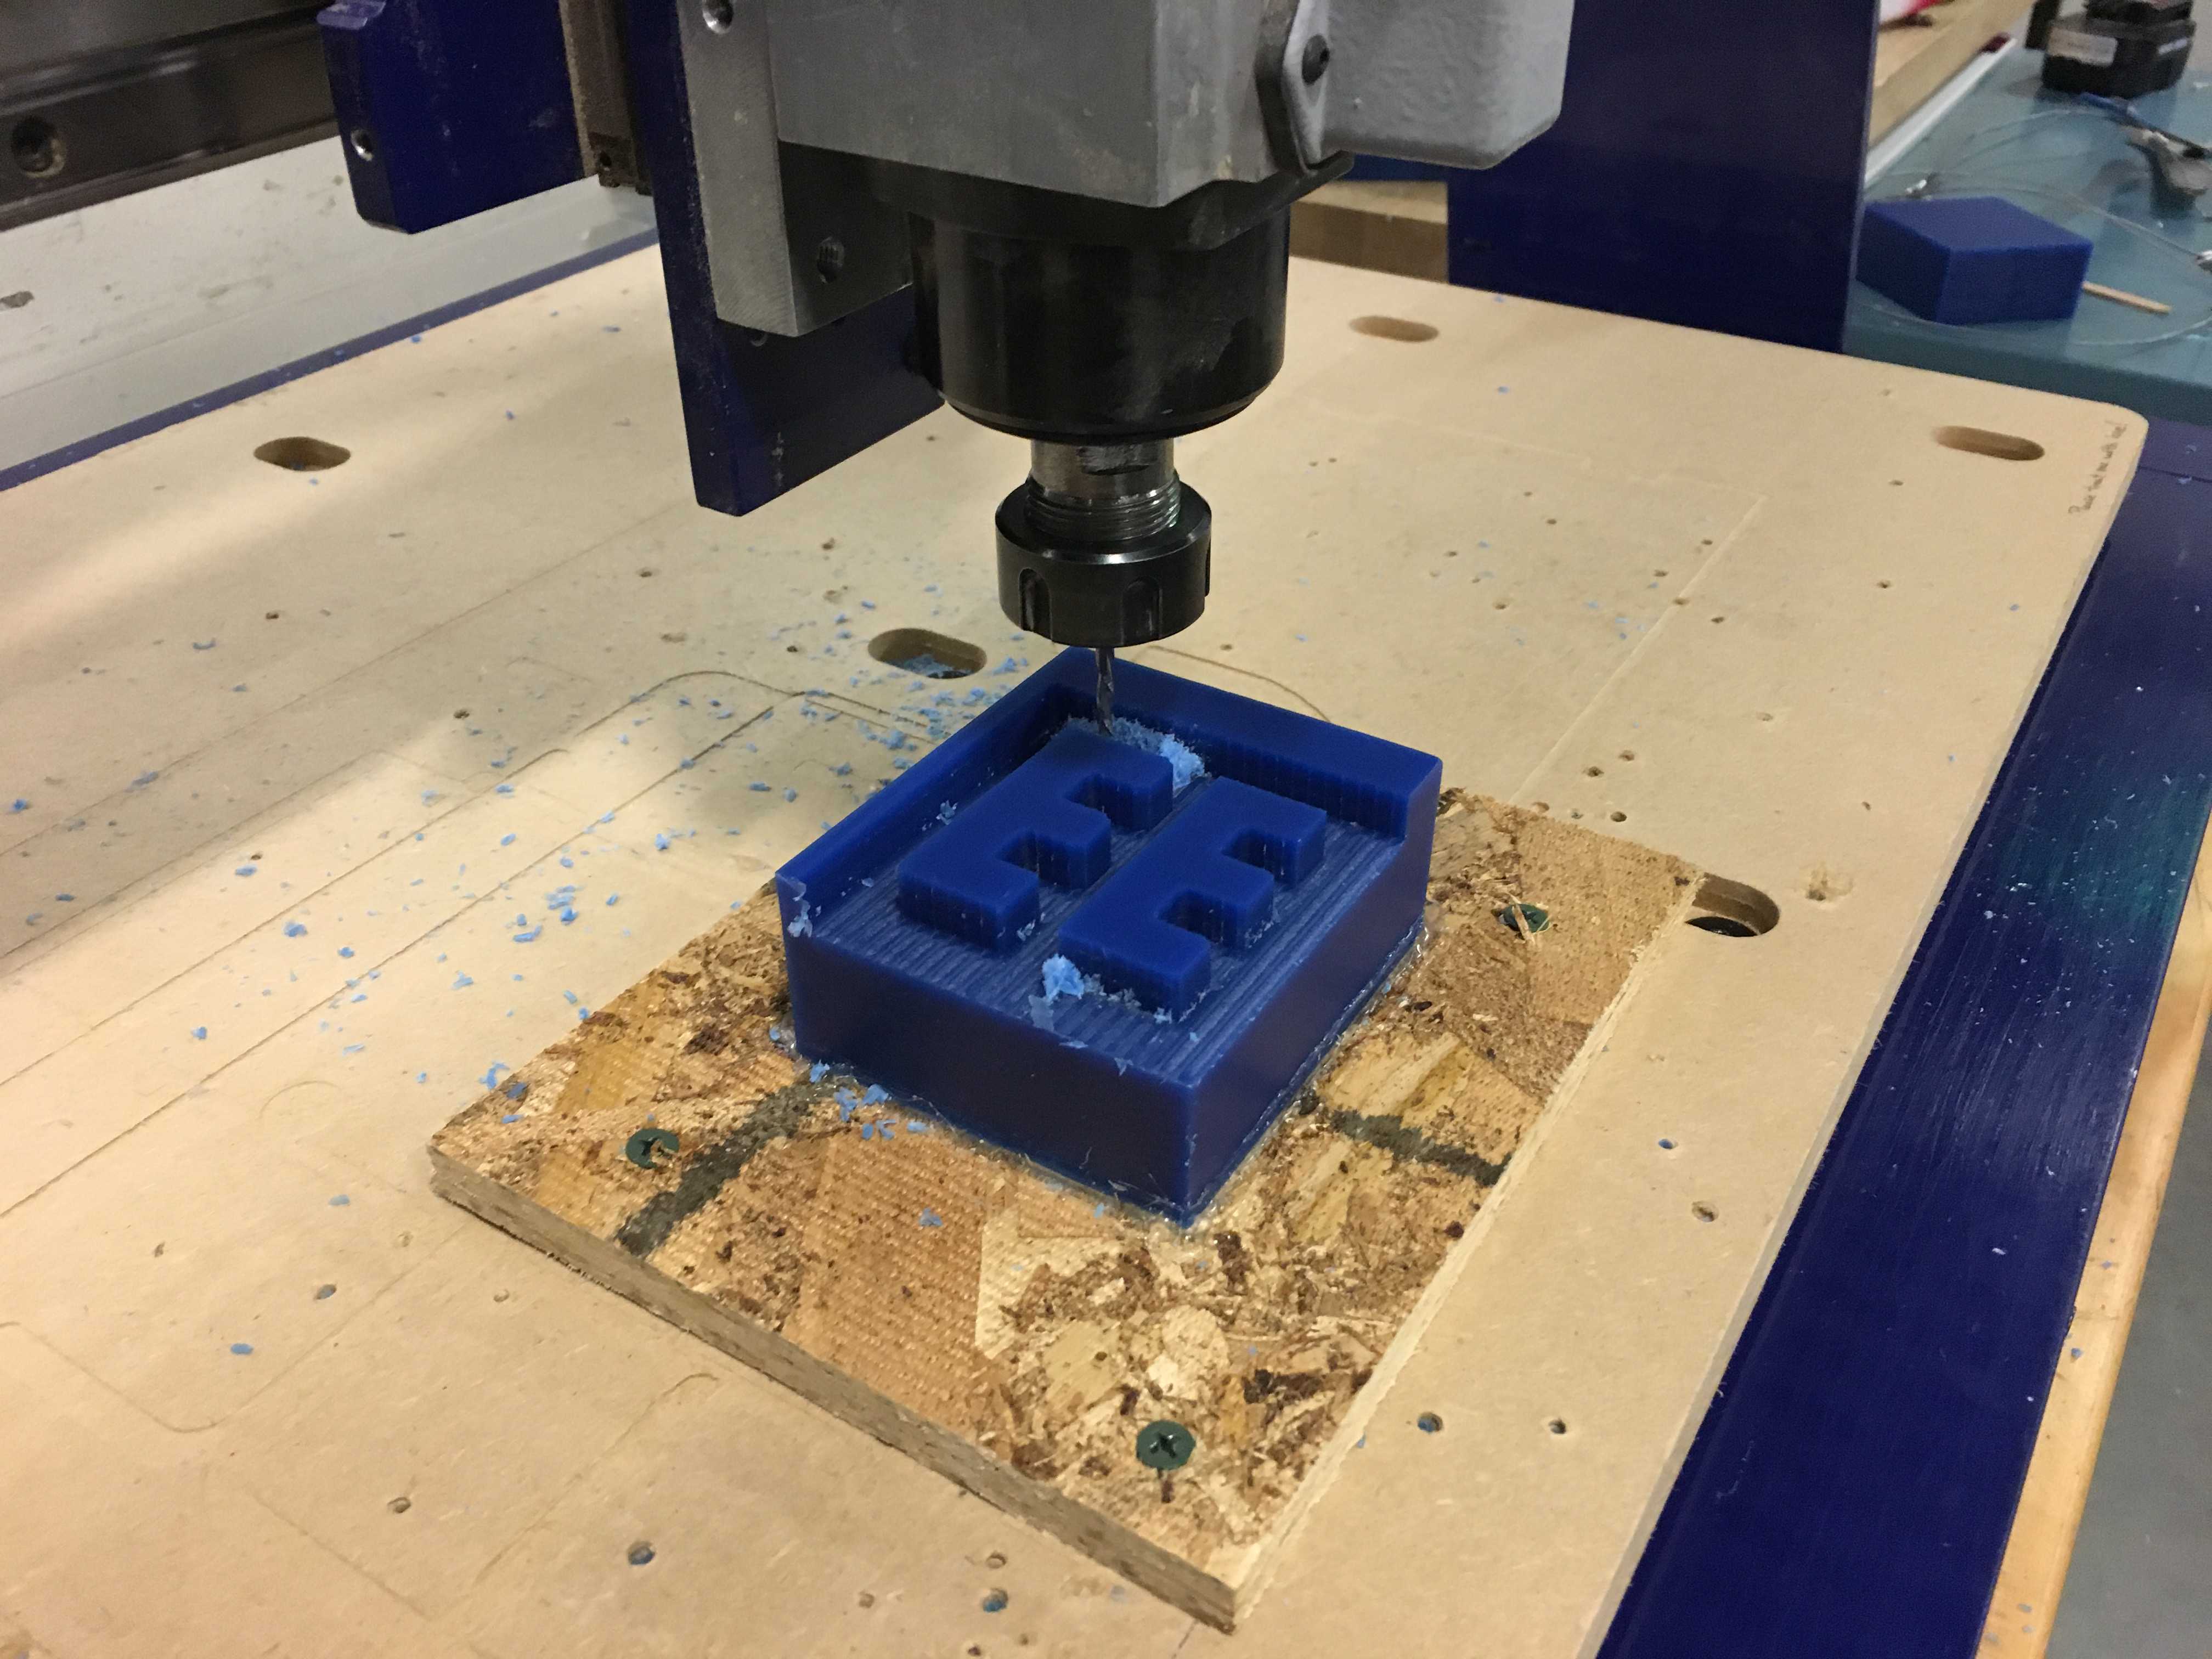
Figure 3. Machining the wax mold.
As you can see, though the mold looked good and finished well, the walls were not properly machined, which would pose a problem for pouring the Emoo polymer for the negative mold. I tried to fix this problem by hot gluing OSB and cardboard to create walls, but I couldn't get the walls tight enough. Thus, when I poured the polymer, it created a big mess and ruined my wax mold.
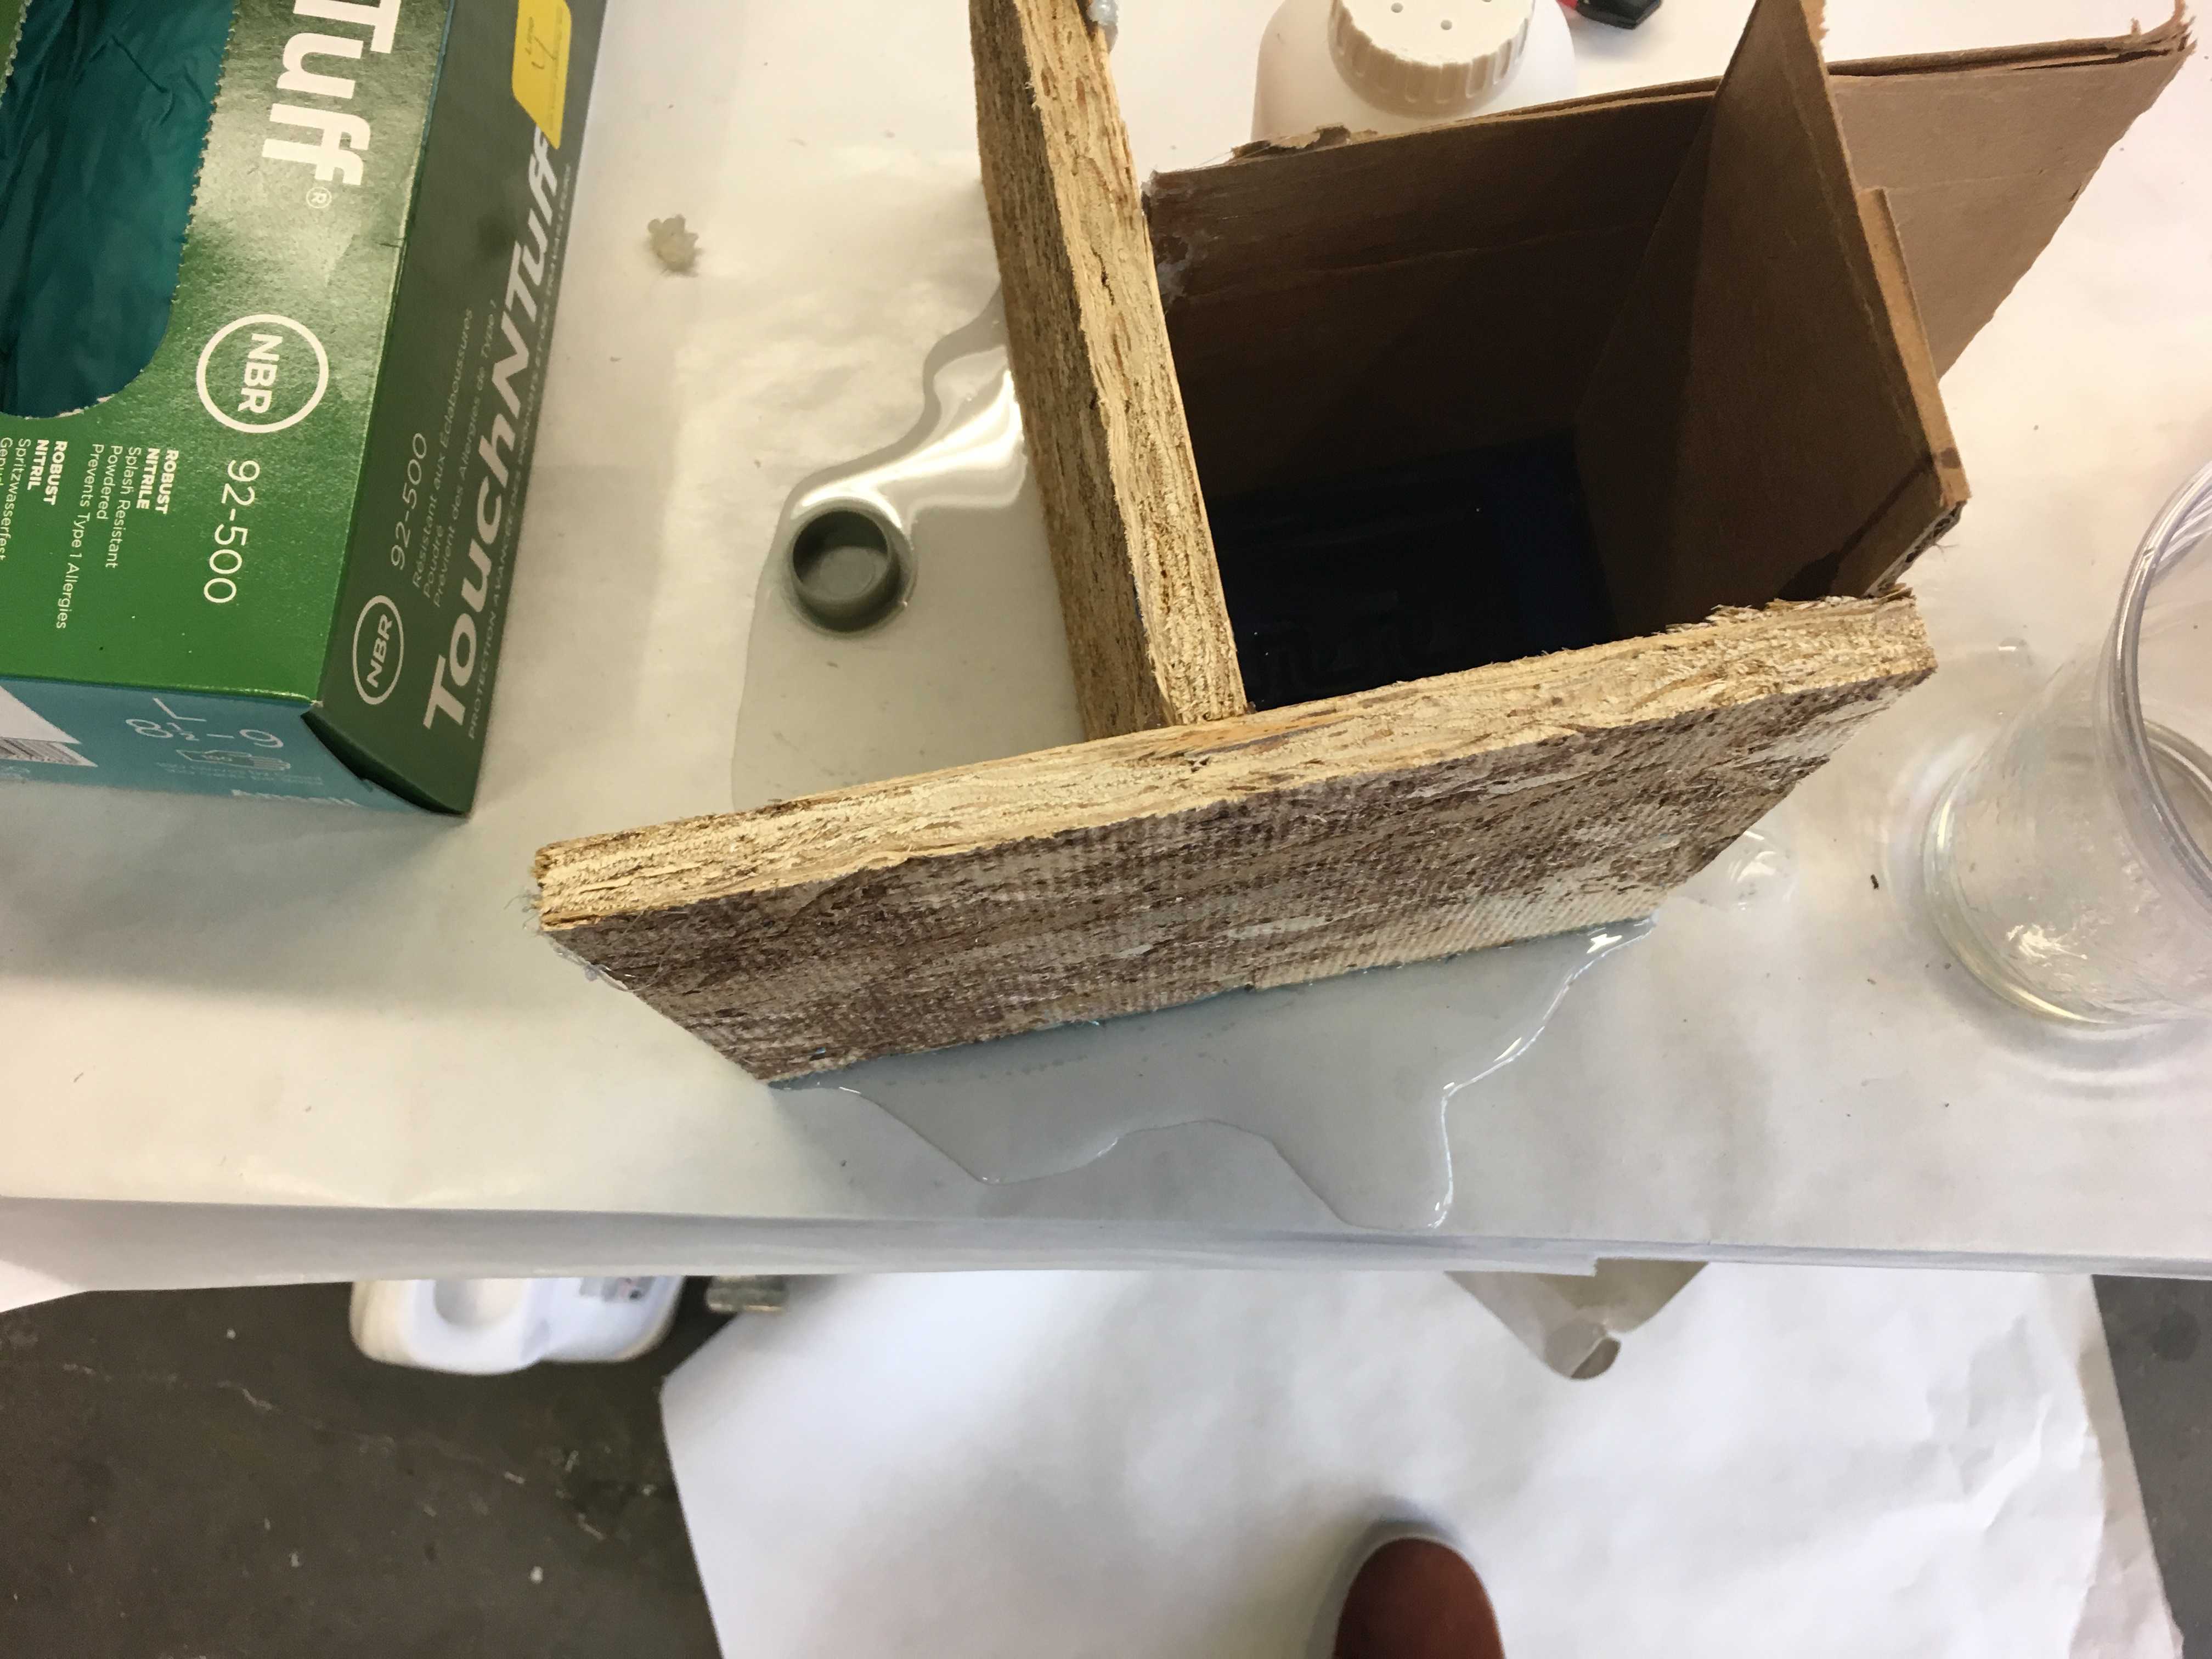
Figure 4. Failed pouring of the negative mold polymer.
I was able to get on the ShopBot one more time to mill the mold, and this time, I zeroed the endmill a little farther in to see if I could get a clean cut with all walls. Unfortunately, one of the walls still was cut out.
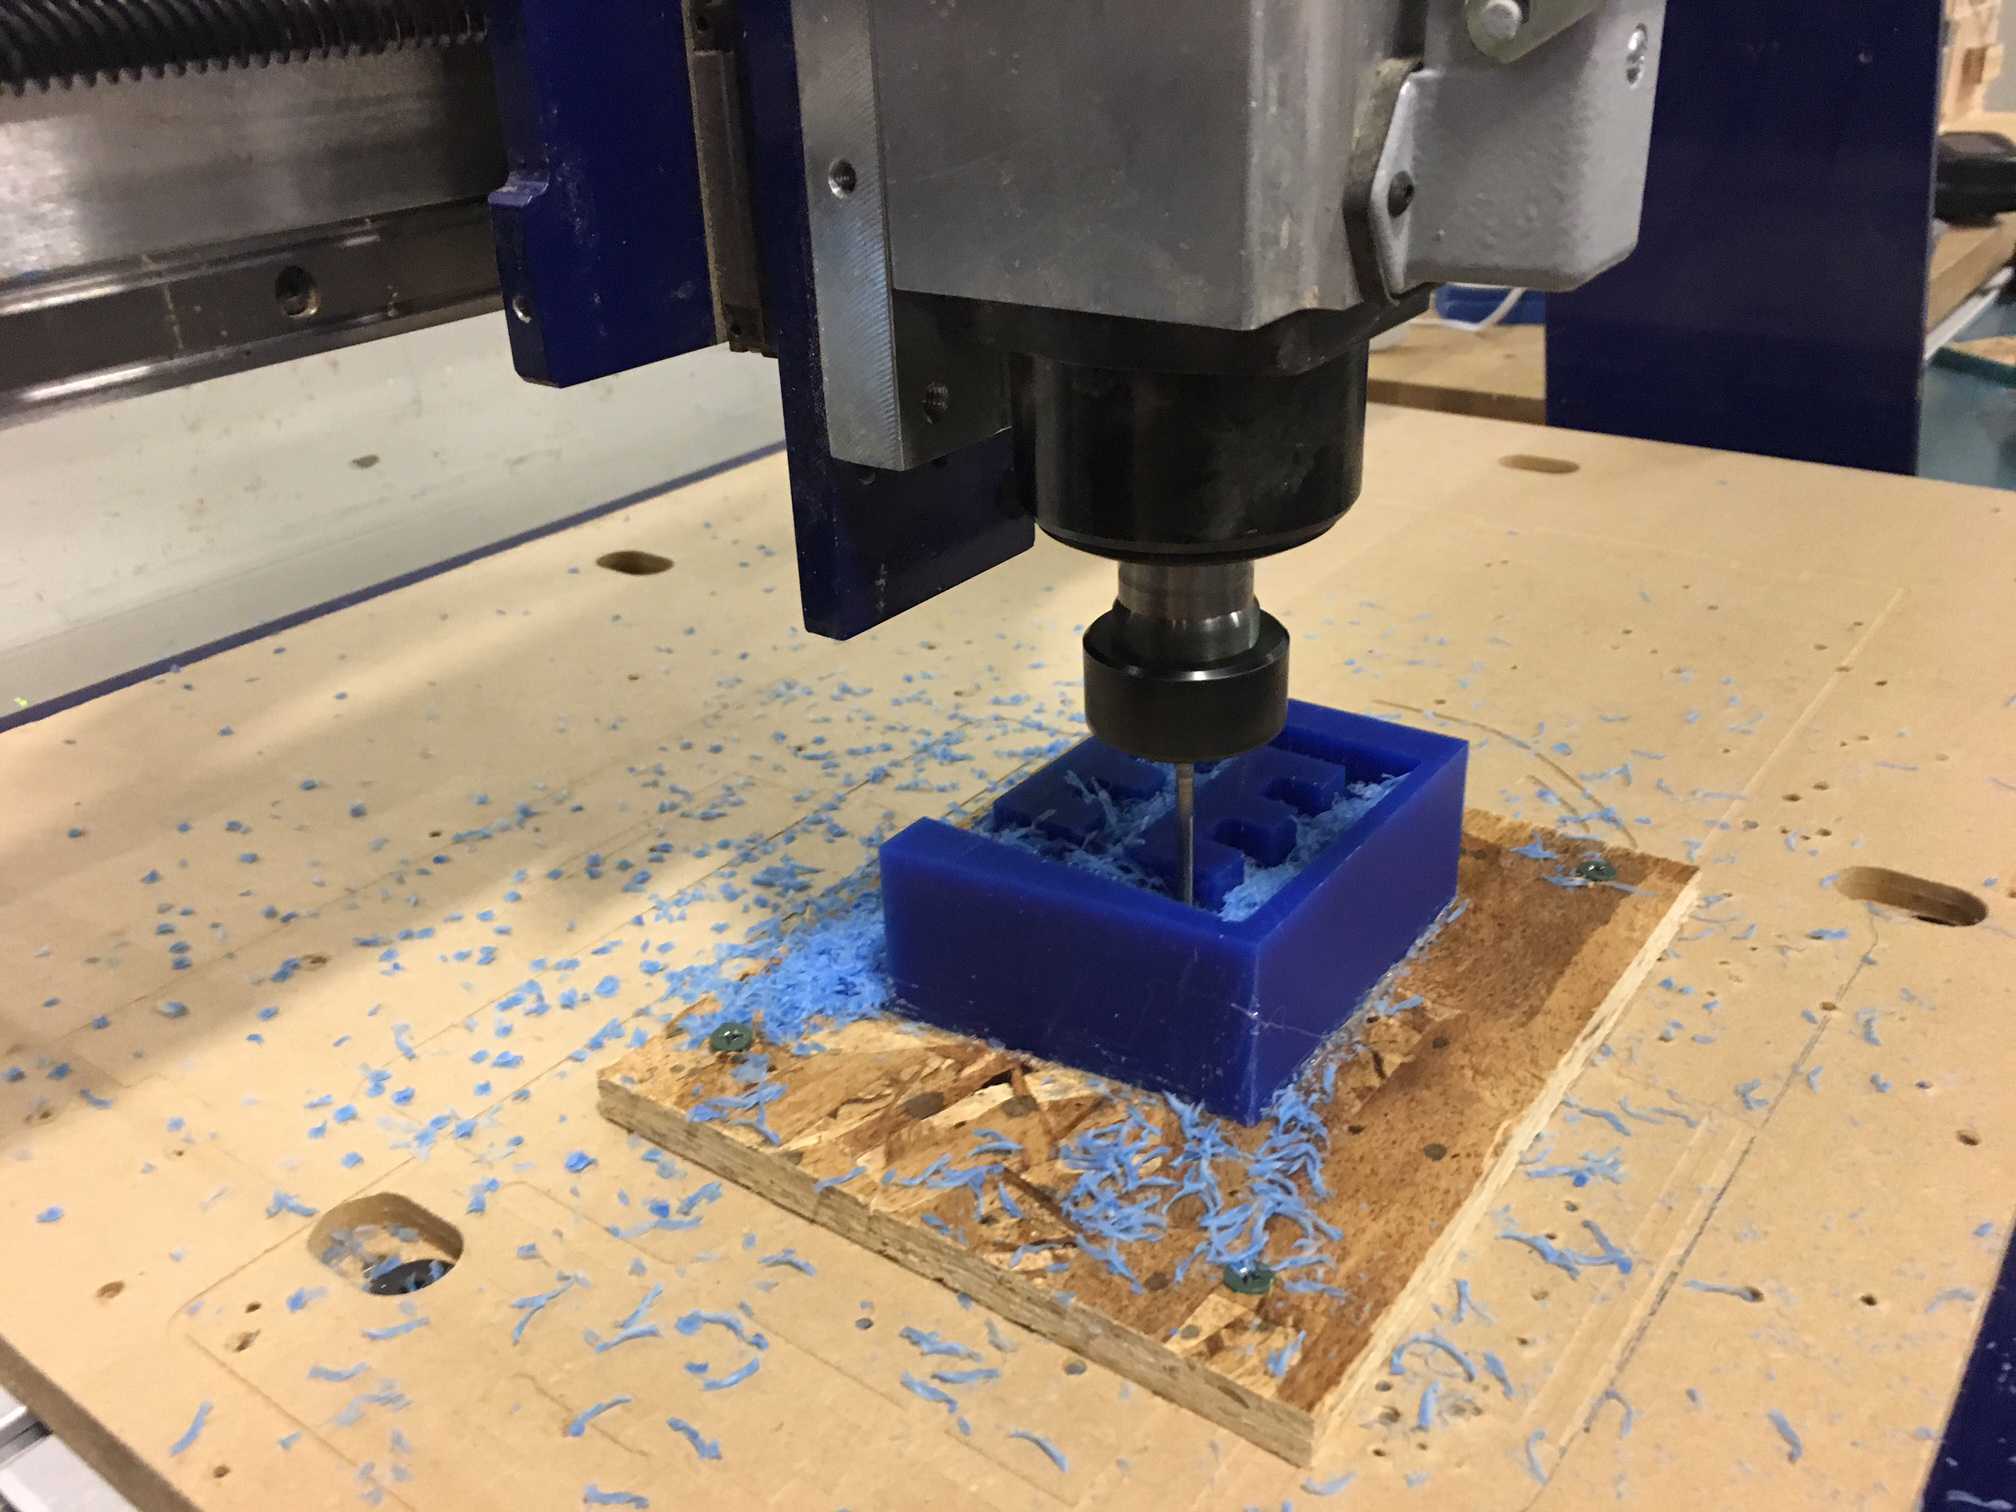
Figure 5. Re-milling the wax mold.
Sadly, when I was trying to pry out the mold from the wood stage that it was hot-glued onto, I stabbed my thumb. I had to go to MIT Medical, and thus could not continue with the week's assignment. Perhaps, I will try again later in the week -- will keep you updated! Many thanks to Lisa and everyone around to help me clean and bandage up the cut.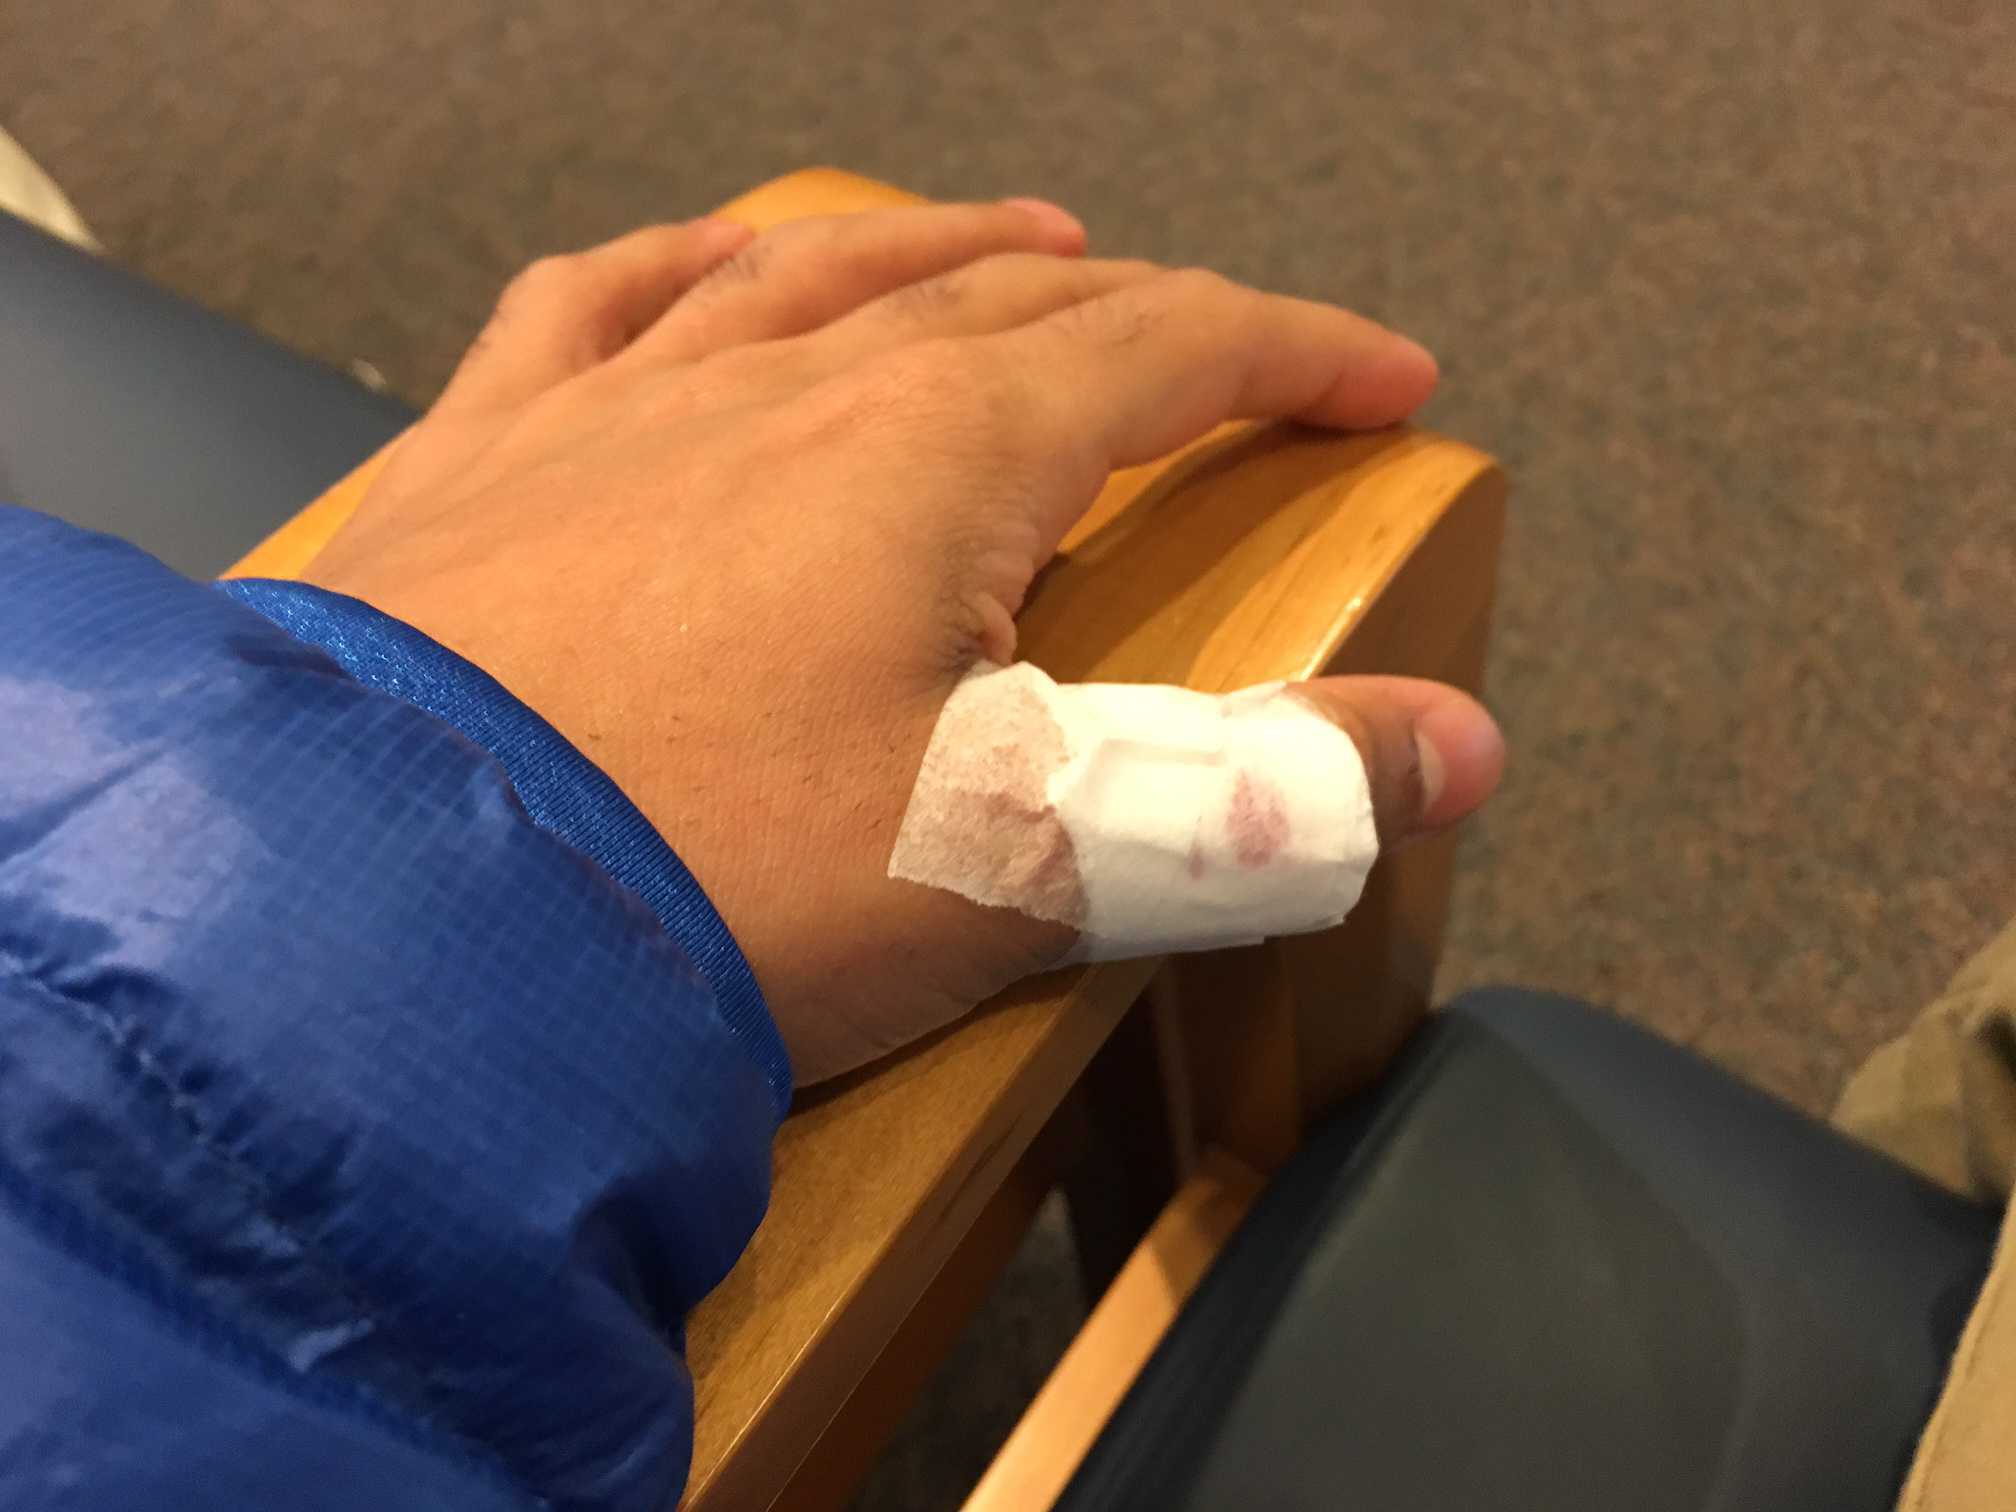
Figure 6. My thumb all bandaged up.
Alright: UPDATE. For the Final Project, I milled a base for my tube holder -- though this wasn't the final one I used, I was able to first create the negative mold by mixing 1:1 A:B of Ooomoo.
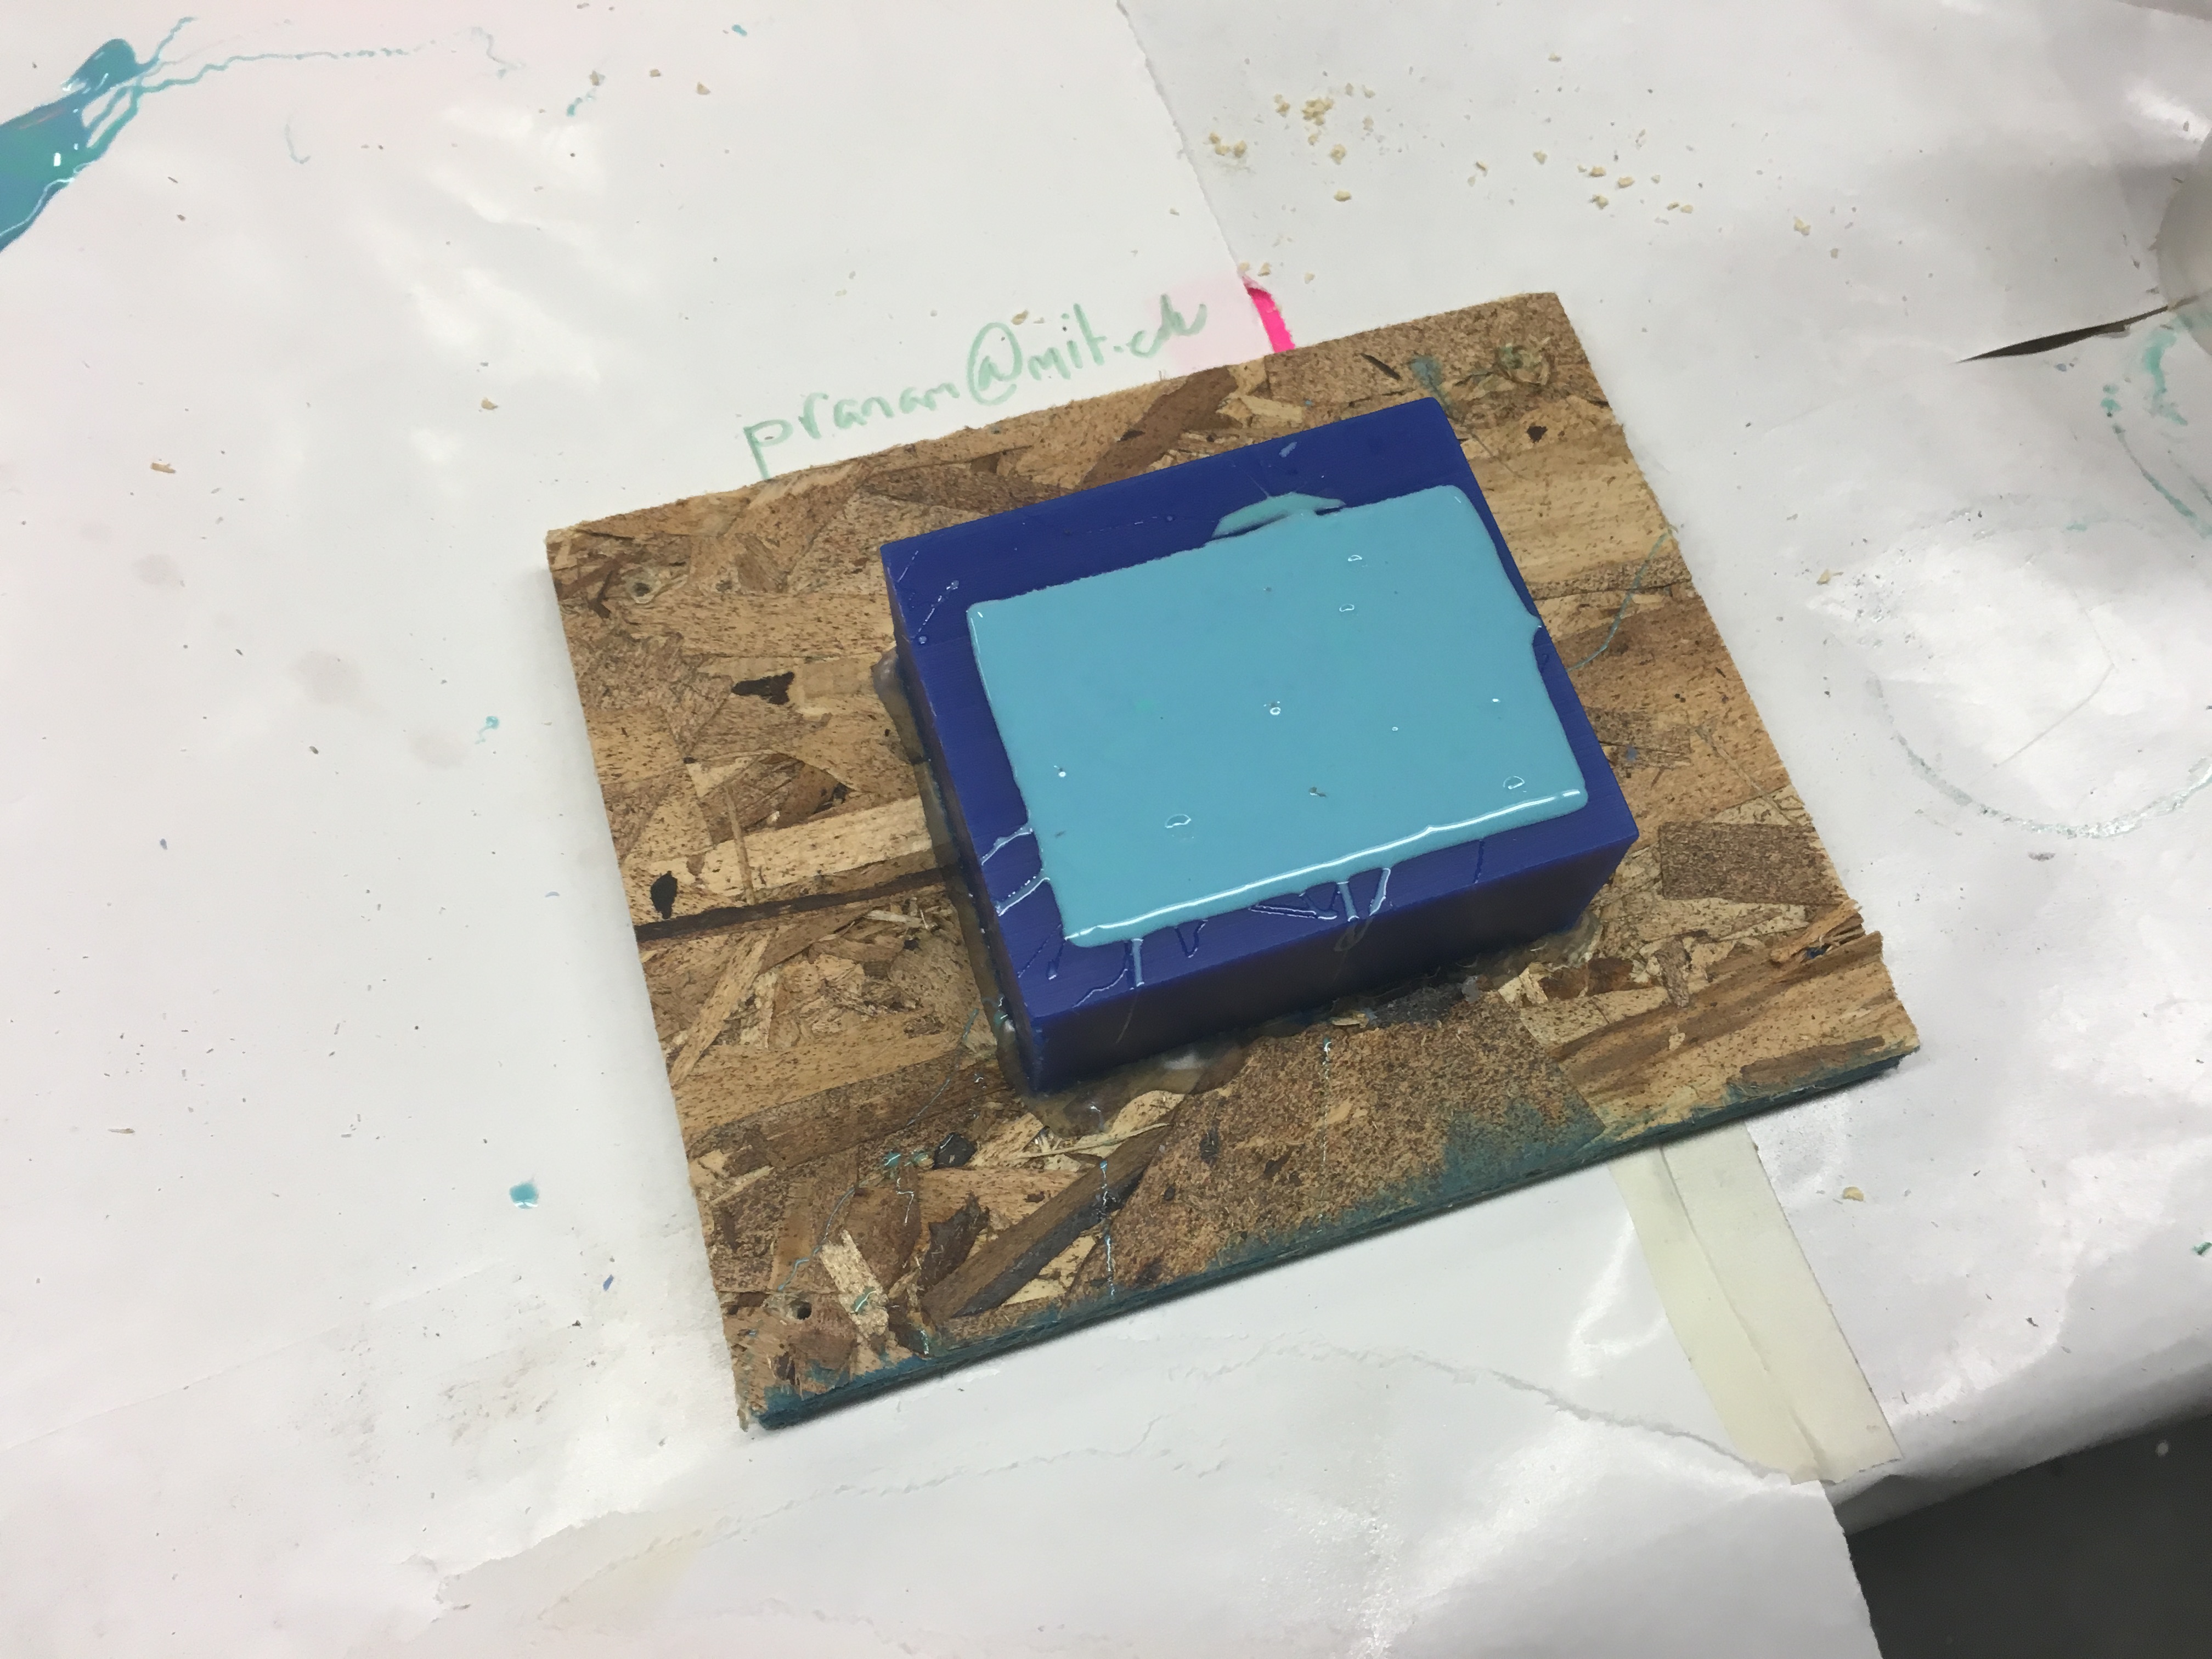
Figure 7. Pouring Ooomoo.
Then, I wait for a few hours, and pull out the Oomoo mold, and pour liquid plastic to cast.
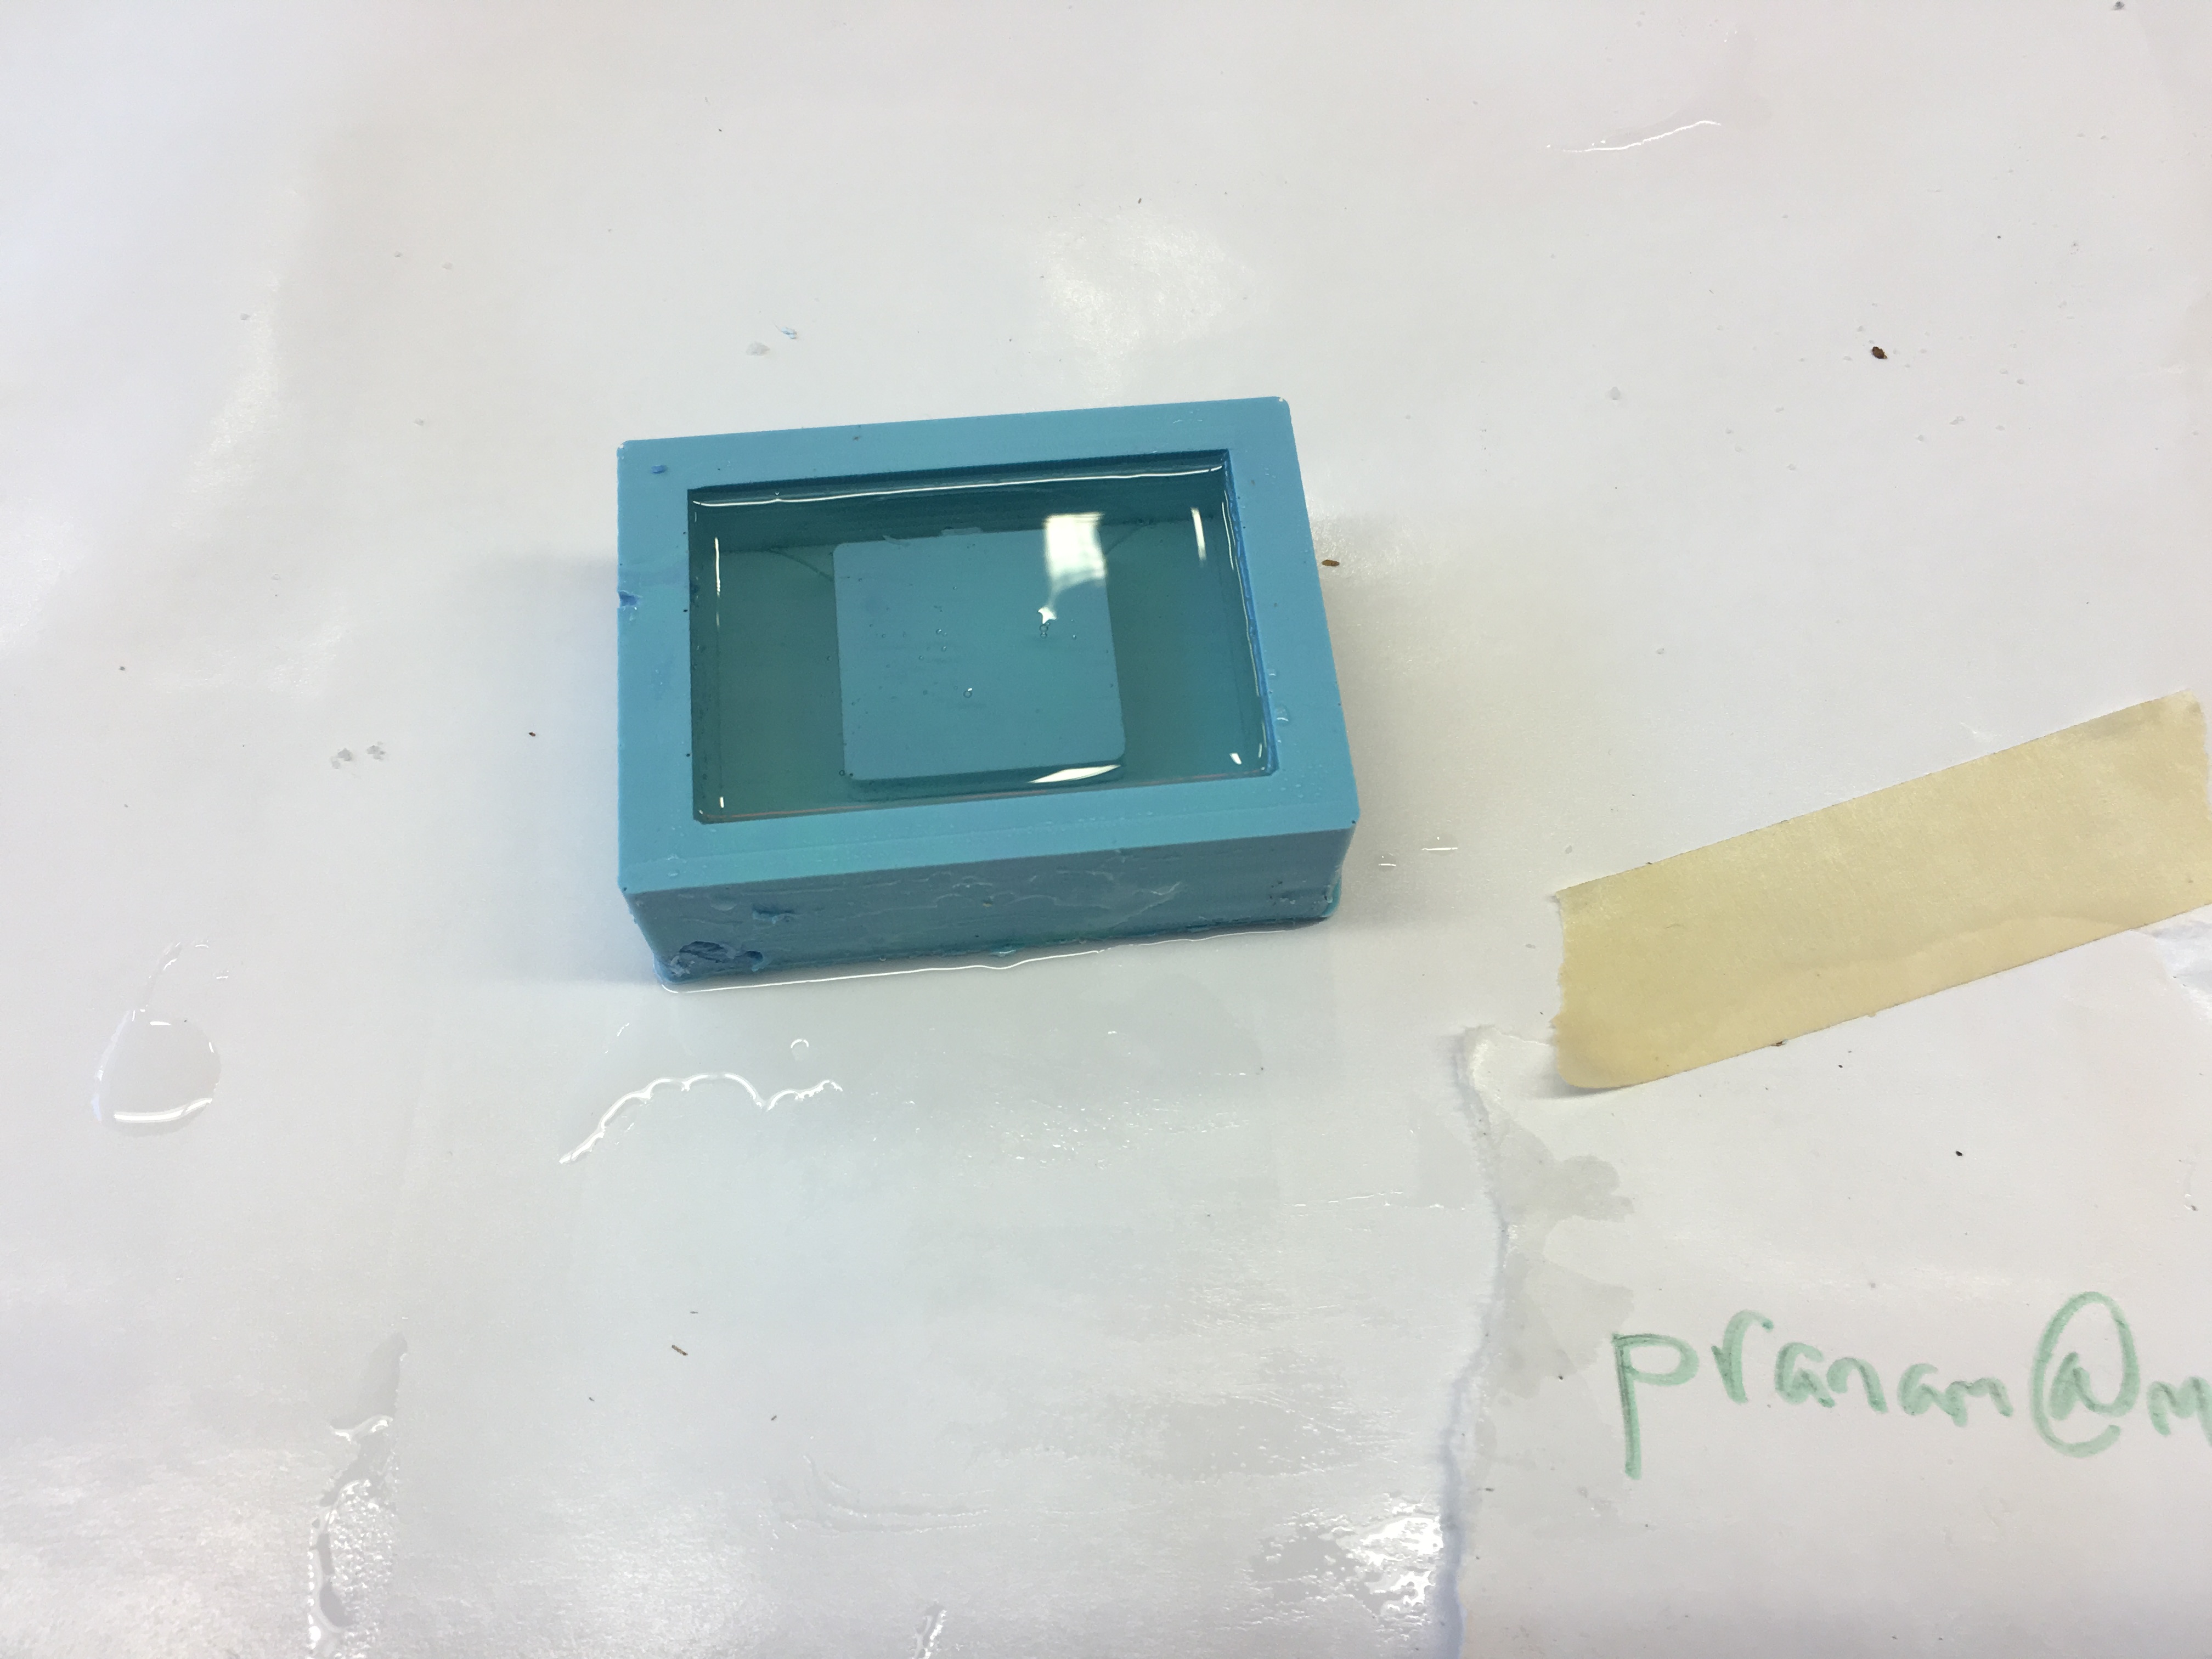
Figure 8. Casting with liquid plastic.
At last, I finish molding and casting!
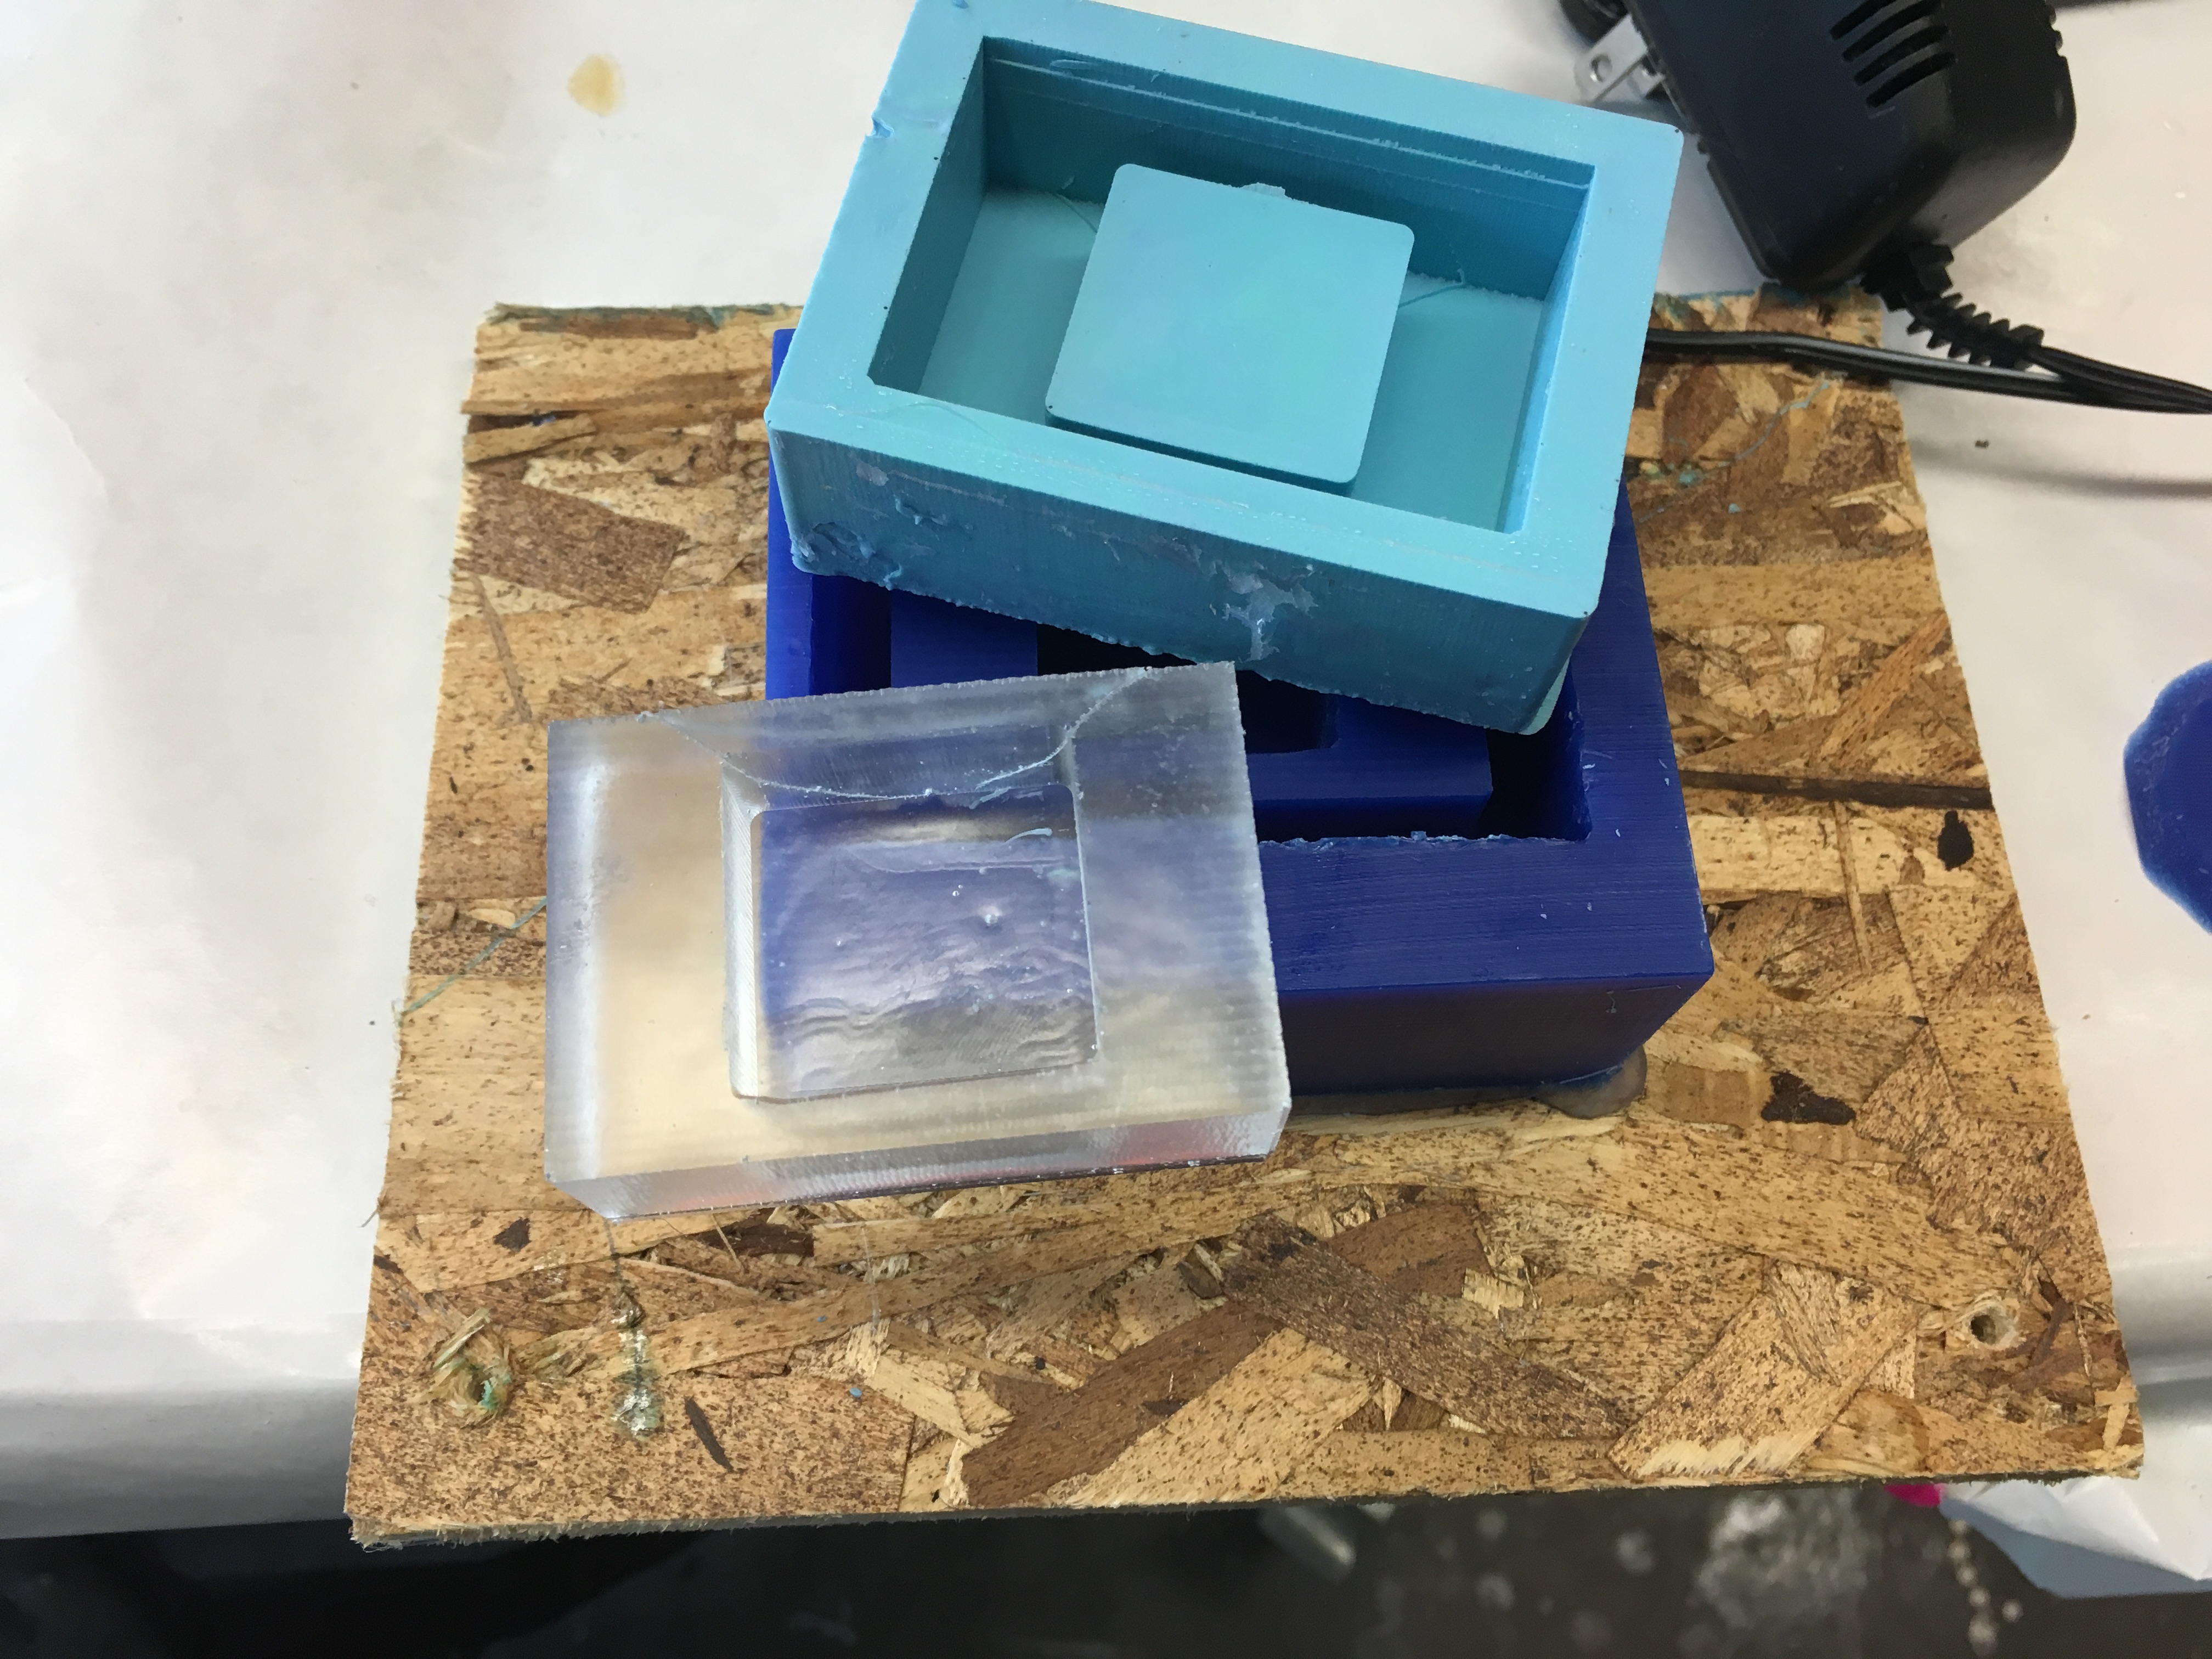
Figure 9. Molds and final product.
| Activity | Tools Used |
|---|---|
| Positive Mold Machining | ShopBot |
| Mold Pouring | Silicone Ooomoo |
| Cast Pouring | Liquid Plastic |