Pranam Tries To Make Things
MAS.863 - 2016
Week 9: Composites
Making a Glovebox Holder
oOooh, composites. This week will be fun since I really didn't do much for molding and casting after my injury. The burlap material we were given to work with is not too hard, but still strong enough to make something sturdy. I dabbled with quite a few ideas, but then decided to make a sword, since the burlap reminded me of medieval times.
I went ahead and found a sword model online, but made changes to it in rRhino so it would be easy to machine on the ShopBot. Modifications include simplifying the edges of the sword to be flatter.
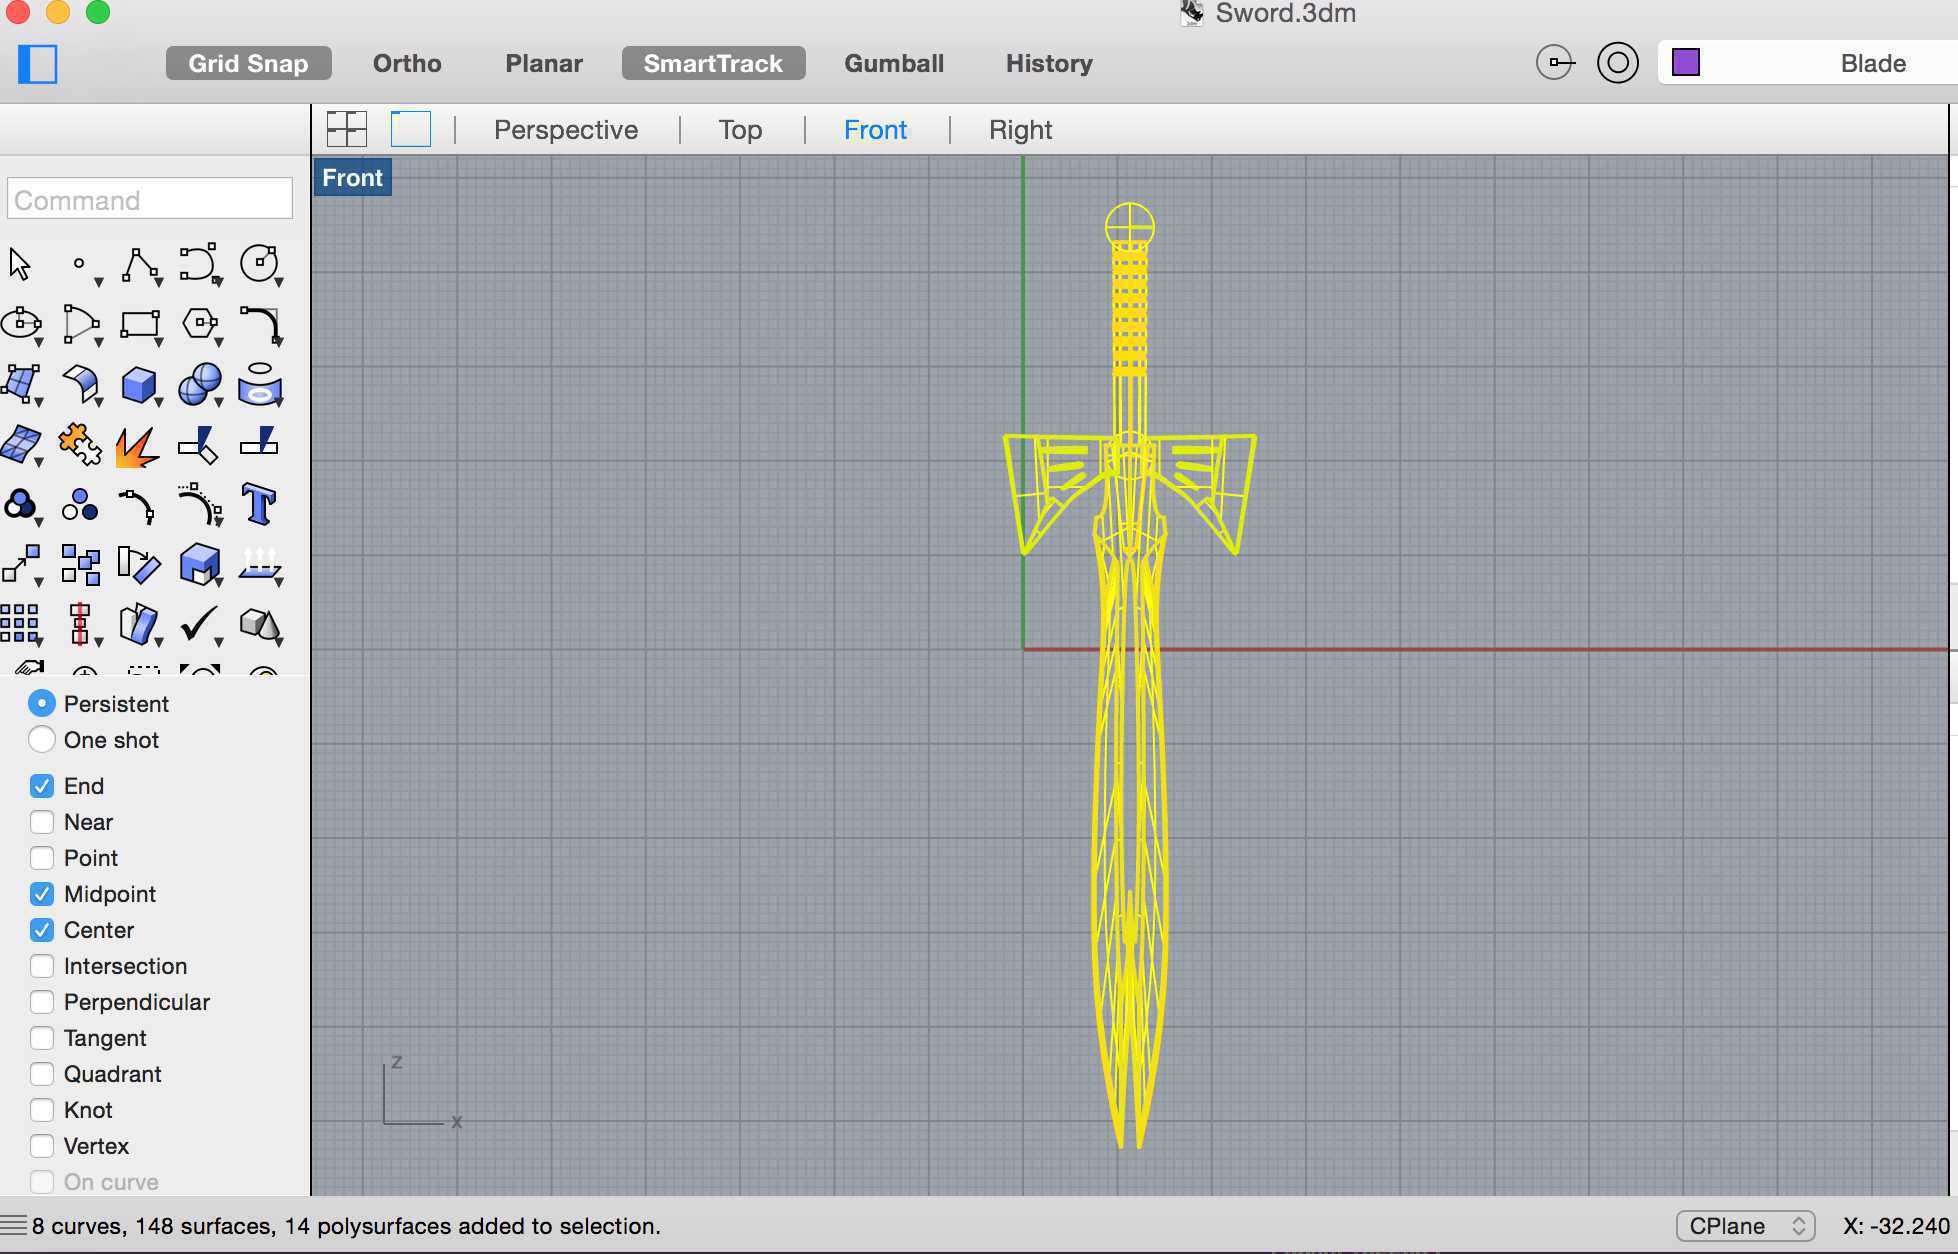
Figure 1. Rhino model of a sword.
After exporting it as an .stl file, I loaded it onto the ShopBot software, and played around with the settings, so that I could get a cutout of the sword. At first, that didn't go too well, as I couldn't make a full cutout. But then, I milled it with half of the sword in the material, which seemed promising, but instead the endmill just surfaced too close to the foam's bottom, making it impossible to mold with.
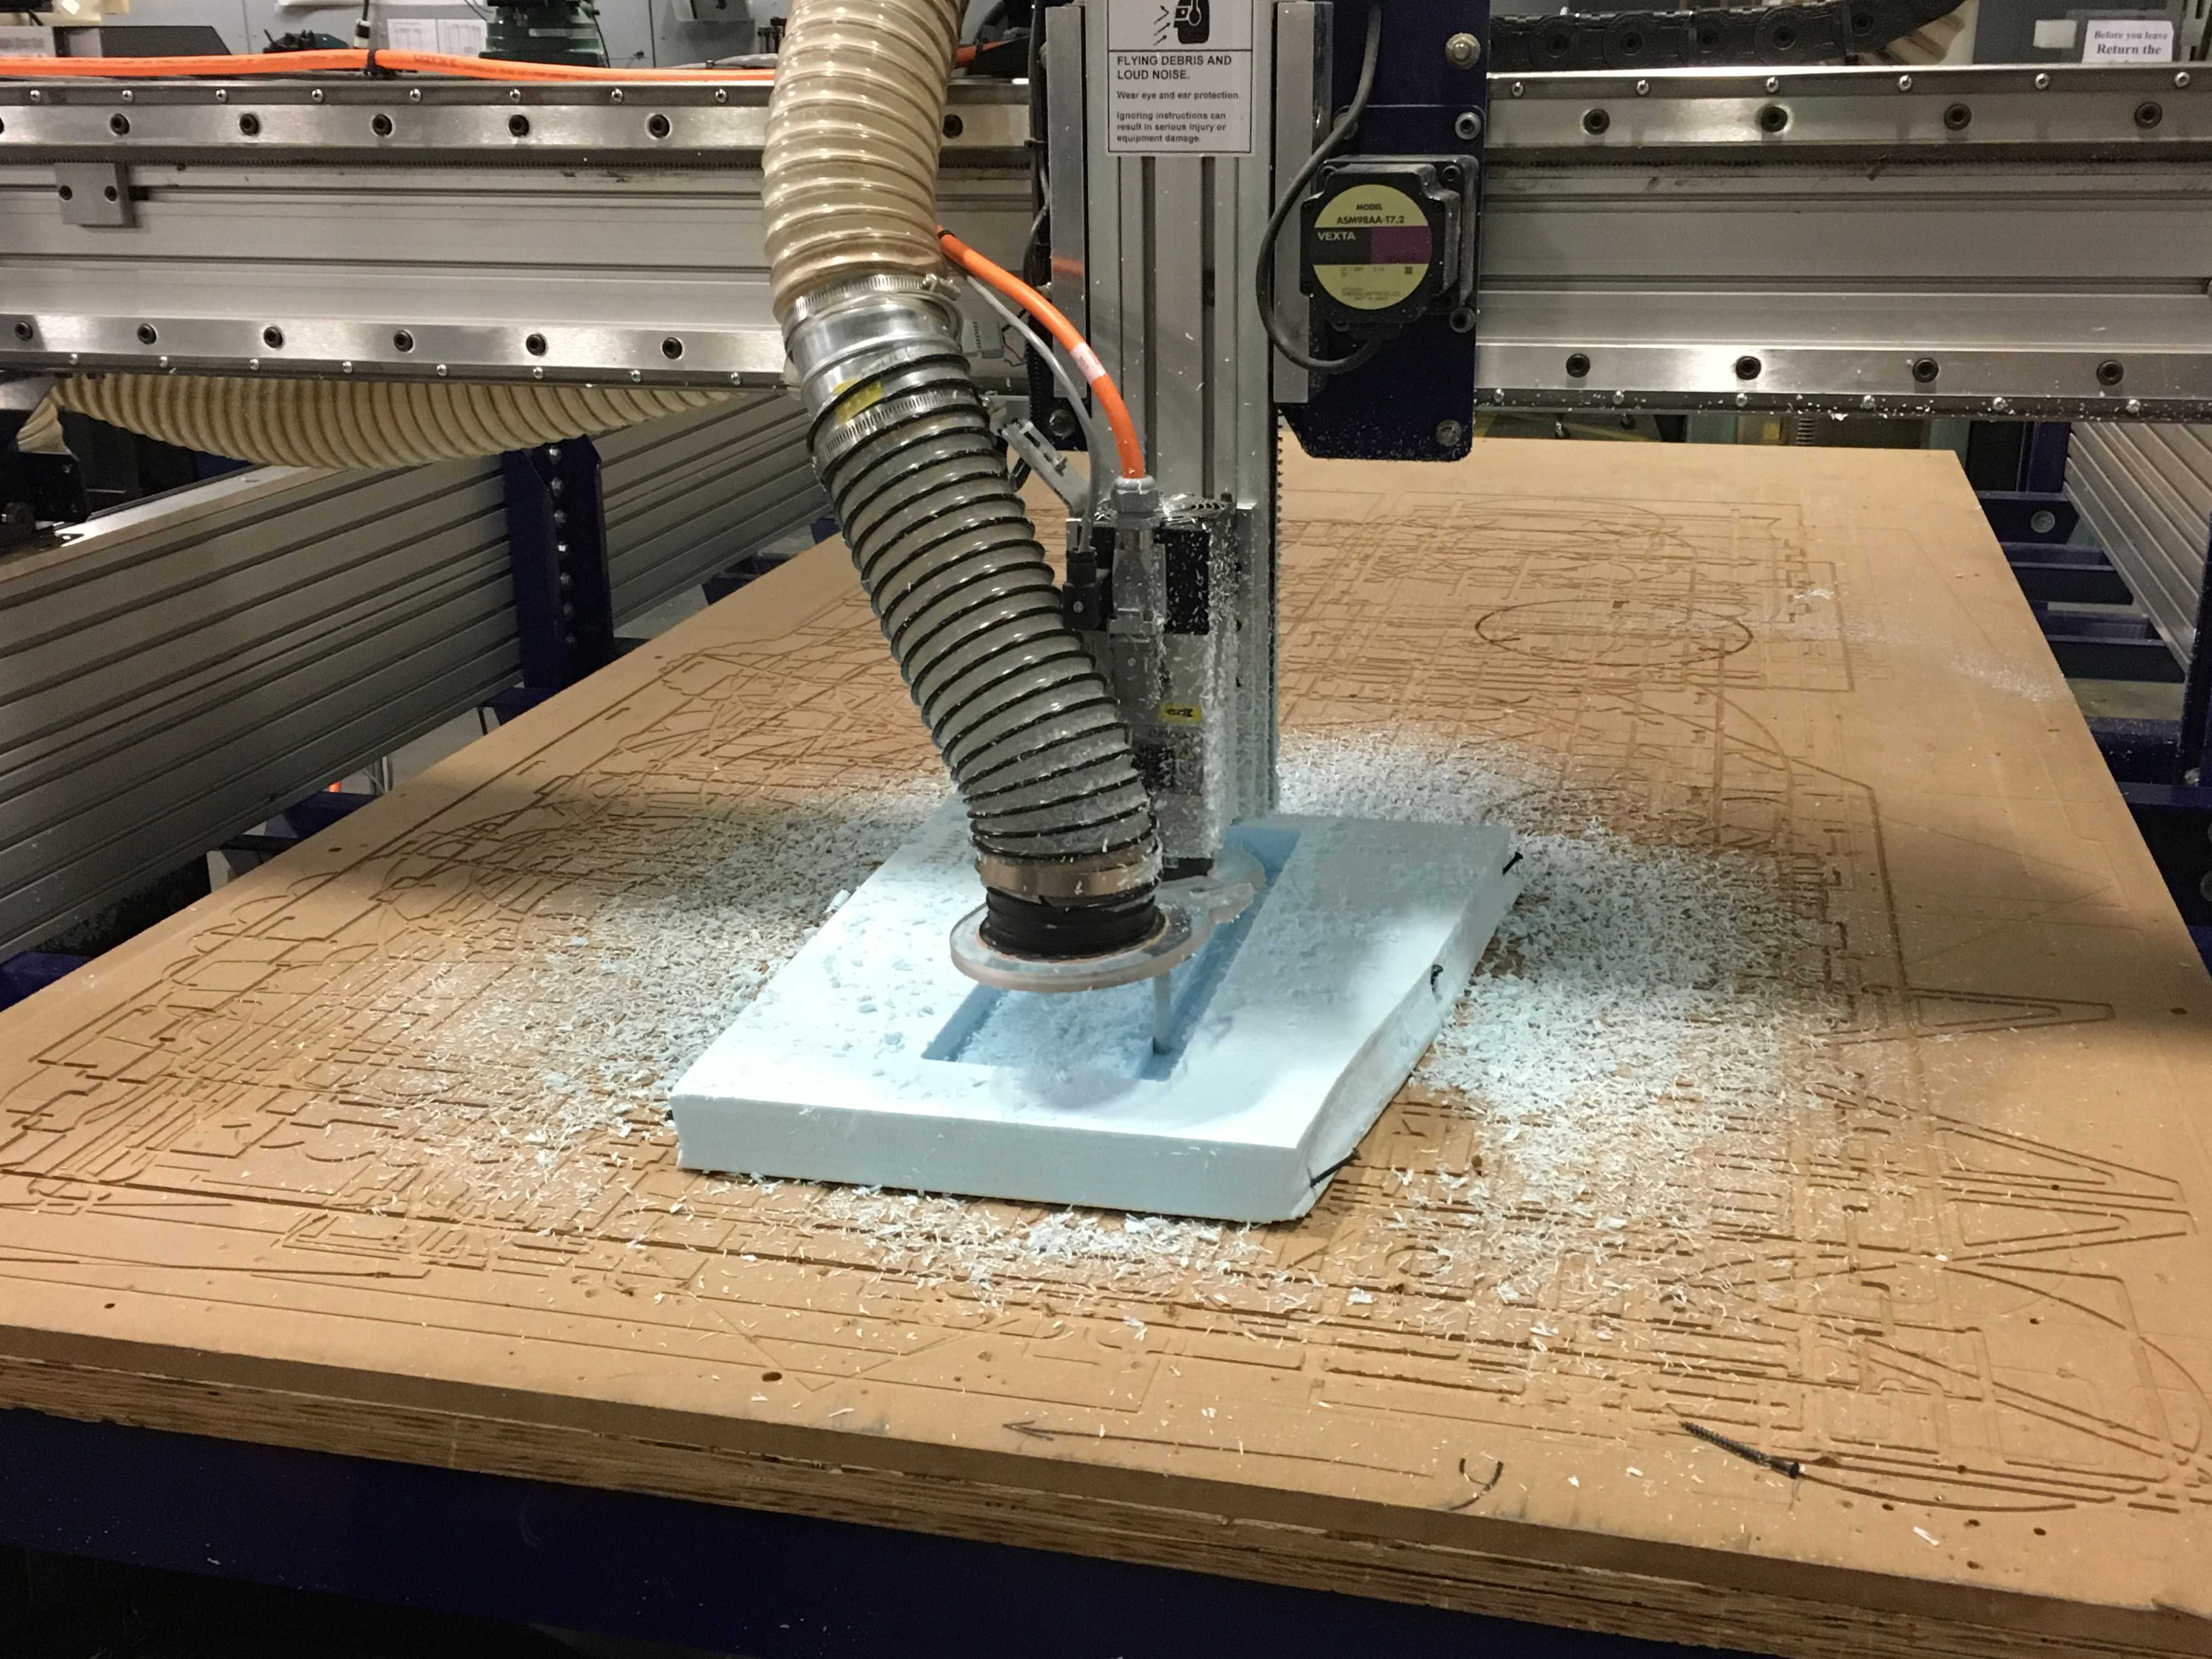
Figure 2. Milling the sword mold with the ShopBot.
So another failure, and I decided to be more practical, since I was running out of time. With Noah's advice, I decided to make a glove box holder compartment!
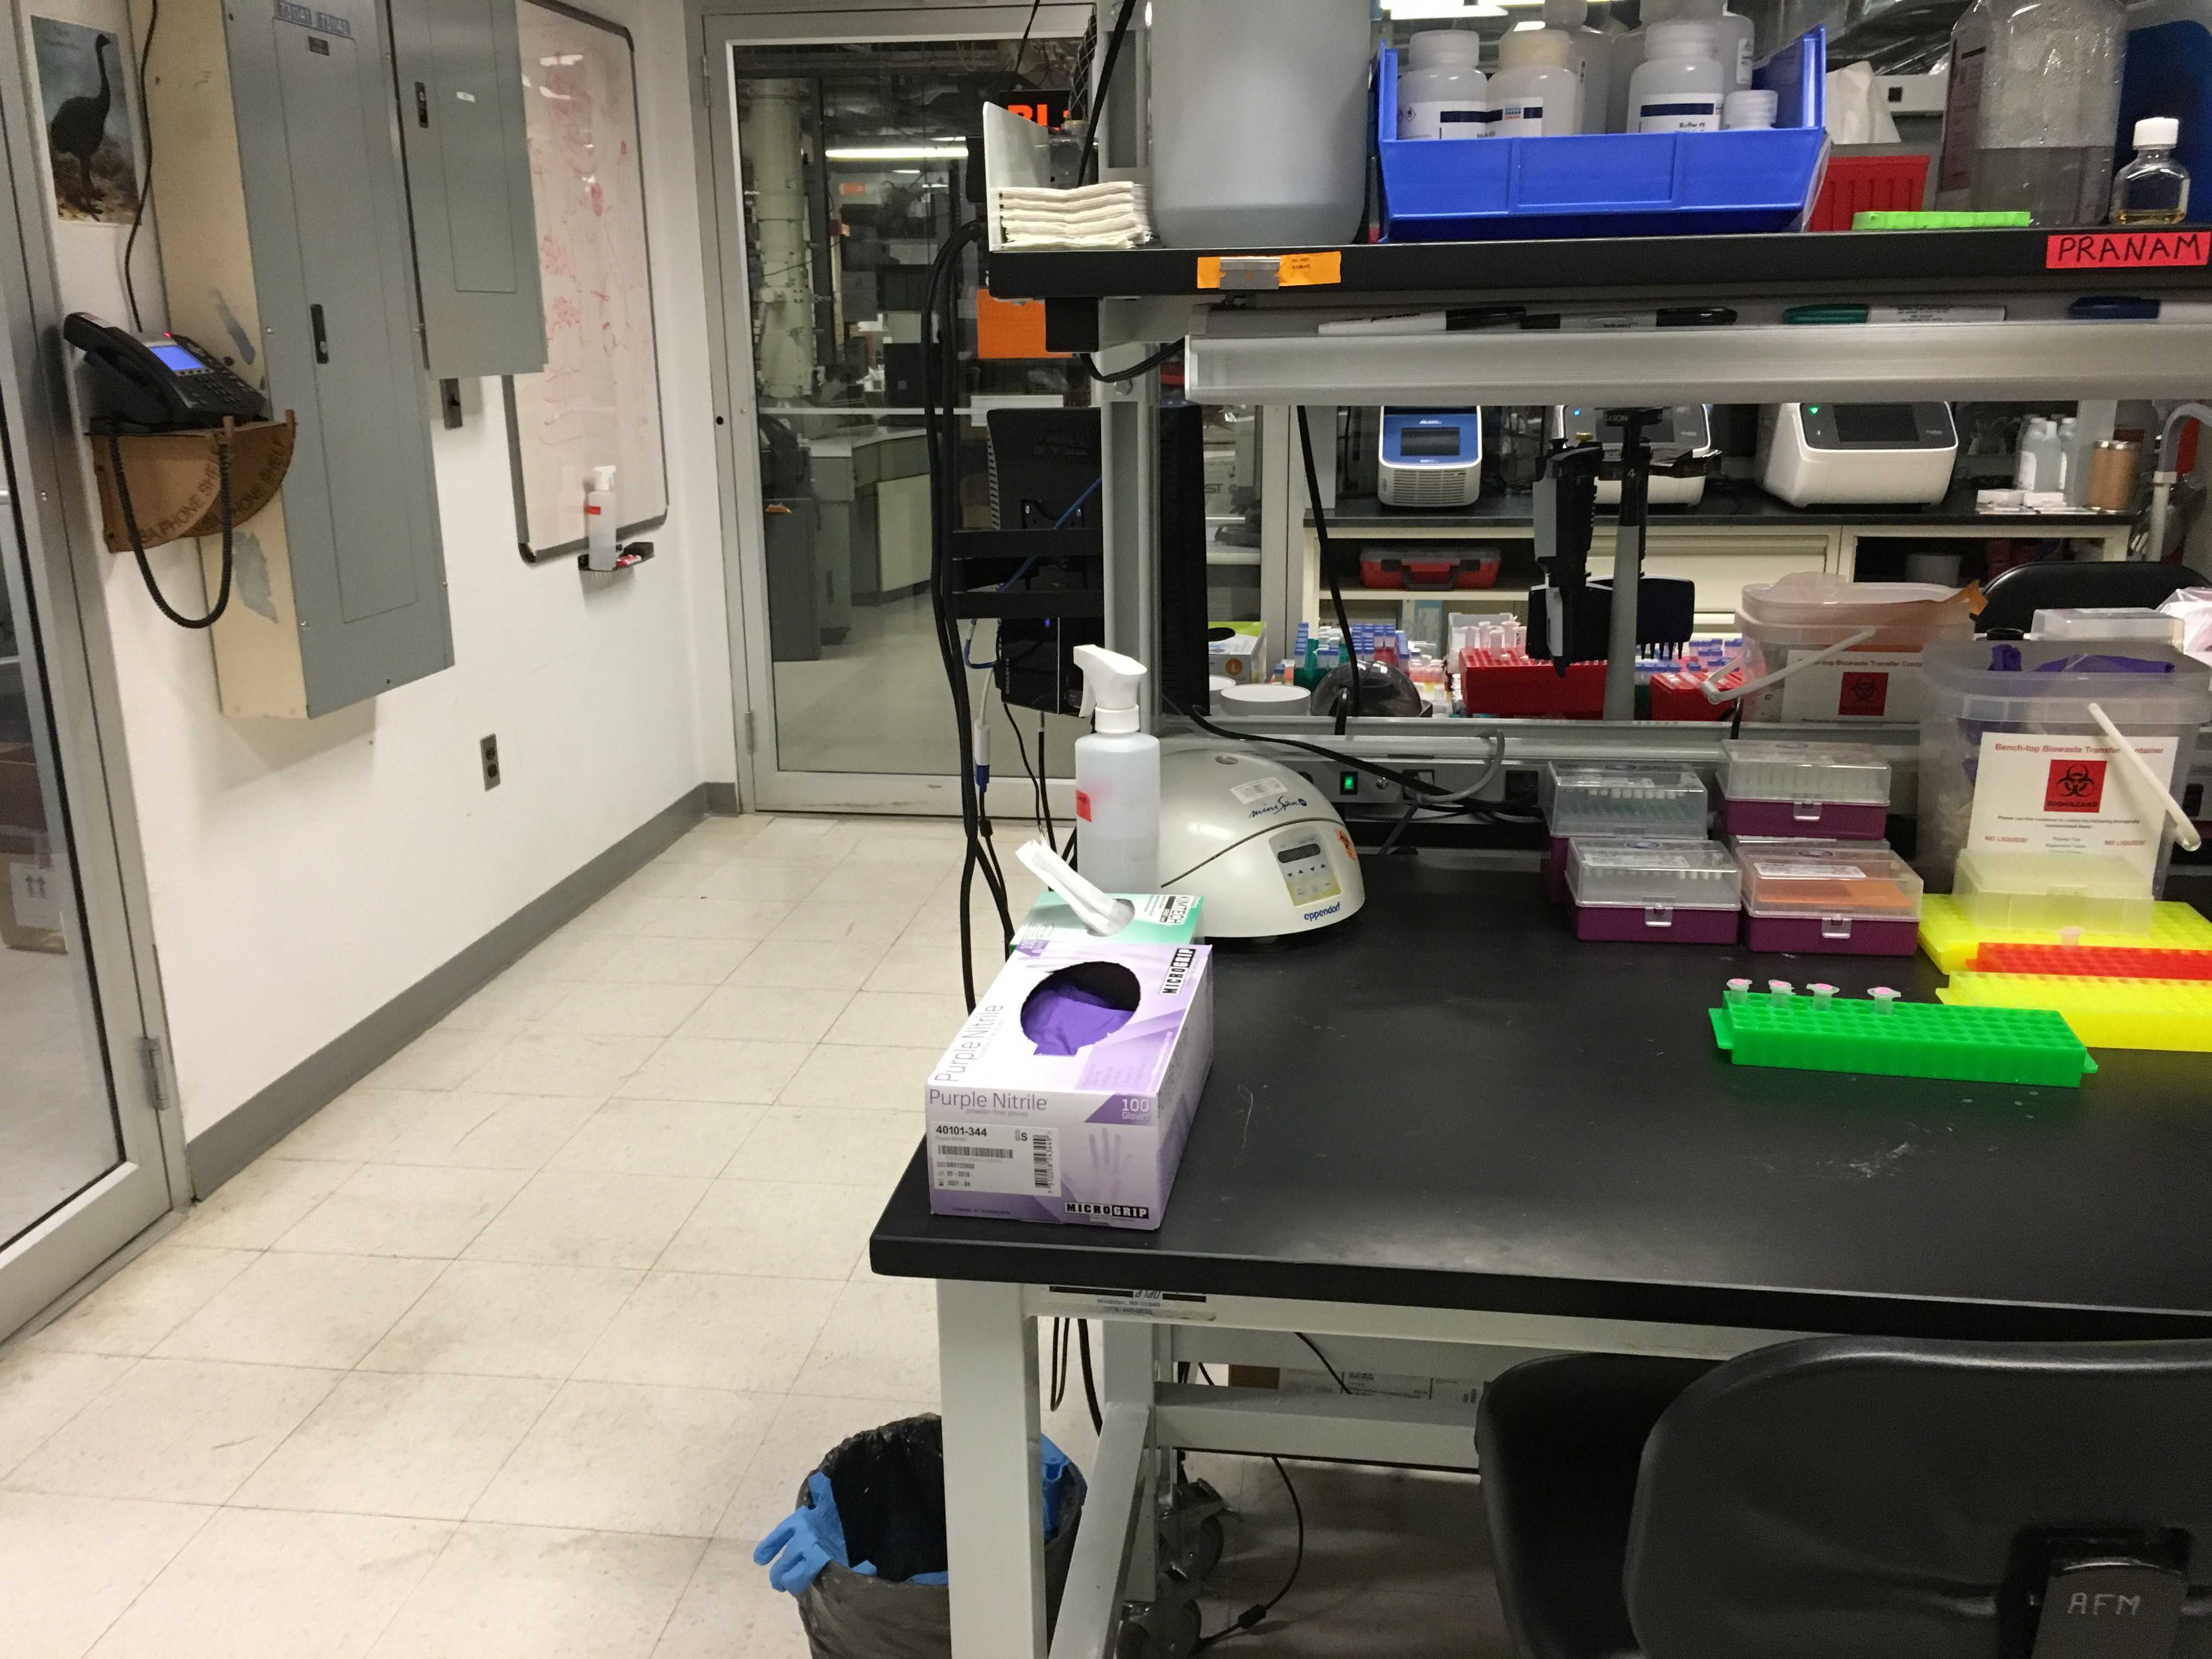
Figure 3. Glovebox on my bench -- it would be great to put it on the shelf for easier extraction of the gloves.
With LL's Kreg's help, I went through the simple, but unintuitive process of cutting out the burlap (three identical pieces that wrapped around the material), mixing a 2:1 (4:2, in my case) volume of epoxy (A:B), spreading it onto the burlap, wrapping the burlap around the glovebox, and then wrapping it with a holed piece of teflon followed by the soft, breather material.
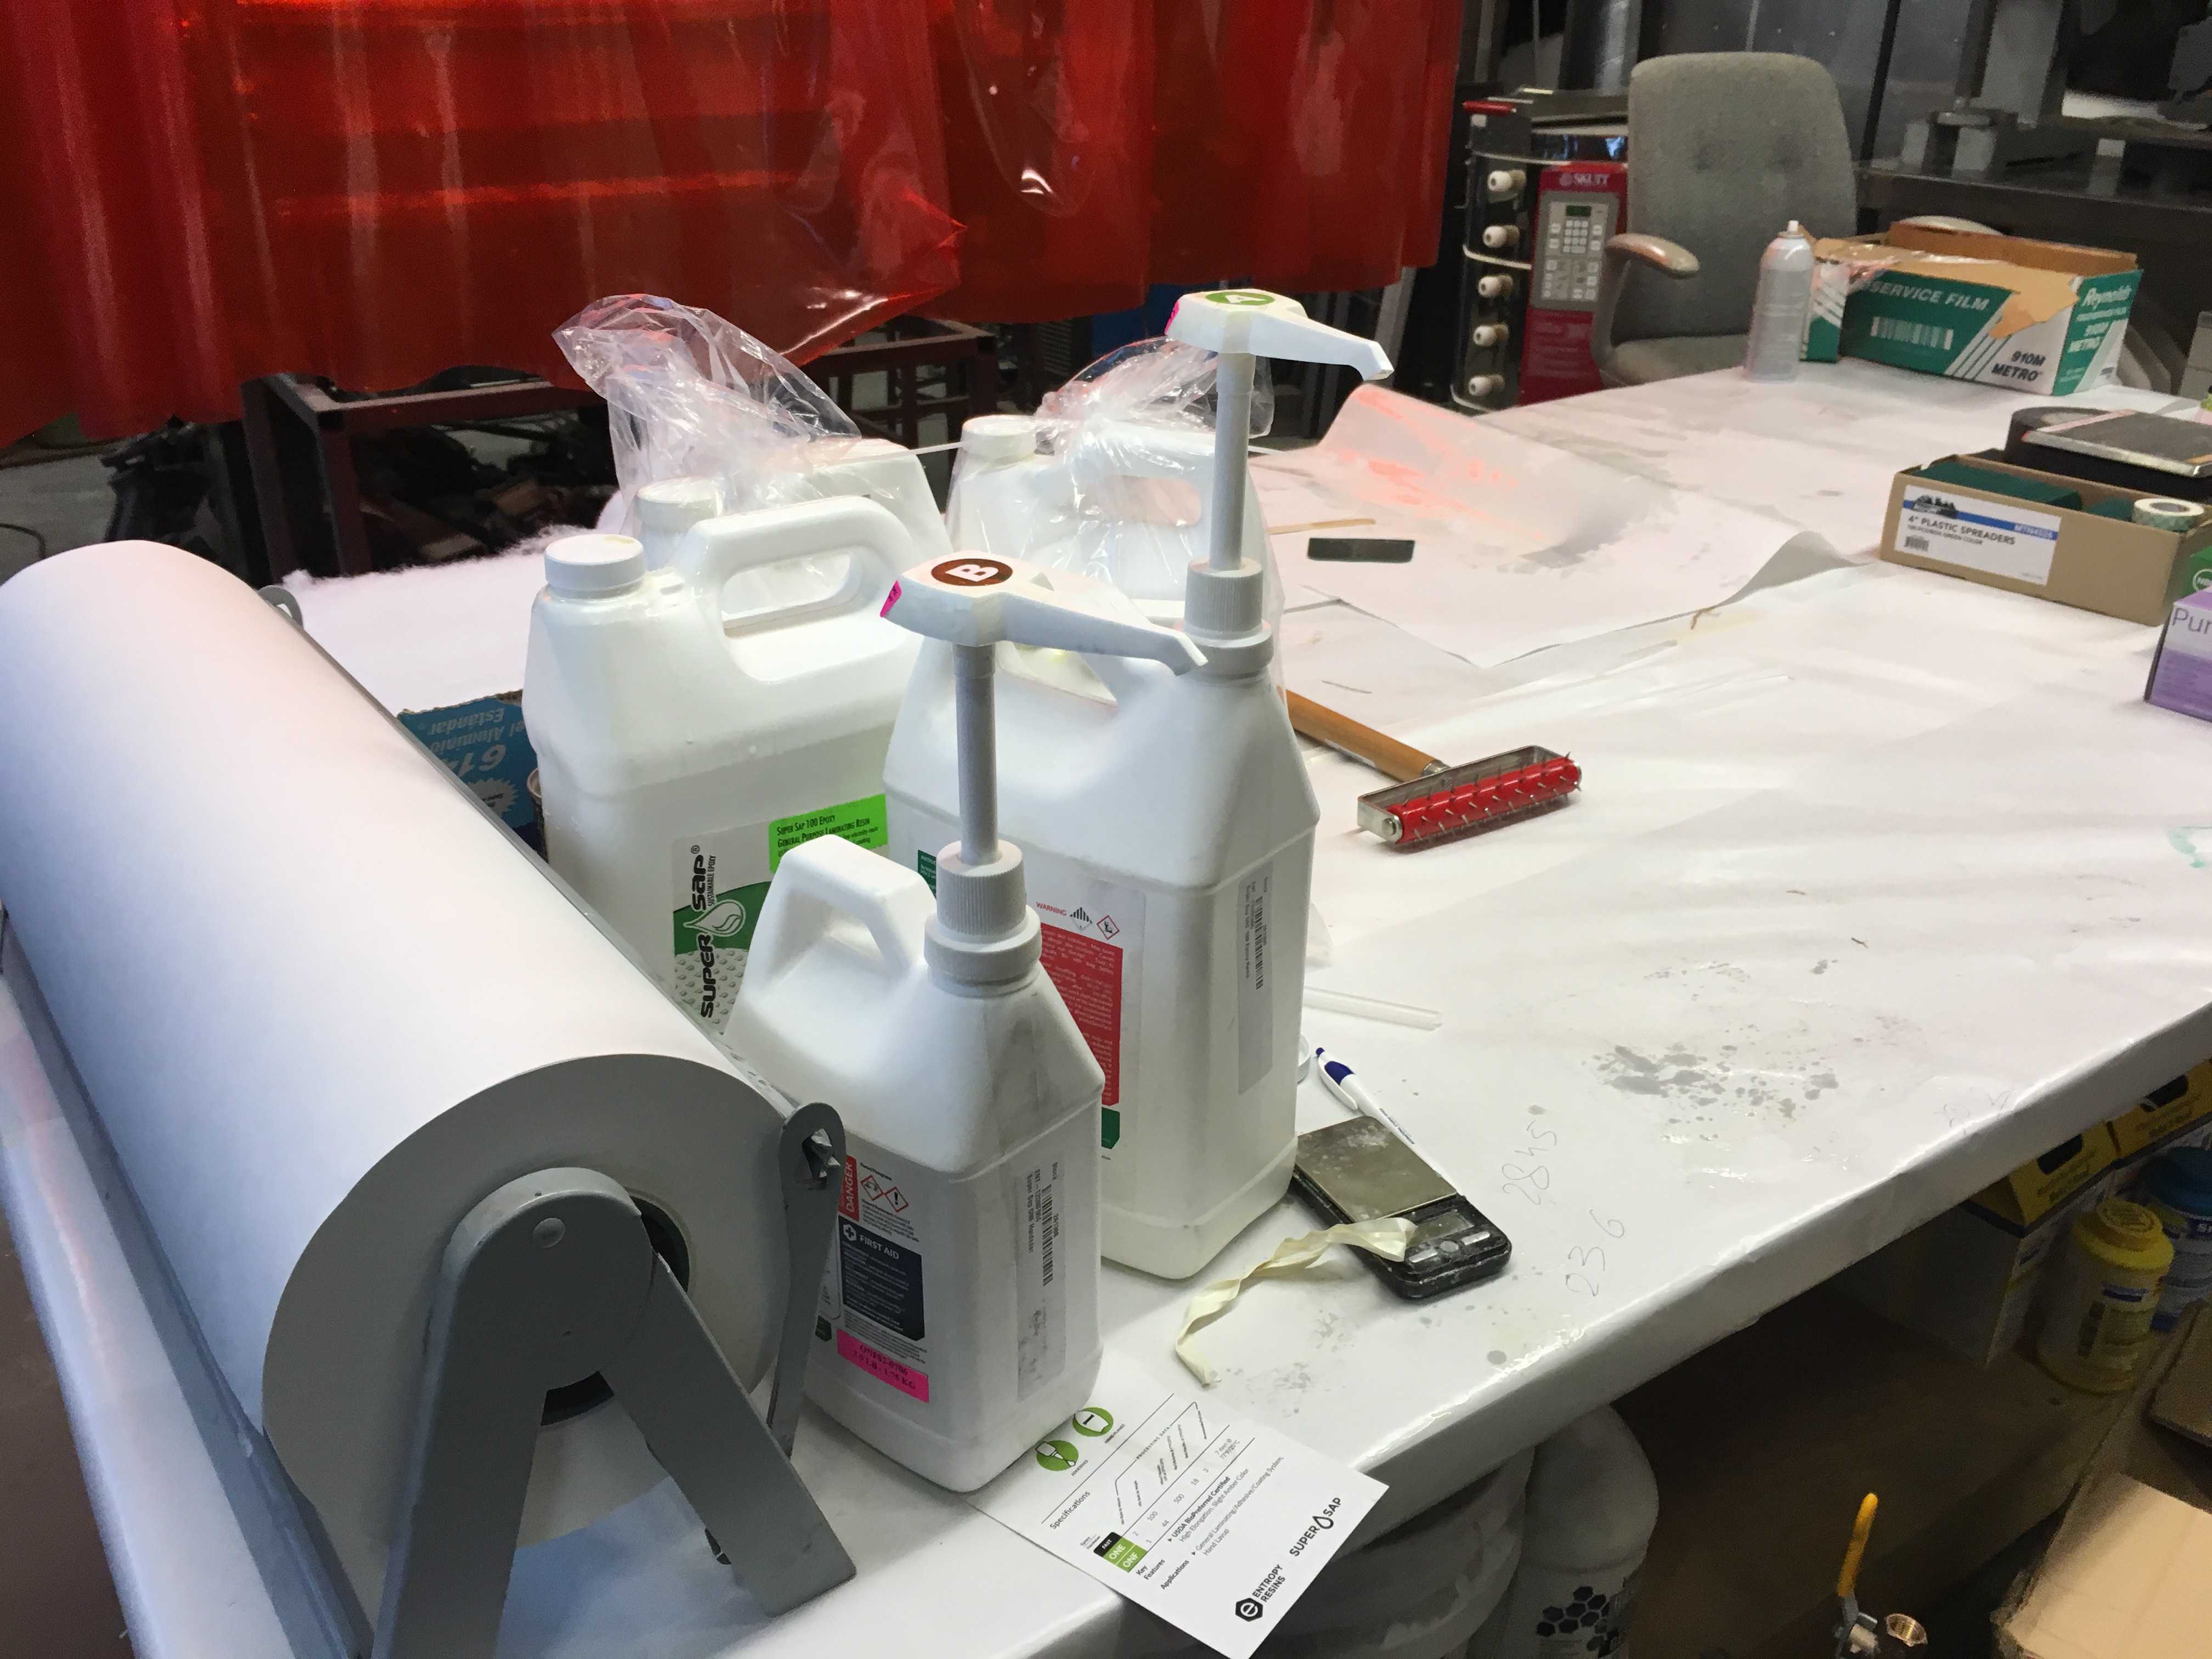
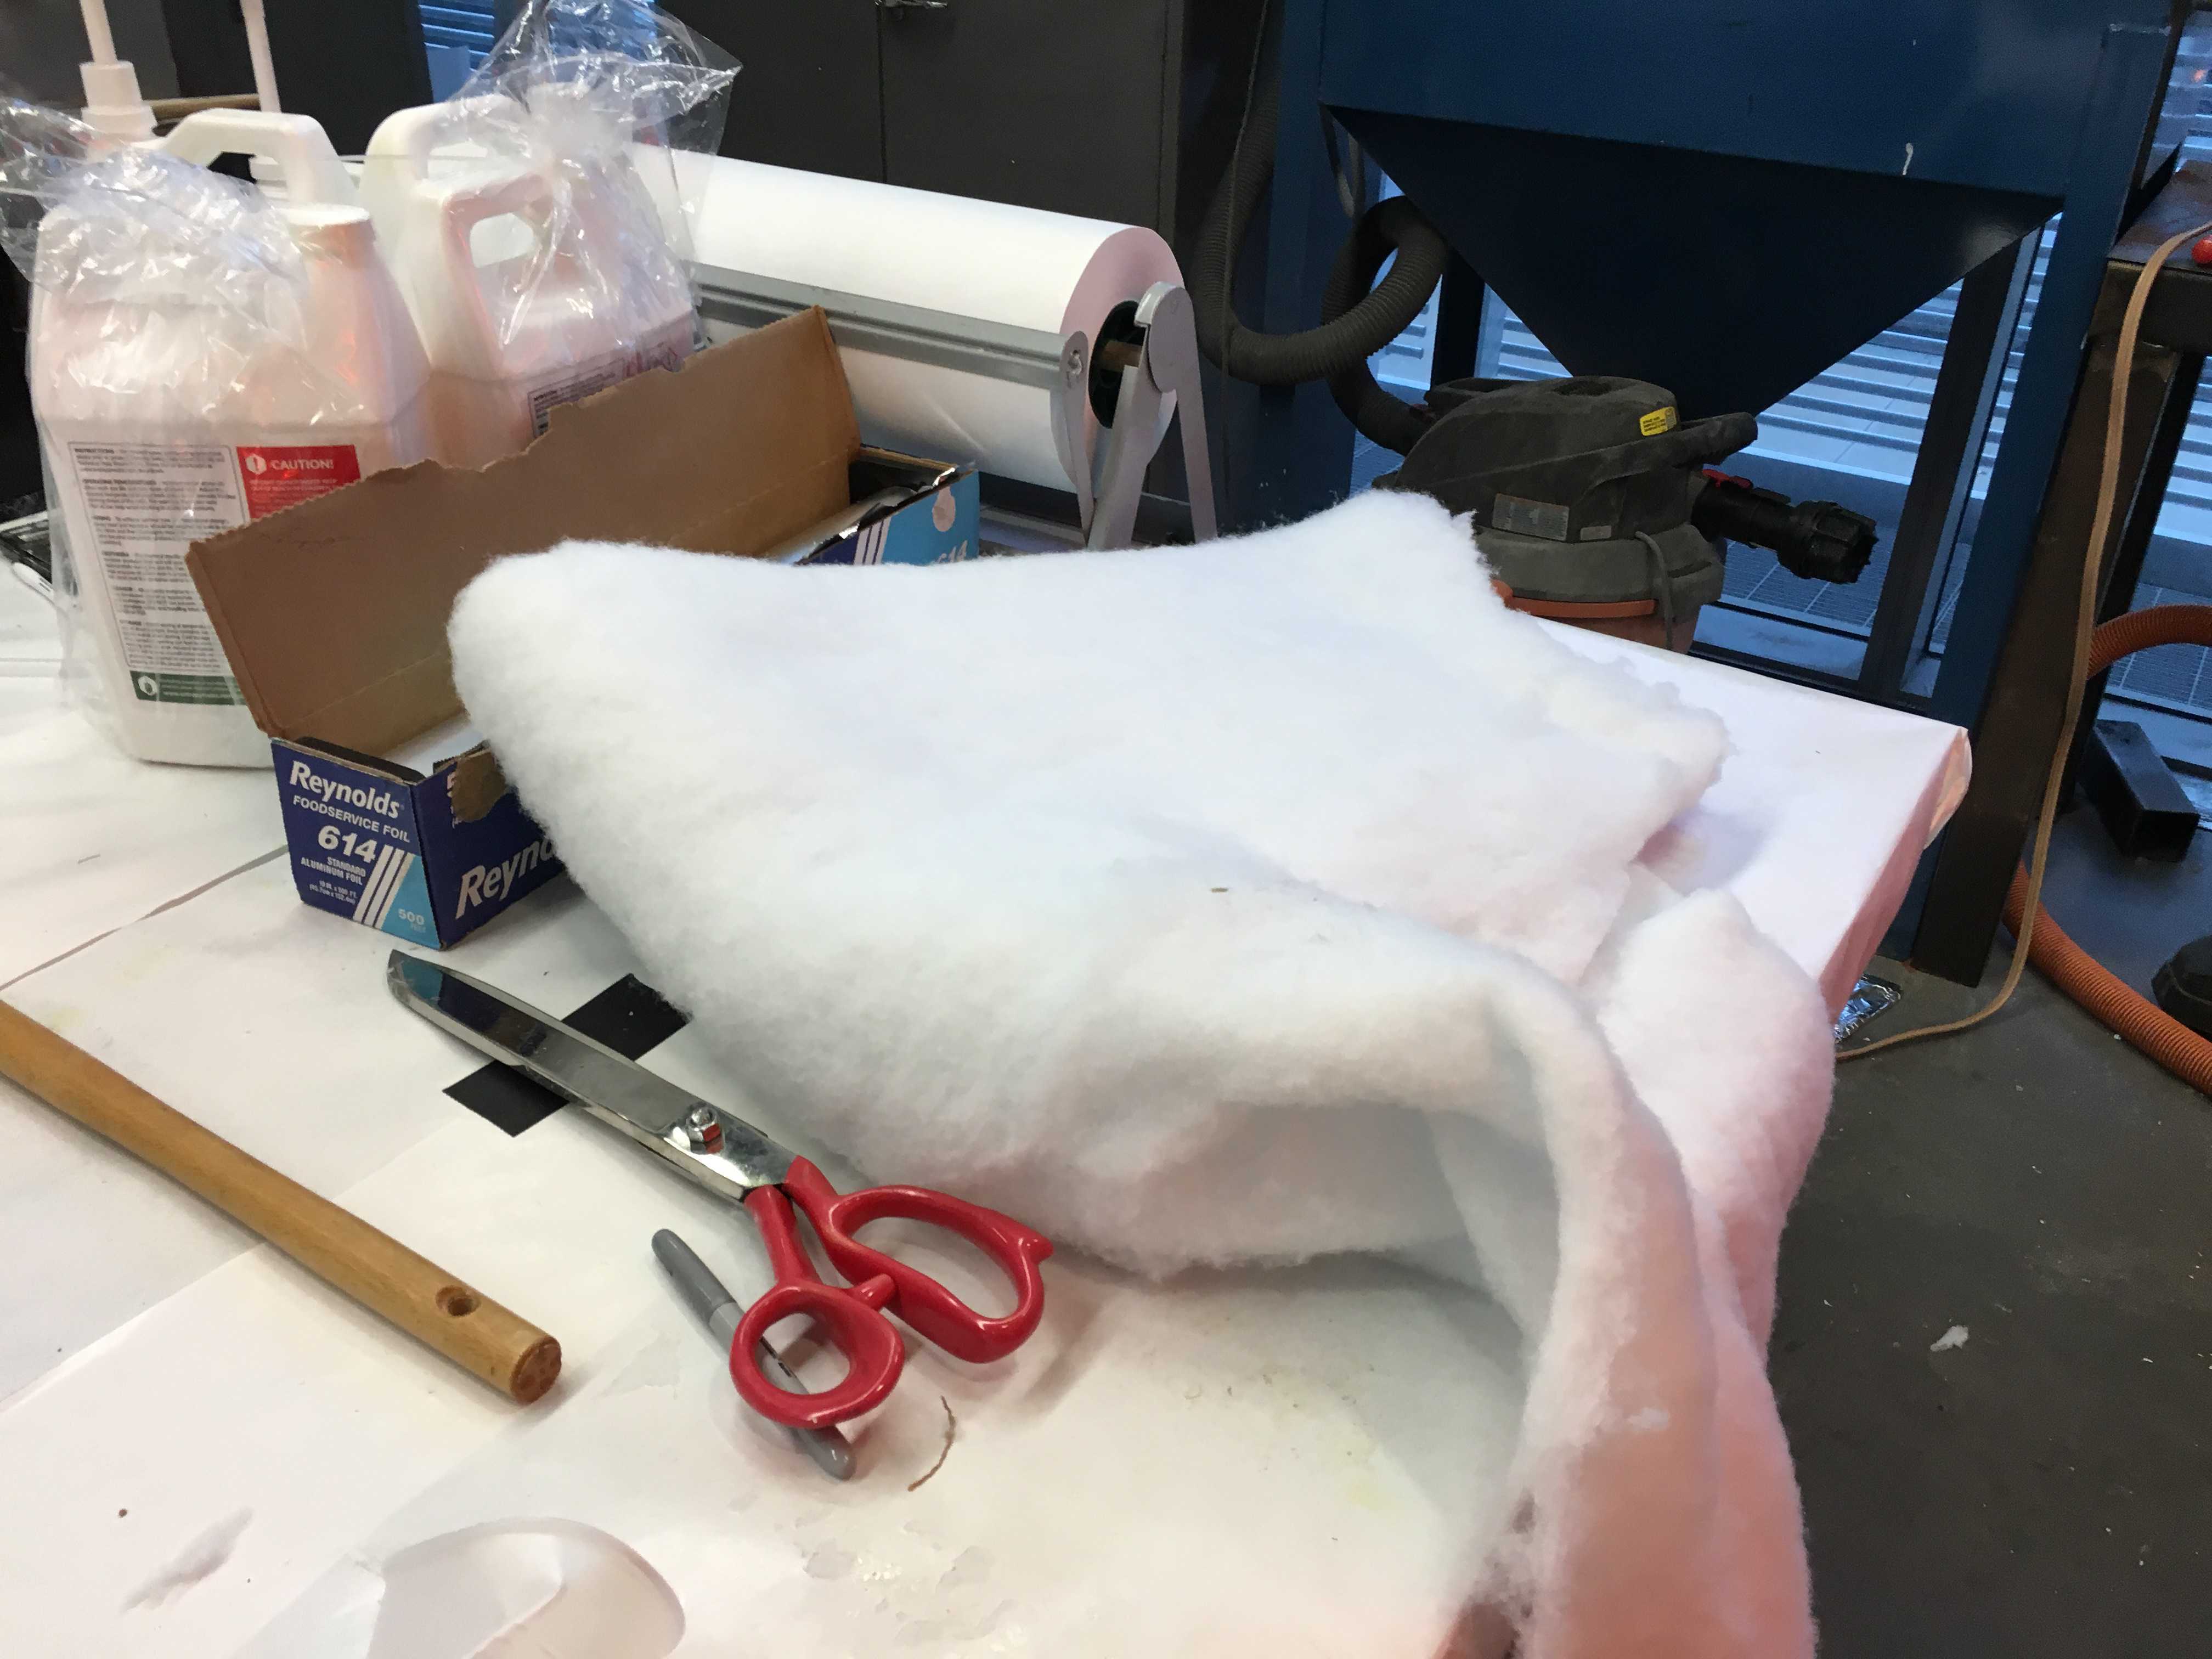
Figure 4. Epoxy plungers and breather material ready to go!
Finally, I placed this material into a vacuum bag, and attached the vacuum pump to it, starting the process of solidifying the composite material around the box.
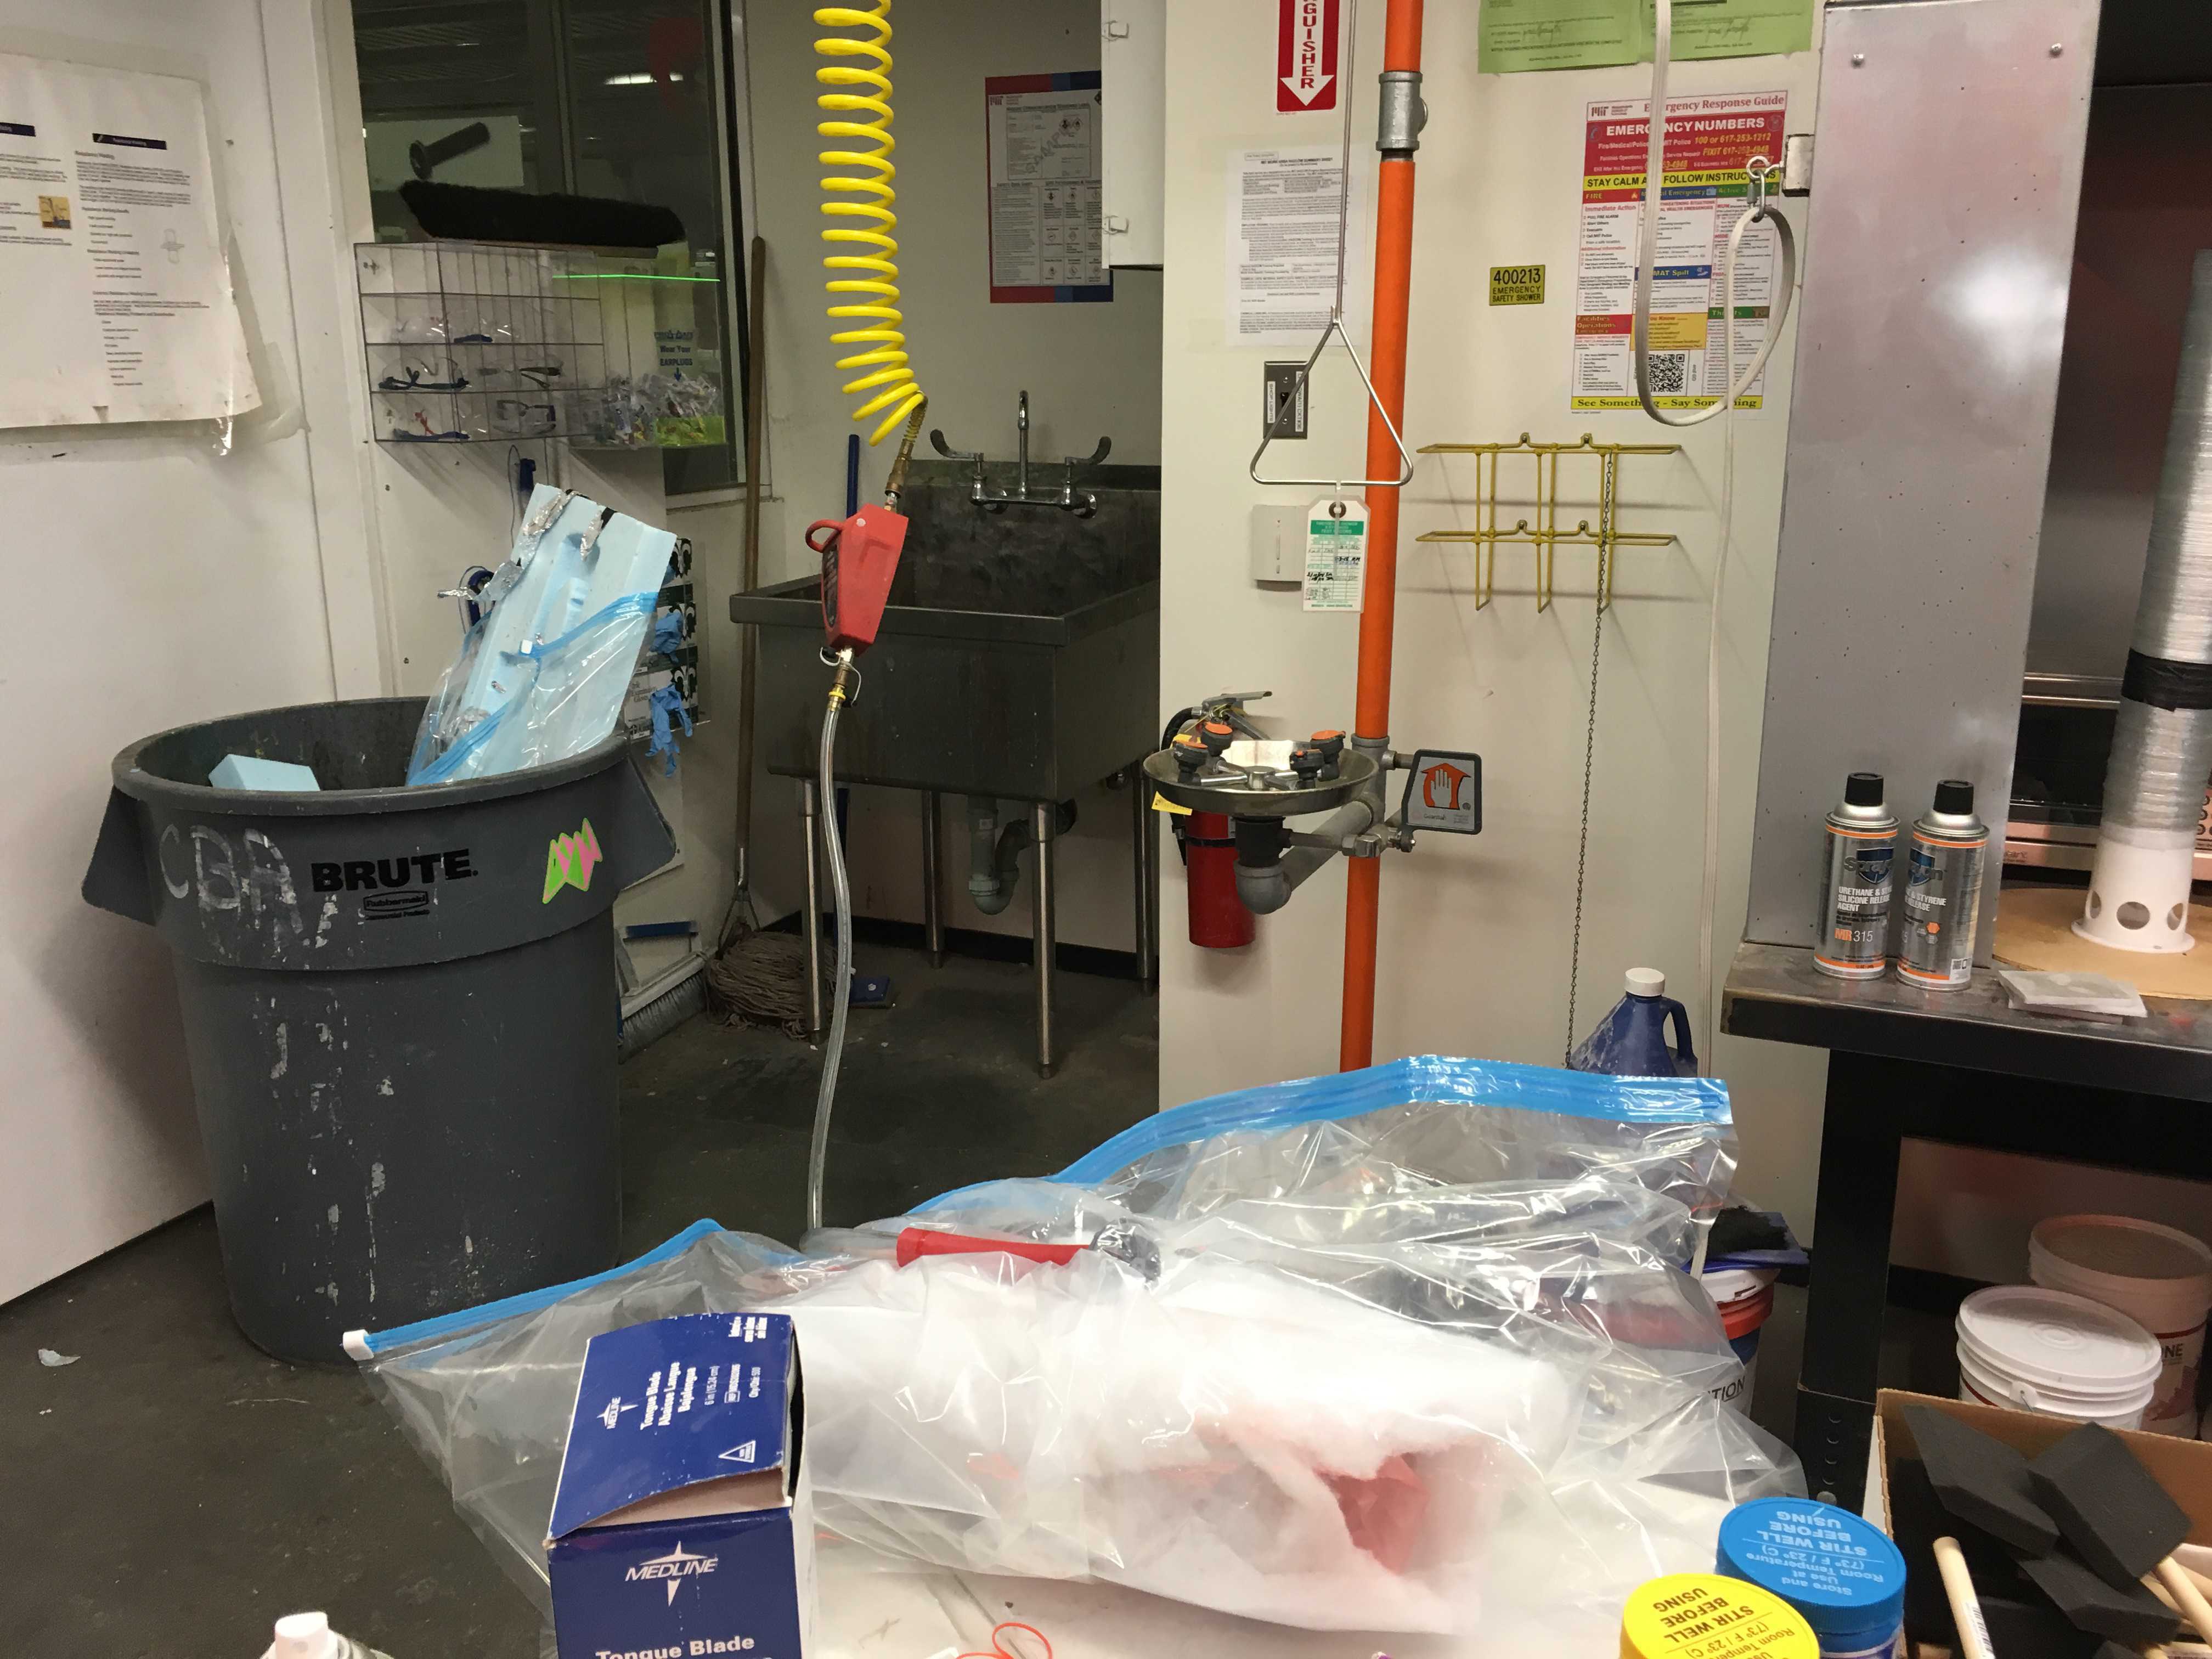
Figure 5. Wrapped box in the vacuum bag chamber. Will check on it in 3 hours!
And after 3 hours, I took out the composite, and it looked awesome and felt very strong!
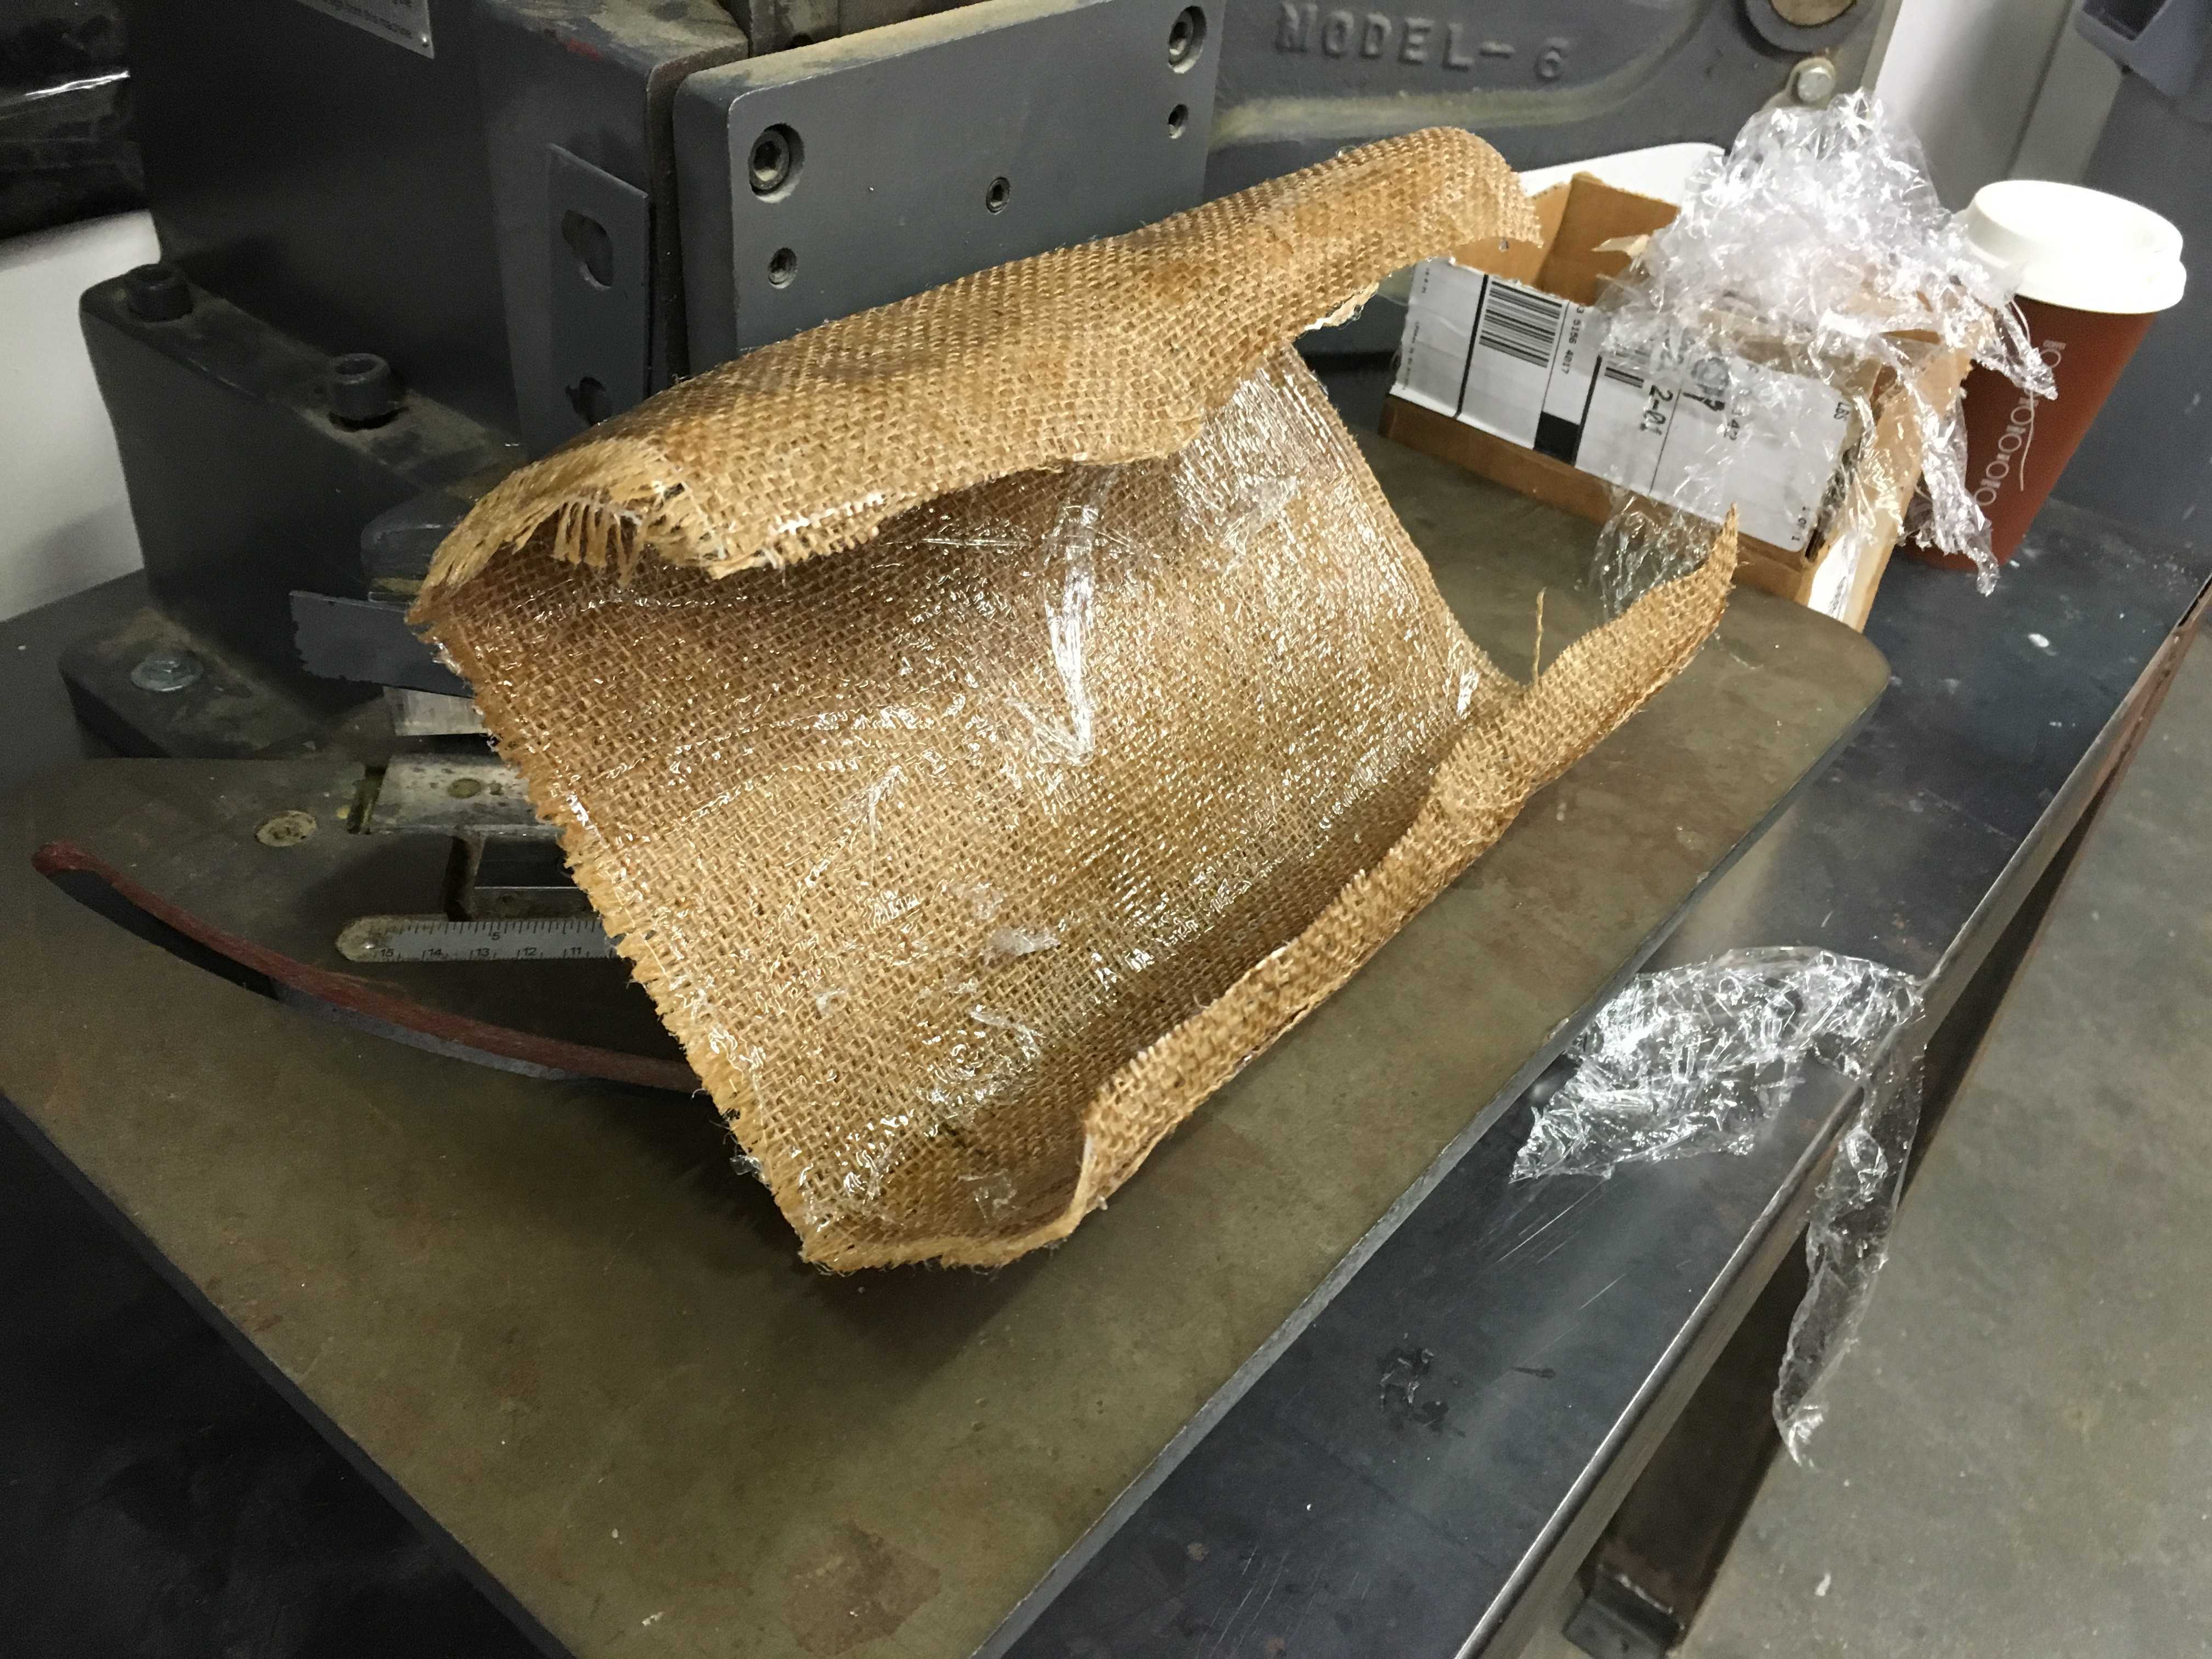
Figure 6. Composite after 3 hours in vacuum!
Finally, I shaved off some of the ends, and stuck a glovebox in! Fits great! :D
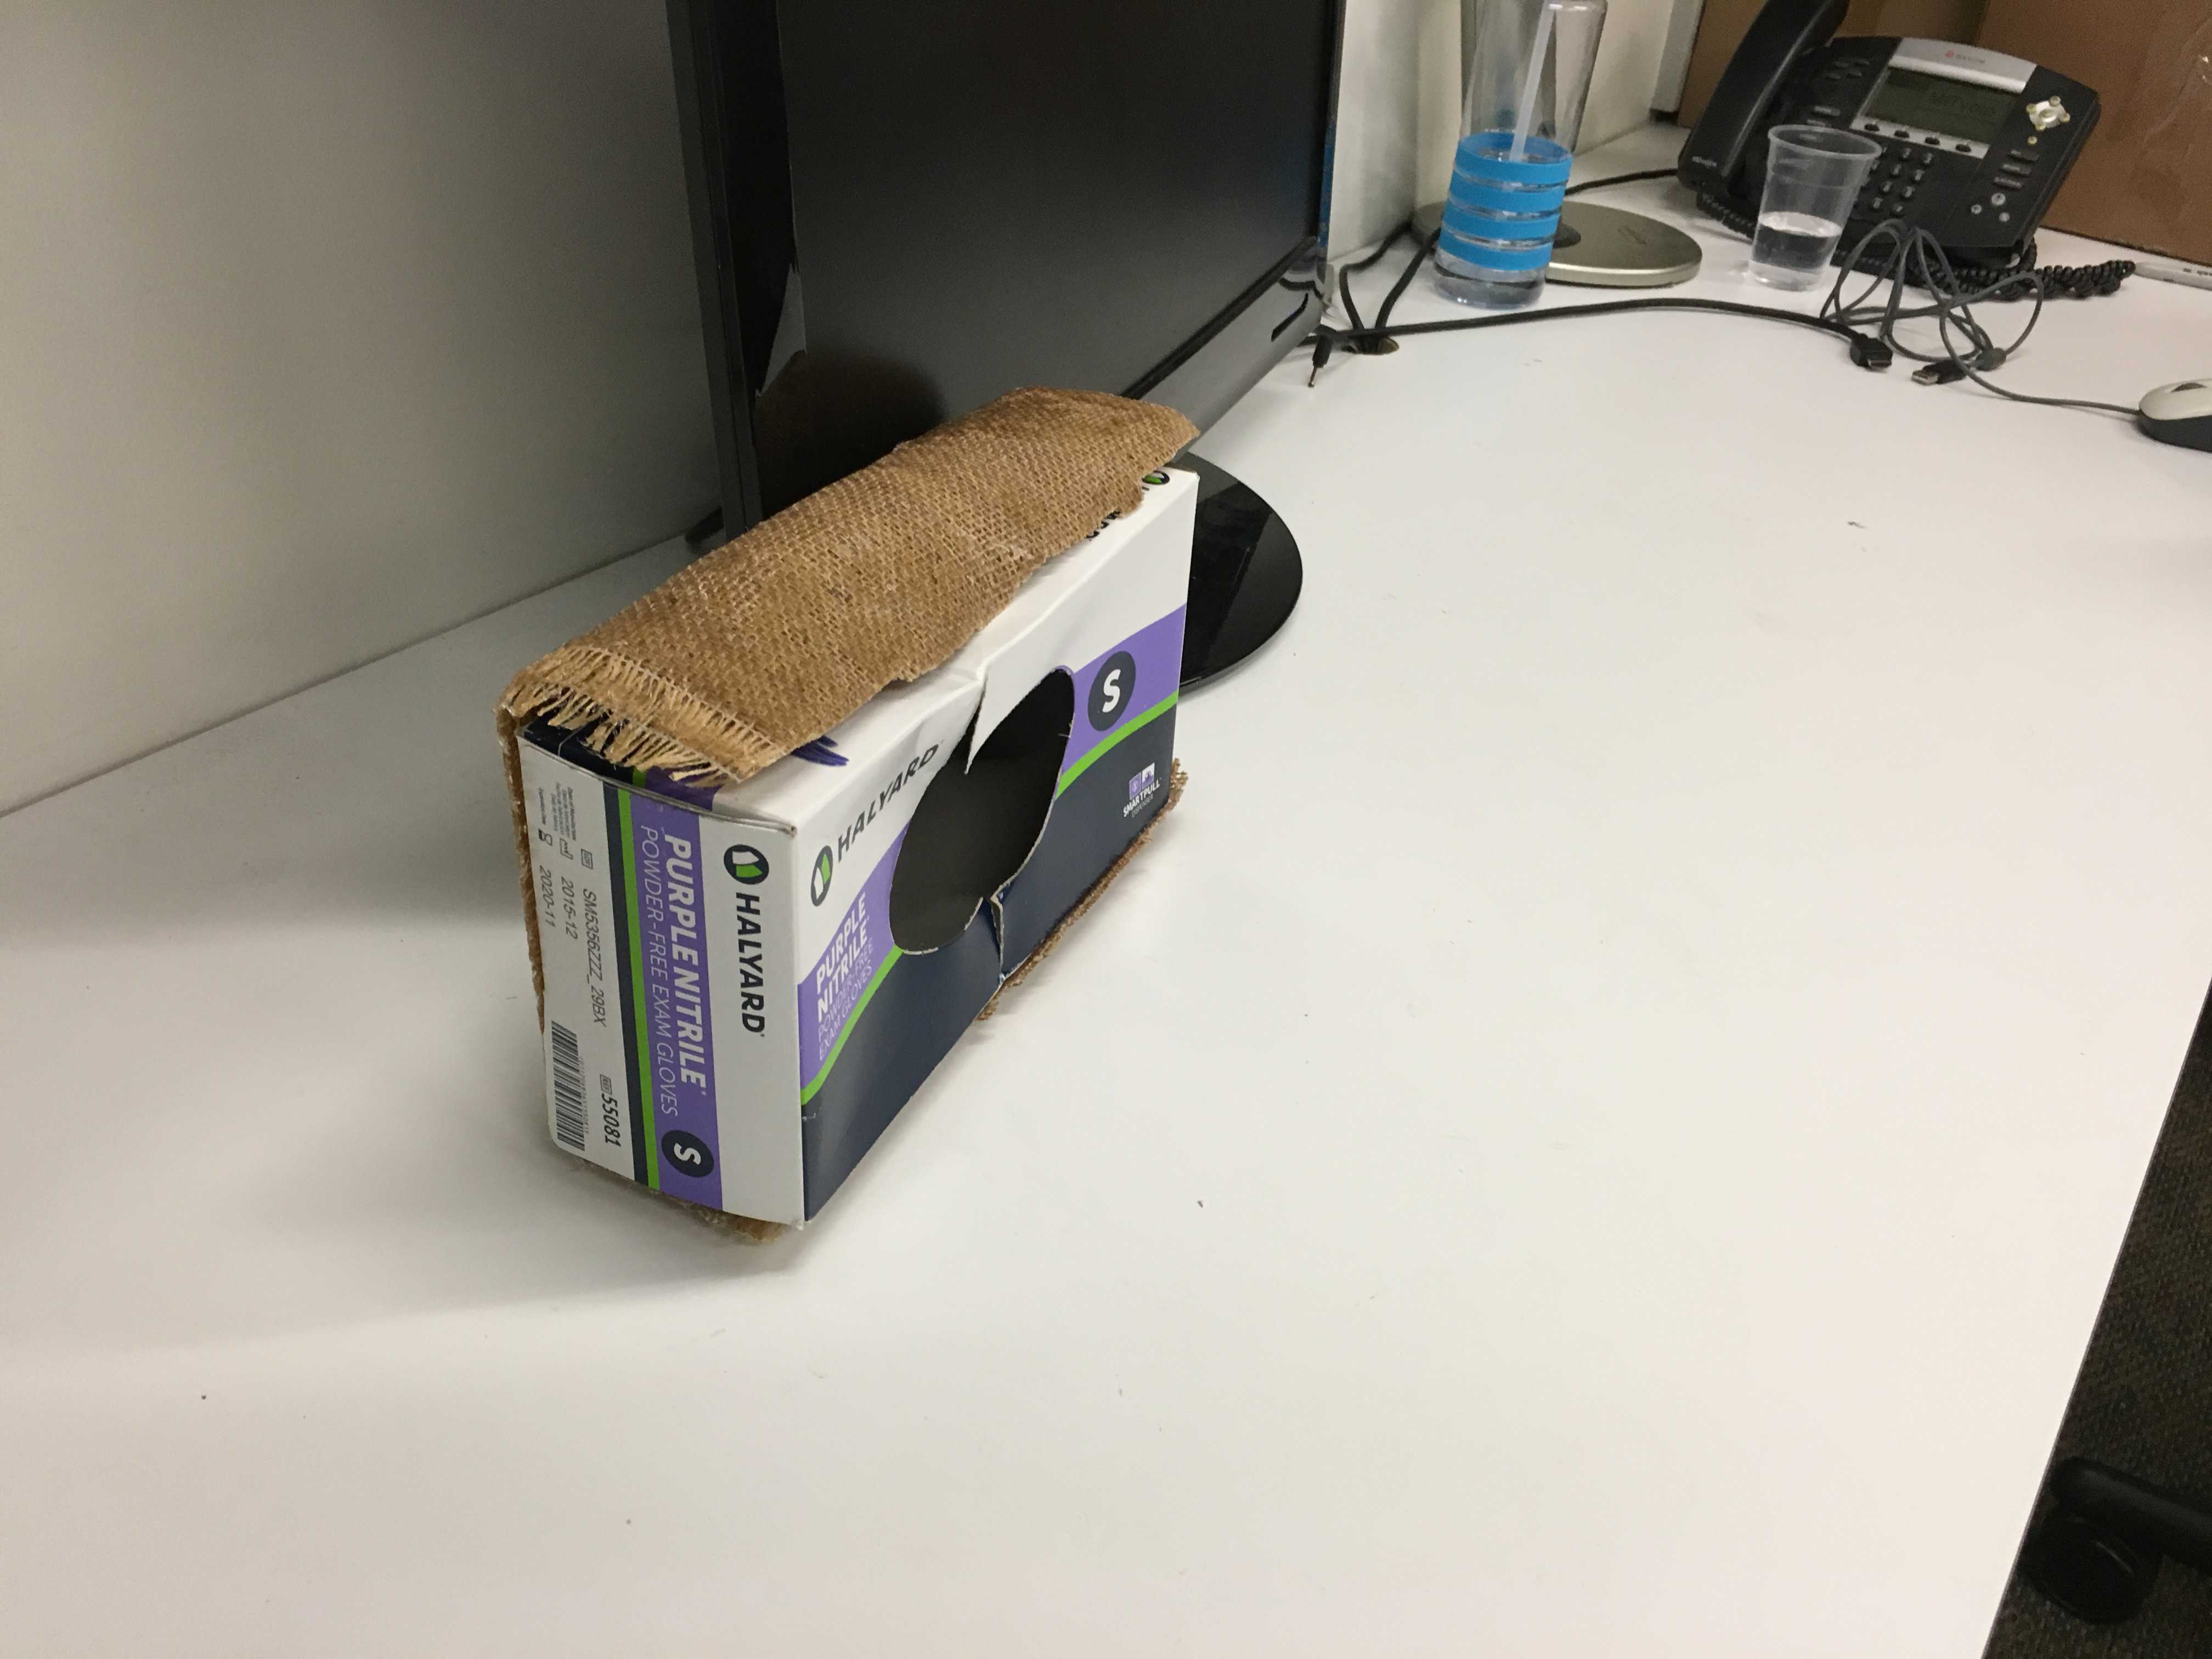
Figure 7. Final Glovebox holder!
| Activity | Tools Used |
|---|---|
| Milling The Model | ShopBot |
| Making the Composite | Epoxy, Burlap, Teflon, Breathable Material, Vacuuum Bag, Vacuum Pump |