-

- Computer-Aided Design 01
- Parametric Construction 02
- Electronics Production 03
- 3D Printing 04
- Electronics Design 05
- Computer-Controlled Machining 06
- Embedding Programming 07
- Molding + Casting 08
- Output Devices 09
- Machine Design 10
- Input Devices 11
- Interface + App Programming 12
- Networking + Communications 13
- Composites 14
- Final Project 15
HOW TO MAKE (ALMOST) ANYTHING
Lily Gabaree
Computer-Controlled Machining
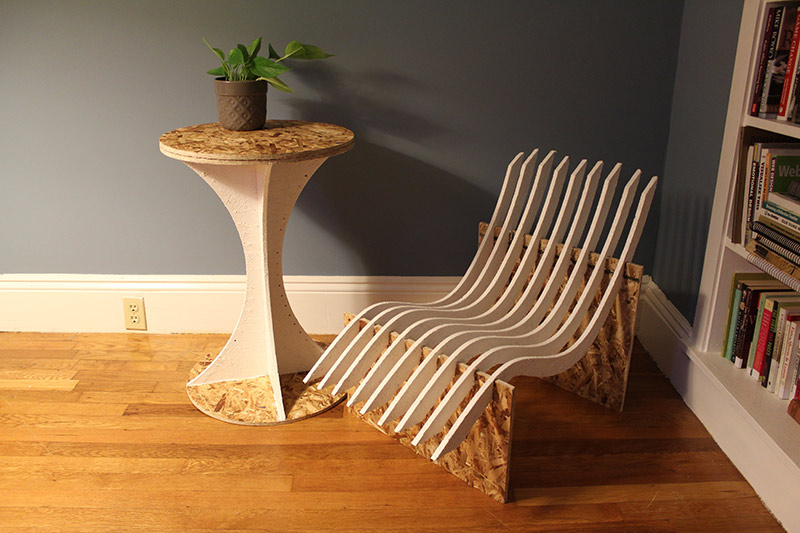
The biggest challenge this week was picking what to make, because there are a lot of things I’d love to do with a CNC. My first instinct for “make something big” was a harp - maybe a concert or Andean harp, or even an Aeolian - but there’s no way I’m making a resonating instrument out of OBS. The Harvard shopbot is a bit smaller - 4x4 - and we’re getting two sheets of 4x4 OBS each, which limits the possibe dimensions somewhat. My house is in need of some more furniture, so I’ve decided to start simple with a chair and a side table.
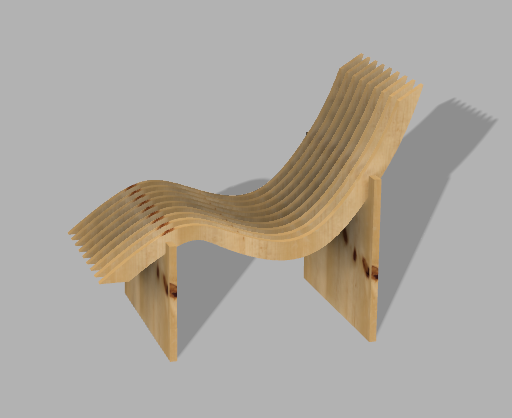
I like to work from the affordances of a material, and OBS is not particularly attractive, but I think that its broad patchwork look might mesh well with some kind of Berlin-esque industrial look. I looked into designers that have managed to use OBS and make it look like a design choice. There were some that looked more “CNC”-y - with lots of curves - but I thought they looked a little busy, given the patchwork texture, and like they would be better off as plywood. So for my OBS piece, I’m sticking with simple shapes with a single curve, and maybe an accent of white or light blue.
I modeled the chair in Fusion, exported the faces into Illustrator, and exported the file into VCarve Pro in order to create the toolpath. Joe walked me through VCarve Pro, including setting three paths and creating tabs.
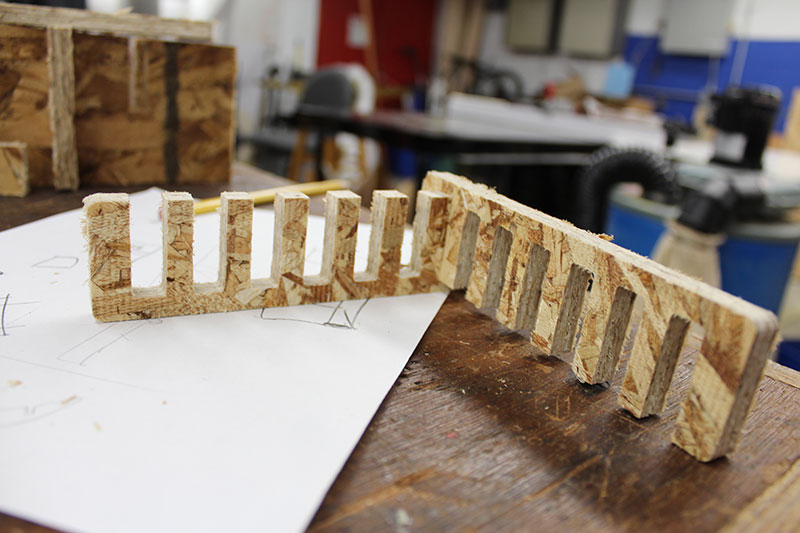
Working with the Shopbot took way longer than I expected. First Joe and I ran a test comb to figure out the kerf adjustment necessary; this involved repeatedly zero-ing the instrument, running an air cut, zero-ing again, and then running the real cut. For some reason the ShopBot didn't take to the transition from air cut to real cut; it stopped responding to commands to shift on the gantry, so we restarted the hole machine. At one point, it gave a parameter error, though the piece should have easily been within the stock.
Once I got the test comb cut, it turned out that I was way off - I'd been told the stock was .5 inches and made a comb accordingly, but it turned out that the stock was truly a press-fit at .4 inches (as I discovered on my second test comb).
Then, when it was time to adjust my model for kerf, it turned out I'd messed up the parametric modeling and only some pieces were adjusting properly; one of the base pieces of the chair was maintaining the original notch size. I think this is because I deleted a sketch at some point in the creation of the model, and it may have been serving as a reference. Joe helped me troubleshoot a solution - adjusting those notches in Illustrator (since the piece is just a rectangle, and notches can be rendered with the Blend function).
Daniel R. suggested that I make an initial prototype out of cardboard on the laser cutter. Here is the shop rhino, demonstrating the chair's stability. We talked over possible ways to make it even stronger - he was worried that the legs might tilt. I didn't have room on the board to add a cross-support, but I added holes to possibly add cords at a diagonal angle beneath the slats to constrain the form.

Now I was finally ready to actually cut. Cutting on the ShopBot is a production - we unscrewed the test board, and then placed my board, and figured out where we could secure the stock with screws without risking coming close to the toolpath. We zeroed and ran a test cut, and then finally the actual cut - which took quite a while (maybe a half hour) to cut.

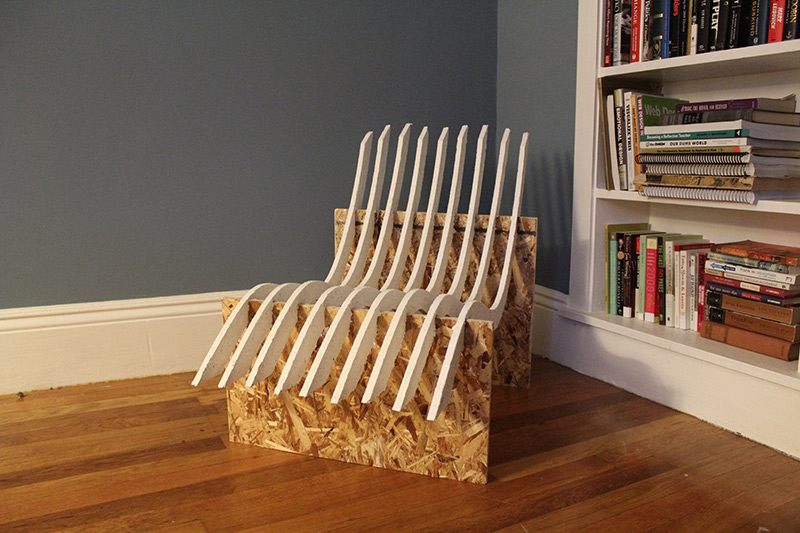
It cut out quite well! Assembly was trickier; the press-fit was really tight. Joe helped me hold and hammer the whole thing together.
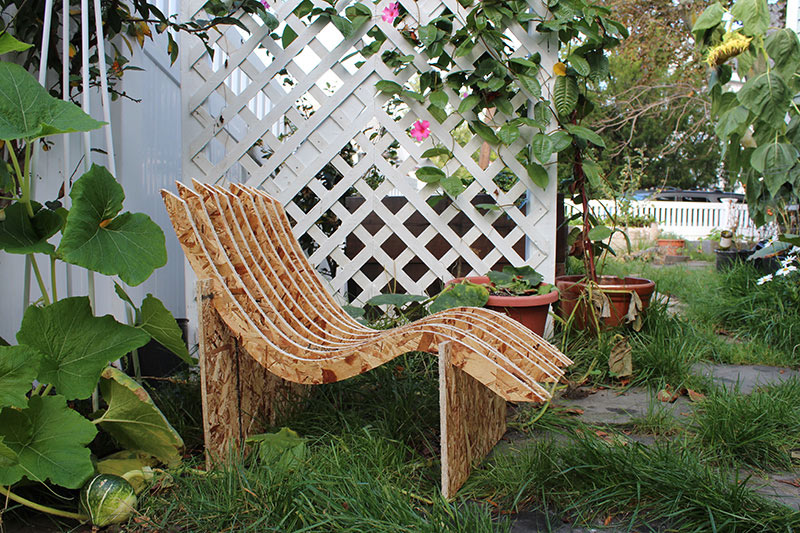
I wanted it to look a little more polished, so I sanded the pieces, and applied a couple coats of white paint to the cross-pieces.
For my second piece, I modeled a small side table in Fusion, again exported to Illustrator and then VCarvePro.
Daniel D. helped me a lot with the table. We ran into some trouble, the main hiccup being that the tabs didn't cut (presumably because they were set to .1 inches, and the stock was .47, but had been entered as .5 material thickness in VCarvePro). One of my pieces started to walk; I hit pause, but it had already broken the bit on the ShopBot.
Daniel replaced the bit, and we ended up running a separate toolpath for the remaining cut - except for the tiny holes, which I did manually with a drill, since the support pieces were likely to continue moving around otherwise.
Then, I discovered that one of the four support pieces was smaller than the others, possibly because it had somehow set to "inside" instead of "outside" in terms of the vector cut in VCarvePro. This introduced some instability into the piece. Daniel suggested screwing the pieces together and applying Gorilla Glue to make sure it would be stable; this worked great, though the table now rocks a bit, because the bottom flexed up to meet the gap. I'm using felt pads on the bottom to even it out.
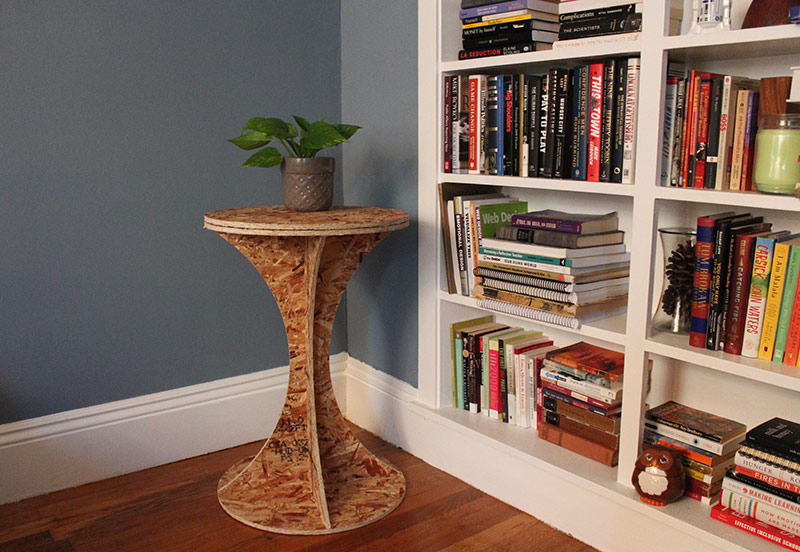
Finally, I sanded and painted the piece at home.
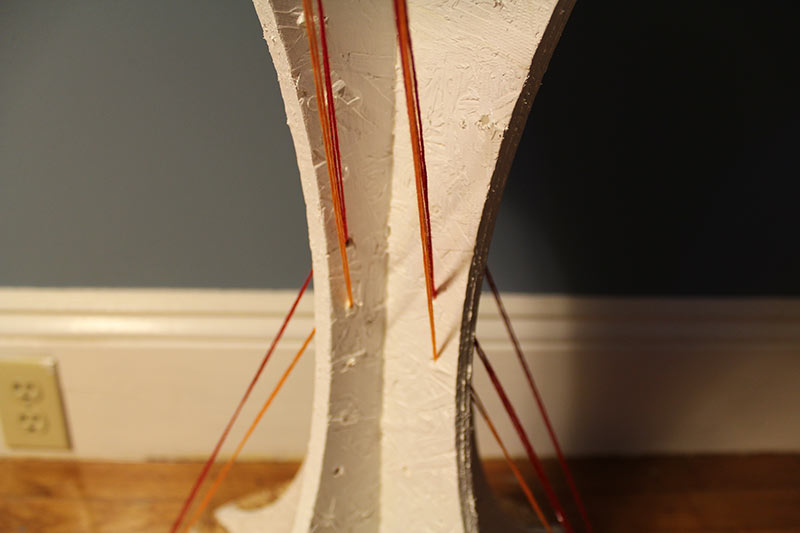
The eventual plan for the table is that it will be strung with multi-colored threads, inspired by Gabriel Dawes' Wonder installation.
Huge thanks to Joe, Daniel R., and Daniel D. for all of their help this week!