-

- Computer-Aided Design 01
- Parametric Construction 02
- Electronics Production 03
- 3D Printing 04
- Electronics Design 05
- Computer-Controlled Machining 06
- Embedding Programming 07
- Molding + Casting 08
- Output Devices 09
- Machine Design 10
- Input Devices 11
- Interface + App Programming 12
- Networking + Communications 13
- Composites 14
- Final Project 15
HOW TO MAKE (ALMOST) ANYTHING
Lily Gabaree
Final Project: Aqualogue (aka the Talktopus)
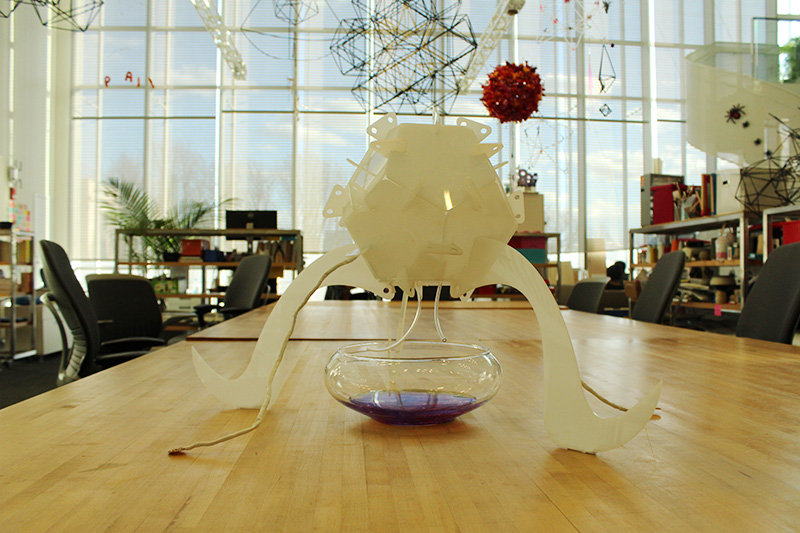
The Talktopus responds to conversations by producing mixtures in proportion to the verbal contributions of different speakers. Over time, you can experience the duration of your conversation as liquid volume, and the dynamics as color and/or taste.
Process: Conversation Visualizer / Dinner Table Device
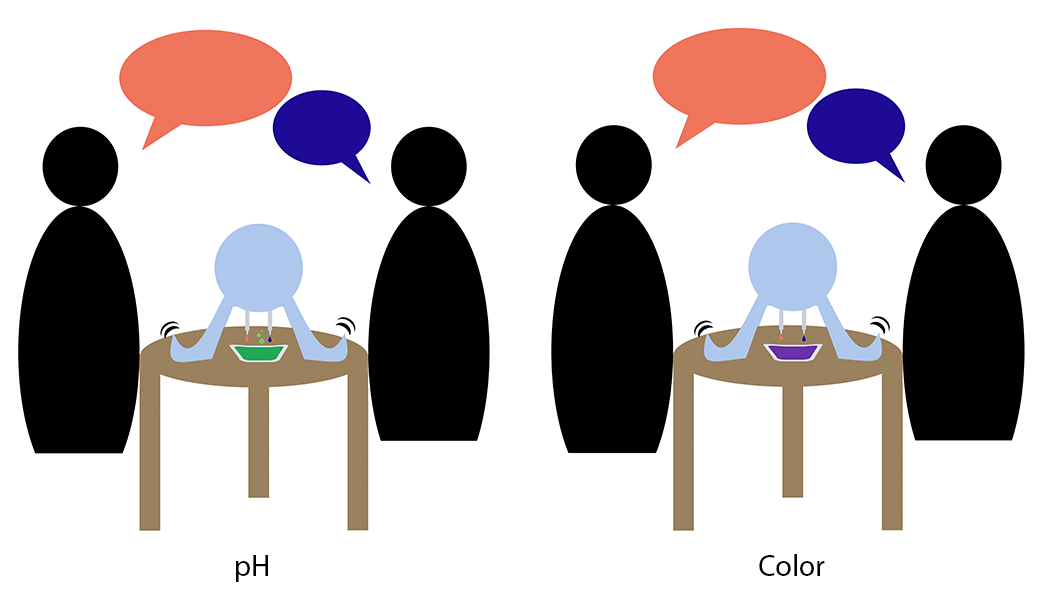
I’m thinking about representing conversations in other forms, such as in liquid mixtures (consumable or otherwise). Maybe my device could detect conversations at a dinner table, and then squirt out one of two liquids, depending on who was speaking at a given time - such as an acid or base, or a red or blue color. Over time, the mixture would reveal if someone was dominating the conversation.
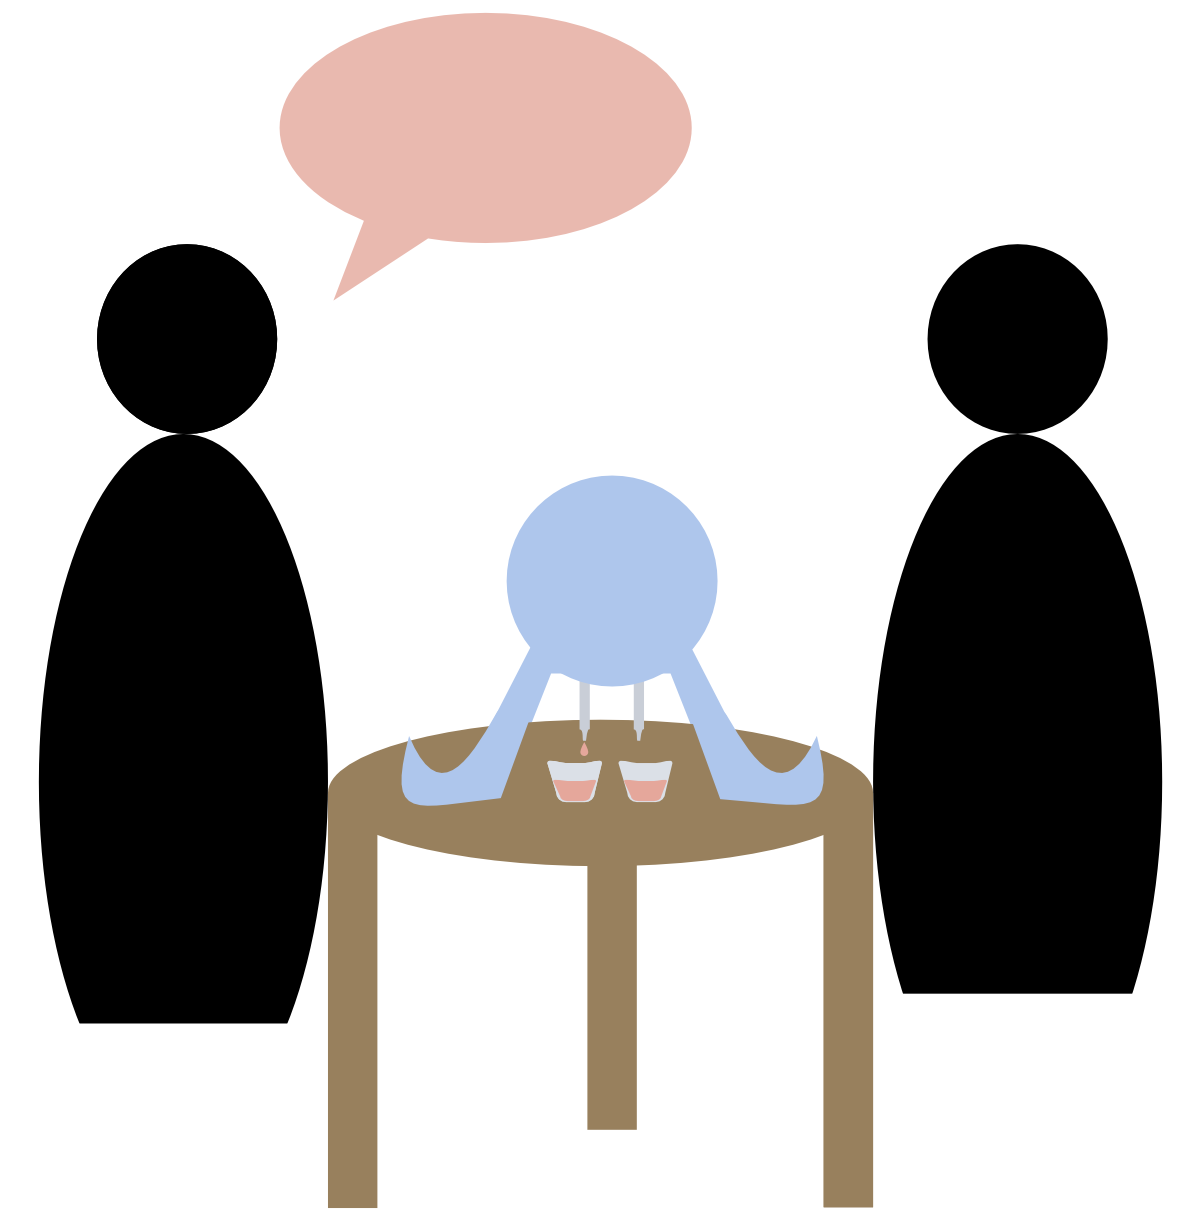
Alternatively, the two speakers’ dynamic could be rendered a little less directly by mapping its qualities to one of a variety of presets (e.g., cocktail mixes), to be consumed by the two speakers.
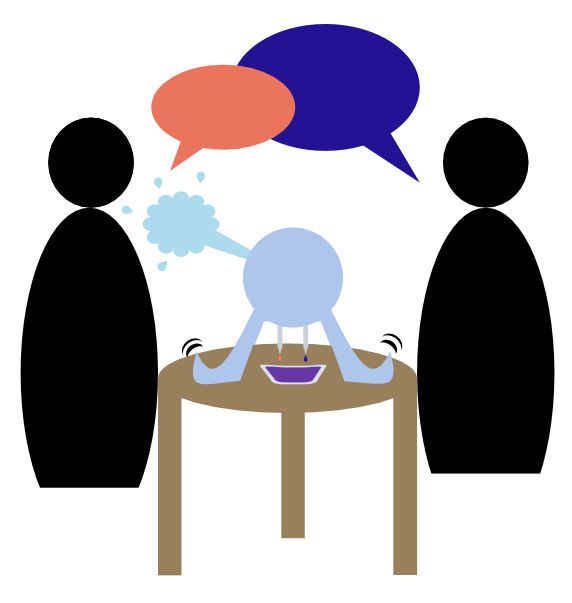
Another possibility is that it could detect when one person interrupts the other, and maybe squirt the person who interrupts, or do something else to indicate the problem (light up, shake…).
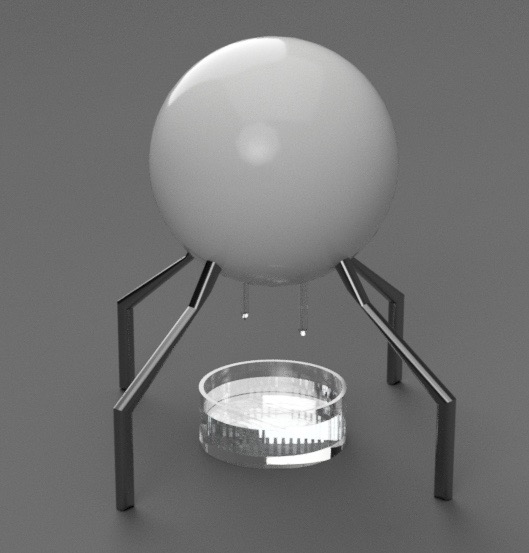
Here's a possible model of the device.
Prototypes
My initial prototype involves arduino, a microphone I found in the Harvard shop, a servo motor, eyedroppers (manually filled with dyed water), and a lot of string and tape. The base is laser-cut from chipboard, and the mechanism works by having the servo’s arm squeeze the eyedropper. I like the overall structure of this - in terms of size, and having the unit suspended on laser-cut legs; this one doesn’t have any kind of cover over the guts of the device (which will hopefully be enclosed in some kind of sphere). And I like the weirdness of it squirting out when you’re talking, and the dispersion of dye in water.
So now I’m trying to make a prototype that uses fabricated PCBs (a central board, and modules for the input microphones), a laser-cut geodesic dome structure enclosing the whole thing, and some kind of actuation that doesn’t require an excess of glue holding a servo motor in place.
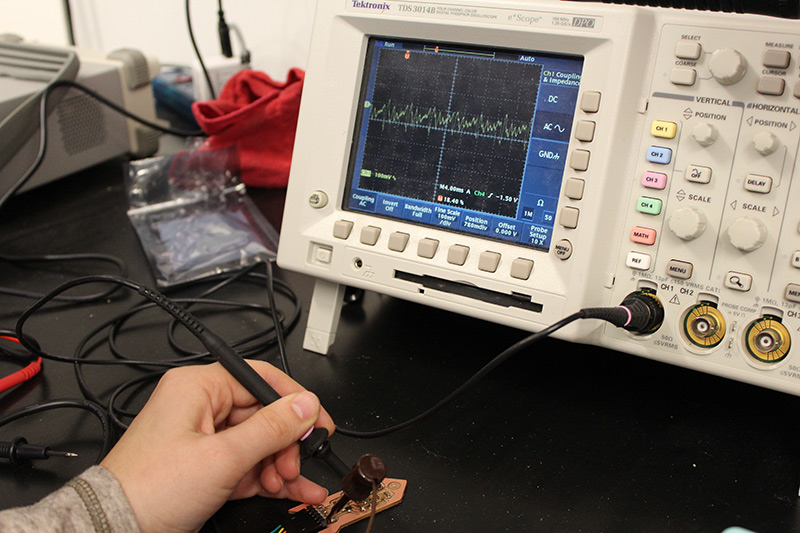
Working with servos in Arduino is fairly easy because there’s pre-existing code and libraries for it; figuring it out for the Attiny44 means I need to actually understand pulse-width modulation (PWM). I experimented with different duty cycles withe the servo.

But I really would prefer a more robust solution, so I talked to Rob and he gave me some pumps, specifically two of these: RS-360 Mini DC 4-12V Water Pumping Motor Reversible Gear Aquarium Pump. I attached some tubing and tested out the pumps - they worked really well, and are self-priming (it can push along air as well as water - you really don’t have to do anything to get it going besides turn it on).
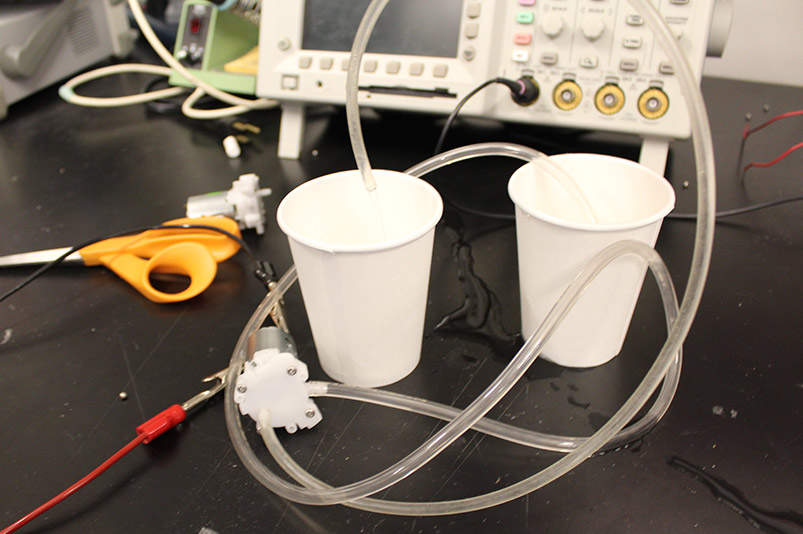
So my new plan is that have these two pumps serve as the main output actuators, drawing on cups within the device (I’ll make some little cupholders, so I can swap out paper cups of water etc. as needed).
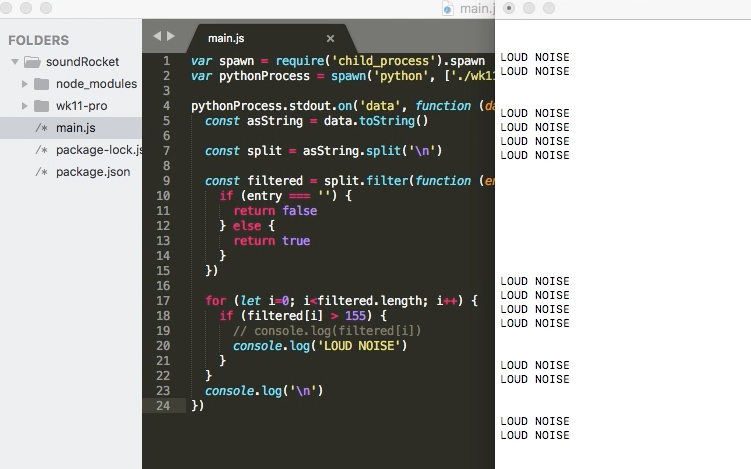
I’m going to stick with microphones as my input. During inputs week, I made a MEMS analog microphone board, and later made a program that prints integer values (or can trigger an event if a hard-coded threshold is reached).
Since I need two microphones that are detecting different values - I don’t want both pumps triggering whenever someone at the table speaks - they need to be somewhat far apart from eachother, and close to each speaker. So I’m thinking of having them extended out like antenna arms, in the air. It would be better, therefore, if they were very light - light enough to stay upright or horizontal in the air, supported by wire - and also relatively unobtrusive. So I’m designing a microphone module, as opposed to a whole microphone board; this one will just have the analog mic, and the necessary capacitors and resistors.
To overview: I’ll have two microphone modules as inputs; and two pumps as outputs (in addition to maybe some other “interrupt” actuator). The central board will have an Attiny44, and headers for the two pumps; there will also be a header for the two microphone modules. The whole thing will be powered by a 5V supply that plugs in - there are power connectors in the Harvard shop that you solder directly to boards.
Rob advised me to put the regulator on the microphone module, rather than on the main board (the microphone runs at 3.3v; the pumps at 5v). So my microphone modules will take in 5V, but run the microphone on 3.3v; and the output will go to a pin on the Attiny44.
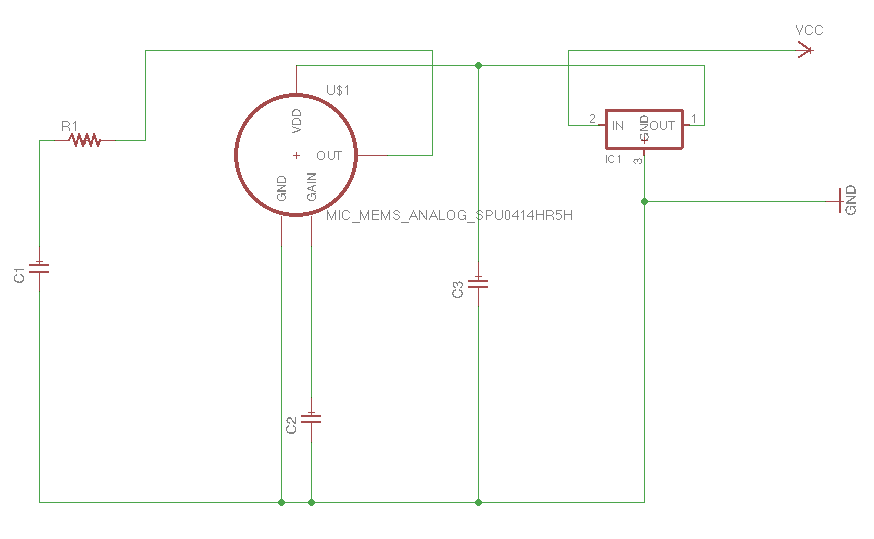
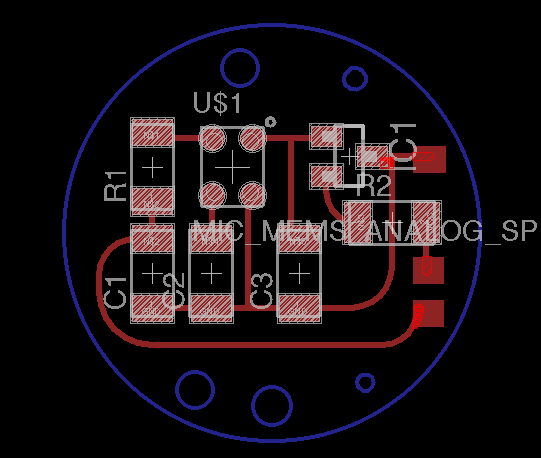
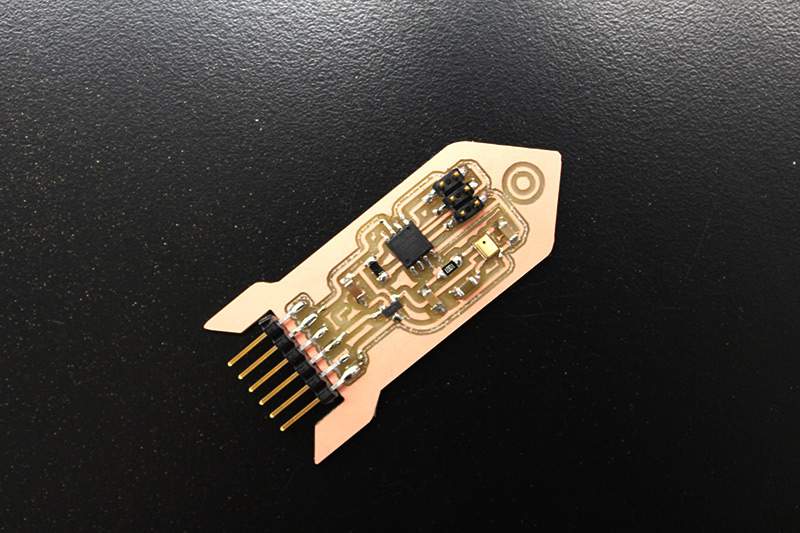
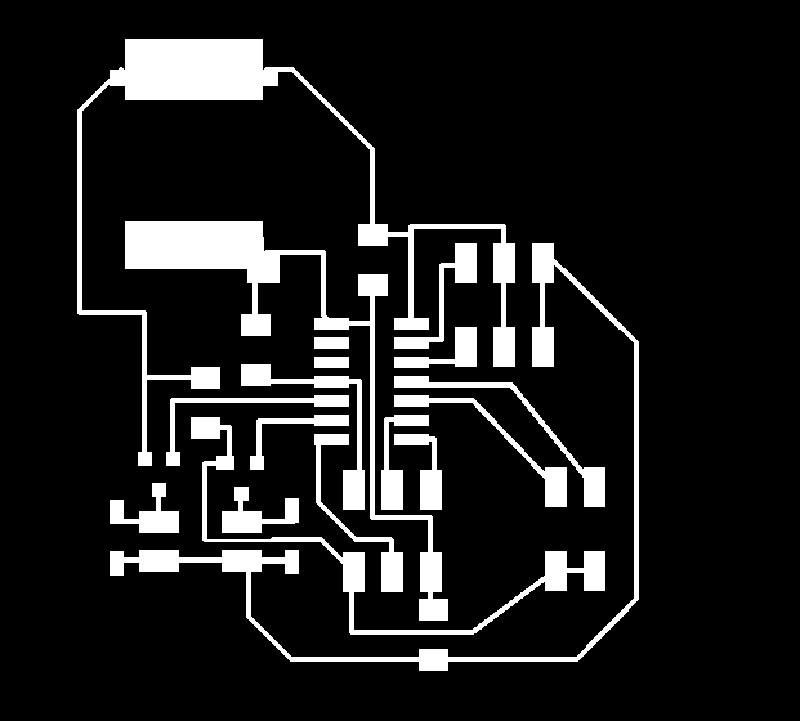
After designing the board in Eagle, I milled it with the SRM-20 mill - the traces are pretty small, but hopefully they will be stable.
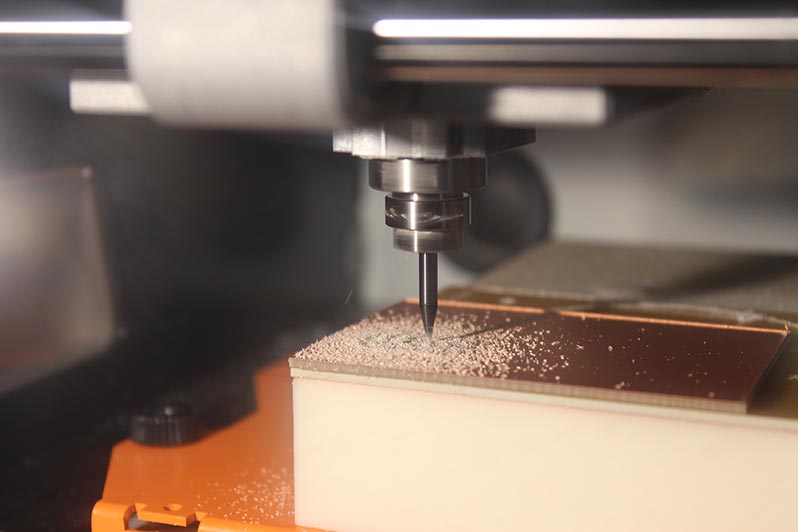
I ran into a problem stuffing the board, when attempting to reflow solder to apply the microphone - the heat gun didn’t have a tip on it, so the heat was getting all over the place and ended up kind of lifting up some of the copper substrate - so there are tiny air bubbles. But they work!
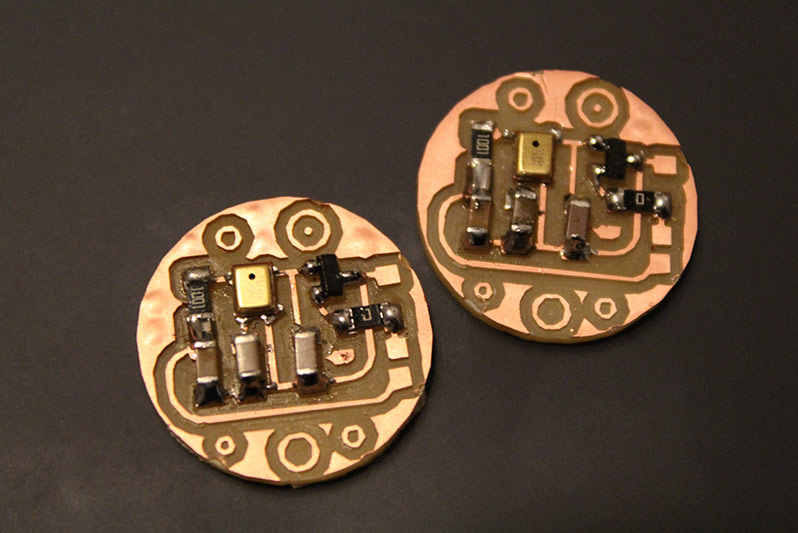
I soldered leads directly to the pads on the edge of these boards, twisted the wires, coated them in white heat shrink (so they'll look like antenna or tentacles), and added Dupont connectors so they will be easy to attach.

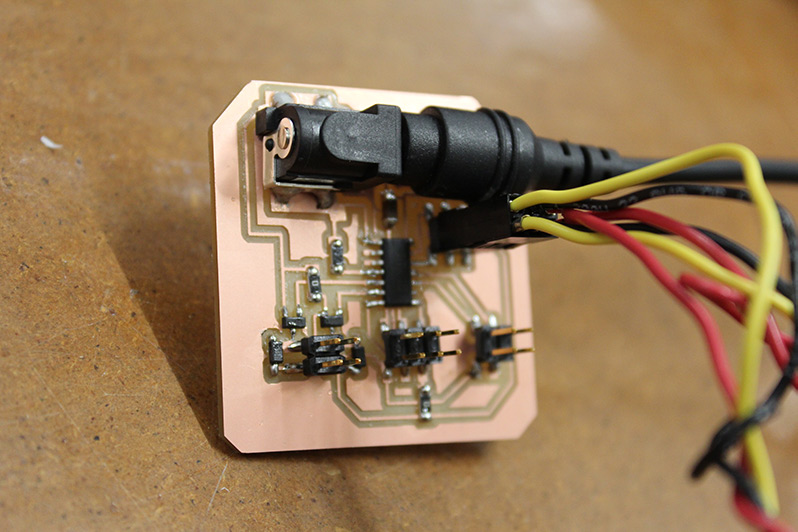
I designed the main board with the attiny44, because I wanted to have plenty of pins, in case I ended up incorporating some LEDs as well into the project. I've got mosfets and flyback diodes for the pumps, and pin connectors for the microphones. I'm powering the whole thing with a 5V power cord. The first time I connected the board to the pumps, the mosfets got hot, so I ended up switching the flyback diodes out for some bigger ones. In the future, I might go with H-bridge modules instead.
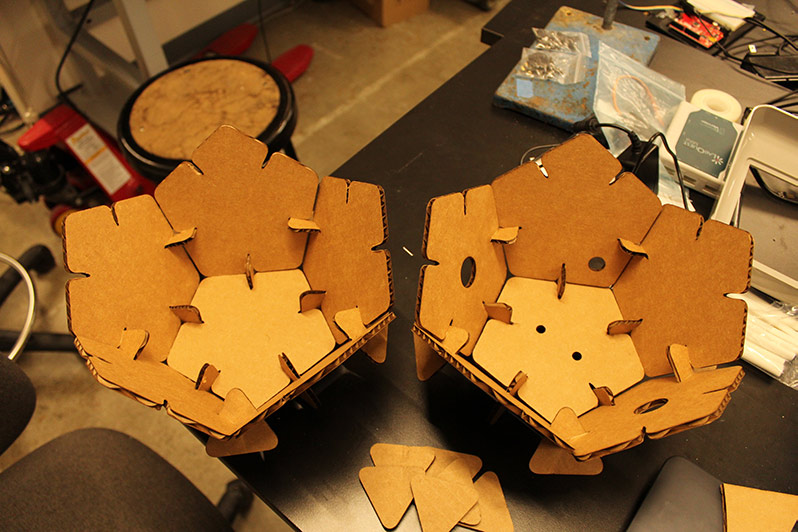
At this point, it was time to figure out the physical structure. I was inspired by the geodesic domes around the Harvard shop, which Daneil makes with Antimony. I decided that a dodecahedron would work well, because it can be pulled apart into two identical halves, and has enough flat surface area for spacing out tube holes easiy, and potentially having cups sit flat within the structure. I made some prototypes out of cardboard on the laser cutter.
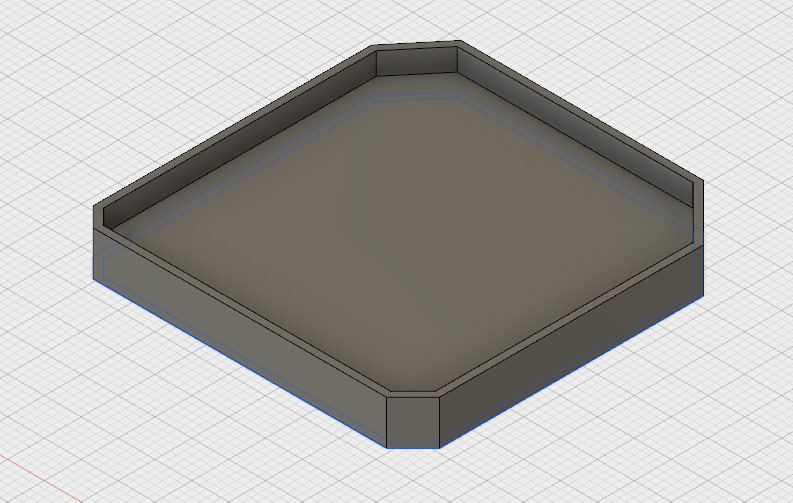
I also made a container for the board to sit within (designed in Fusion, and 3D printed), so it won't budge; but then I realized it might be easier to just screw the board to the structure.

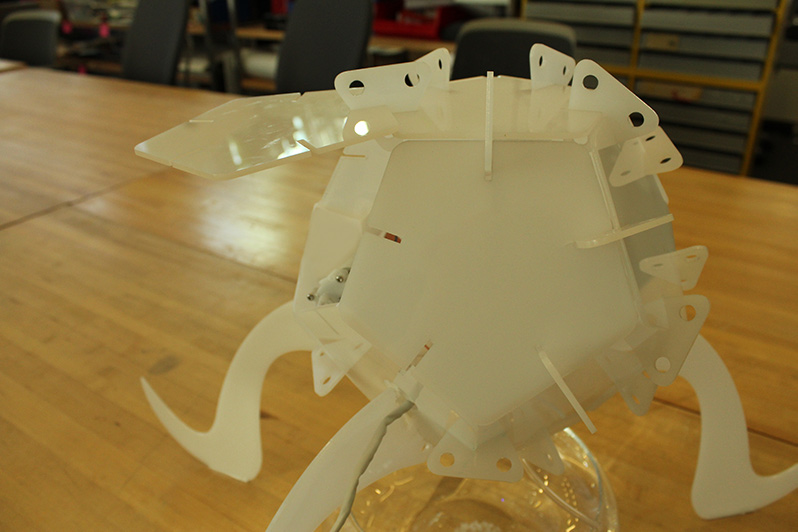
Once the white acrylic arrived, I made my final prototype structure. The design is inspired by an octopus, with rising tentacles, and microphones that mirror the symmetry of the rest of the device. I had been hoping to spend more time on system integration on the inside of the structure, but someone broke one of the legs late the night before the presentation, so I ended up being in a bit of a rush (thank you Sean for helping me re-cut the piece at CBA!). The main challenge is liquid storage: there isn't a lot of room. I ended up wiring cups to the inside node holes, but I think in the future I'm going to have to figure out some kind of tank. Also, it's a little tricky to refill the device, unless you leave the two halves disconnected, which makes it a little less elegant.
I programmed the system in the Arduino IDE, following the High Low tech group's tutorial. If a microphone receives an (averaged) signal above a certain threshold, the corresponding pump is activated, and then delayed long enough to not activate itself (because the pump is noisy!).
All in all, my materials are: three copper milled and stuffed PCBs (material provided by the shop); two sheets of white acrylic ($34); two RS-360 Mini DC 4-12V Water Pumping Motor Reversible Gear Aquarium Pumps (also provided by the shop, but would cost $12 for two if purchased online); some scavenged tubing; connectors and wires provided by the shop; and white heat shrink ($10).
It works! I'm pretty happy with it. Thank you so much to all of the teaching staff.