week 03
3D SCANNING + PRINTING
Tools + Methods
Rhino
Grasshopper
Sindoh 3D Printer
Sense Scanner
Autodesk Recap
3D Printing
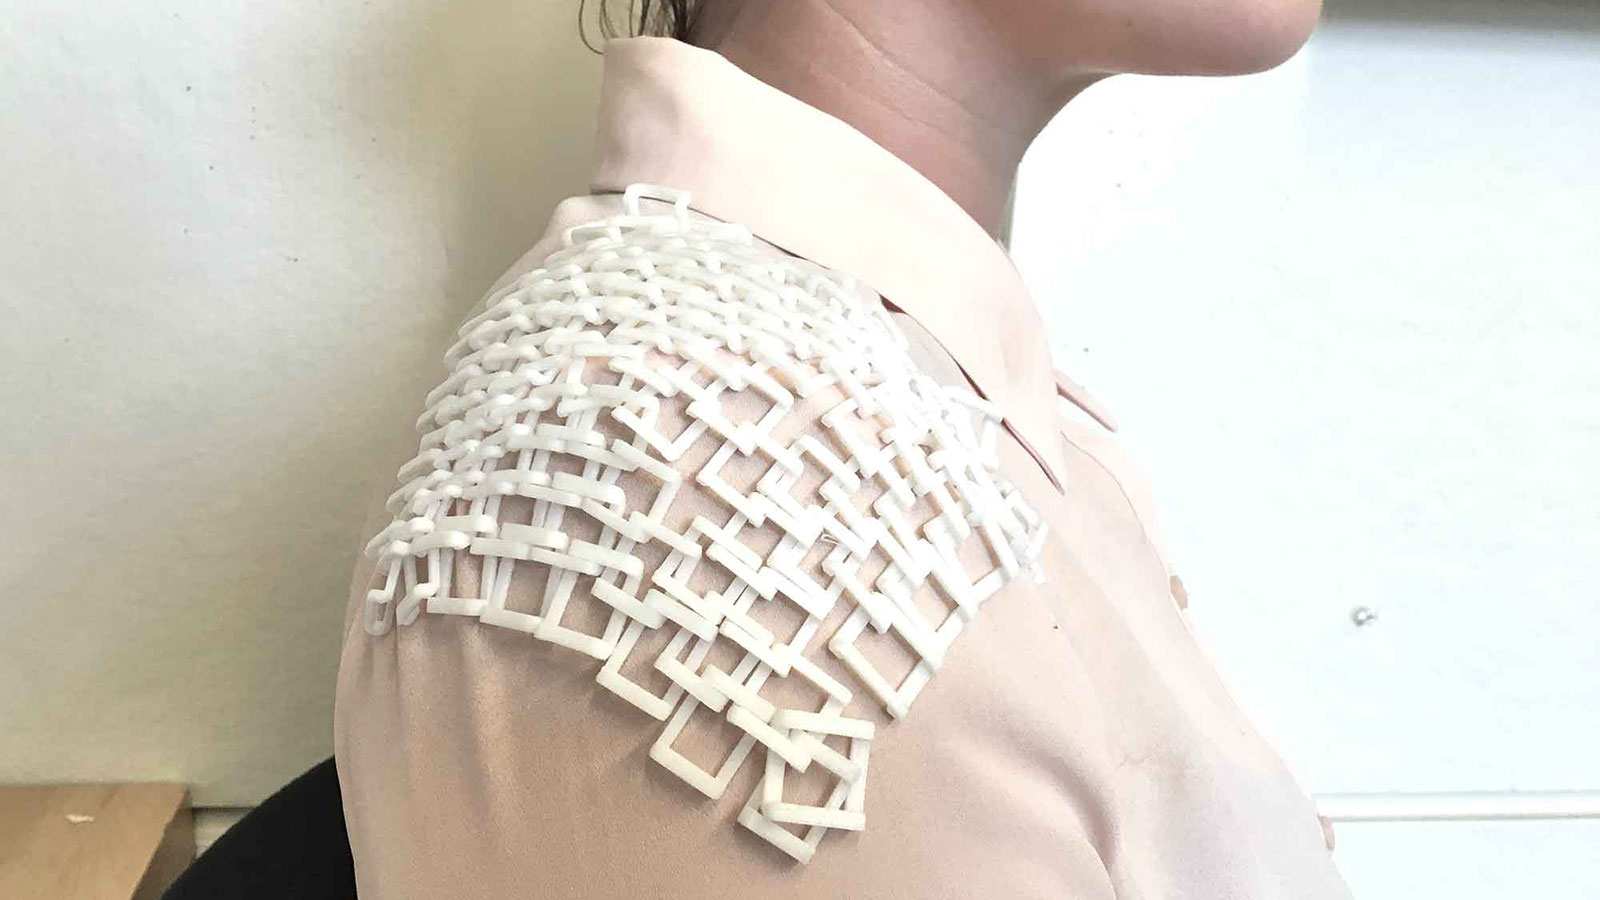
Plastic Stitches
This week we were asked to print something that couldn’t be made through subtractive processes. I wanted to make some kind of interlocking links and started thinking about making fabrics because I liked the idea of making something soft out of something hard like PLA filament. There’s quite a bit of research on 3D printing fabrics out there already.
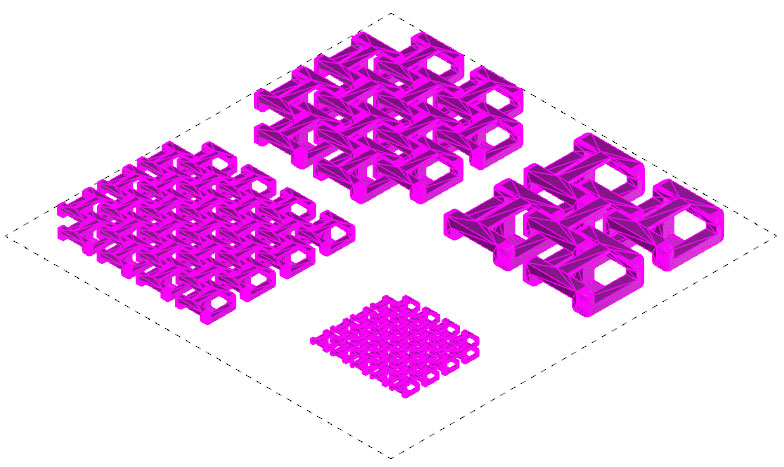
I decided to make several sizes of link to test how small and condensed a stitch could get before it becomes fused together by the filament size. I also wanted to test how far we could bridge on the Sindo Printer without supports or failure.
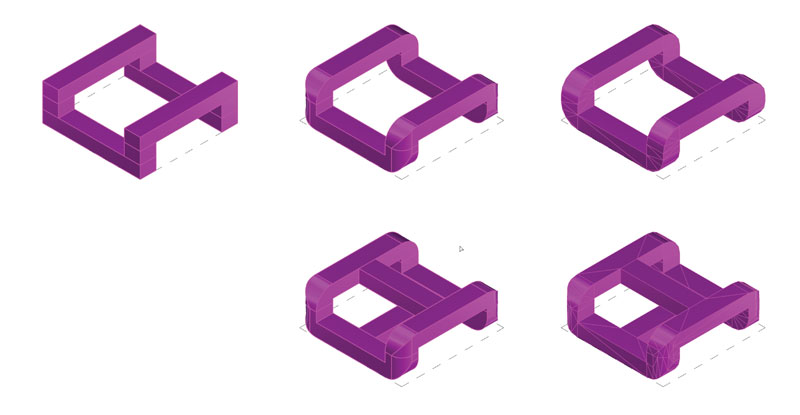
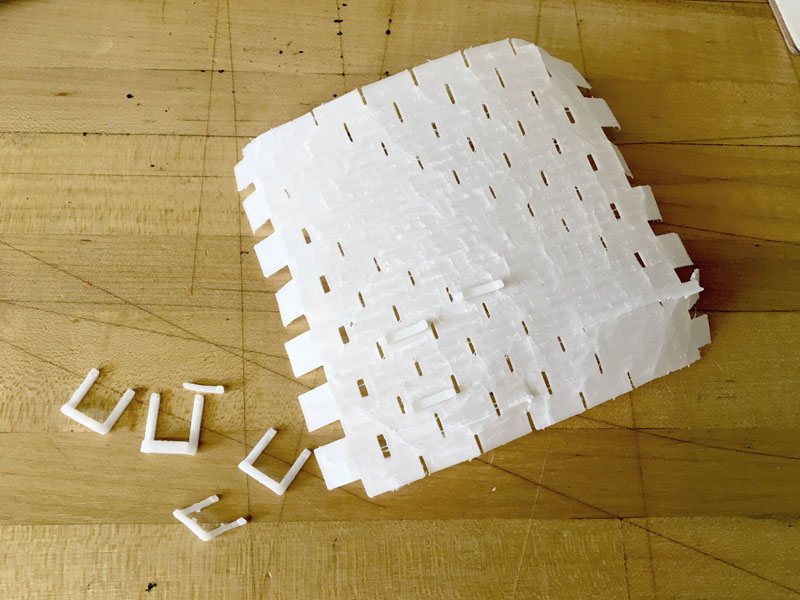
Although there were a couple versions online, I wanted to model this on my own. I started with a primitive “stitch” unit. It’s important to notice that stitches have “top” and “bottom” units and in order to make them interlocking, you need to include a middle layer of thickness. I modeled out the primitive of this and then rounded all the connections. This is for more than just aesthetic reasoning – by rounded the corners you’re allowing the printing to slowly build up a support to where it will eventually bridge unsupported. This also reduces the stress on the corner (which will prevent it from breaking later). I later learned that it’s important to provide a divider to the stitch – this will prevent stitches from flipping over and will limit the fabric’s flexibility in one direction.
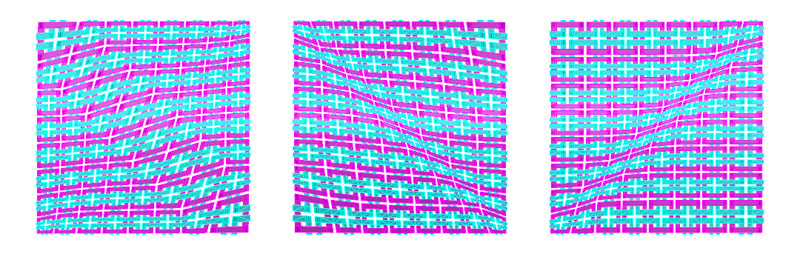
Since I’m doing this in Rhino, I modeled the stitch with surfaces and then made sure to SPLIT and remove any overlapping faces. The surfaces should be one, continuous outside face. Once I was satisfied with my surface geometry I used the JOIN command and then MESH. You then have the option to further smooth your mesh from here. I then arrayed my links so that they were interlocking but not touching (I didn’t want them to print together). I scaled them so that I printed four different size versions: 1”, .75”, .5”, .25”. I then brought the meshes into a new file with the units set to mm. Once the units are set you can export your mesh as an .STL and bring it into a 3D printing program. The Sindoh printer I was using had its own software so I brought my meshes into 3DWOX.
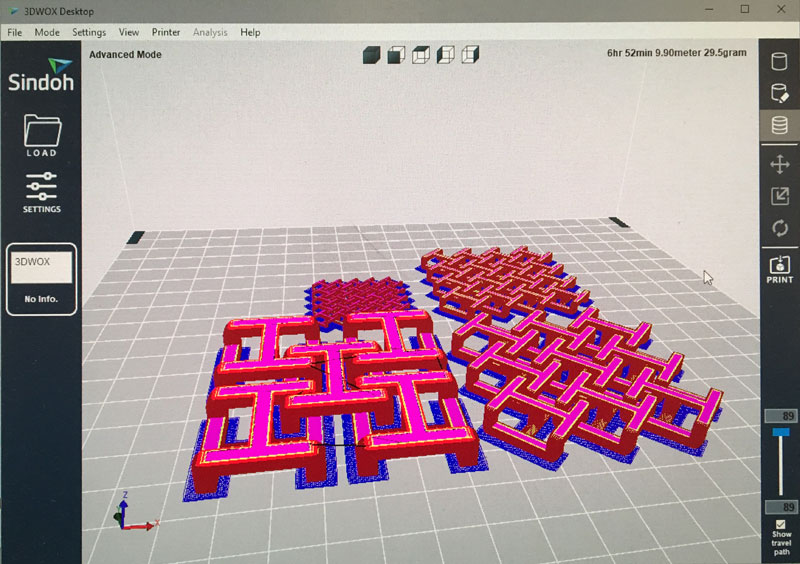
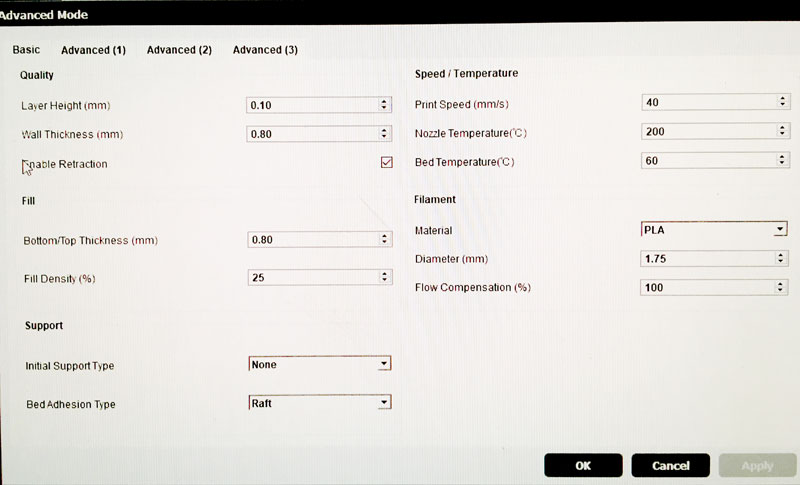
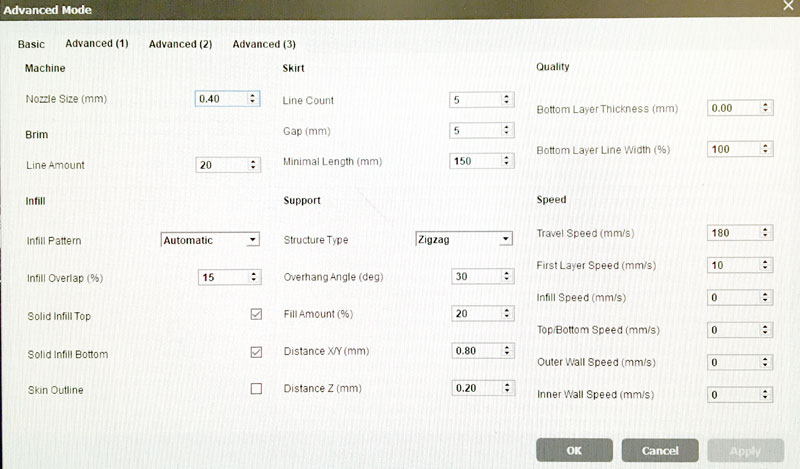
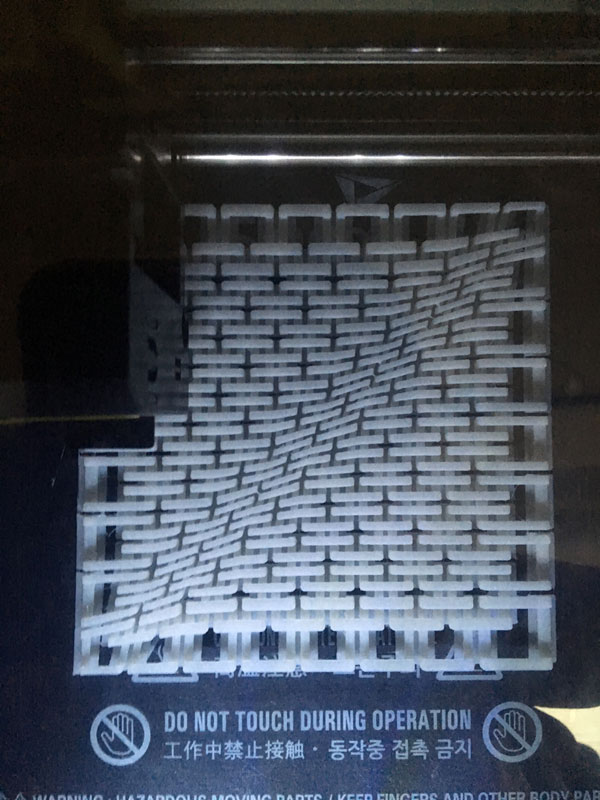
My goal for this week: NO SUPPORTS. I did include a raft because I for some reason thought it was a good idea (It WASN’T but more on that later). I set up the print by using the general printer default settings, making sure the Support Type was None (and I should have set Bed Adhesion Type to None). After simulation it in 3D Wox I exported the GCode and brought it to the Sindoh.
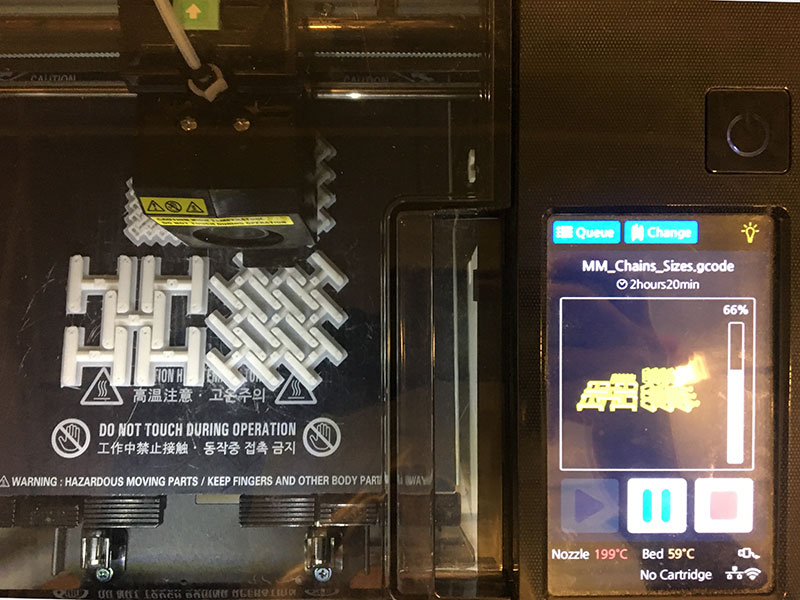
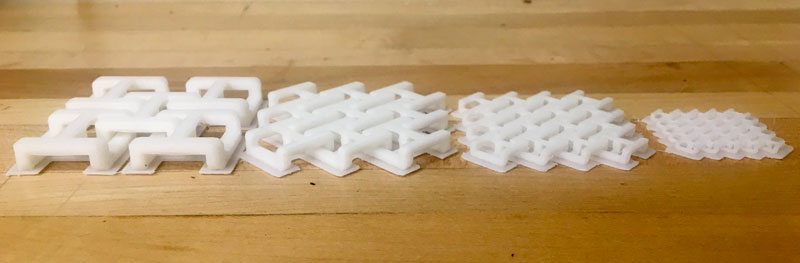
The pieces all came out of the Sindow without any mishaps. I was surprised to see my 1” link was able to bridge without a hitch (I had secretly expected it to fail). I think this is because the Sindoh is a very well ventilated machine with a door. I found the .25” unit to be too small. I used an exacto blade to try and separate the links but I think it was just too thin compared to the filament diameter.
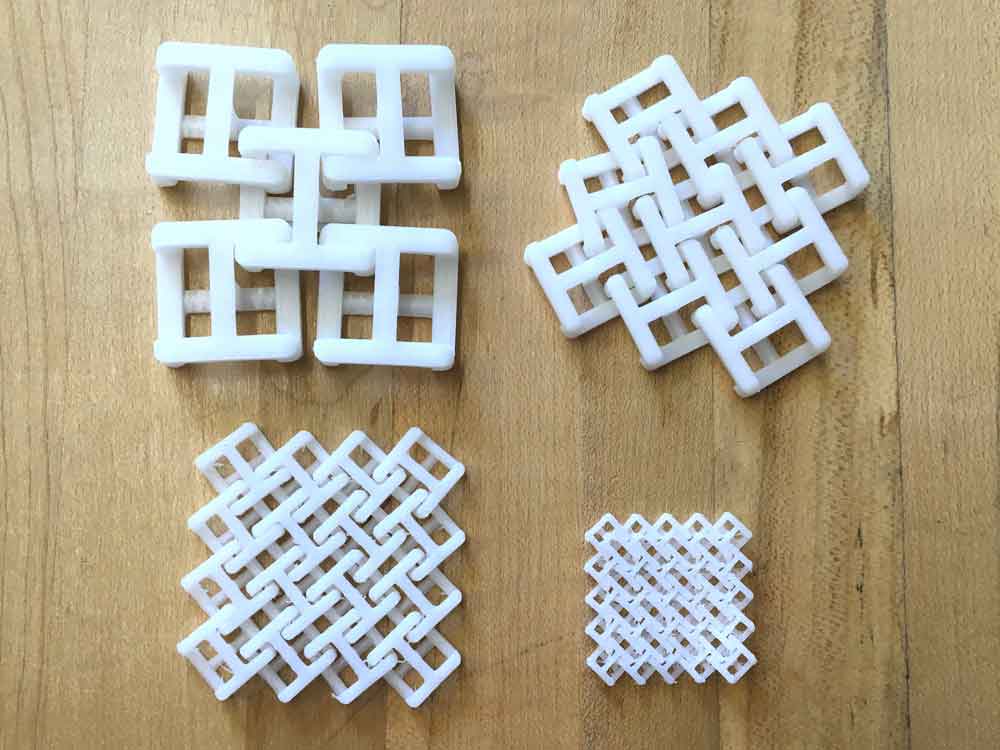
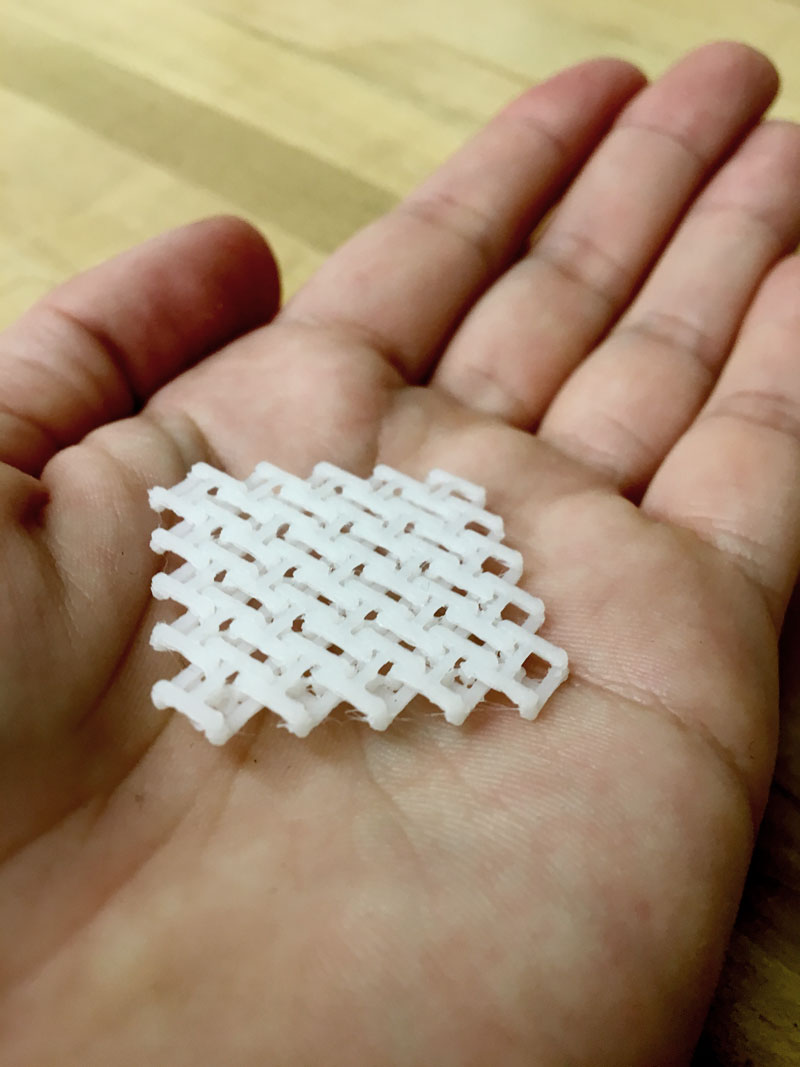
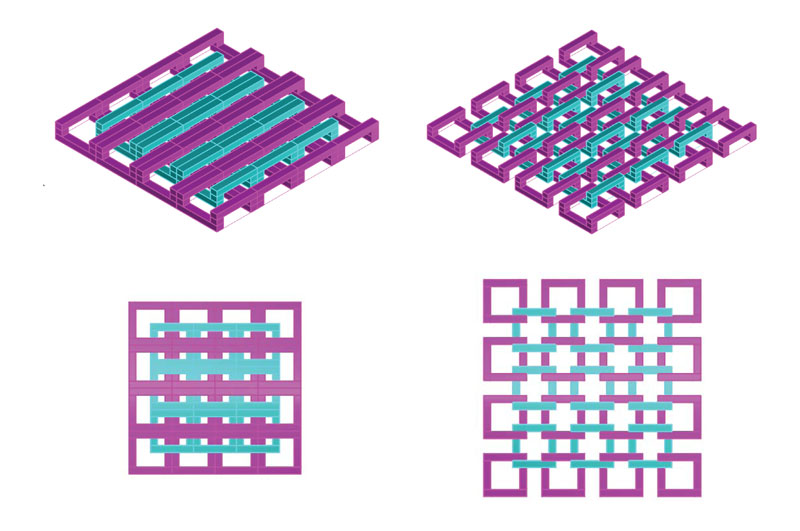
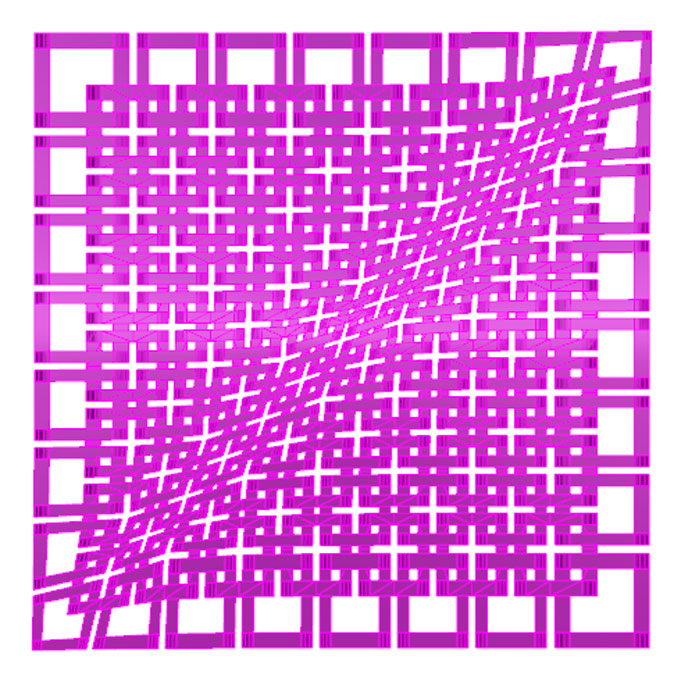
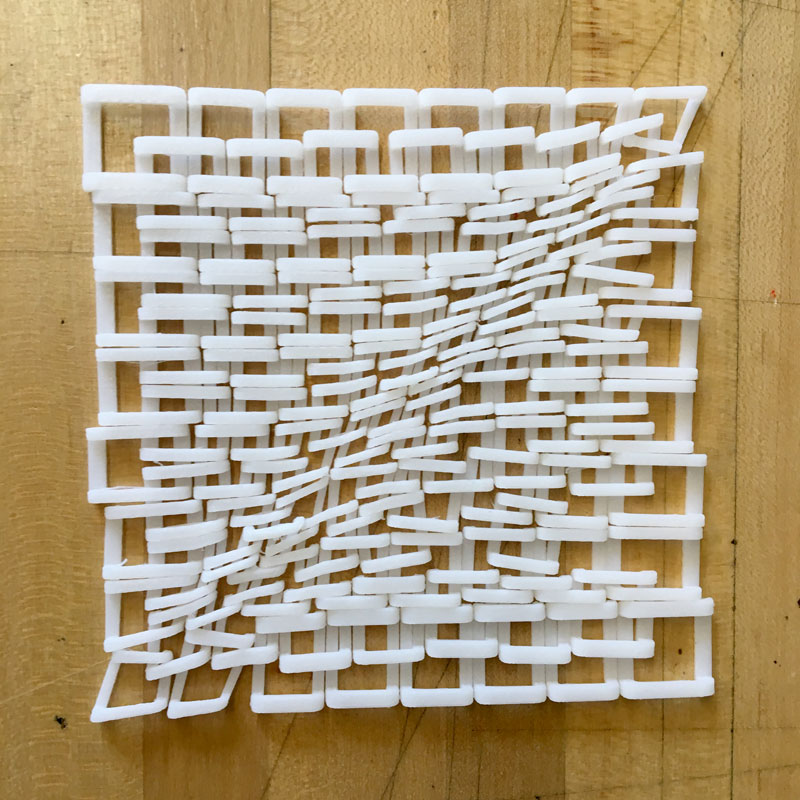
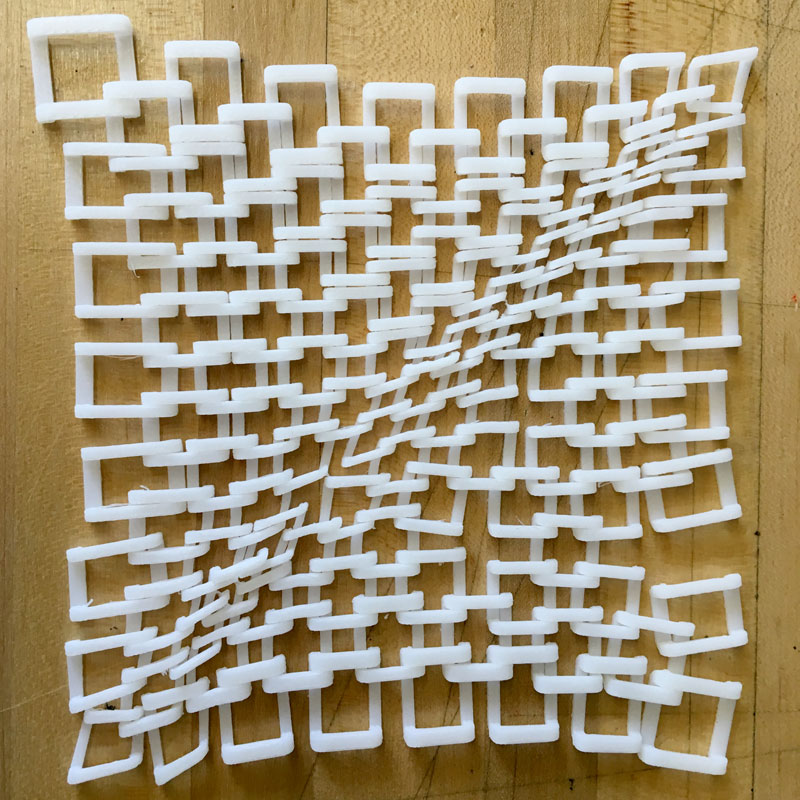
Then I wanted to print a full swatch of material. I wanted to see how different sized pieces would react to being linked with each other. I made a couple differentiated grids using attractors but in the future think it would be interesting to try something where as links get smaller then also increase in number.
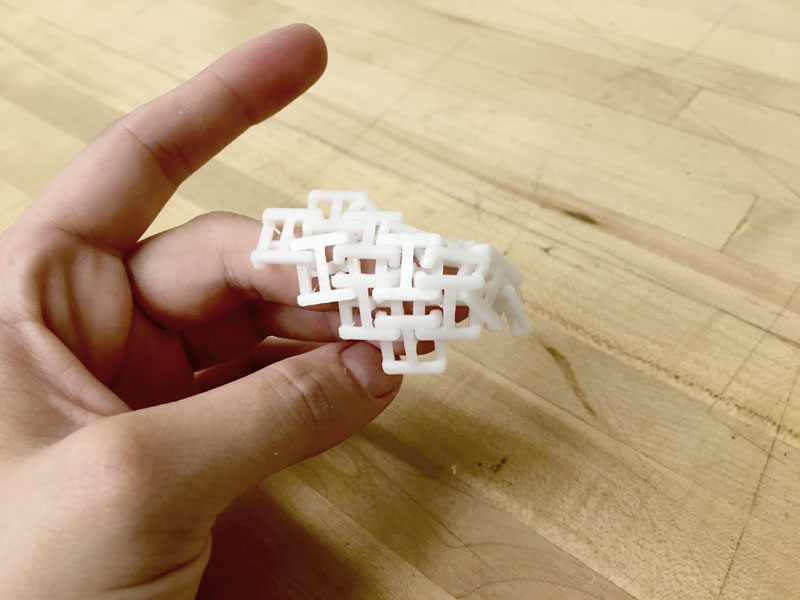
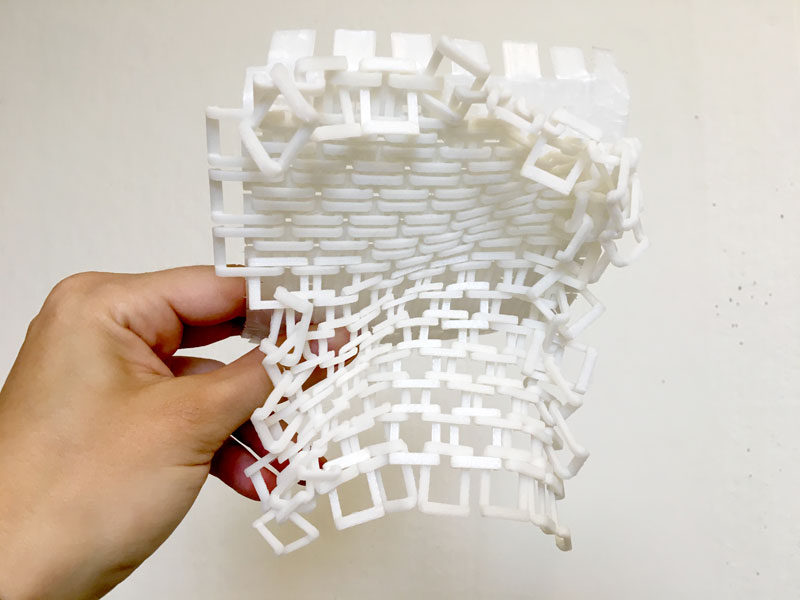
The swatch also printed fine without supports. My main regret was using a float. It really wasn’t necessary for something as short as my links and it was HELLISH to remove my pieces from – particularly my differentiated fabric swatch. I actually broke a couple links removing it. I also discovered why several people had modeled these linked with a bar in the middle – without the bar, I had links rotate which meant the undulating sides didn’t line up and it couldn’t lie flat. Notes for next time: print with bars and forget the raft. It still turned out alright and created a nice shoulder pad (although I don’t like the plastic noise it makes while moved).

3D Scanning
Sense Scanner
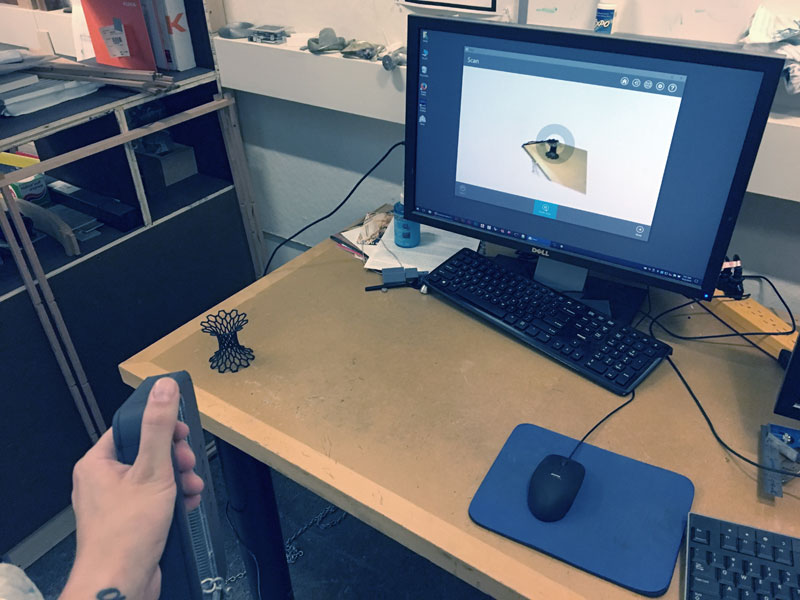
3D Scanning is hard, man. I tried scanning several objects with a Sense Scanner but wasn’t able to get a coherent piece. I read online that the Sense Scanner uses an accelerometer to measure and therefore you shouldn’t use a turn table. I think the key is to go very slowly and don’t use objects with transparency or repetitive patterns (which, unfortunately was exactly what I chose to use). Also, a consistent white background would help.
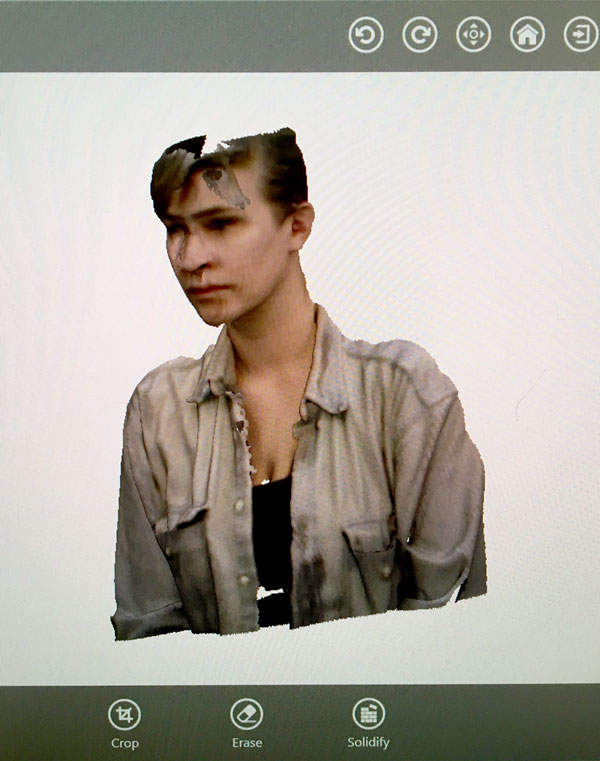
Photogrammetry
I recently used Autodesk Recap in another class to create 3D models from a series of still images. . Unlike the Sense scanner, these photos are better if you have a highly differential background. Also, it helps to avoid objects that are transparent or have repetitive patterns. I was able to get this to work with varying degrees of success.
Files