
week 13
WILD CARD! MACHINE KNITTING
Tools + Methods
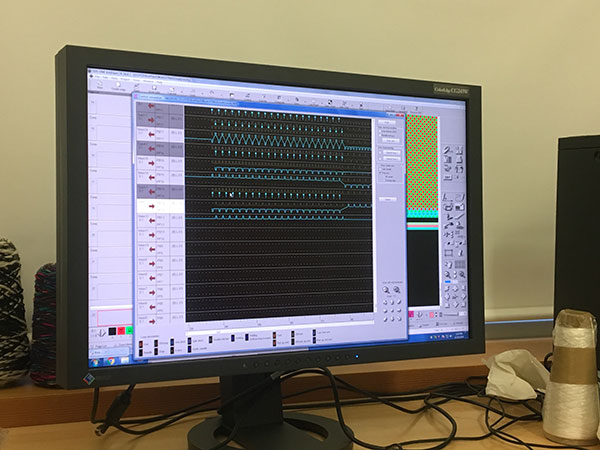
Shima Seiki SWG 091 N2
Programming Interface
This week we were allowed to choose a digital fabrication technology to use. I chose to learn industrial knitting because we have a similar machine in my lab that I'd like to be able to use AND I thought I'd be able to fabricate the hood for my final project this week.
Knitting
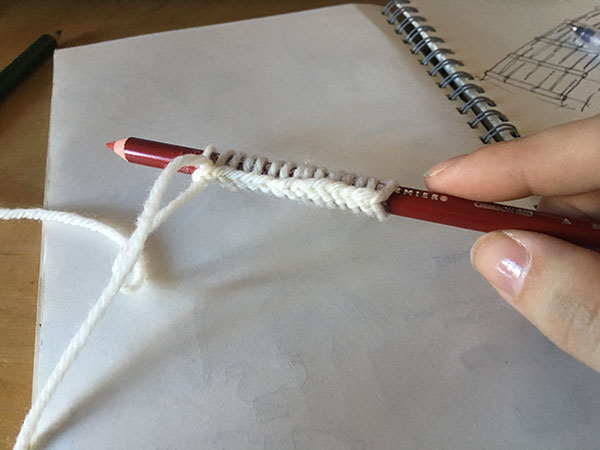
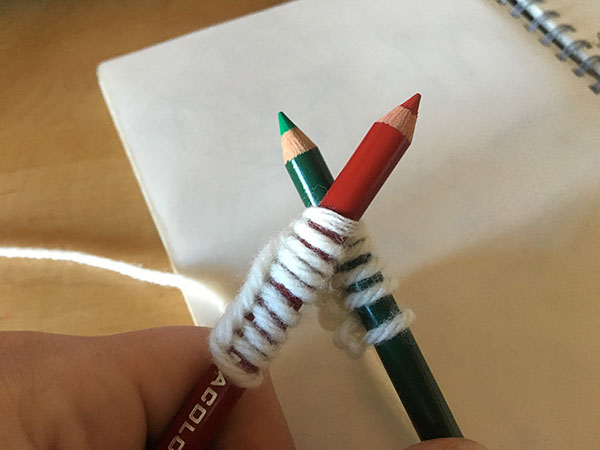
I've never actually learned how to knit so I figured I would start there so I could understand the movements of the thread. It's similar to crochet (which I know how to do) and I was able to teach myself a basic knit stitch and pearl stitch pretty quickly with the help of some online tutorials. It turned out, this wasn't all that helpful to understand inustrial knitting.
Intro to Industrial Knitting
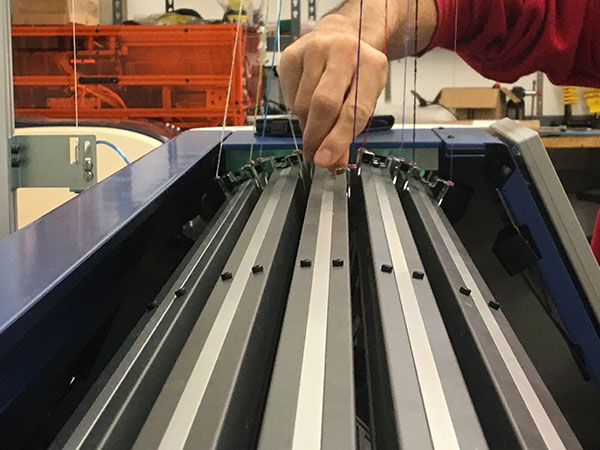
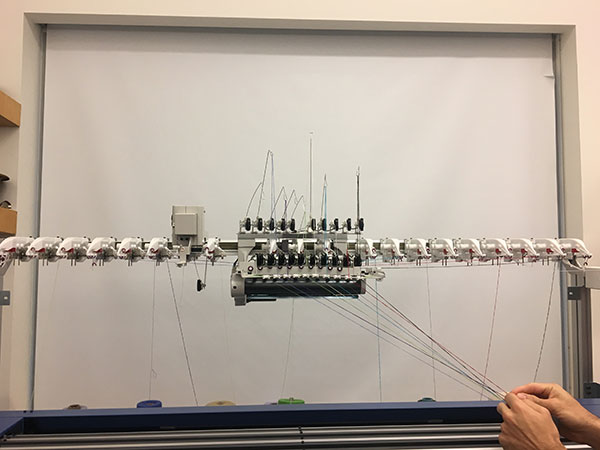
We were given a crash course on CSAIL's Shima Seiki WholeGarment SWG091N2. This machine uses 15 gauge needles meaning you can use 15 needles to make approximately an 1 inch of fabric - although I learned there are other factors that determine garment size like tension and stitch type.
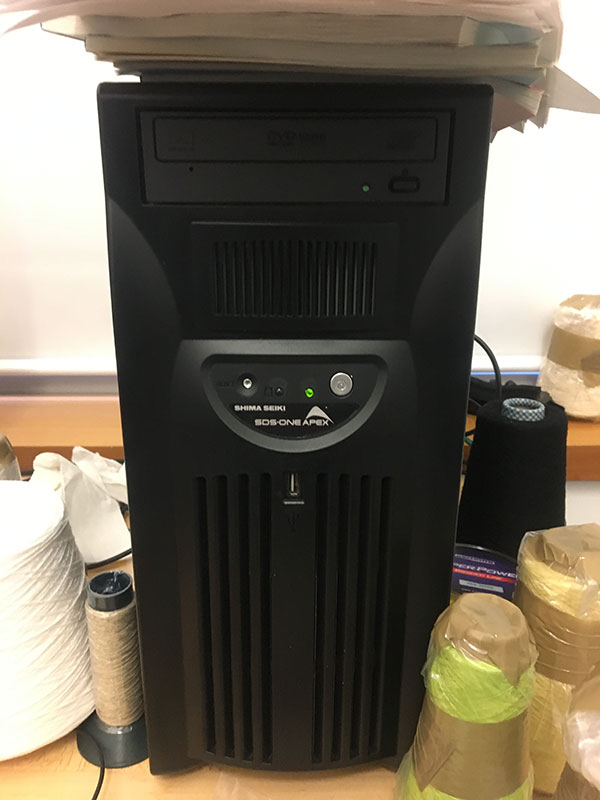
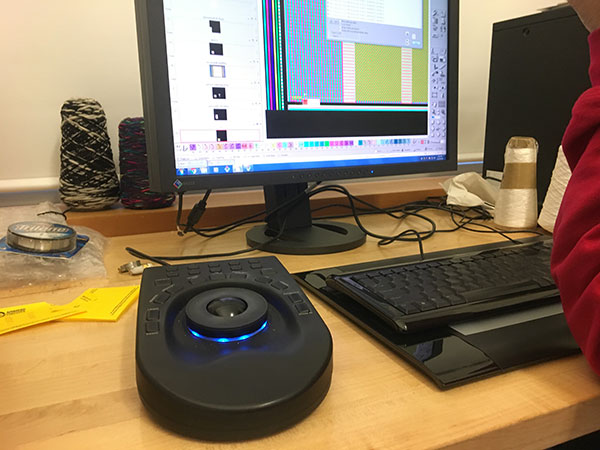
From talking to a couple different knitting machine gurus this week, I learned that industrial knitting machines are very much stand alone products. The Shima Seiki comes with it's own computer loaded with a software not accessible off of this particular device. It also comes with a multifunctional mouse - these are just part of the reason why this machine clocks in at about $100k.

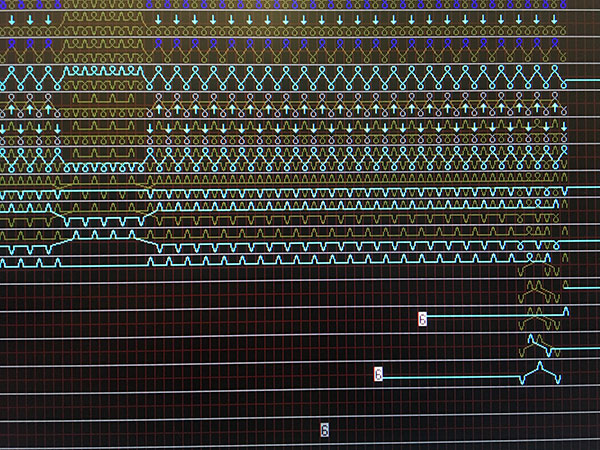
File Design
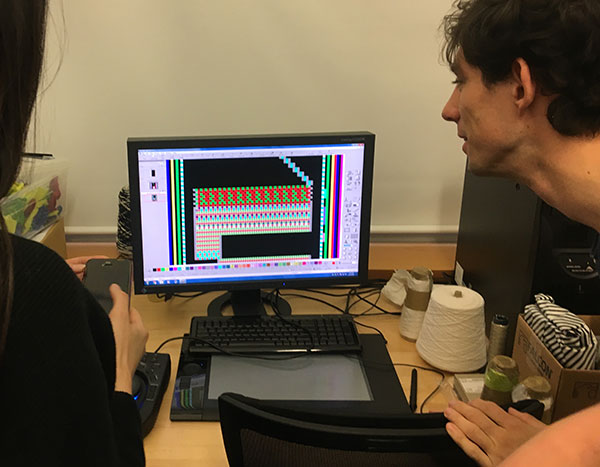
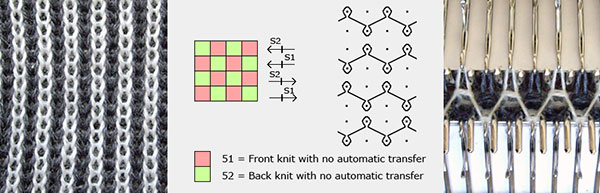
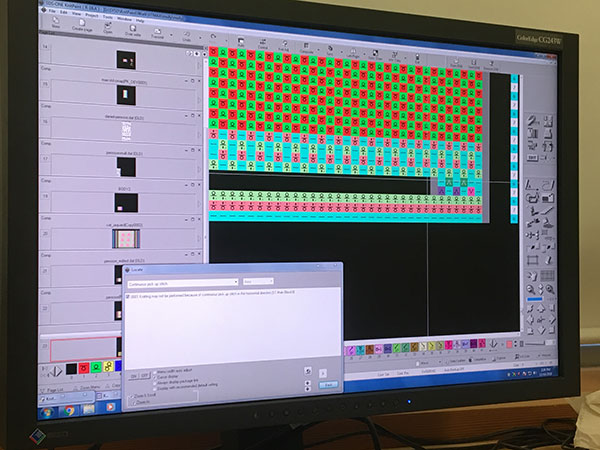
Learning about the programming was interesting - the Shima Seiki uses its own software called KnitPaint. Its a pixel based program where using different colors will result in different parts of the machine moving - this is part of the reason why knitting machines can't share files. These colors move specific parts inside the Shima Seiki but other machines have colors that correspond to different parts of the machine. This makes the programming tricky - because you can't access KnitPaint off the Shima Seiki on a computer other than the one tied to the machine, you have to develop some work arounds. If we WERE to make it directly in KnitPaint it would mean a lot of pointing, clicking, and assigning color functions to each square. The other way was nearly as mundane. Alexandre has developed a JavaScript that will translate PNG files into the DAT files that are readable by KnitPaint. This meant I had to draw a pattern in Photoshop where each pixel was specific to a color function.
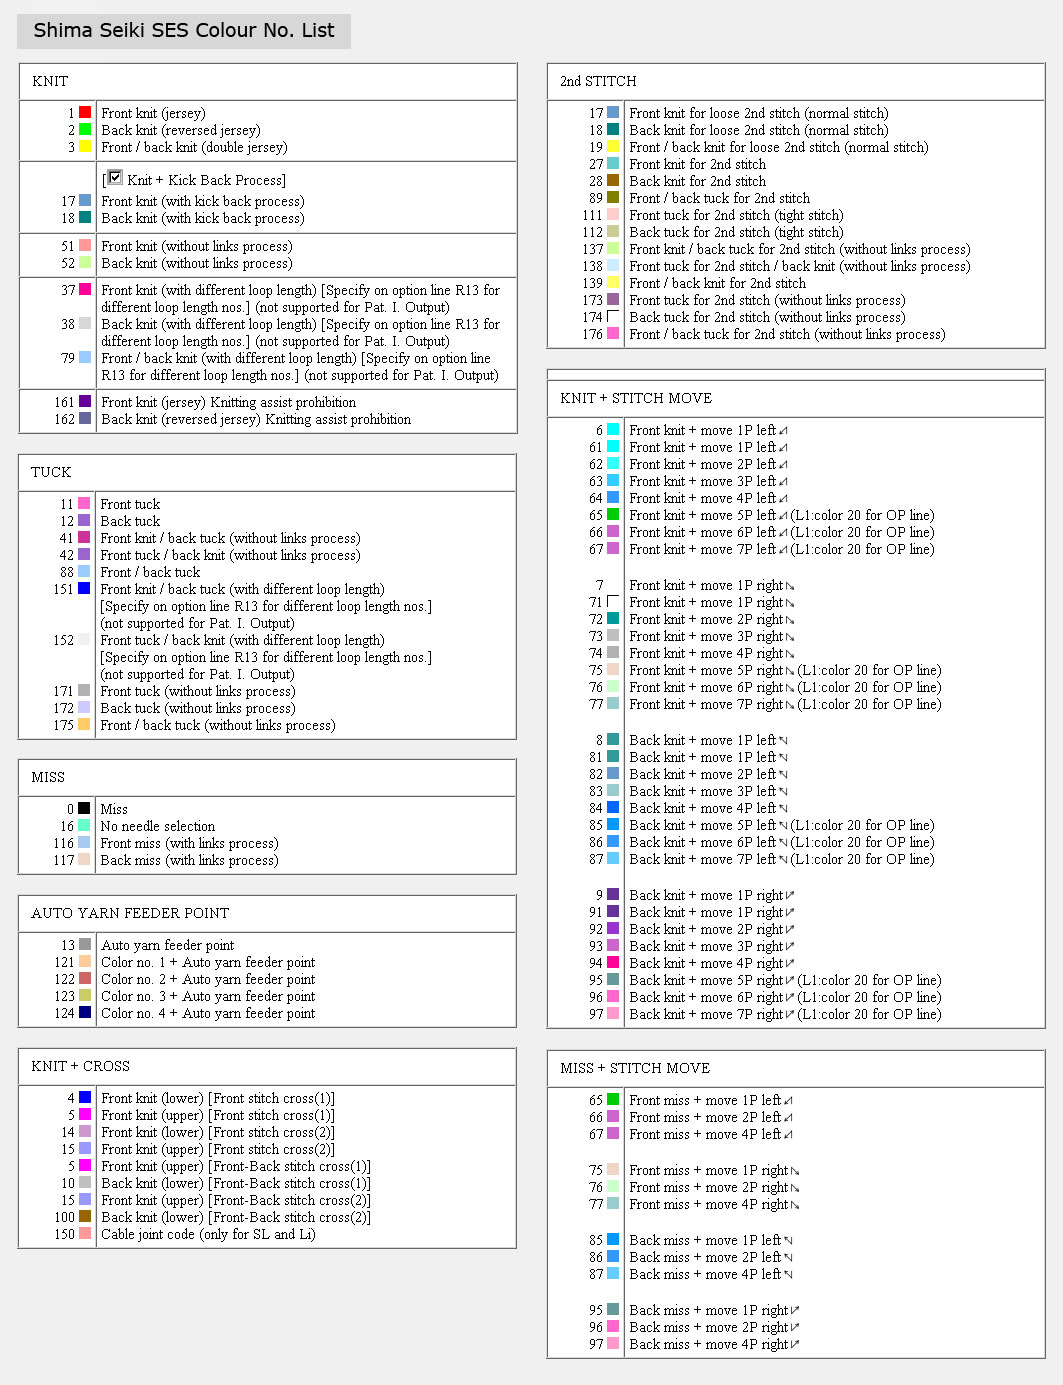
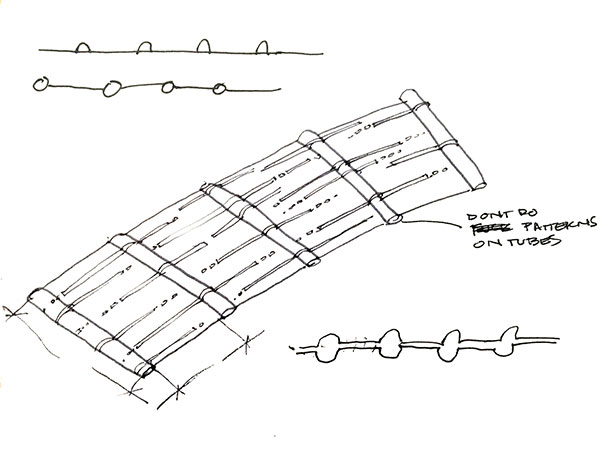
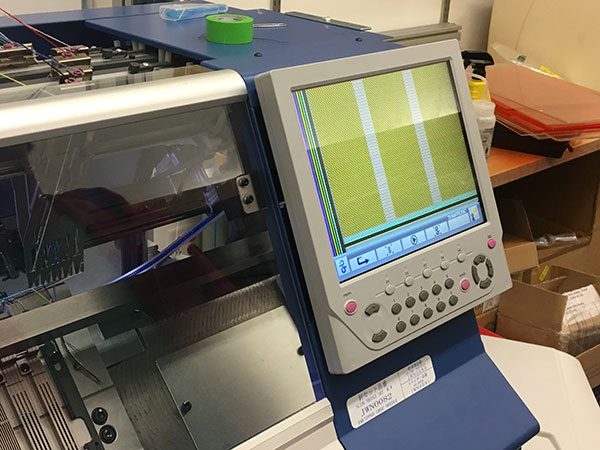
KnitPaint turns colors into specific machine (and therefore yarn) movements. My design was relatively simple - I didn't mess with different colors because I wanted to create a specific shape with my knitting. I wanted to make a fabric that was flat but had tubes for different struts to slip through. This required a topological question: was it better to create a one sided fabric in which there were tubes (like a glove with webbed fingers) OR would it be easier to make a two sided fabric? I decided on the latter. I used the "Jacquard" style of knitting which, to my understanding, makes a double sided fabric by essentially making a large tube that is stitched together. I used an interlocking pattern for the "flat" parts of my design and a "pass" stich for approximately half in inch - these would be my tubes.
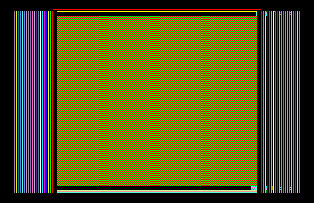
Working in this software is extremely confusing because the image you make kinda corresponds to a spatial reasoning but also kinda doesn't. In the image below you can see my png file. The main body of green and red is the pattern I designed. The vertical bars on either side are instructions for the needle beds and yarn carriages to move in certain ways (and I'll be honest when I say I don't quite understand it entirely). The horizontal bars at the bottom help "cast on" - this was where the most revision was done on my file because if you don't start the thread properly then none of your other stitches matter.
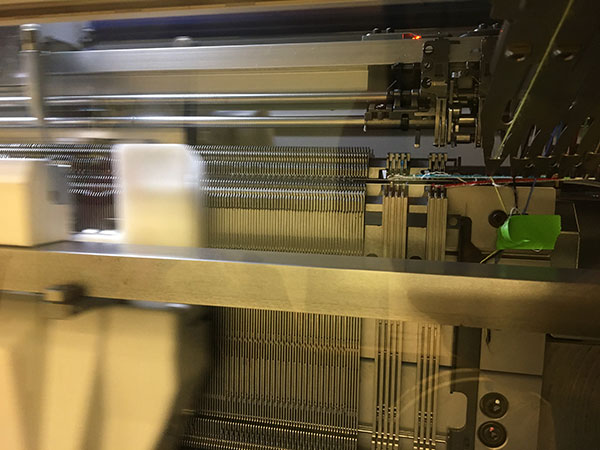
Fabrication
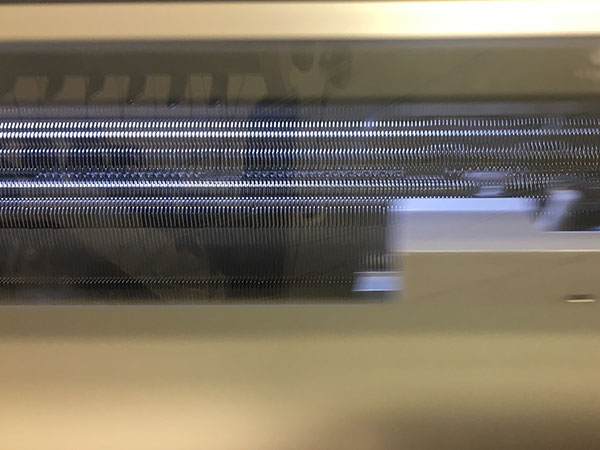
![]()
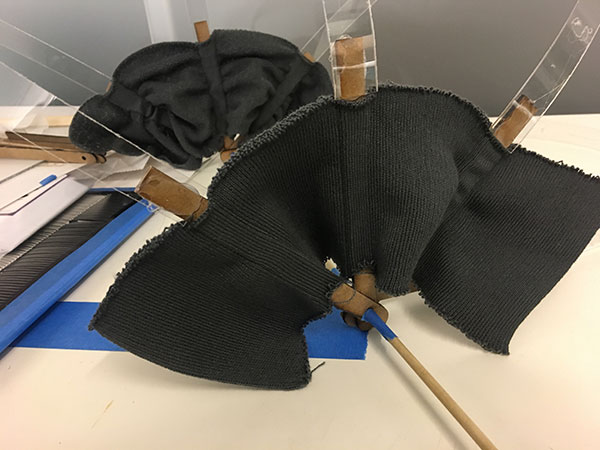
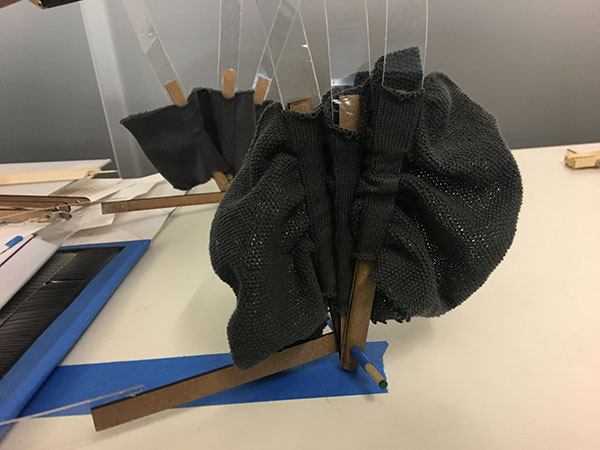
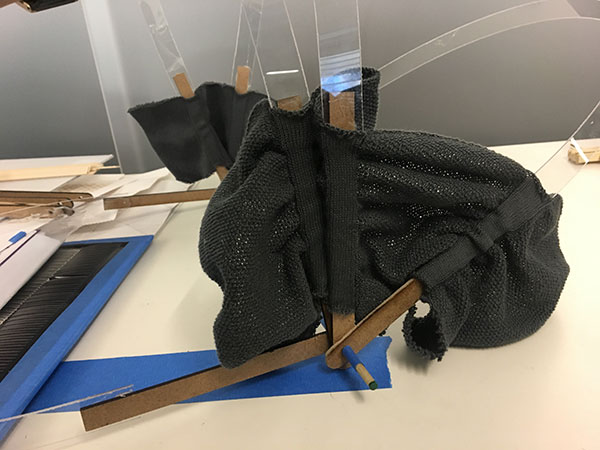
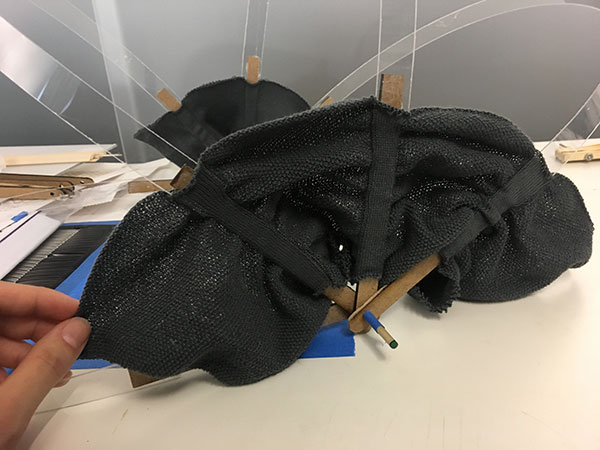
The final piece came out well - but had something we weren't expected. Because I had used front and back stitches for the "flat" portions these areas ended up using more yarn and were larger than I wanted them to be. It was not a bad discovery - it was actually an interesting way to quickly make some kind of ribbing or pleating. But to test it again (for science!) we made the "flat" portions the same stitch size as the tubes and were able to also knit a more uniform piece. I tested out the tubes on my final mechanism prototype and the worked out well - an added benefit of the knit was that they were quite stretchy and could fit around struts that were larger than .5"
Files
See PNG above