
week 07
MOLDING + CASTING
Tools + Methods
Rhino
MasterCAM
ShopBot CNC Milling
OOMOO
USG RockStone
Mold Making
Dodecahedron Beads
This week we were asked to make a mold and cast an object. I decided to make a dodecahedron bead that I could repeatedly cast to make a necklace.First I modeled a dodecahedron in Rhino. A dodecahedron is a solid that is made up of 12 pentagon faces which are rotated 116.57 from each other.
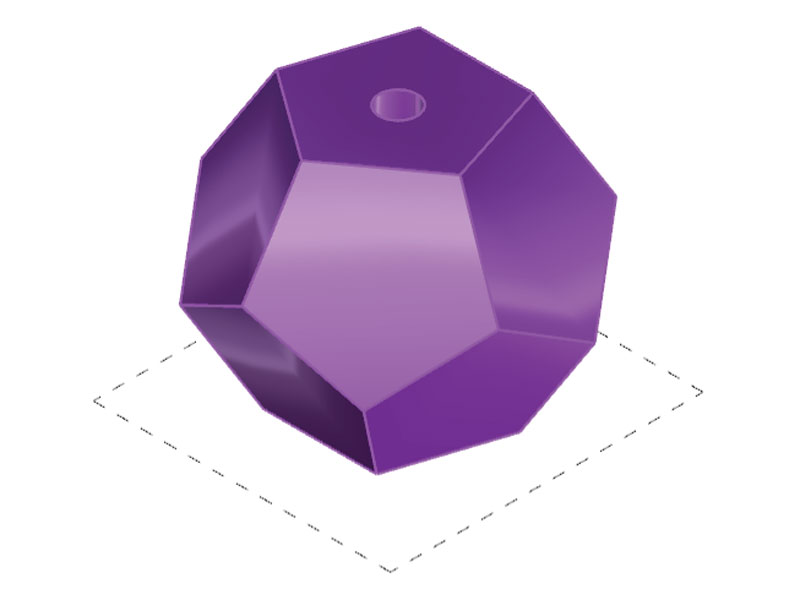
A modeled dodecahedron with channel
Then I had to figure out how to split the shape in half. Unfortunately, just splitting the solid in half created areas that would required undercutting. Instead, I removed one half of the solid away and created faceted surfaces that would allow it to connect to a flat rectangular face. I then copied and flipped the mold to create the counter part of the mold. I had hoped these angled faces would lock the models together but this didn’t work out very well later. I should have added some kind of enclosing groove that would allow both sides to lock into each other. I made sure to subtract a small cylinder from the molds – this would be my pouring point.
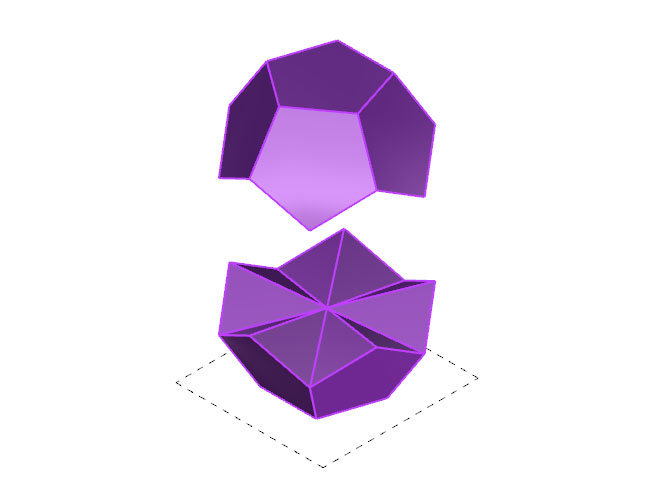
Dodecahedron divided into two even parts

Revised Top
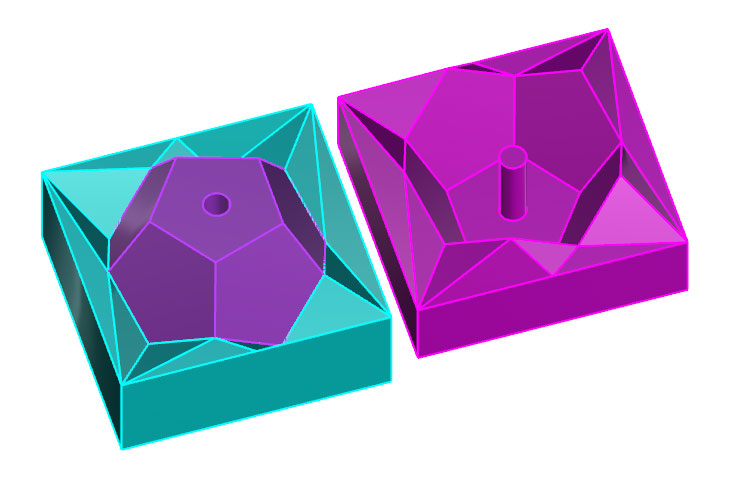
OOMOO Mold Design
OOMOO Mold Design
So far, I had modeled a negative of my bead for my OOMOO mold. Now I had to model my wax mold. To do this, I exploded my surfaces, rotated them, and subtracted them from a block that was the same dimension as my wax material. It was at this point that I realized the maximum depth would be 1.2” from the top of stock – which was larger than any of the flute lengths on the Intelitek. I decided to scale my model and make several smaller molds instead (also I could test different channel diameters this way).

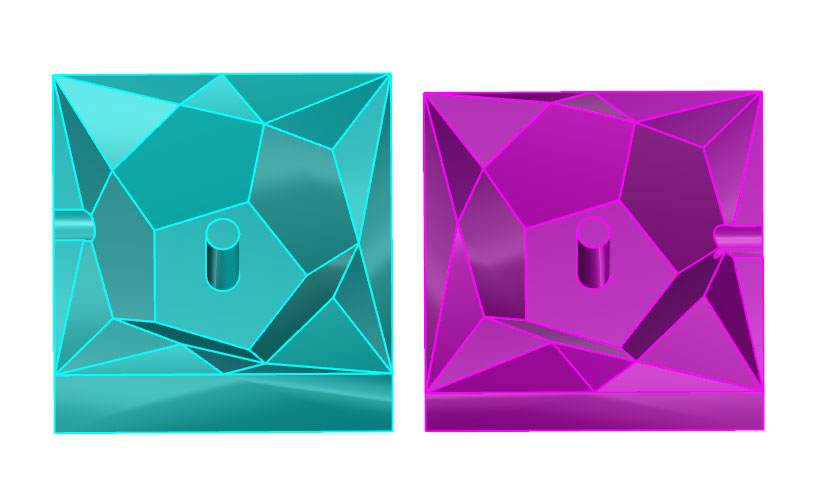
Wax Mold Design
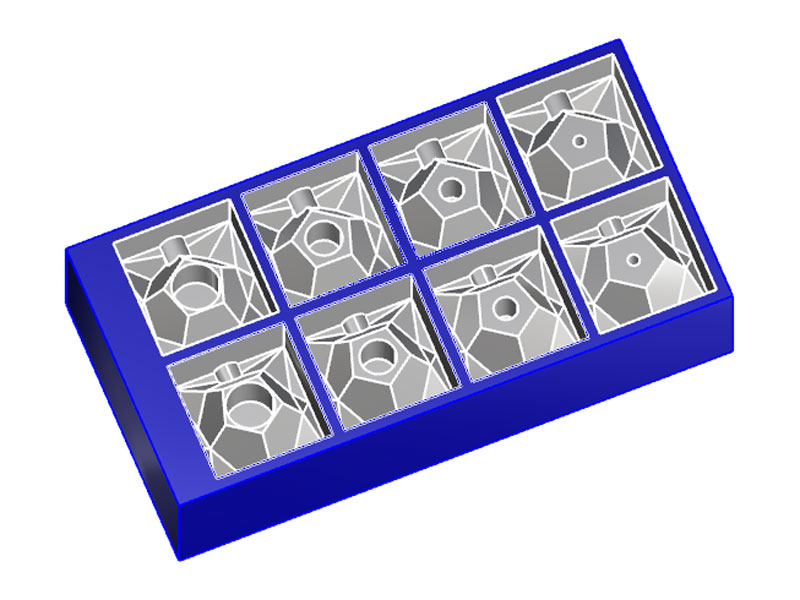
Small bead molds with different channel diameters
Milling
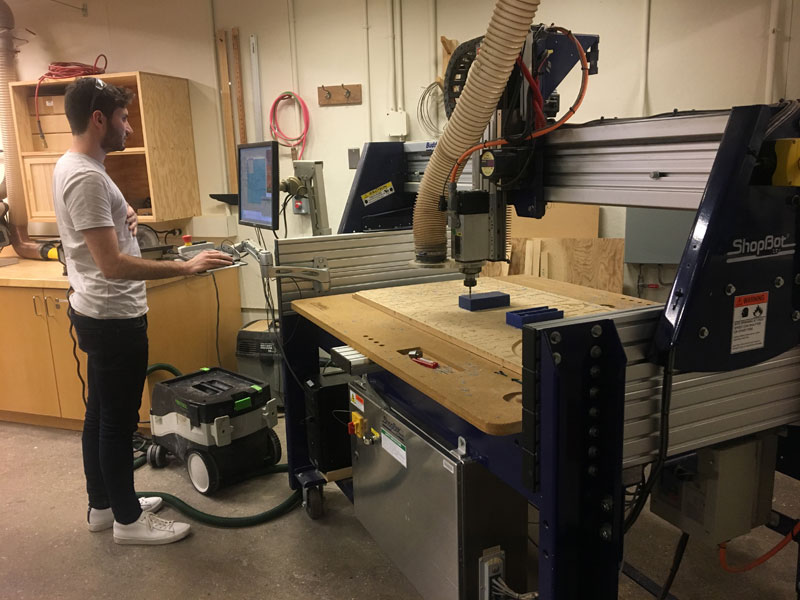
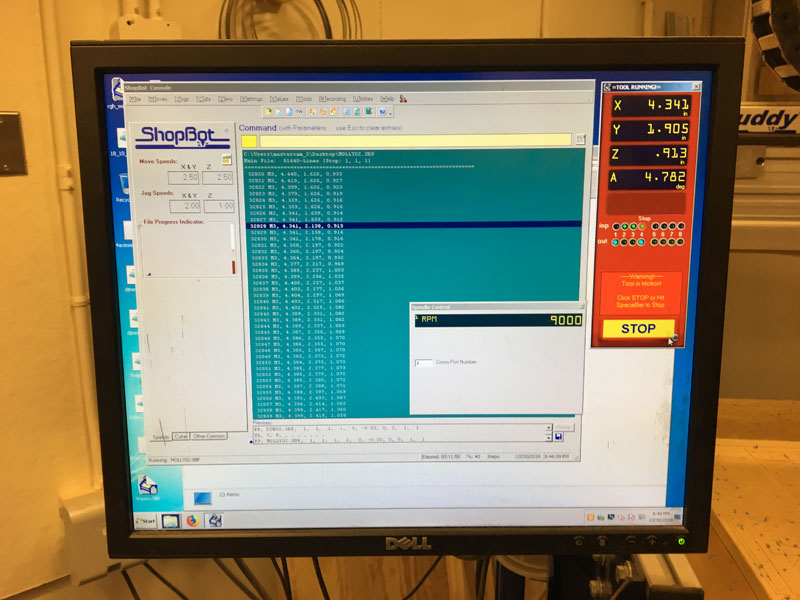
Setting up the shotbot
Scaling my piece didn't really seem to matter- when I brought my files to the shop, the monitors told me we would do better to cut it on the ShopBot.
A monitor helped me create tooling operations for roughing and finishing using the ShopBot's drill bit sizes. In retrospect, I wish I had insisted on a smaller bit and a smaller stepover rate for the finishing operation. Even a little bit of scallop will change how the molds fit together and because I scaled my piece I was working with a smaller window for error.
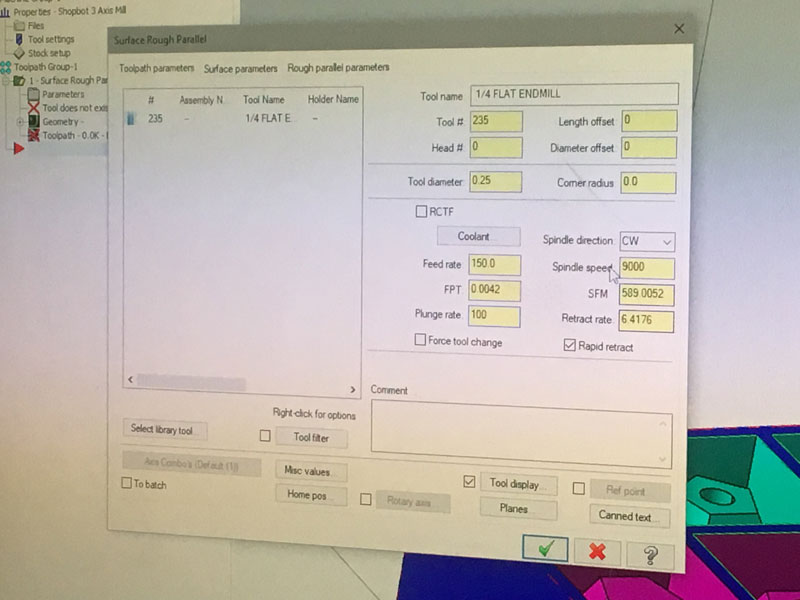
Mill Settings on the Shopbot

Tooling Operation Setup

Toolpaths
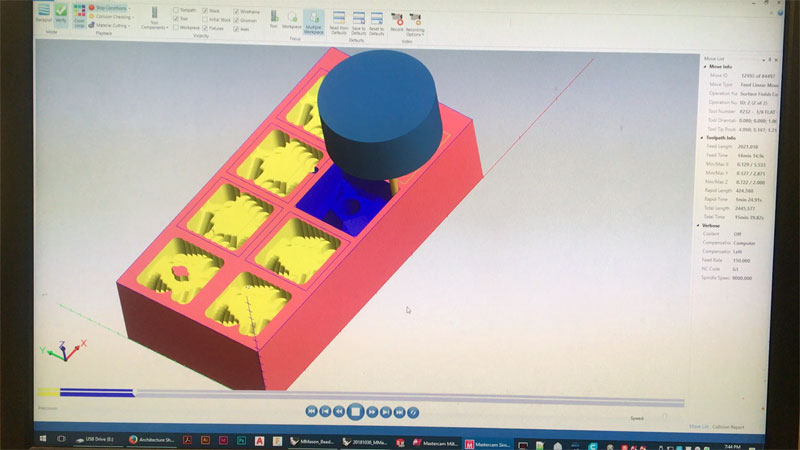
Milling Simulation
Shotbot Set up
Roughing and Finishing operations used different sized toolbits
Casting
Casting the Mold
With my wax mold milled and cleaned, it was time to make my silicone molds. I mixed equal parts A & B of the OOMOO in a cup and mixed until I had even coloring and consistency. Then I poured the mixture into the wax molds, trying to move as consistently as possible. Afterwards, I made sure to vigorously shake/vibrate the mold so that all the airbubbles rose to the top of the surface.
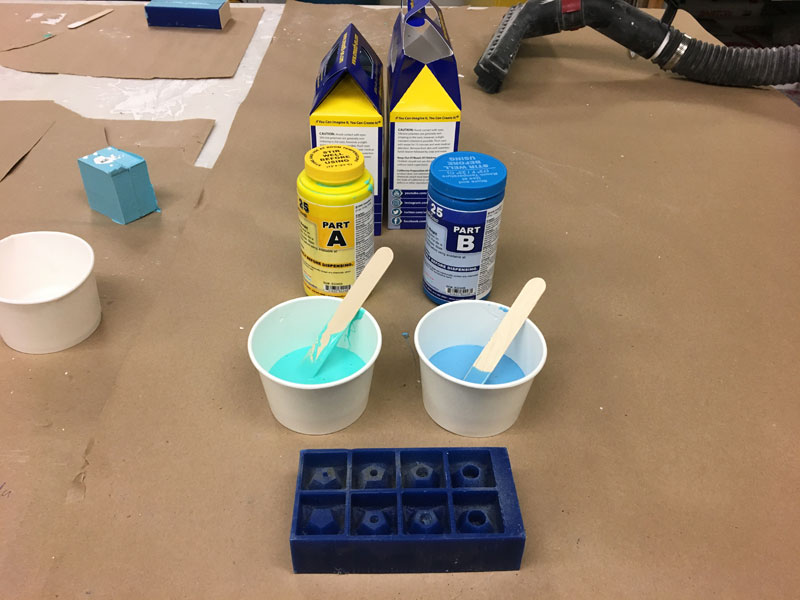
Setup

Casting the OOMOO to make flexible molds
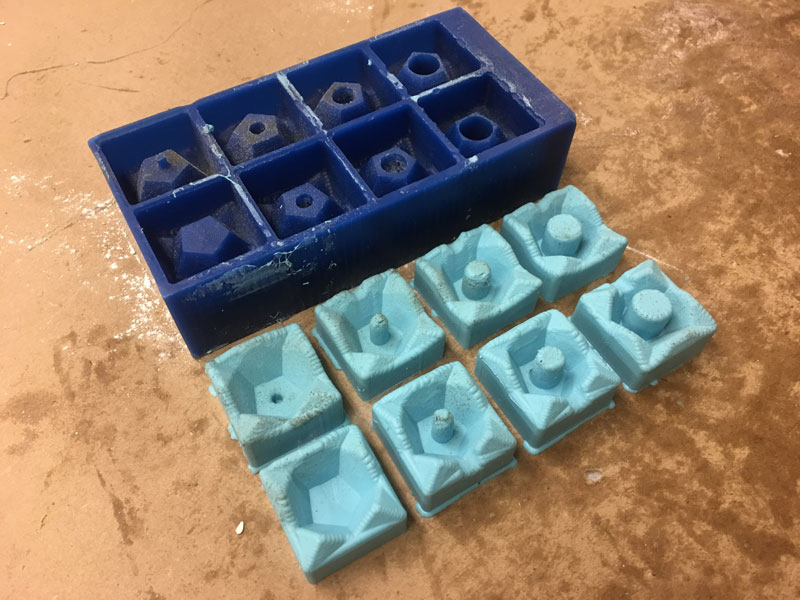
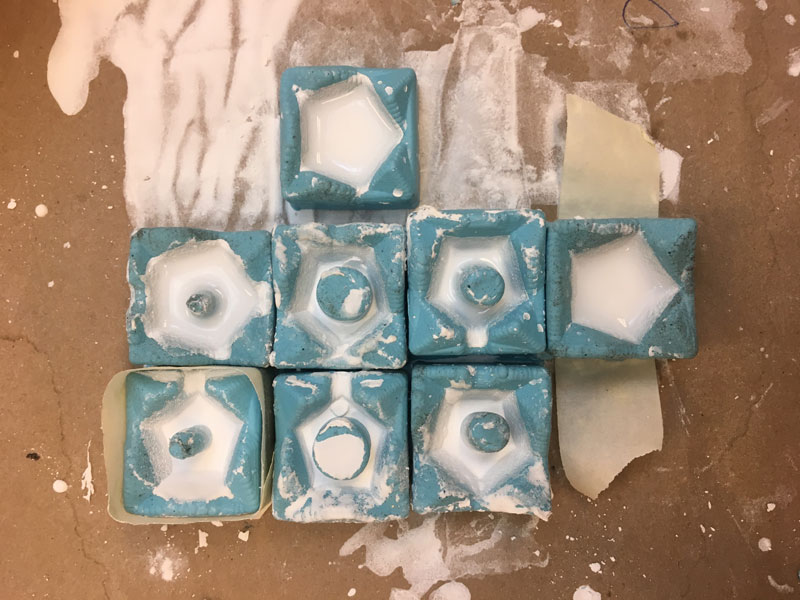
Molds after drying
Casting the Piece
After waiting 90 minutes, I returned to find the OOMOO pretty much solid. I removed the silicon from the wax, pleased to find them without air bubbles but a little disappointed with their scrappiness. The corners seemed super rounded from using too large of a drill bit and they didn't quite fit together because they seemed to expand when cast in silicone. I tried casting a Drystone in them anyways but this turned out to be disasterous. First, I used the wrong ratio of Drystone to water. It should be 8-9 kg water: 45 kg Drystone. I been measuring my materials visually. Then, even when I taped the molds together, there were still leakages. I think this is because the faceted connects were not clean connections after milling. I definitely should have added some kind of ring to enclose each mold and I probably should have made them bigger.

Prepared Drystone for casting
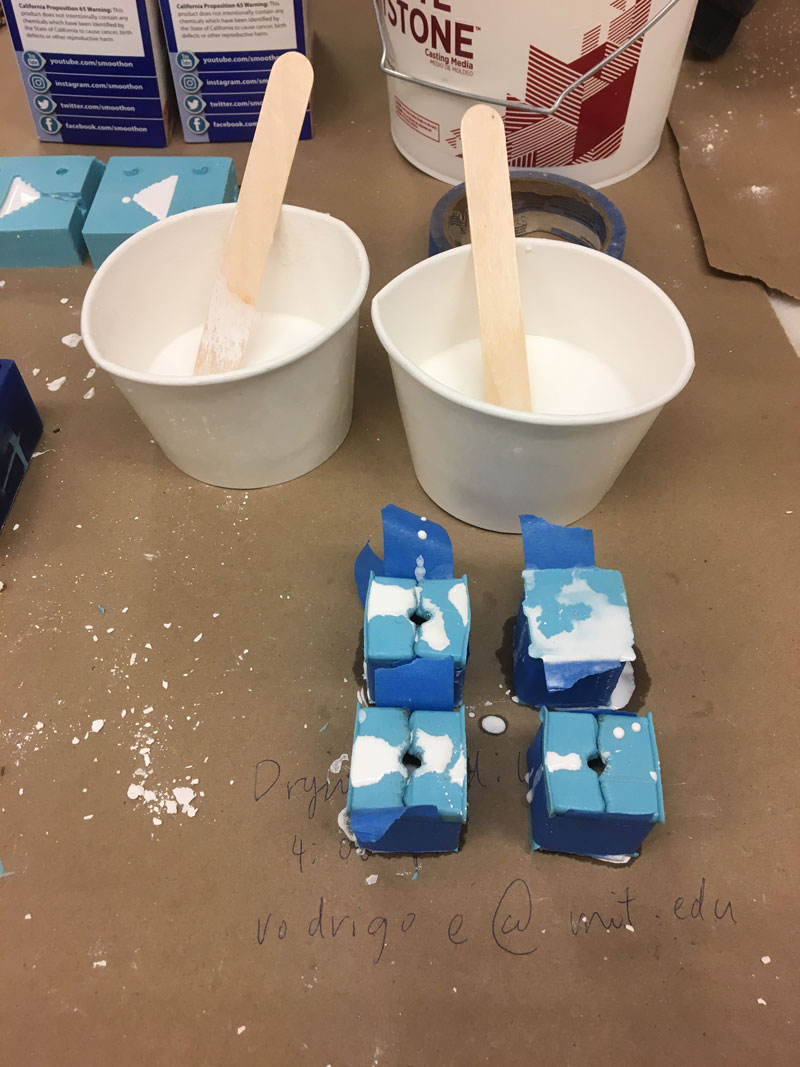
Mold Problems #1
Mold Problems #2
In the end, I failed to get even a single bead, the wax and silicone molds I made were pretty much useless. If I were to do it again I would adjust my mold design and make sure that it was milled with a smaller bit with a smaller stepover.