Embedded programming
Two weeks ago we modified the echo hello-world board, added a button and a LED. Now is the time to program it! Neil asked us to do so with as many different languages and programming environments as possible. Also, we had to read a microcontroller data sheet, and compare the performance and development workflows for other architectures.
Fabricating a new board
Although I already had a fully funtioning board from Week 5, I wanted to use this week's assignment as an excuse for building another board. Actually, at the end of that week I designed a color timer. This is basically the same modification of the echo hello-world board, but this time with an RGB LED. The idea is that the board can count from 1 to 7 in color while you're pressing the button.
Here are the schematic and traces from week 5 design:
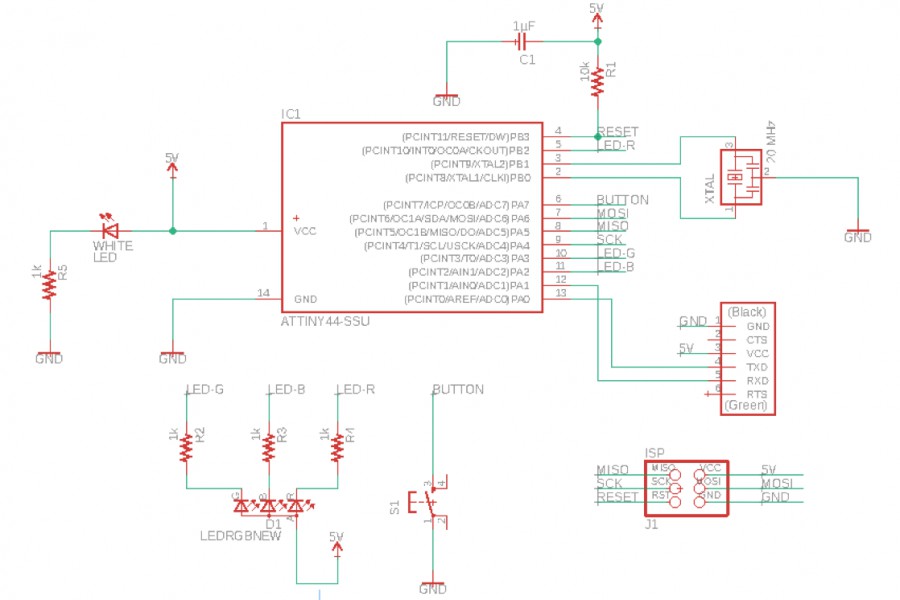
Color timer schematic
And here the traces:
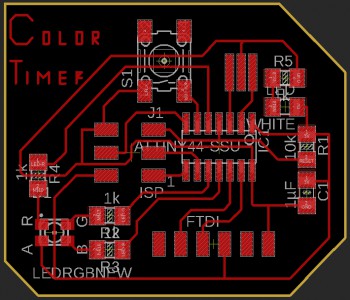
Color timer traces
Pogramming using Arduino programming environment
In week 5, I had actually programmed the old board with the Arduino IDE. Since I knew how it works, I used it again to test the new board. This time I used my computer to do so.
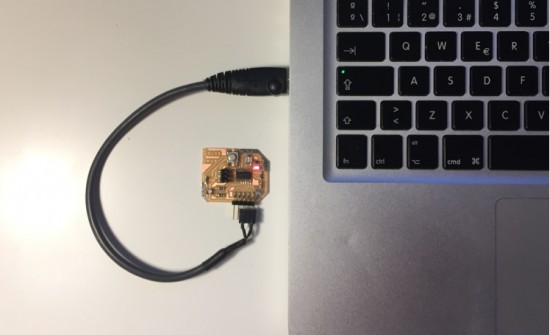
First, I fabricated a cable to power my board. I basically cut an old USB cable and connected the GND and VCC to a 3-pin FTDI header. In the future, I'm planning to fabricate a full FTDI cable. Then, I struggled a little bit trying to connect my USBtiny to my old MacBook (2009). For some reason, the mac didn't recognized the programmer (and I knew it worked because I had used it in a PC). I tried different things, but then I used a USB-splitter and voilà: it worked!
Once everything was connected, I loaded two basic programs (files included in the Files section):
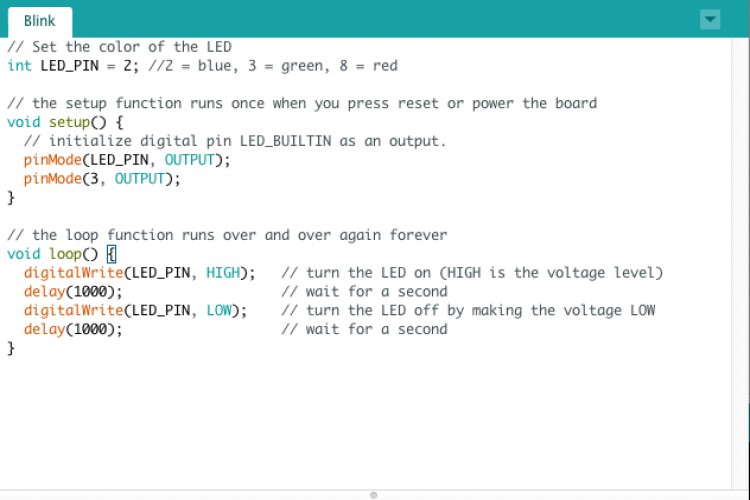
Blink script
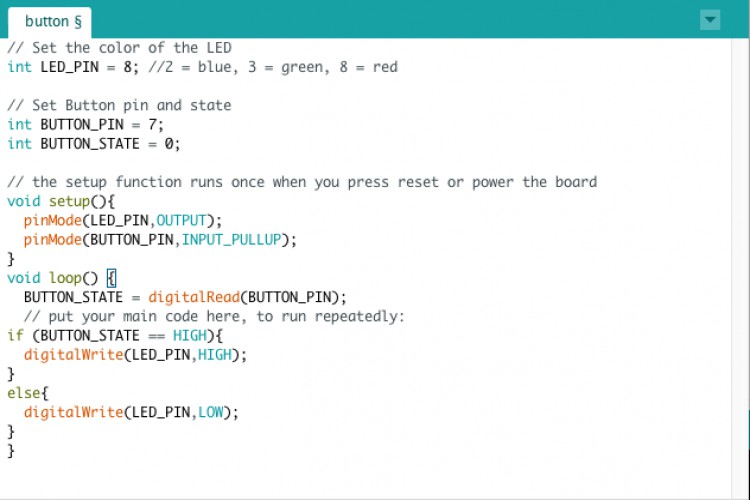
Button script
I noticed that even when the Arduino gave me the option for specifying the clock type (internal/external and the frequency), it actually didn't controlled it... Only the internal one worked properly. I wonder if it was the Arduino or my board...
Now, for this week's programm I complicated the last code a little bit. I added a counter in the loop that adds +1 for every consecutive second the button is pressed. Then, depending on the counter value I activate the individual R-, G-, B- terminals (or a combination of them). As result, the board counts in the follwing way: 1 (red), 2 (green), 3 (blue), 4 (brownish-yellow), 5 (magenta), 6(cyan), 7 (white), and start again with 1, etc. Here is a small video:
Programming using the terminal
After everything worked with the Arduino IDE, I started to play with the terminal (as we were told is much more efficient). First, I had to install a some libraries and porgrams I didn't have:
Then, I downloaded the hello.ftdi.44.echo .c and .make files, the python terminal, and just followed Neil's tutorial. And here is my board talking to me (note for this exercise I used the dulle FTDI cable from the ArchShop):
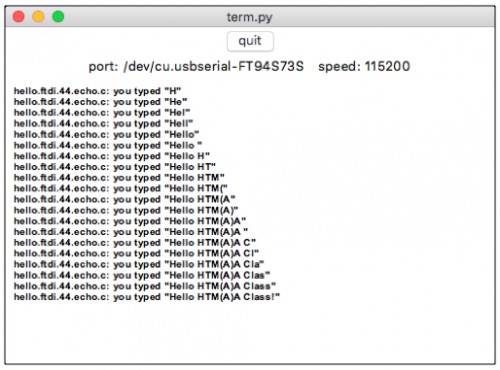
Echo-board is alive!
Files