 Amnahir
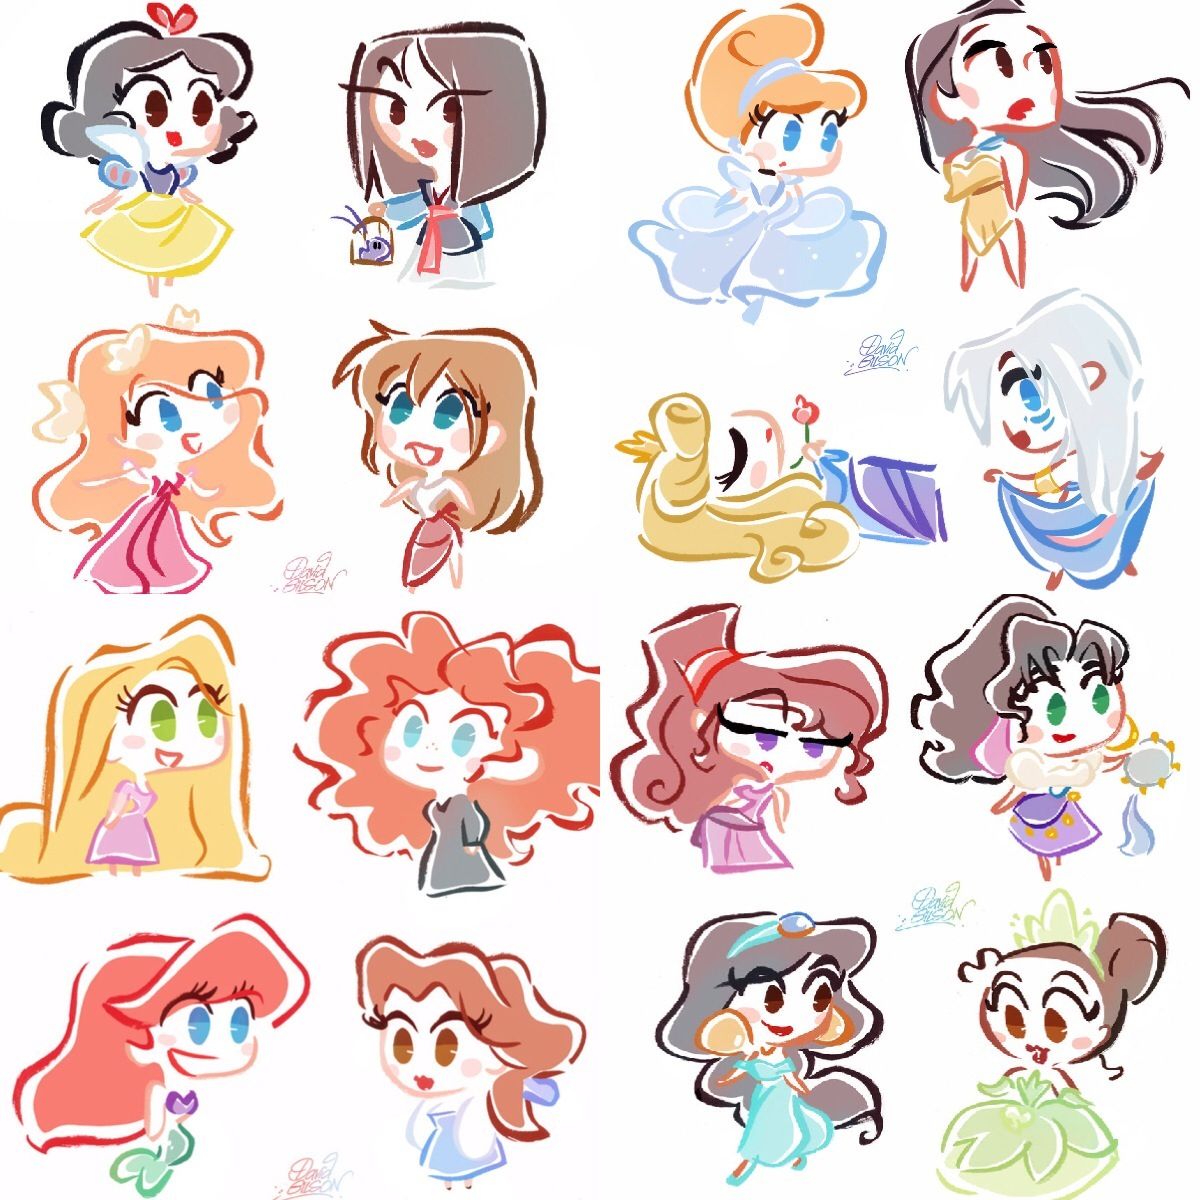
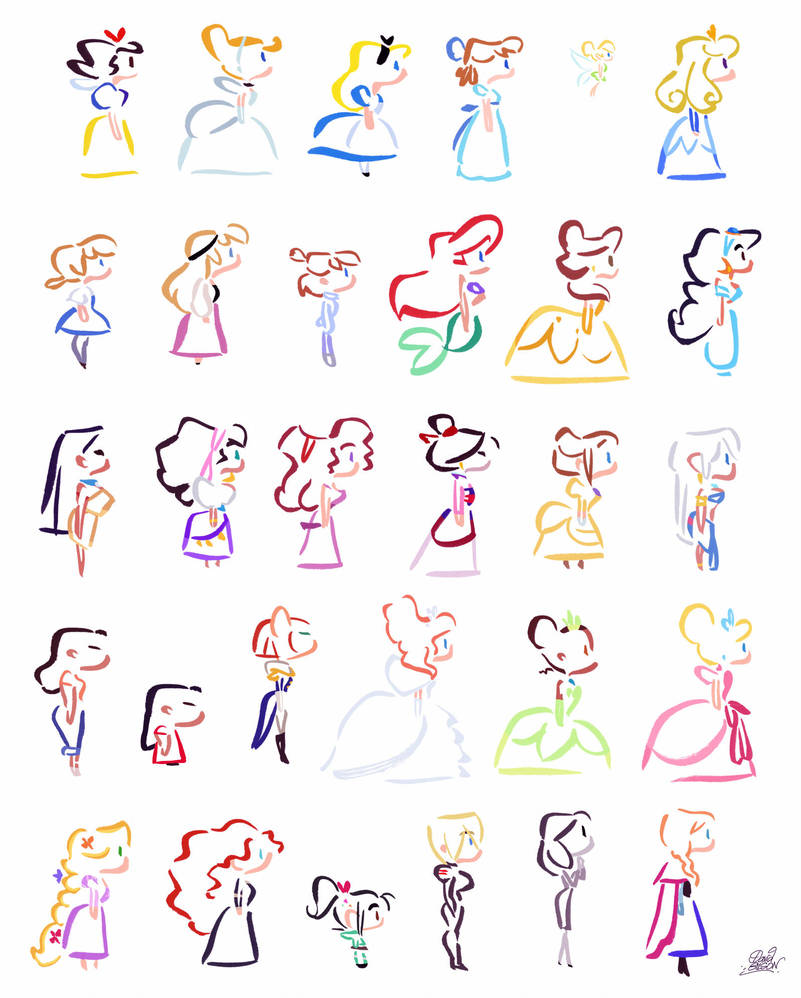
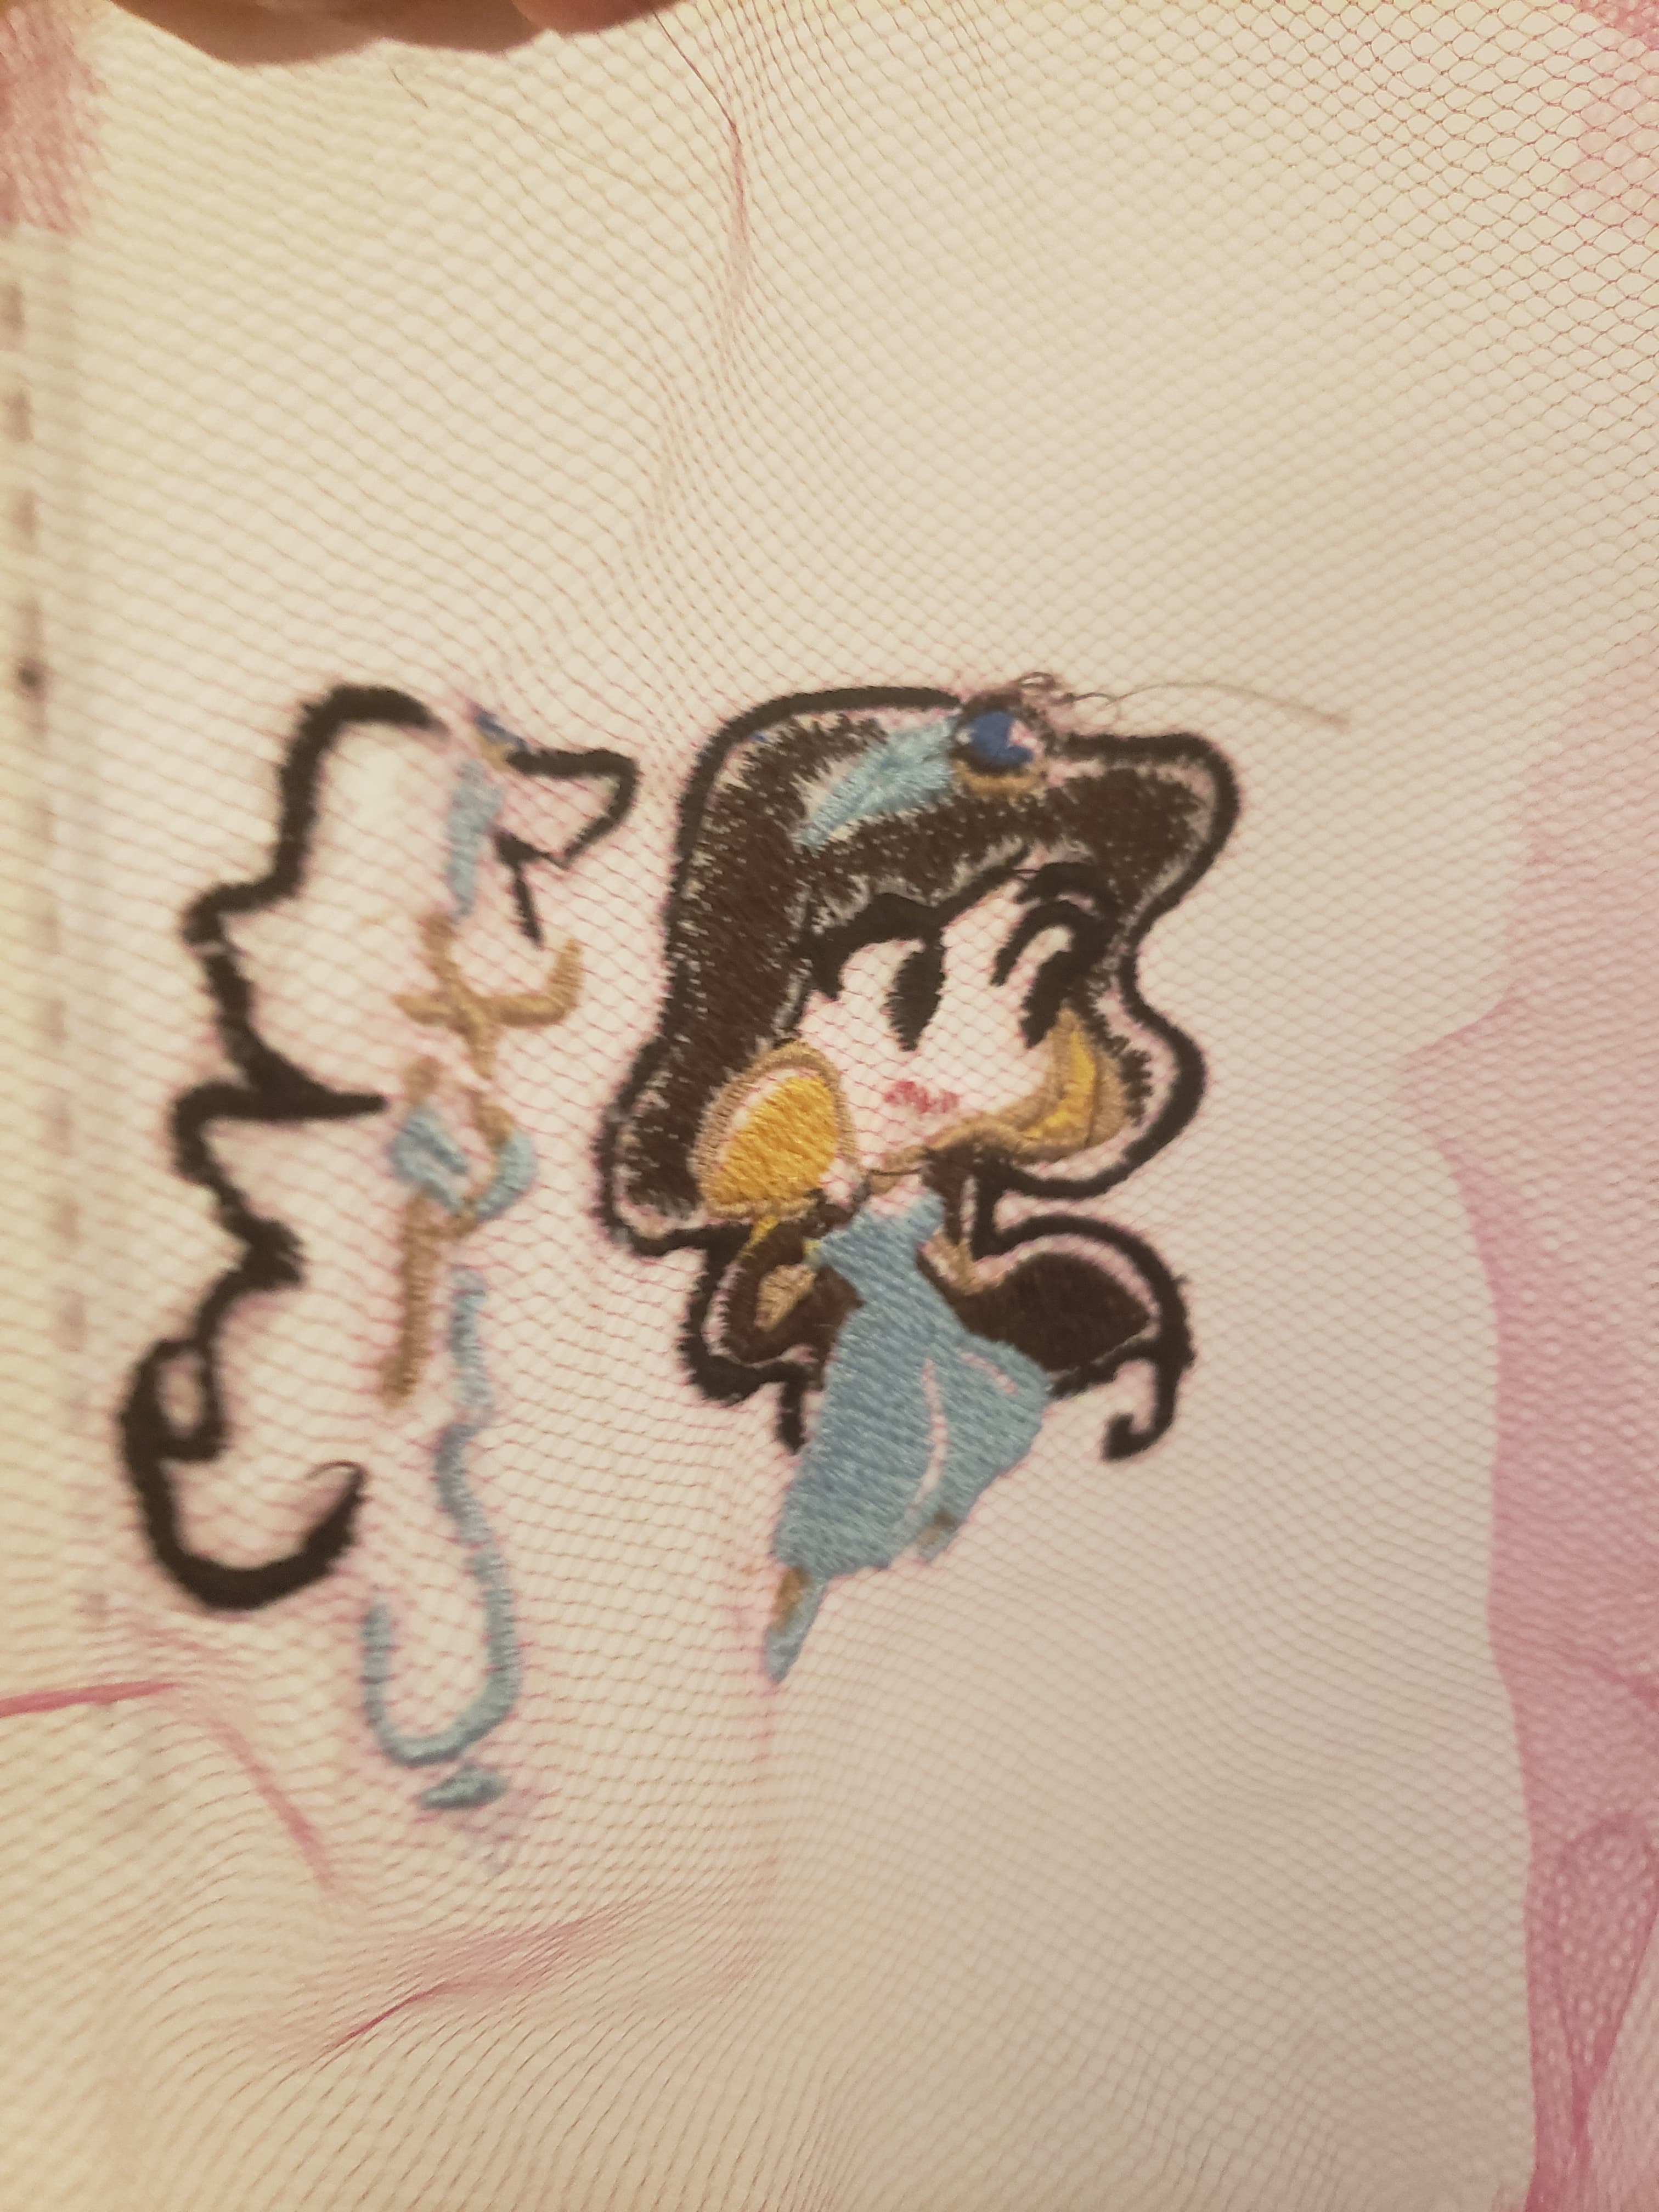
For the 14th week, we got to choose what we wanted to do from a variety of options. I ended up choosing embroidery, since I thought that I could make my final project look really nice with an embroidery. While being trained on the machine (Brother SE-1800), it seemed that the software (Brother) could not distinguish colors too well if they were similar shades and overlapping. As such, I wanted to test that with some designs that incorporated water color type designs, since they had similar shades going ontop of each other. So, I found the disney princesses shown below on the left. I then also wanted to see how just lines would look, so I found the princesses on the right.
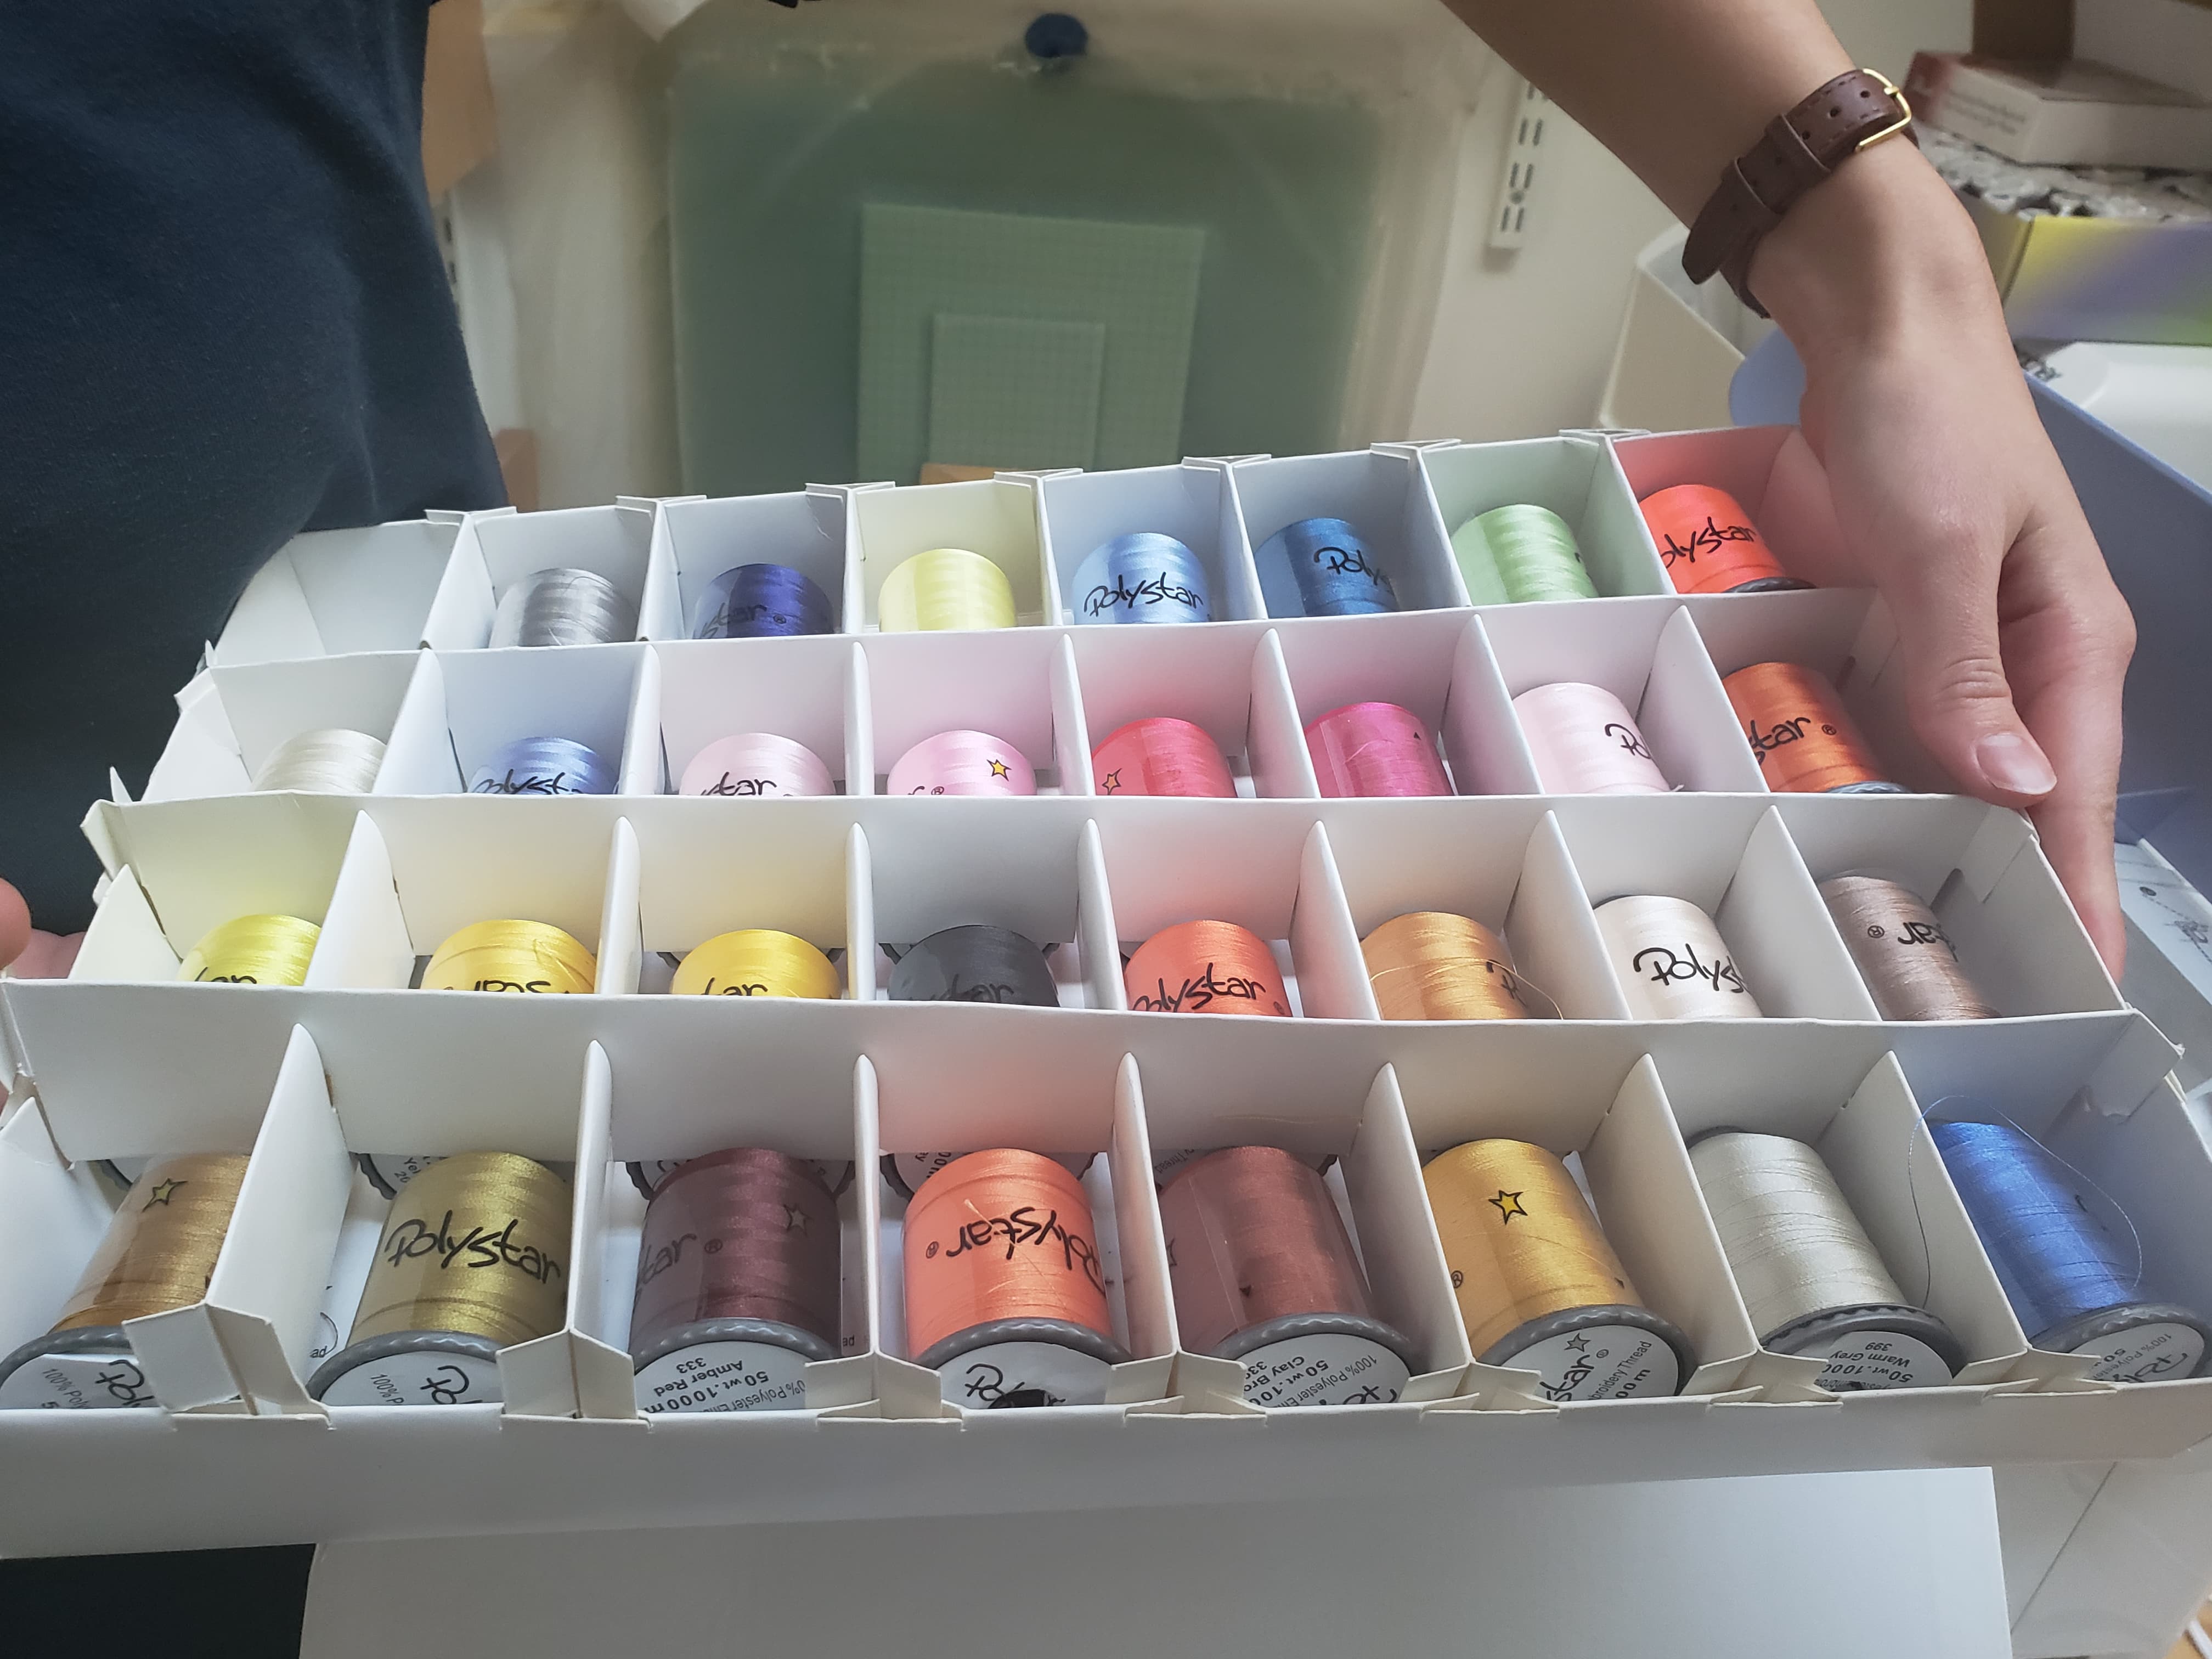
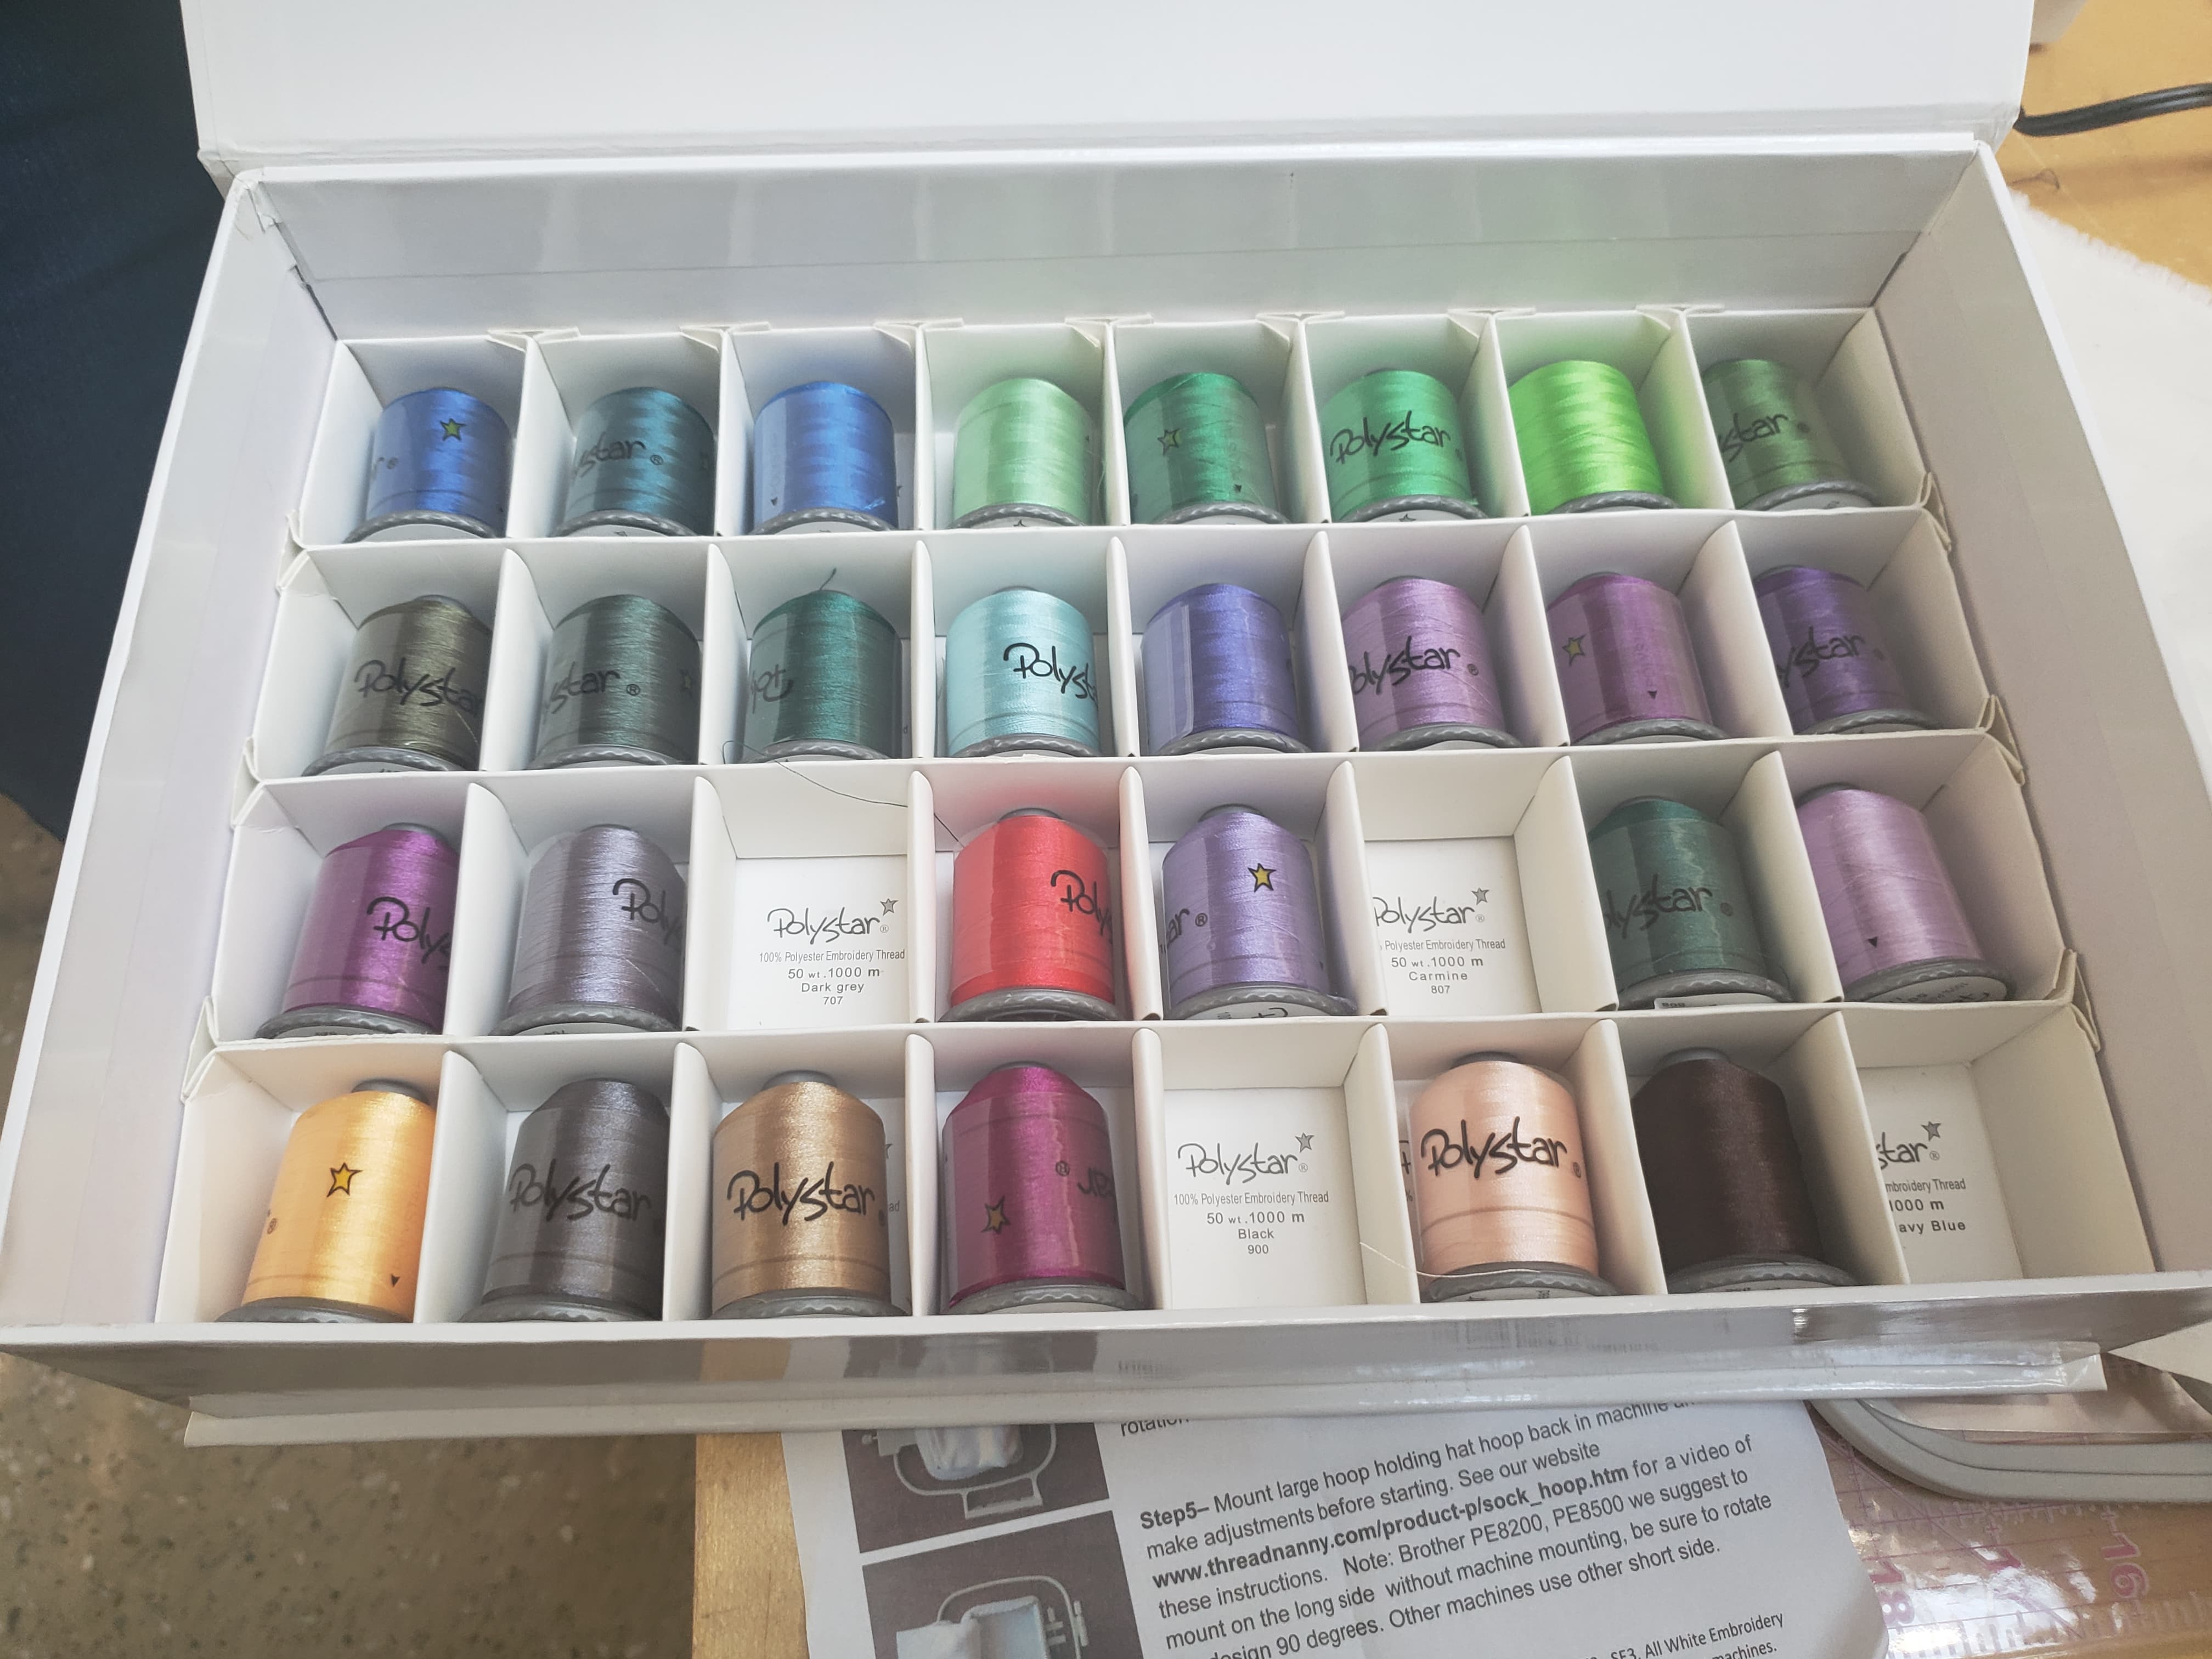
Using the princesses, I chose Ariel since she seemed cute and not too complicated. Thankfully, the machines was able to distinguish most of the colors well, and could find a difference in the watercolor section vs thicker lines. But it made some mistakes in sections. As such, I had to go through everything and move them around and self pick the colors so that the final product looked like the picture. For example, the purple bra was originally seen as skin color, so I had to go through and change it. While changing colors, I had to then organize everything, so that all the same color are grouped together. This ensured that I had to rethread only once for every color change. I was extra excited for color changes since there were so many options (shown below). I also couldn't find a way to delete anything, so I moved all the ones I wanted to remove to the end of the embroidery timeline and made them one color. This allowed me to just skip the last step. Later, while working with Dylan, we learned how to delete things, which will help for my final project. It turns out that to delete something you have to ungroup all of the pieces (can be done by right clicking), and then you can delete individual pieces.
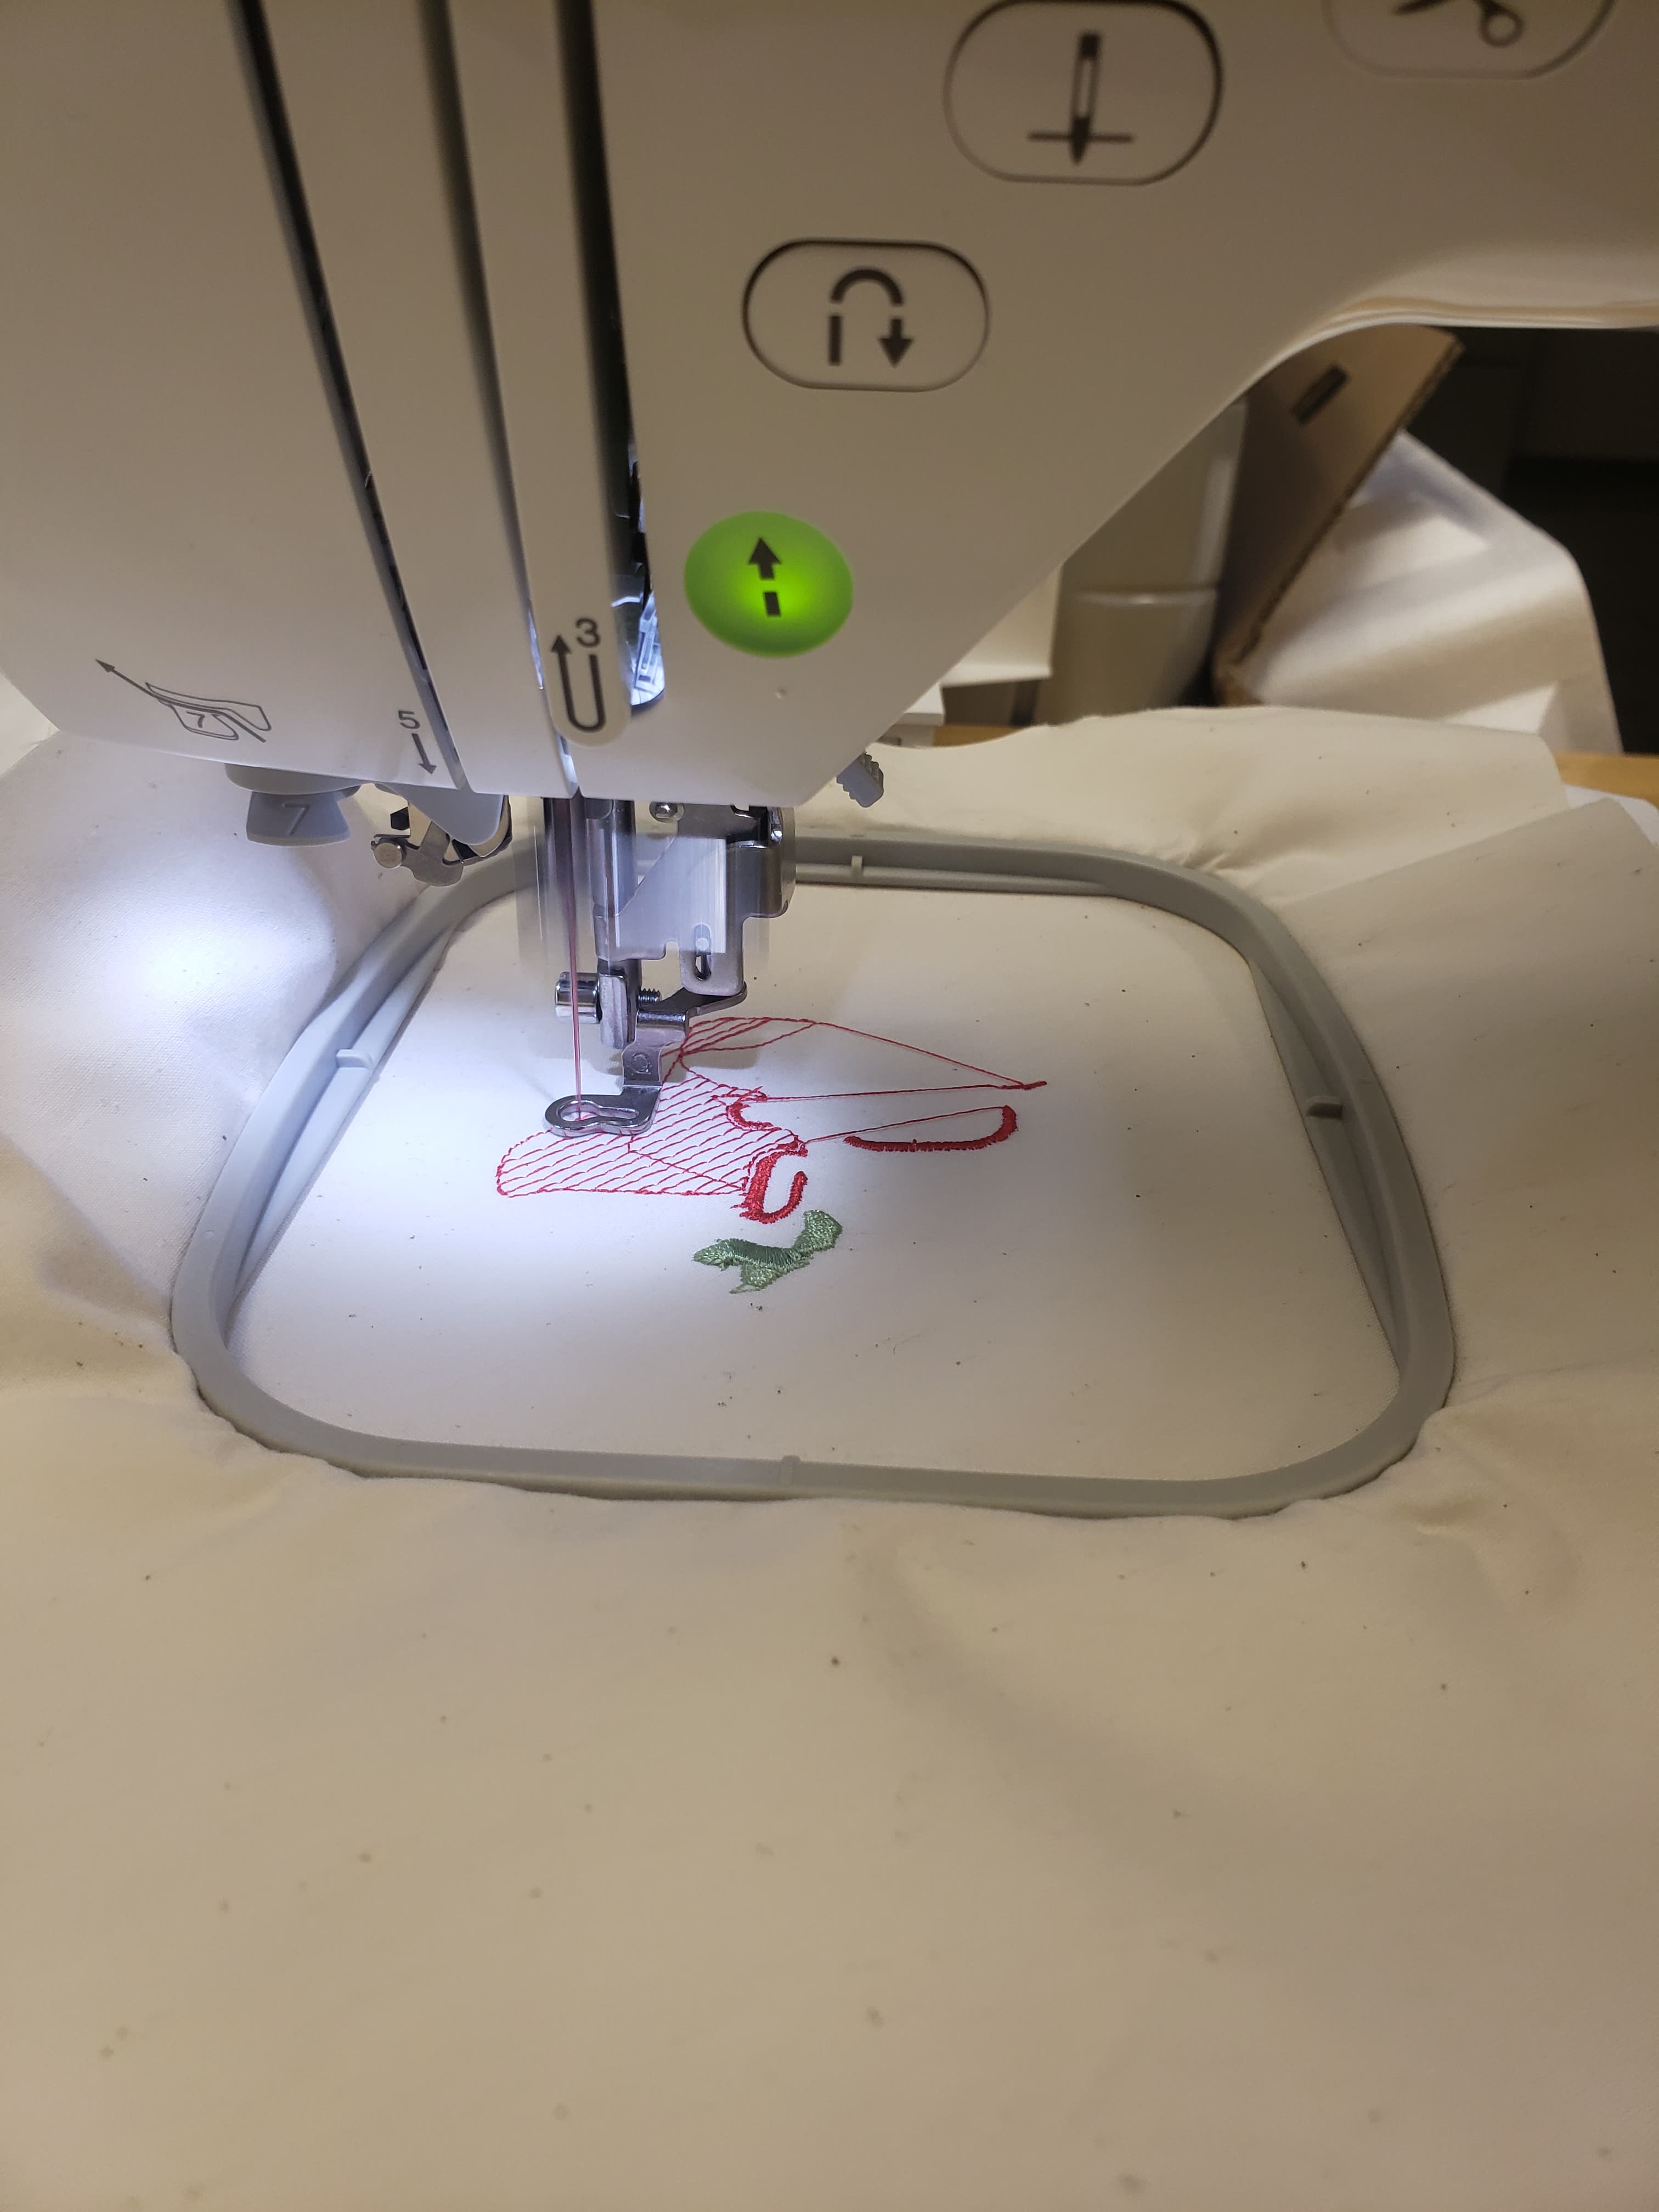
The embroidery itself was really easy. The machine was labelled so I could thread the thread easily.... (much better than my previous experiences). We also used putty to hold the thread holder down, since it was getting stuck on the machine's piece to hold it in place. I also learned that I should try to order the pieces better so there are less threads I have to manually cut in the final product. Although I never did end up doing this, since it takes too long to figure it out on the computer. So much so, that it is just faster to cut all of the threads. For the first embroidery, I did it on the typical fabric that they had in the Architecture lab with water-soluble backing. I used a bed size of 100mmx100mm, which had to be inputed into the program. The design came out nicely, except I got confused for the skin color and left the hair thread there (so I say she is sunburned). The image on the left shows the embroidery process, and the image on the right is the final product.

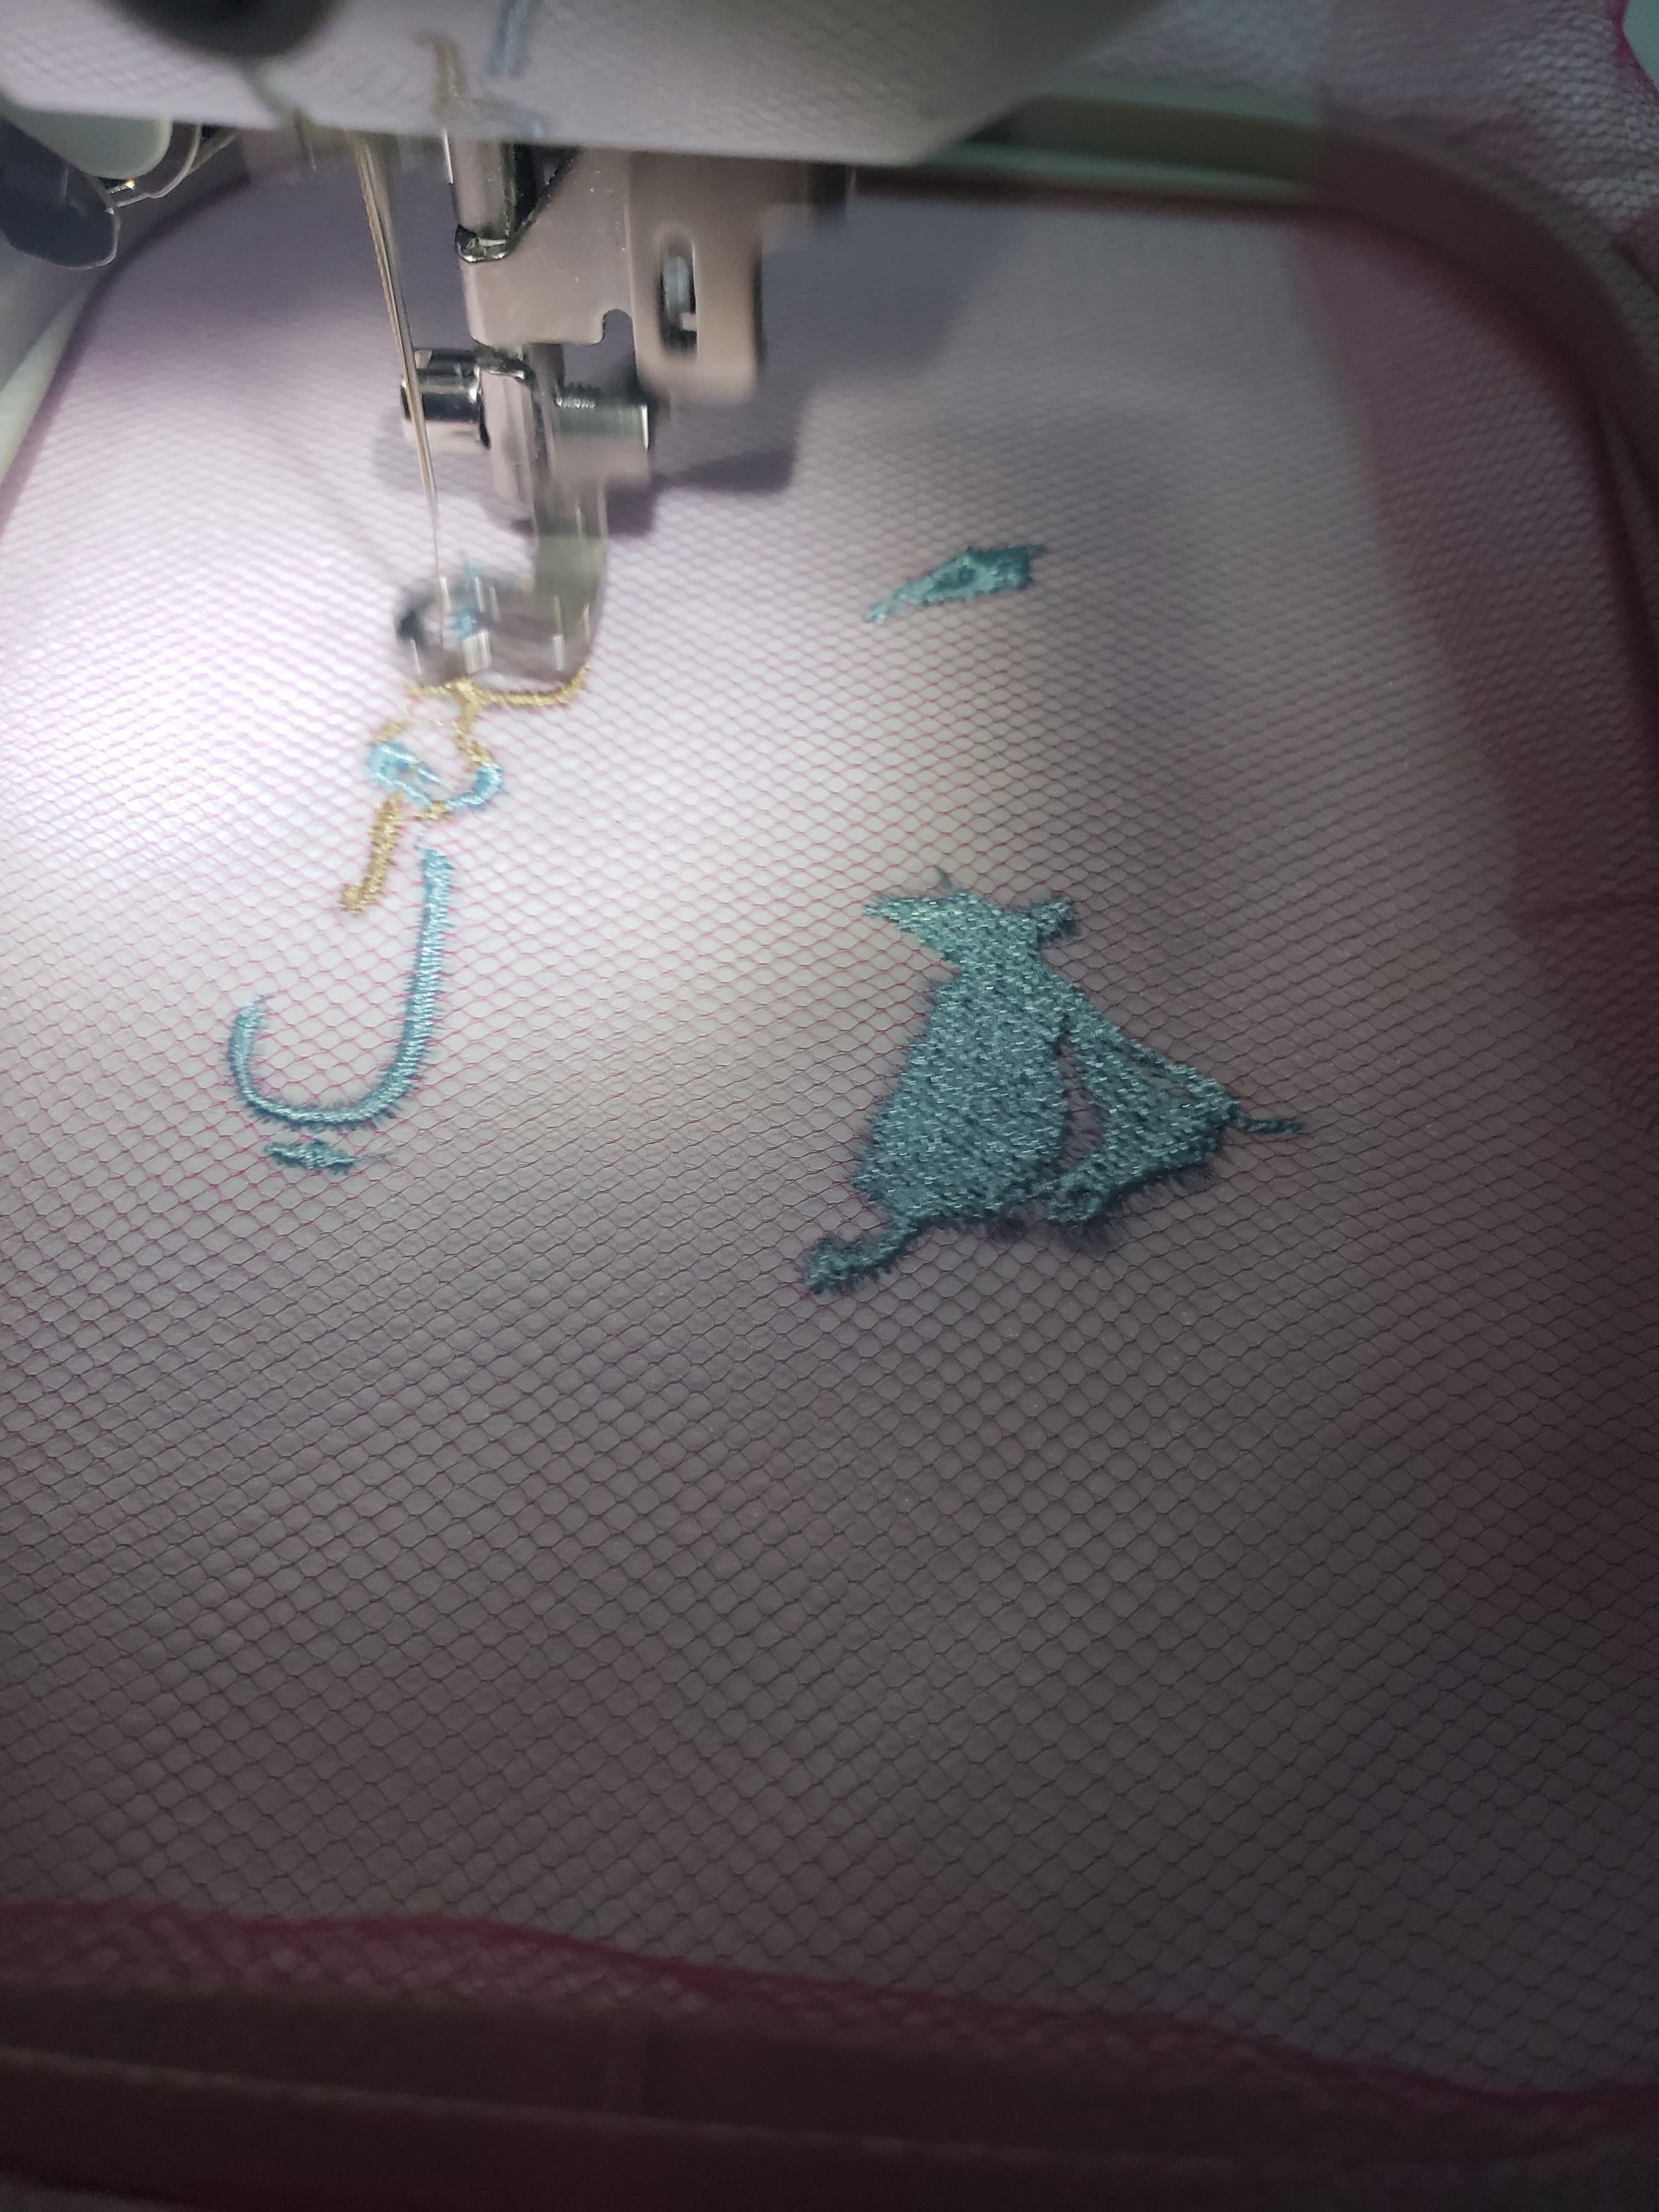
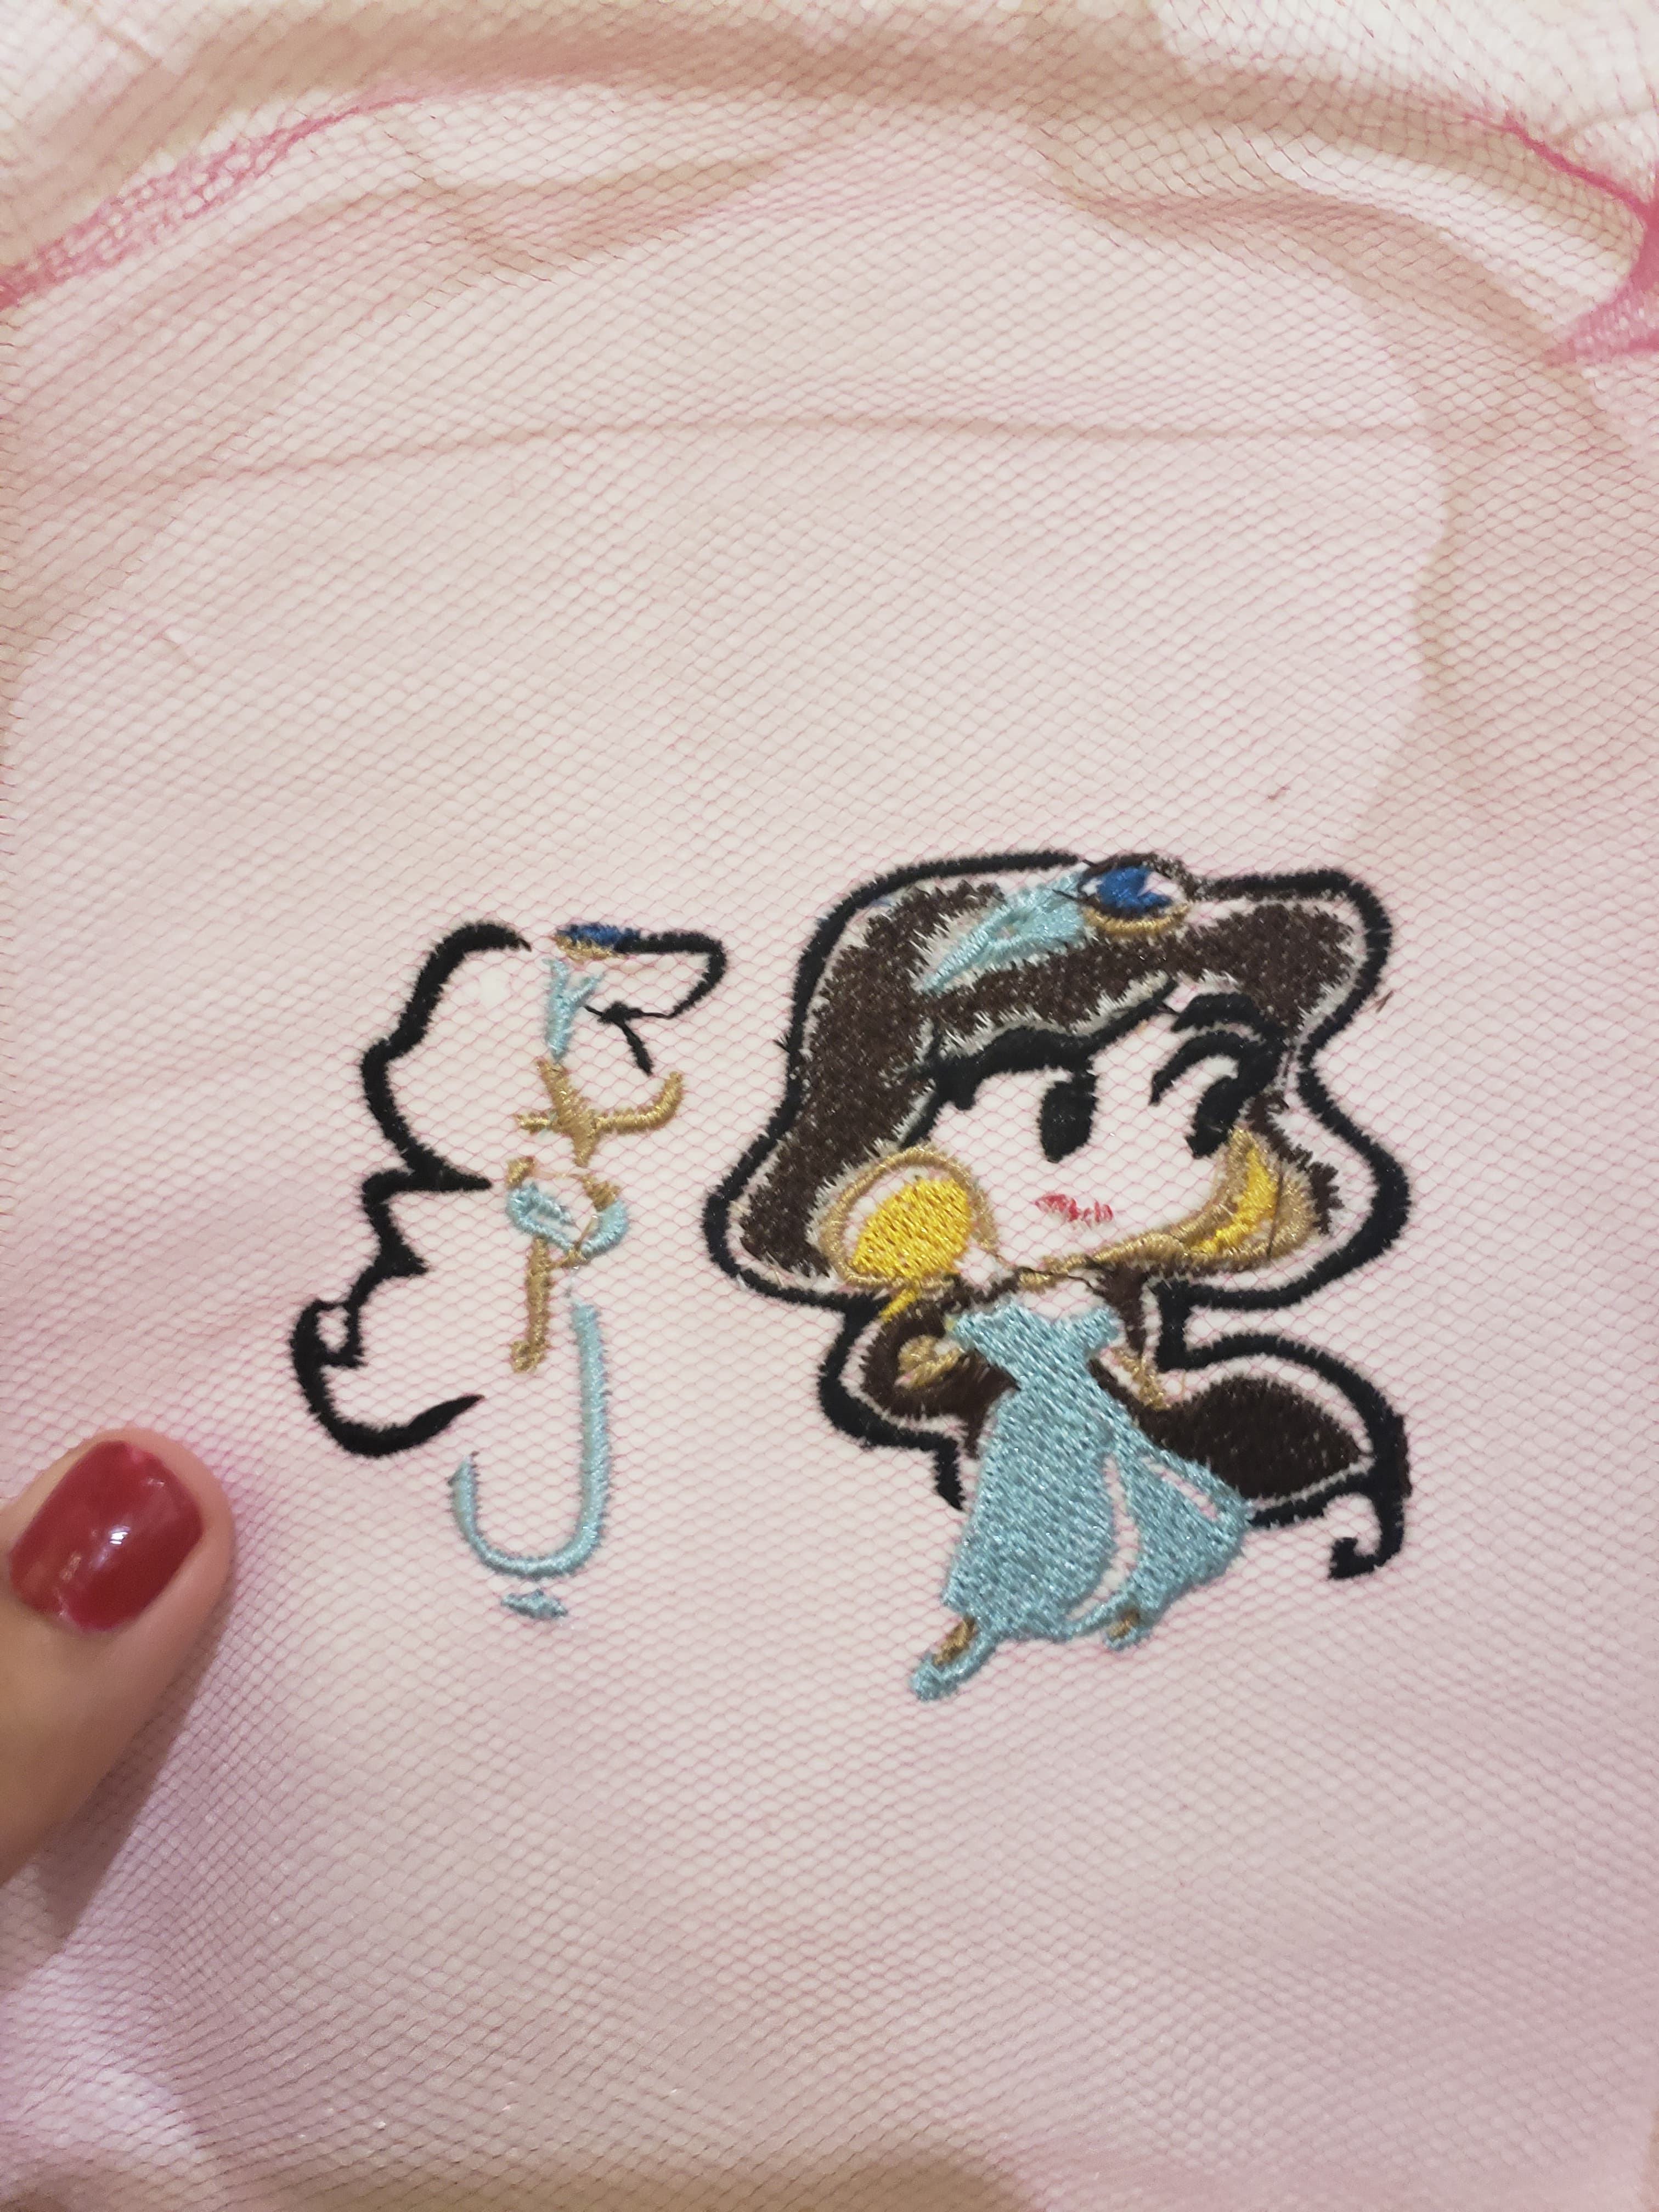
Once the embroidery worked on the normal fabric, I wanted to try it on the mesh that I had bought for my final project. I had both a pink (stretchy) and a blue (not stretchy) mesh. I tested the pink one first, since I really wanted the blue in my final project, but didn't mind wasting some of the pink. Since Ariel worked so well, I tried to do the watercolor jasmine and the line version of jasmine. I figured the blue would contrast with the pink of the fabric. The first time I did it I used one layer of backing. Halfway through a hole was formed in the fabric and backing that ripped everything. However, the second time, I tried it with 2 layers of backing, which turned out a lot better. There were fewer holes in the backing, and the embroidery process went much farther without failing. However, at one point the thread seemed to get stuck. I thankfully stopped it before anything went bad. But I restarted it without changing anything, since there didn't seem to be a real problem. After that the bobbin thread pulled through at the corners. At first, Jackie (the Architecture TA) thought it was that the stitching was too close together for the thin fabric. However, it seemed to have the same issue everywhere, so we figured it was something wrong with the bobbin tension, which we fixed before the next embroidery. The images below show the embroidery process and the final product for Jasmine. The lower image on the left still has the water-soluble backing while the other does not. It turns out that the water-soluble backing is not great. I put it under the faucet and it softened for me to remove more, however, it never disappeared. So, I left it in burning hot water overnight (which eventually cooled down), however that still did not dissolve the backing, so I've left it as is.
After the initial success on the pink fabric, I tried it on the blue mesh. I kept all of the same settings as the pink, which involved having two layers of backing. This worked out great, so I made 2. It was especially easy since I didn't have any thread changes. In total, each design took ~30 min.
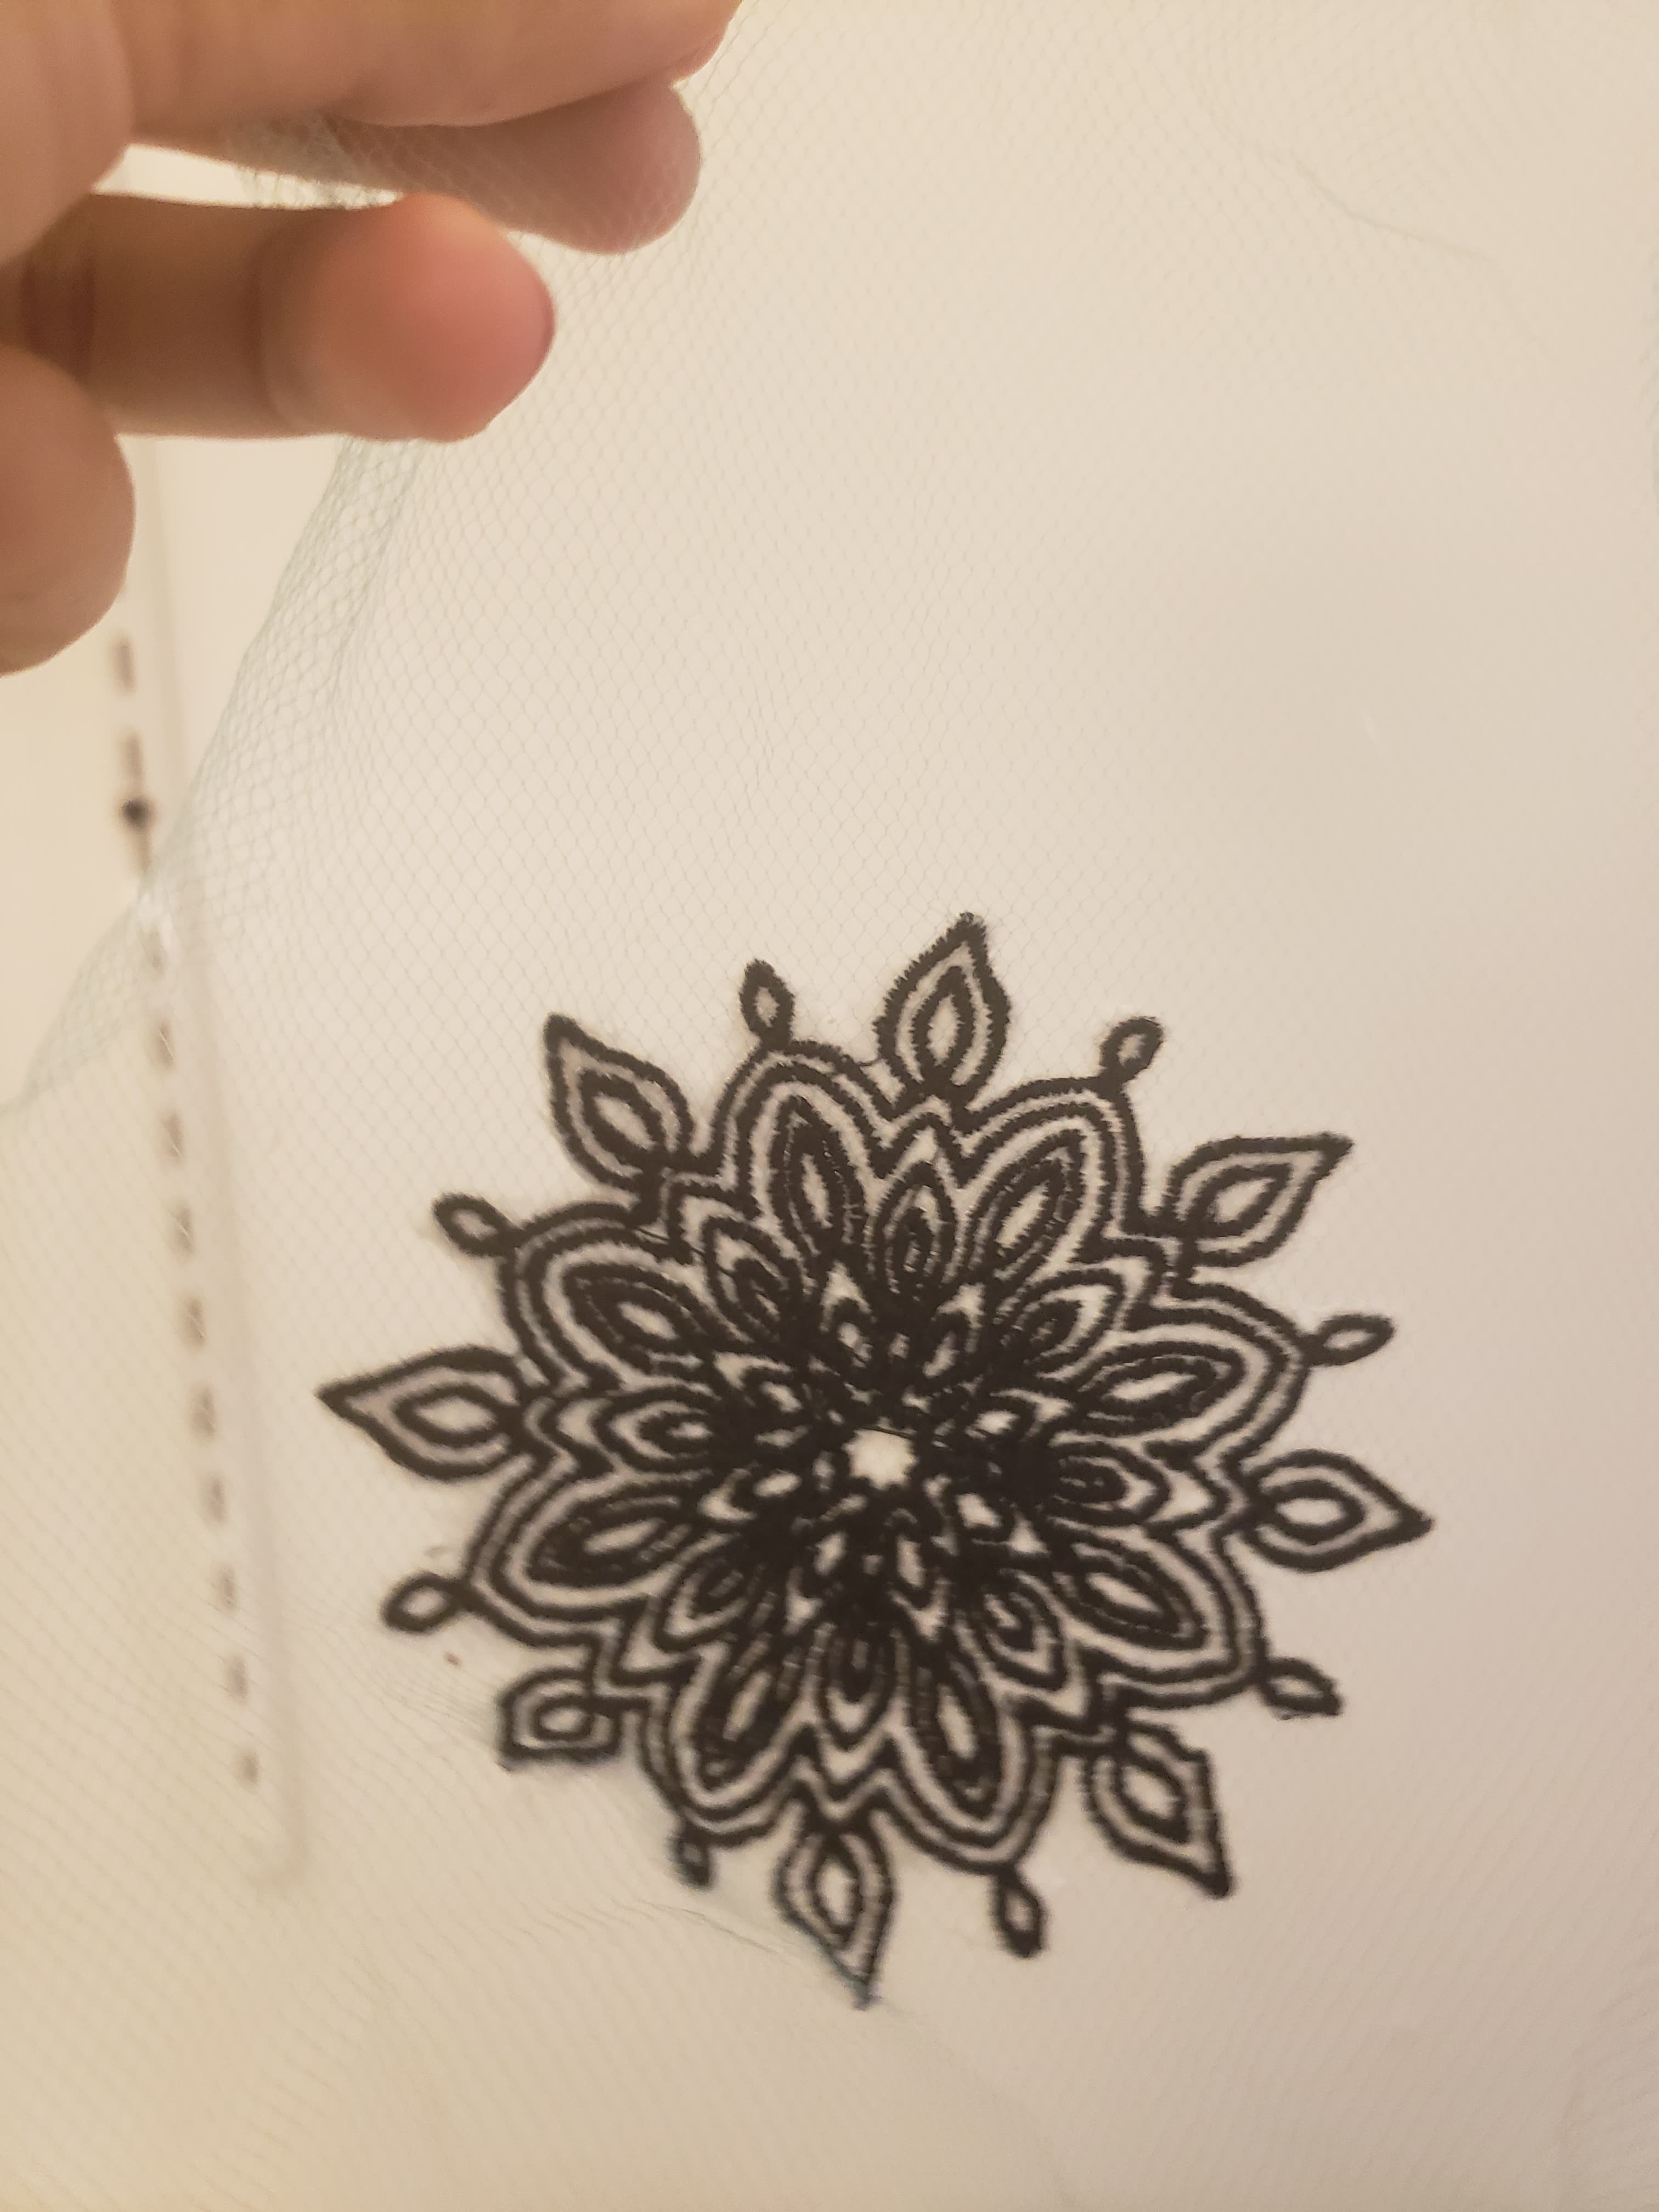
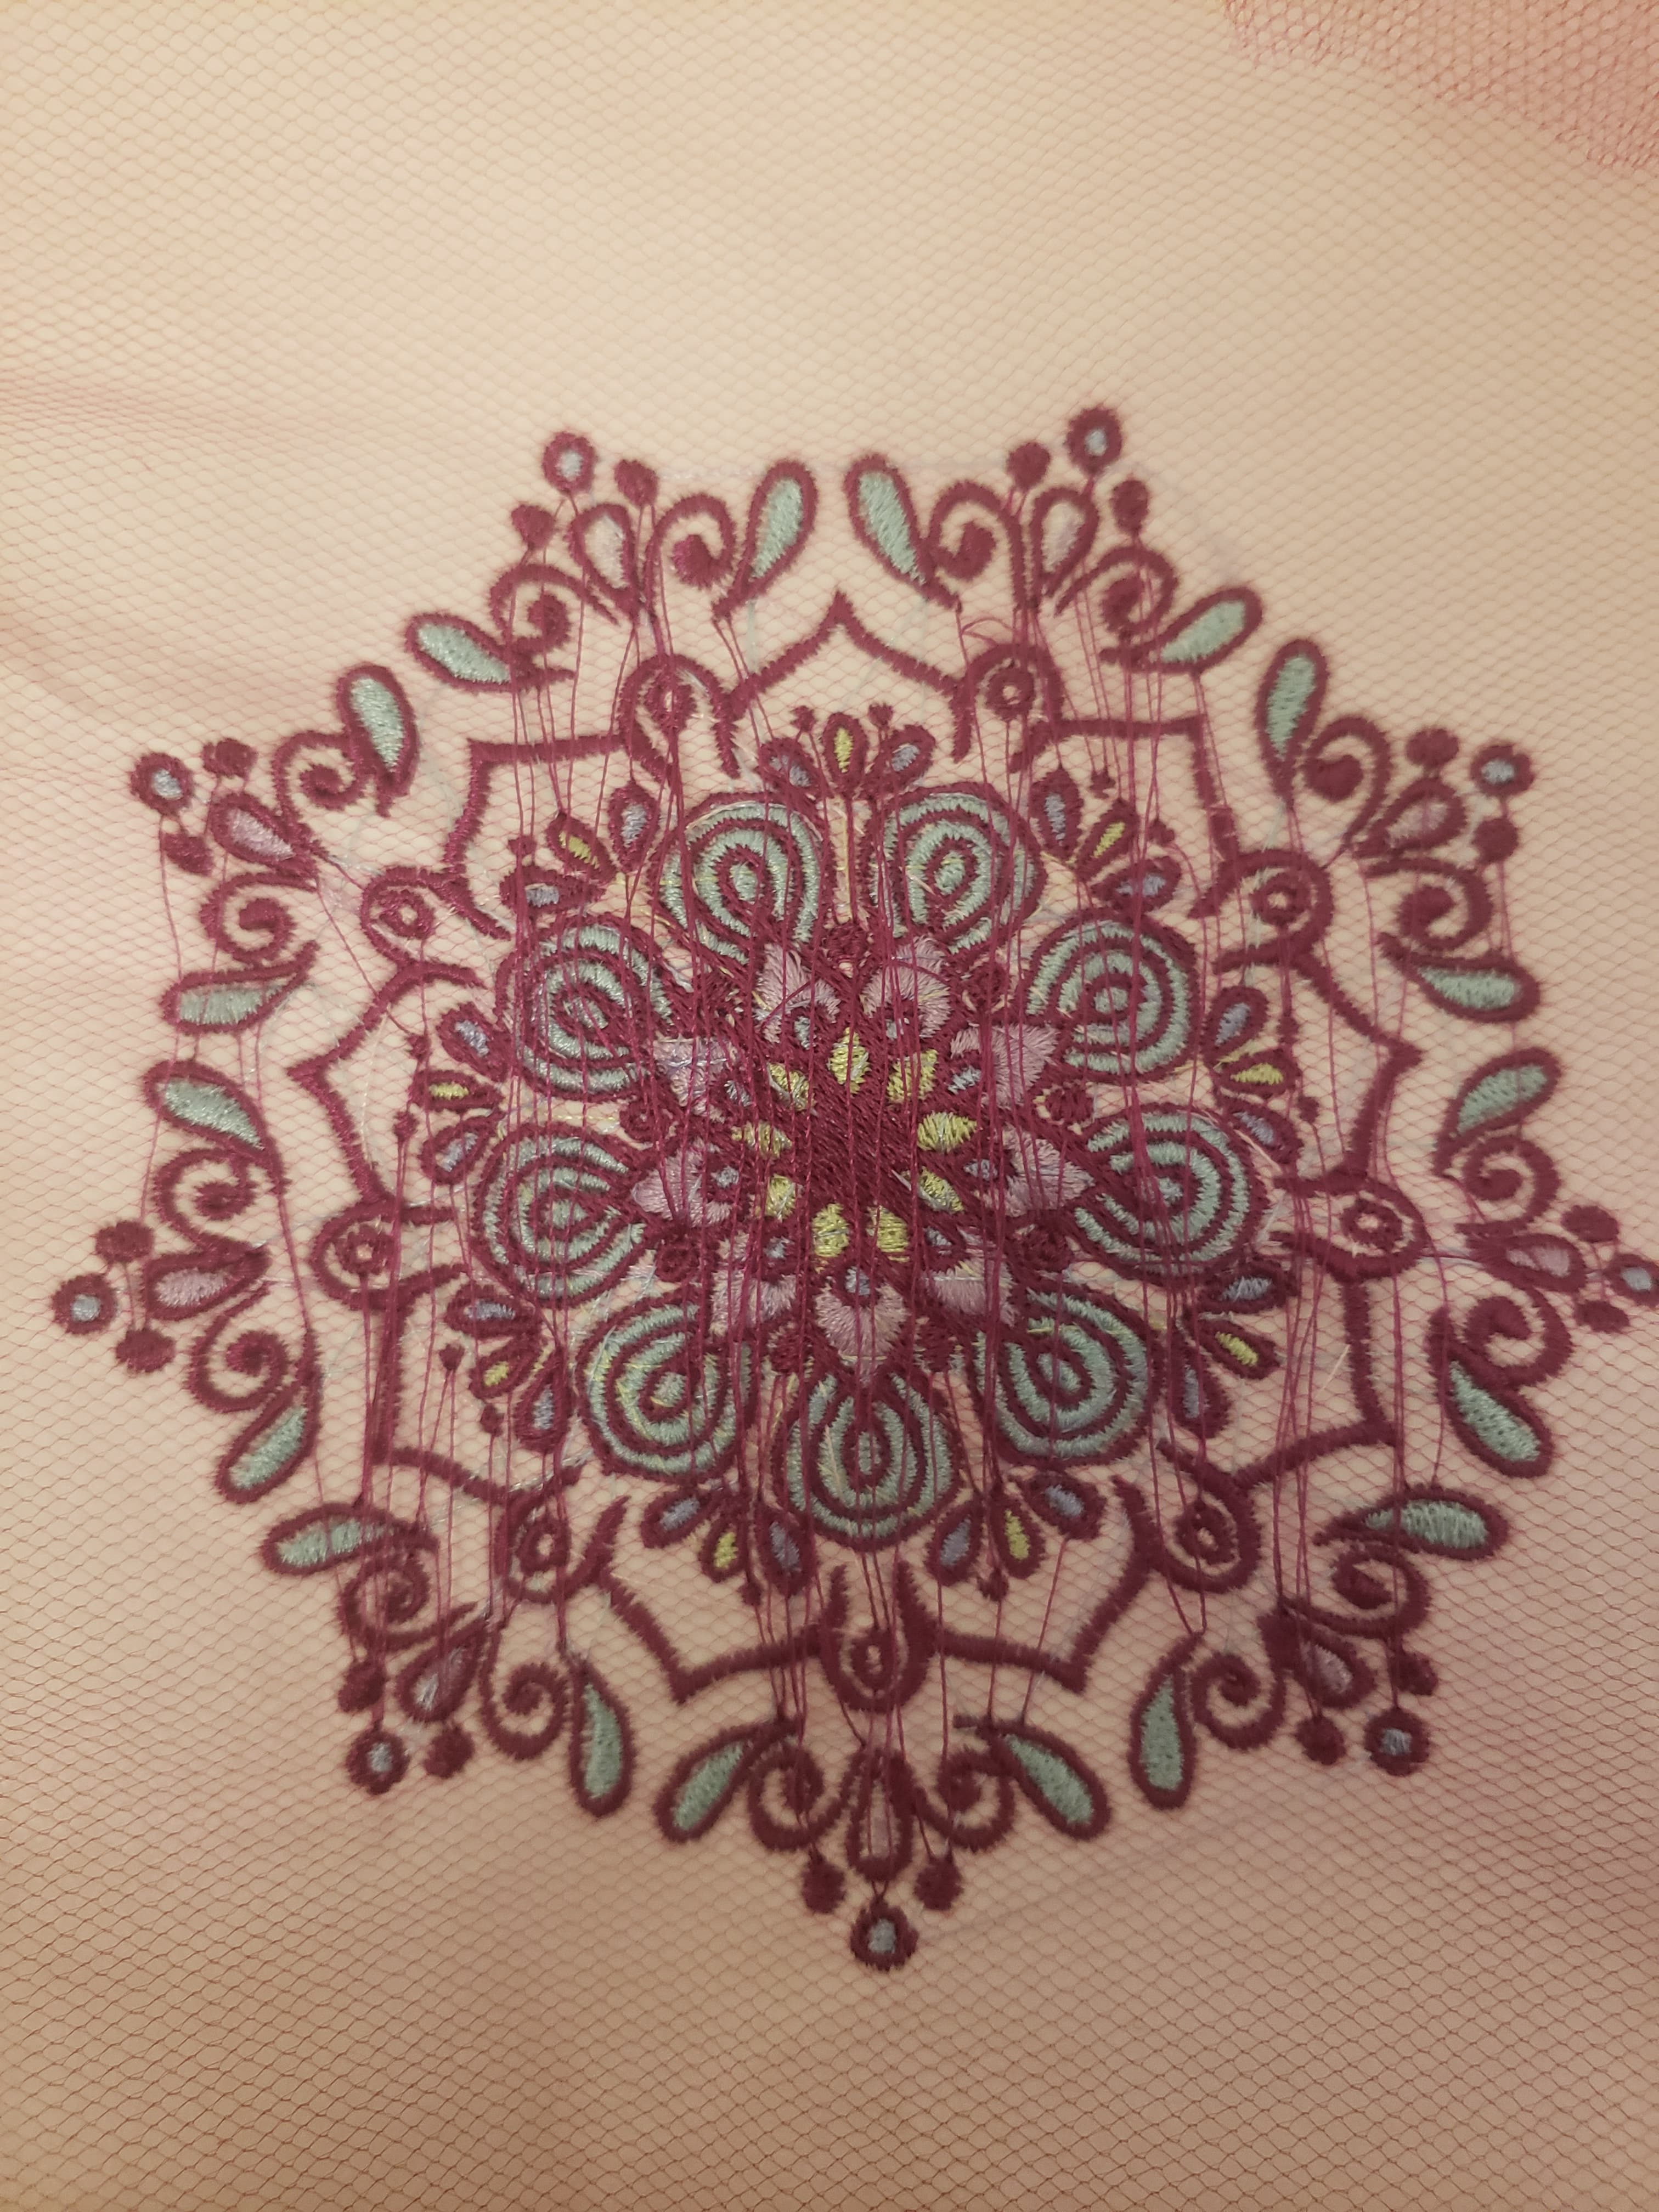
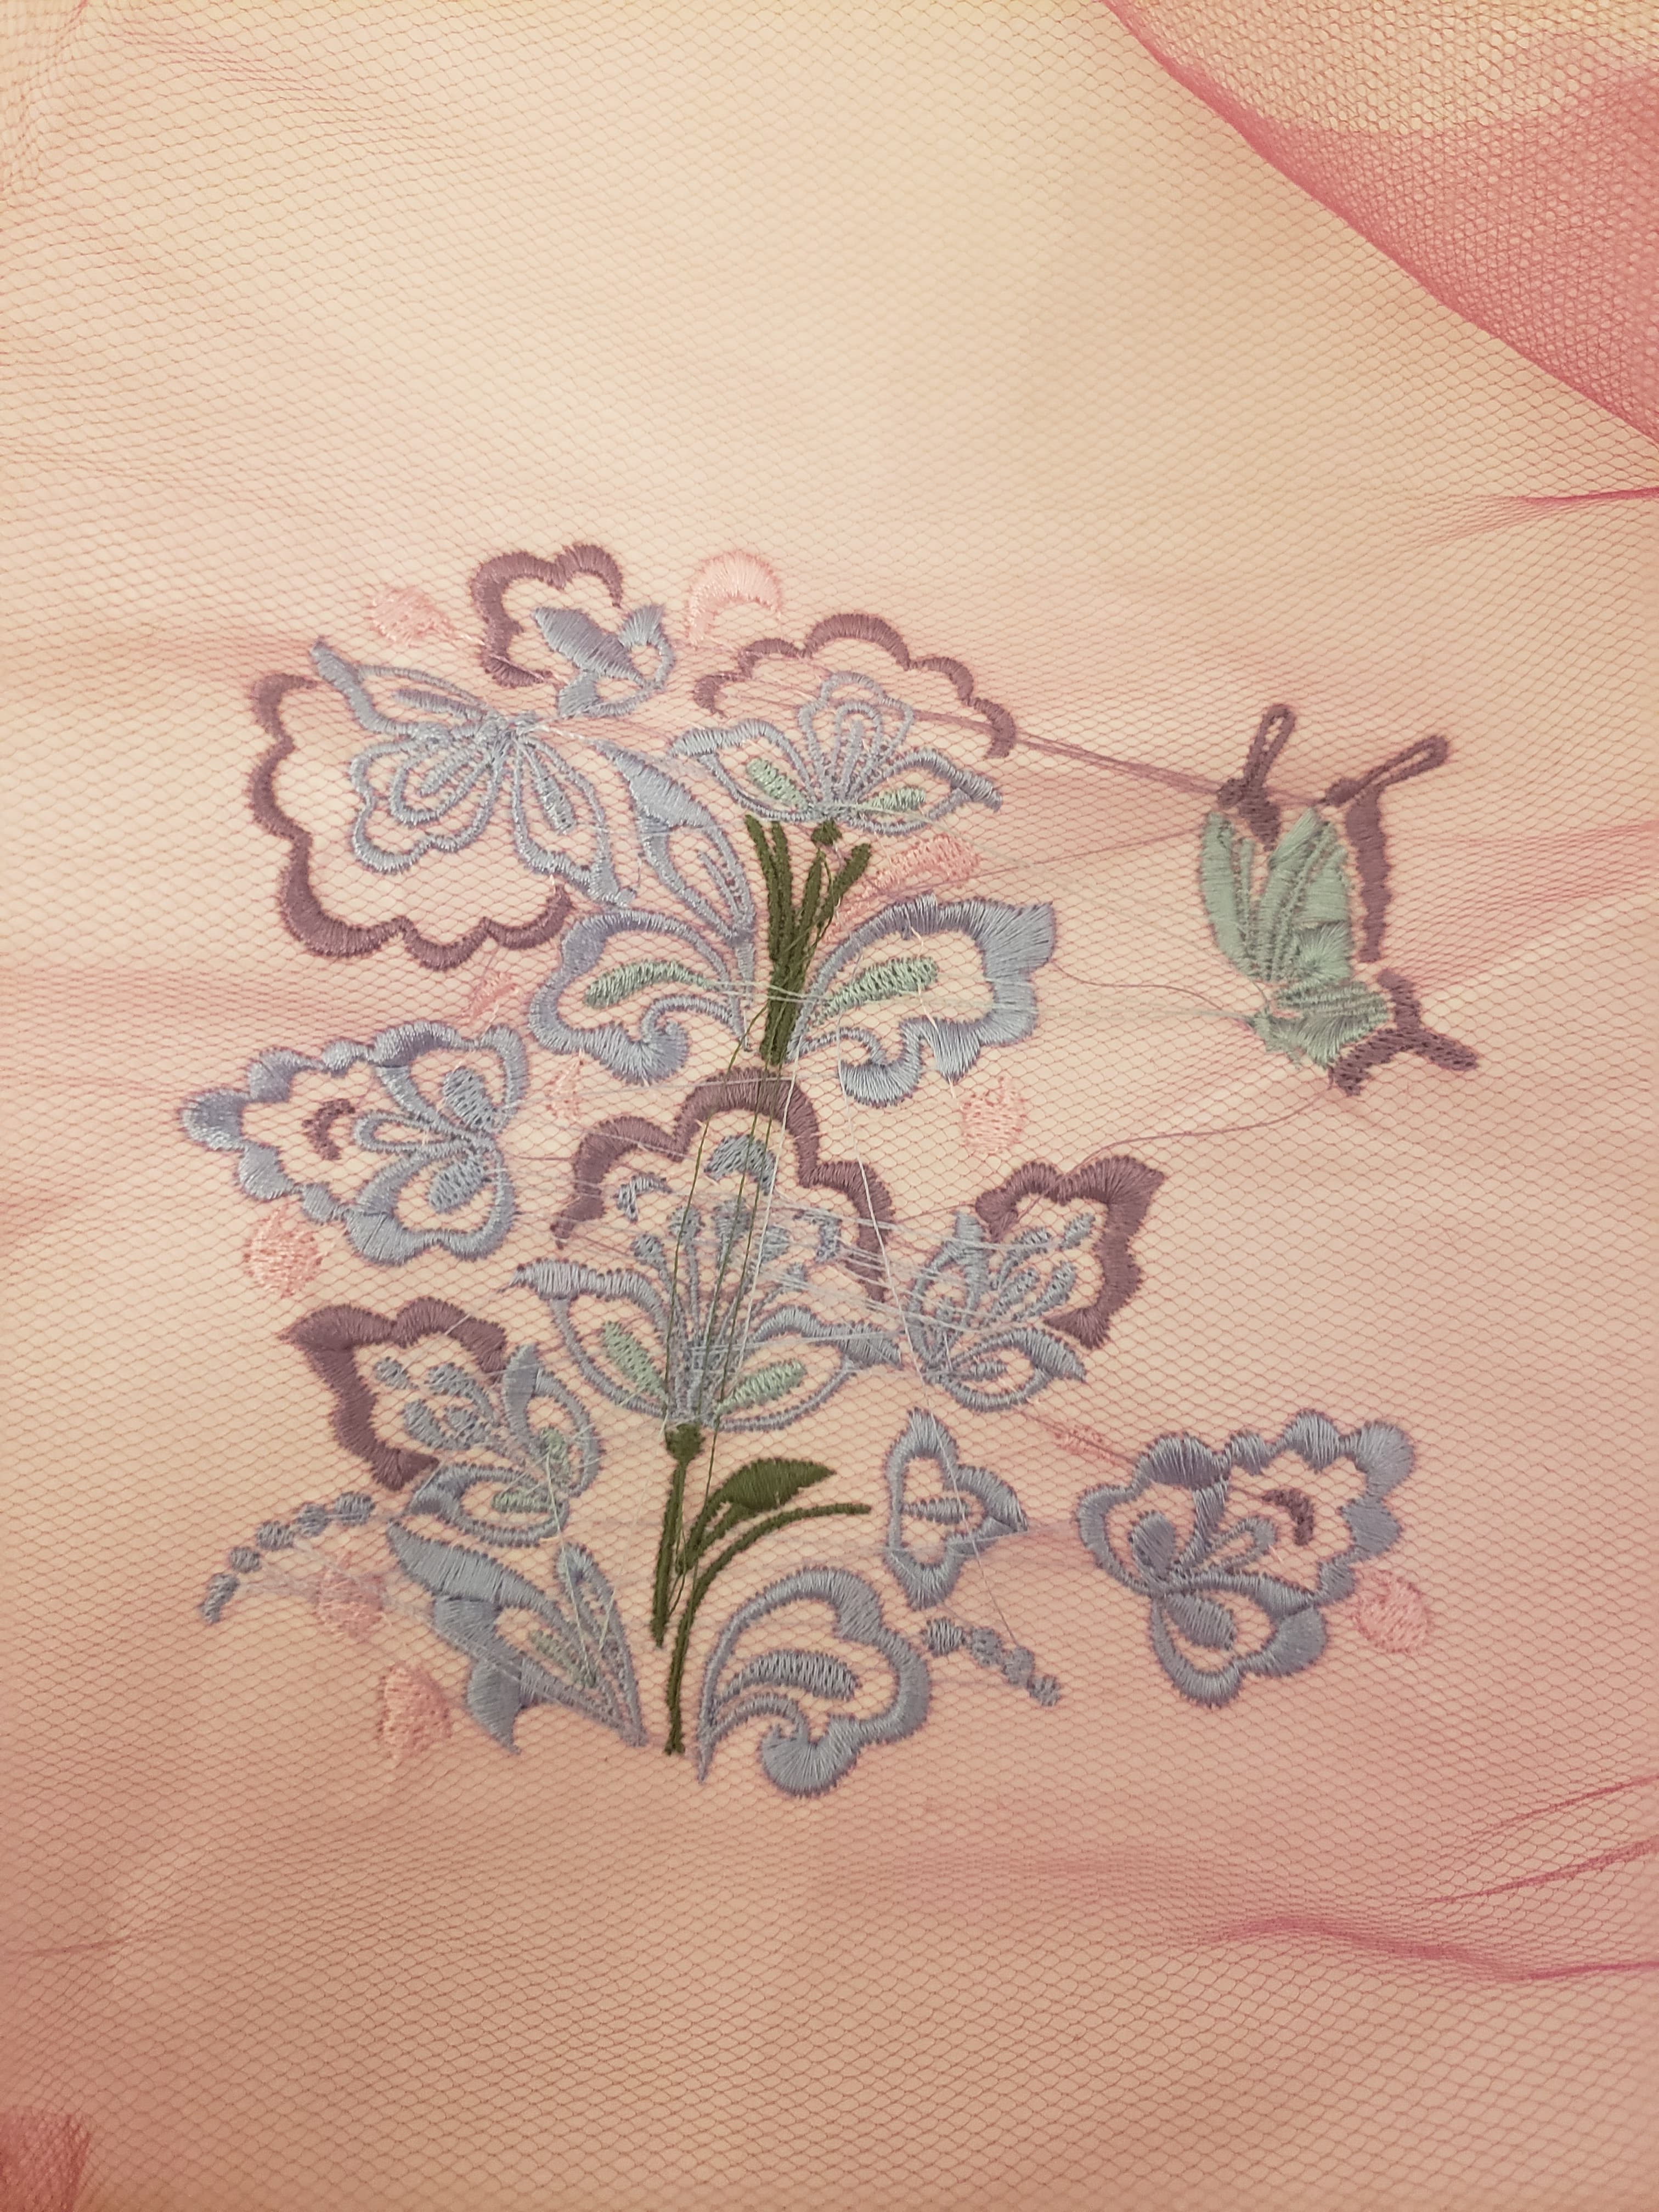
After that, I kept going on the pink, since I didn't want to waste too much blue fabric. I tried making a bigger pattern (on a 130mmx180mm bed). This one was a butterfly and flower design, where I picked the different colors. This took a while to organize all of the different colors, but I got it working. After, I made a colorful mandala. This one took forever to get down on the software since I had used so many colors that some of them melded together on the software. So it took a while to group the different colors, but I eventually got it. At the same time, while making this embroidery, the bobbin thread ran out. I knew how to change it so I did, however, it turns out I had messed up the orientation, so the tension was not perfect. As such, the bobbin thread pulled through to the fabric. Once I fixed this, everything got fixed. At another point, the thread randomly broke. Thankfully, the machine is super advanced, so it stopped running immediatly. I was then able to rethread the thread and start the machine without missing a stitch.
For these designs, the butterfly took ~1 hr and the mandala took ~1.5 hrs. The image on the lower left shows the embroidery when it comes out of the machine. This shows the number of threads that I had to cut, but the one on the right is with the cut threads. All of these images are taking with the backing still on.

I will hopefully be using all of these designs in my final project.