 Amnahir
For the seventh week, we had to program the board we made in week 5 to do something. It was a very daunting task, as I struggled a lot to program the board in week 5, and then we were given the program. I rechecked that the board I had made in week 5 worked by using the program we were given. This was just to make sure that nothing broke while the board spent 2 weeks being knocked around in my backpack. Thankfully, it was still working ok!
After trying to come up with what I wanted to code, I finally decided to just try to get the button to cause the LED to blink. I came to this decision since I figured that starting easy is always the best choice, especially when it has to do with programming/code since I am so bad at coding (known from previous experiences). Initially, I was going to program in arduino since I at least had some experience in this. Plus, it seems that finding arduino code online isn't too hard, so I thought it would be a good basis for future project. Sadly, the lab computers don't have arduino on them for me to use (which I didn't realize until after I had written some code :( ). Since I can't program my board on my computer (reasons listed in week 3), I had to recode the program in C. This was difficult, but working through the code on the class website and googling a lot, I managed to somewhat figure it out. Although this took some time to master, I finally got it to turn on the light.
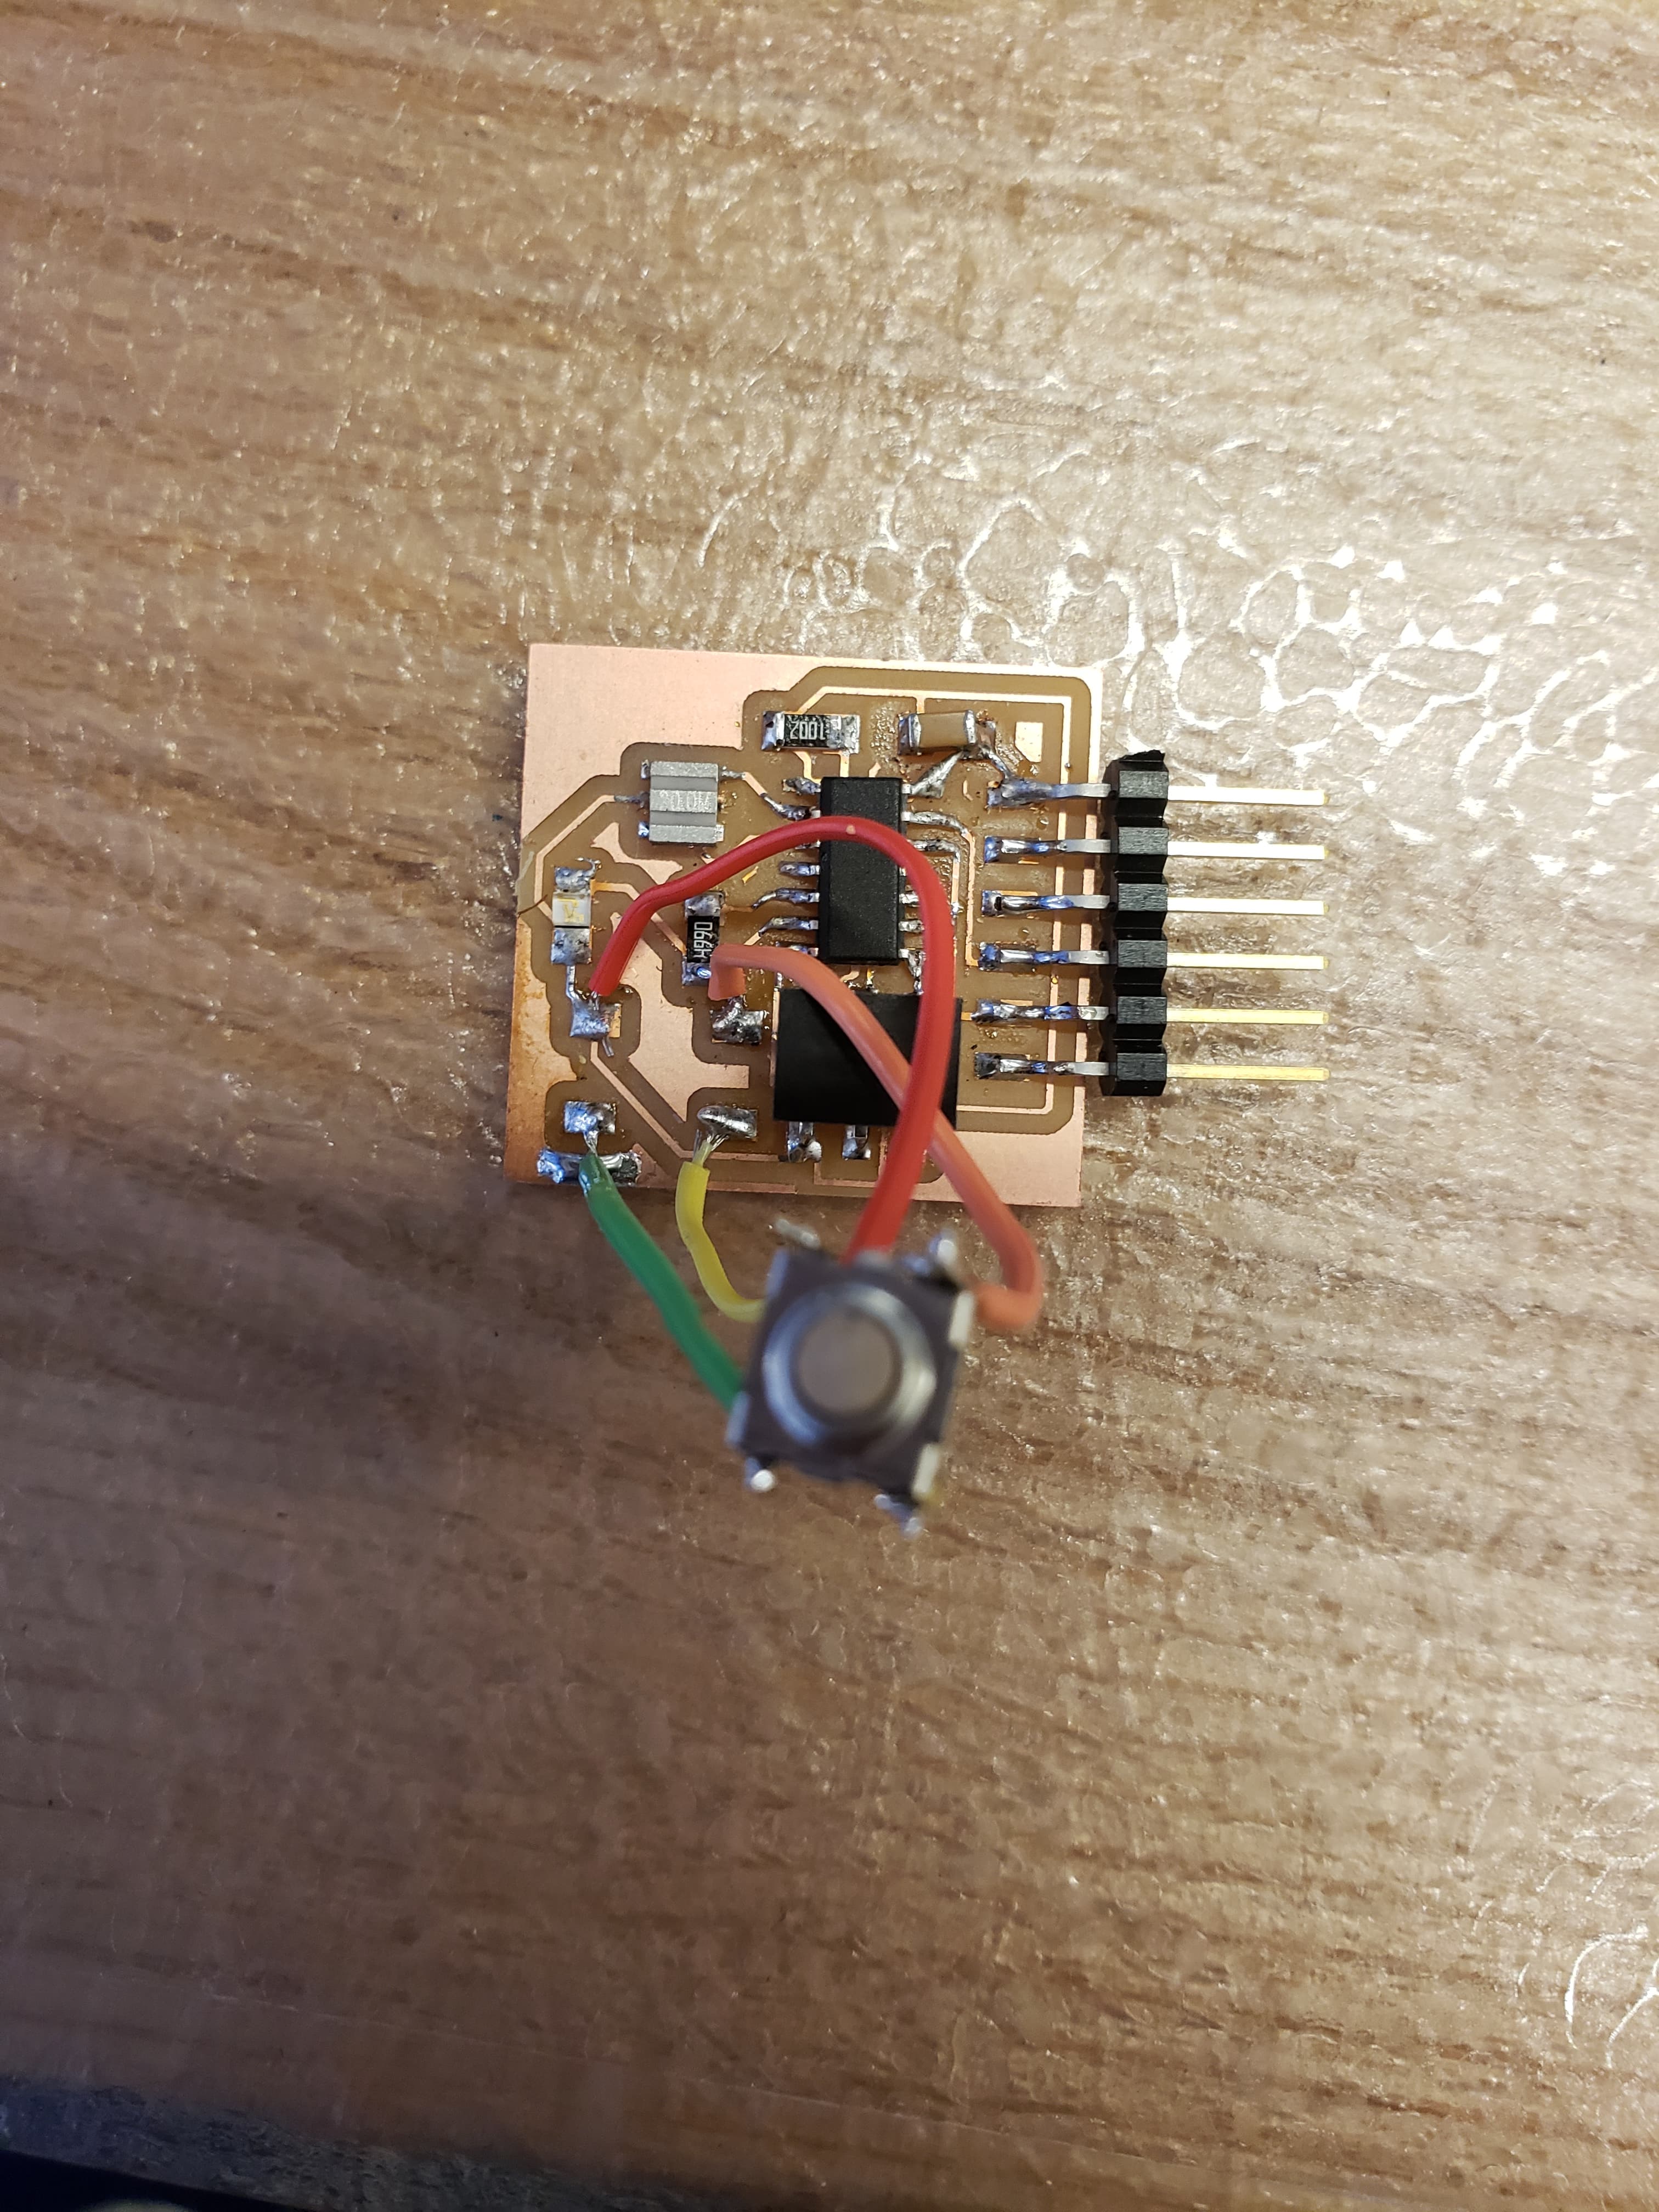
After that, I tried getting it to work with the button. This code wasn't so bad, since I understood all of the different sections of code from the previous coding challenge of just making it blink. So, I quickly wrote the code in C and programmed the board. On the first try, it did not work, but it turns out that it was a problem with my button being soldered incorrectly. In my design file I had accidently connected the wrong ends of the button. I wired the two pins on the same side of the button instead of opposite ones, shown in the image below. As shown, I combined 1 and 2, instead of 1 and 3 or 1 and 4.
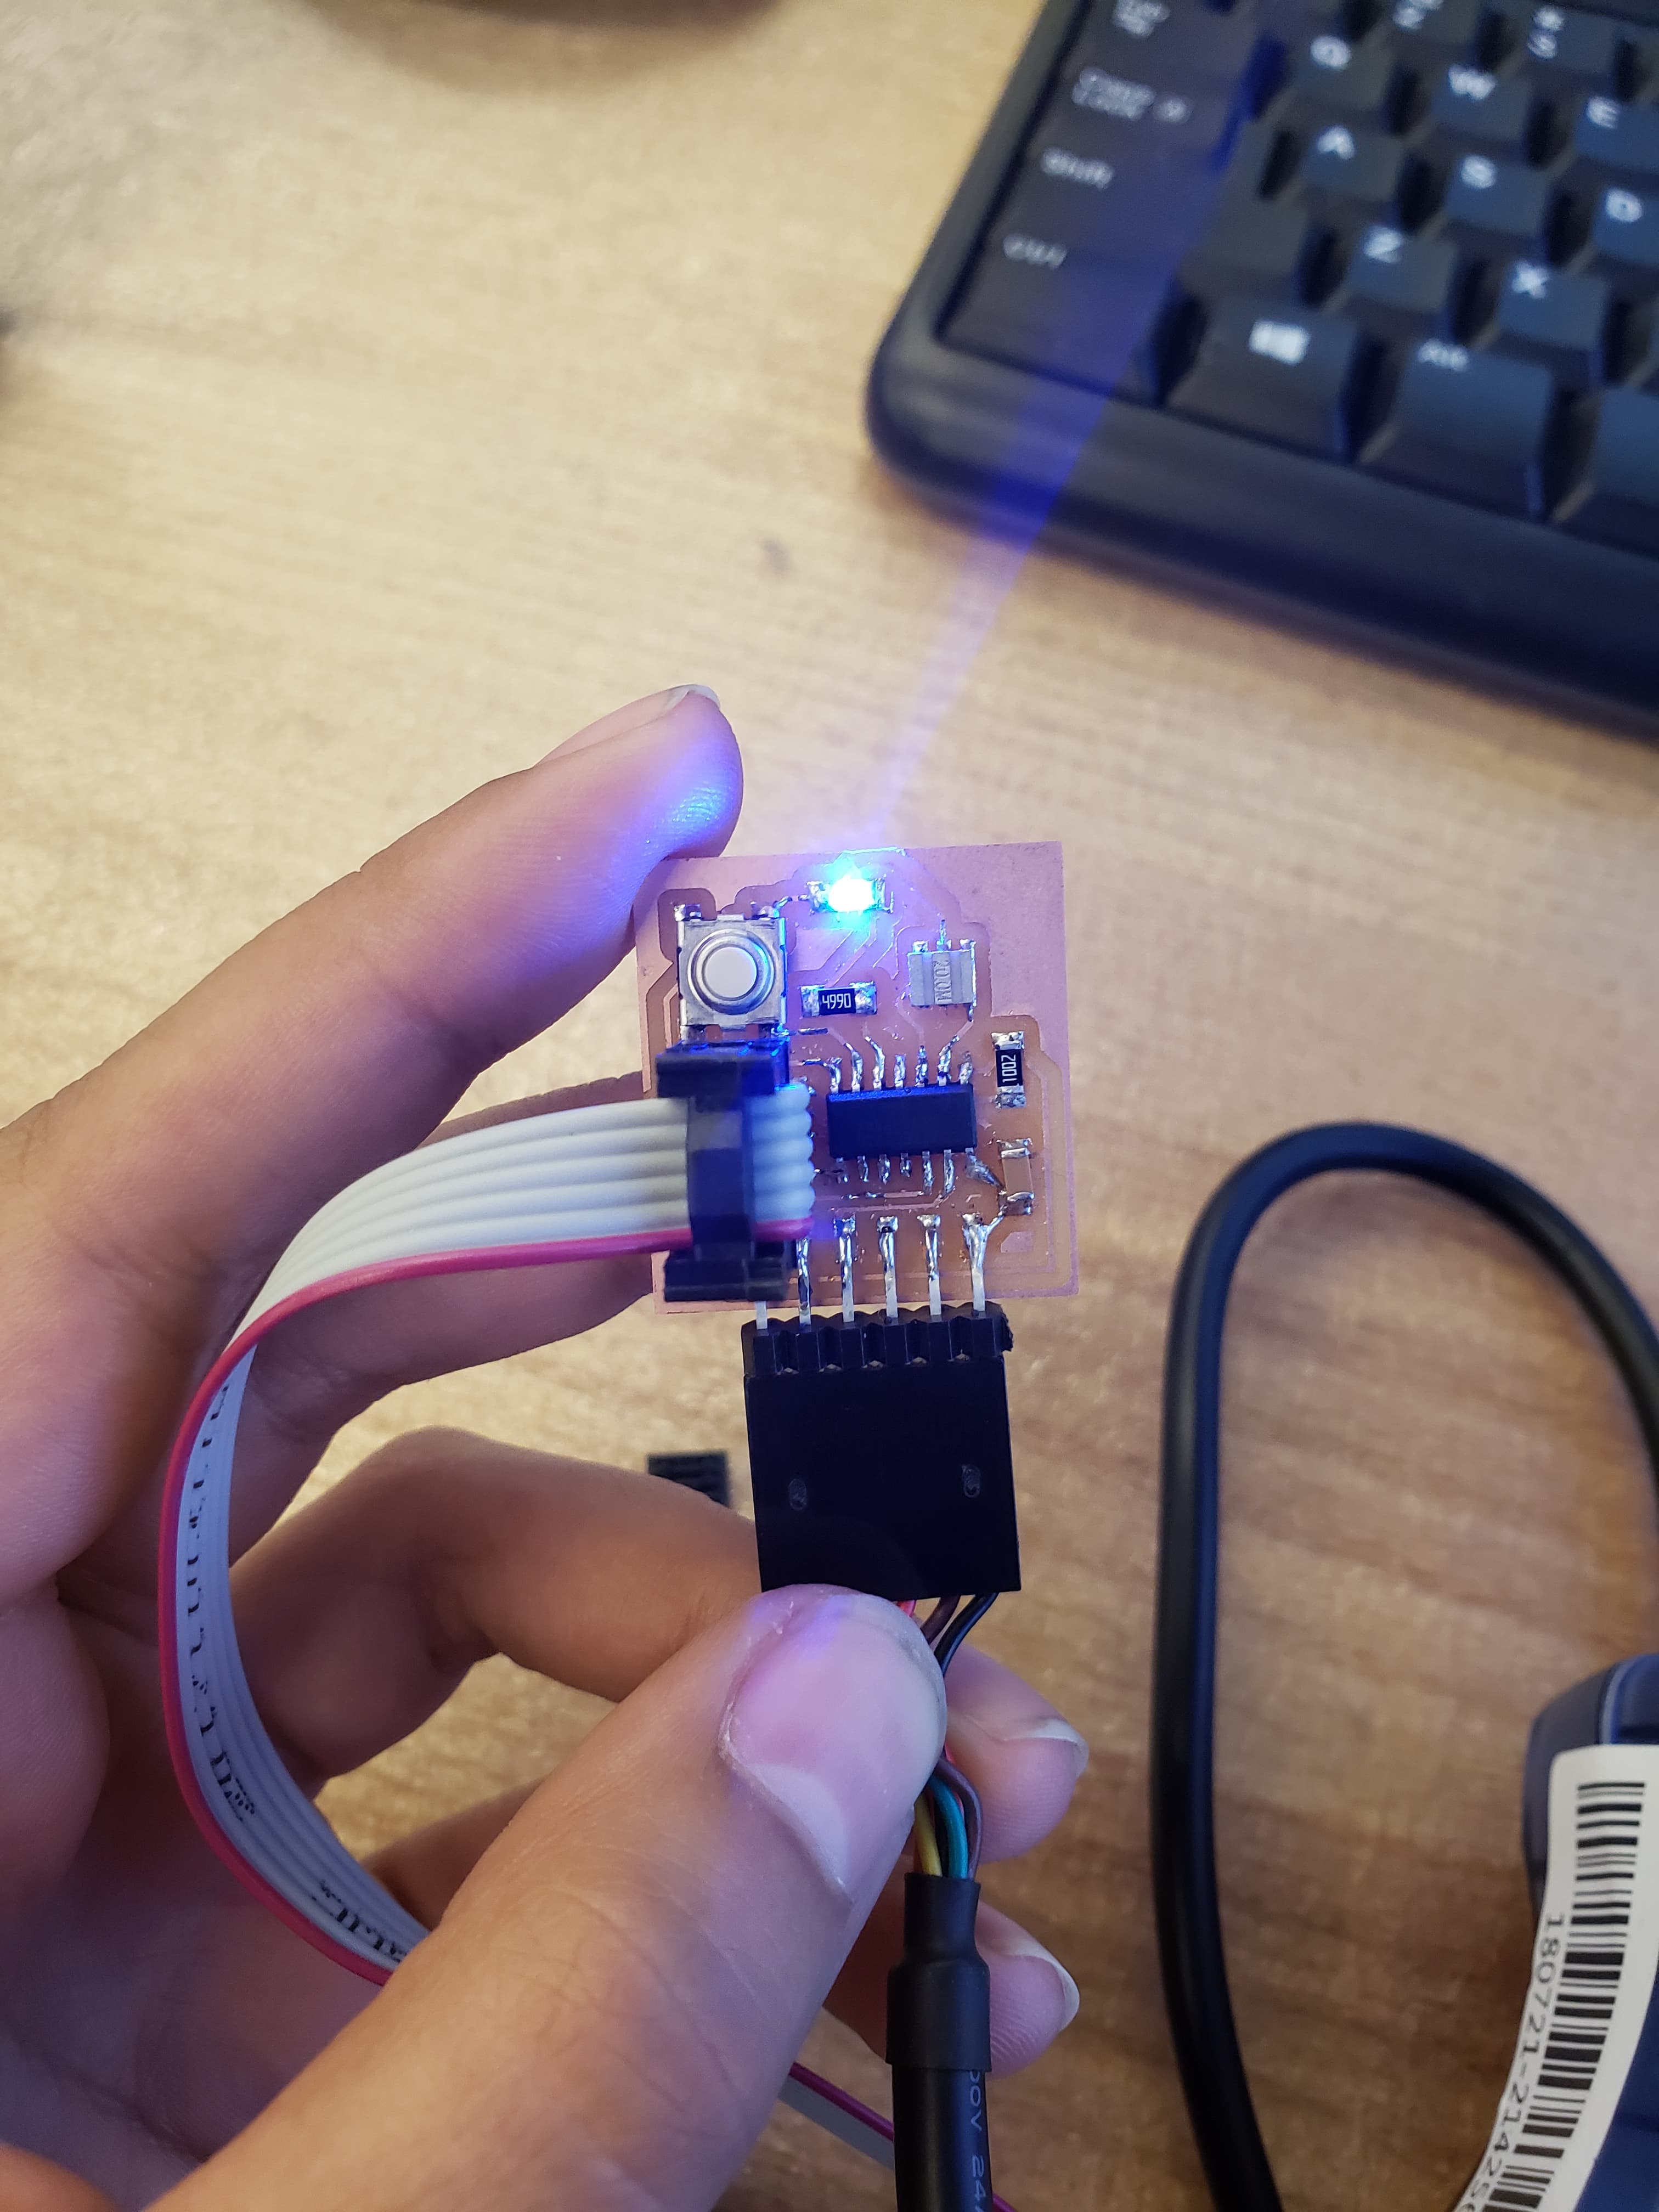
So I had to resolder the button. Since it did not fit with the opposite orientation, I had to add it with wires. This did finally work, although I had to keep the button pressed for the LED to turn on, as opposed to it working like a switch, which is related to the code that I made. But I kinda liked that feature, so I left it that way!