 Amnahir
For the second week, our assignment was to vinyl cut something and to create a press-fit construction kit by laser cutting whichever material we choose. We were using the (WHAT IS THE NAME OF THE VINYL CUTTER) and the (WHAT IS THE NAME OF THE LASER CUTTER). In our storage, we had black, blue, white, red, and copper materials for vinyl cutting. The laser cutter we used is able to cut many different materials, however, it is unsafe to cut metals and also certain polymers. We were quickly trained on both of the machines. We are using mods to control the vinyl cutter, which makes it a lot easier to upload and print my designs. On the other hand, we are using (WHAT IS THE NAME OF THE SOFTWARE?????) for the laser cutter. This software is also not too hard to use, and easily allows you to move around the cut to where you want it and to create copies.
At first I was unable to think of what I wanted to vinyl cut, as I couldn't see an application related to wearable technology, unless it was just a sticker to put on it. Although this was a cool concept, I didn't really have any shirts that I felt comfortable adding a sticker to. So then, I tried to come up with cool concepts that I would want on the back of my computer. After googling different things I was interested in, including Buffy the Vampire Slayer, dinosaurs, etc. Finally, I figured I would stick to the Disney theme. I wanted something a bit more complicated than just the Mickey Mouse, so I tried finding a fun pattern. In the end, I picked something that had the Disney logo, the Mickey logo, and the main castle, shown below.
I created the design above on Illustrator. I downloaded an image, but then had to edit the "Disney" to get the font looking more clear. Since the vinyl cutter was already set for cutting accurately the black vinyl, I didn't have to change any of the settings. It ended up cutting really well, except for the top of the castle, which it turns out mods hadn't closed. However, I was easily able to cut the top with a xacto knife. Using blue masking tape, I layered it over the design, and then pulled it off. It turned out to be very difficult due to the detail, so I had to repress the tape over some letters a couple times, until it really stuck to the tape for removal. Taking off all of the uneccessary pieces off of the tape took forever, but was not hard. Finally, I taped it on my computer!!
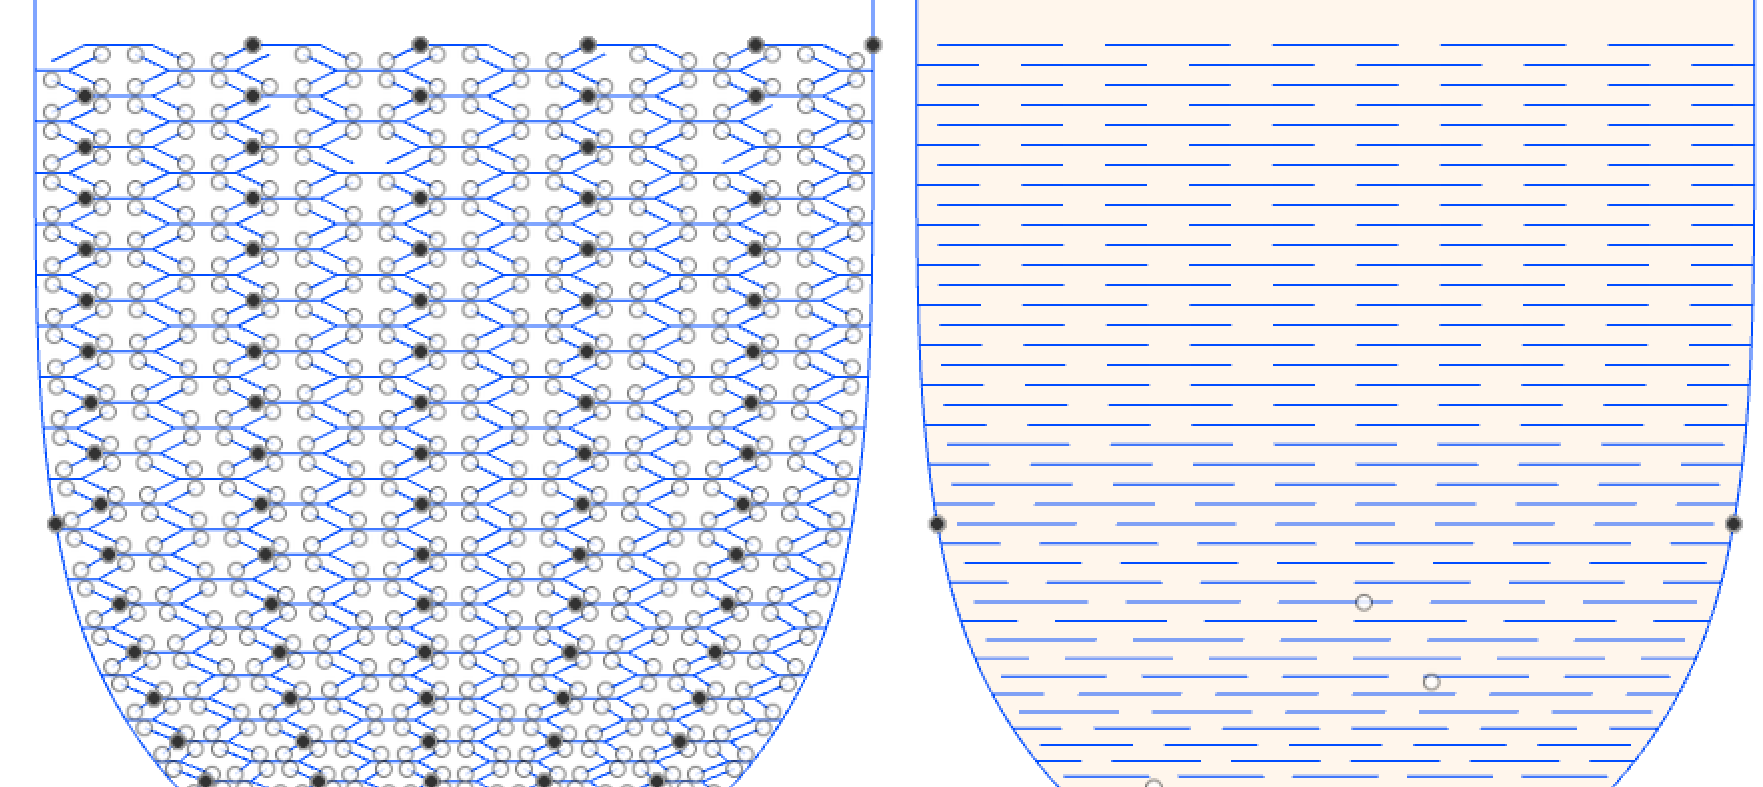
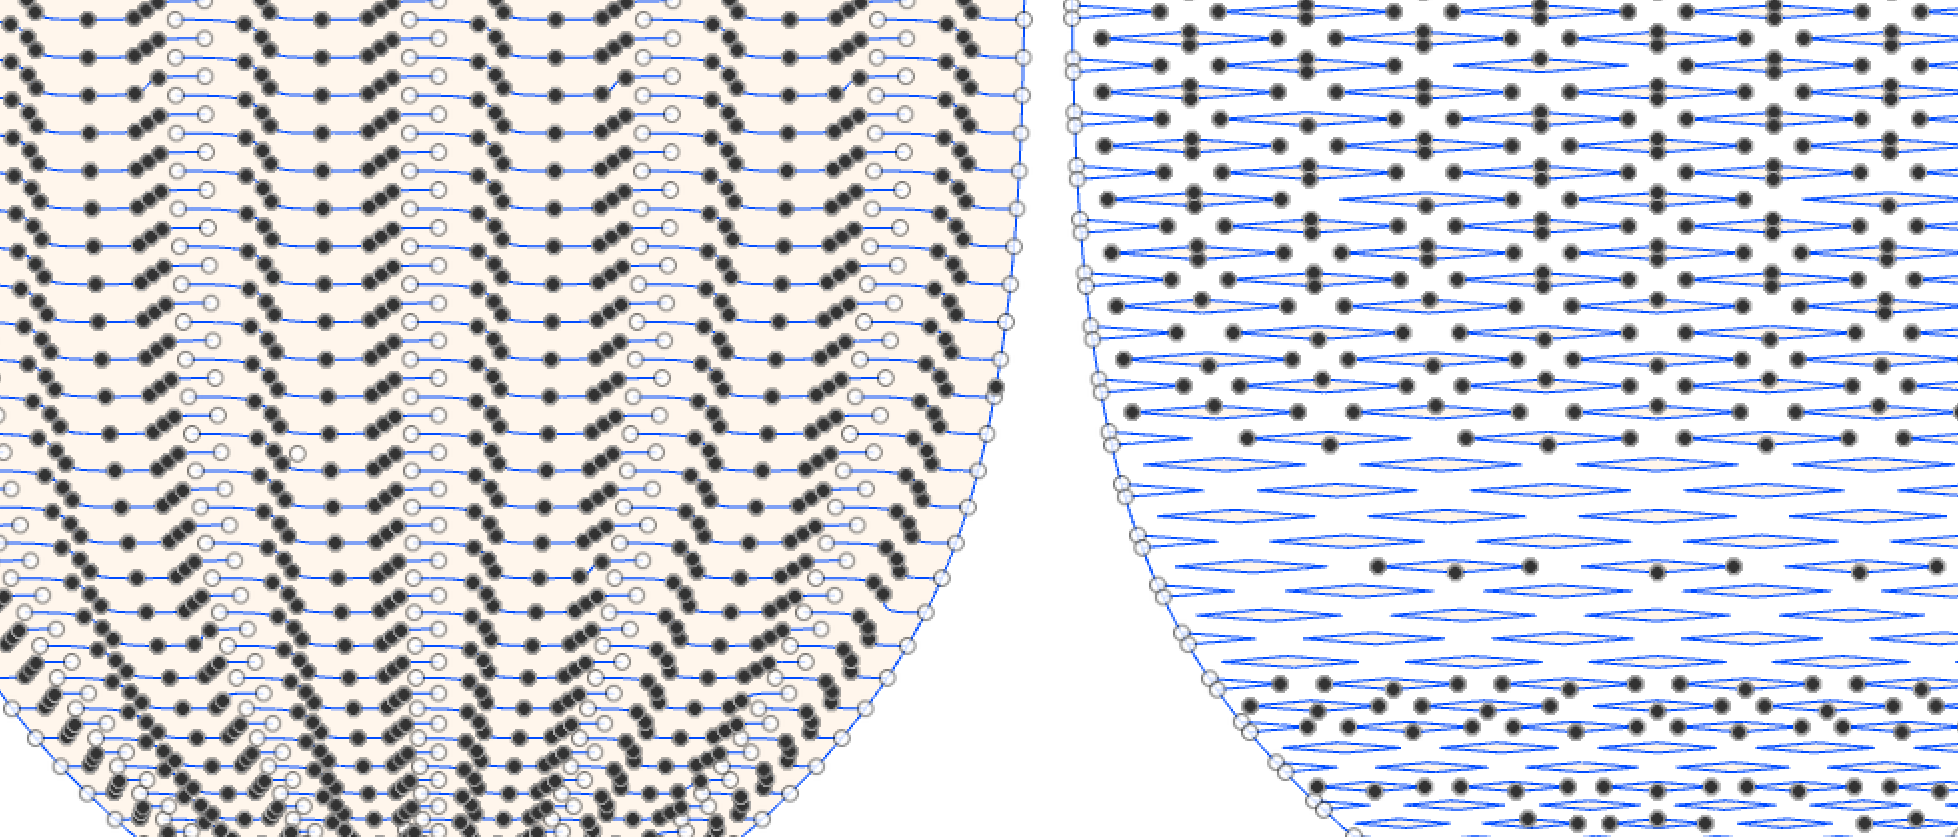
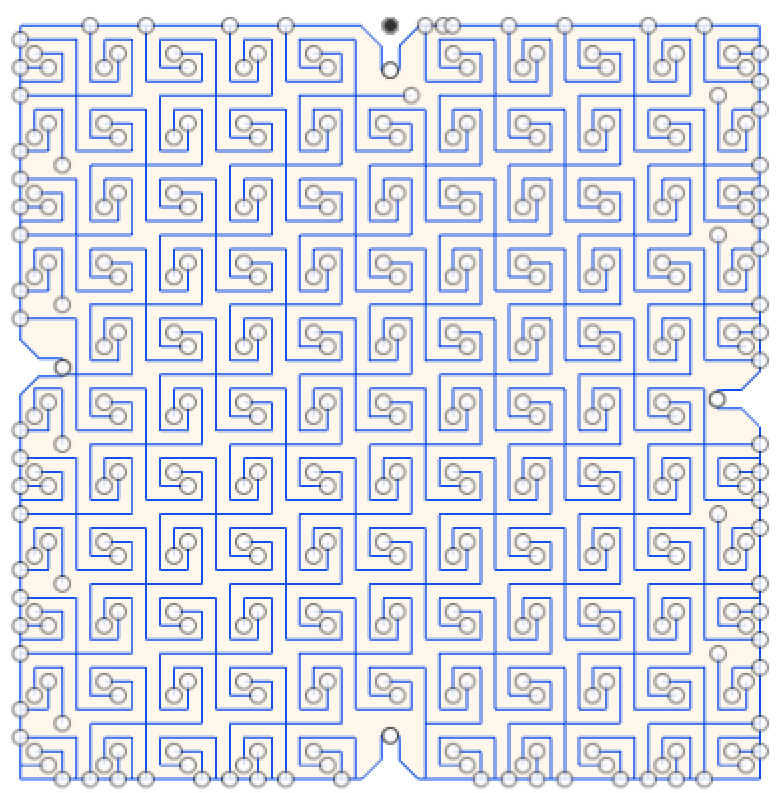
I right away had an idea for the press-fit construction kit to create flexible pieces of cardboard in order to build something similar to a shirt. It took a bit to decide what pattern I wanted to print. At first, I found different shapes online that created flexible strips, however, they were only flexible in one axis. So, after searching for some more time, I was able to find a pattern that is able to bend in 2 axes. 4 of the patterns I found are shown below.
Since there were so many different patterns for flexibility in on direction, it took me some time to CAD, on Fusion 360, 3 of the options. In the end, I was only able to use one, since the others were cutting too close together and just creating small strips. For example, one type was curved lines running perpendicular to the length of the strip, however to create a good degree of flexibility, I needed the lines to be close together. Yet, the laser cutter was unable to separate the lines after a certain point. For this reason, I kept my design simple and just used a line running down the strip. The different pieces that I created are shown below.


I made the indentations a width of 3.9mm, so that it would tightly fit with the other cardboard. I also added in the diagonal edges since it was recommended for a better fit. In the end, all of the pieces could fit together pretty well, and I didn't have too many issues.
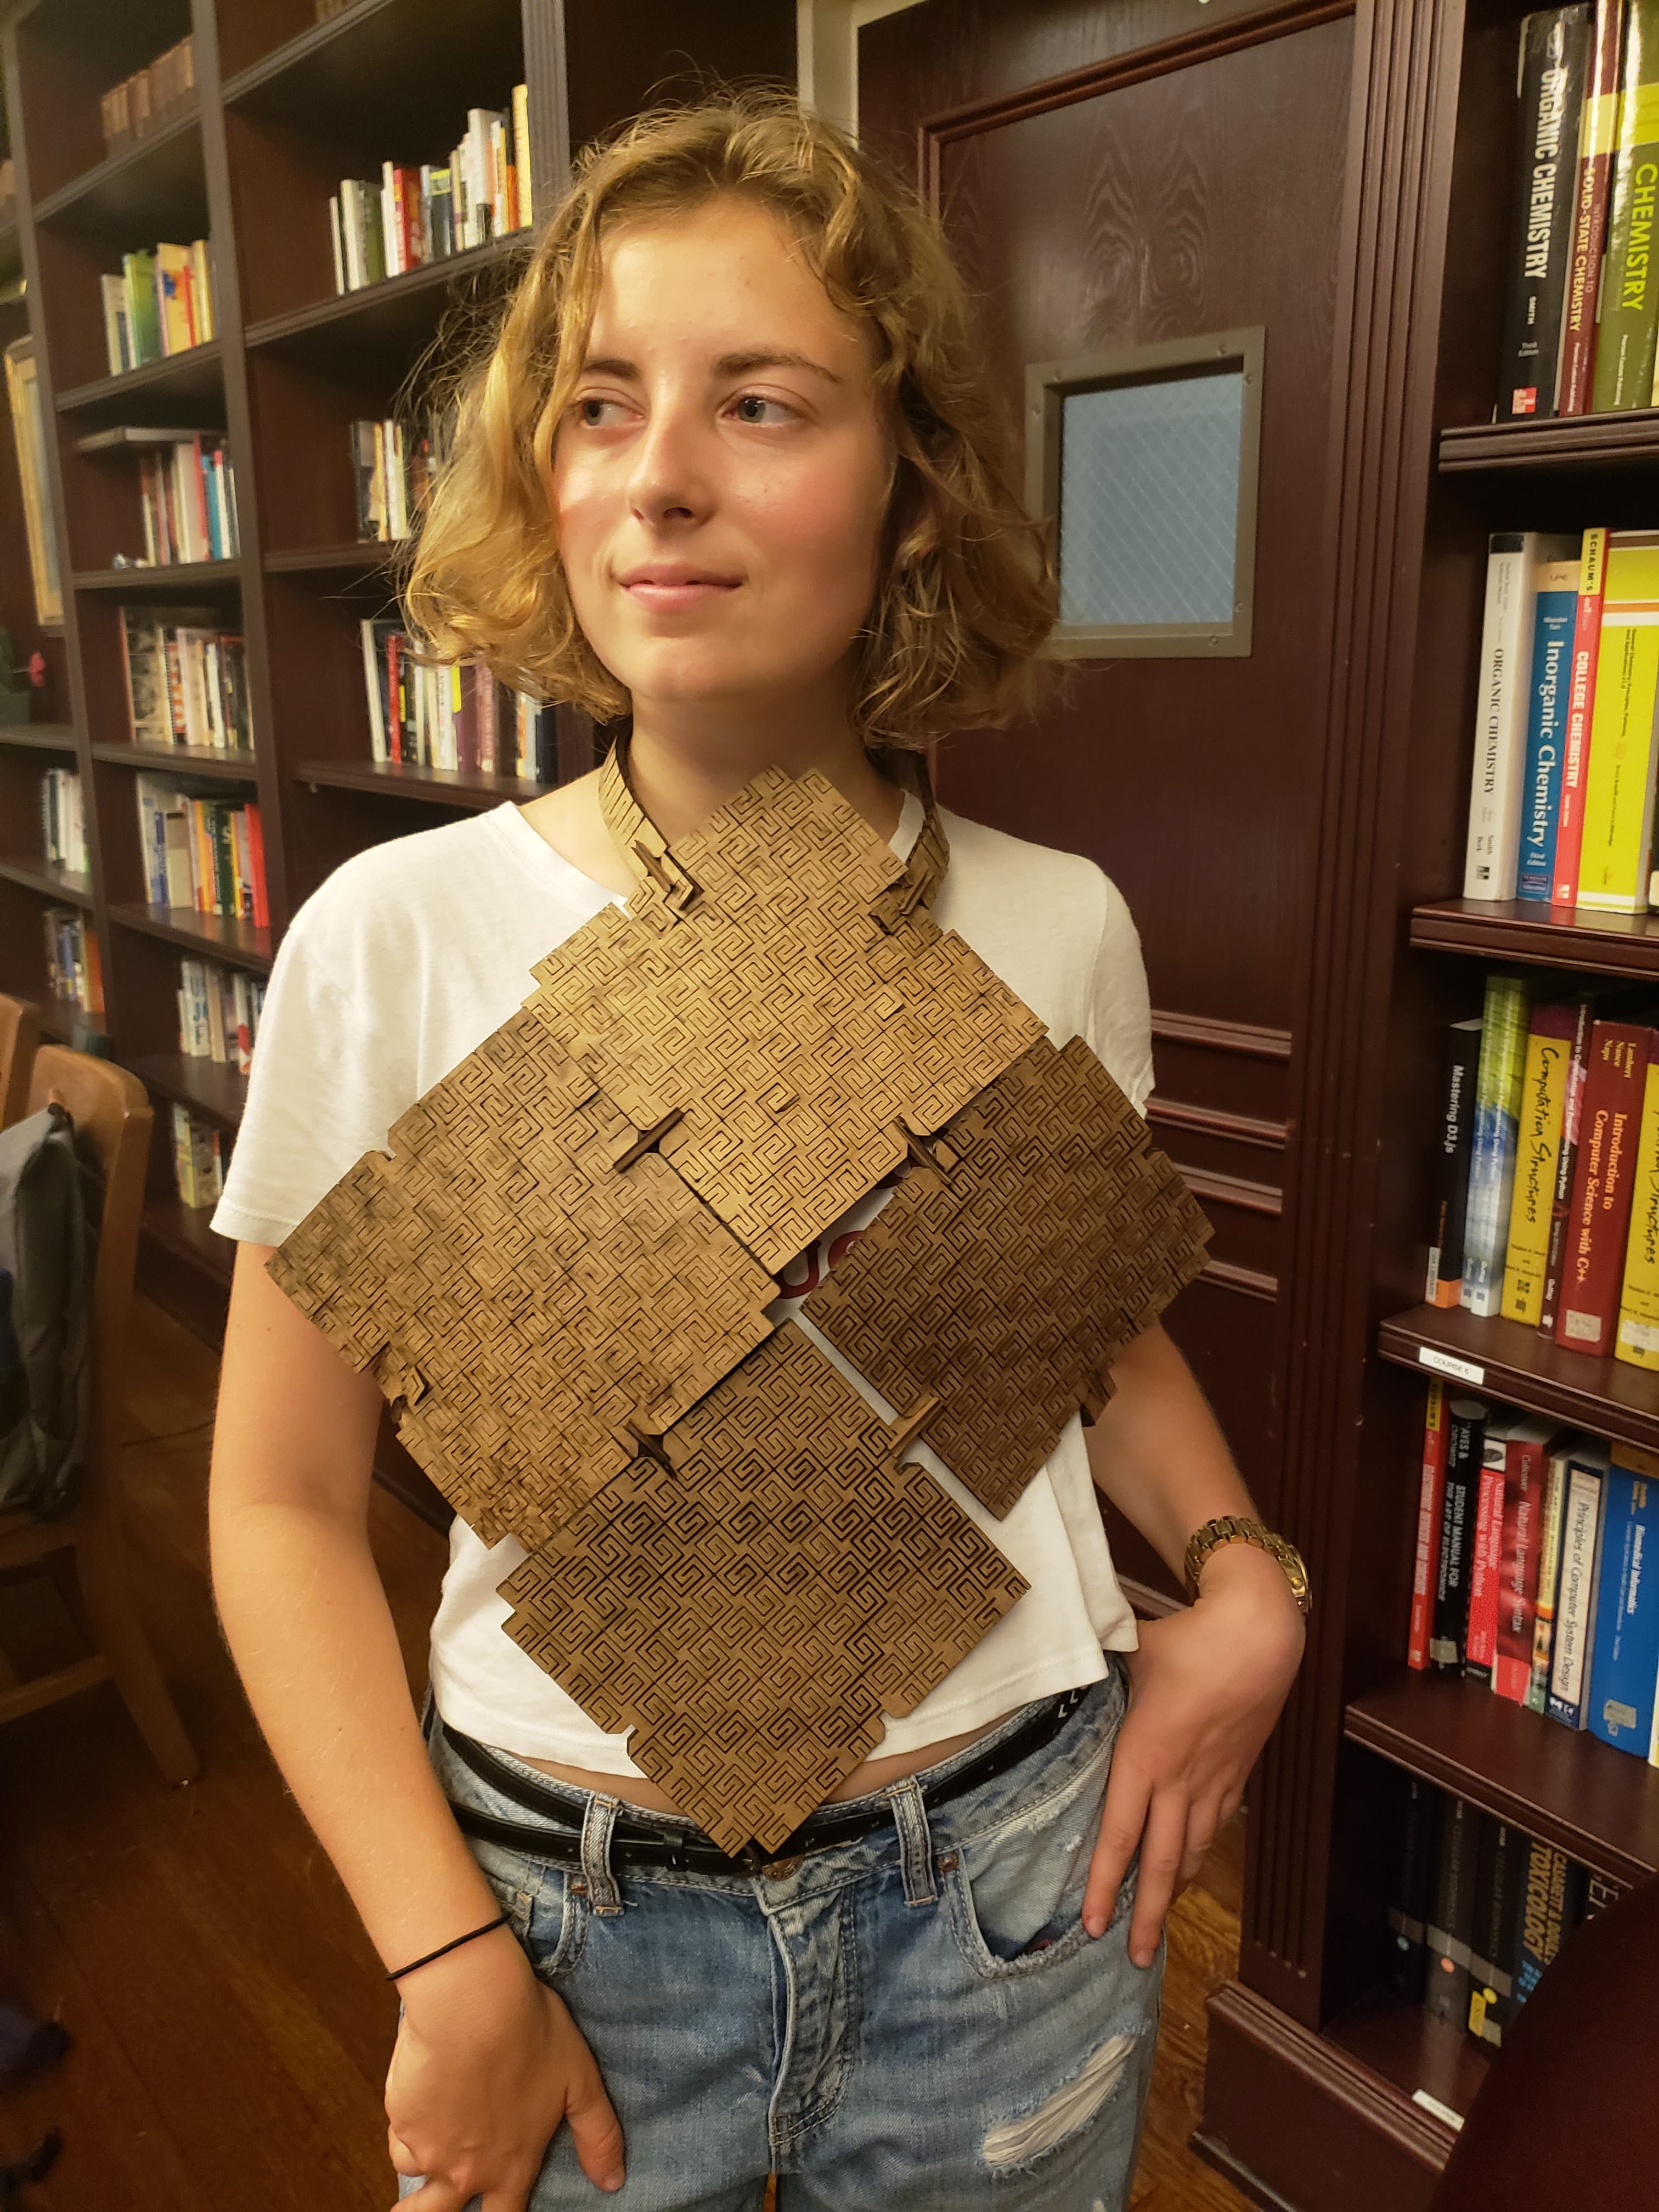
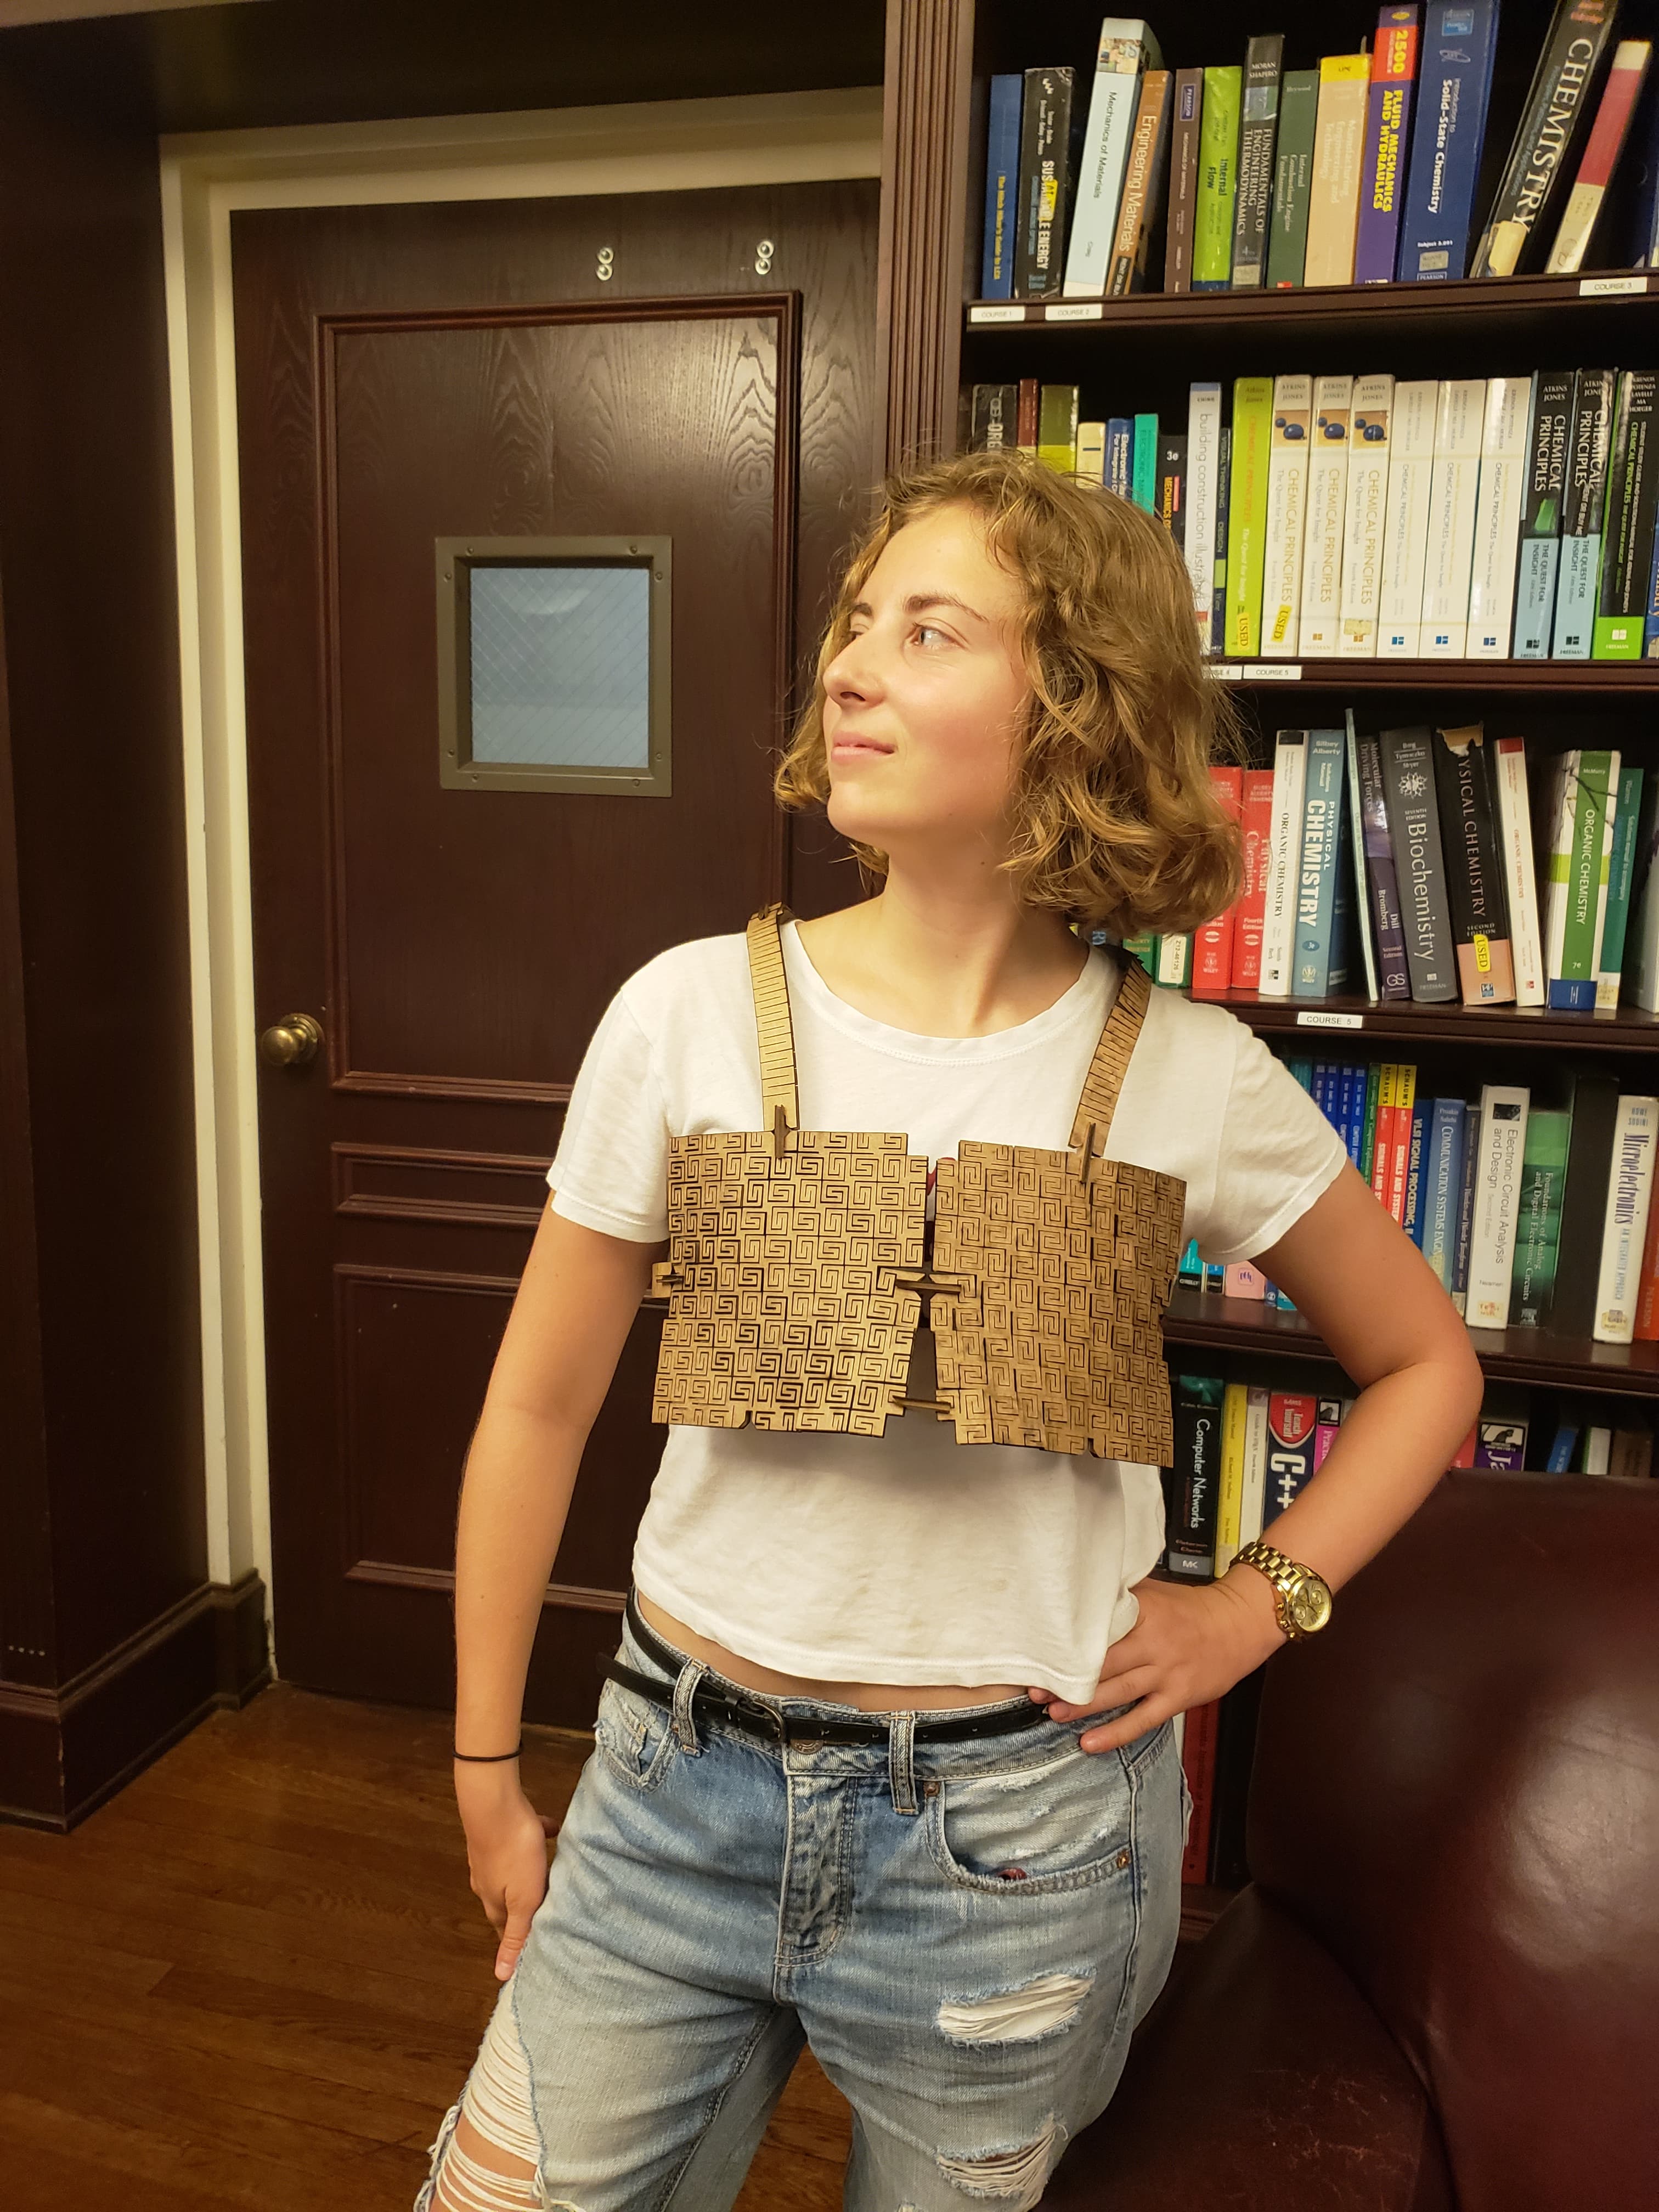
The 2 best versions of the shirt are shown above. The one on the left is a halter top and the one on the right is a crop top. Although they fit well, there was a bit of difficulty making sure the pieces stayed together during intense movement. For this reason, I don't think I'll be pursuing press-fit construction for my final project dress.