 Amnahir
For the eigth week, we had to mold and cast something. This was particularly exciting to me, as my project for 3.042 (the course 3 capstone) involves the casting and curing of diferent materials into a glove with silicone and polyurethane. For this reason, I was excited to create a different mold and cast that I get to pick. Sadly, I was not able to make something too complicated, as I had Bronchitis and could barely think/ couldn't leave my room for most of the week.
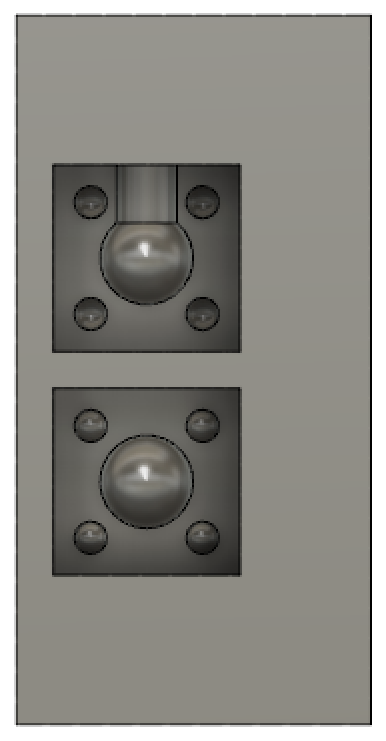
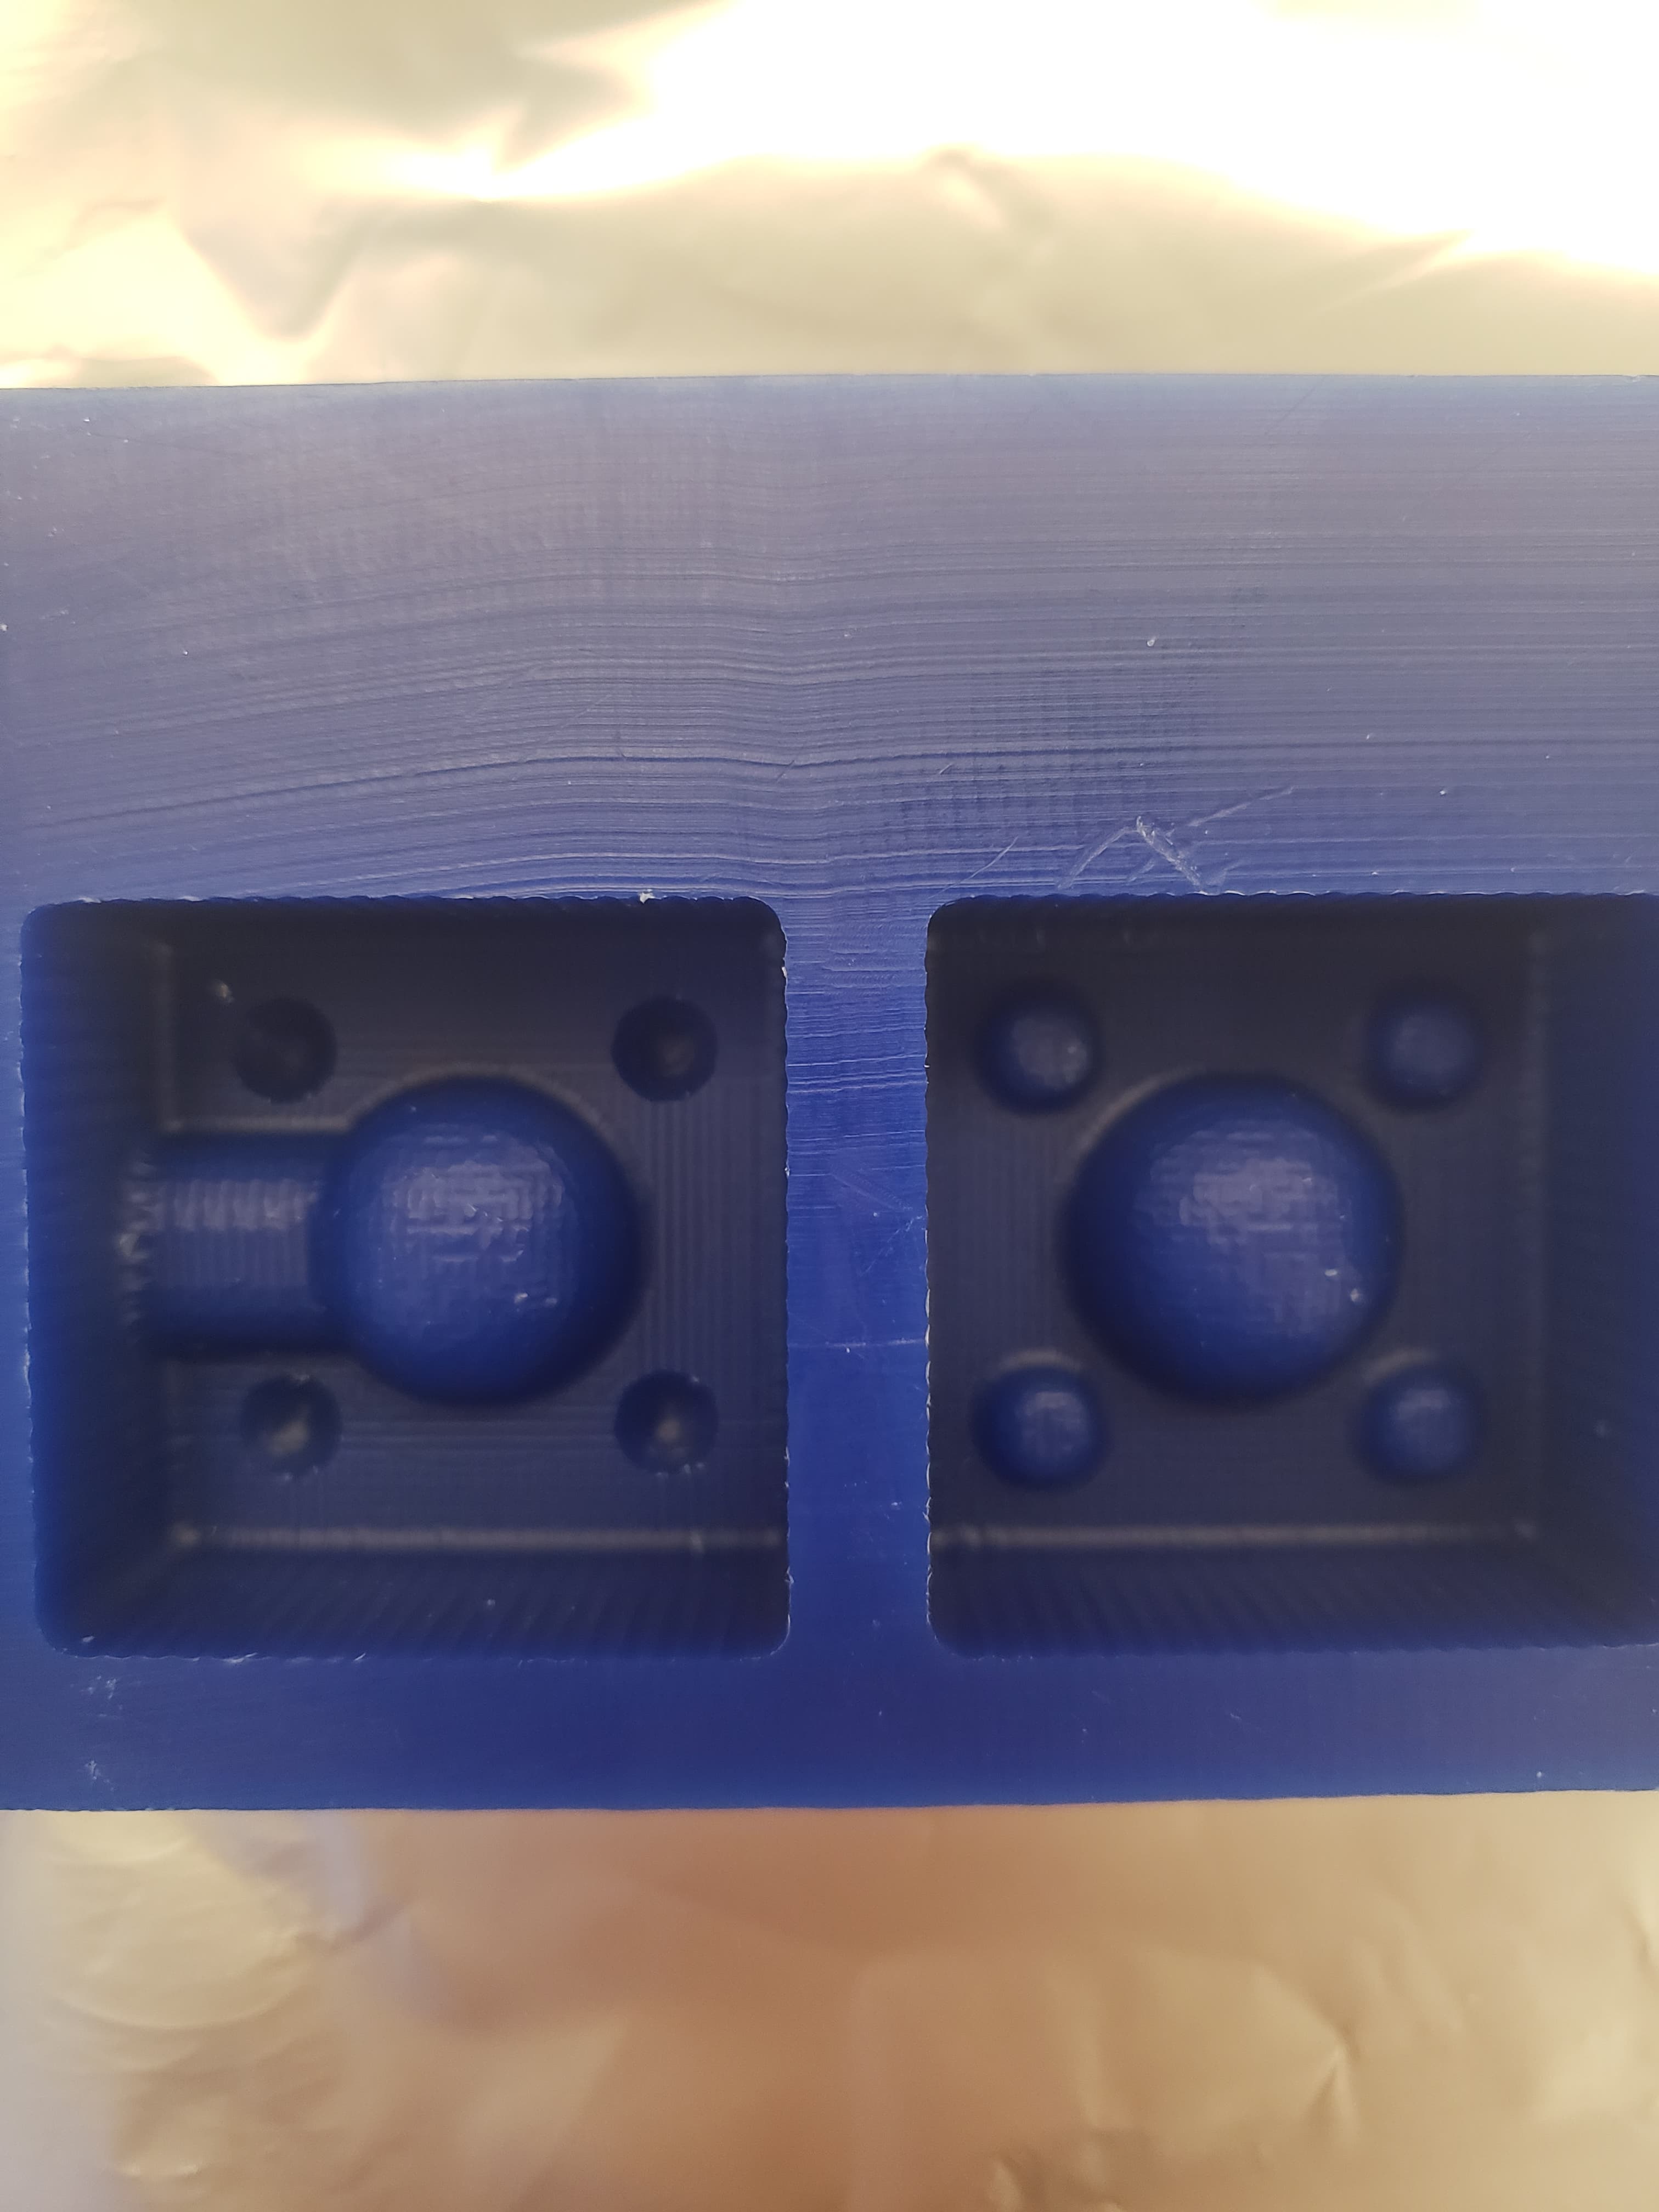
In the end, I decided to just make a ball, since I figured I could use it as a paperweight. In Fusion 360, I CADed the ball. So I created a ball with a 20mm diameter, I chose to have it so small in order to not take too long (since I didn't want to stop people working on their projects). I then had the cylinder, with a diameter of 13mm, connected to it, which is a little big, but I didn't realize until after I made it. The cylinder was only on one of the sides, since I didn't think I needed a hole to pour in both sides, since the 13mm seemed large enough. I also ensured to add 4 mini circles, diameter 8mm (to ensure that the end mill could cut it properly) on the edges of the square, to ensure that I could perfectly line up the sections. One side of the mold has the circle concave and the other convex. It took a lot of tries, since I wanted to make the process as efficient as possible, so I wanted to ensure that I cut as little as possible. The CAD is shown below.

I milled the wax mold with a 1/8 " endmill on a Roland SRM-20. I had it use a 50% overlap for the rough cut, and a 80% overlap for the smooth cut. When initially inserting the end mill, I had to be incredibly careful. The wax mold was so tall that the horizontal bar to control the endmill in was almost touching the mold. So I had ot keep the endmill almost entirely in the holder. When using the mods program, I had to make sure that I placed the final design in the left corner at a scale of 1. If I didn't do this then the mill wouldn't cut in the proper location on the wax.
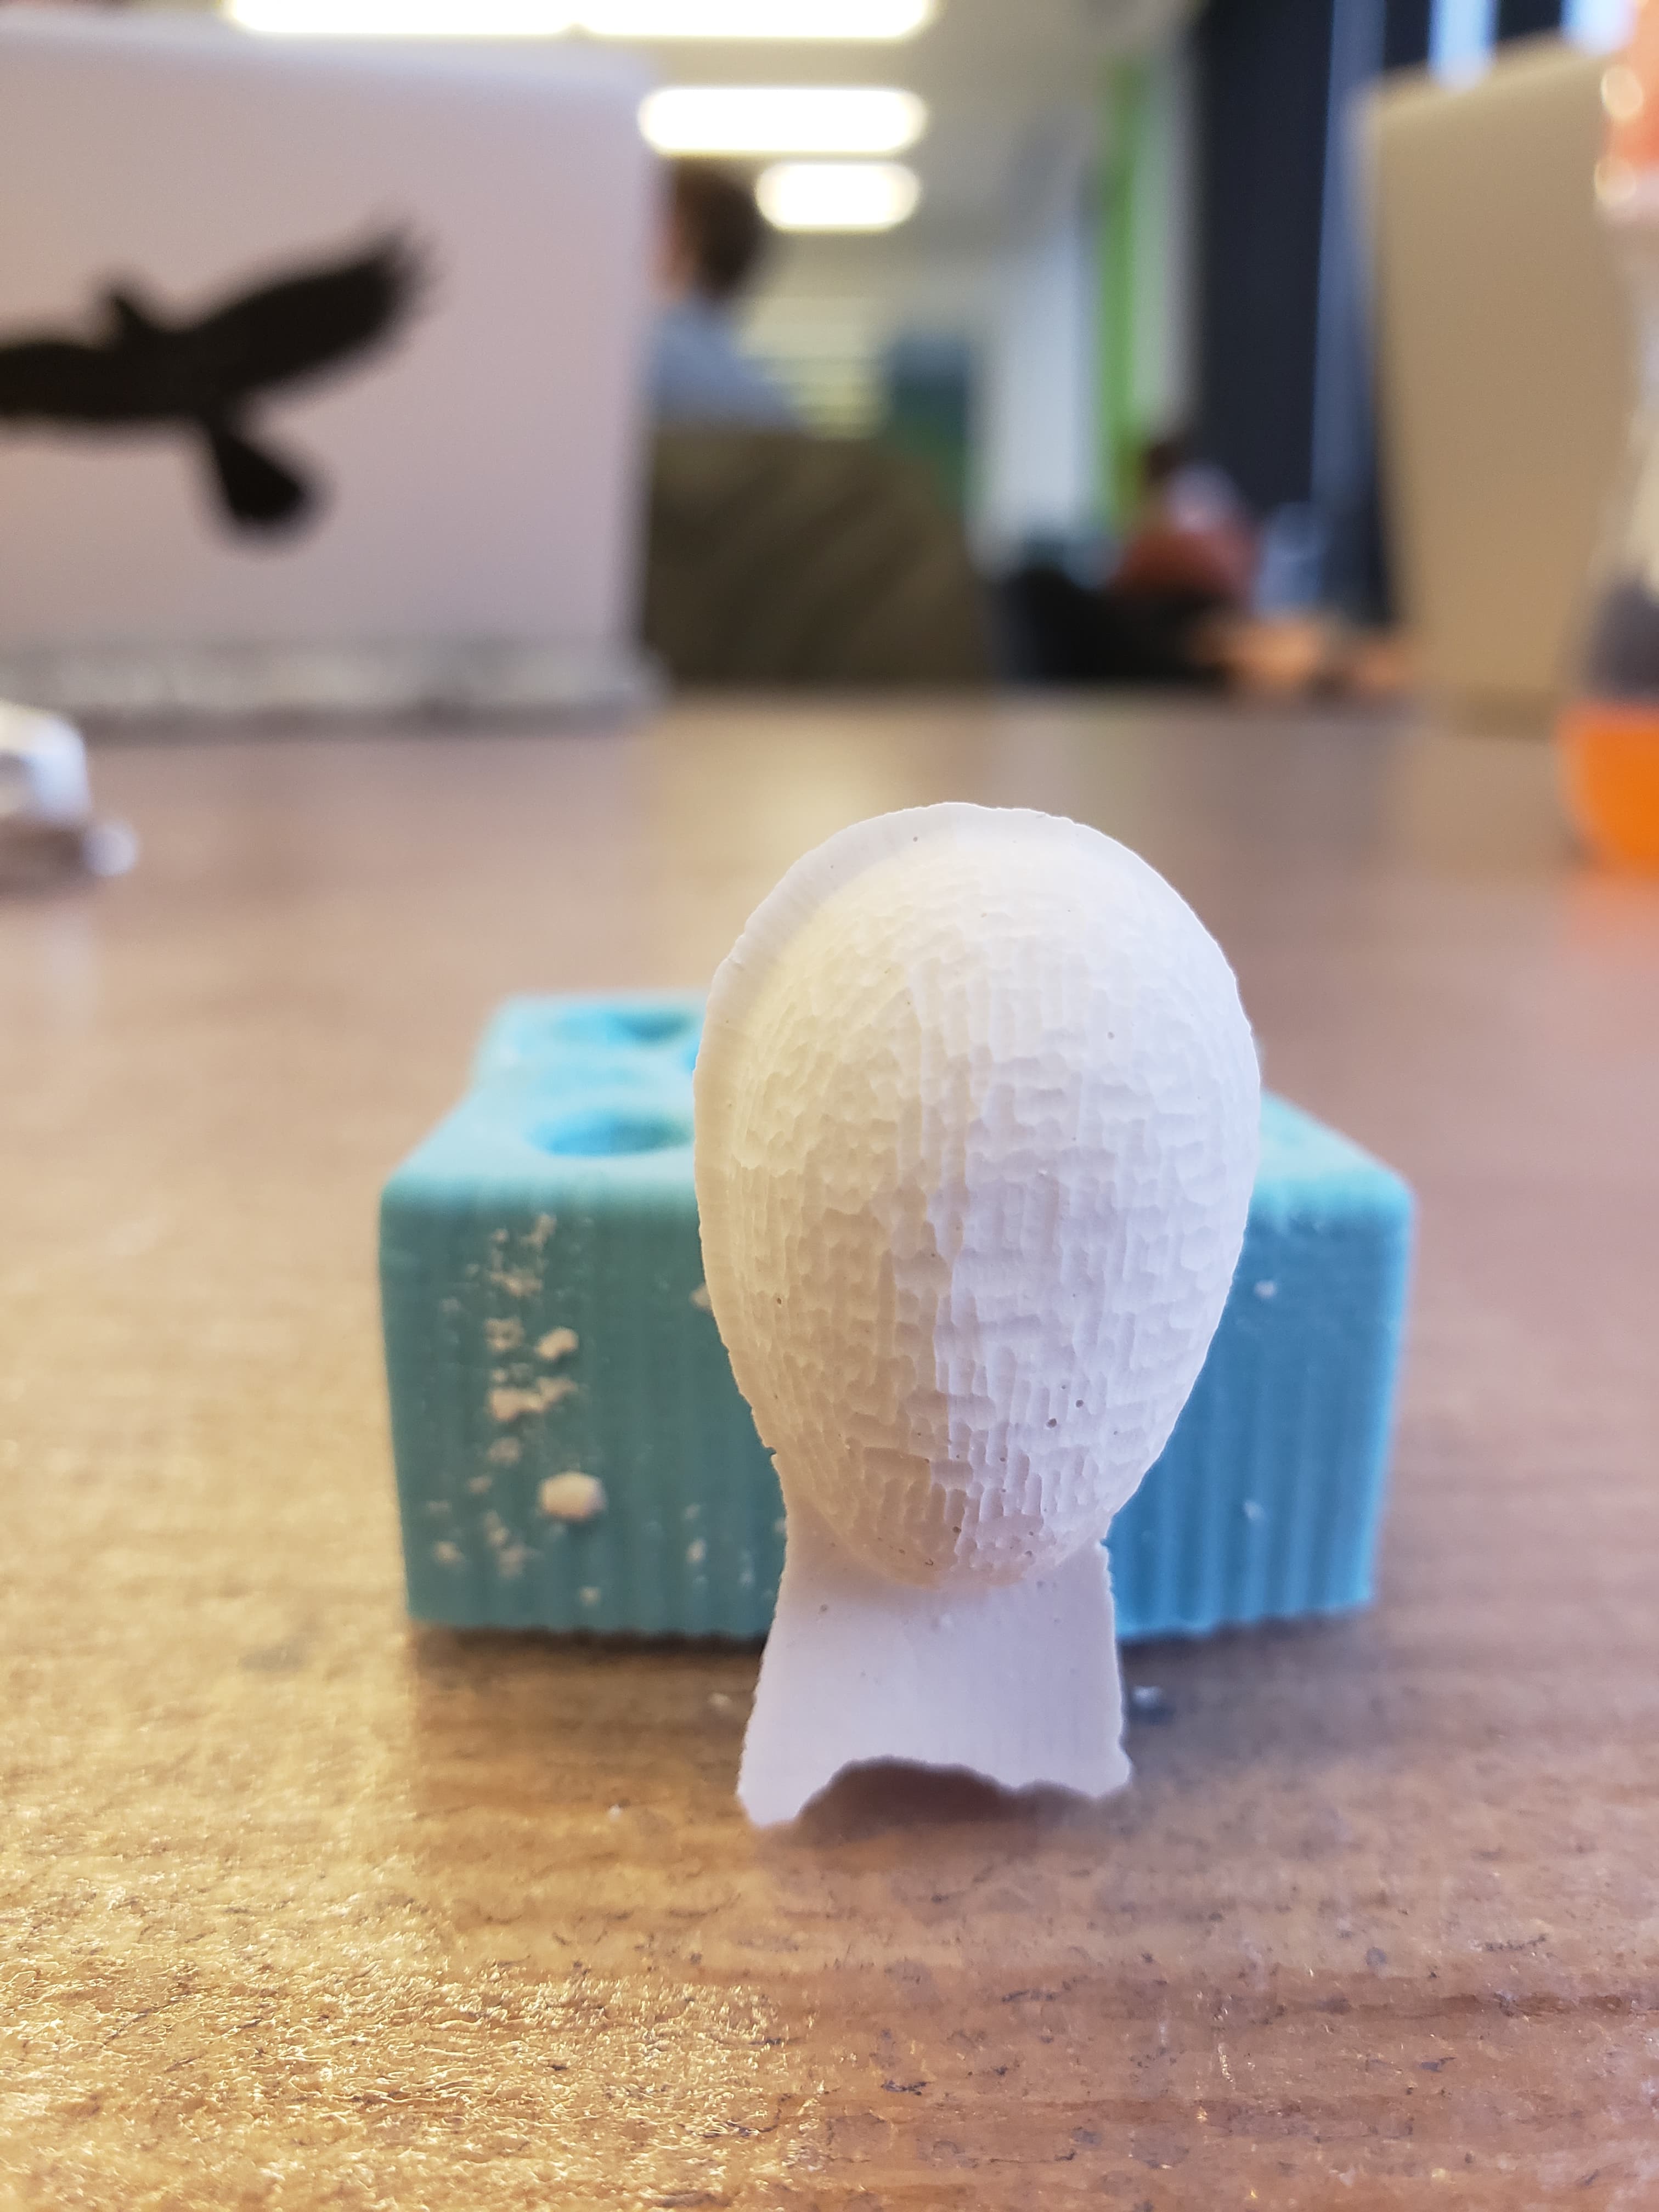
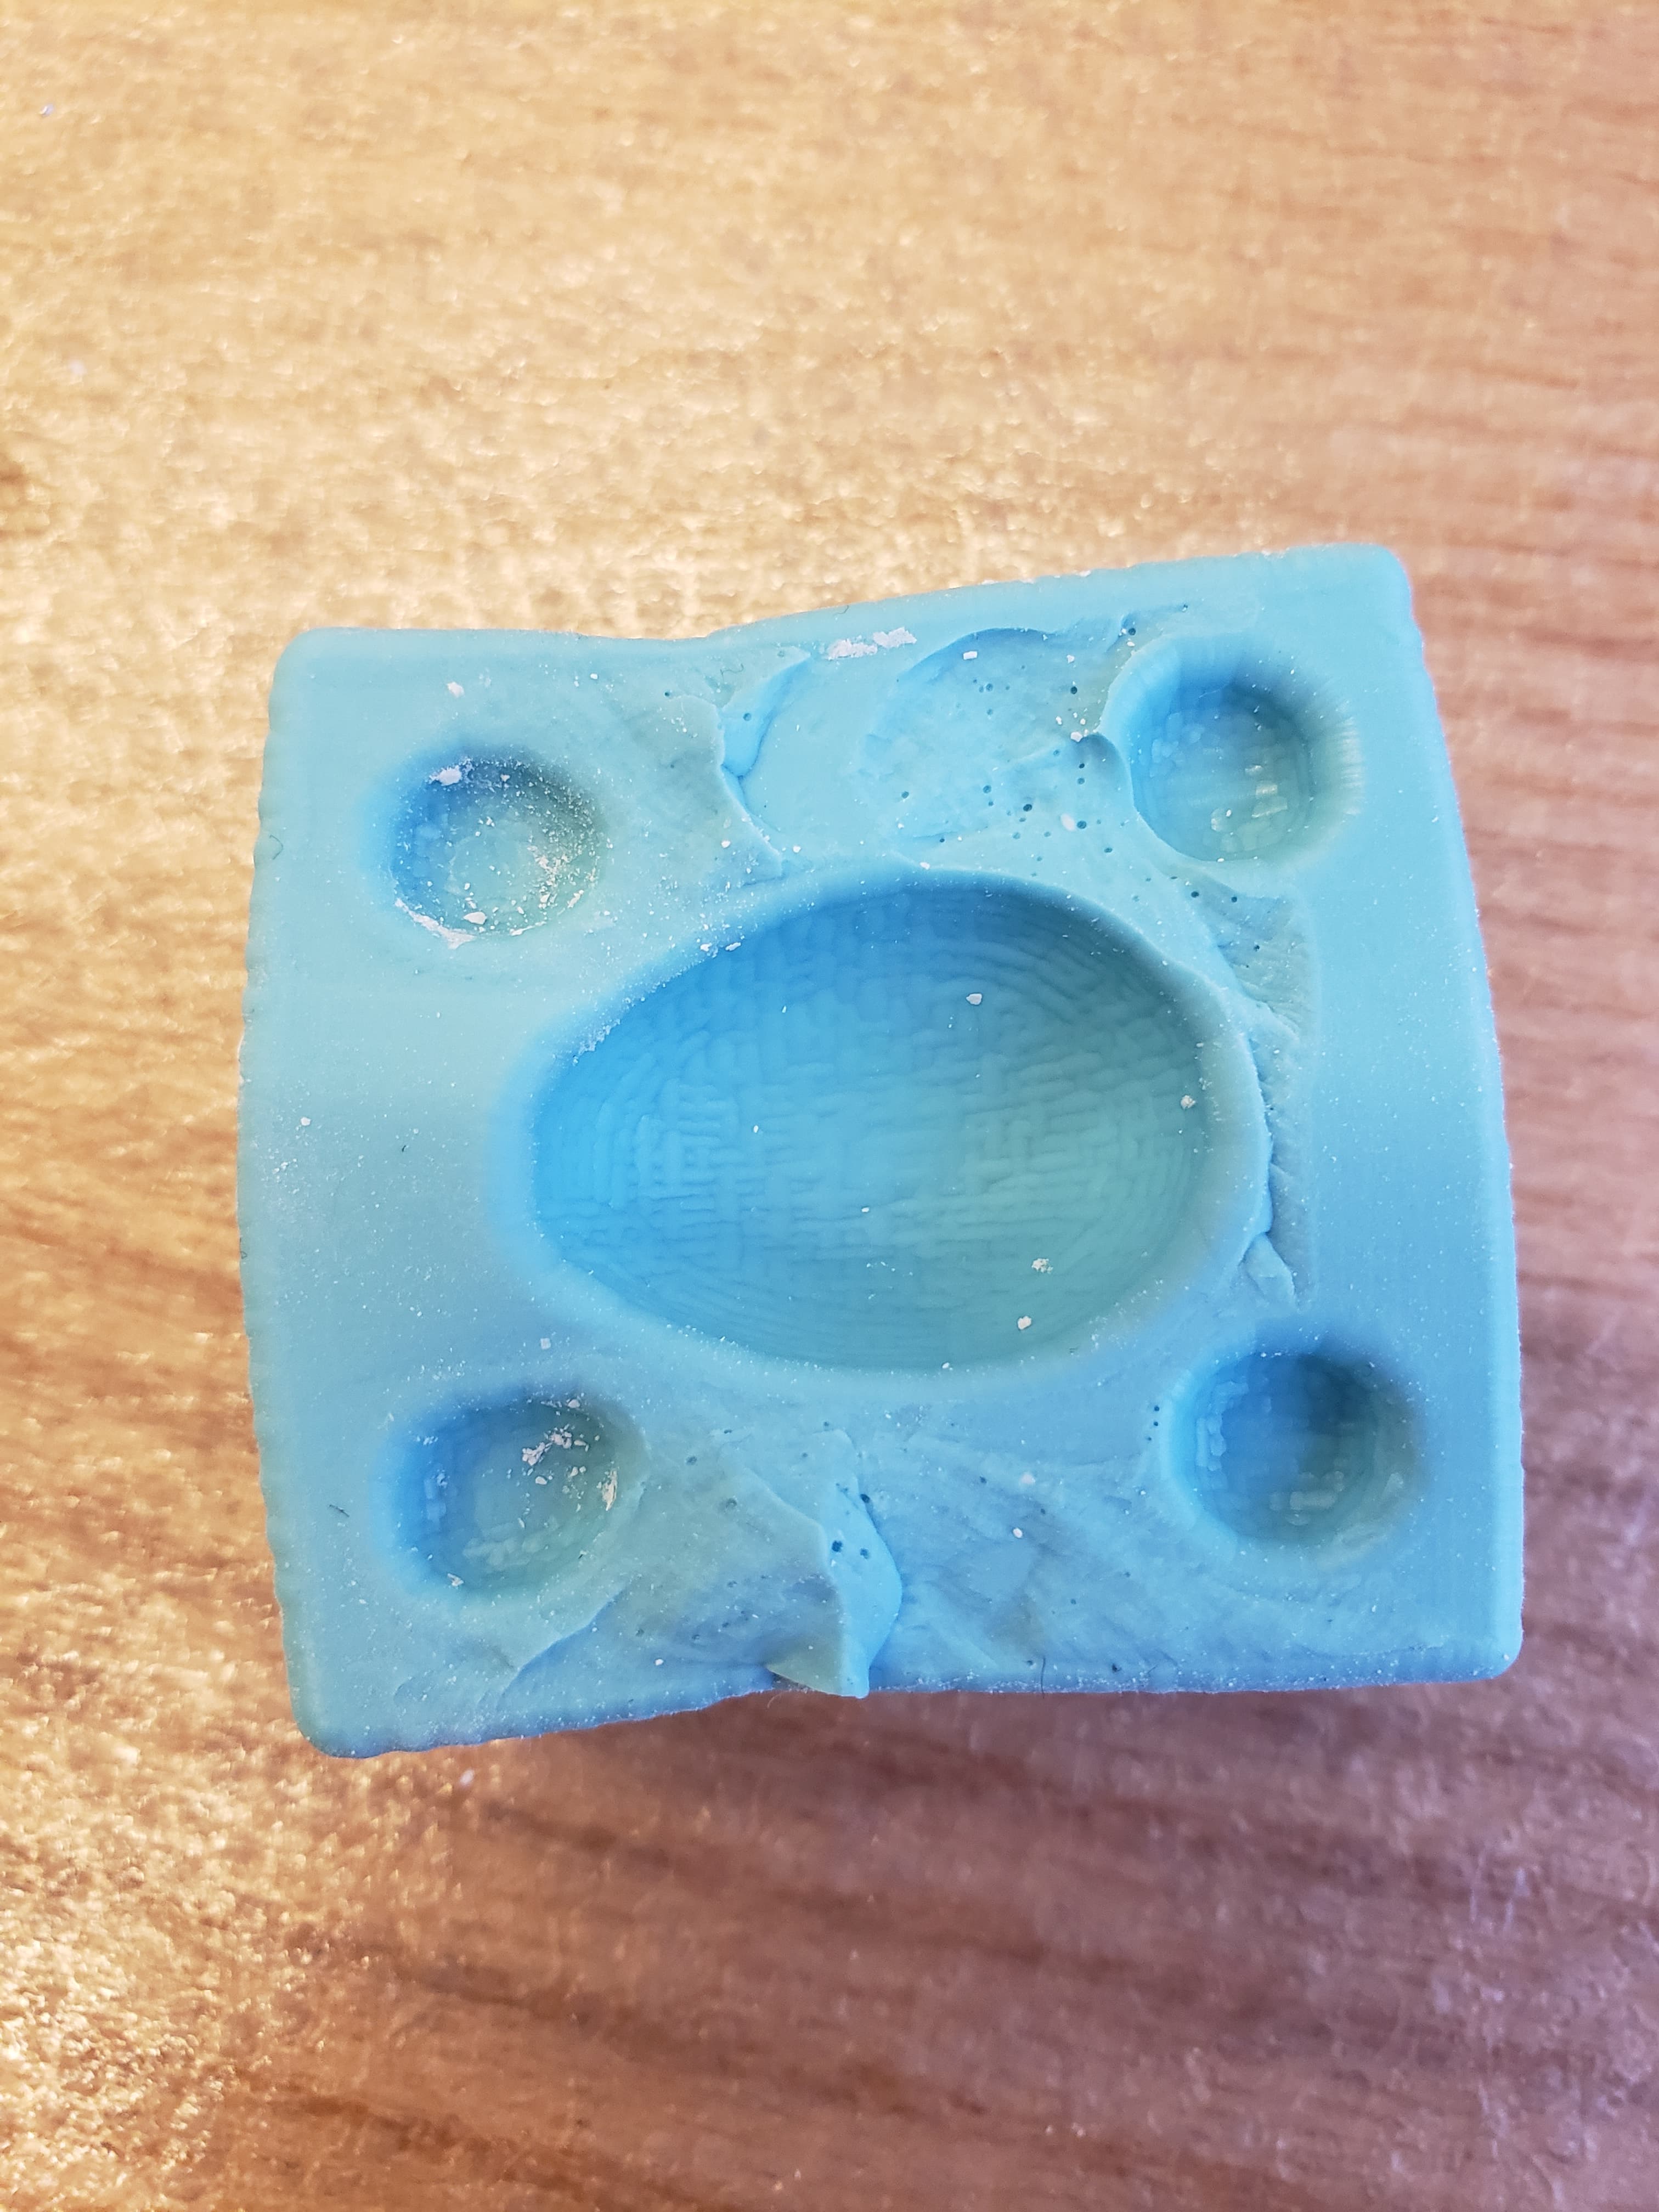
I then filled the mold with oomoo to create the silicone mold that I actually use to create the paperweight. In the end, it appeared that I did not mix perfectly the oomoo in a ratio of 1:1, so after 1 hr it had not fully cured. However, I decided it seemed good enough, so I poured the hydrostone into the mold. Sadly, once I used the rubber bands, the oomoo deformed a lot, leading to the creation of a head looking structure as opposed to a sphere. I also know that it was not perfectly cured, as when I came back, both sides of the mold had cured to each other. So I know now for the future to be more careful when mixing the different solutions and to wait until fully cured before casting.
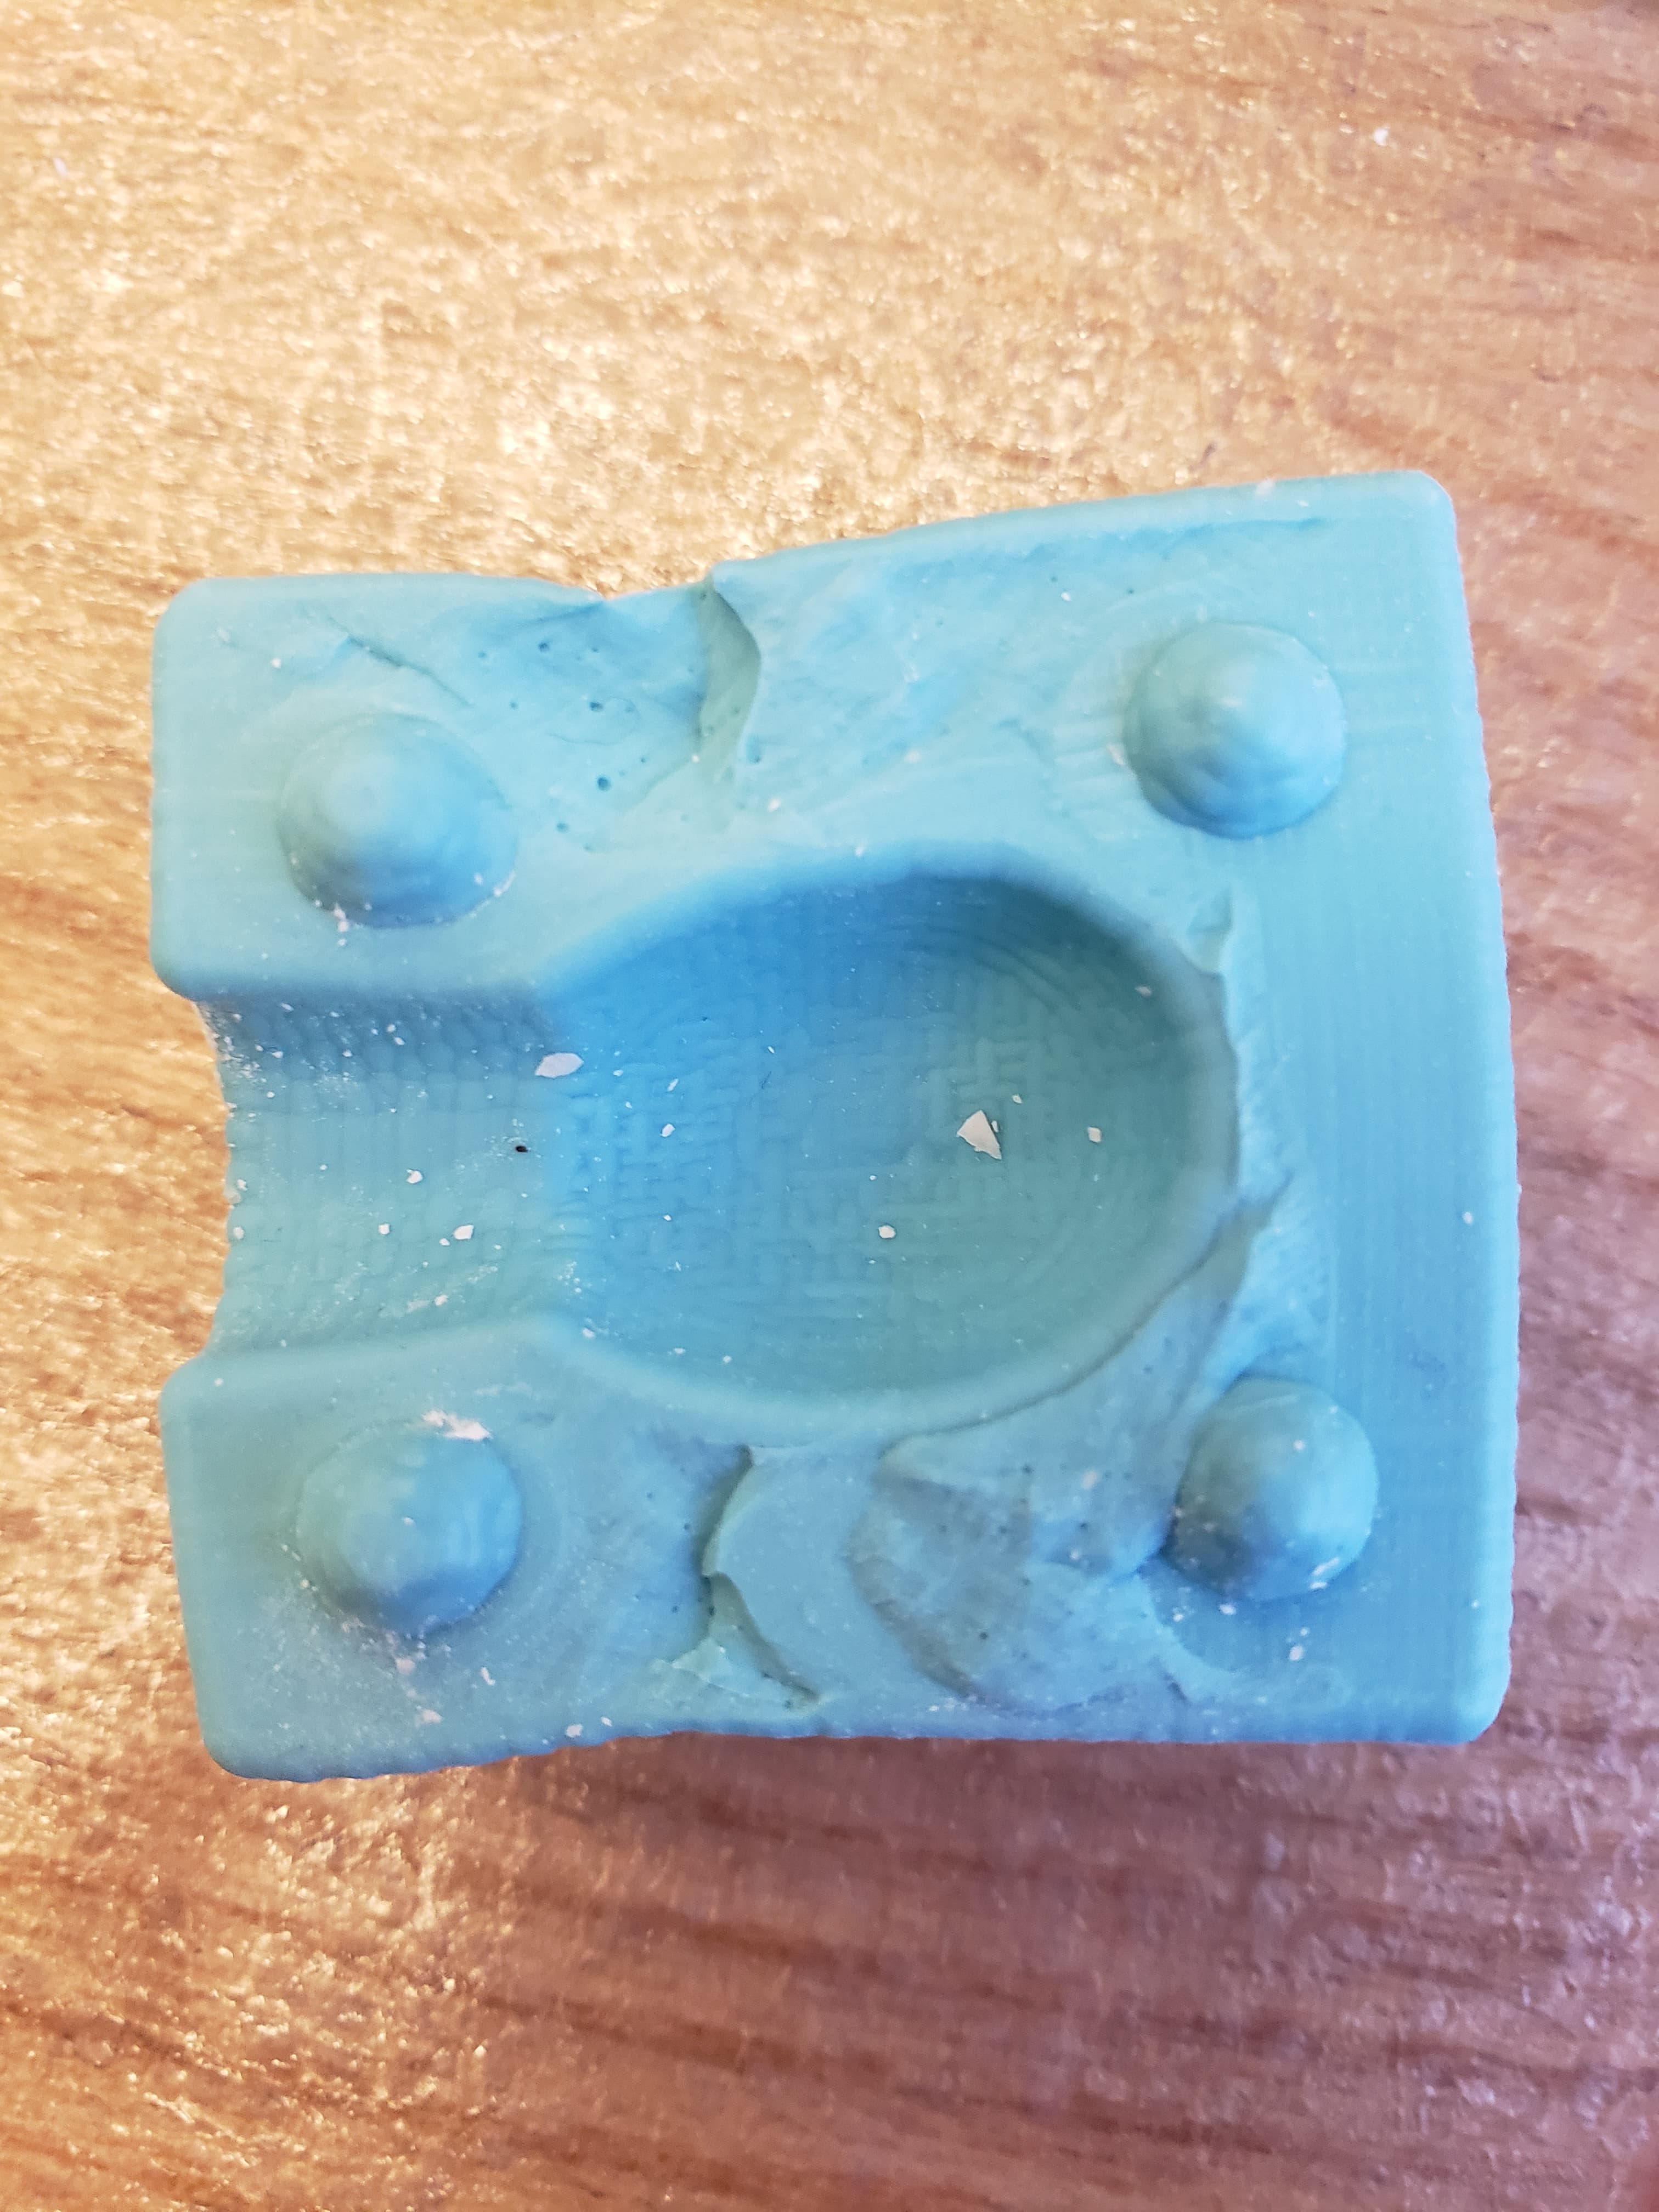
This shows the final product. It clearly is not a sphere from the deformation during the casting. However, I think it looks like a head! (which is kinda cute)