 Amnahir
For the sixth week, we had to make something big. We were given a 48"x96"x7/16" board of oriented strand board. This type of wood has a very dirty finish, as it is composed of many different chips of wood mashed together. This means that there are rough breaks in the material. From a brief google search, this material is known to be a lot harder than initially expected from mashup wood. As such, it is comparable to plywood, yet still slightly softer. At the same time, the material is very lightweight, which is definitely useful for the project this week, as it involves less physical effort from my side, since I am still recovering from my injury. So, I cannot stand for elongated periods of time.
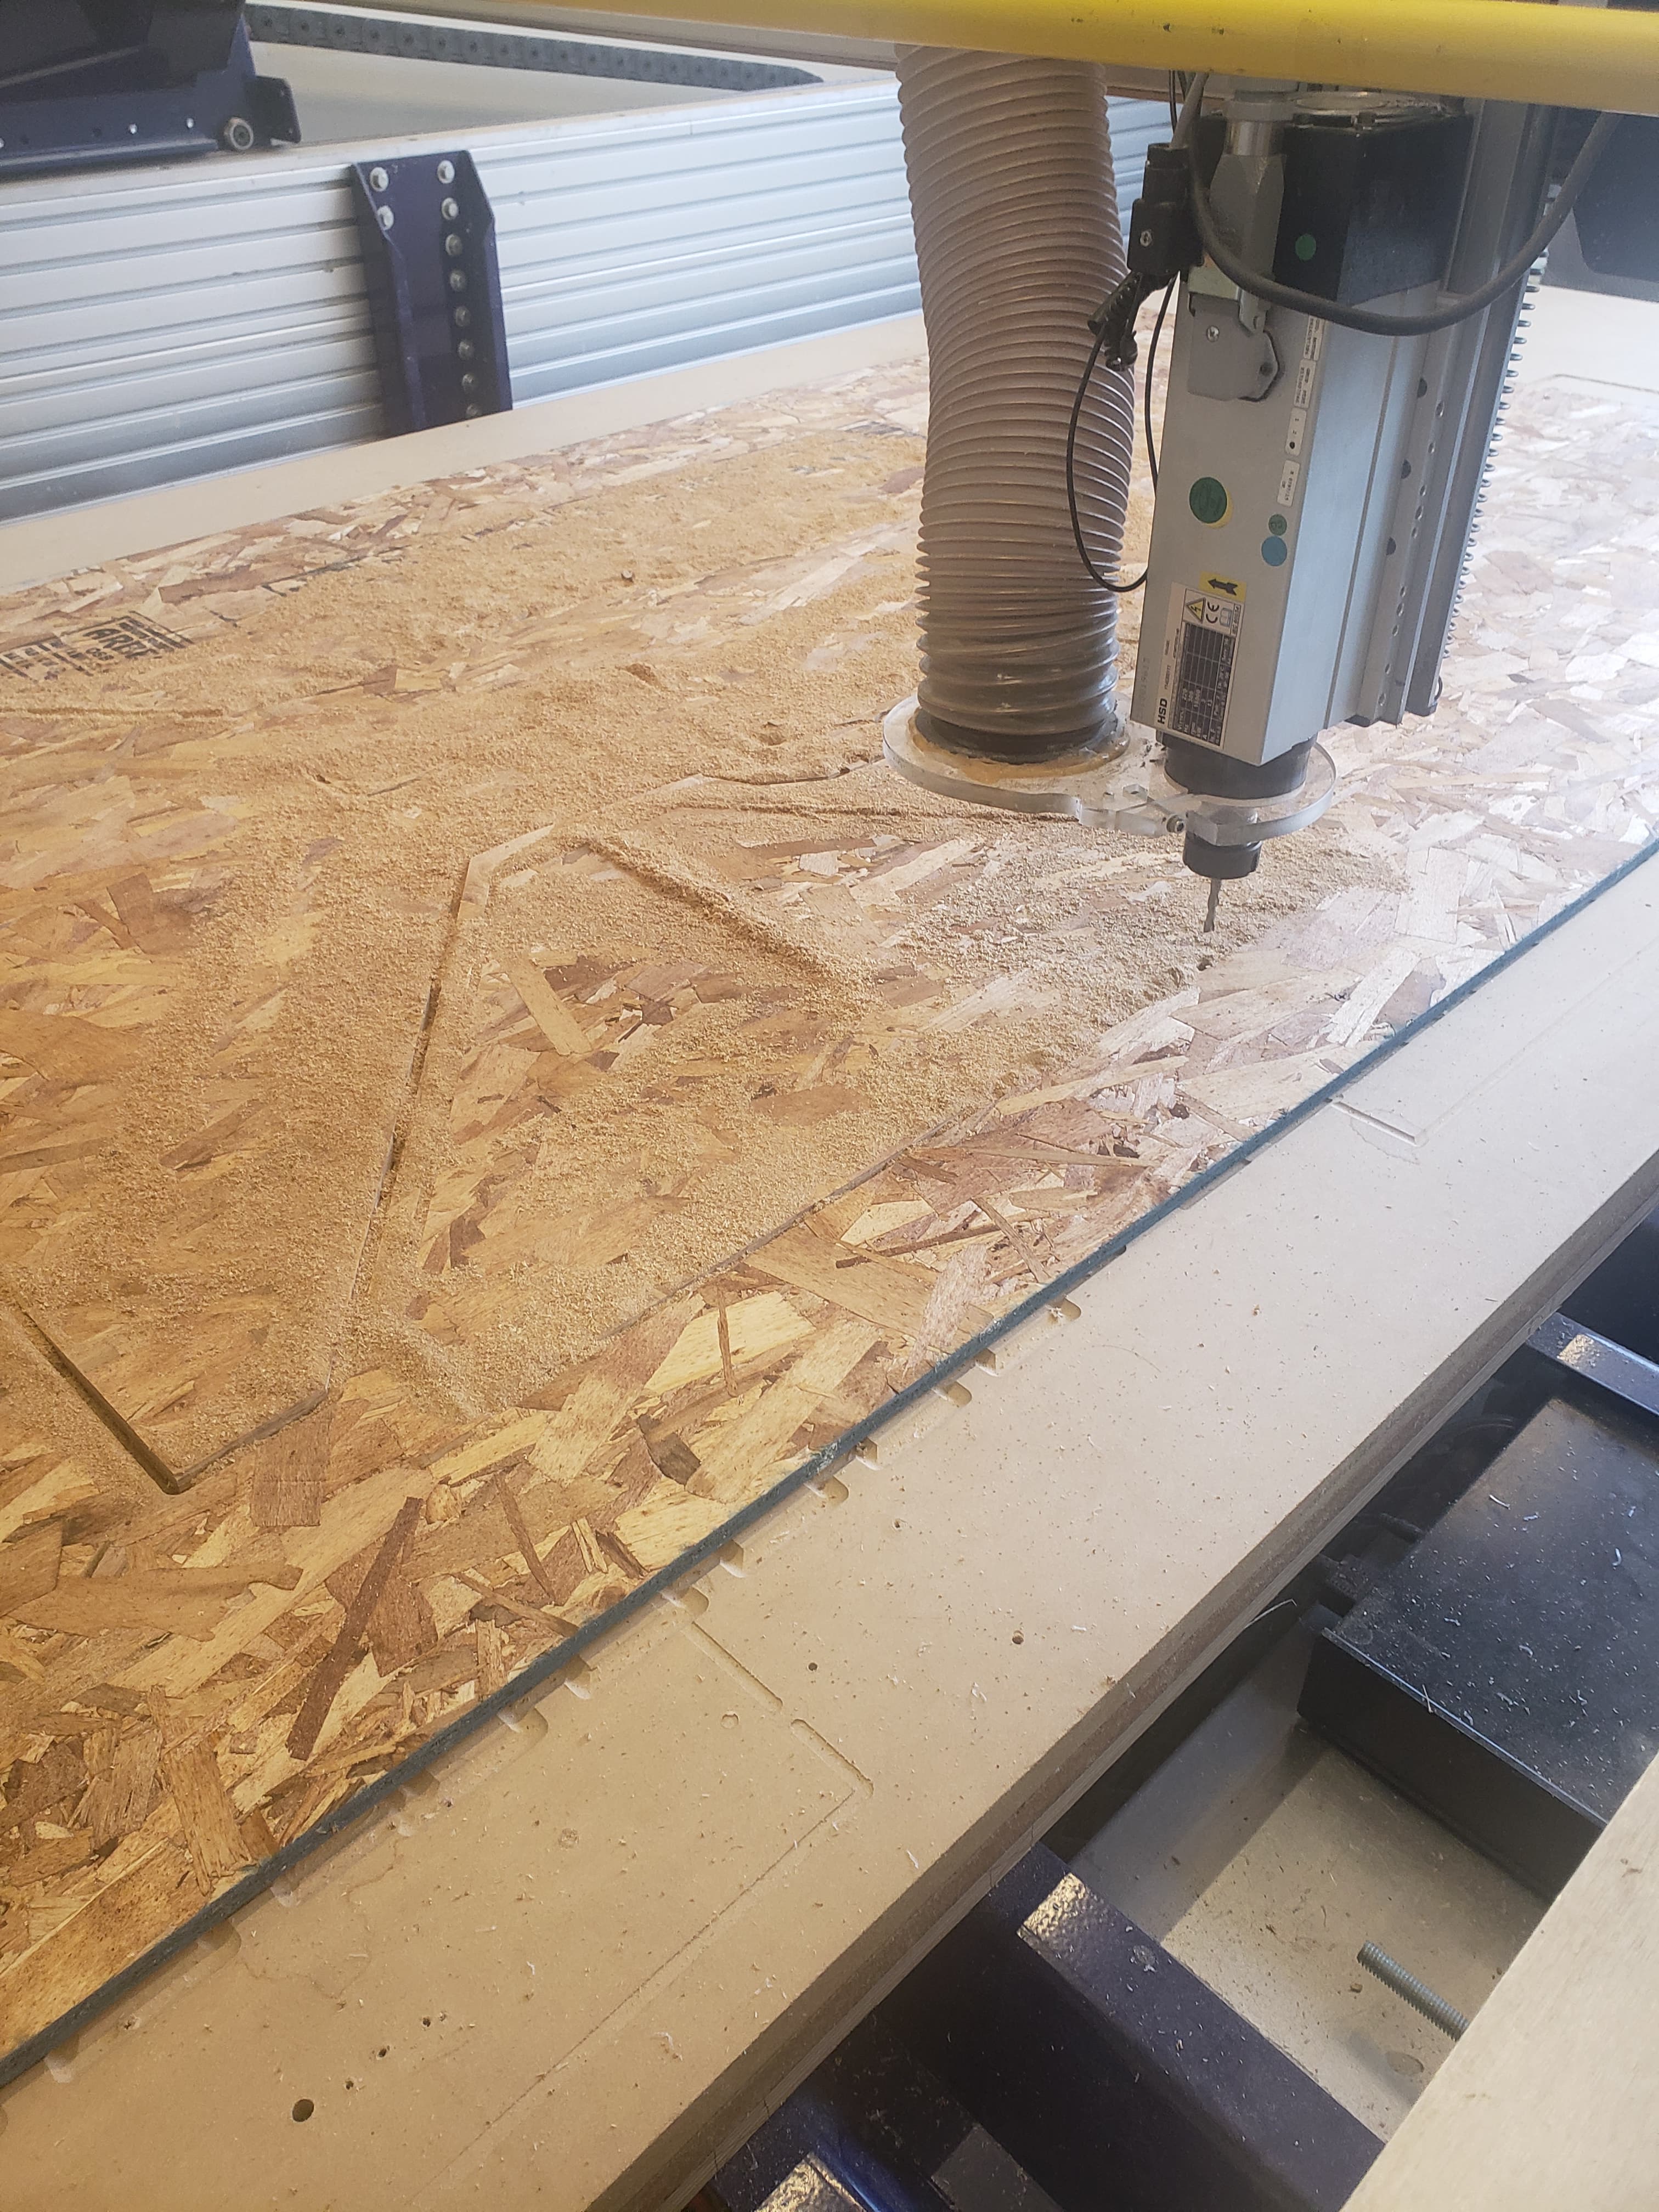
Since the EDS does not have a large CNC mill, this week, we were given access to the IDC, which has a ShopBot mill, which is just like a large scale Roland SRM-20 mill. Although their mill works well for cutting, it was seen during the cutting process that the vacuum was not very efficient. As such, most of the dust created during milling remained on the board, as seen in the image below. We were using a .25", down oriented end mill. This dictated how closely different pieces could be placed on the board to ensure that they are the correct dimensions. We were told that it was best to ensure at least an inch between the different pieces that we wanted to cut, which meant that we couldnt save space by combining the ends of different pieces. Also, since it was a down oriented end mill, as explained in class, this lead to a dirty finish on the bottom side of the board, which I chose to clean up after cutting with sandpaper.
Initially, I could not think of something to make for this weeks assignment. I, sadly, could not see a good instance of using oriented strand board for clothing design, as it has been previously shown that the wood does not work well for flexures. Since it could not be easily worked for wearable technology, I was thinking of making something that was Disney themed. At first I thought about trying to make a doll house that looks like the main castle in DisneyWorld. However, I realized that given the quality of the wood, it might not finish well/ it might just be too hard to make. I also do not have much space in my room, so I would be unable to keep it for an extended period of time before giving it to my little cousins.
After much thinking, I realized that I could make a target board. Last year, my friend and I were interested in learning how to throw knives. As such, I bought a couple of throwing knives. But, my friend never was able to make the target, so we never learned. Thankfully, I thought that using the wood I could make a large target. After some googling, I found out that although OSB is not the ideal material for a throwing knife target, it would still be possible to use. At the same time, making a large target would ensure that I could finally learn how to throw knives. Or, more likely, not learn since I don't have a good place to learn.
Once I had decided that I wanted to make a target board for my project, I realized that I wanted to make a stand that held the target. After googling some different stand ideas, I realized that a simple criss-crossing shape was sufficient to create a great stand. So I looked at shapes and decided that a triangular base would be sufficiently strong to keep the target up.
I then had to decide the shape of the target. At first, I figured a circle would be great since it would look like a bullseye. However, then I realized that it would be kinda cool to make it look like a person. It would be similar to a shoot range, where the paper have the shape of a person printed on it. I chose to create the body up until the knees, since I figured that it didn't make sense to try to throw knives at someone's foot/calf. I also decided to cut out another heart, as it would be great to have a difficult mode of aiming for specific areas in the "body".
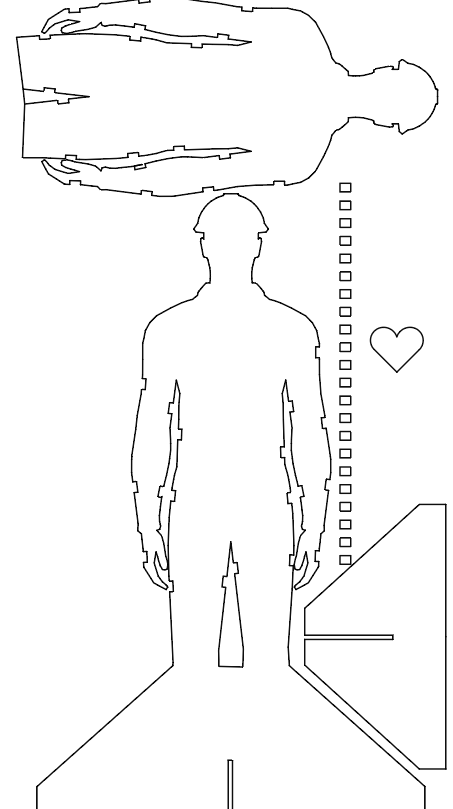
Another design consideration I had to take into account was the thickness of the target. The OSB board comes with a specific thickness, however, I was not sure if that would be sufficient for my purposes. As such, I decided to double up the board. To do this, I created the outline of the person twice. I then cut notches into the "body"s and pieces to fit into these notches. I figured that I would place one body in front of the other and use the pieces to stick through the notches and combine the boards. I thought this was like an exploded finger joint that is commonly used in wood joinery.
My initial thoughts for the project involved creating two of the men. I would place one in front of the other in order to create a thicker target, so that it would be safer to throw knives at. I created notches in the body so that when I placed two of the layers in front of each other, I would then place the small rectangles in the notches to hold the two together. Sadly, I was told that the weight distribution would not allow the man to stay standing, so I was told to create just one man :(
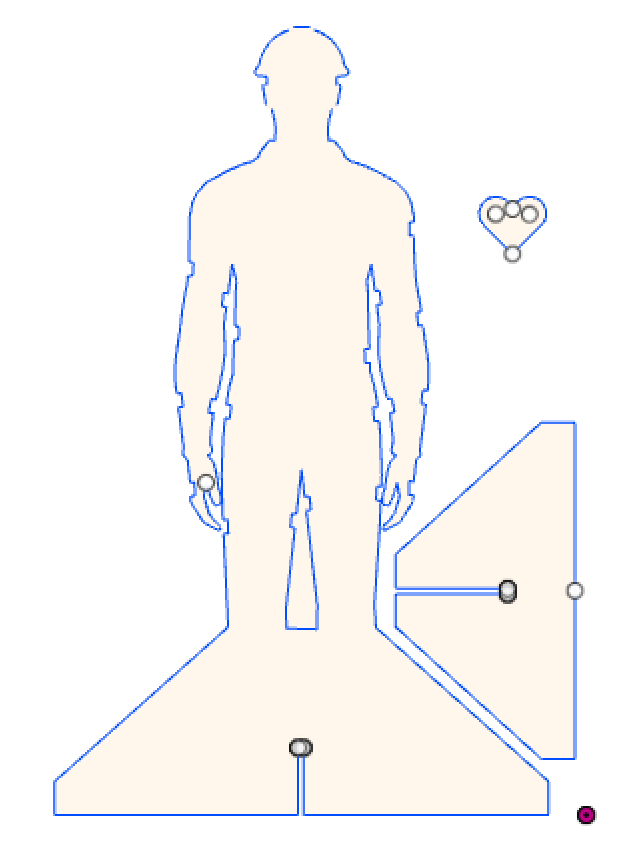
As the weight distribution wouldn't work, my final design involved just the man, the base, and the heart. I figured it was ok to keep it simple, as the point of the project was to understand how to use the mill, which I think I was able to gather a basic understanding of. At the same time, the stand would still work for throwing knives.

The image on the right above a picture of the milling process. From this angle, you can see the man from the bottom. As you can see from the photo, the vacuum is not taking up all of the dust while cutting. However, this did not impede the cutting, so I let it be. During the cutting, I noticed that the mill did not create the circles intended to create a good fit between the man and the stand. It turns out this happened since the holes I CADed were too small from the bit. So in the end, I had to use a sanding pick to create the edge holes in order to create space for both of them to fit.
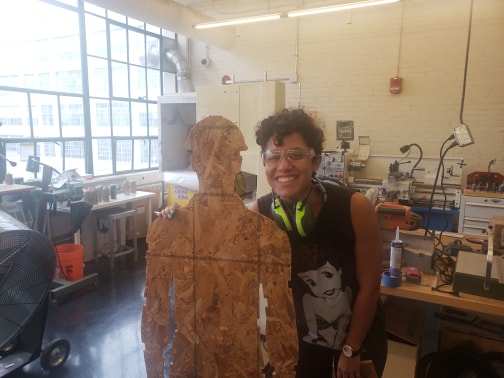
This is a picture with Mike, my target board, and me posing together. Since I wanted Mike to look good, I ended up sanding his edges, so that he wouldn't give anyone splinters during the work.