 Amnahir
For the fourth week, one of our assignments was to 3D scan whatever we wanted using one of the methods explained in class. There were a lot of really cool ways of doing it, but our lab had access to the Sense 3D scanner, which is not hard to learn. So I chose to work with this scanner. Zach, the eecs TA, had made a rotating table for our objects. Since you have to go around the object with the scanner, this allows us to hold the scanner steady and rotate the object easily. We also had a tripod for the scanner, which meant we only then had to rotate the object. We learned that you have to make sure that the object doesn't move, so I was careful to place my object in the center of the table.
I had initially wanted to scan a watch, so I placed it on the rotating table. But, sadly, the scanner wouldn't pick it up. It was too thin and not seen while lying flat on the table. I then attempted to scan a simple locker lock, but this one also didn't work. I think it was a combination of the lock being too short and the shiny gold not contrasting enough with the white. So, I then tried my laptop, which did end up working!
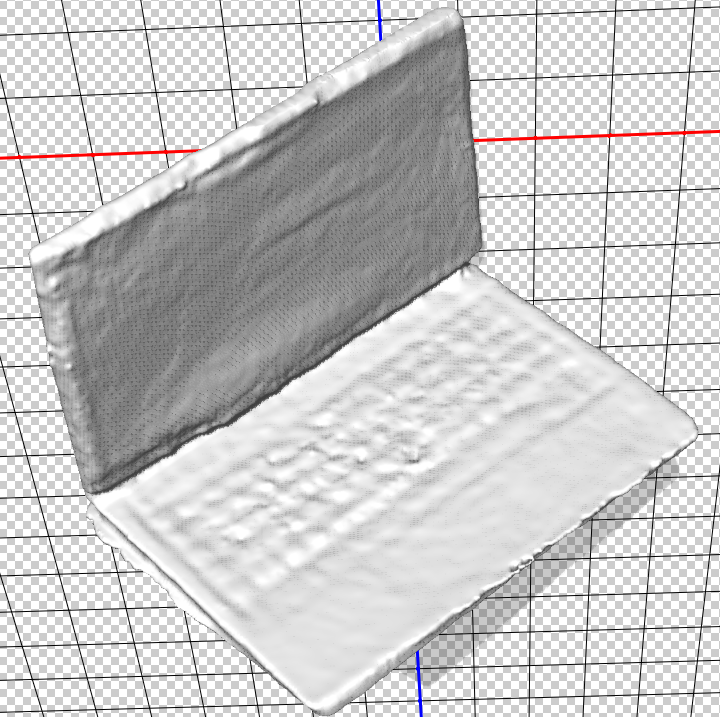
The final scan is shown above. I had picked my laptop as my third choice since I wanted to see how the scanner would deal with the screen and the detailed keyboard, which was pretty low on the table. I had a lot of issues inititally scanning the laptop, since it would get confused if the screen was slightly shut. It would get lost I think in the drastic change from the back to the side of the laptop. It also took a lot of effor to keep the computer exactly in the middle of the sensors range. So, I had to do 5 different tries to finally get the scan. But, it did end up working! As seen in the image, the scanner was not able to keep track of the keyboard as well, so it looks incredibly blurry, but it did get the screen.
Another part of the weekly assignment was to 3D print something that could not be made using subtractive manufacturing. My idea for the 3D print was to create flexible fabrics. The interlocking structure of a "woven" fabric ensured that it couldn't be made through subtractive manufacturing. I also wanted to print the fabric to test different materials that I would be able to use for my final project. For this reason, I tried two different patterns.
After a lot of googling to see what other options were available I ended up finding a decent number of patterns that I could try to create. The first one that I created was pretty boxy, since it seemed to be not very see-through and at the same time really flexible. Since it was so boxy, I was able to CAD it from scratch on Fusion 360. The second pattern that I found looked more like an actual knit fabric, which I much prefered. This one I after spending hours trying to make it from scratch, I gave up, since it wasn't coming out perfectly. I knew that I wanted it super small so I need everything to fit exactly or it wouldn't print well. So I downloaded a template and then worked from there. To print, I opened my stl files in 3DWox Desktop and added support everywhere and a raft bed adhesion. I printed everything on a 3DWox Sindoh with PLA. When creating the patterns, I ensured that there was a gap of at least 2mm between everything to account of the innaccuracy of the 3D printer.
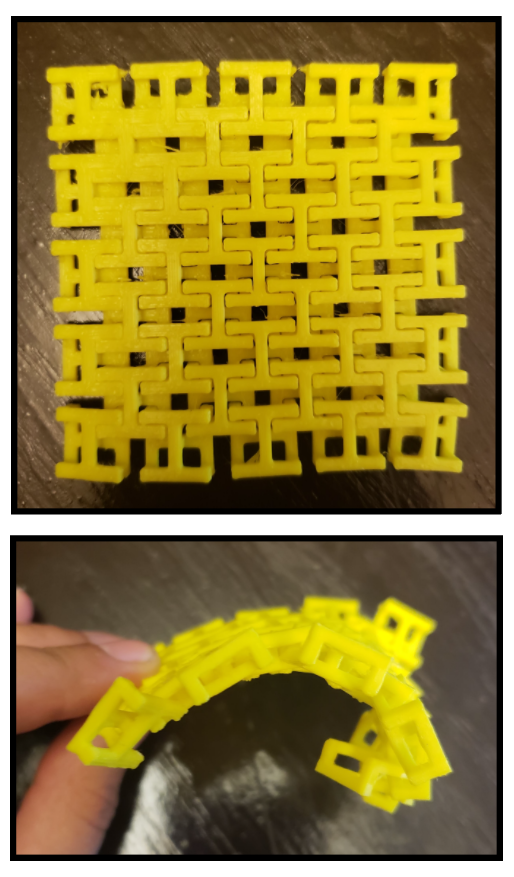
The image above to the left is the more rectangular version of flexible 3D printed pieces. Sadly, this version of the "fabric" is not as flexible as it should be given the warp that happened during the print. One of the corners lifted off of the board, and so the distances were wrong, and the cubes fused together. However, it was nice to see that they did remain separate through the print and were able to bend well. Although I don't like how pretty it is, I believe that this one could potentially be used for my final project.
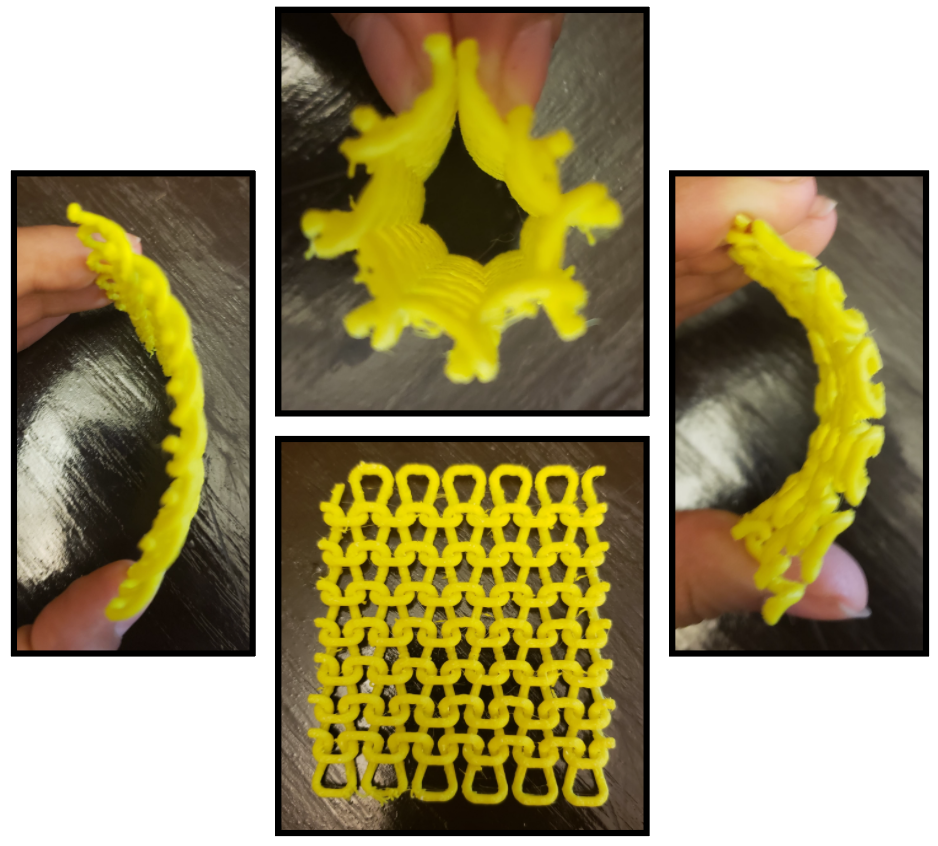
The image above on the right is a 3D printed fabric that looks more like a typical knit structure. It was motivating to see that the print worked so well, since I really struggled with getting the shape. In the end, it was only really flexible in one direction, and when bent that way looks kinda funky, but I am hoping to continue to print different iterations so that it is flexible in multiple directions.