Week 11: Networking and Communcation
Week Summary:
(1) I worked with the ESP32 Dev Board and learned how to view bluetoot devices and set up wifi access points.
(2) I built an ESP32 board and connected it via bluetooth serial to a server so view sensor outputs.
This week is networking & communications week! This is a key week for my final project, as I would like to control the LED display on my UFO via a serial connection with my computer. To begin, I decided to use the ESP-32S development board:This ESP32 board supports Wifi, Bluetooth, and Ethernet and it contains: - Microcontroller: Tensilica Xtensa 32-bit LX6 microprocessor - Digital I/O Pins (DIO): 28 - Analog Input Pins (ADC): 8 - Analog Outputs Pins (DAC): 2 - UARTs: 3 - SPIs: 2 - I2Cs: 3 - Flash Memory: 4 MB - SRAM: 520 KB - Clock Speed: 240 Mhz - Wi-Fi: IEEE 802.11 b/g/n/e/i: Source: https://docs.zerynth.com/latest/official/board.zerynth.nodemcu_esp32/docs/index.html This board also features a bunch of peripherals and sensors:
To begin setting up my board and start communicating with is I watched this video: I decided to use the Arduino IDE for my work because that it what I plan to use in the future beyond this class. First I used the ESP32 Dev Board to get familiar with the bluetooth process.
Here is my process of setting up my computer for the ESP32: 1. Visit this github which houses all of the ESP32 Arduino libraries 2. Follow the steps to install Arduino ESP32 support on Windows 3. Start Git GUI and clone the repo via their instructions:
4. In the esp32 folder run
“git submodule update --init --recursive”in git bash5. Double click get.exe
6. Ensure that you have this CP210x driver installed for windows 7. In the tools menu go to board and select “ESP32 Dev Module”
8. Ensure that you have the correct Com port selected
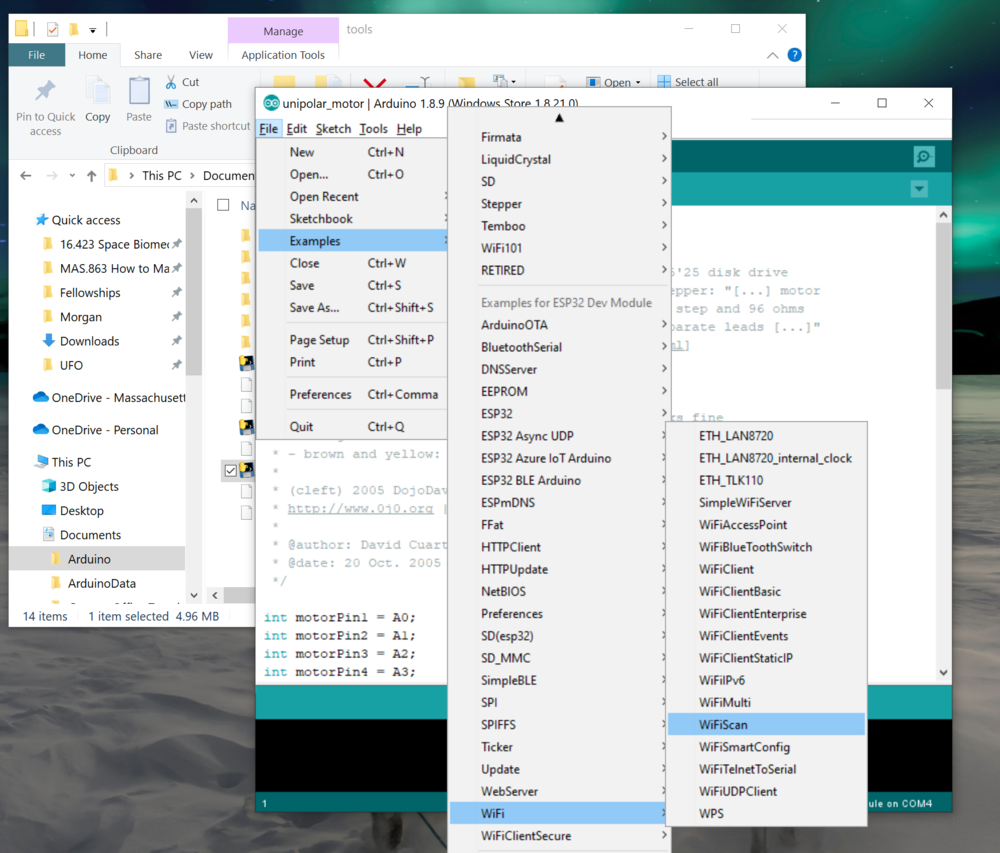
Now I was ready to load my first example code! What’s great about this board is that there are so many existing example programs that you can build your projects from. First I uploaded the program WifiScan which shows how the ESP32 can find nearby wifi networks, there were a ton!
After some troubleshooting I uploaded the program "BLE_Scan" which shows how the ESP32 can find nearby bluetooth networks, funnily I could see people walking by my room as the number fluctuated:
Next I considered how I wanted my networking system to work in my final project. I desire for the user to be able to access a website via their computer or phone. I followed this video tutorial for setting up a wifi access point from which you can control the LED of the ESP32 via a web interface: My Process for setting up a Wifi Access Point: 1. Open the example program "SimpleWifiServer"
2. Name the "ssid" and "password" in your code to your desired word. This will be what you'll see as the name of the wifi network when it shows up on your phone/computer 3. Upload the program to the board 4. Find the wifi network in your wifi network list on your comp 5. Connect to it using the password you set 6. Open the serial moniter of your board. First I checked that it said that the board's wifi was being accessed by one user, this is good and means that the board knows that my computer is connected to it. Next I the IP address that it prints, this is the address that I need to type into my browser. 7. Type the IP address into the browser and wait for it to load 8. When it finally loaded I was able to turn the LED light on and off via the website!!
Getting on the wifi access point with my phone was trickier. At first I thought it wasn't working, but after waiting long enough I was finally able to connect and control the led with my phone!
wainting long enough... ->
I disconnected my ESP32 board from my computer and just powered it from a USB outlet port! Here is a video of my phone controlling the LED: