Week 2: Laser & Vinyl Cutting // Setting up GitLab & class site
This week we have deliverales in two arena, the first is setting up our class sites- where you find yourself right now, and the others are for Computer Controlled Cutting, specifically laser & vinyl cutting.
TLDR:
I made a Saturn lamp that doubles as a UFO and also cut some vinyl stickers
Setting up this website:
This was (still is) a fun challenge
Vinyl Cutter:
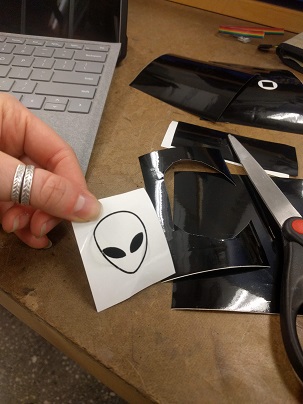
To print to with the vinyl cutter in this class all you need is a black and white .PNG file. To upload it to the --- vinyl cutter follow the tutorial here on the archshop website.
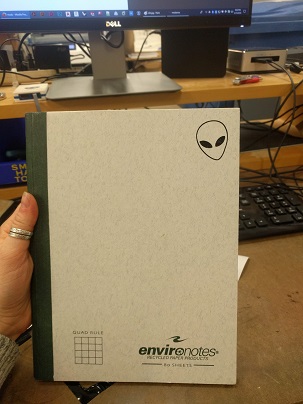
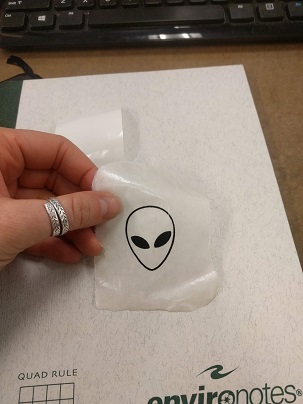
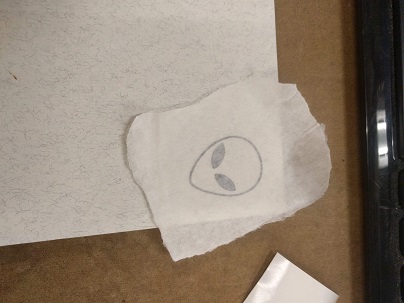
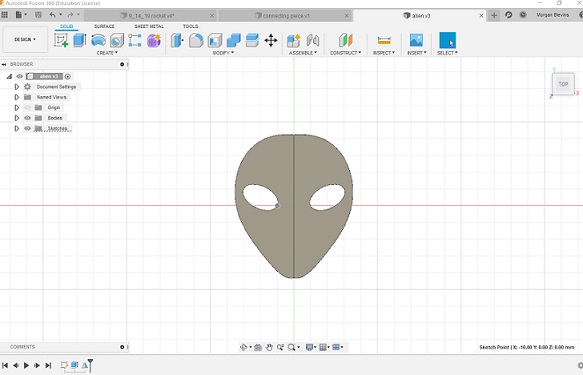
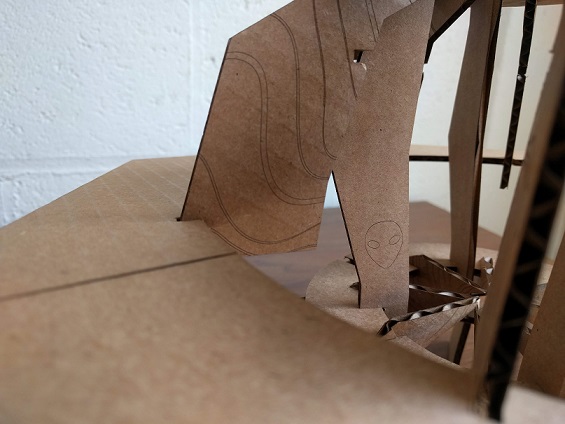
I printed a little alien using a black and white image.
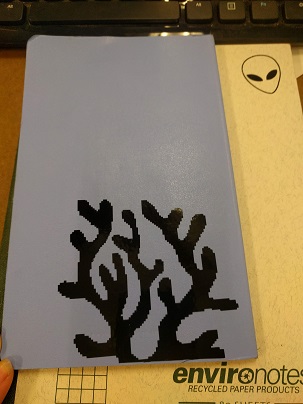
I also experimented with making images really pixelated and I really like how some of them came out, like this coral one. I'm going to take to make a whole pixelated scene.
Here are the files I printed:
The Laser Cutter:
To print to the laser cutter you can draw designs in Rhino natively on the computer or upload your own drawing files
Characterizing the Laser Cutter:
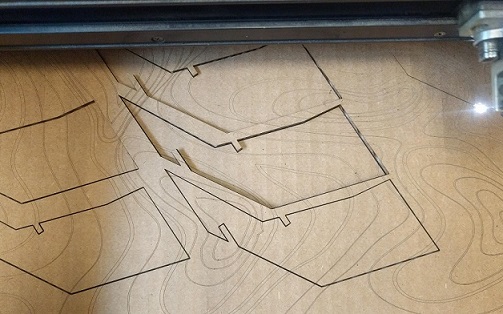
A classmate and I (Deb!) used a peice of scrap plexi glass to characterize the laser cutter. A key step is ensuring that the focal point is exactly 2 inches above the material. You can do this with the shop provided right-angled rulers. Next we drew a shape in Rhino (a small circle for this purpose) and used the laser speed, power, and frequency settings provided on the chart on the arch-shop wall. Initially our cut was way too think on the top but didn't even go all thea way through. This happened because the beam was too close, meaning a beam width parger than the focal point was hitting the material. By adjusting this we were able to iterate through a few slight increases in power to get a successful plexiglass print! We did not heavily document this process so I recreated our process on some cardboard below.
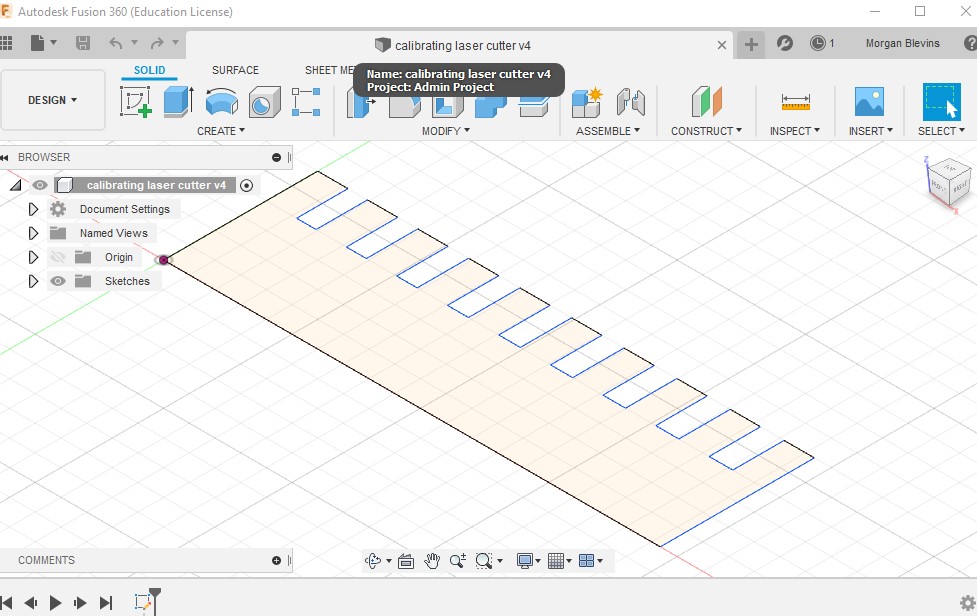
I also created a drawing of varied slot width for the 3/16" cardboard to define the slot width I'd need for my project:
The slot widths step from 4.6mm (slightly less that 3/16") to 3.8mm (~3/20")
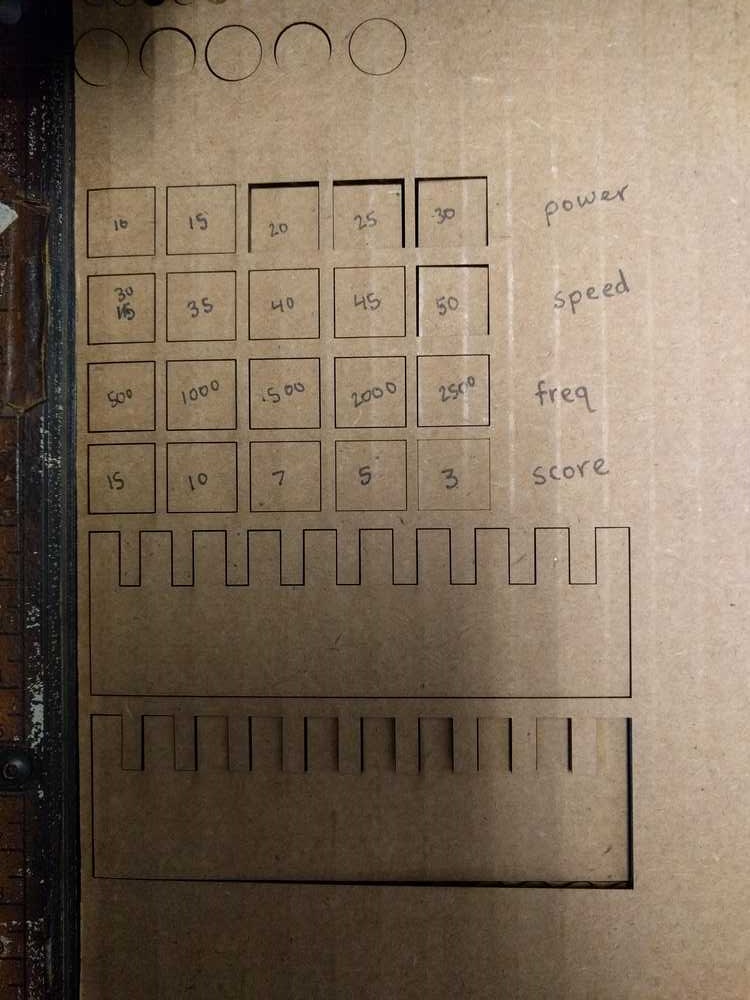
Things that were tested:
Row 1: Power I incremented the power and observed that for the lowest setting it couldn't cut all the way through, while for the highest the width of the cut and darkness increased.
Row 2: Speed I incremented the speed and observed that for the higher speeds gave much finer cuts
Row 3: Frequency I incremented the freq and observed that for the lower freqs there were much finer cuts
Row 4: Scoring Power I incremented the power for scoring the cardbaord and observed that a power of 5 gave me by favorite darkness/width for a score
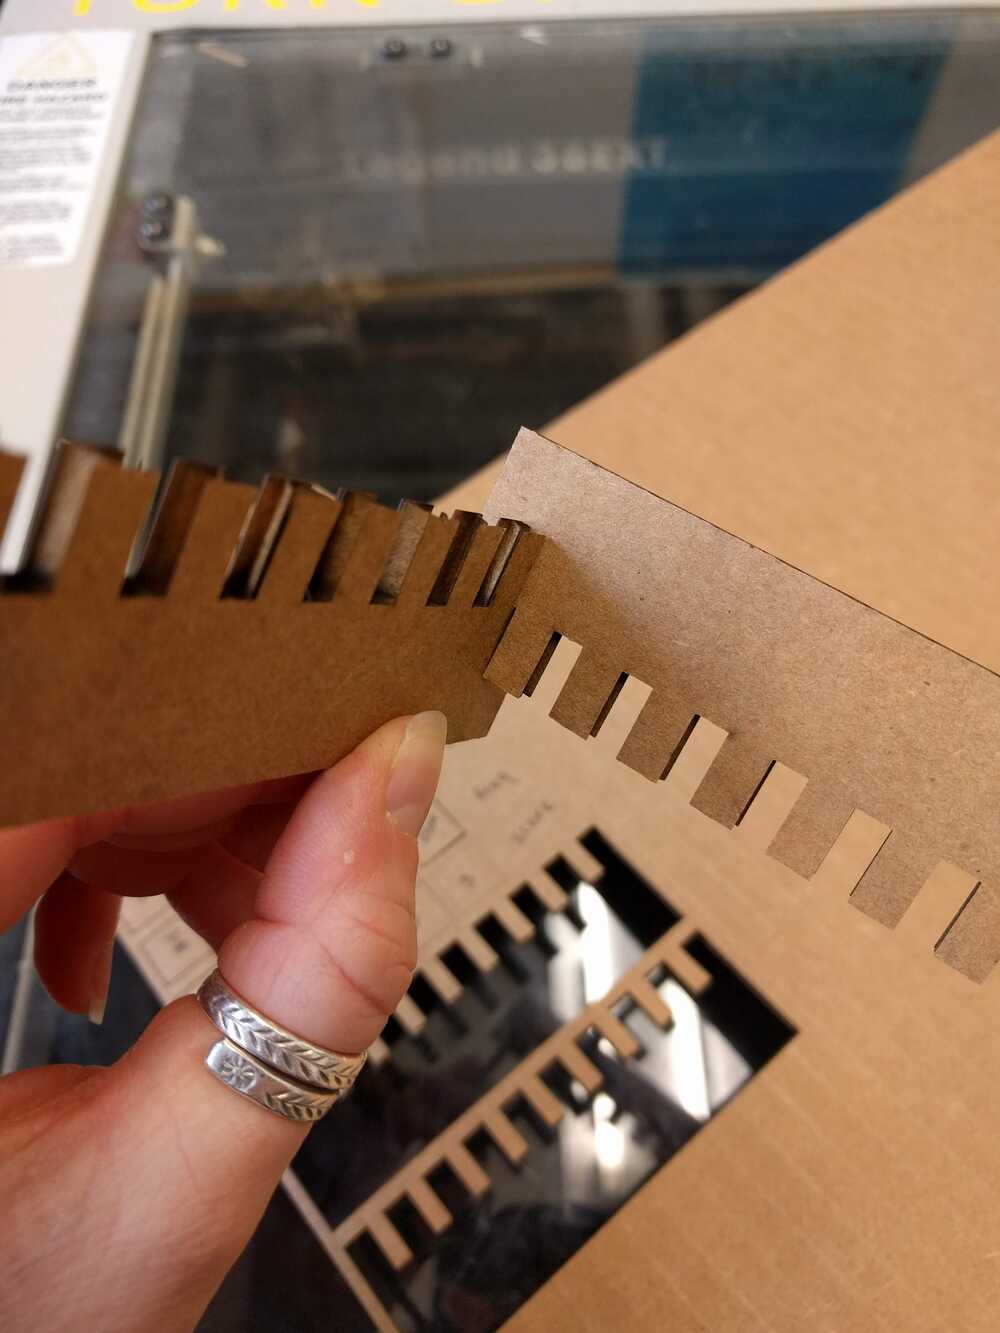
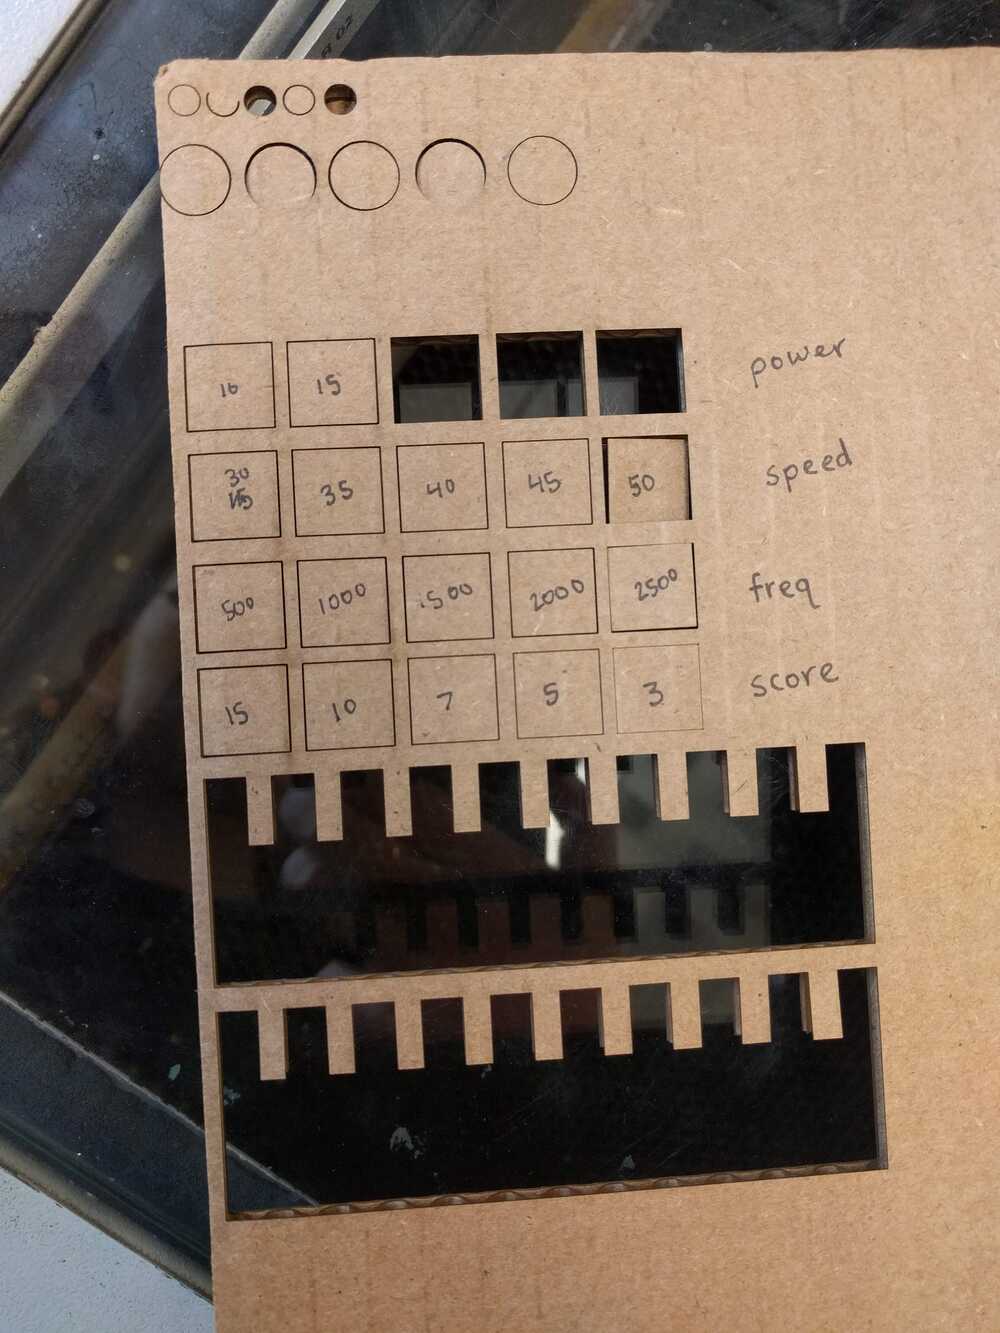
The smallest slot width, 3.8mm was the best of the ones I printed but an even tighter slot ended up being neccessary for my project. I used 3.2mm which in retrospect I learned was on the lower end of the tolerance. The ideal range for slot width is 3.4mm +/- .2mm (pretty tight!)
Designing w/ Fusion 360 for the Laser Cutter:
I wanted to create something function for myself but that I also would like to look at and would maybe be proud to share with others...! After some thinking at my dark desk I realized I'd really like a lamp. So I set out to design a cover for a light bulb that can be a multi-configurable!
The BULK and I mean BULK of my time this week was spent learning a ton of features in Fusion 360, parametric design, and desing my project in CAD. If I could have just made a lamp cover and not had to consider its ability to shape into something else this would have been much much simpler- I could have designed a fun geometric globe pattern and gone crazy with fun cuts and merges, etc. But having to consider just what other cool shape I wanted it to be was really difficult and I honestly had trouble sleeping one night because I was thinking so hard about it. I knew quickly that I wanted the main shape to be Saturn but the second shape I had a lot of different directions for. I had ideas like a crescent moon, a sun, a rocket... But I finally locked down on a UFO. All of my design choices for Saturn had to account for the fact that it had to be made into a UFO.
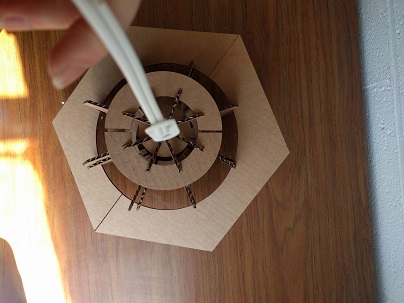
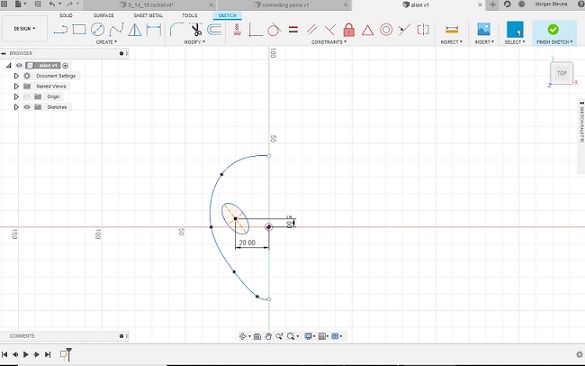
To begin making my lamp, I created a canvas from an online image of a lightbulb and dimensioned it at the screw end so that I'd ba sure my design fit.

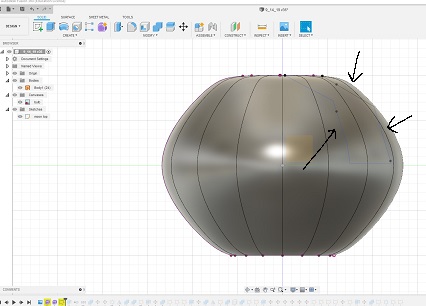
Next I created a "form". I started with a cylinder and then changed its radius along different segments of its height, until finally closing the hole at its hope.
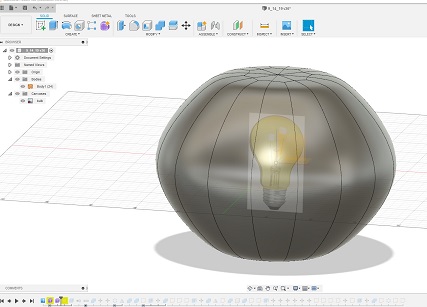
Once I had this shape that I liked I projected a shape onto it that would become my main lamp body peice.
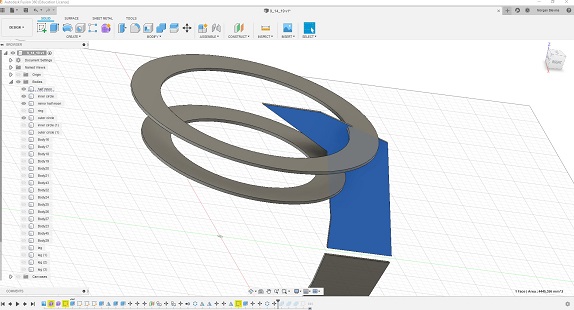
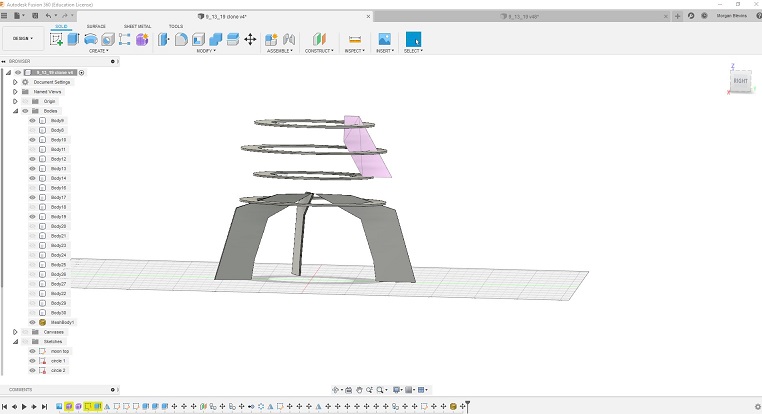
Next I extruded this main body peice to a thickness t that represents the thickness of the cutting material (3/16th inch cardboard). I then added two rings which would join all the body peices.
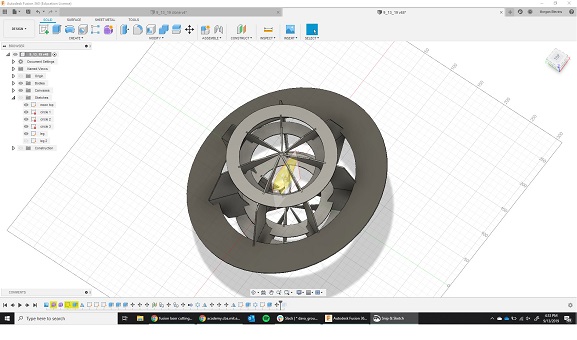
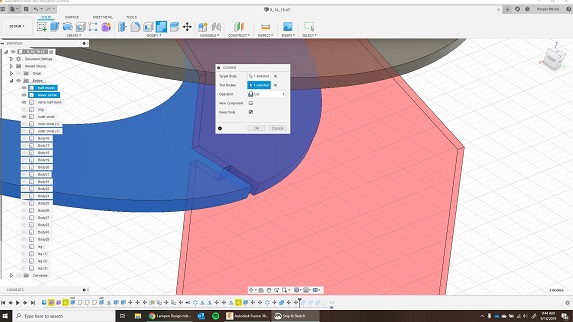
Now comes the really nice part of how I designed this using Fusion 360. By using the "Combine" option under the "Modify" tab, I can select the body peice as my target and the subtract the intersections with the two circles.
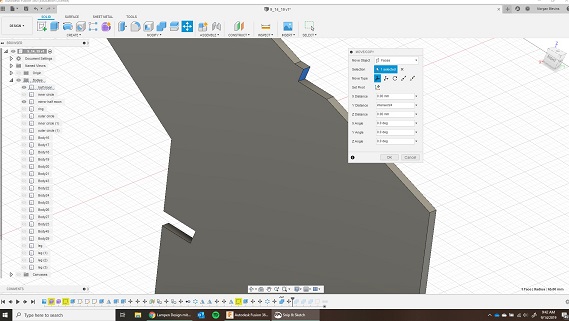
Next, because I want both the body peice and the circles to had slots, I go and select the faces of the cuts I just made to the body peices and extrude them by a value I called "intersect"
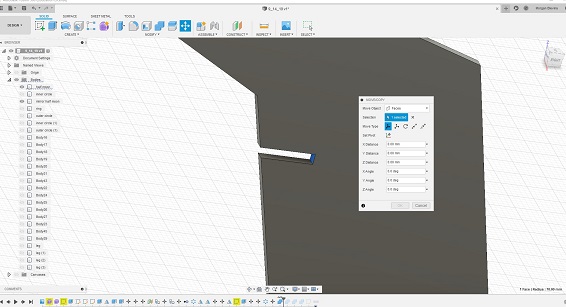
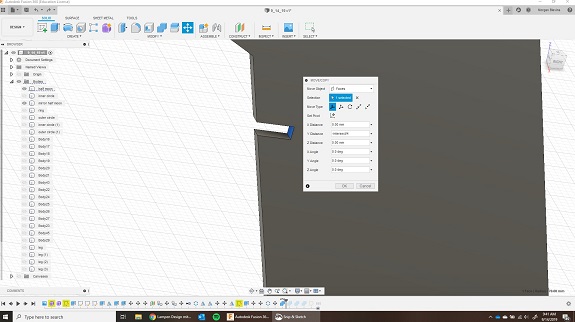
Finally, I then select the circle peices and subtract the body peice from it. See how now I have a slot on both peices, not just one!
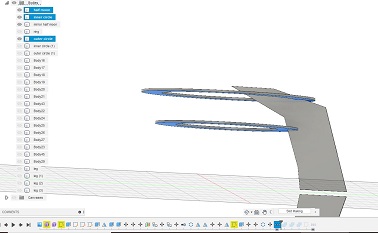
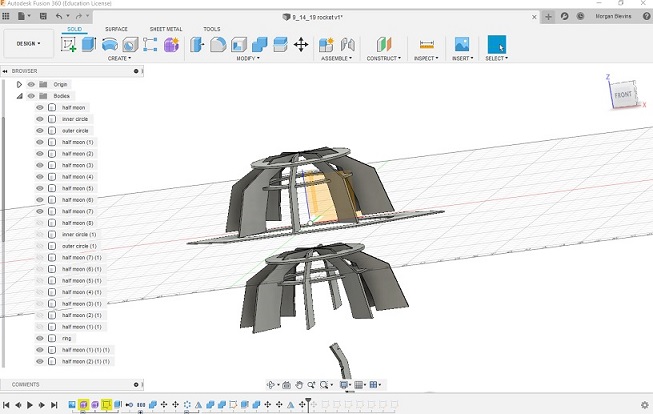
After I do this, I create a circular pattern of the body peice and then mirror the whole thing.

All the while I was making this I would save-as the file and ensure that my plans for its configuration as a UFO were still working out.

I wanted to score some designs onto my lamp and though there are some awesome EPS files online (you'll see a terrain one that I used for the planet) I wanted to make at least one myself. Something I want to work on in this class is using drawing and 2D software, because right now making designs and drawings is very difficult for me. I prefer the 3D arena.
Final Prodcut from the Laser Cutter:
On Fusion 360 my design looked fairly complicated but it was actually a relief when it came time to print because so much of my design relies on symmetry! Calibrating the machine was quick but something I had to make sure of was that all of the cardboard lay flat againts the floor of the cutter. Sometimes one corner would be curved up and this would mess up a couple peices.
Here are all the different files I printed:
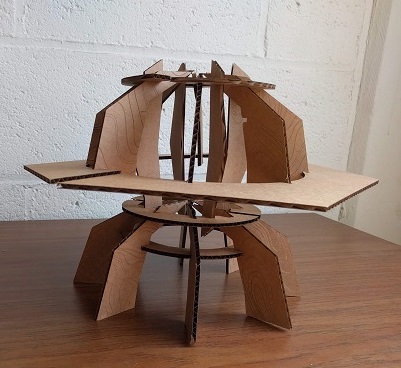
Main planet peice (aka UFO body & legs)
Inner planet support (UFO support)
I completely designed the project except the terrain pattern you see scored over top the planet segments. I got that file from a website called depositphotos, which provides free downloadable vector files!
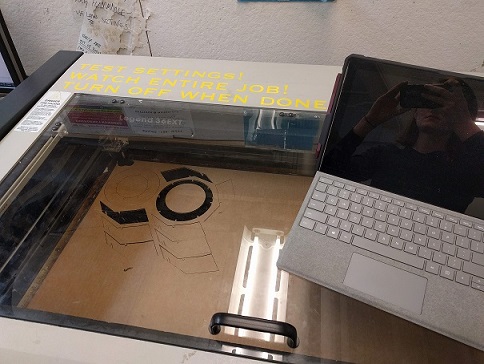
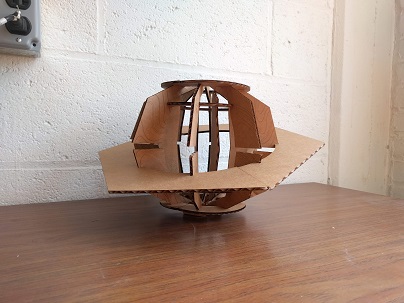
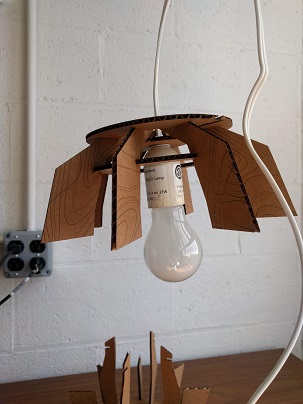
The first time I set it (almost) completely up!!
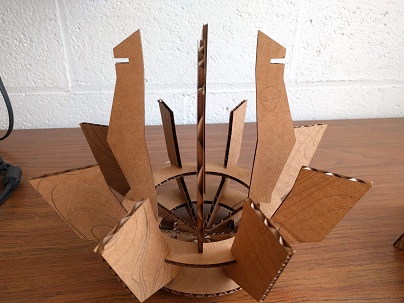
A look at some of the peices
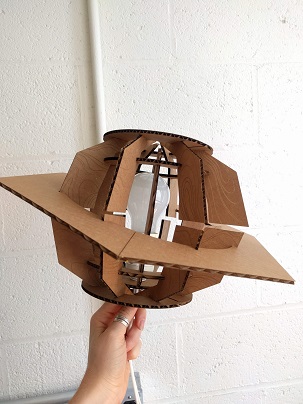
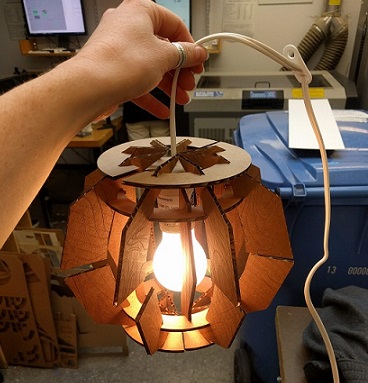
Configuration #1, UFO
Configuration #2 (and my favorite one), Saturn!