Week 6: Computer Controlled Machining
The assigment this week is (1) to charcterize the CNC machine in the ArchShop in a small group and (2) to design, mill and assemble my own project.Testing on the CNC
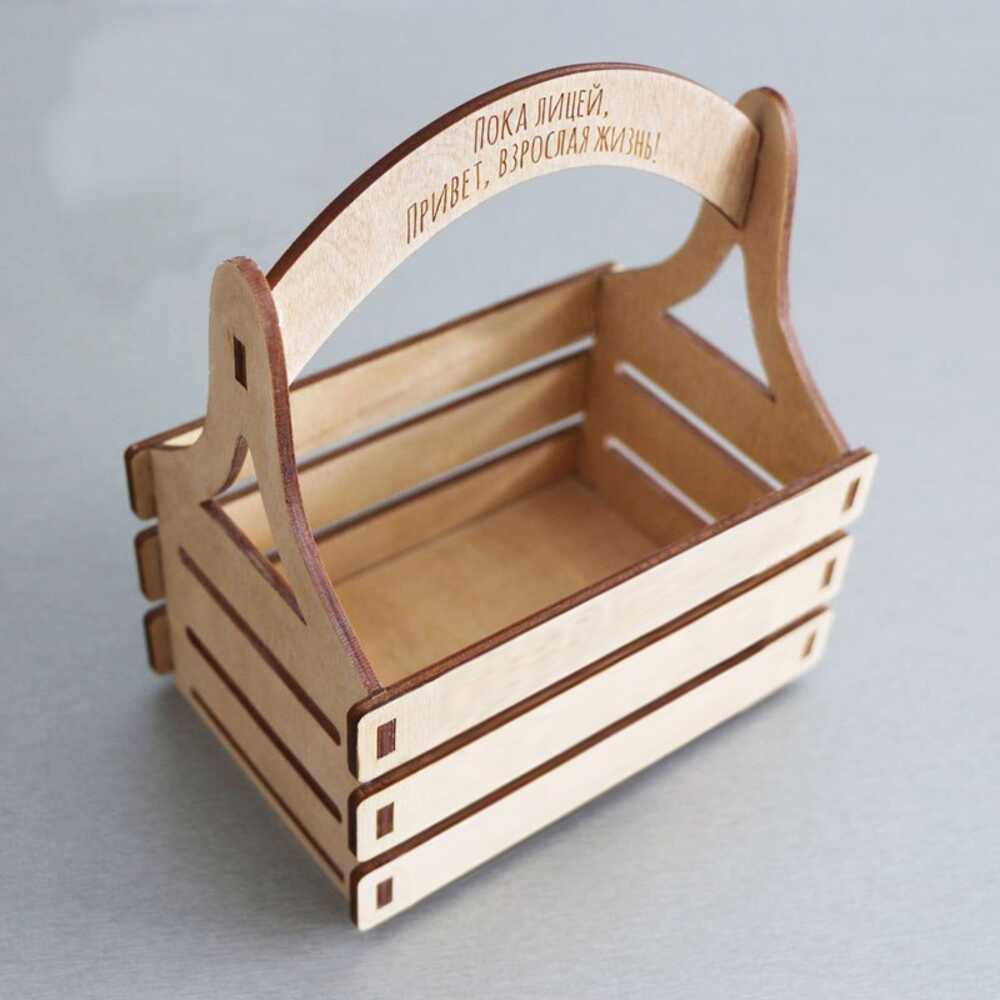
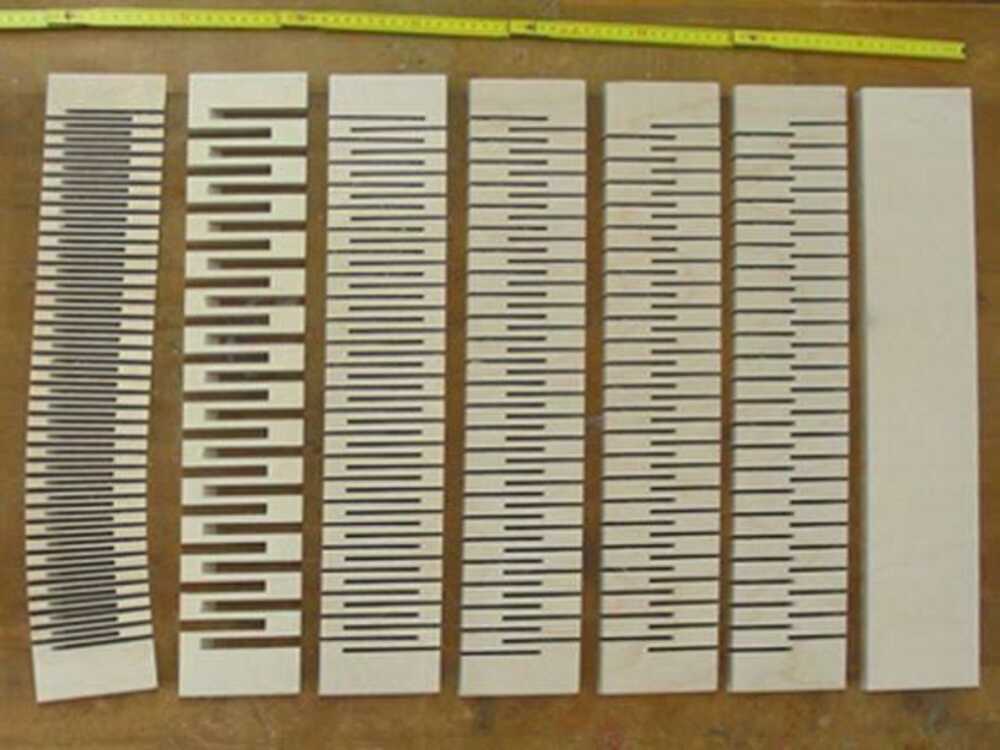
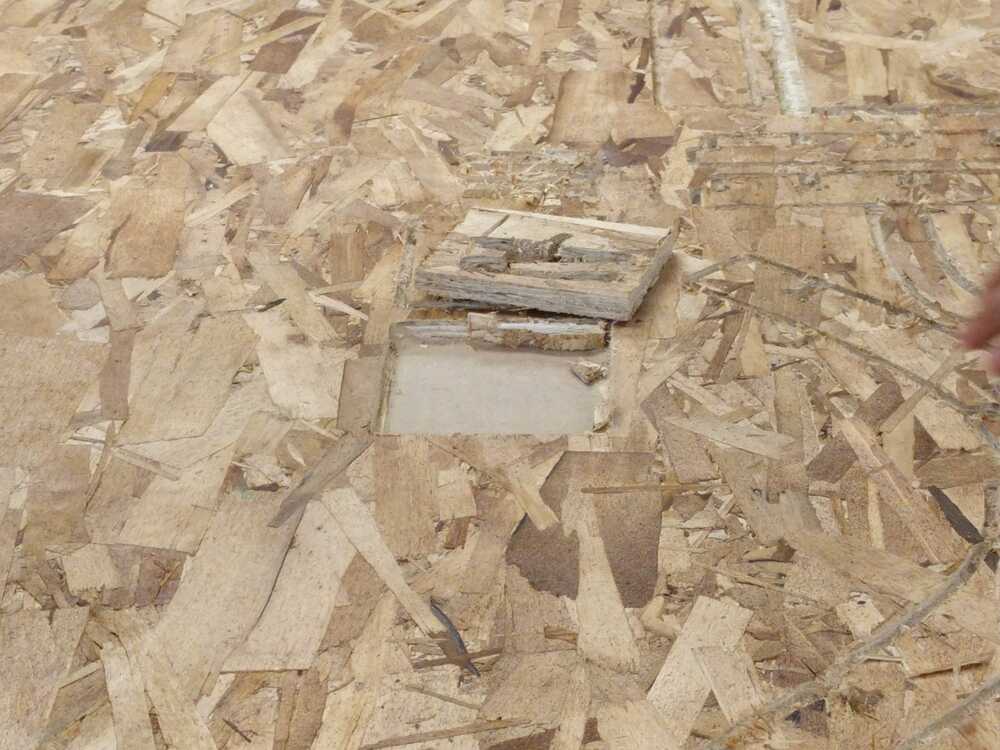
I researched different types of joints for CNC made parts and liked the one below a lot for the project I had in mind.My test parts are designed to evaluate how big of a slot is needed for the spring joints to confortably and securly fit in and hold postion. My first file is the box spring part. On the left side I made the lip that holds the sloted wood 0.48", while on the right I made the lip 0.50".
My next test peices are for making the slot that the box spring joint will fit in to. The first tests what the height of the slot should be, stepping from 3 1/8" to 3 3/16" to 3 1/4".
The other slot test tests what the slot widths should be, stepping from 0.47" to 0.50".
My last test peice is for the slots that will hold the bottom peice of wood. I iterated from 0.47" to 0.50".
Here are all of my text files together:
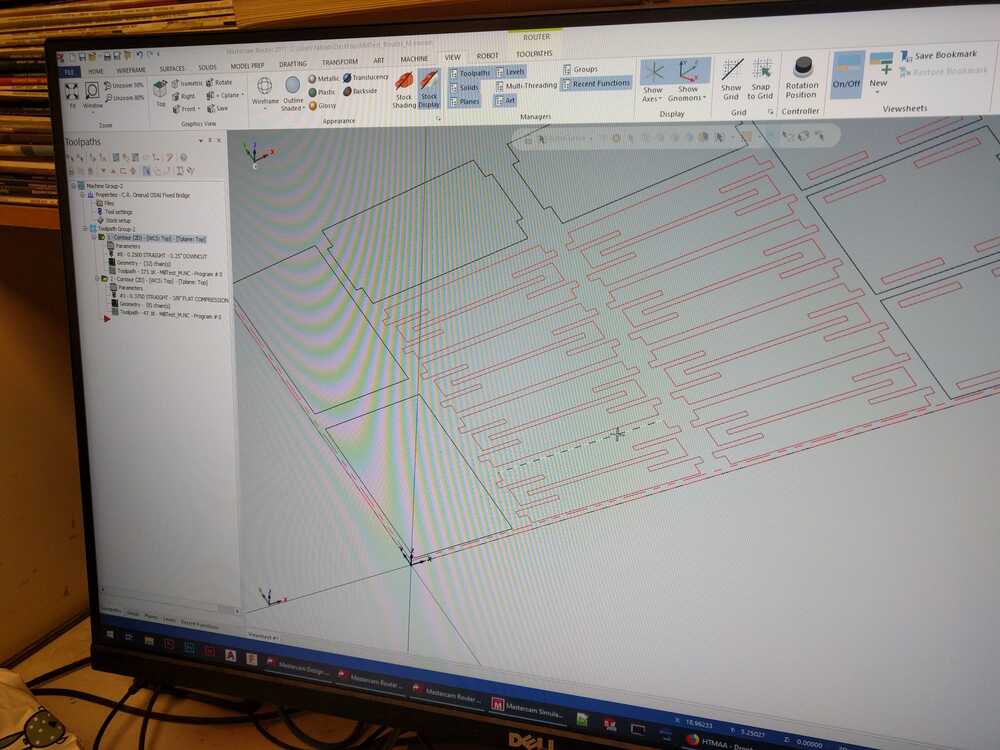
I worked with Marianna and Yuxuan to create a shared test file on MasterCam. We each designed cuts for a quadrant of the wooden sheet and then compiled our files into one MasterCam file. Compiling them was a challenge because I worked in Solidworks and they worked in Rhino and getting all the files happily together wasn't the simplest task. Rhino seems to be a much friendlier way to do this, so for my final cuts for this week I might use that instead of solidworks, or at least map out a path that will make the transition between file types much more painless. Here is our shared MasterCam file:
Notes on setting up MasterCam file: (1) Setting chains: Make sure that the cut is on the inside or the outside depending on the result you want (2) Set the different layers to different tool paths if they need to be different depths or end mill diameters. (3) Export g-code from MasterCam file onto a USB. Marianna is experienced with the CNC machince so she was integral in getting everything to come together for us, very very grateful to her!
First Error: When laying out our masterCam file we accidently set some of the outlines to cut before the holes within the parts, this did not bode well for my slots.
We made a new MasterCam file with the chain reordered and parts shifted over to the unused side of the board and the rest of the cutting went well.
When designing my joint, all the reference images I was looking at had much thinner wood and thinner cuts and I assumed that my design would have a LOT more spring than it did. So this meant that the little "lip" of my joint piece had no chance of bending to fit into any of the slots.
I cut off the lip and kept the largest outer diameter at 3.25" so that my slot tests were still meaningful in testing fittings for my project.
The joint fit into the smallest width best, 0.47" thick. The joint fit into both heights, the tighest fit was when the slot was 3.13", so a little smaller than the prongs.
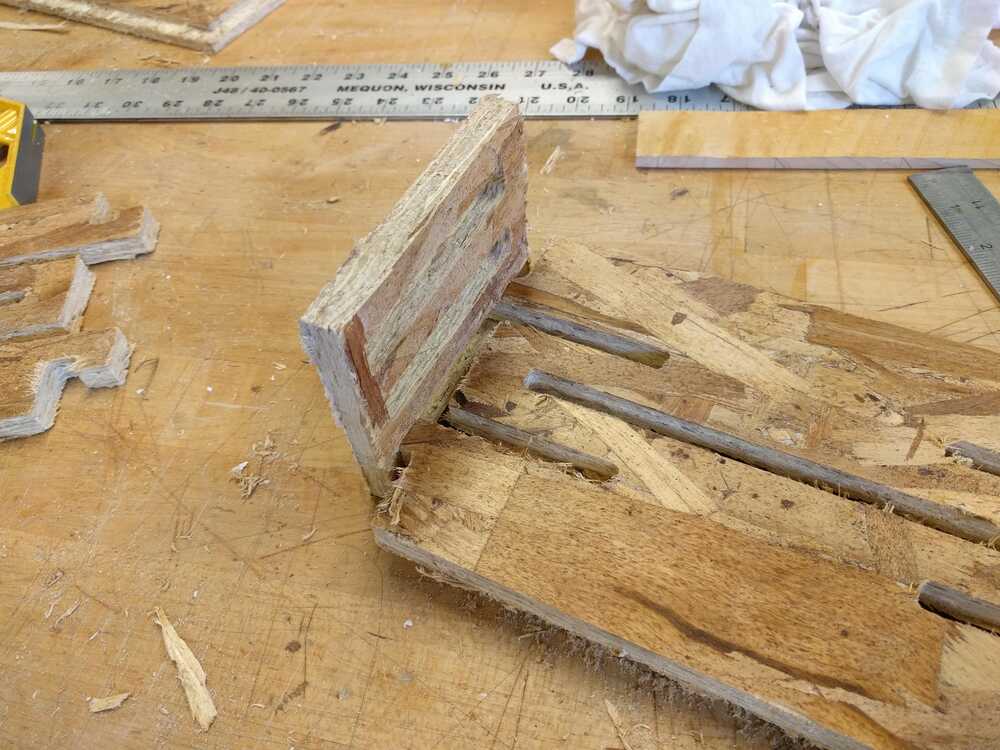
Conclusions: I will use 0.47" as the thickness of the wood and make my slot the height of my joint parts or slightly smaller by a couple hundreths.
Design Ideas
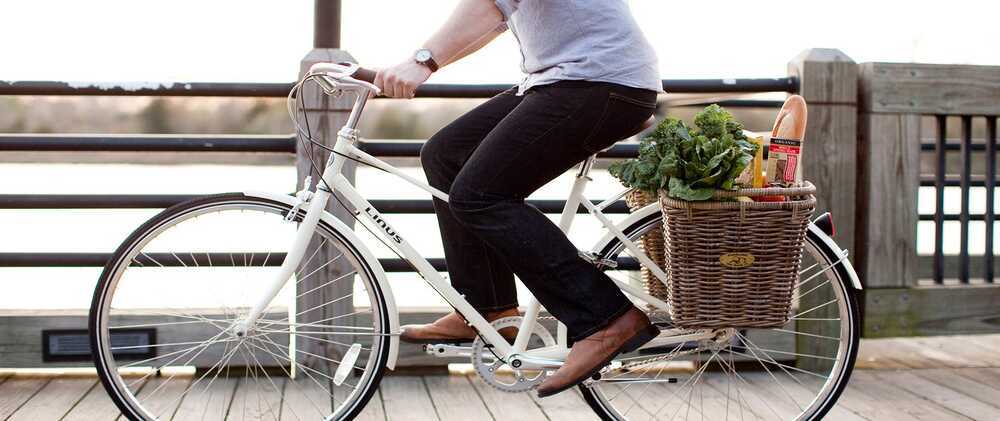
So, the mission this week is to not have to walk to Trader Joes. More specifically, the goal is to be able to take groceries home from the store on my bike and not have to handle-bar it. So! The mission is to make a wooden pannier for my bike! Here is some inspo: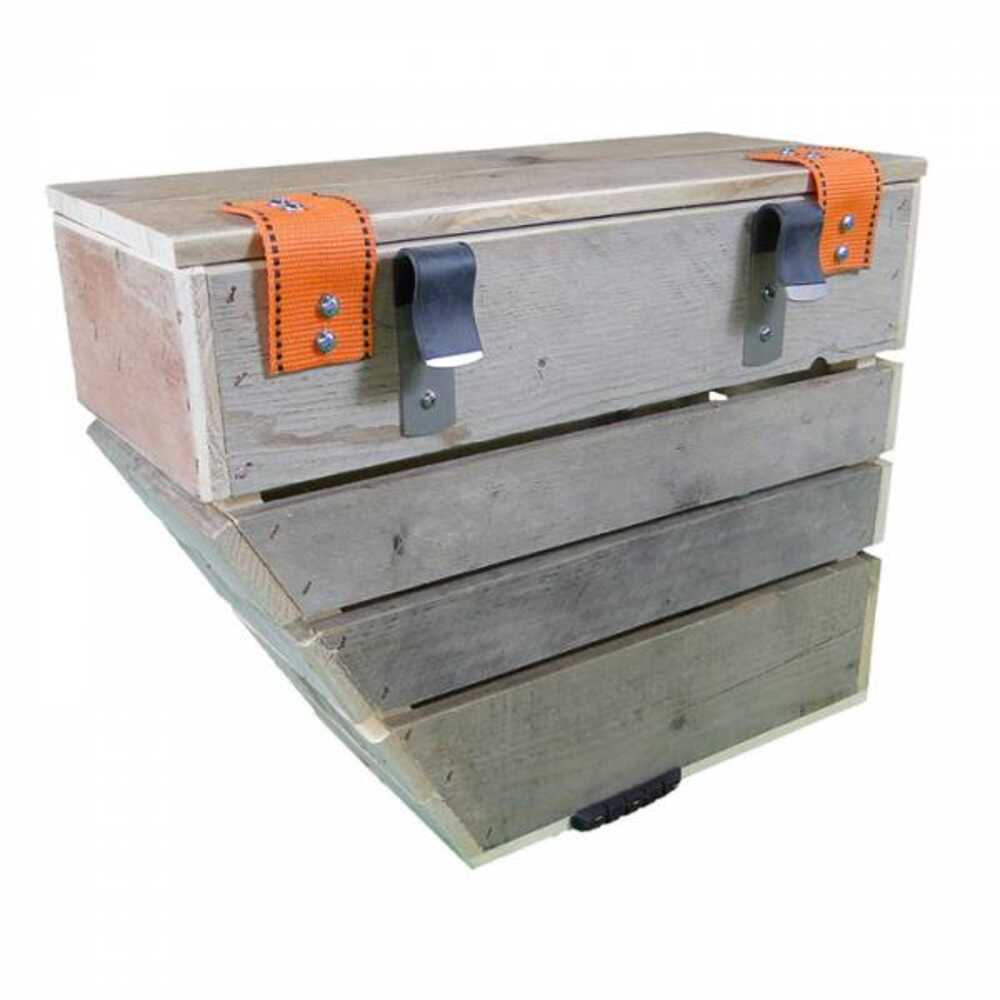
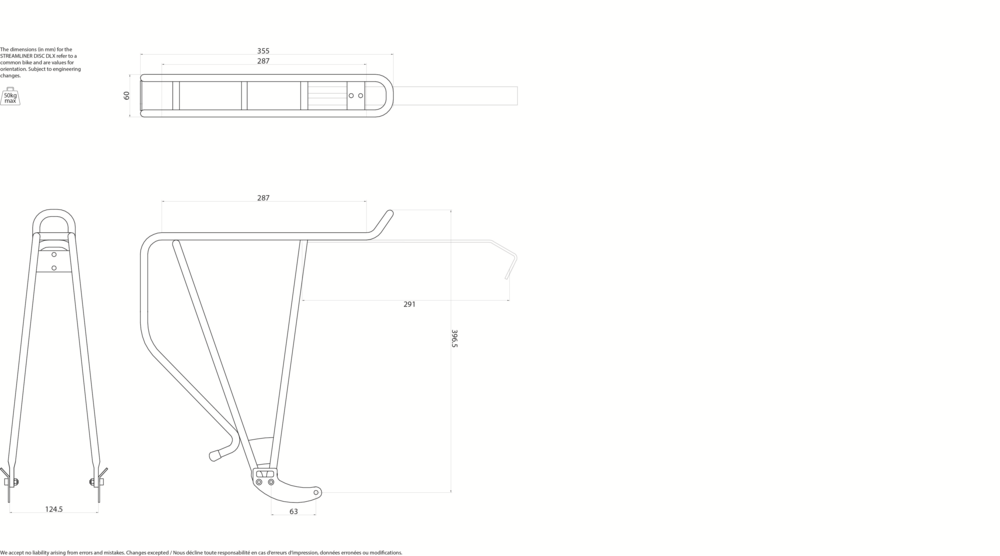
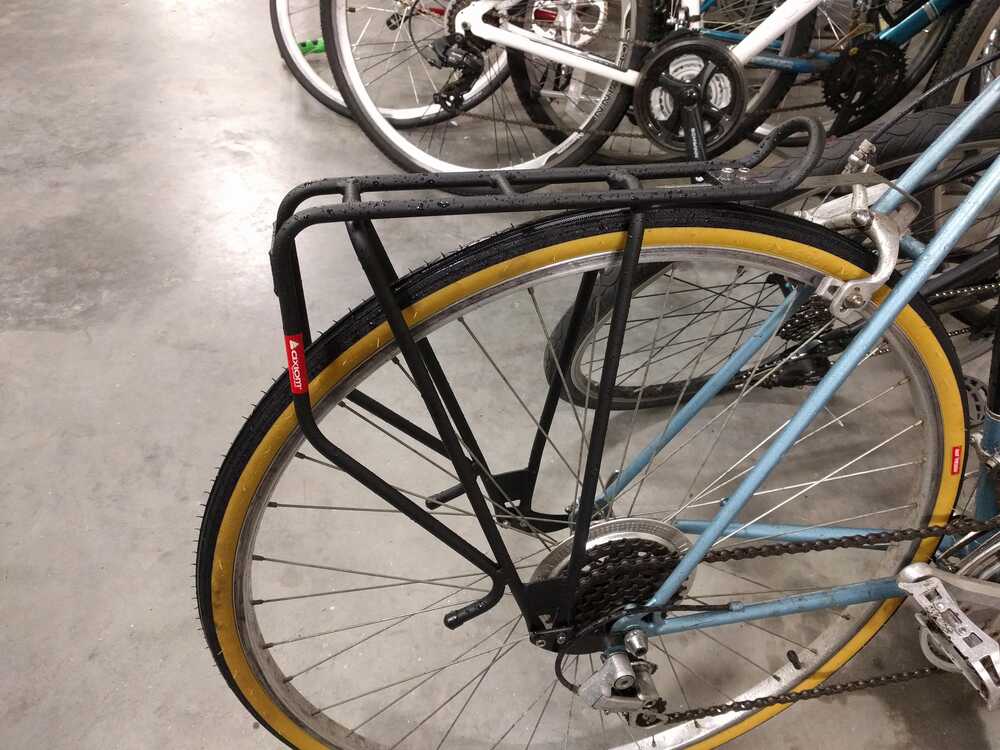
My Bike Rack:
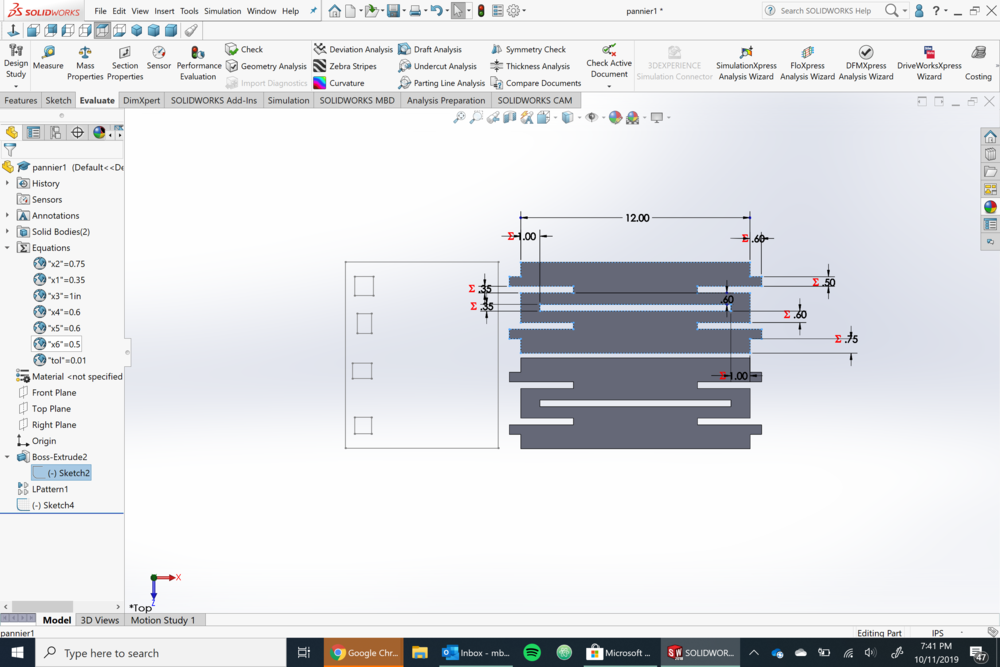
CAD-ing my Design
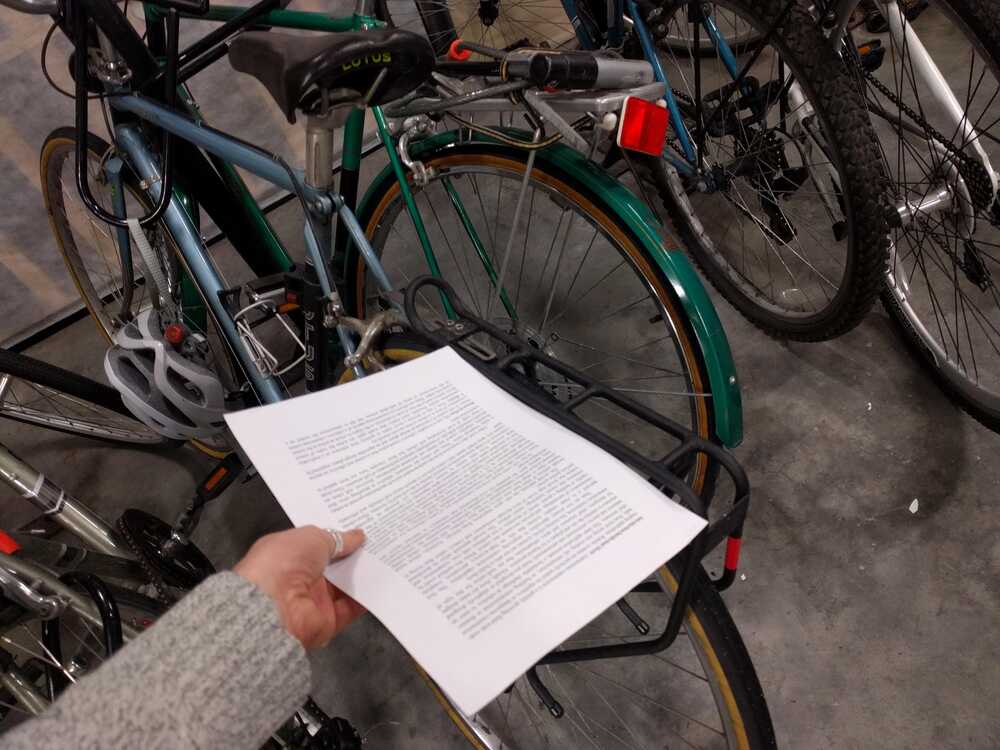
I used the diagram of my bike rack to help dimension the pannier. You can upload pictures to solidworks as sketches and then dimension them. Thes first time I did this is worked great, but everyother time I tried I couldn't get the drag tool to dimension the sketch to work, so I ended up not being able to have the bike rack diagram be a part of my CAD file while designing, which would have been ideal. I also used some paper to get an idea of just how big the baskets would look on the back of my bike- I was worried they'd be too much...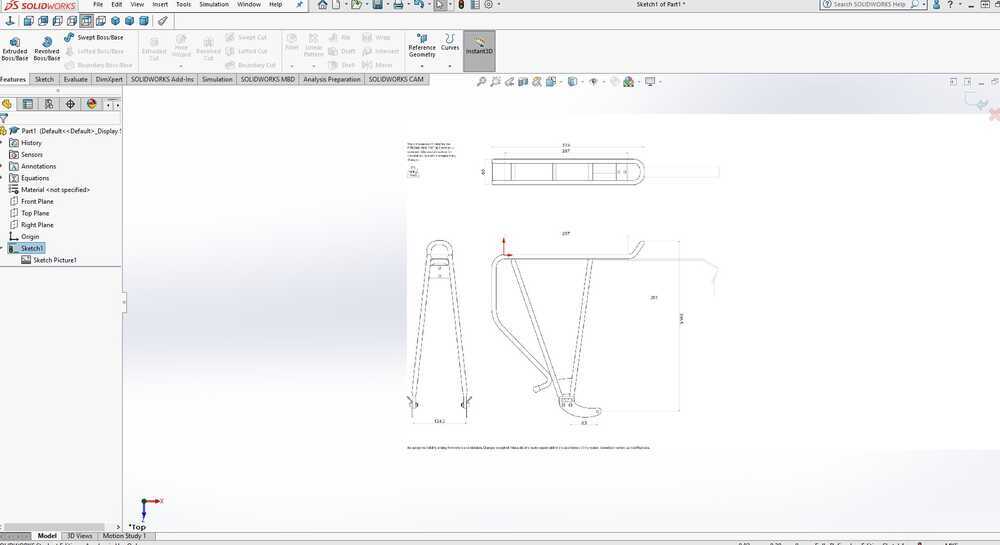
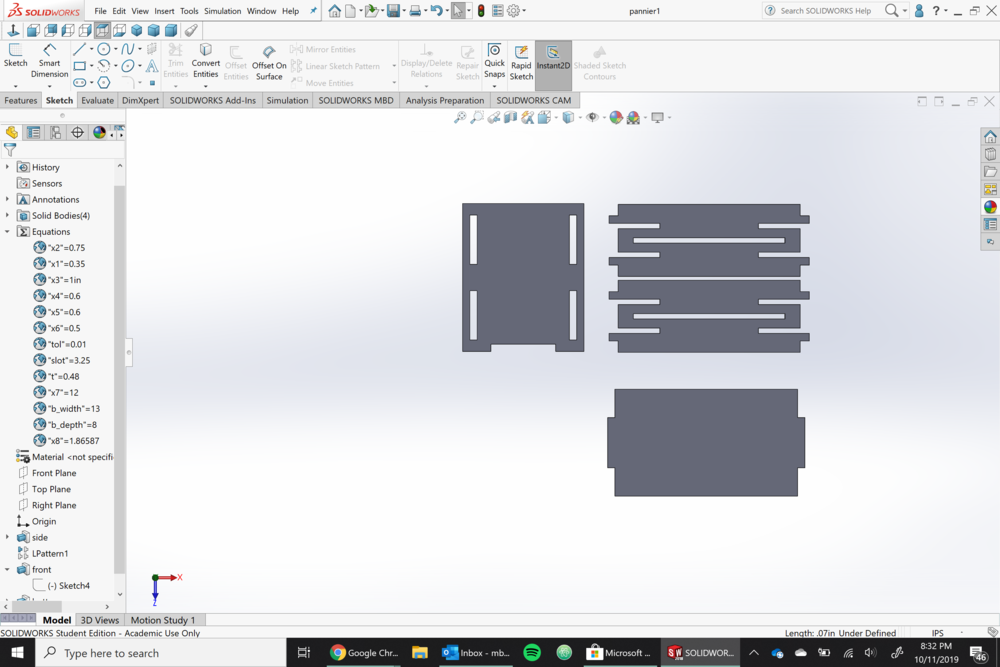
I used a lot of global variables to make fitting things together go smoothly. This let me do math within solidworks to ensure that parts were toleranced correctly and would all adapt their shape if I decided to change a random length.
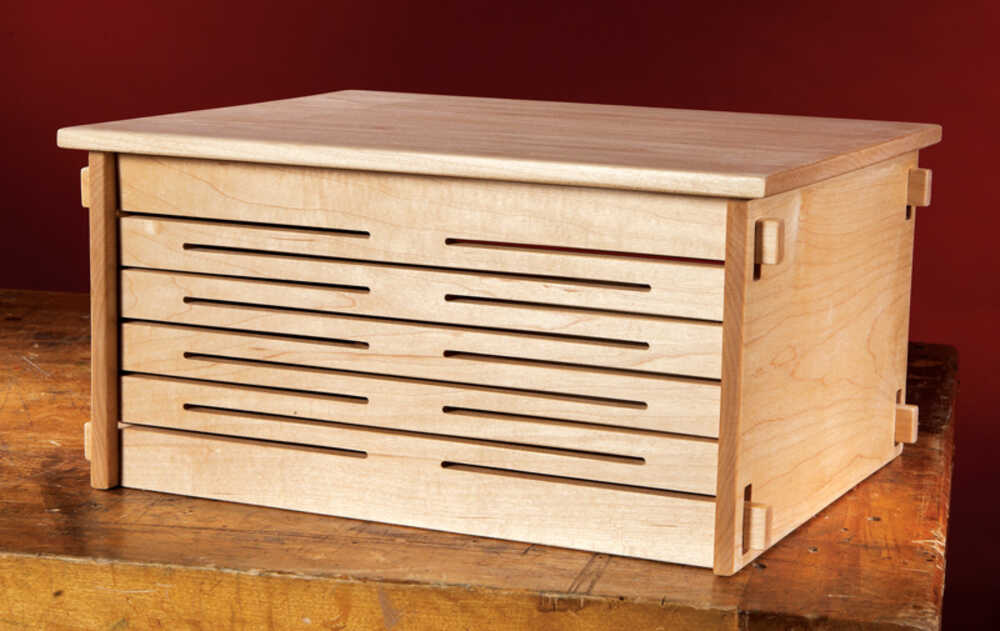
Here shows the final side peices, front, and bottom:
Cutting my Design
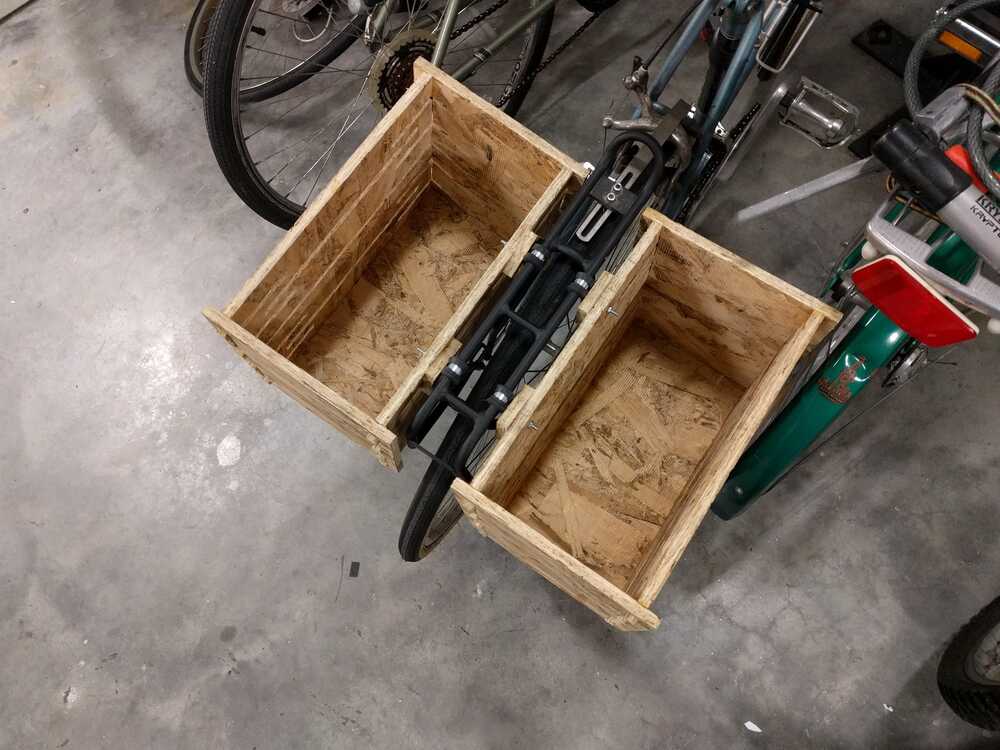
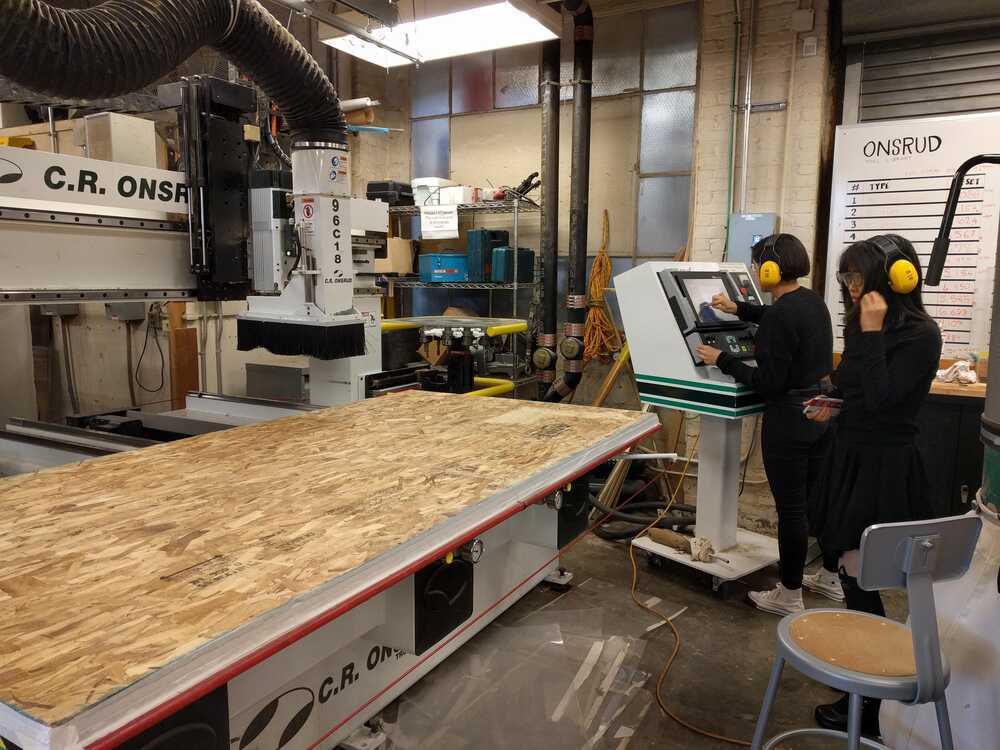
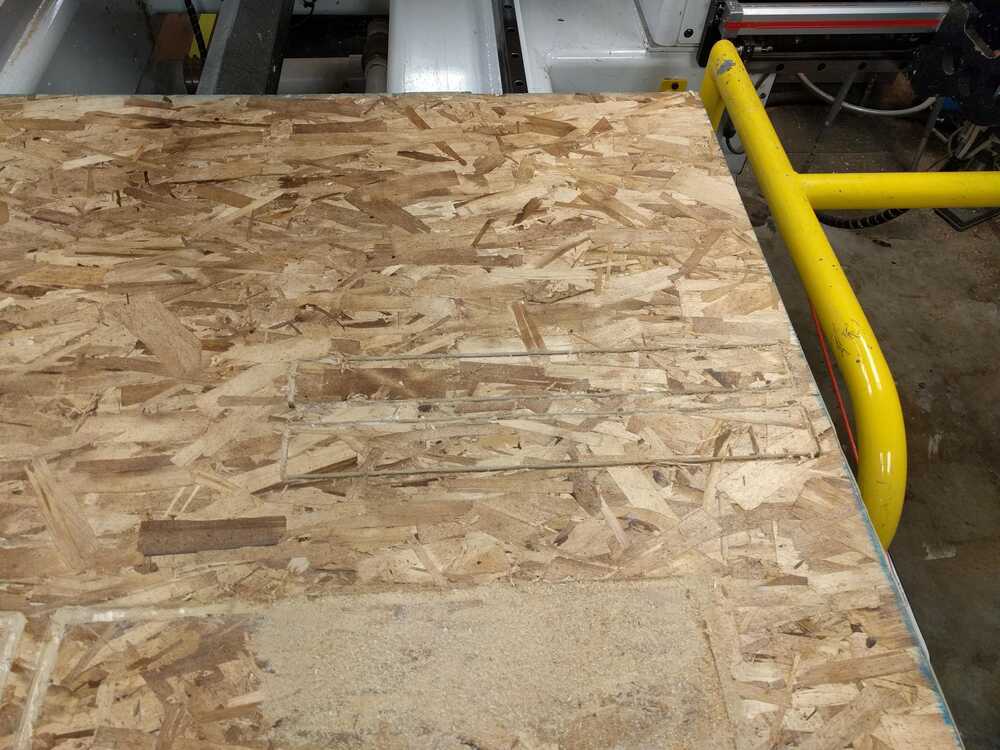
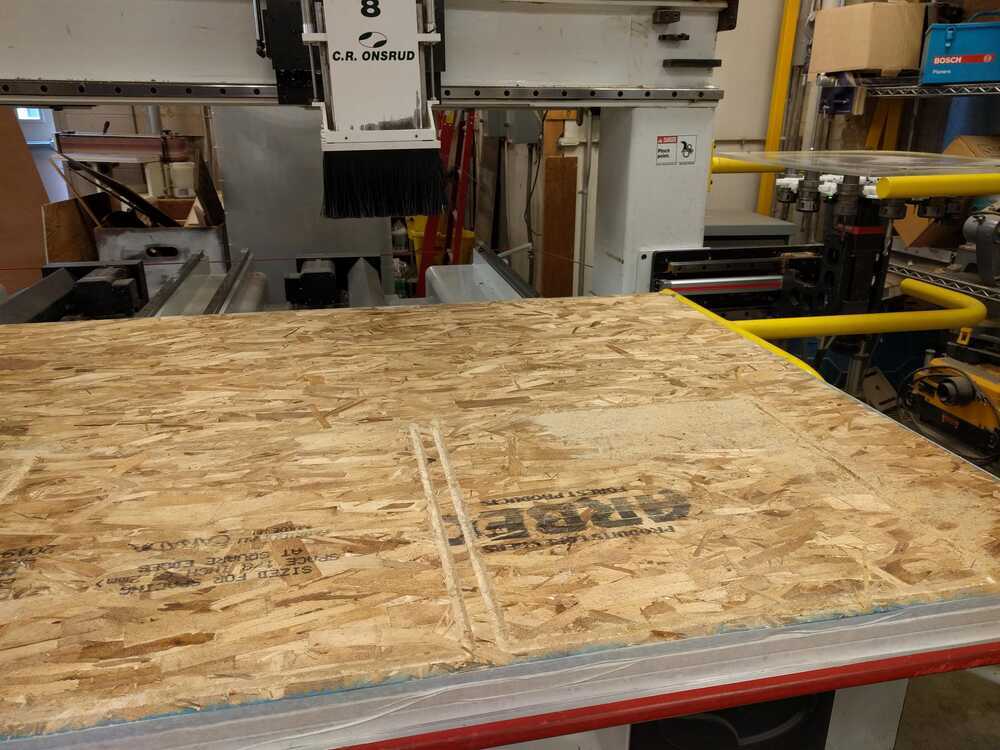
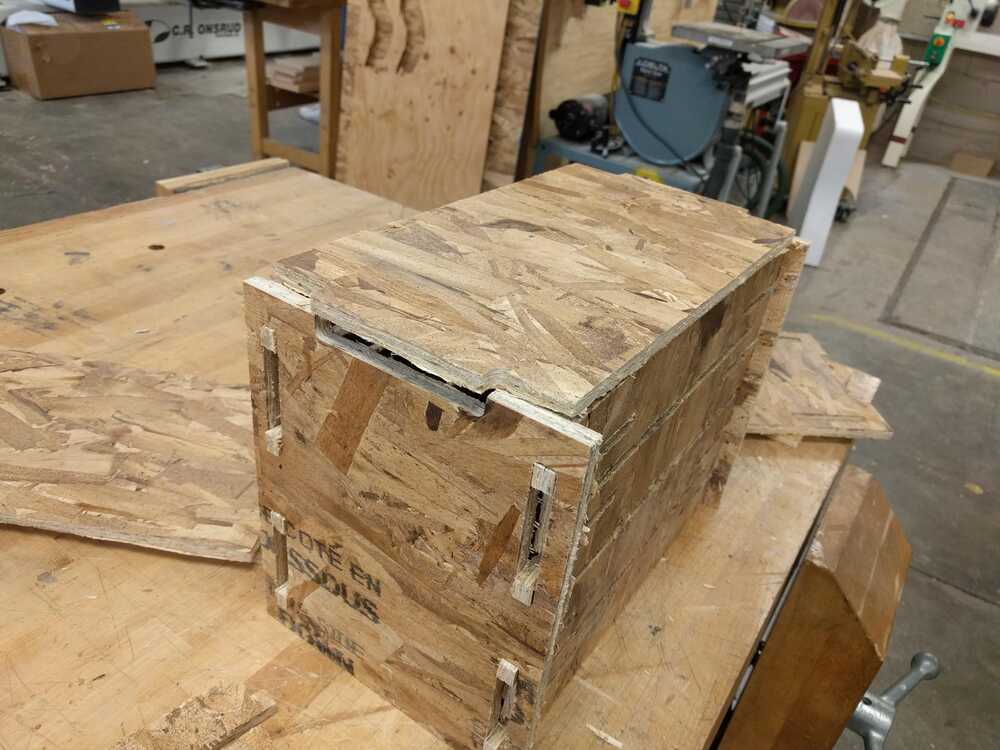
I saved all the peices I needed to cut to a .DXF and brought them to the ArchShop. I made a rhino file of them and labeled the appropiote layers as either inside or outside cuts. I then merged this into a MasterCam file and created the appropriote chains. This was all with a lot of help from the kind Arch TAs. I loaded a USB with my g-code and loaded it into the CNC machine and started the job.Everything went alright for the first couple cuts, but then an error popped up that the vaccum holding down the wooden peice wasn't working. This error wouldn't go away even when we tried to override the vaccum sensors. We had to stop the job, edit the masterCam file to restart when the machine left off and then load it again and restart. Luckily I had to do exactly this for my test round so I felt prepared! After this hiccup everything went alright. All of my cut peices:
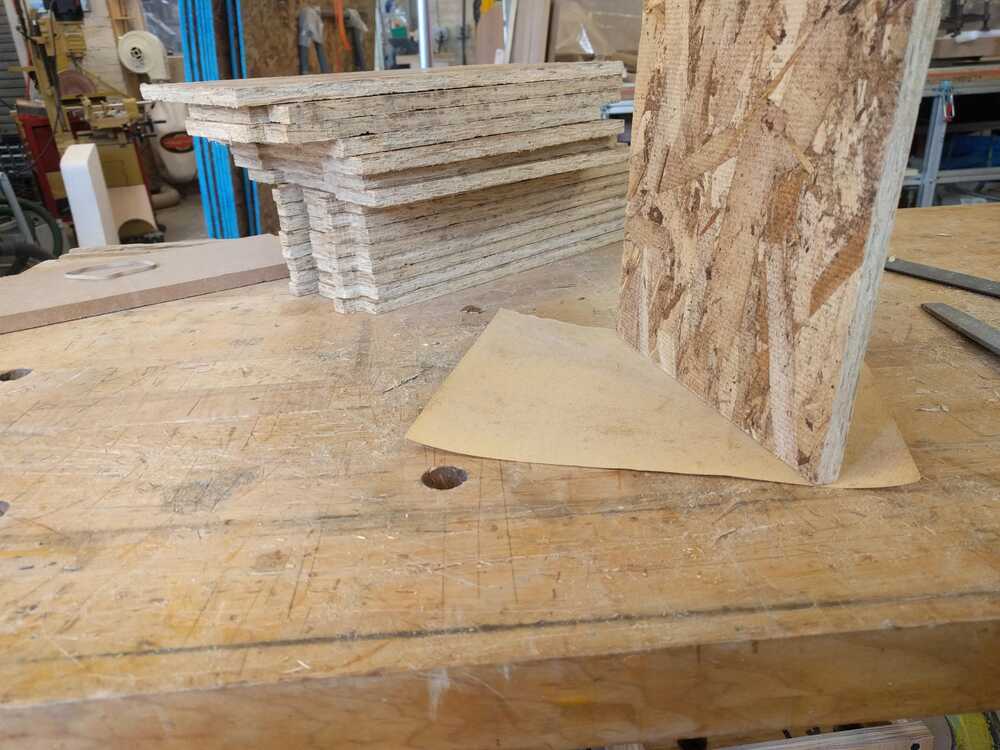
I designed the bottom of my baskets without accounting for the thickness of the wood, so they were 0.47*2" too big! To remedy this I took them to the band saw and cut off 0.47" on each side. This did the trick of making them fit.:
I was pumped to see them all put together!
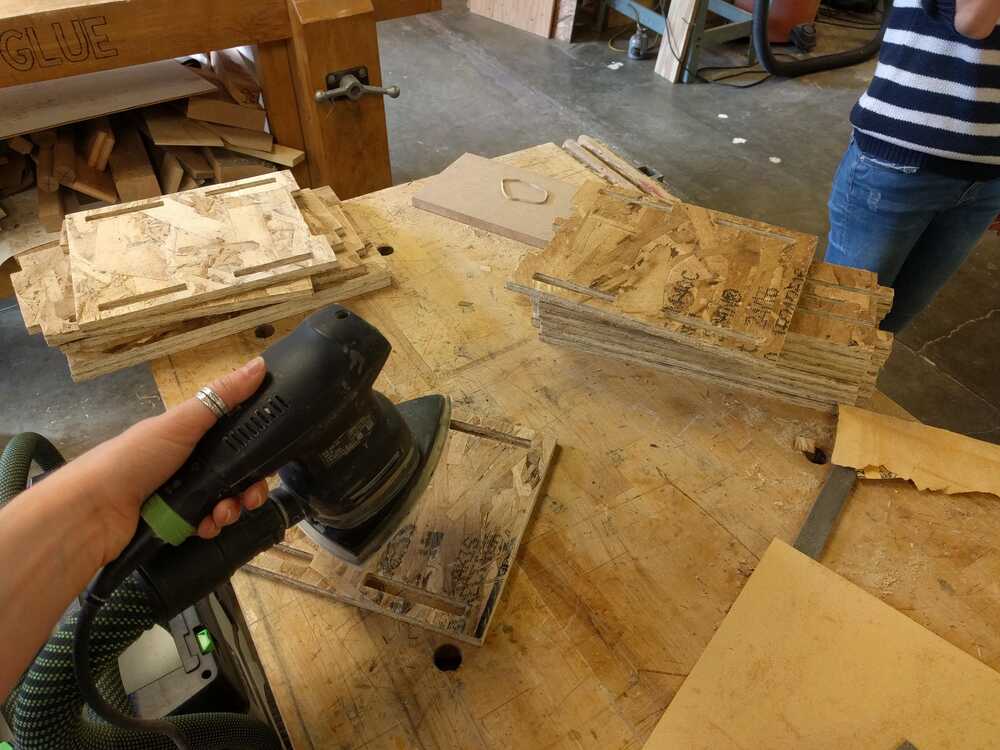
Next I spent so much time sanding and smoothing the wood. This felt like such a time suck, but I didn't want my pannier to be scratchy or splintery.
Assembling
Everything fit together, but because this is going on my bike and I expect that it will be rattled by some pot holes, I decided to glue is all together to make sure it never falls apart on me. I ended up having to glue twice, first I only glued the bottom peice in, but I quickly realized that I need the side peices to be glue also. Sticky fingers.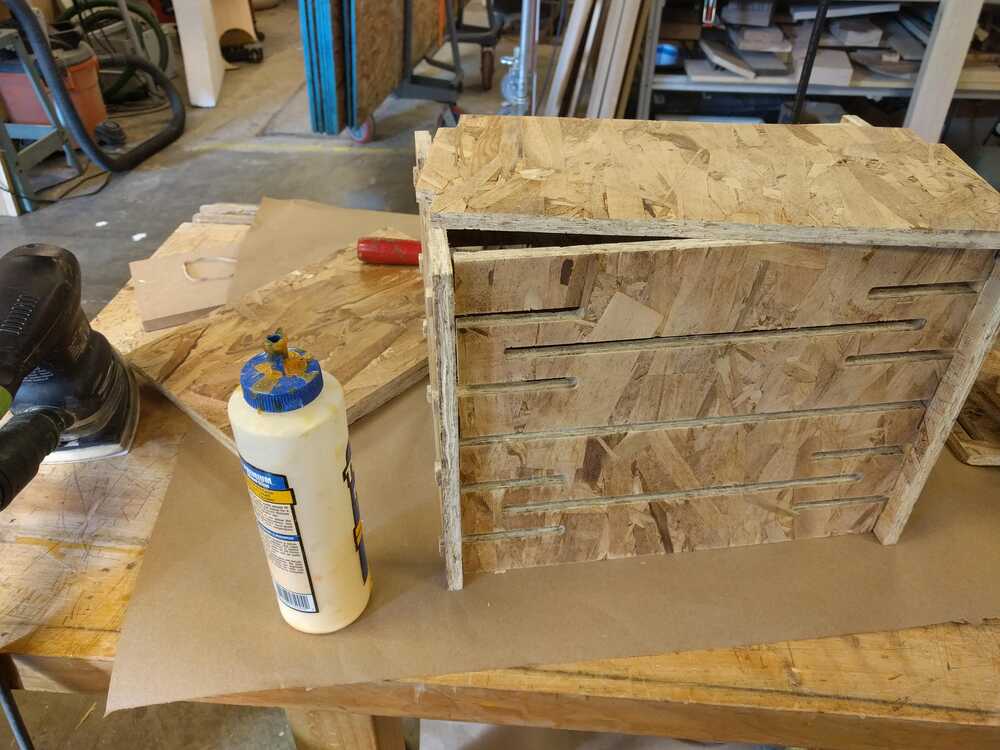
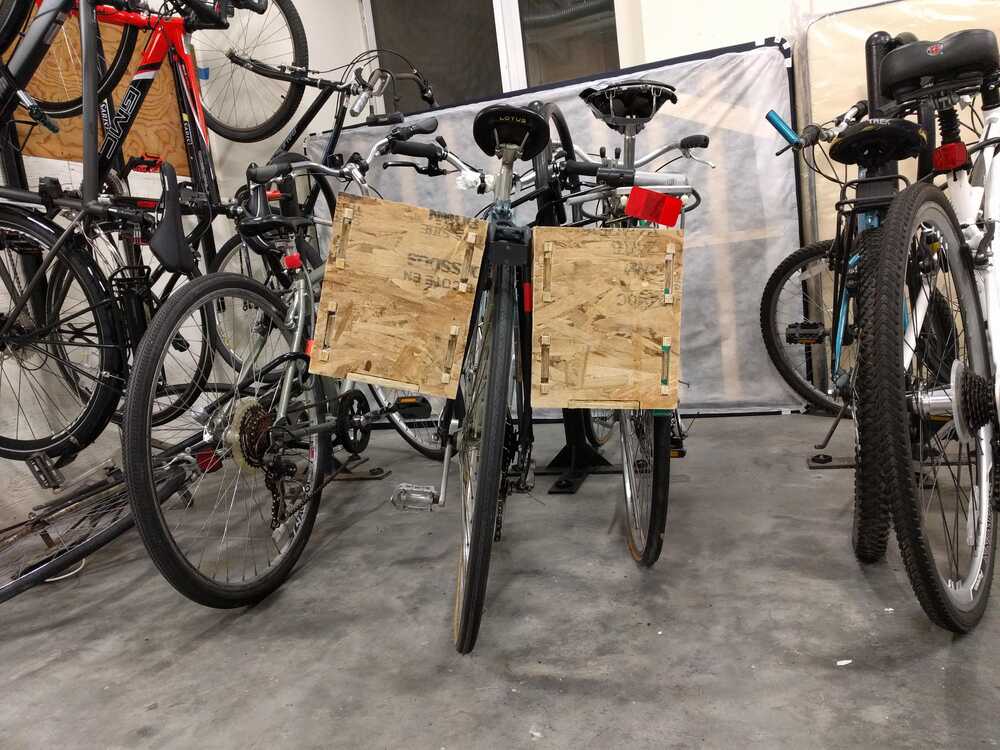
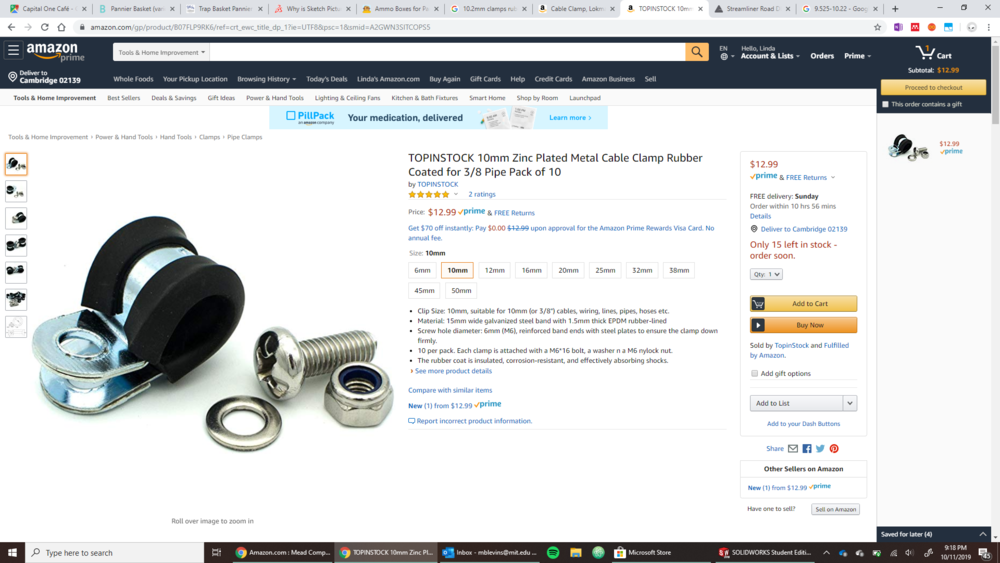
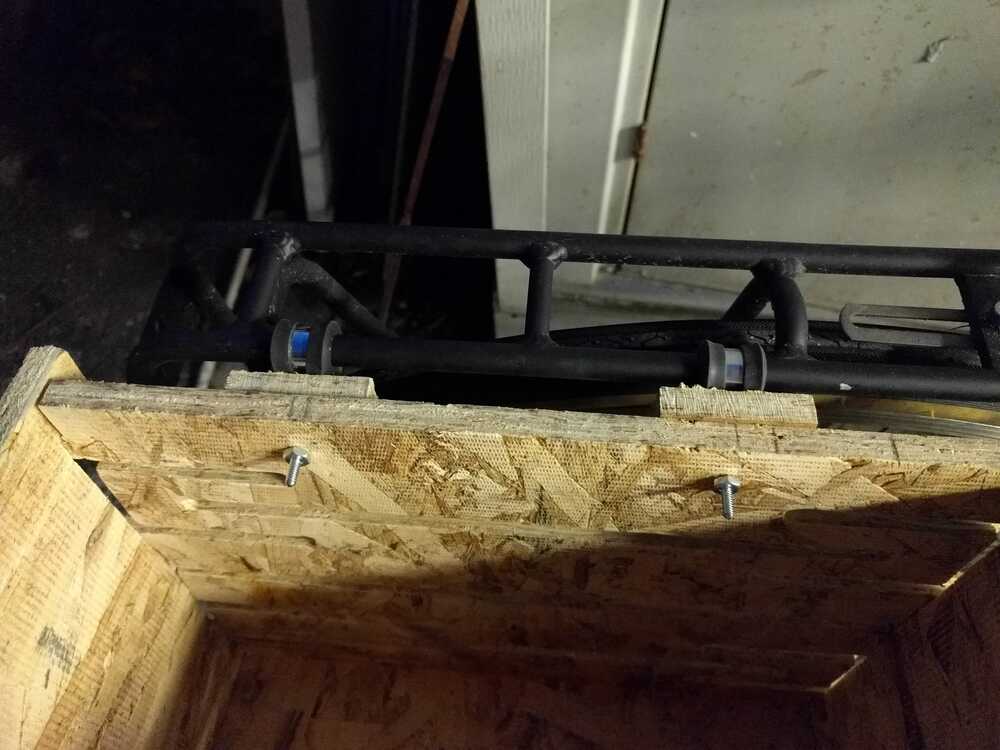
I order some 10mm clamps with dampening grips on them to mount the baskets to my rack:
I drilled 9/36" holes in the boxes and used a screw, washer, and nut combo that was available in the Archshop. I used small cut outs of the wood to give a buffer between the baskets and my bike.
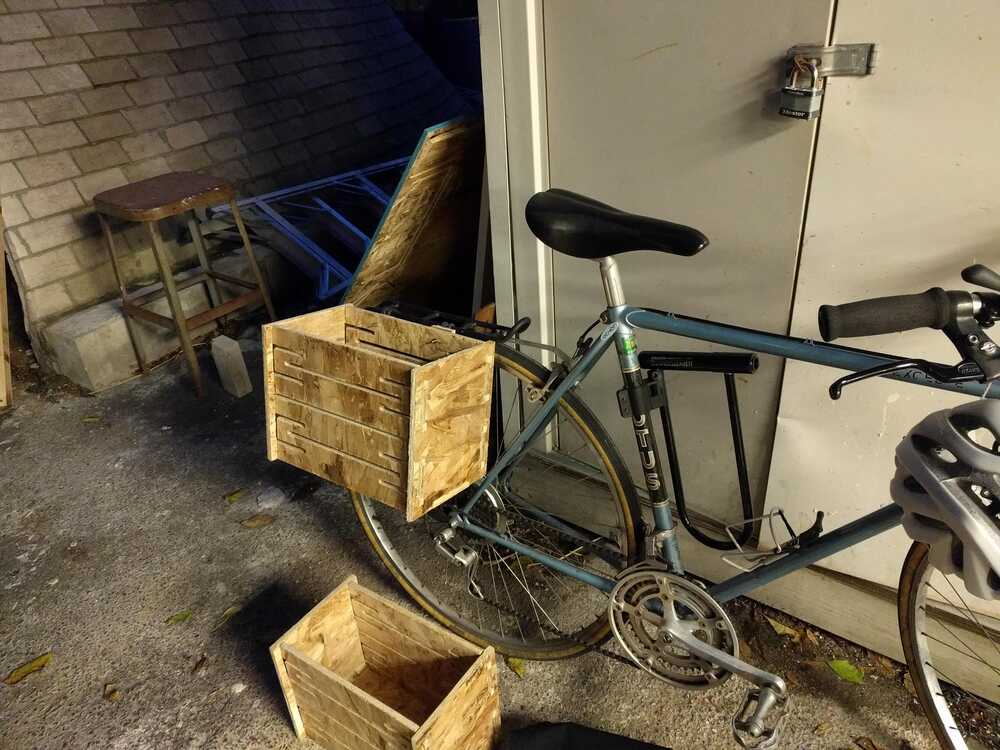
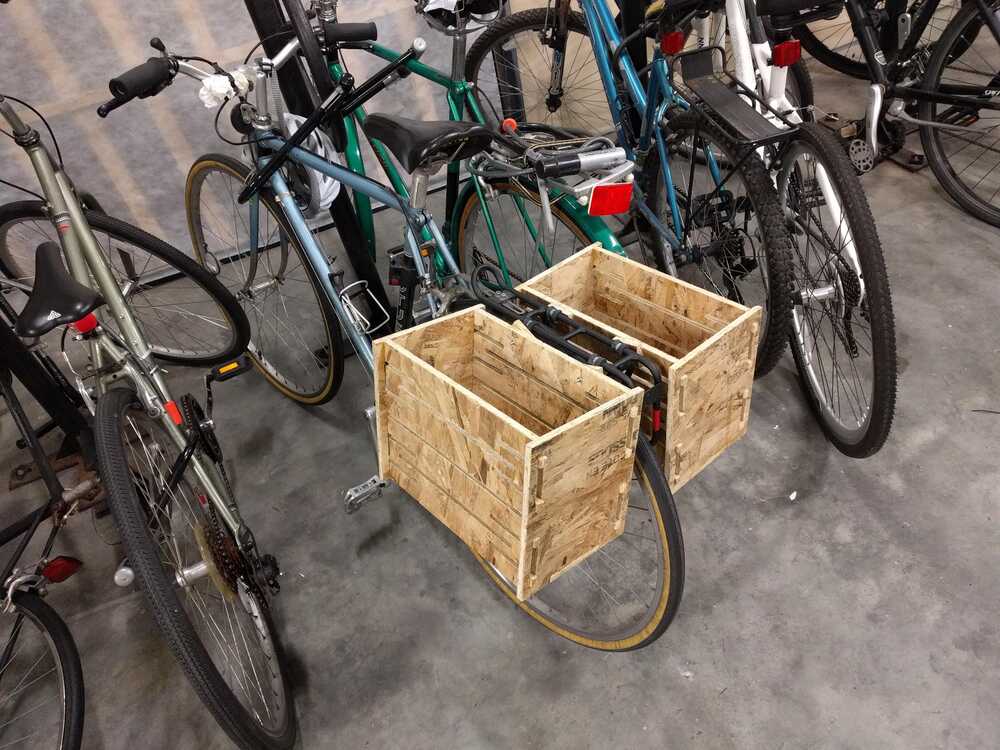
Final Product
Here we have my pannier baskets on my bike! Pumped for my vist grocery run.