Week 4: 3D Scanning & Printing
TLDR:
I 3D printed a MIT-WHOI Joint Program Block and I 3D scanned myself w/ the ArchShop scanner and my Big Foot with Qlone. I also focused a lot on my final project design and planning.
Assignment
This week I am required to 3D print a small volume part and to 3D scan something and optionally print it. Notes from class: There's a limit to how thin a wall can be and how small a gap can be. There's also a limit to how angled of a part you can print, you can't print horizontal parts w/o supports. It can't be something that you could make with a mill. Next things or sculpt! STL is the most common file format, it turns everything into triangles, that's it- you can't put in dimensions or other things. PLY has color info. OBJ is used autodesk, it represents in more than triangles, has color.
3D Printing
Ideas
For this week I have two ideas:
Idea 1: Print something functional for my bike, either a waterbottle holder or a mirror holder that can also act as an extra safety light.
Idea 2: Print a creative shape that I make with the "form" tool in Fusion 360.
Idea 3: Print something to represent my MIT-WHOI Joint Programness.
Idea 4: Print a water pump cover for my final project.
I ended up going down the routes of ideas #2 & #3!
CAD Work
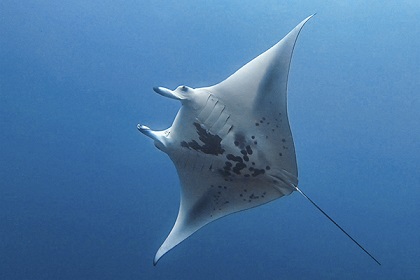
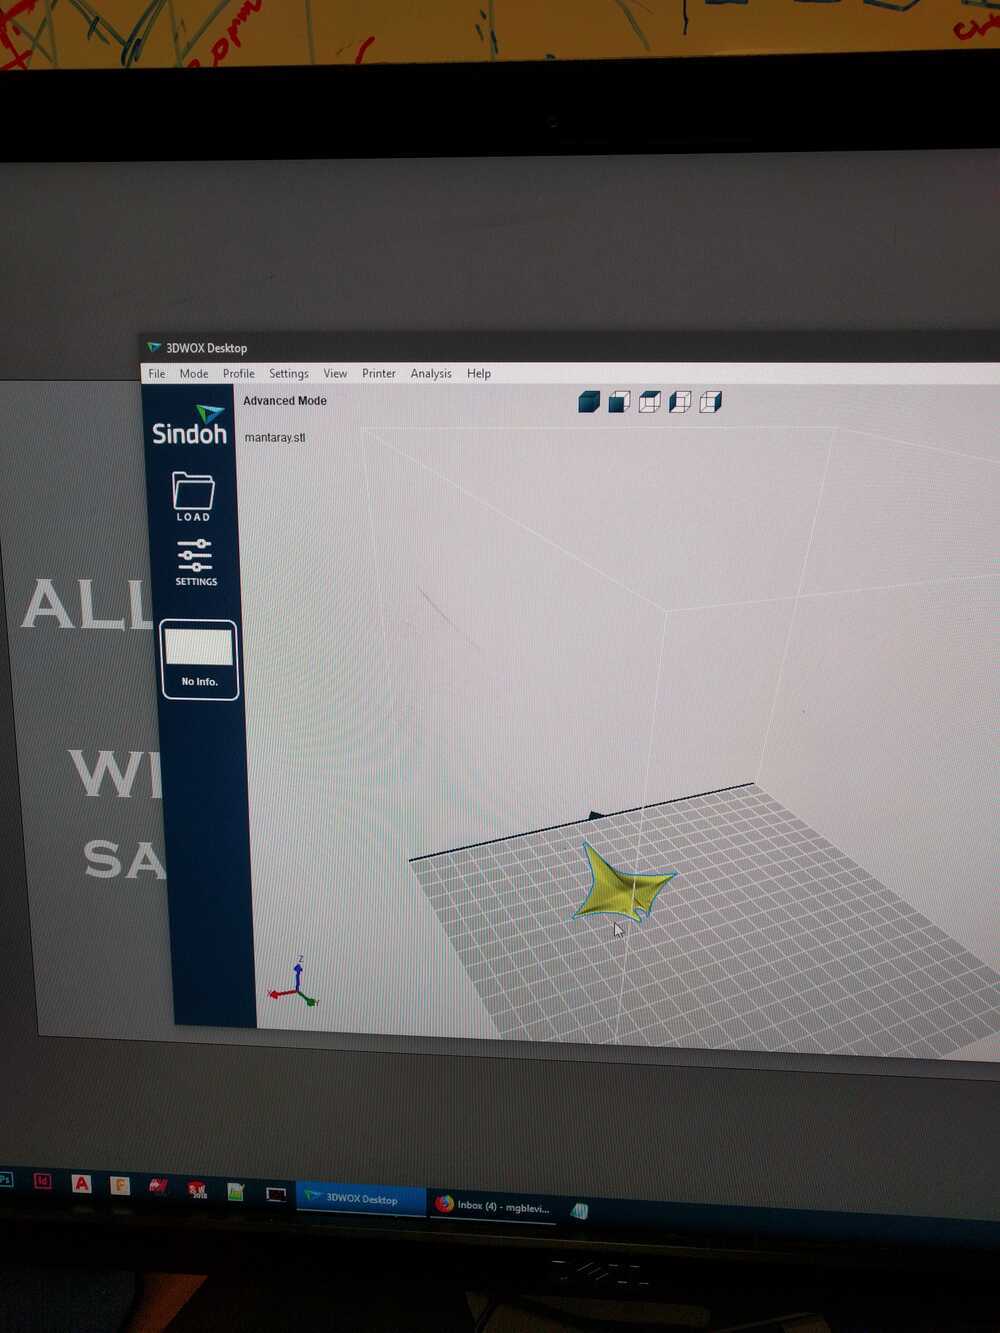
I got excited about creating a form in Fusion 360 so I set out to make a manta ray!
 img src
I found a good tutorial that showed me an approach to make a ghost w/ Fusion 360 and that felt like a good segway into manta rays.
NOTE: In the future I think blender weould be a better tool for making sculptures
Like week 1, I found working in Fusion 360 to be a total time suck. I really tried to learn from tutorials and manuals FIRST and THEN start work, but I got stuck often and wasn't pleased with the amount of time I spent troubleshooting. Alas.
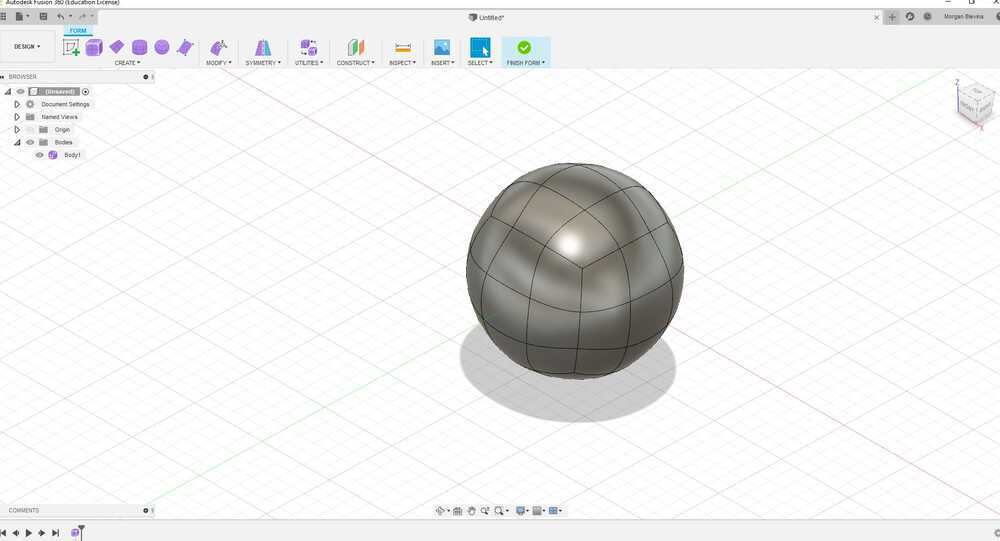
I started with a sphere and shifted and pulled sections to make limbs, then moving an manipulating them to make it more realisitic.
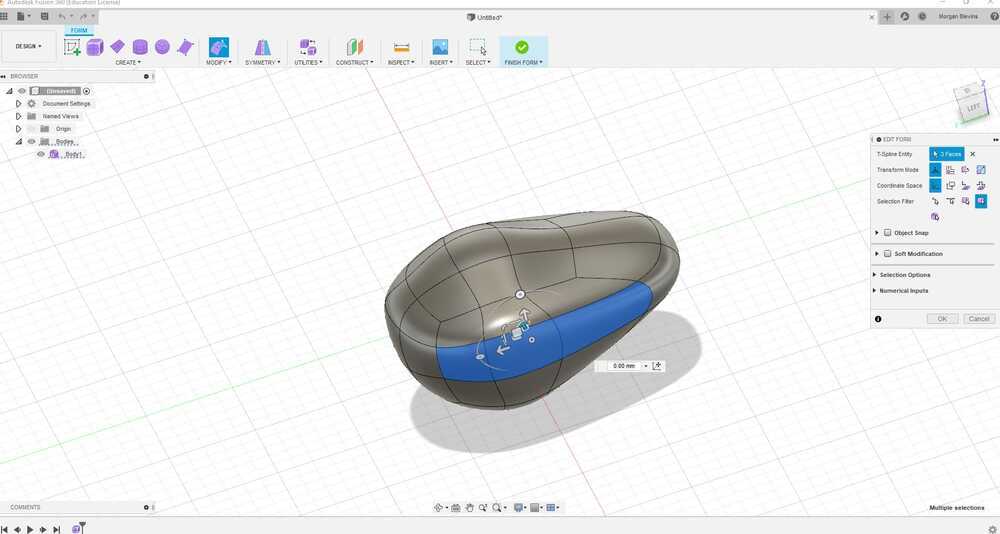
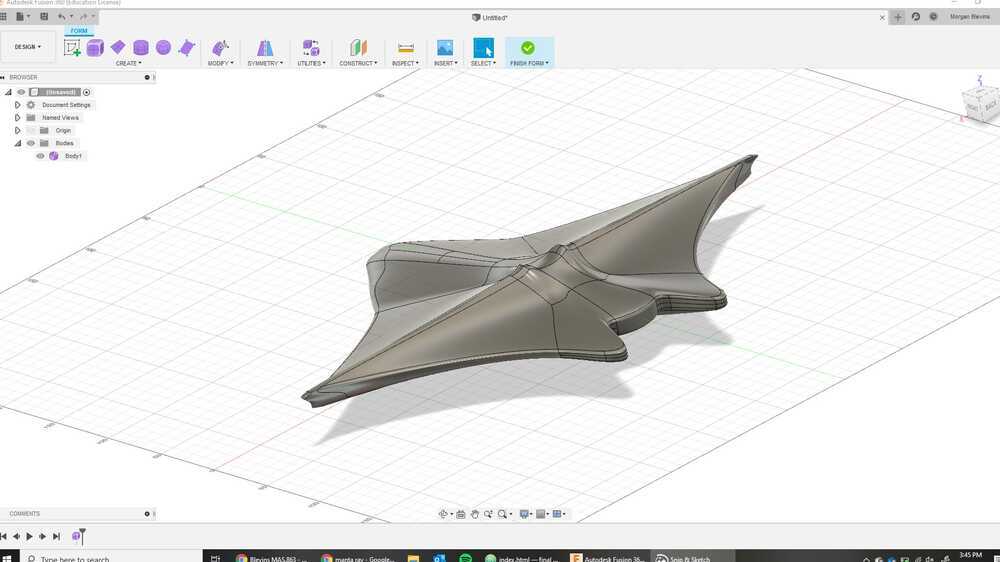
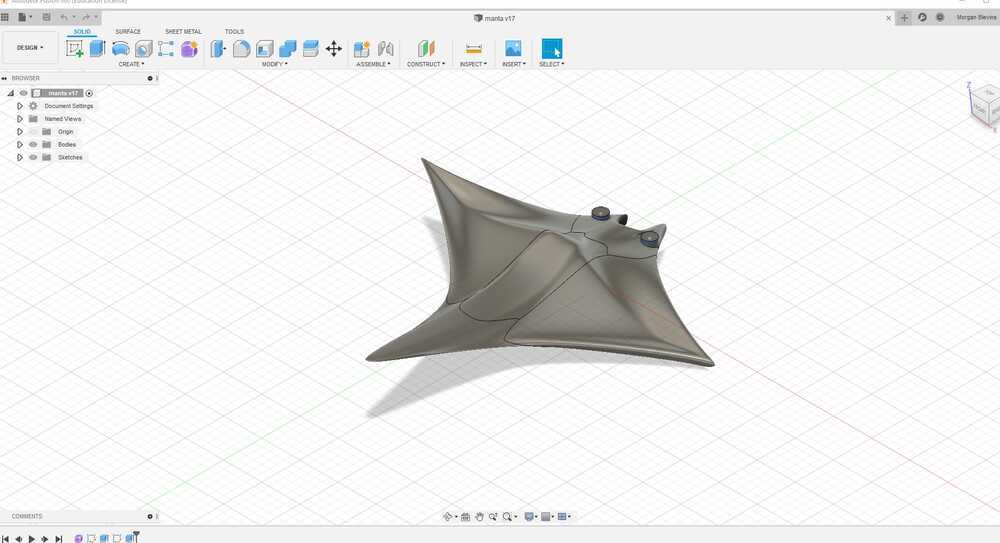
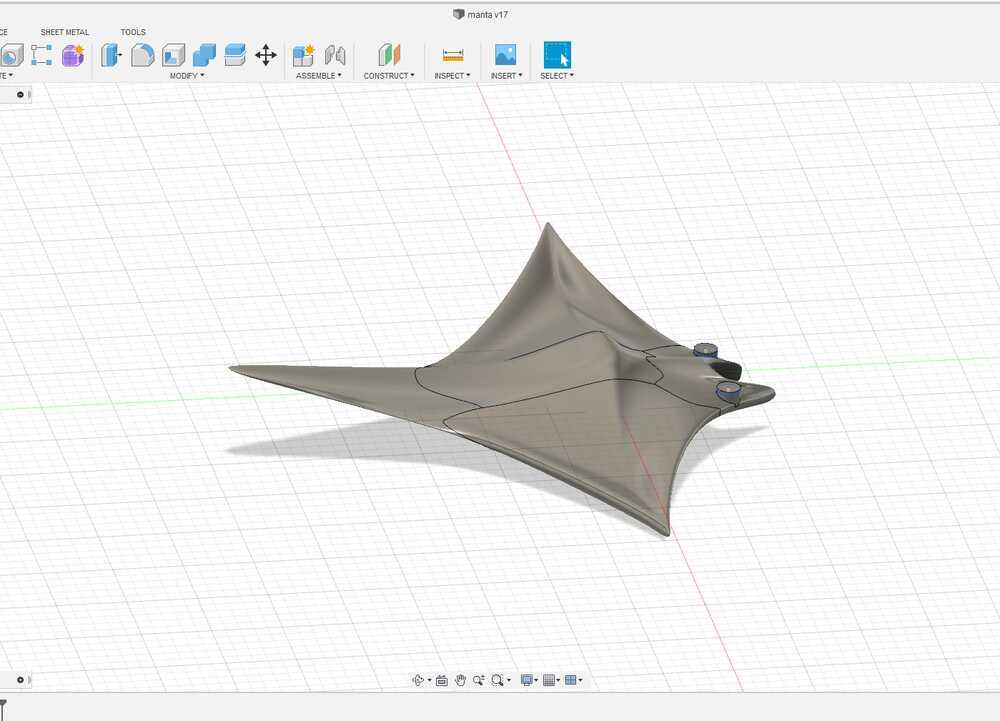
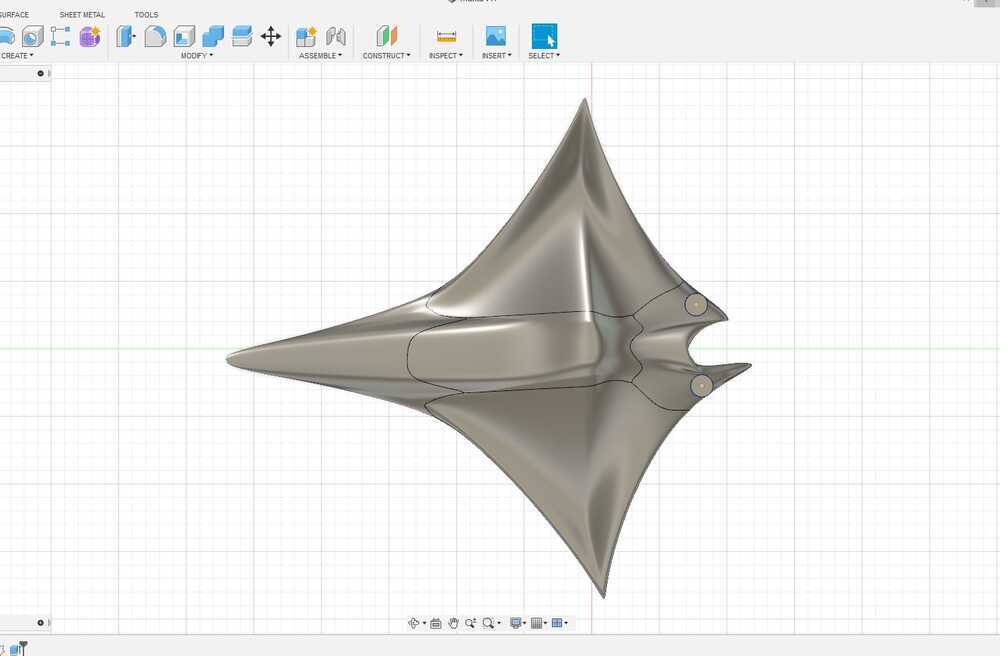
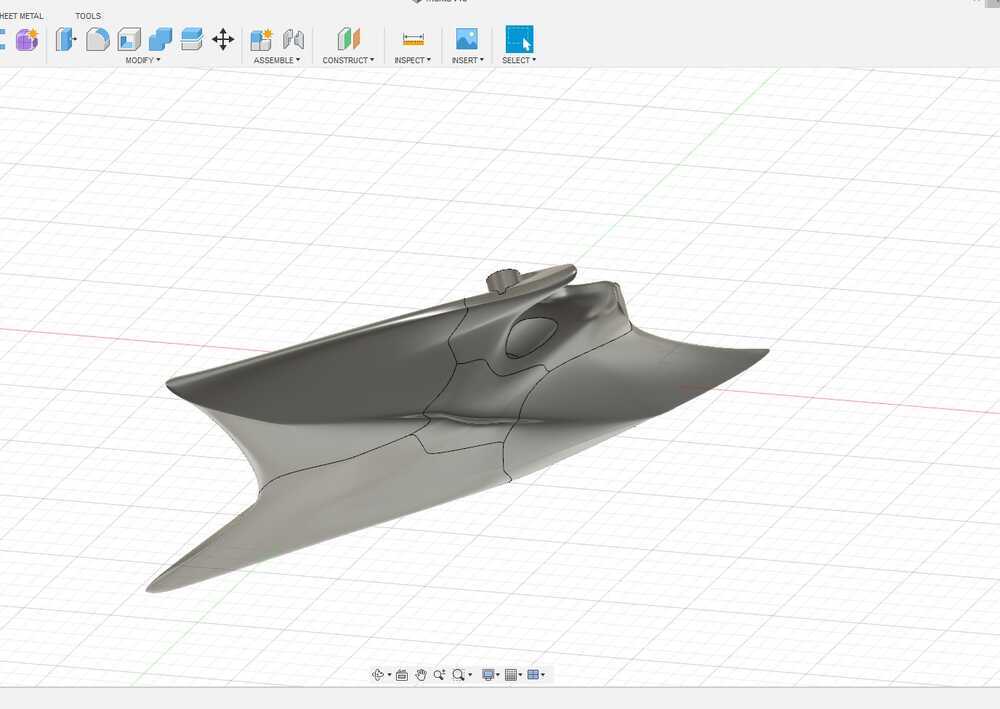
I ended up with a result I was happy with eventually, but then realized I didn't really have a use for a plastic mant aray.
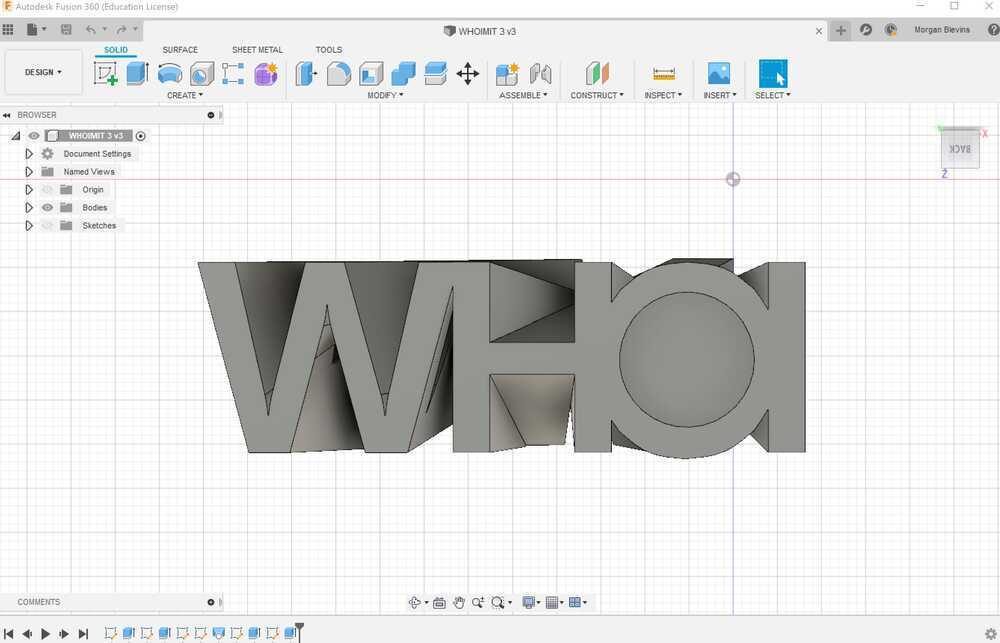
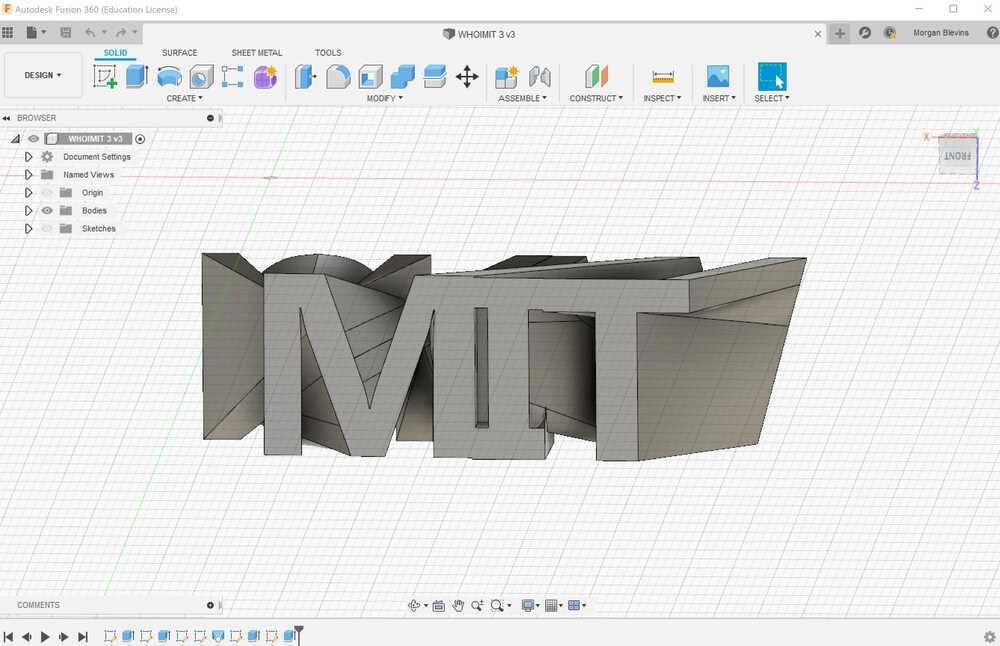
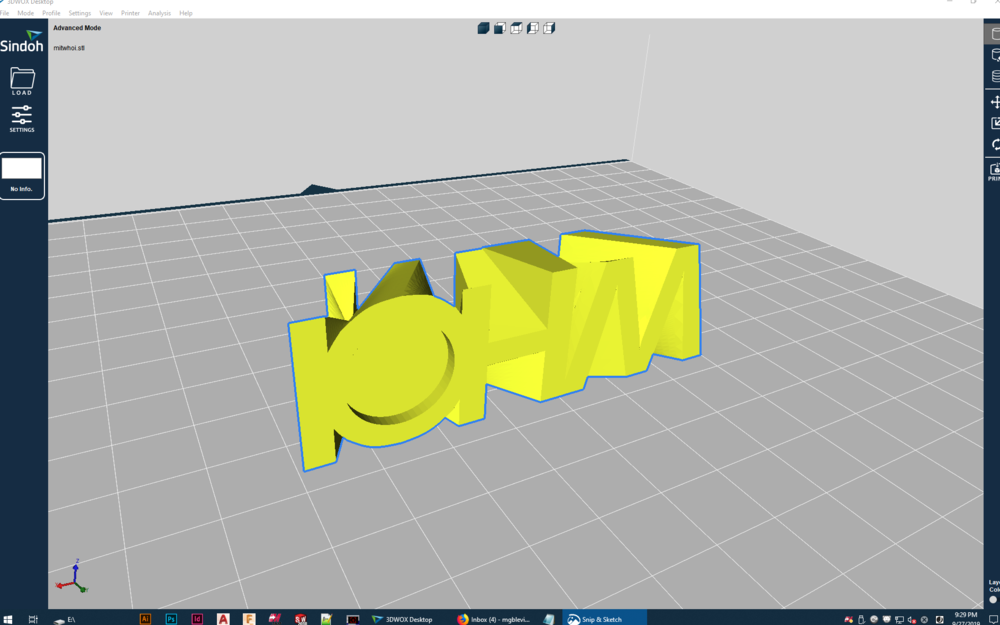
SO I decided to instead make my other plan of an MIT-WHOI Joint Progam logo/block for my desk!
This was a much more straight forward design. I created a "MIT" sketch of 3 seperate letters, making sure that they overlapped. Then I off set a sketch of "WHOI", also with seperate letters that overlapped. Initially I just extruded them together into a joined part. But then I learned about "Lofting"!!
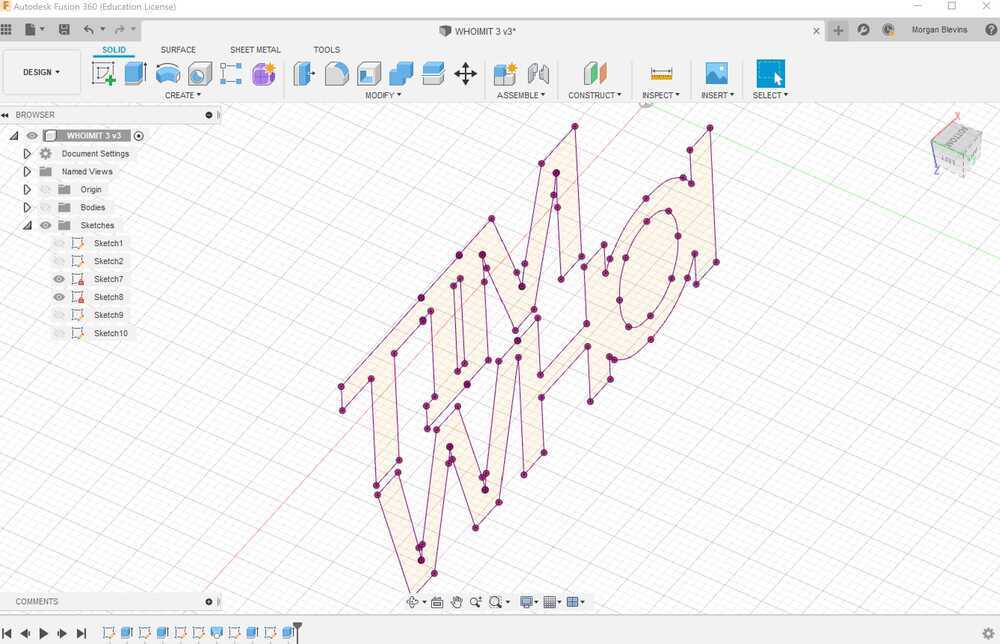
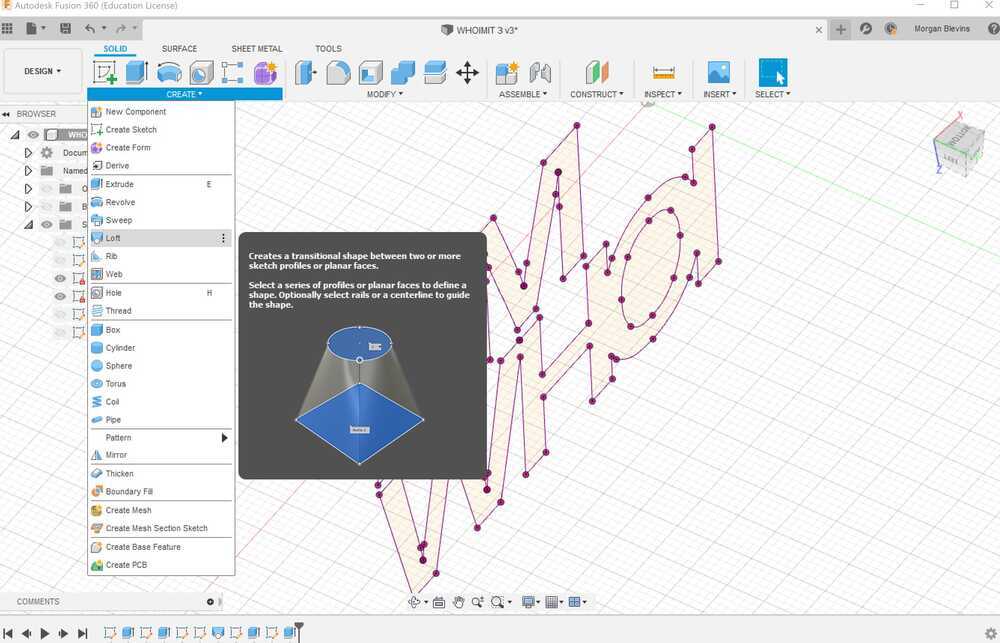
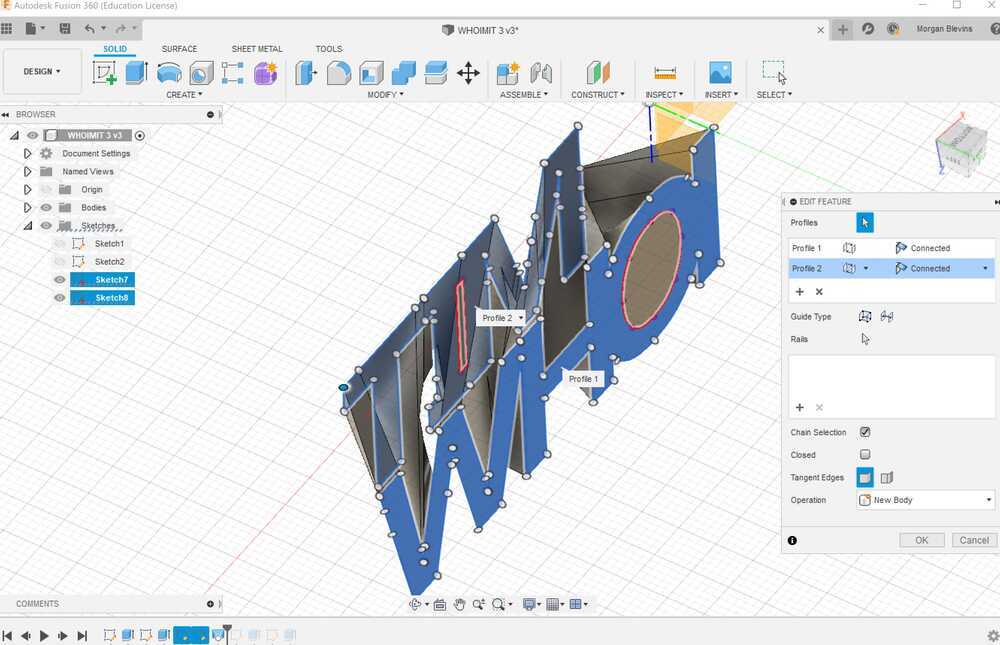
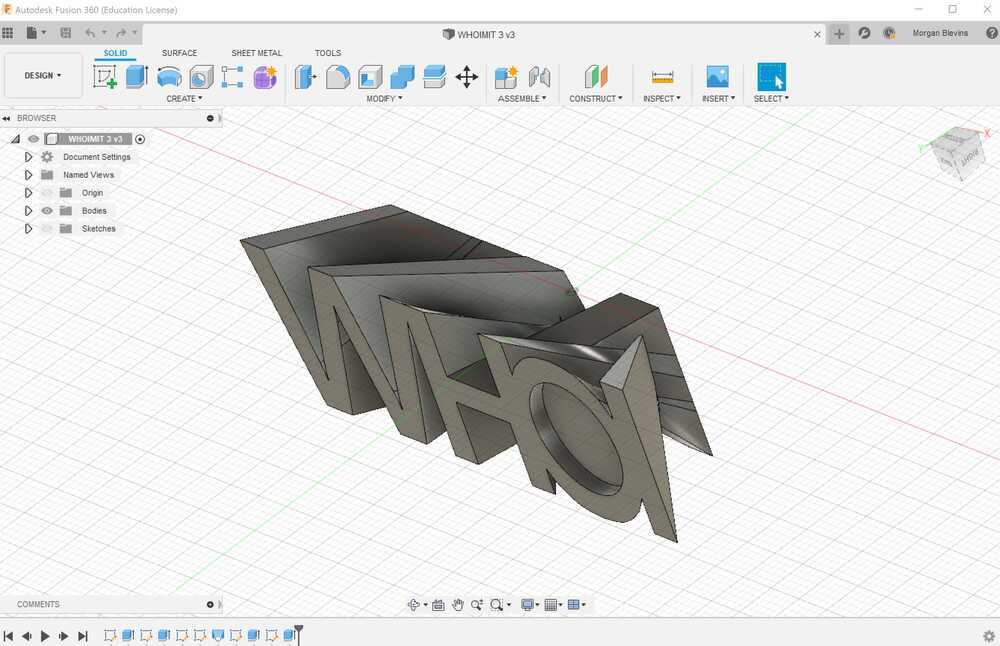
This morphs the two sketches together and I really liked the result once I figured out how to get it to work. PRO-TIP I learned the hard way: When morphing you can't try to morph once sketch to another that is a disjointed sketch. Meaning, that initialy my "MIT" sketch was a sperate M and then a joint I&T. Fusion 360 did not want to loft the WHOI sketch to the M and seperate IT. But it did want to loft when I changed the sketch to be a single peice!
Characterizing The 3D Printer
We characterized the WOX printer in the ArchShop.
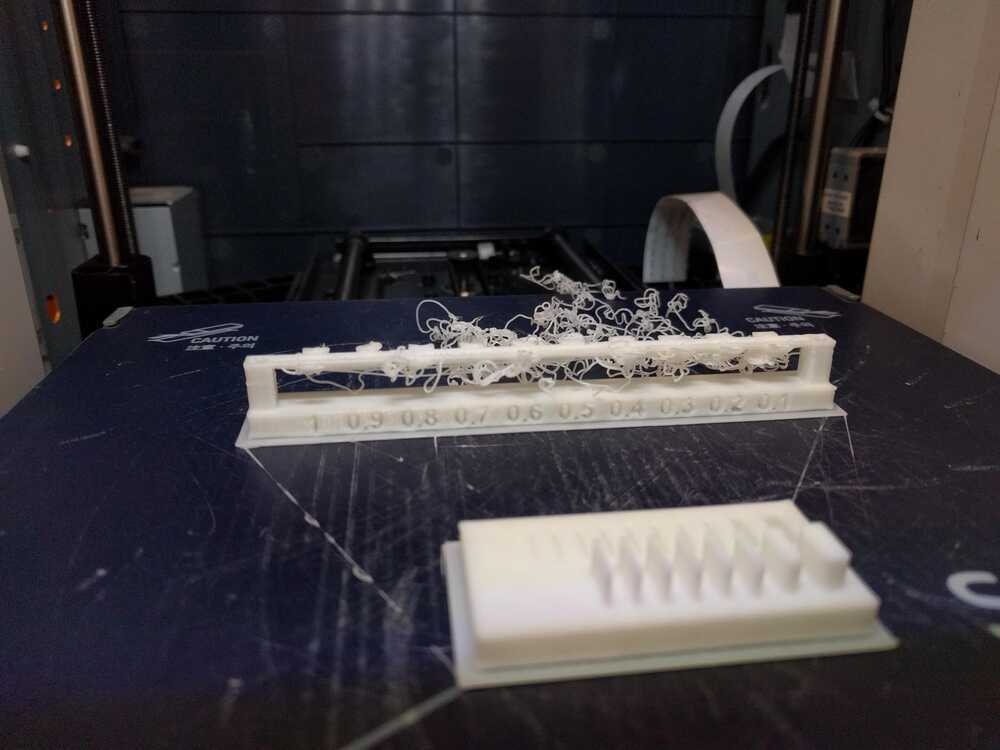
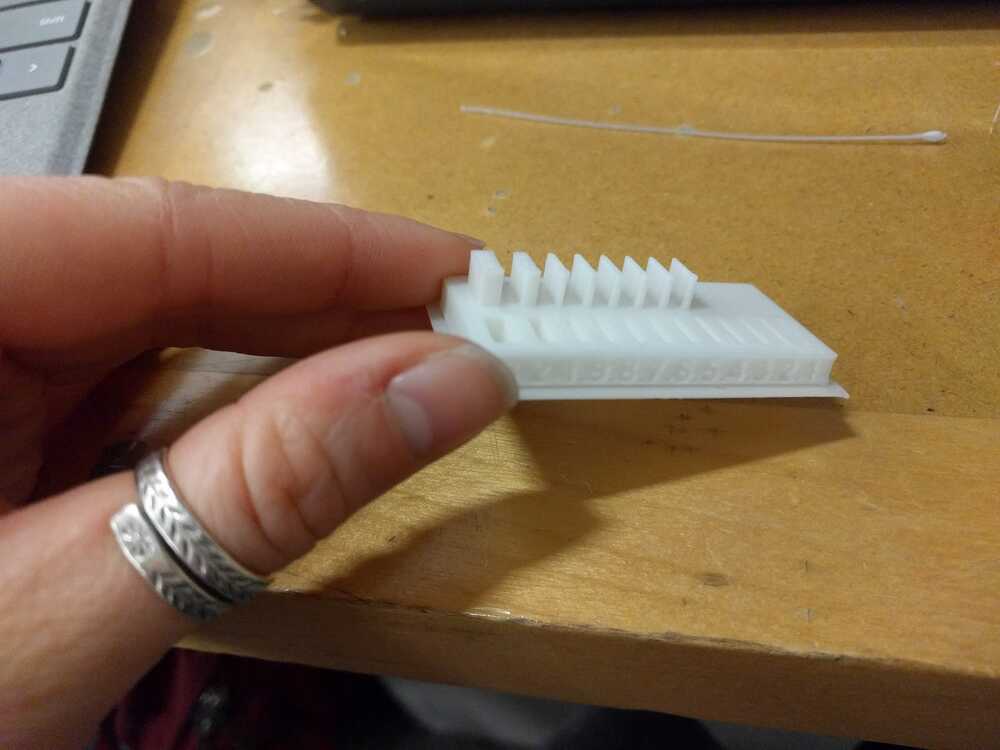
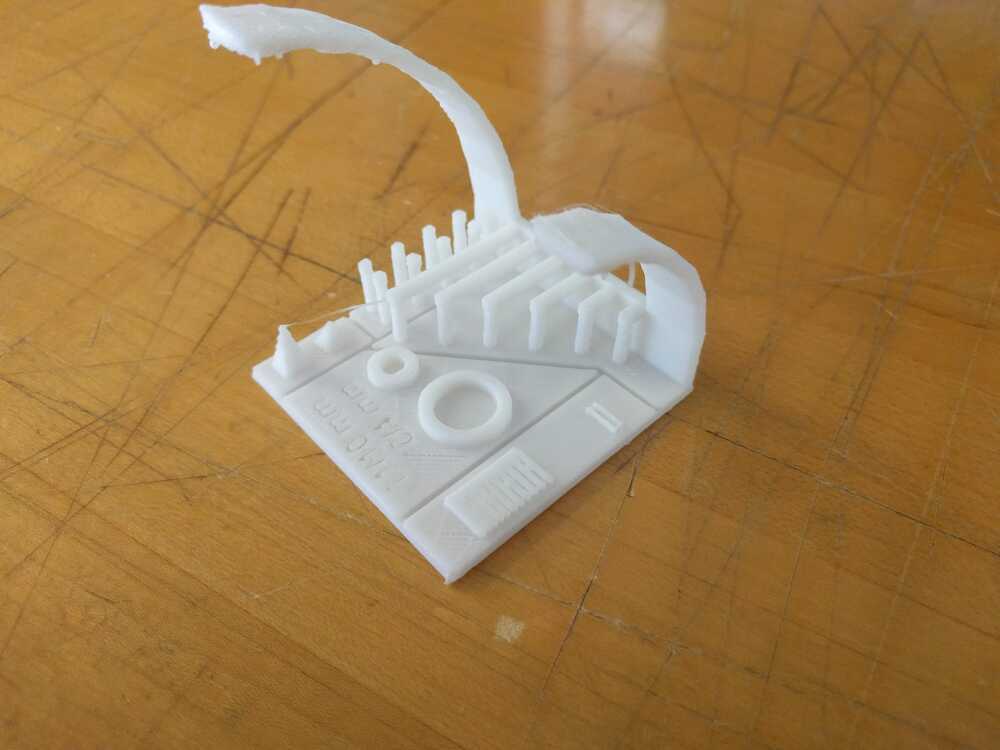
Before printing my file, I had to characterize the printers we were working with. With Elina & Kii I printed this file and this file (shown below).
We uploaded the STL files to 3DWOX and placed them on the print board. In the settings we set percent fill to 15% since we did not care about having super dense parts. We printed them with a raft and semi-regretted it because the parts themselves are so flat that (1) they really did not need it and (2) it was a waste of time.
Our first print of the plate with slots and stack or varied width was successful, however the print of the varied ring widths was not. We believe this was due to too fast of a print speed.
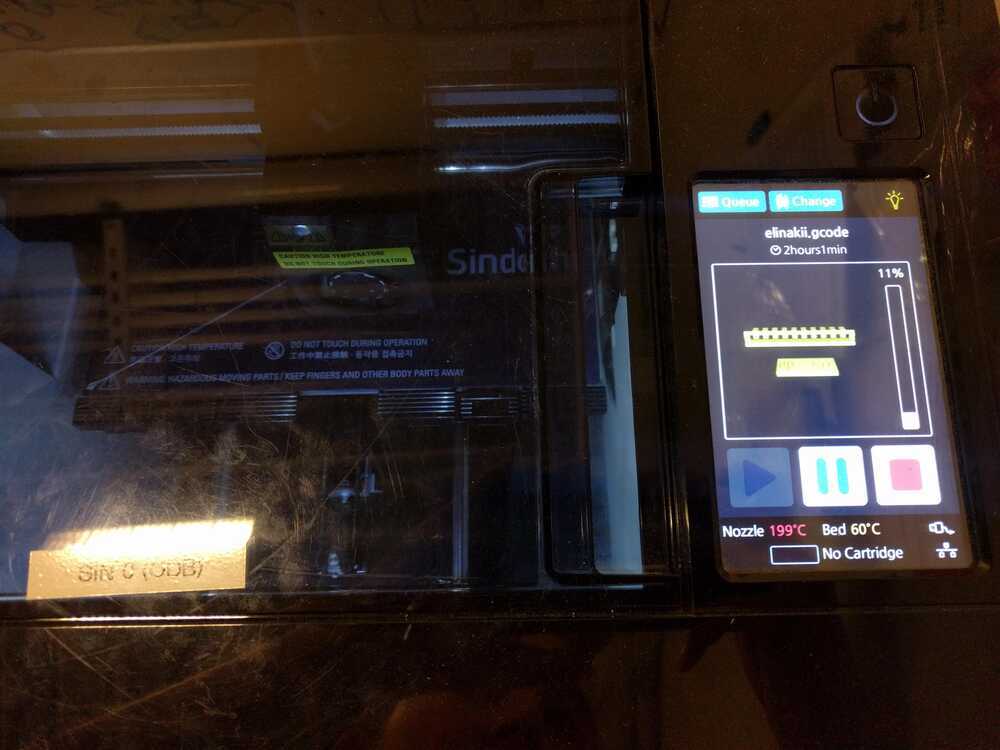
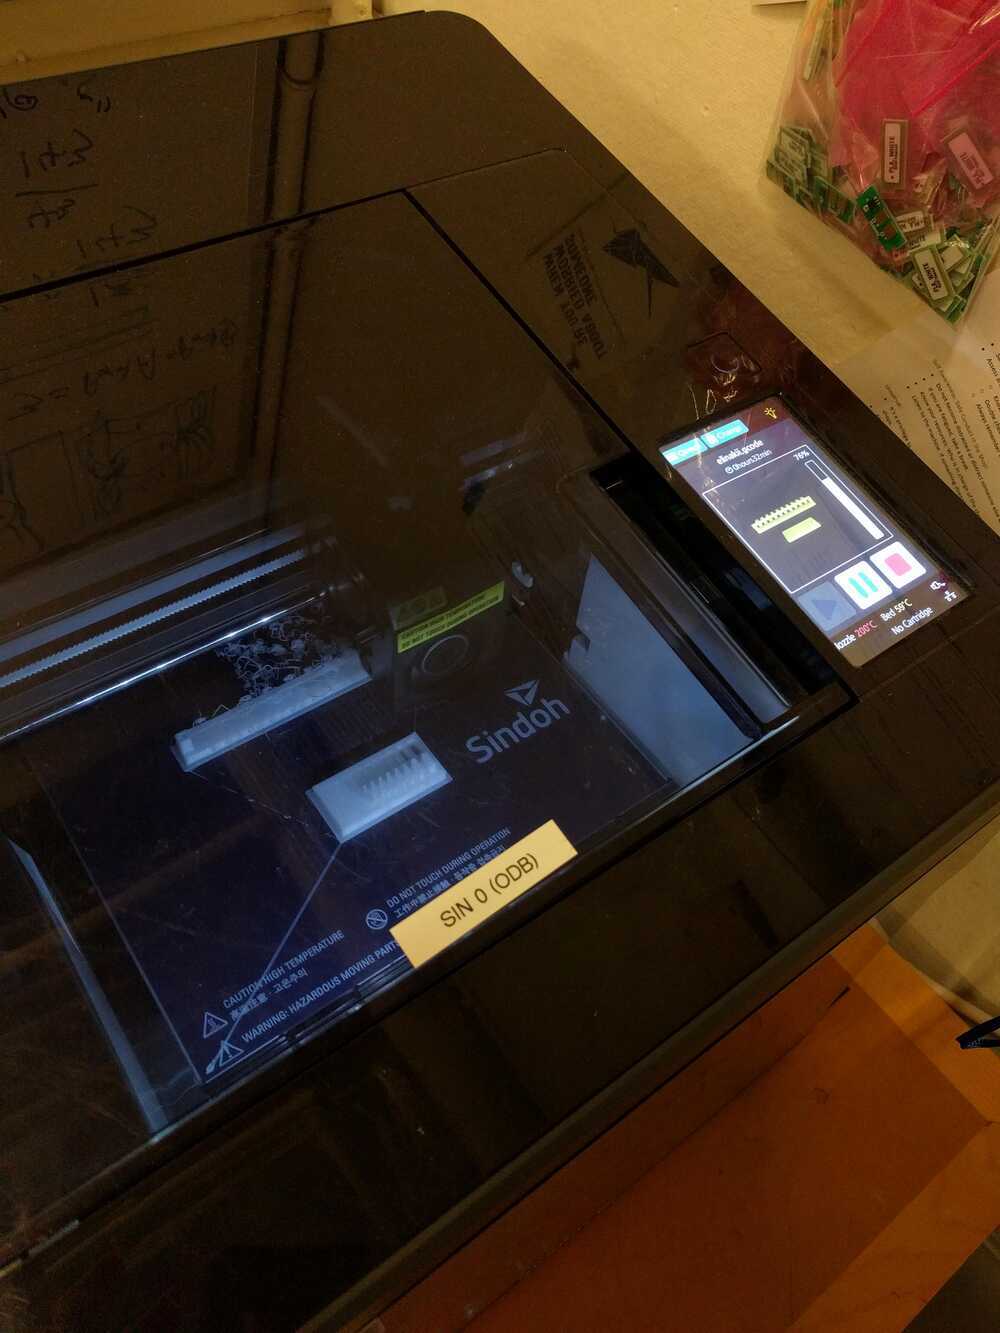
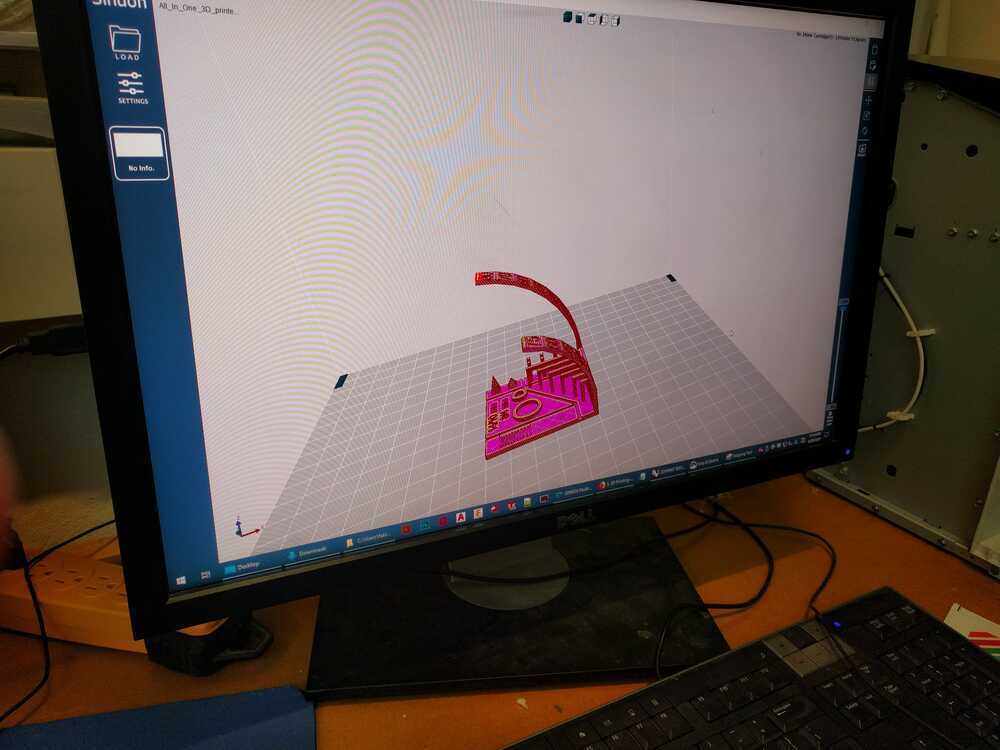
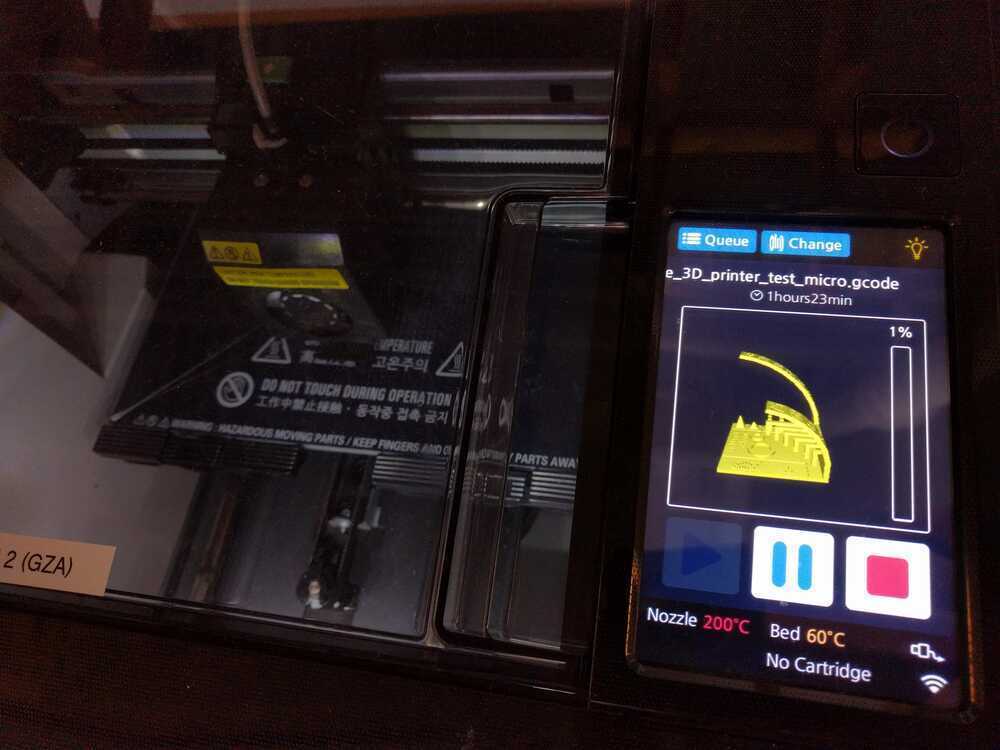
I tried again with Marianna & Yuxuan. We printed this file (shown below) with no bed adhesion, 20% fill, default settings for everything! We ran into issues with the printers in the Arch lab. They kept giving us this message:

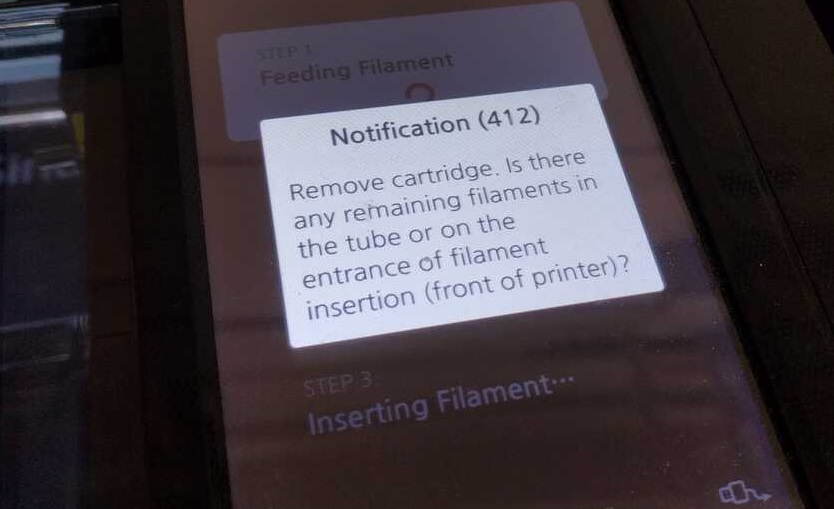
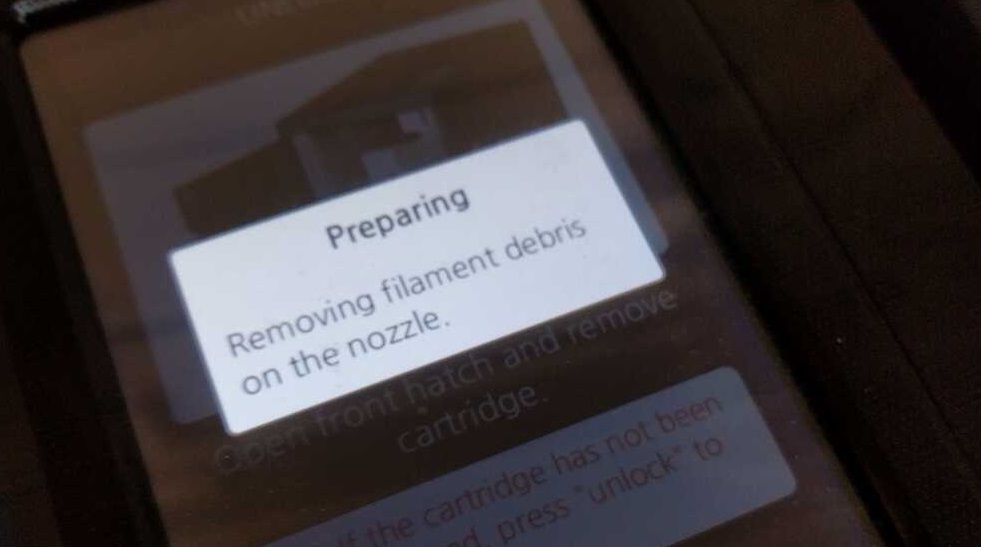
Despite taking out the filament and replacing it in the way we intrepted that the machine wanted, we kept getting the same error. With no TAs around to help troubleshoot at the time, we opted to use the printers elsewhere. There were no issues with the filement in these other printers so we easily uploaded the gcode to them and ran the job. It took 1hr 30mins and went smoothly. Here are some process pictures as well as the final result:
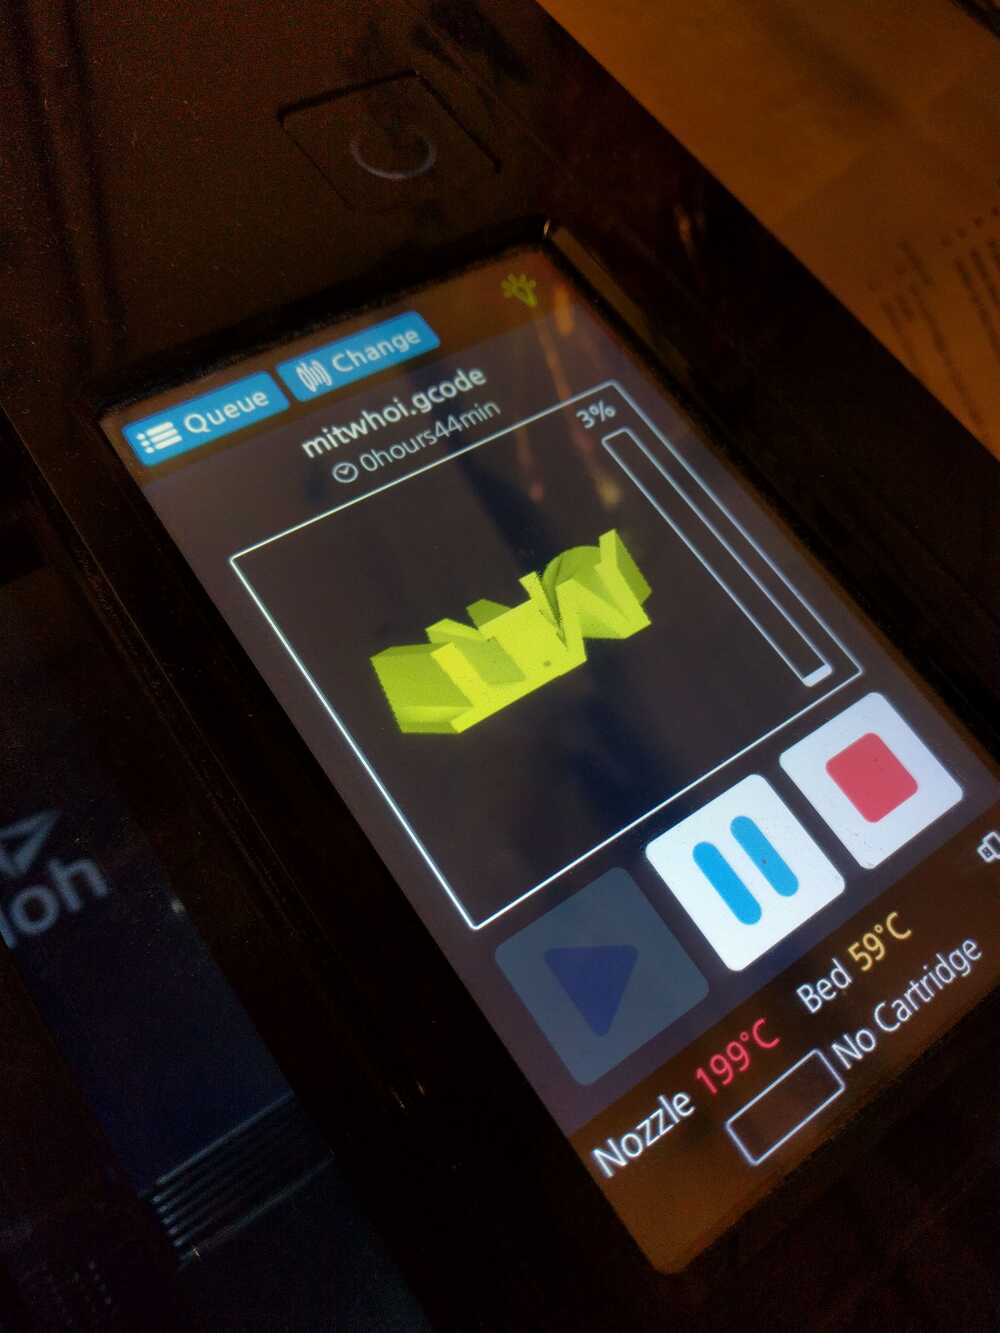
Printing my design
I printed using the WOX.
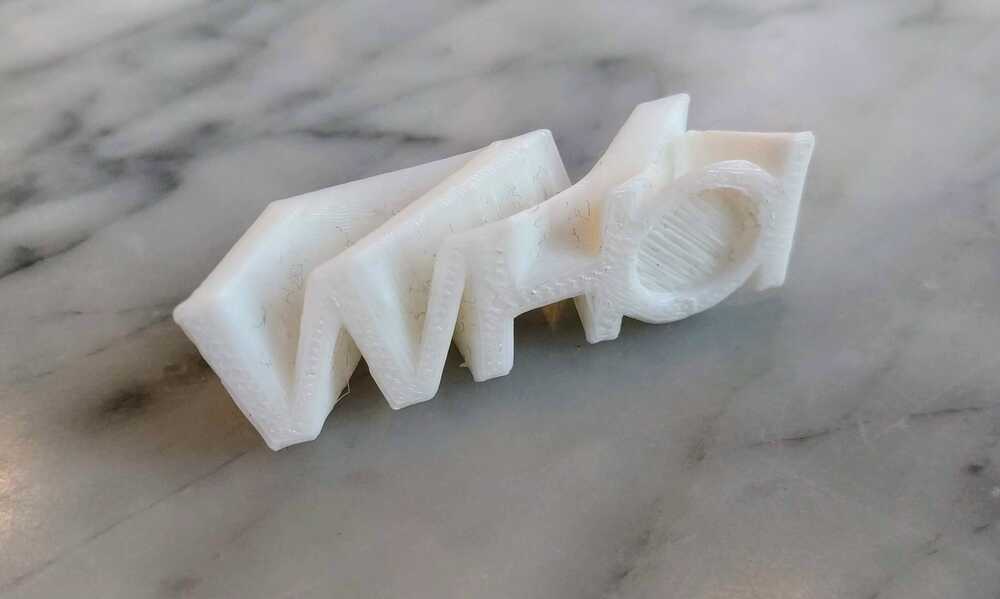
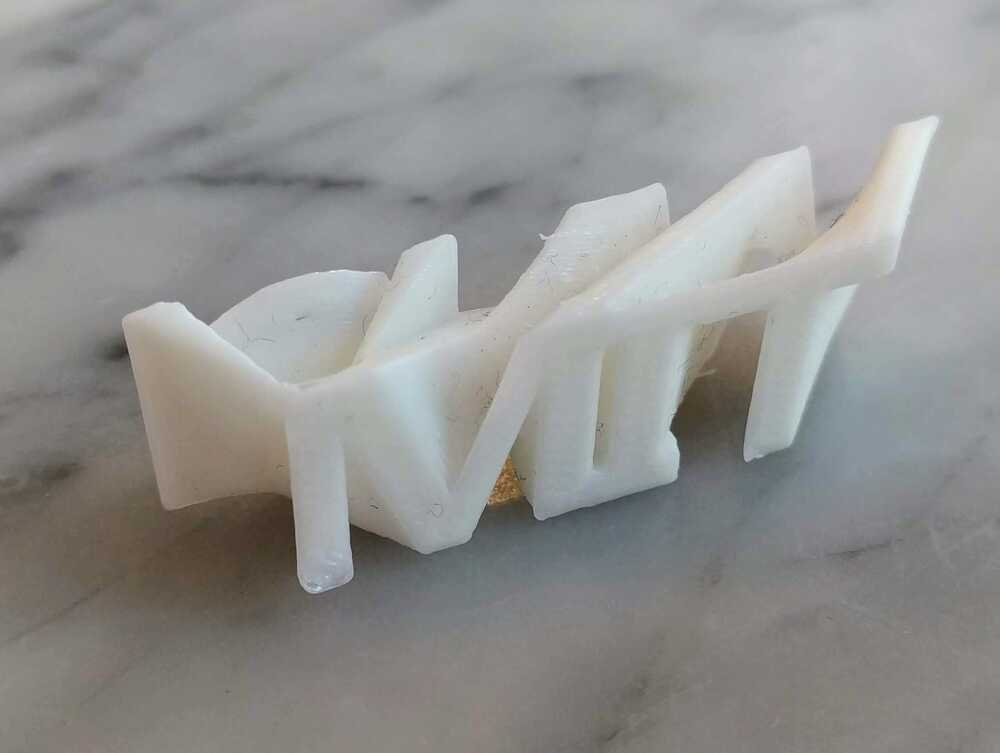
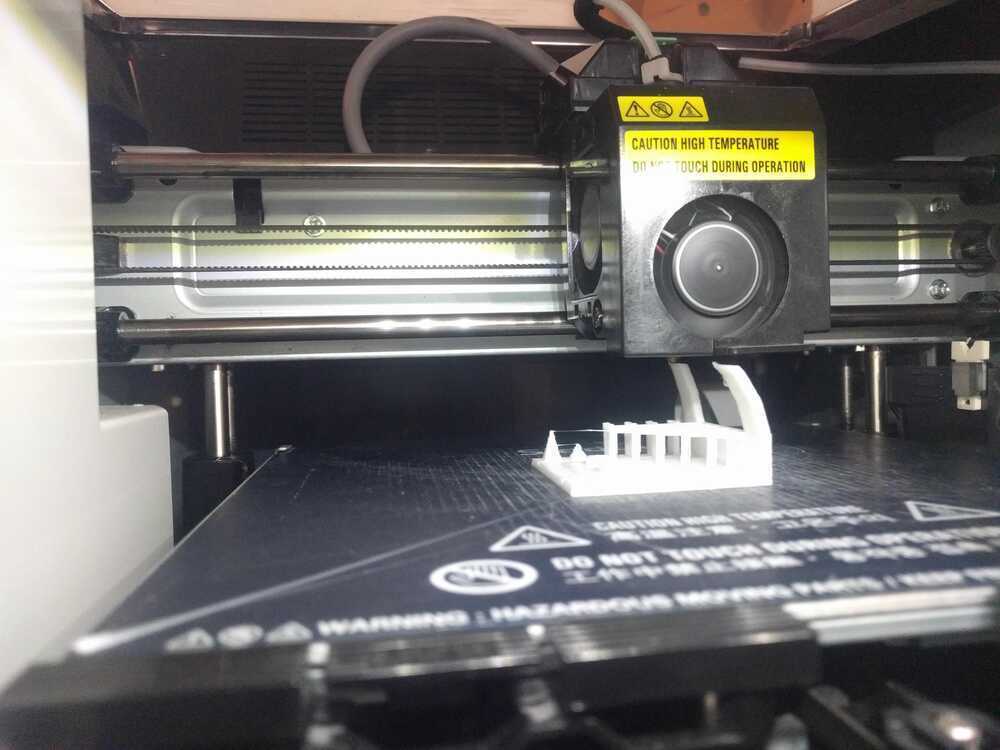
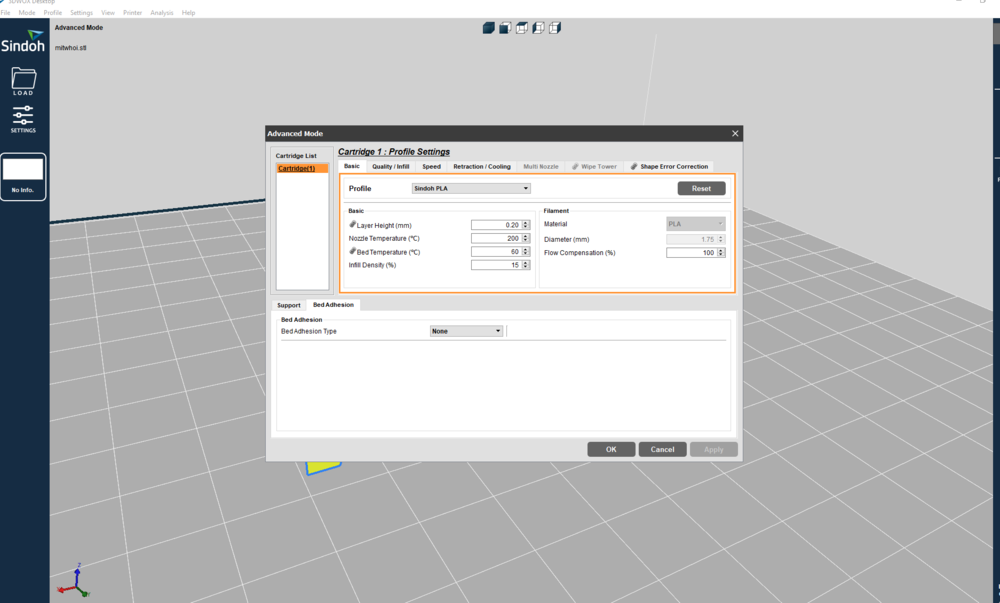
When it came time to print I uploaded a .STL file of my object to a thumbdrive and loaded it onto 3DWOX on the ArchShop computers. I used the configuration in the picture below. I did not print with a raft because it seemed like a waste for my test print. I kept the 15% fill because I liked that fill for the tests.

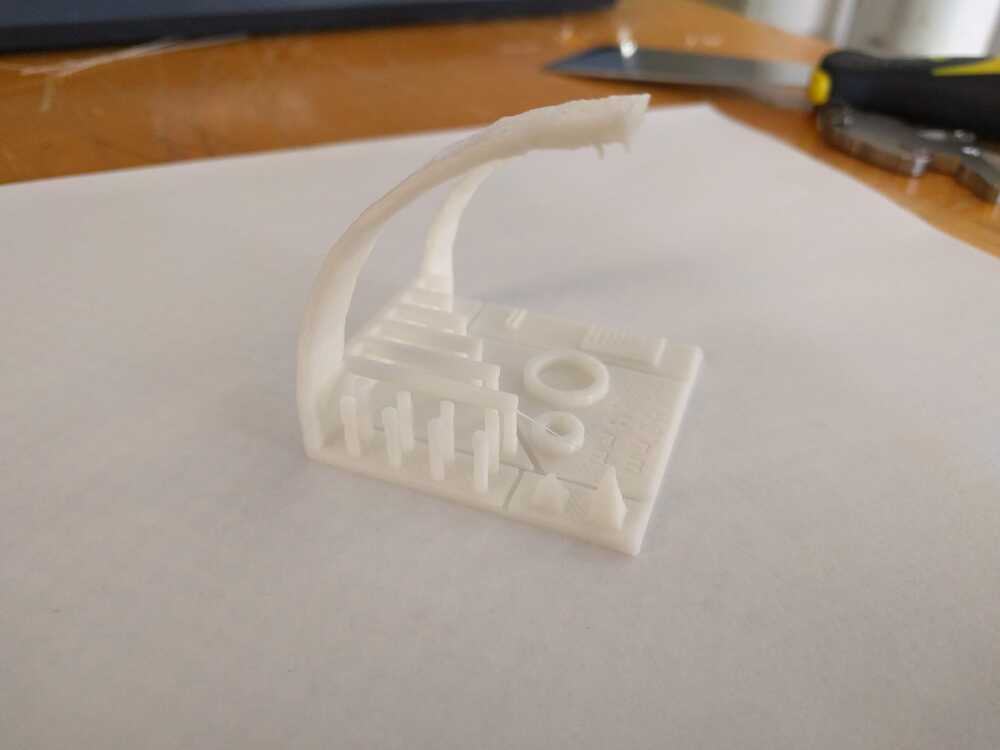
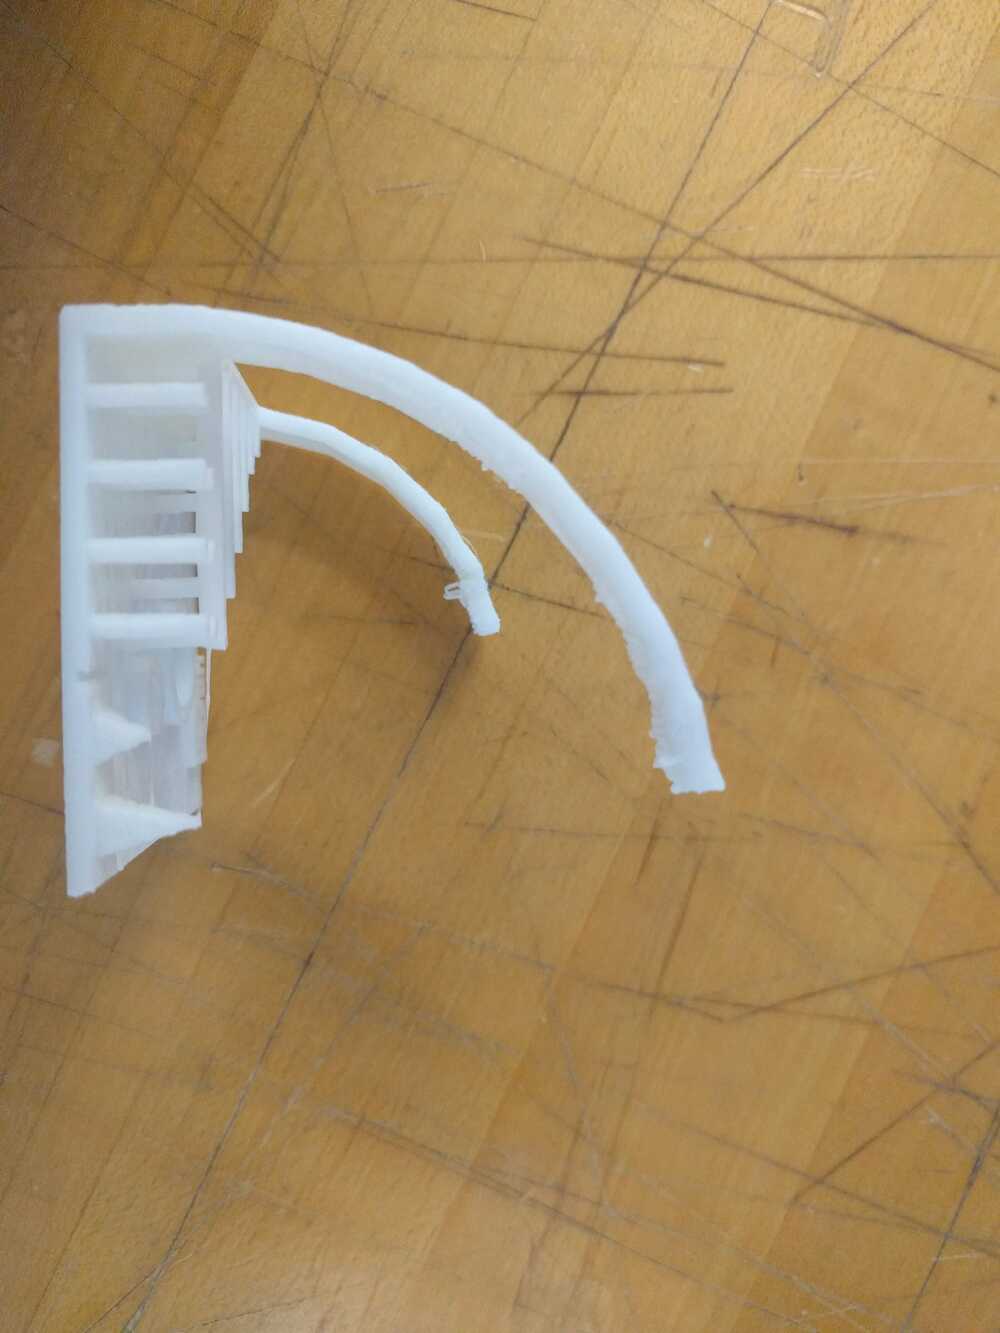
After printing for ~15 minutes I realized that I did not place my part in the optimal orientation. I did not take advantage of the fact that two of its faces are completely flat! I noticed that some the supports were getting pushed to the side and that the right side was starting to fail.
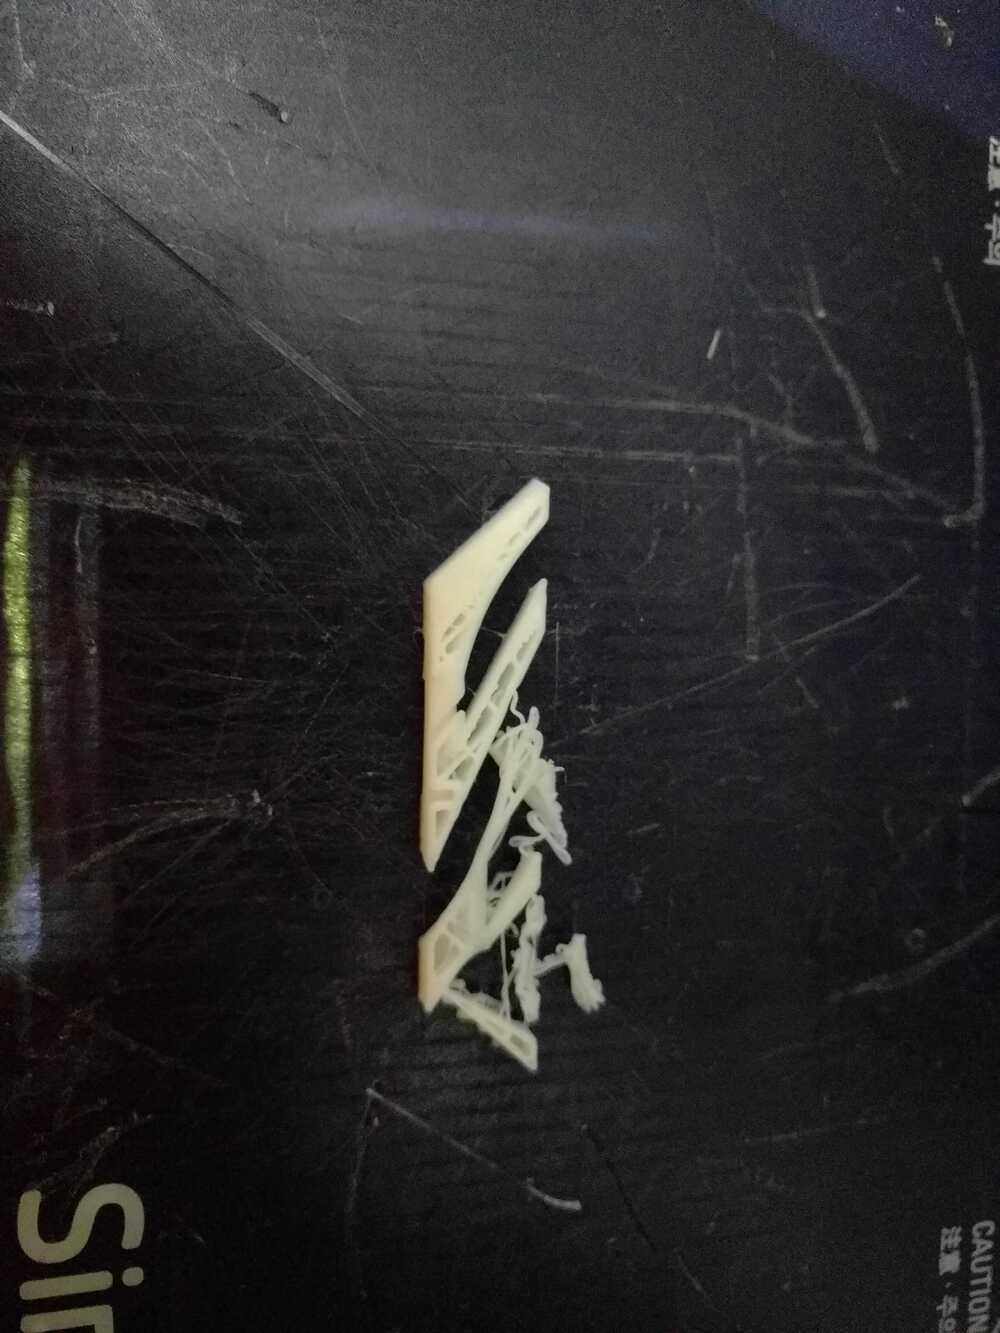
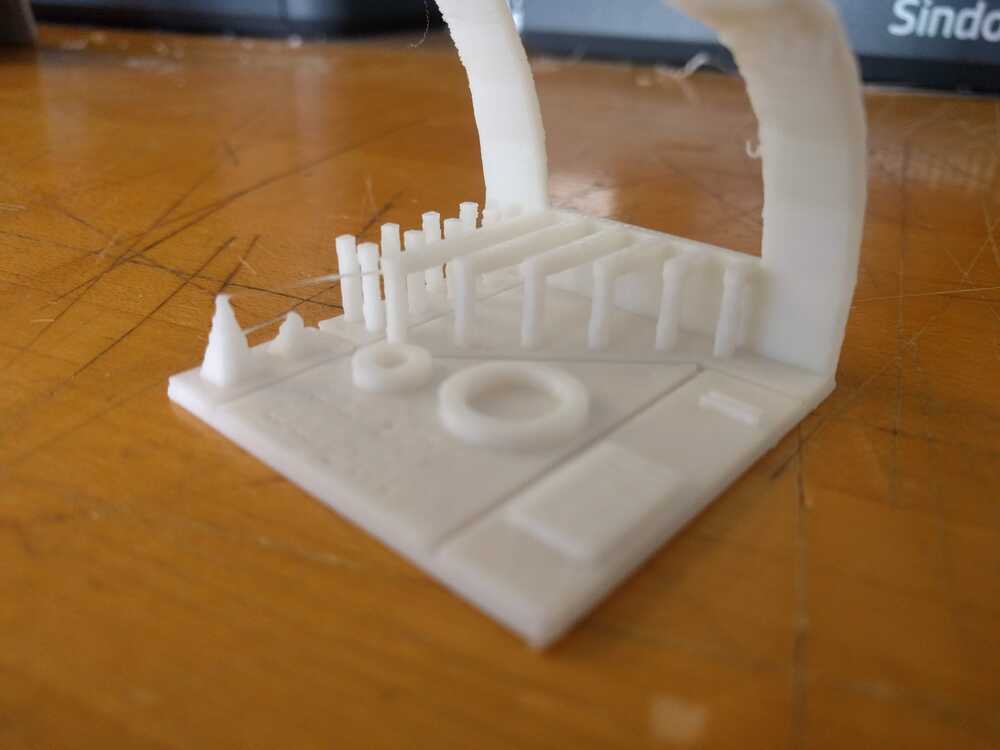
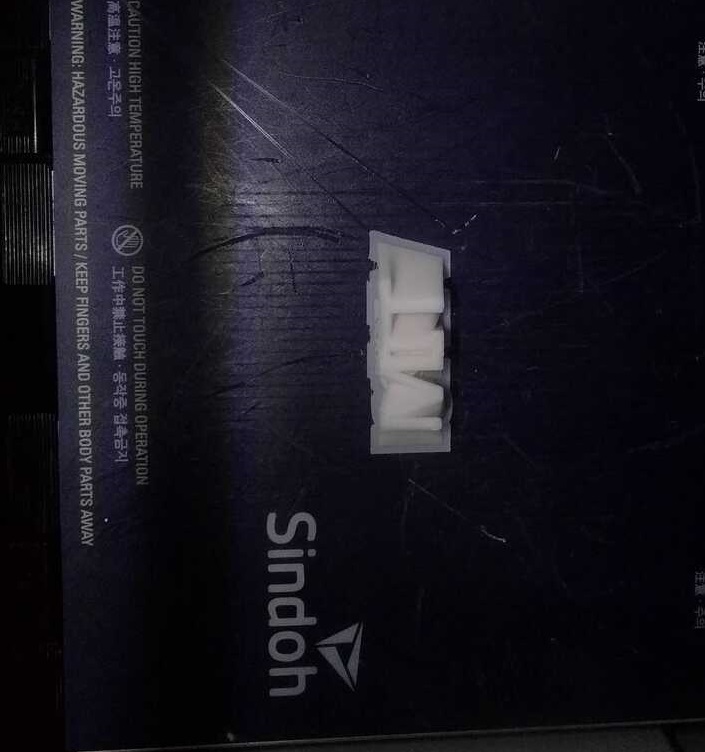
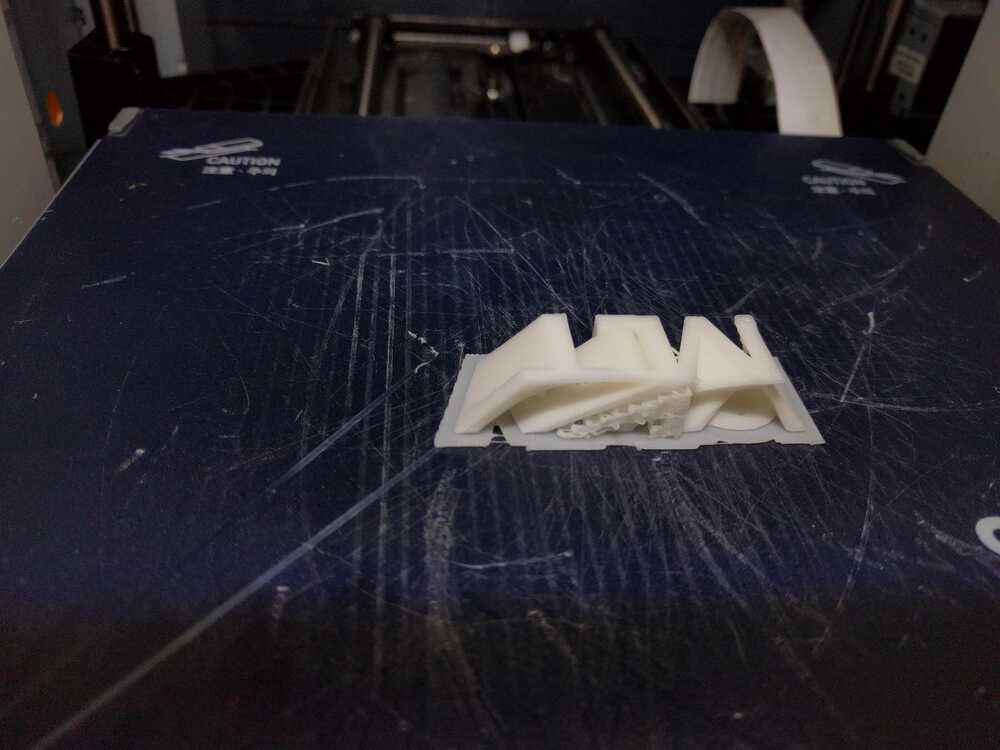
I canceled the print. I reoriented the part to have the "WHOI" face down, added a raft and printed again. This was a success!
3D Scanning
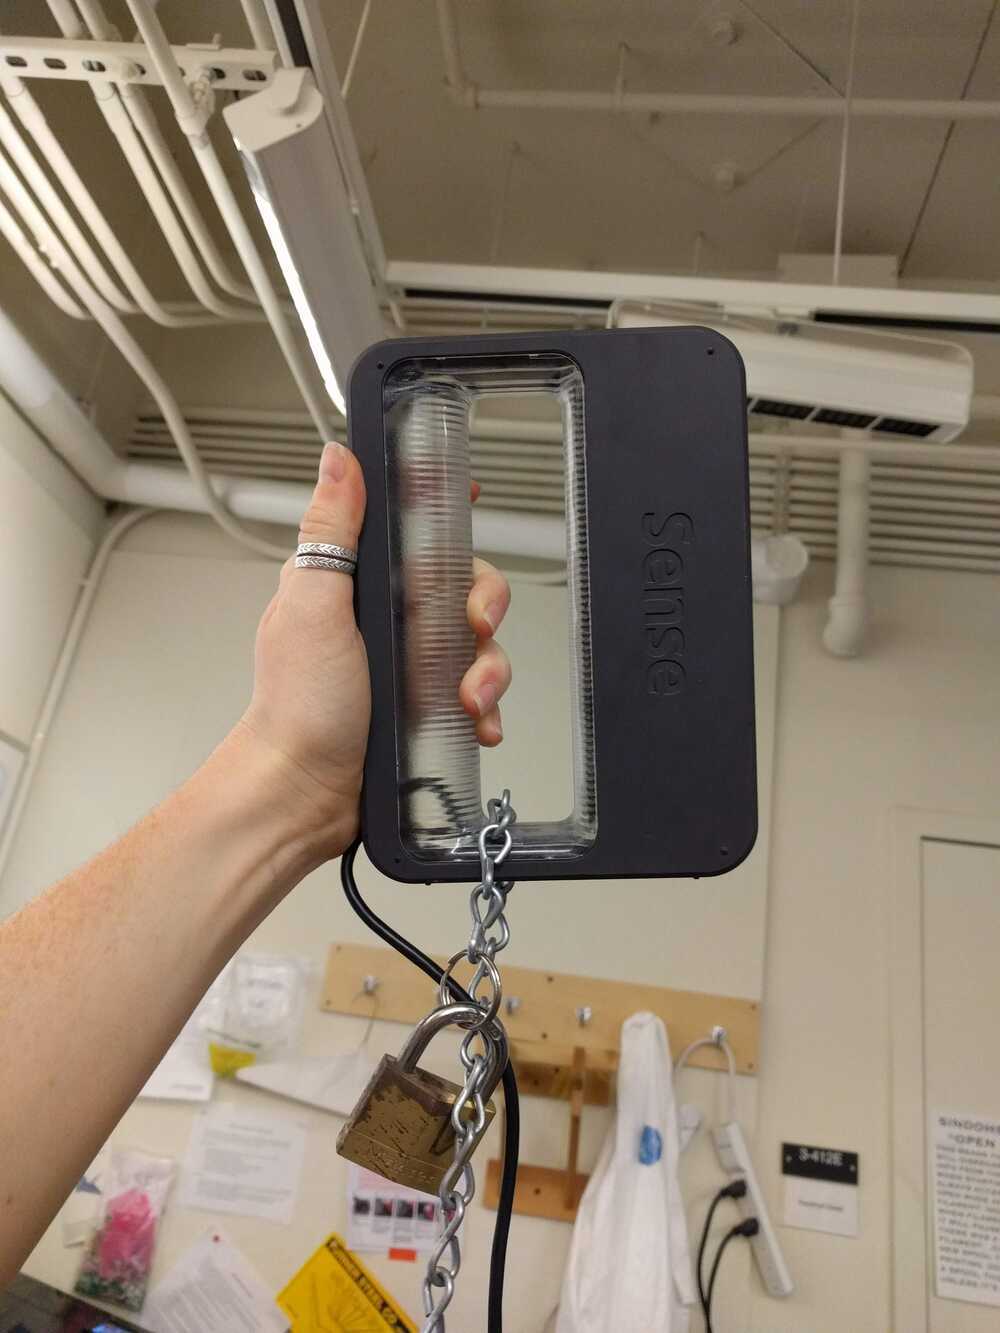
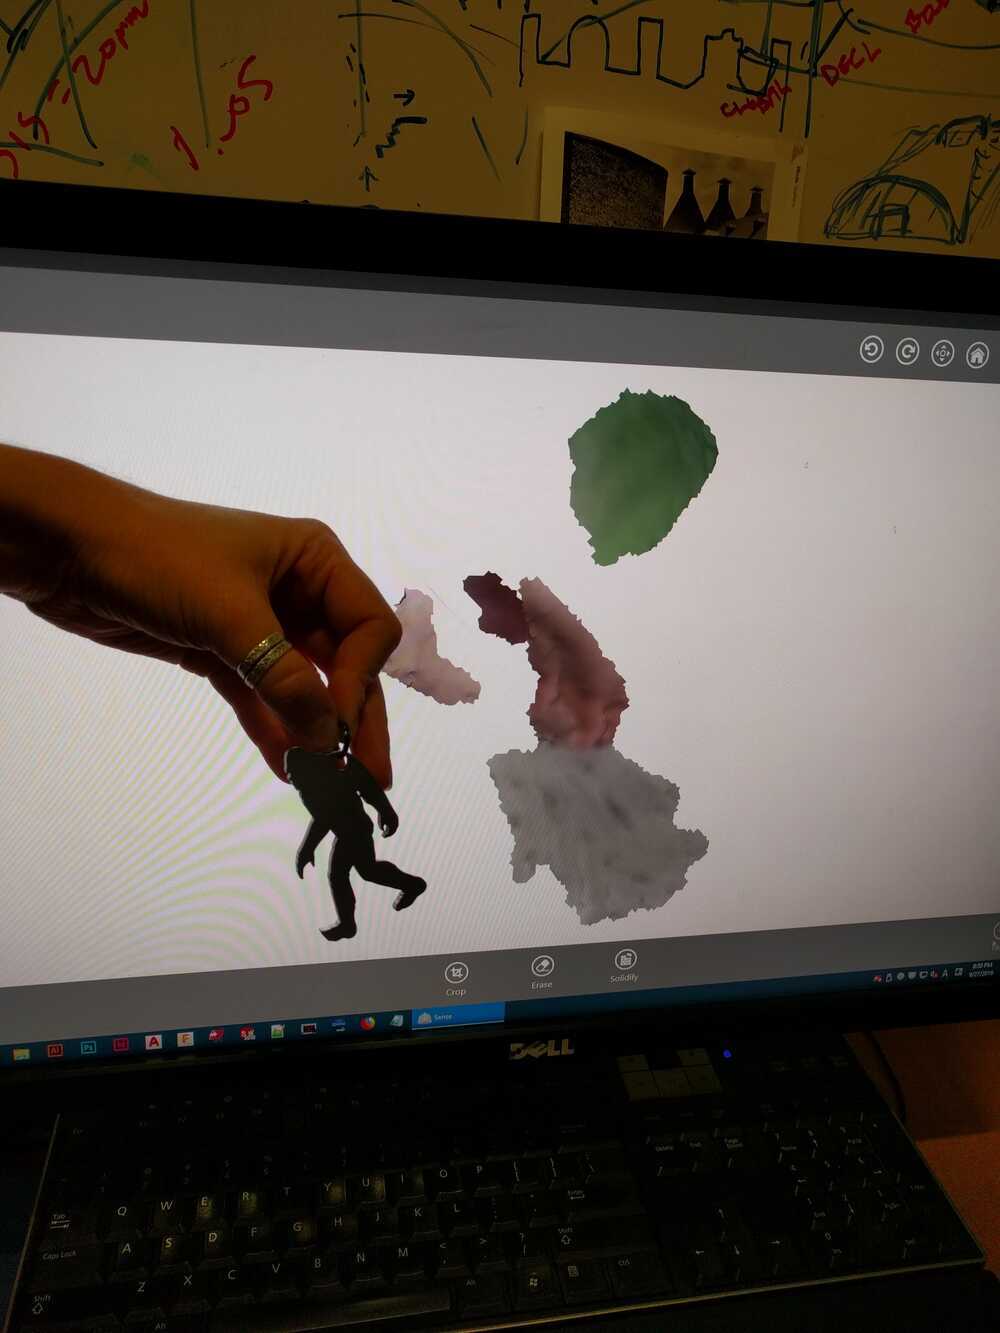
First I used the ArchShop 3D scanner, the 3D system Sense scanner. The process of using this scanner is really straight forward. You open the program, select the type of thing you'd like to scan (person vs. object), its size (small, medium, large or bust vs. whole body). Then you hang the object or place is somewhere, and holding the probe a foot or so away your press start scan and slowly point the probe all around it. I first attempted this on many objects but had a lot of trouble with the software identifying the ojbects and differentiating background clutter. These pictures show my process with scanning.
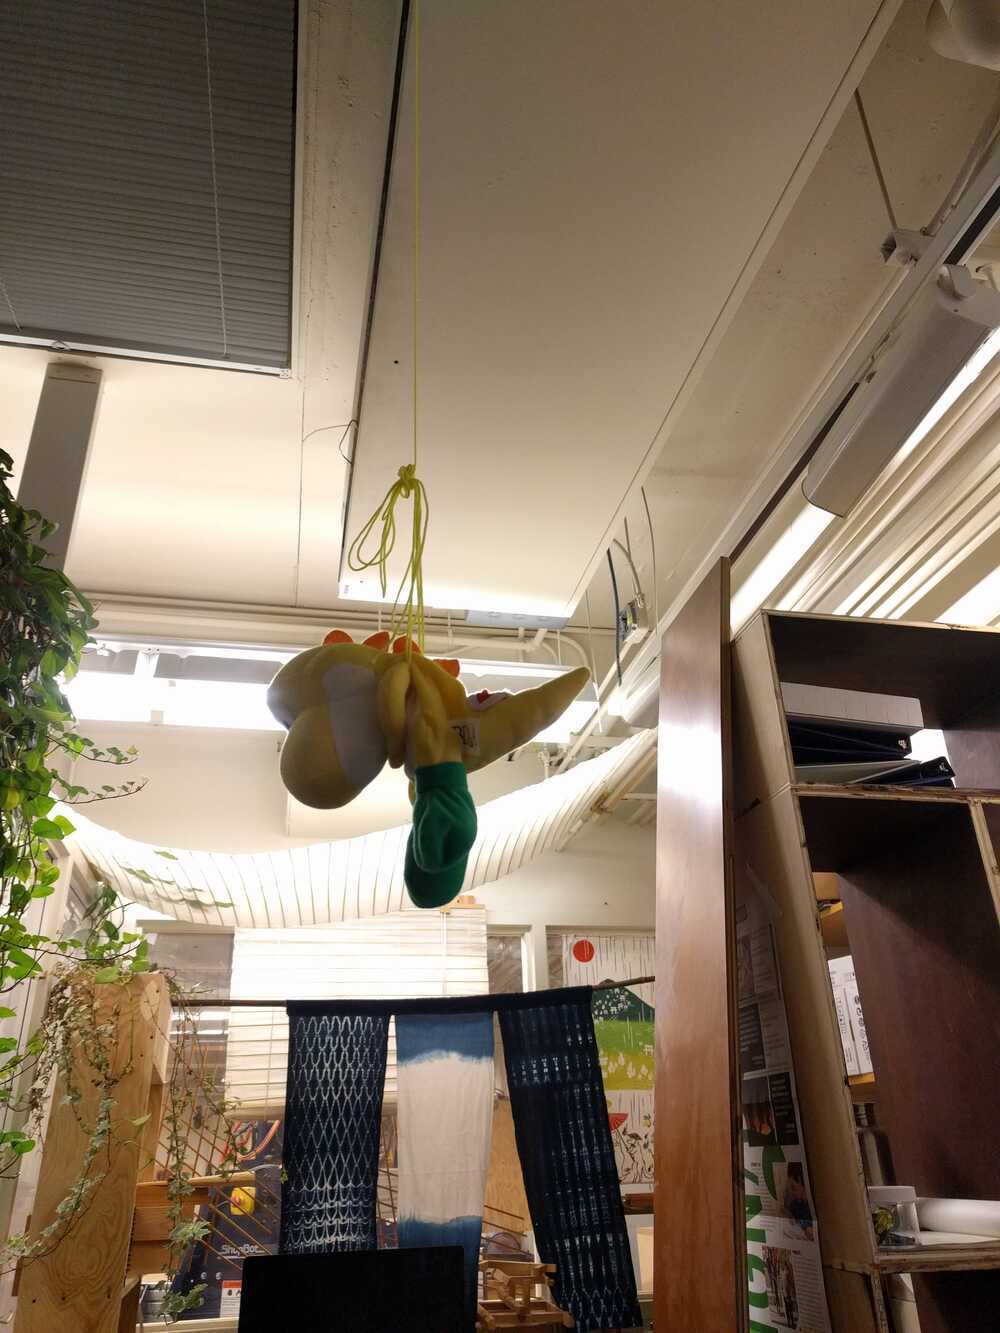
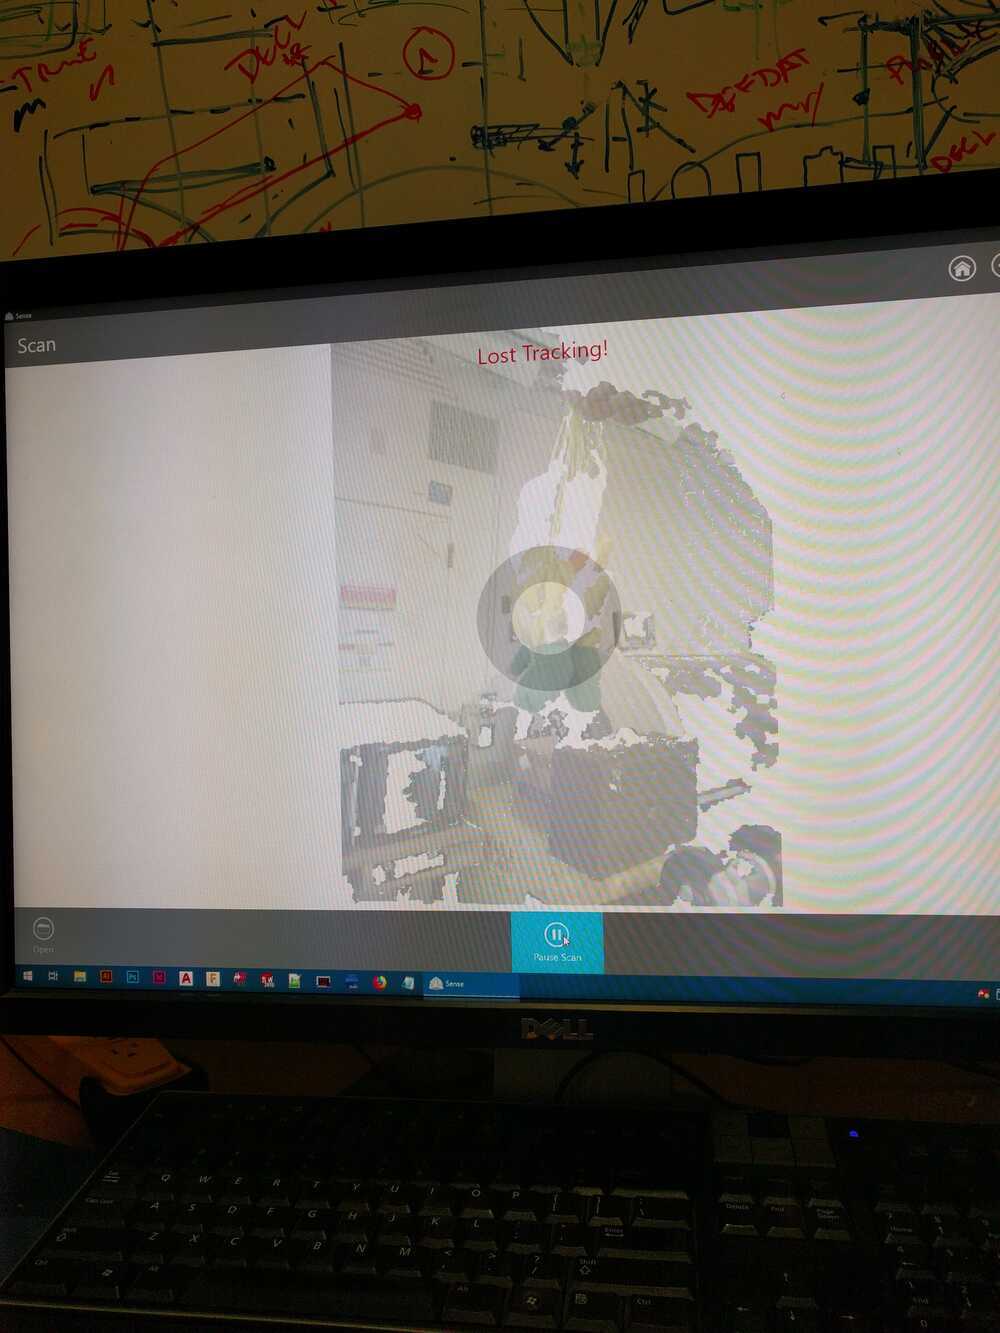
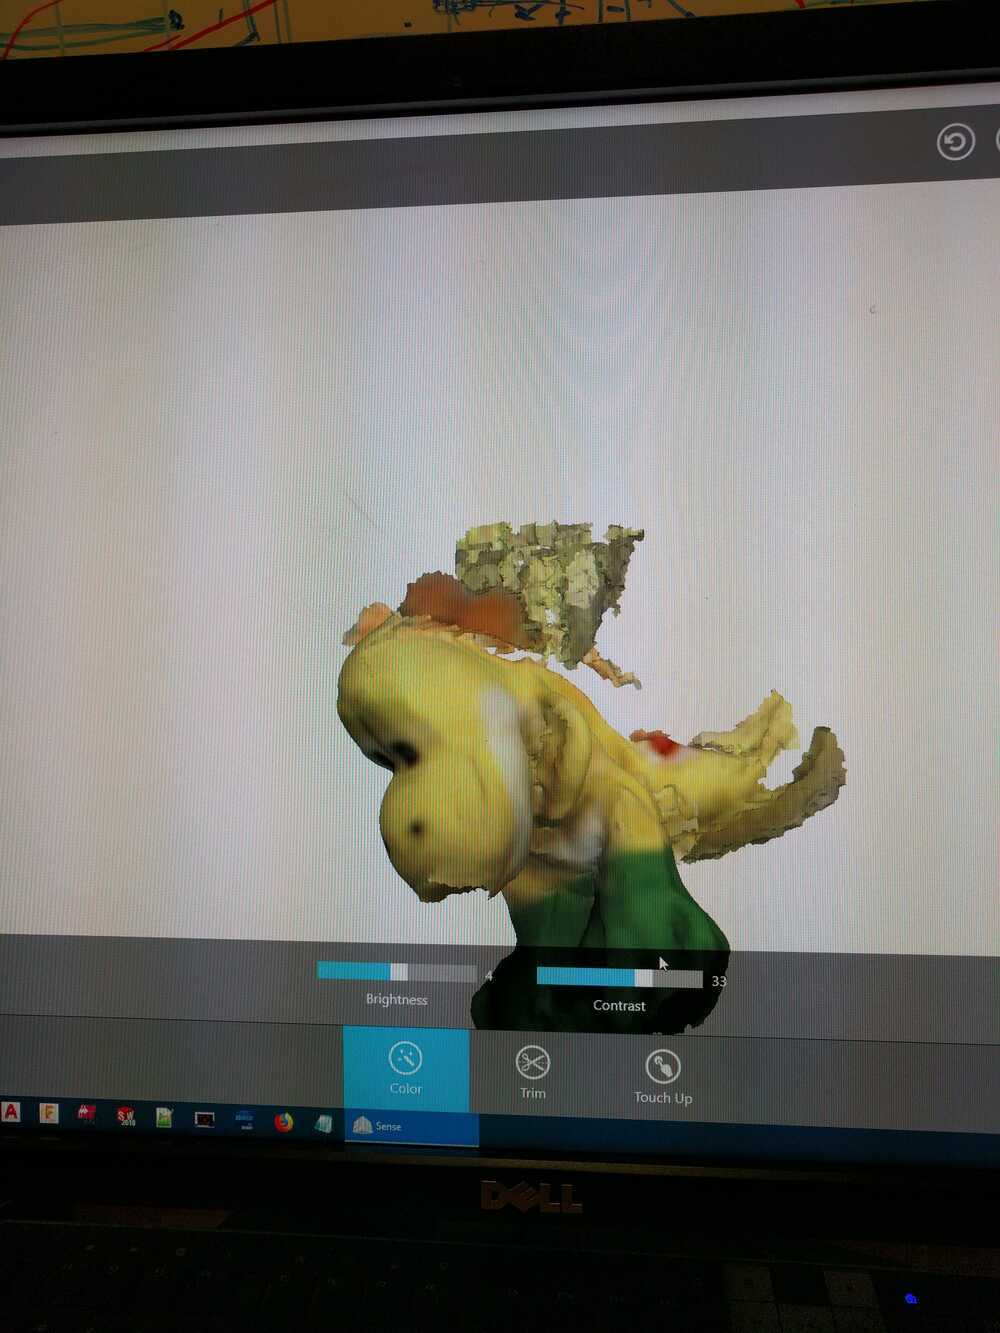
I wanted to scan my Big Foot keychain and print a plastic version. However, my attempts to scan it with the lab scanner were very unsuccessful. It looked like the evolution of man.
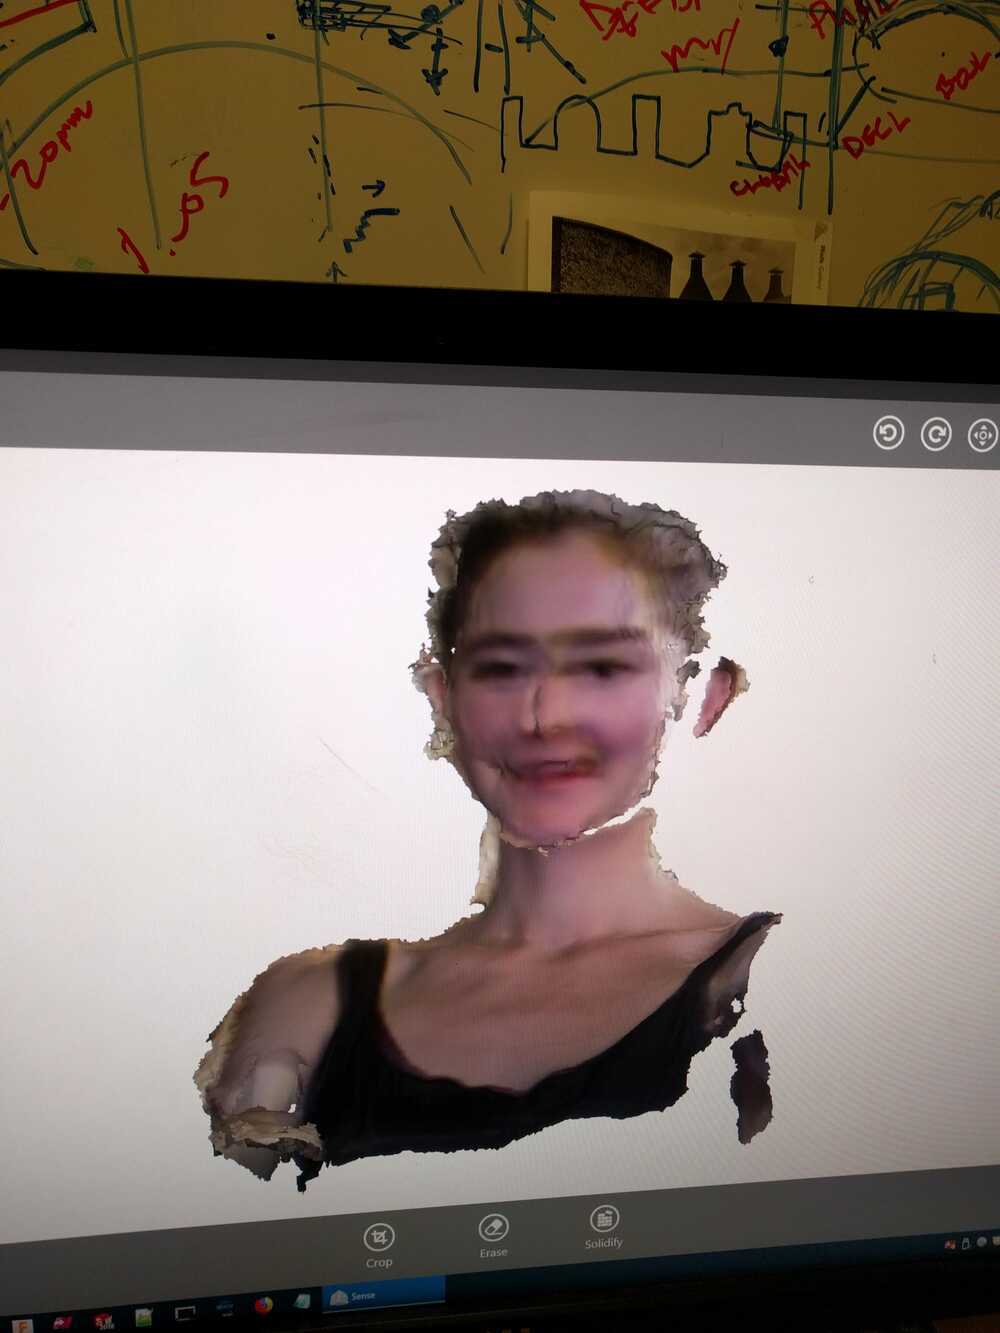
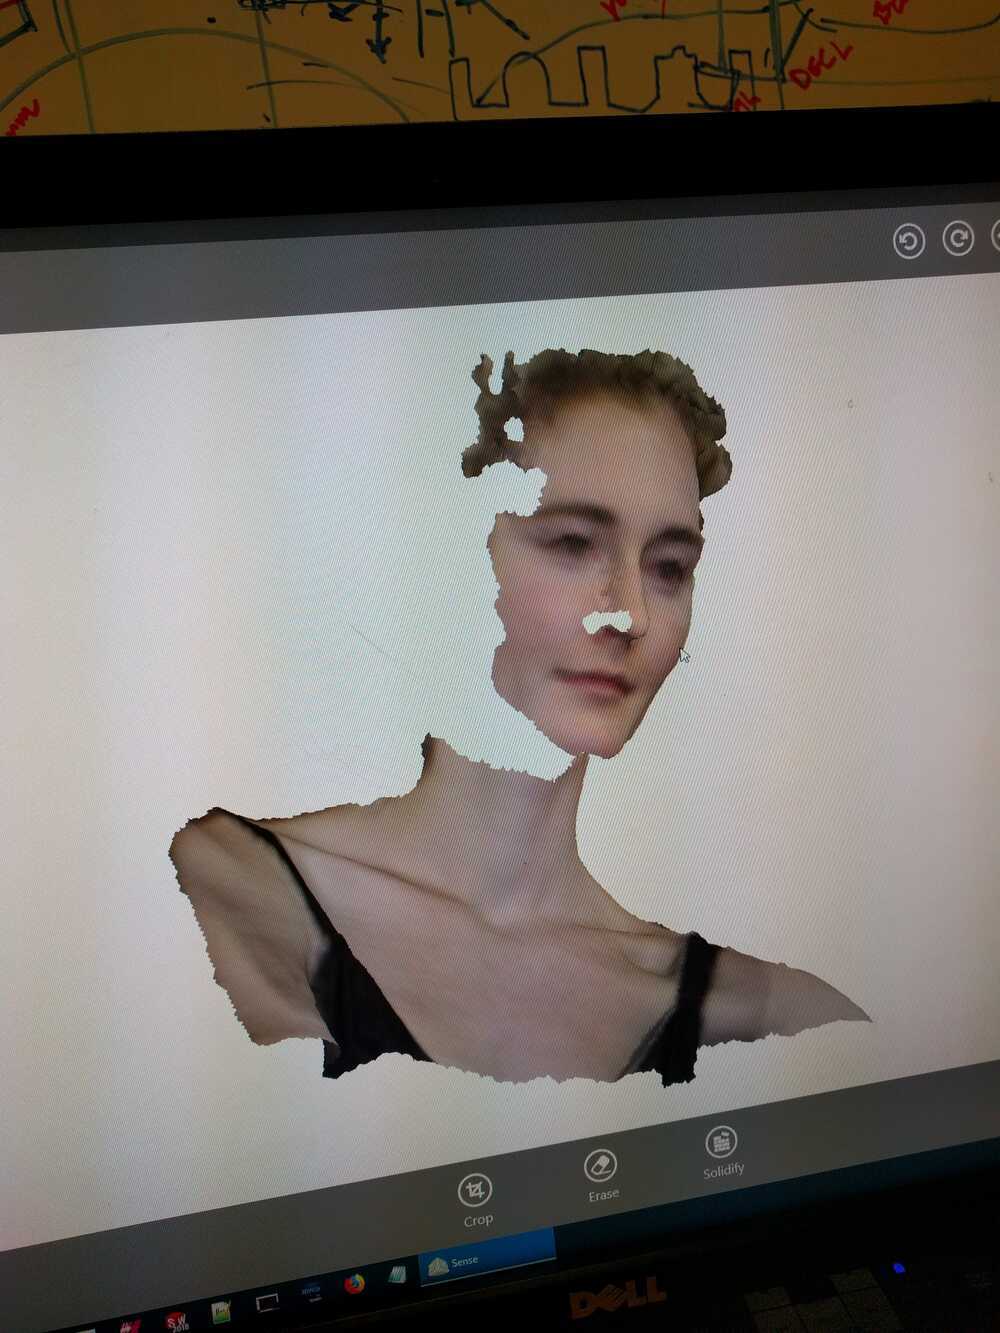
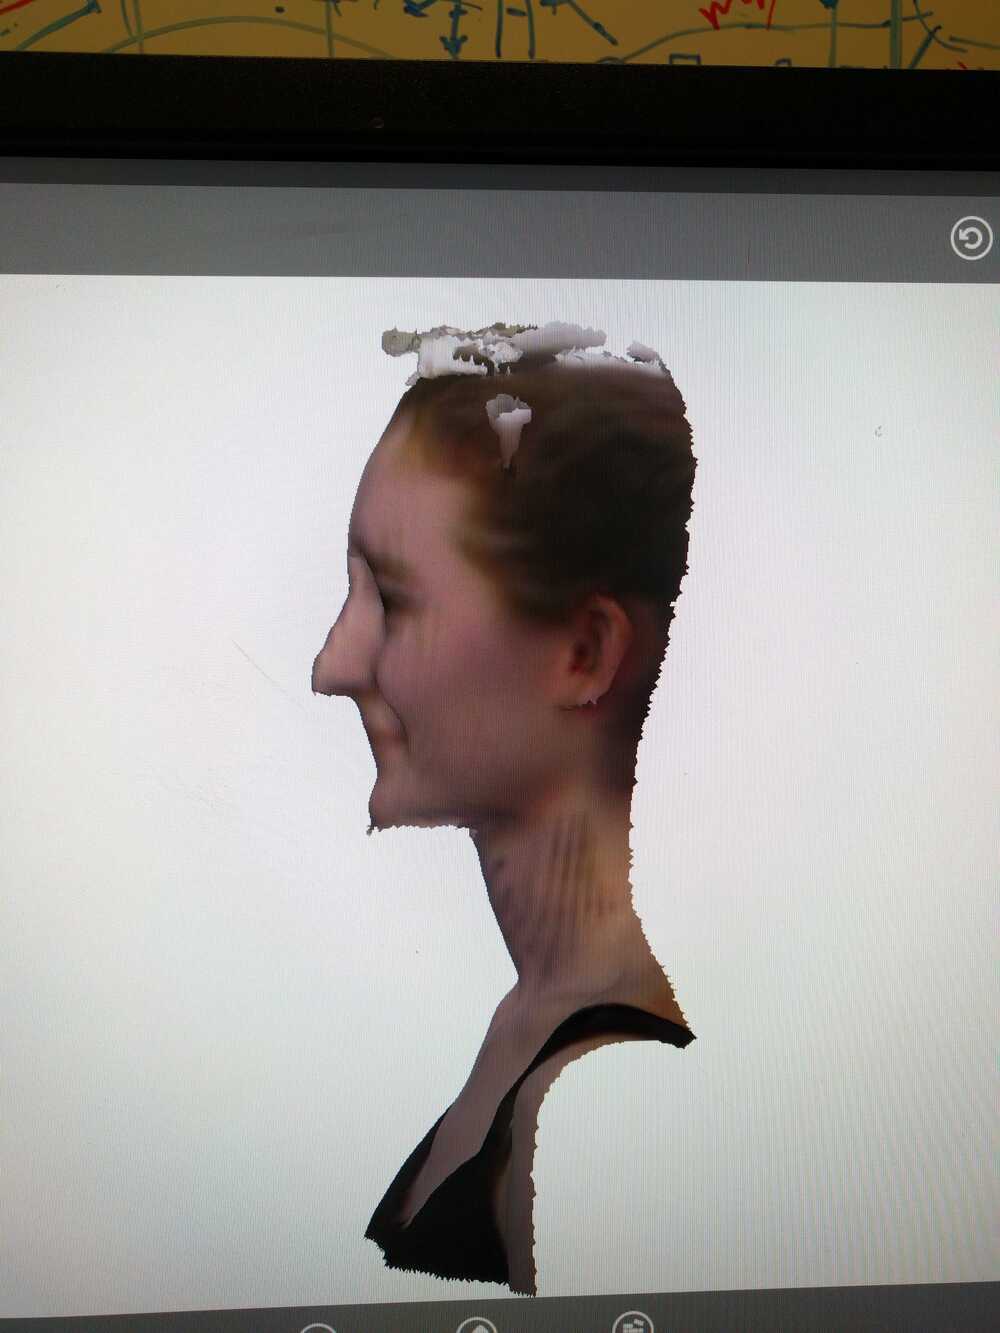
However, I had a lot more success in scanning people with this. I scanned my classmate Chris and she helped me scan myself.

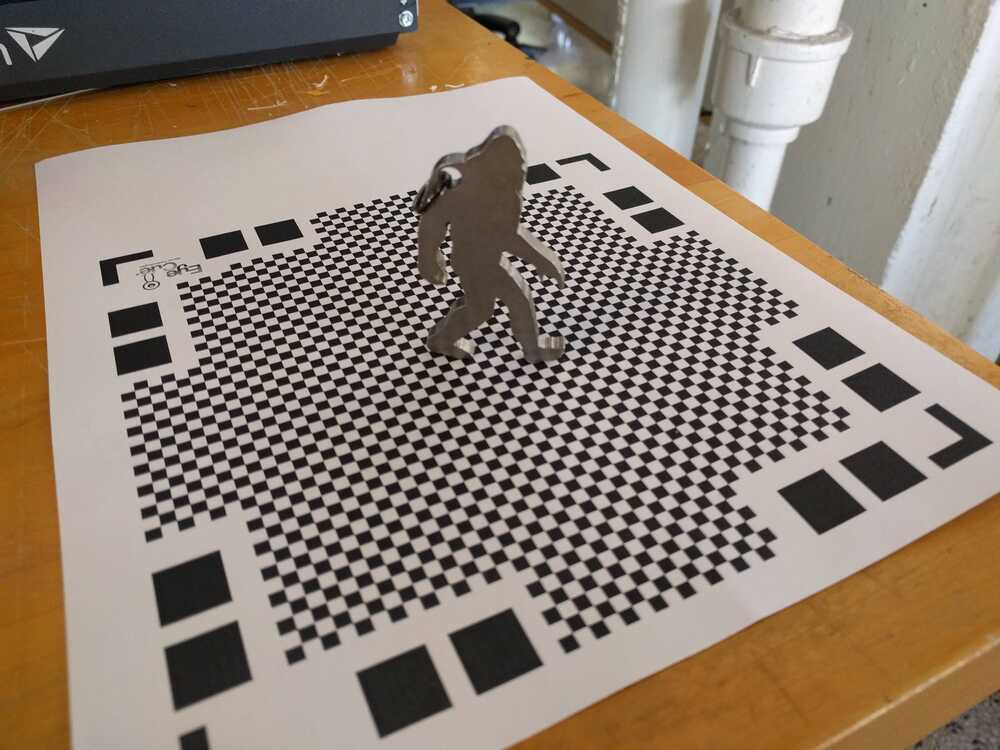
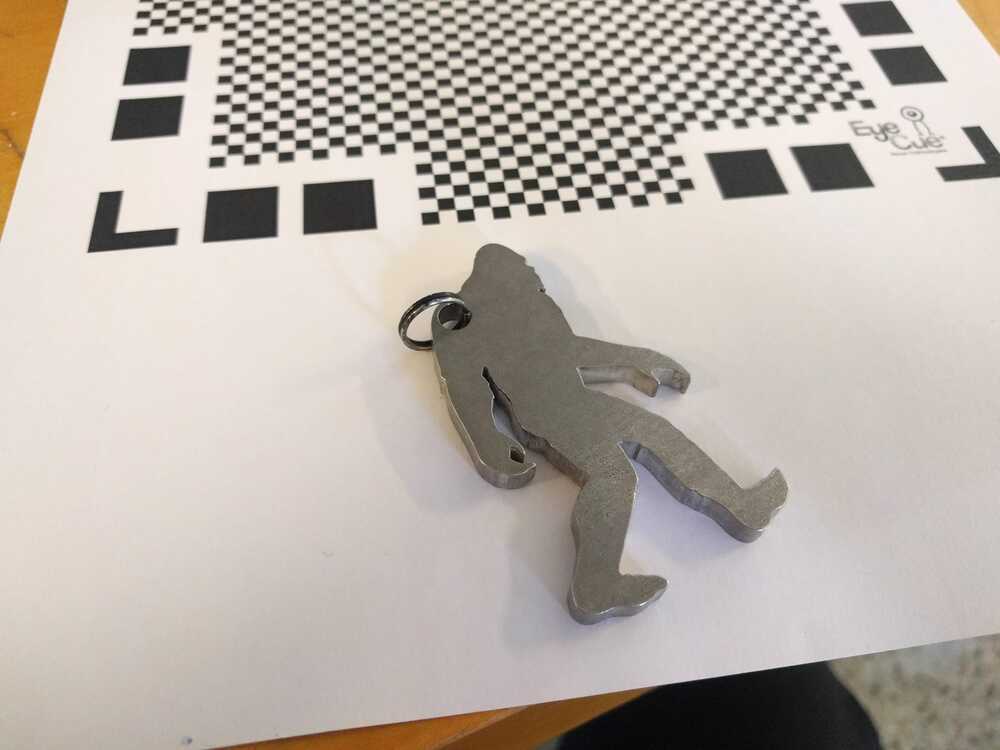
Next, I used the Qlone app to try and scan my Big Foot again. This was much more successful, though still not perfect. The process for this app feels more invovled. You print out a sheet of grided paper and calibrate your camera to it. That process looks like this:
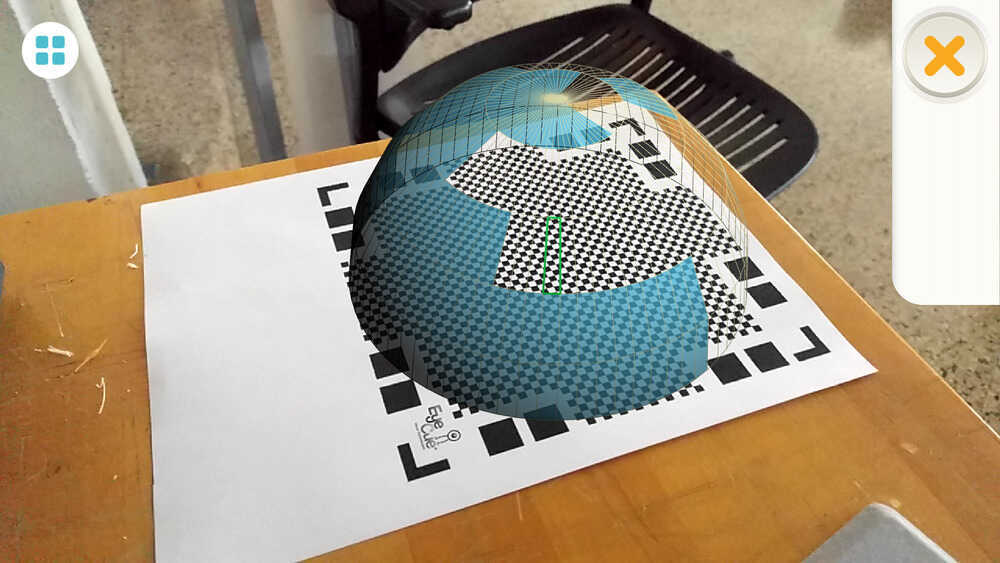
Next you place your object on the grid and again slowly sweep your camera all around it to capture the 3D scan.
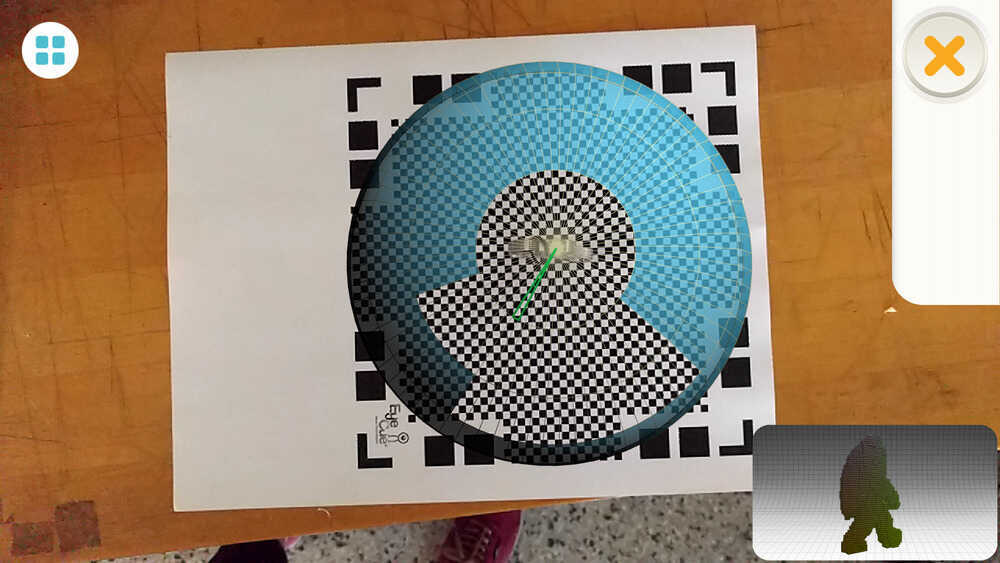
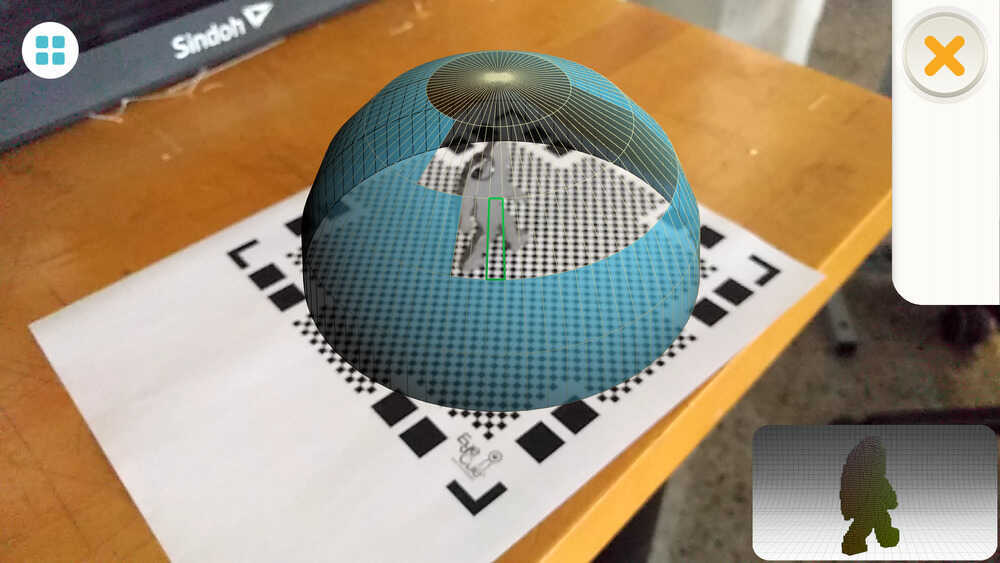
You have the option to scan in multiple orientations and I did this to see if it involved the look of my scan.
Here is my final 3D scan, much better than what I could get from the ArchShop scanner.
Bonus tip:
I make so many different names PNG files each week and instead of having to remember them when I put them into
html file, its nice to use the command below to make a .txt file of all of the files in my images folder so that I can just paste them all in and ensure I don't forget any or misspell them.
