Week 14: Wild Card
My assignment for myself for wildcard week….
(1) Through working in the advanced embedded programming group, bootload an SAMD11 to work with a peripheral that has an arduino library I can take advantage of.
(2) Learn the process of thermoforming and apply it to my final project
Advanced Embedded Programming:
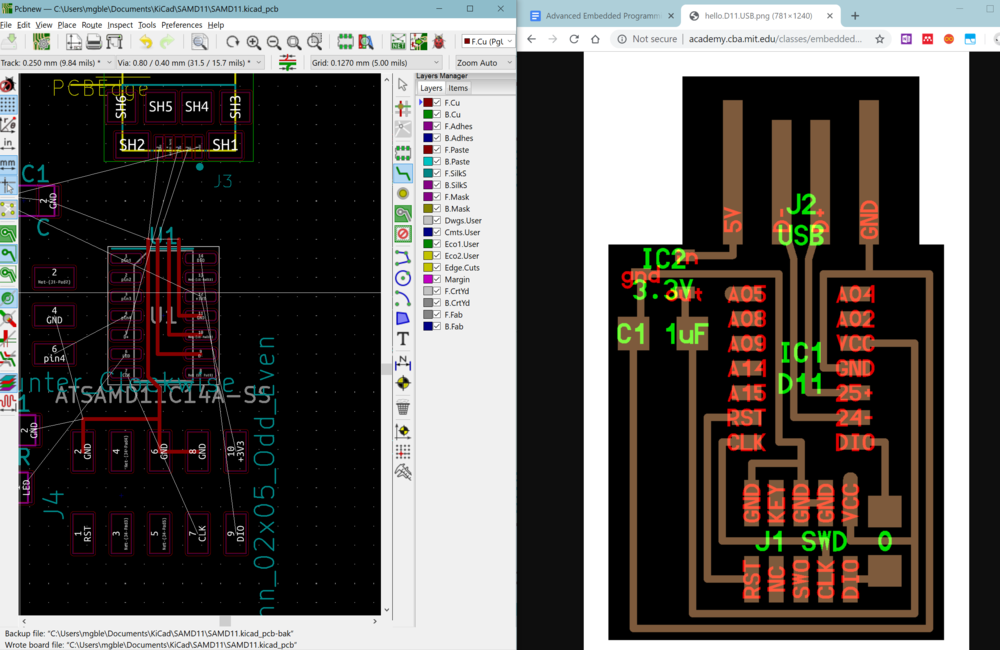
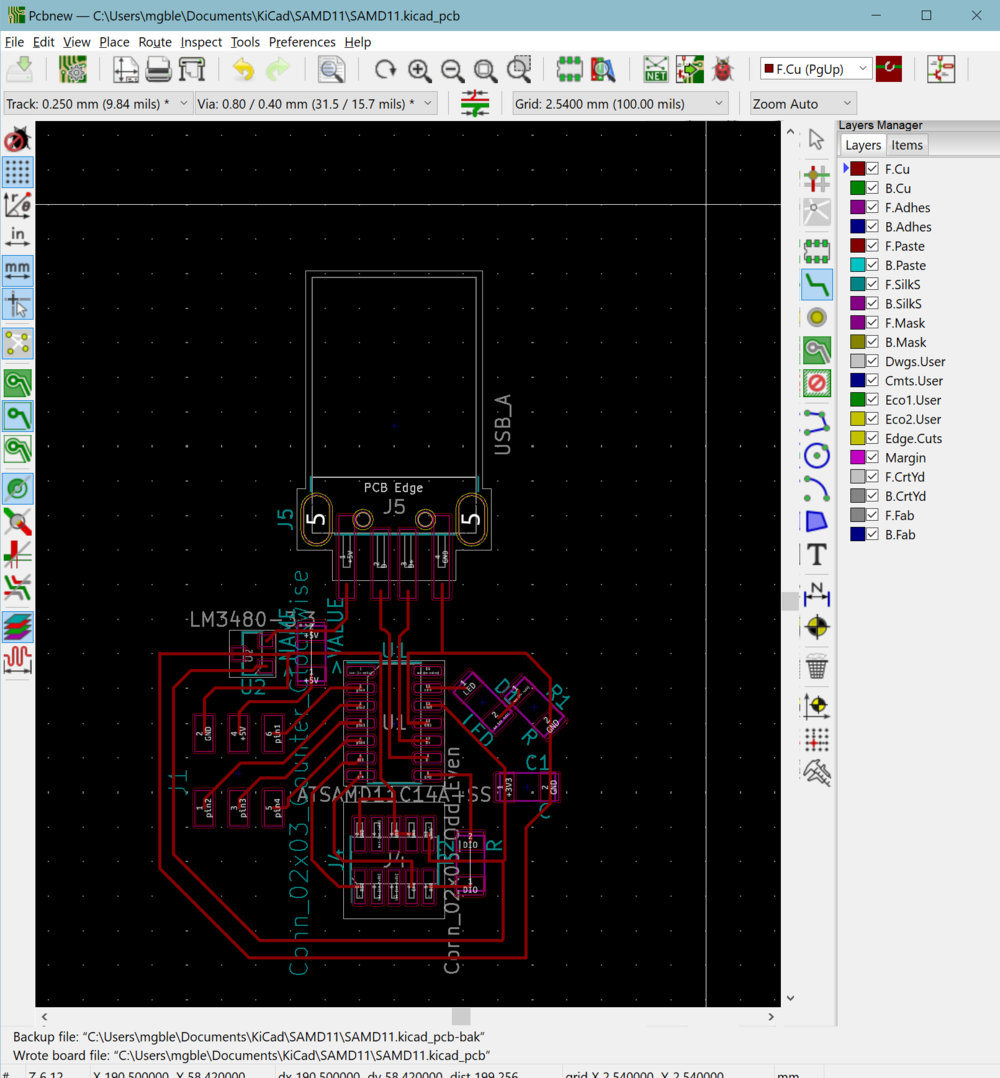
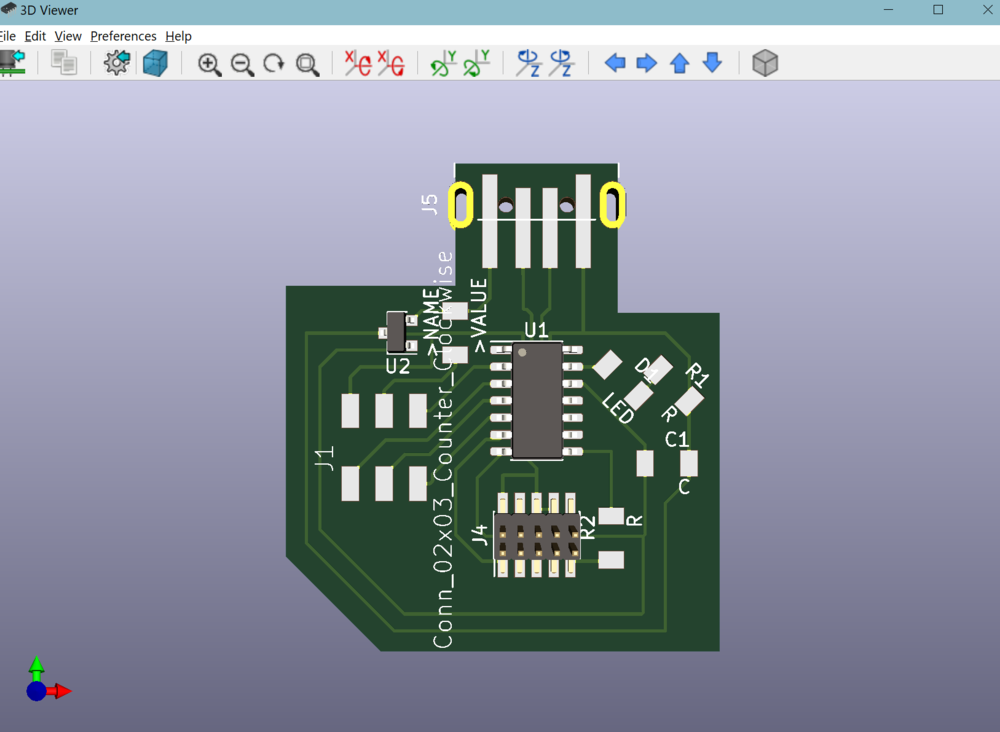
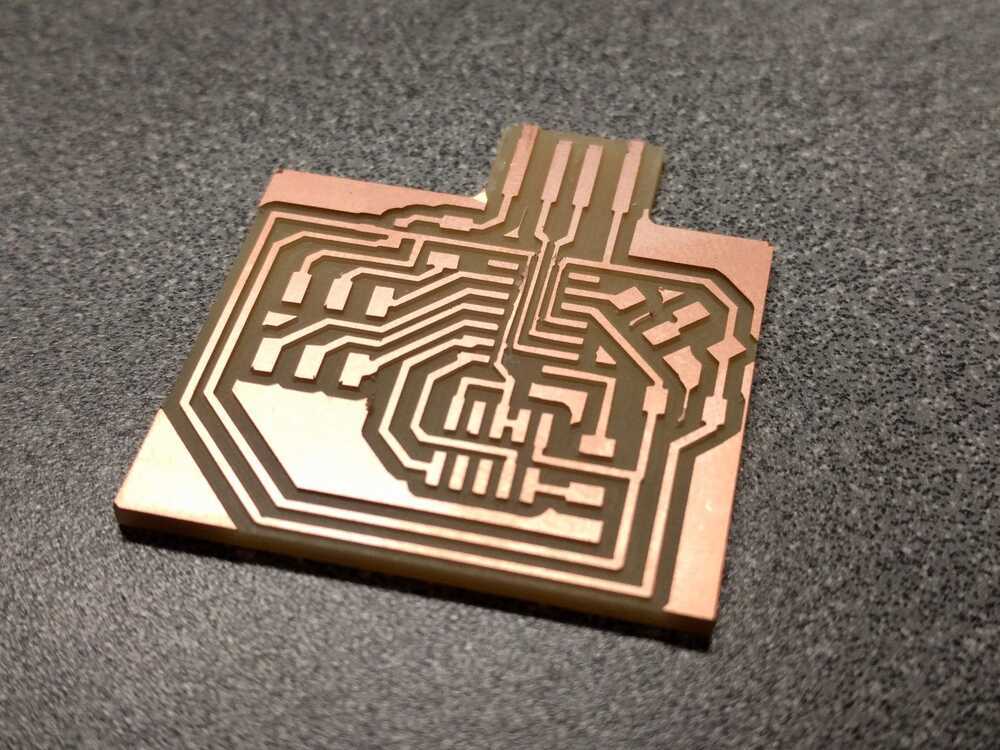
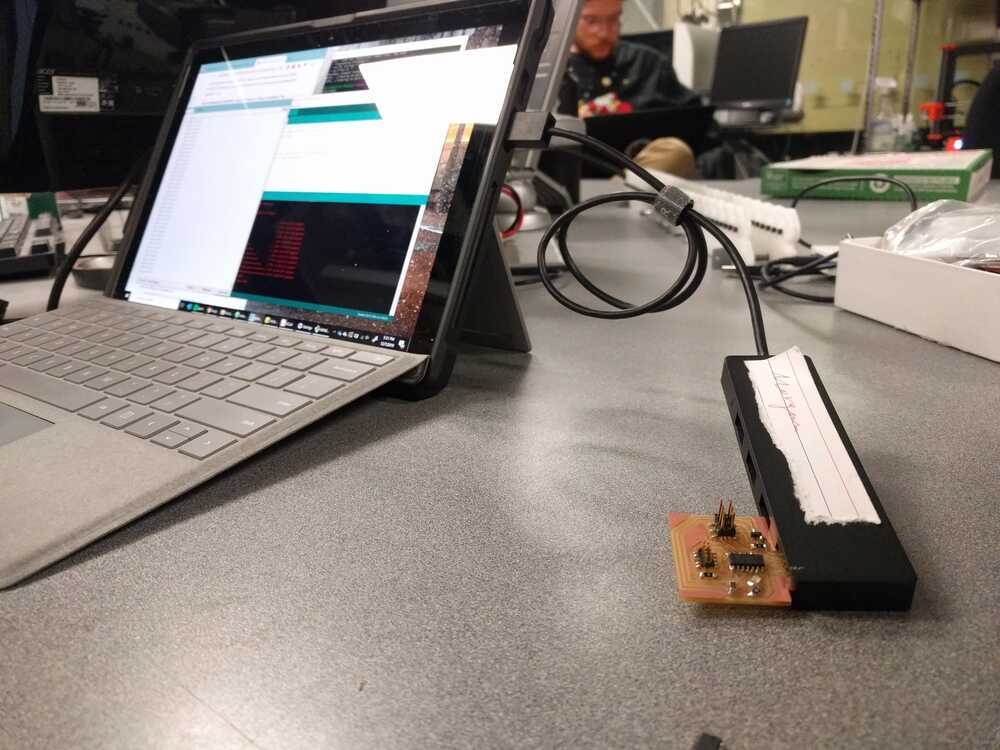
This week I joined the advanced embedded programming group with the hopes to be able to take advantage of the powerful Arduino libraries and take advantage of them for my sensors in my final project. Thursday, 12/5 The group met with Erik in the CBA office and got an intro to the SAMD11 and the bootloading process. Here are my notes: Important Links: Erik’s Documentation on the SAMD11 Neil’s boards for SAMD11 SAMD11 Datasheet SAMD11 Arduino Core So what is bootloading? A Bootloader is….. a program to run other programs; it allows you to run arduino programs on microcontroller; you can then talk to the chip via usb. Process of Bootloading the SAMD11: 1. Download OpenOCD, the program to load the bootloader I will be downloading in Windows….. Here are the binaries required: https://gnutoolchains.com/arm-eabi/openocd/ 2. Once OpenOCD is downloaded, Bootload! 3. Power the board via usb. 4. The Command to follow are well documented on Erik’s page 5. Once its bootloaded, switch over to Arduino 6. In the Arduino IDE, go to… Tools->boards->board manager … add the SAMD boards via the link on Eric’s page. Note… now, from Arduino’s perspective it can’t tell the difference between our board and an equivalent adafruit arduino board. ----------------------------------------------------------- The SAMD11 hadn’t arrived yet on Thursday, so in the mean time I designed my own board with an LED for testing and a 6 pin header that can power a sensor board and read 4 inputs.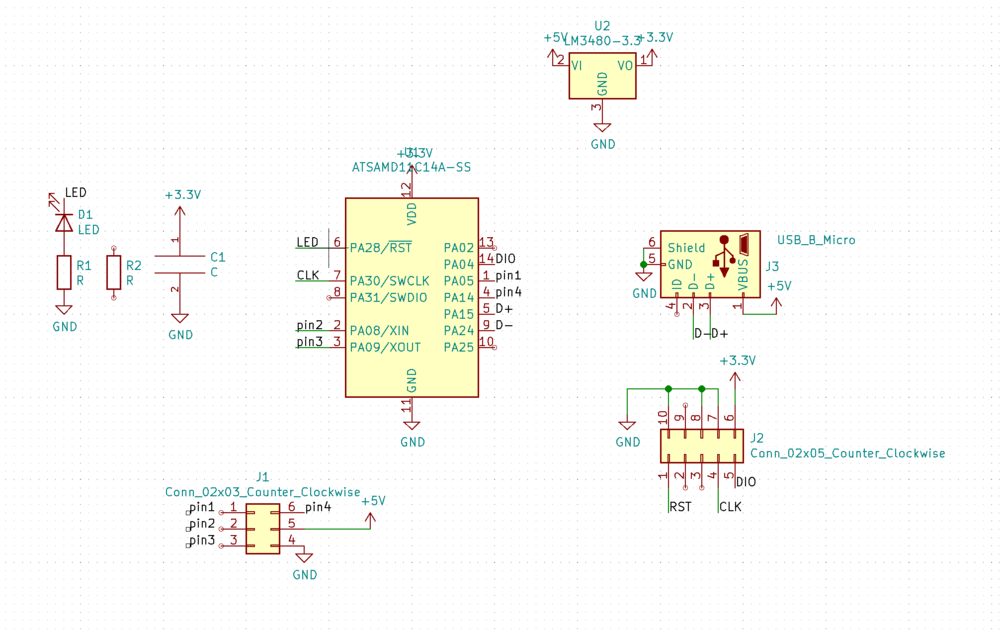
The next day we met again with Erik and practiced loading the bootloader with our own computers on his SAMD11 board.
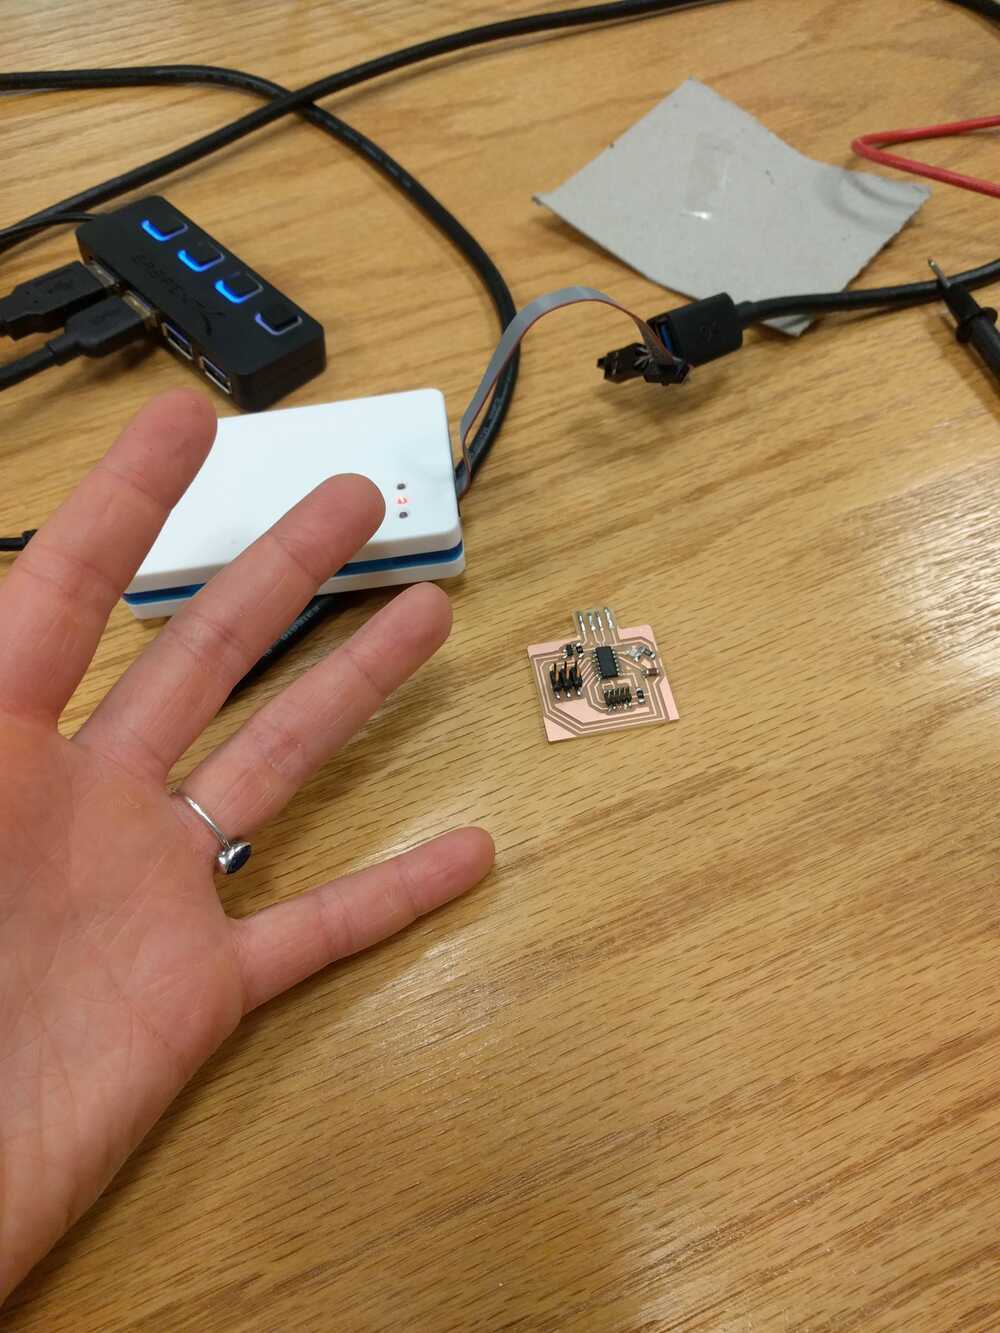
I made my board and populated it. I got my SAMD11 from Erik in the lab, but after building it I wasn’t able to install the bootloader. I noticed that my board was getting pretty hot and even smoked when I plugged it into my USB (oh noo!). I realized the heat was coming from my 3.3V regulator-I had soldered it on in the reverse direction!

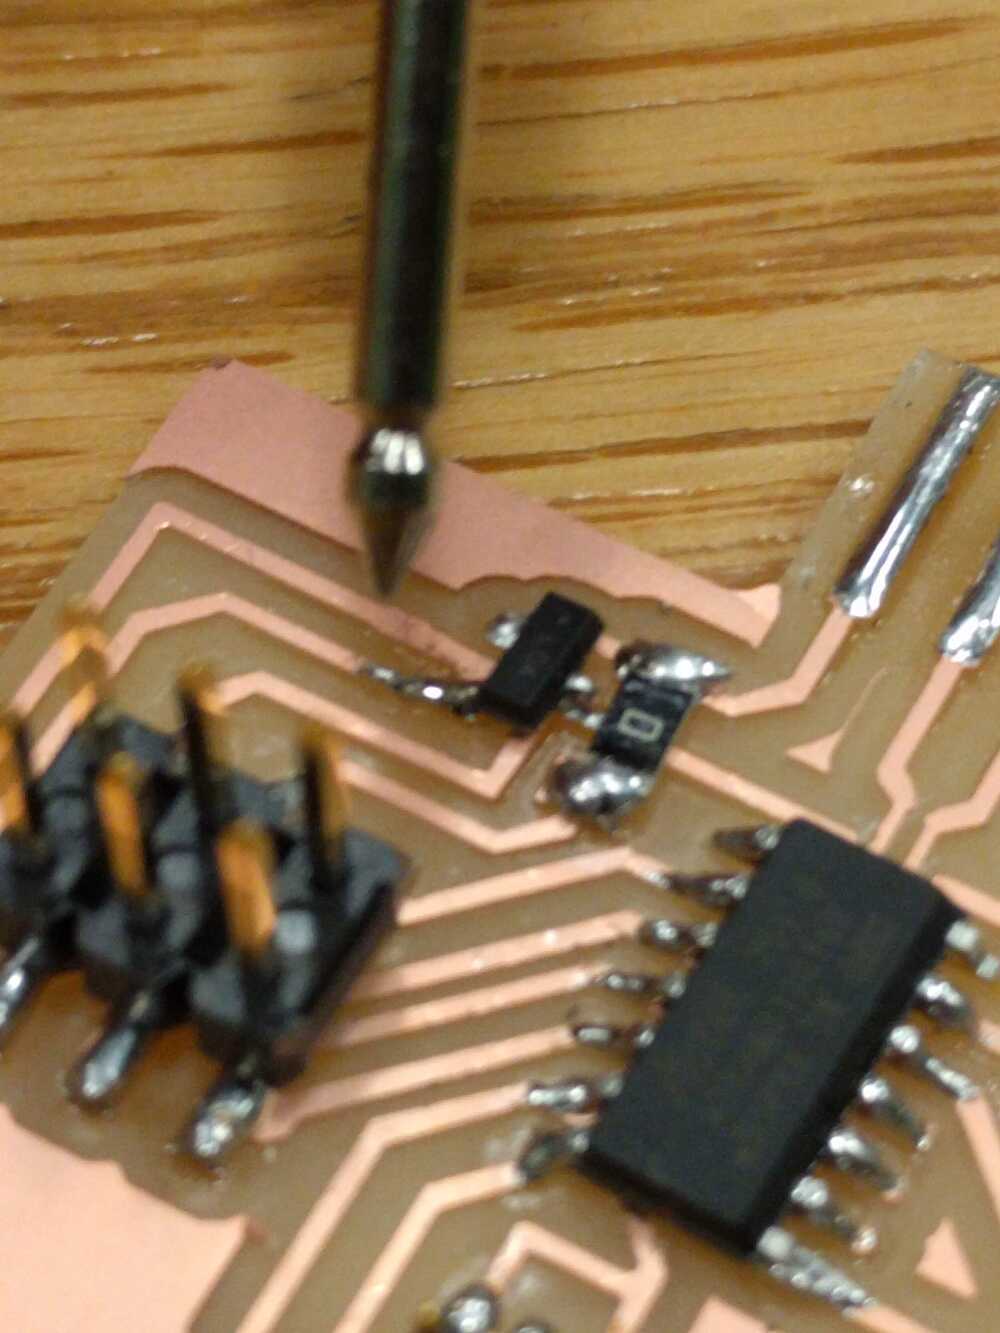
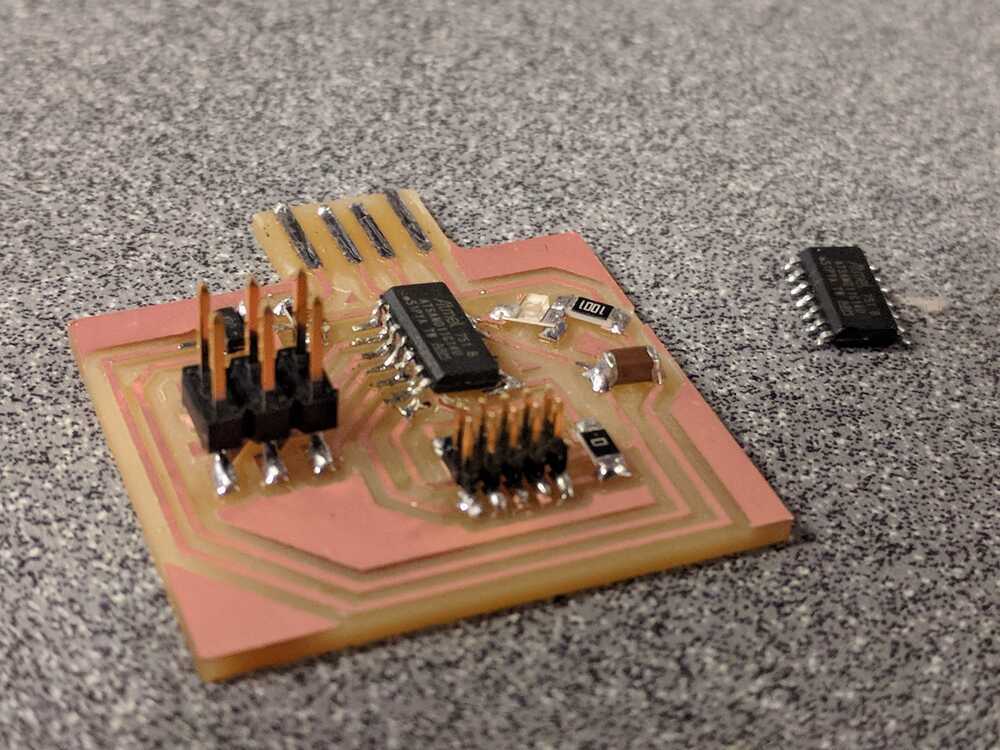
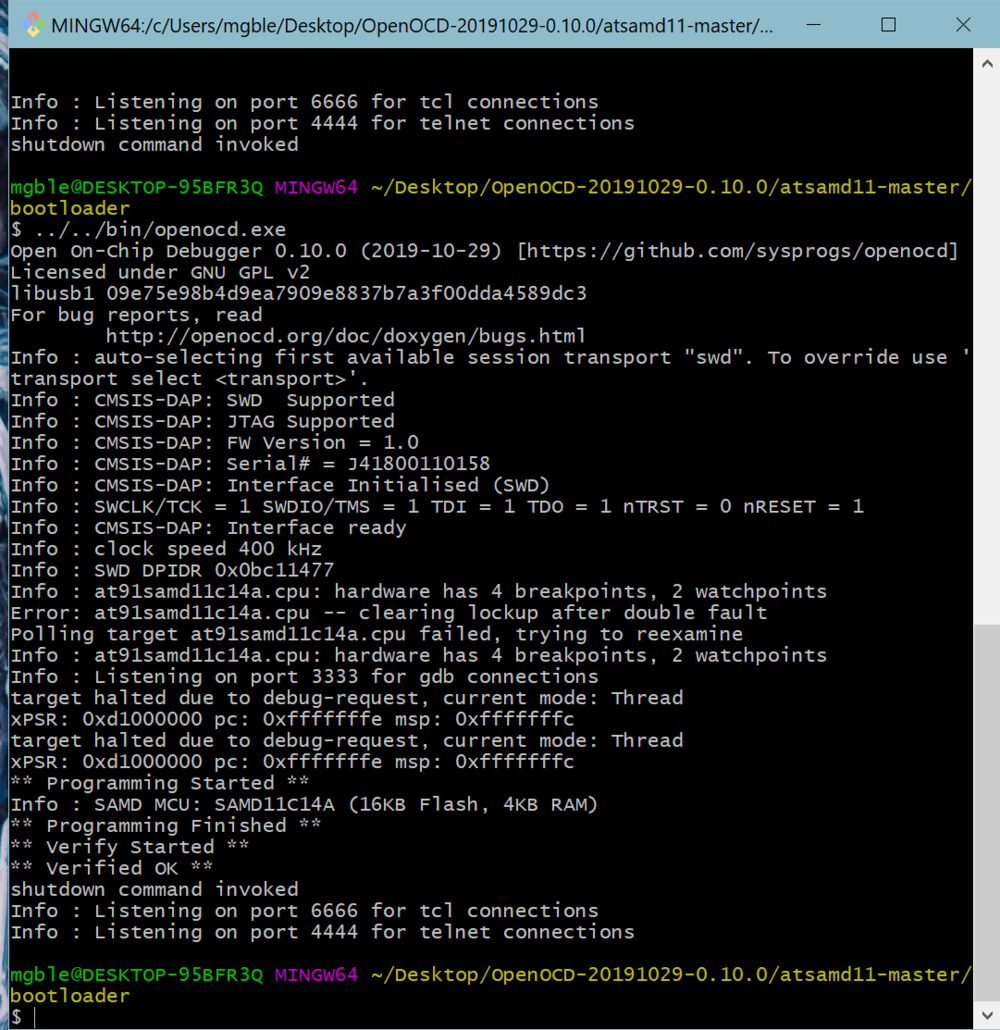
I removed the regulator and replaced it. I still wasn’t able to bootload at this point however, I returned to the CBA shop and got another SAMD11 because I had a suspicion I had fried my board. I was right! After removing the old SAMD11 and replacing I was able to bootload my board.
After bootloading I was momentarily confused and thought I also had to bootload via the Arduino software- this was wrong.
After bootloading with the OpenOCD protocol I was ready to get started programming the board with Arduino programs! My first program was a simple little Hello World:
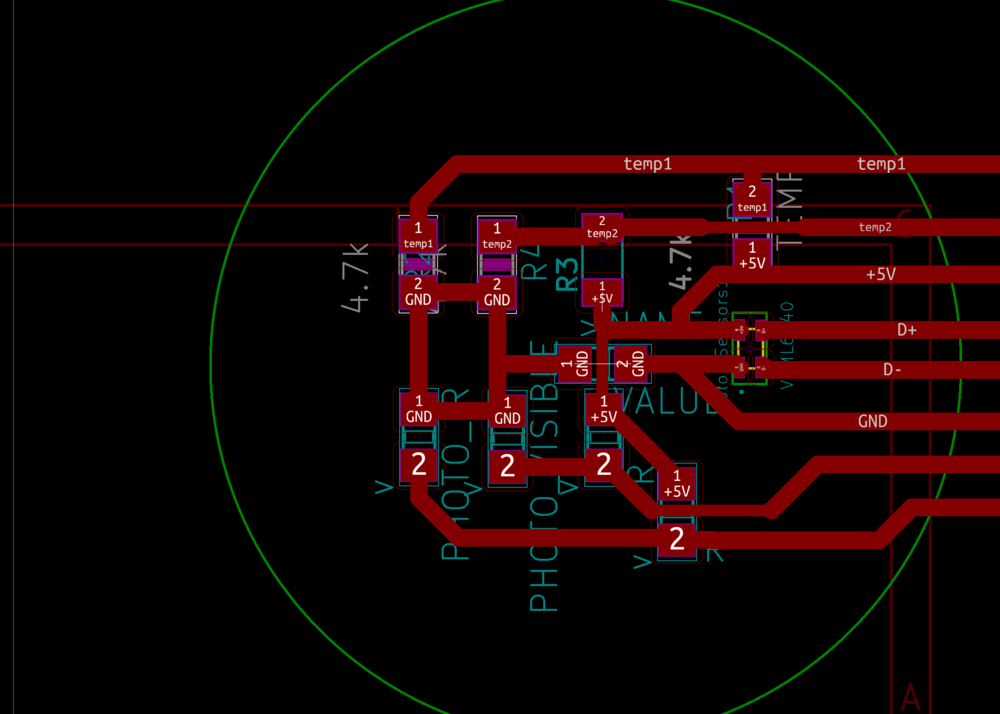
This successfully uploaded and my board was saying hello via the serial port. My next test was blinking the LED I’d incorporated into my board. This was also successful. Finally- My goal of the advanced embedded programming week was to use the VEML6040 optical sensor and its Arduino library via the SAMD11. First I created the sensor board for my final project, incorporatin pads for the VEML6040. I vinyl cut this circuit board:

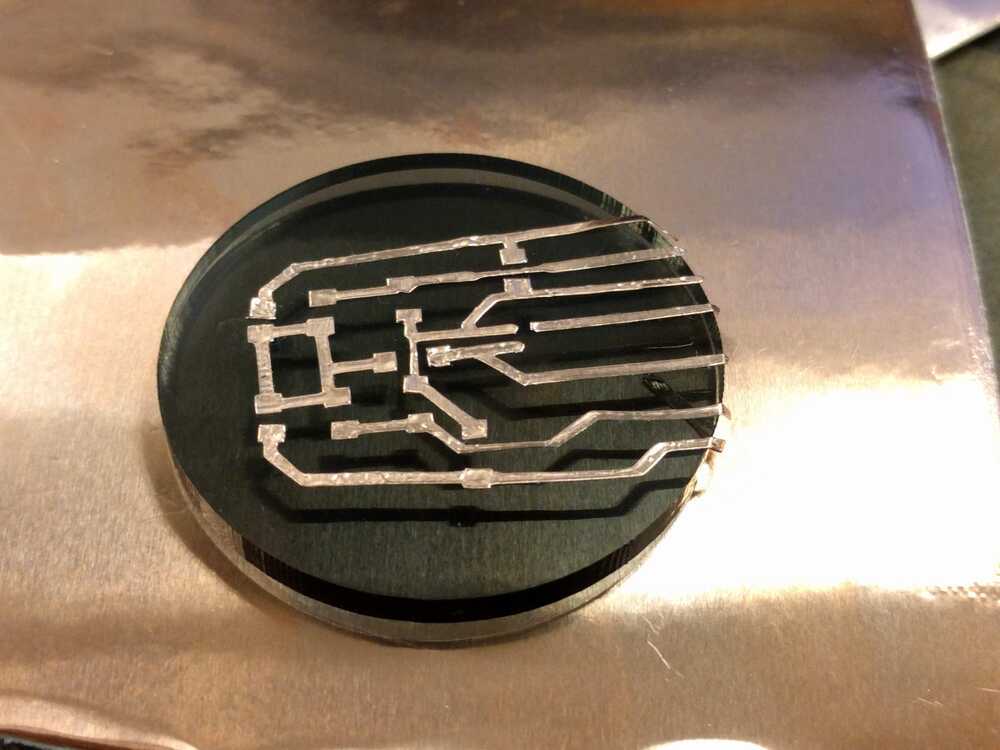
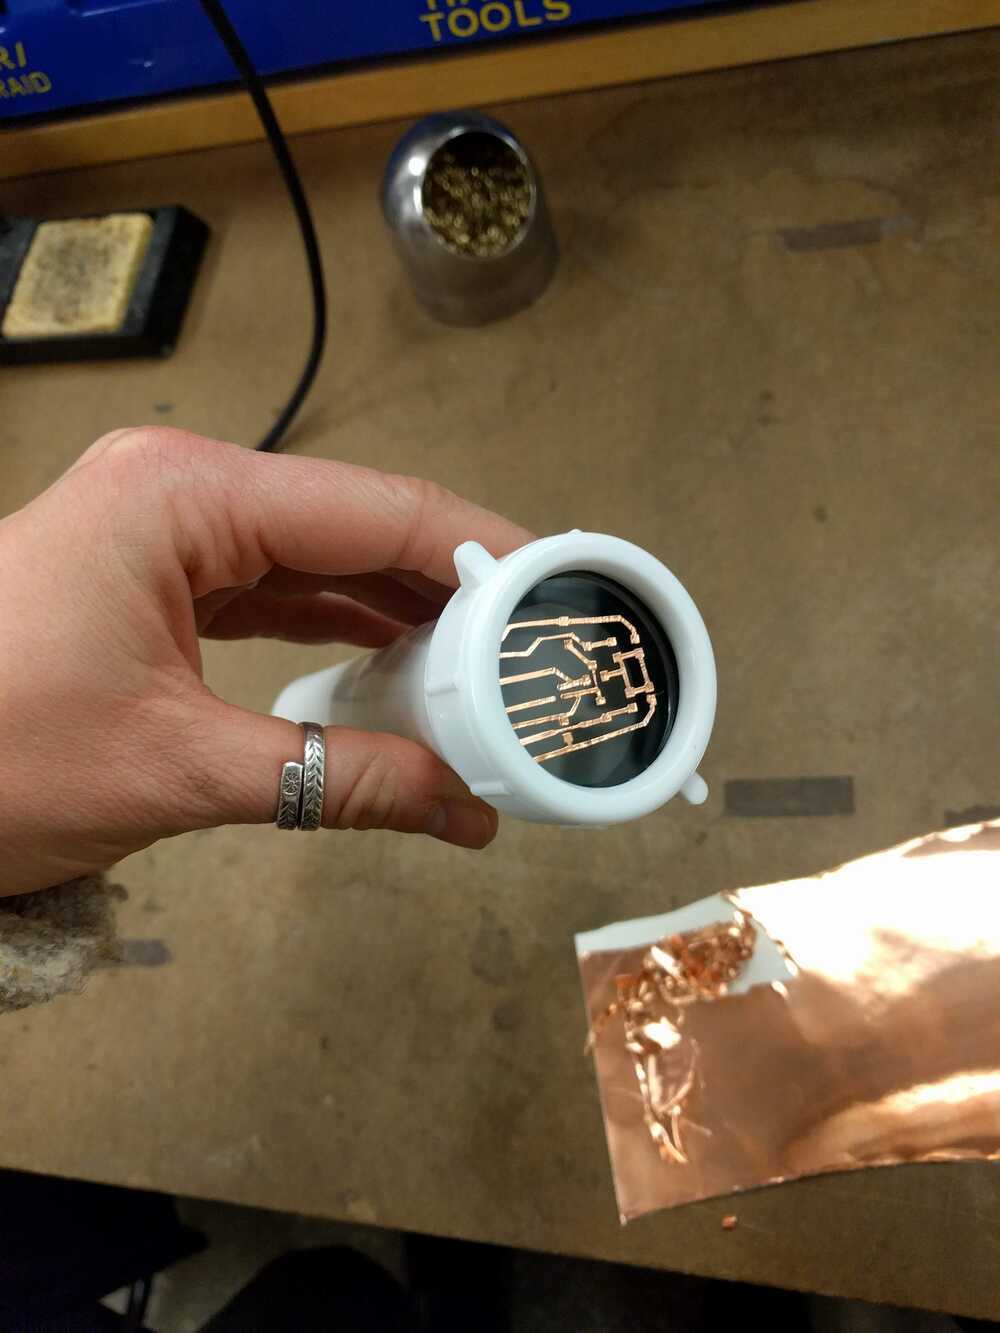
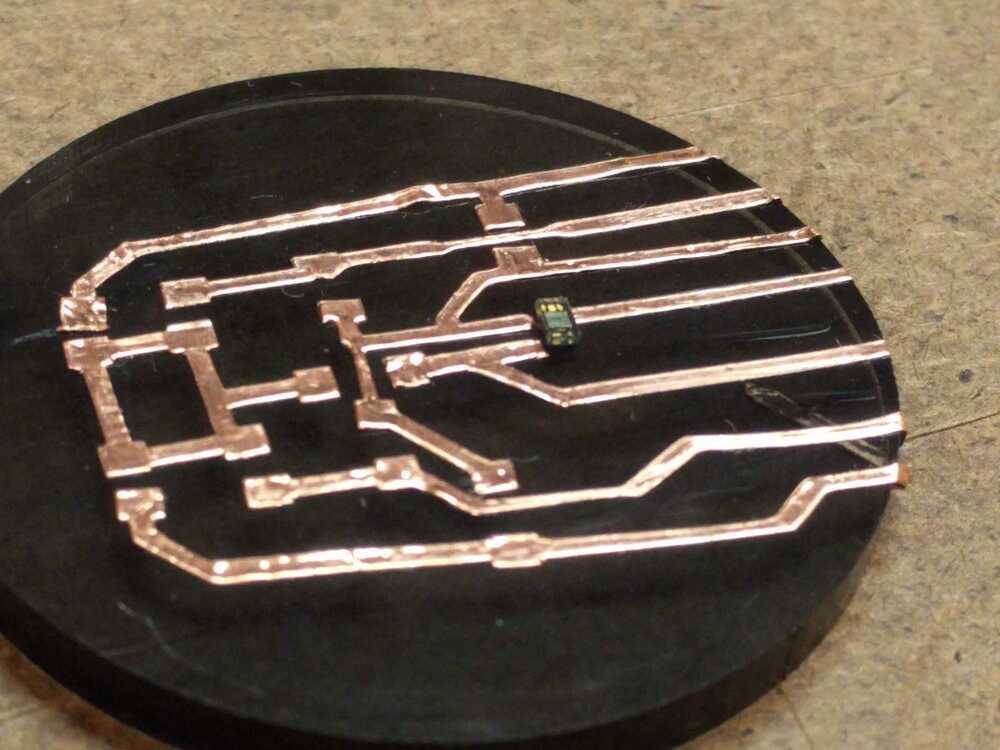
I purchased 5 of the VEML6040. The first step to using these was getting them soldered onto a board. First I tried to hand solder them. This resulted in me breaking 2 of the sensors. I couldn’t be precise and gente enough when trying to solder them on the vinyl cut pads, and then I tried soldering wires on the pads and this was also rather painful.
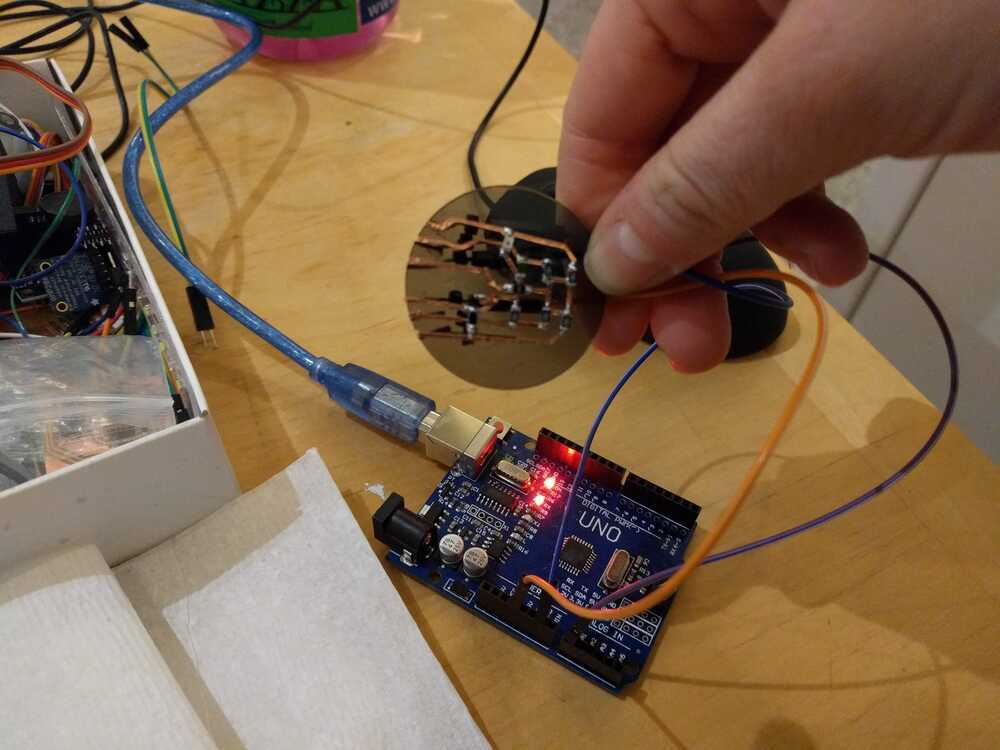
I ran to EDS and used solder paste for the first time- this stuff is amazing….. I had a happily soldered board pretty much after a minute. Next I tested that the sensor was working on an Arduino UNO that I had:
Finally I loaded the VEML6040 code to the SAMD11! This was intersting because I learned that the SAMD11 has very little space for these example programs. In fact I had to erase some lines of code to make it fit. This made me realize that for my final projectI definitely need to use another controller. Hm.
A key step to getting these connected was figuring out with pins on the SAMD11 are I2C pins. This is shown in the SAMD11 Arduino Core gitlab page. .....
Thermoforming (Bonus Wildcard)
For my final project I need a clear dome for the top of my buoy. This lends itself perfectly to thermoforming, so I approached Jen about learning to do this. We talked about the different things I could use to make my dome- a found object like a bowl, a 3d printed object, or a milled object. I wanted to avoid 3D printing for the time cost and instead opted for milling. There is a lot of this purple foam lying around the Arch shop: When talking to Anthony we were 100% how well this foam would do with the thermoform, so I used the foam sculptor in the Arch shop to create some test pieces (of both purple and styrofoam).
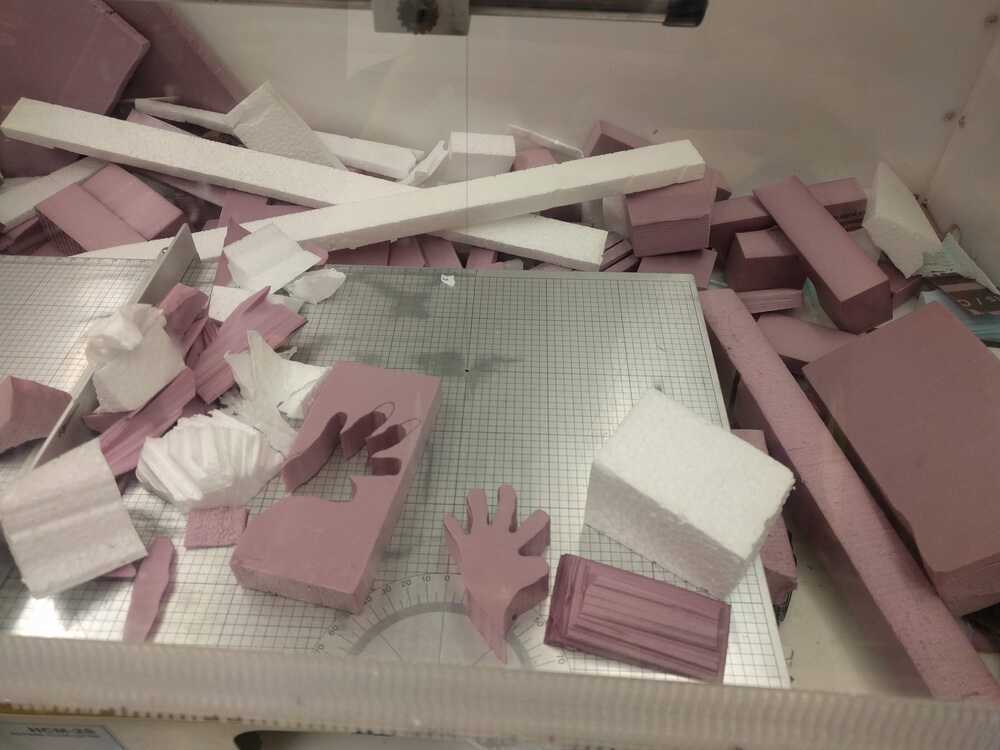
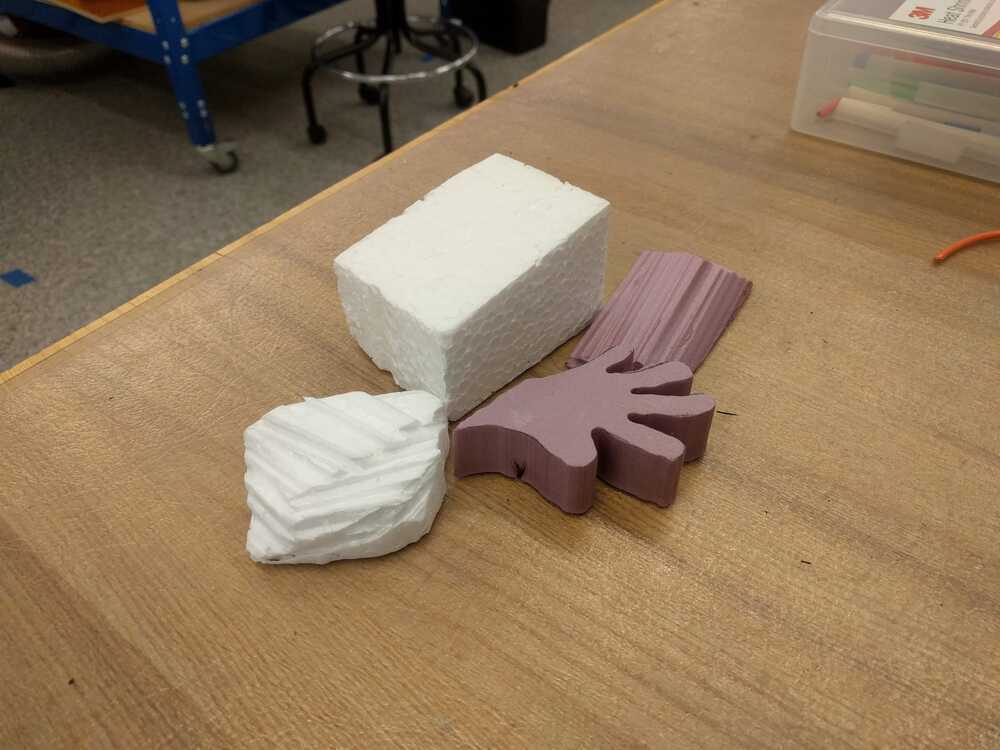
Both foams melted a bit and compressed. The purple foam worked better than the styrofoam but still wasn’t amazing. Both were hard to remove from the plastic when it was done.
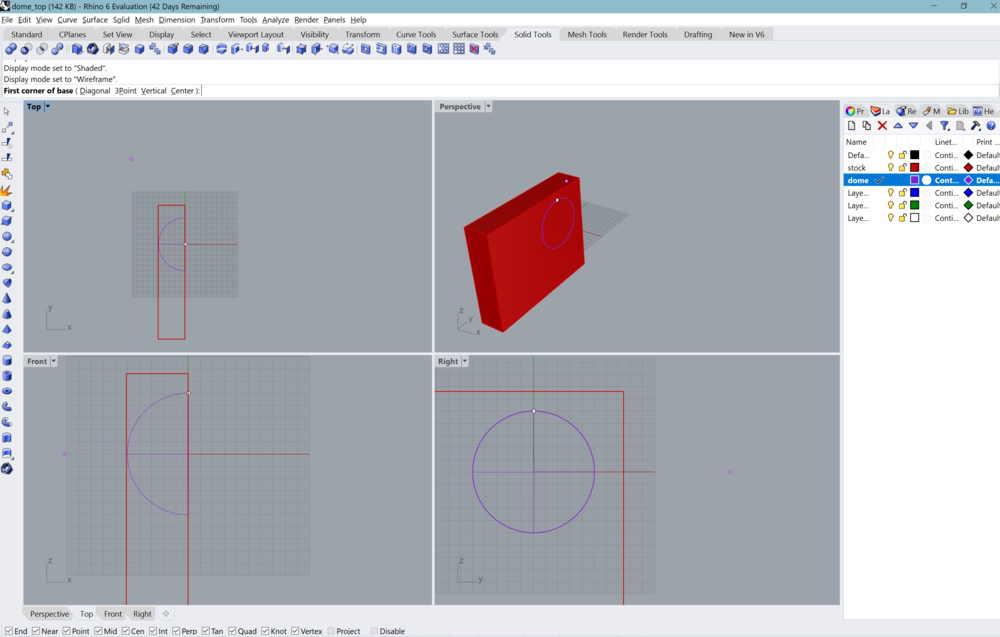
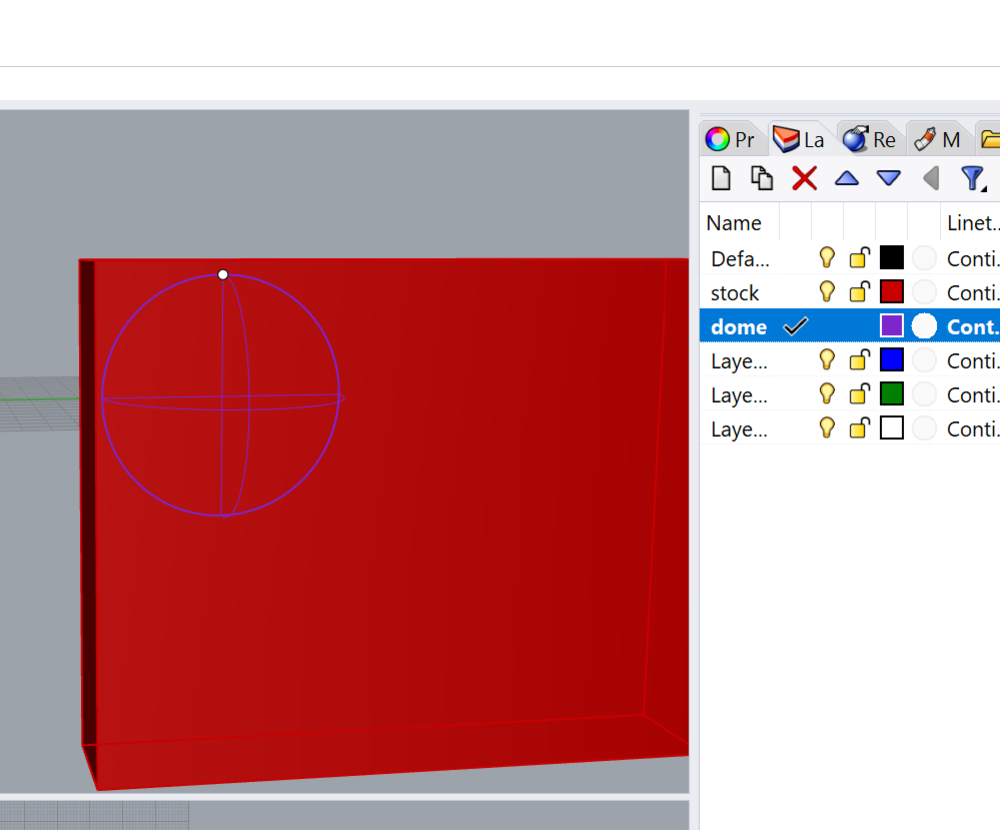
This was a nice test and confirmed that I wanted to instead use some nice machinable foam- a hardcore green foam that will make me a super strong dome (and also look pretty cool). Once I obtained my foam I created a rhino file of my desire dome shape and modeled it inside the foam. Unfortunately I was used to the Archshop way of milling and in the CBA shop, where I ended up working, they use the shop bot, which I could just upload an stl file to.

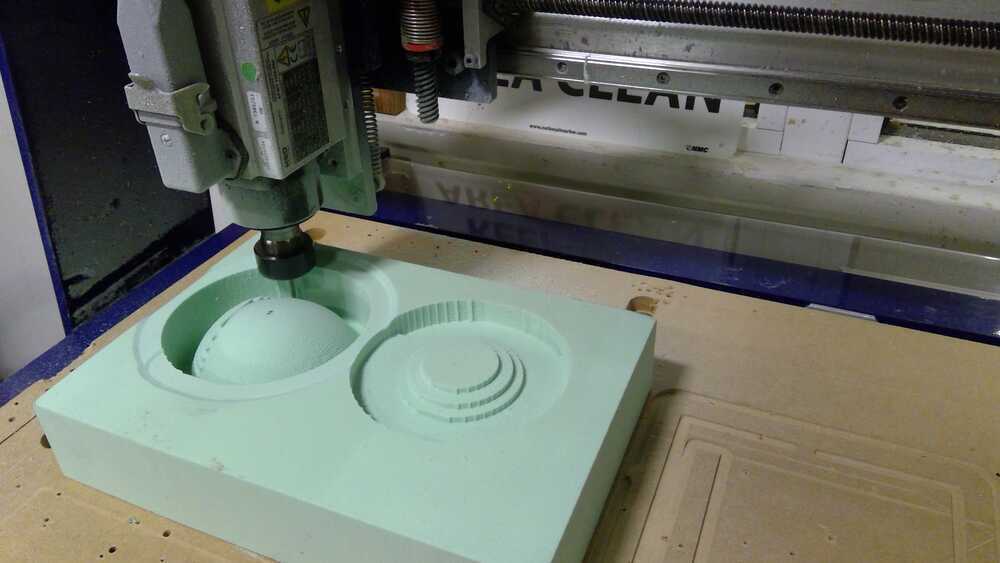
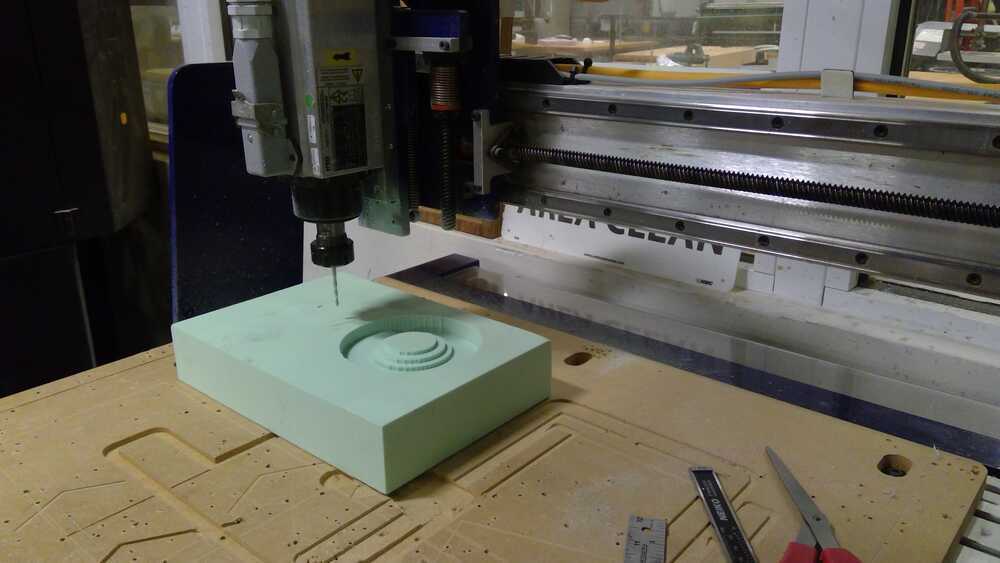
Next I taped the foam down, zeroed the bot and sent the file to the machine. It estimated 20 minutes for the rough cut and 10 minutes for the finish cut. It actually took about and hour :,(, but this was a nice time to sit and document while I babysat the machine.
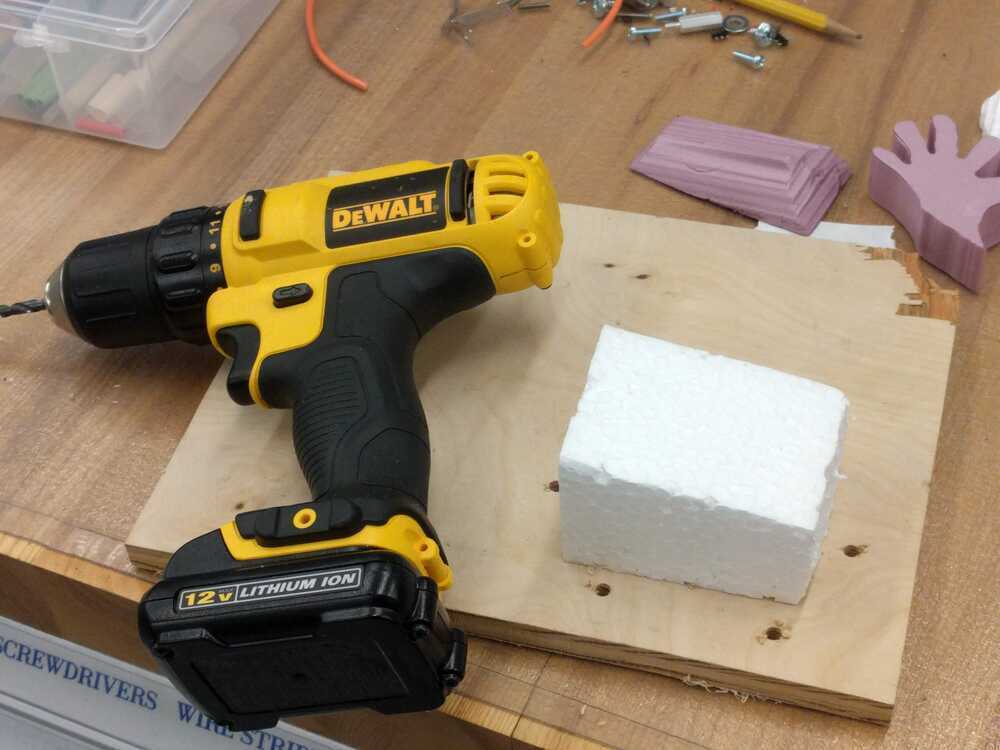
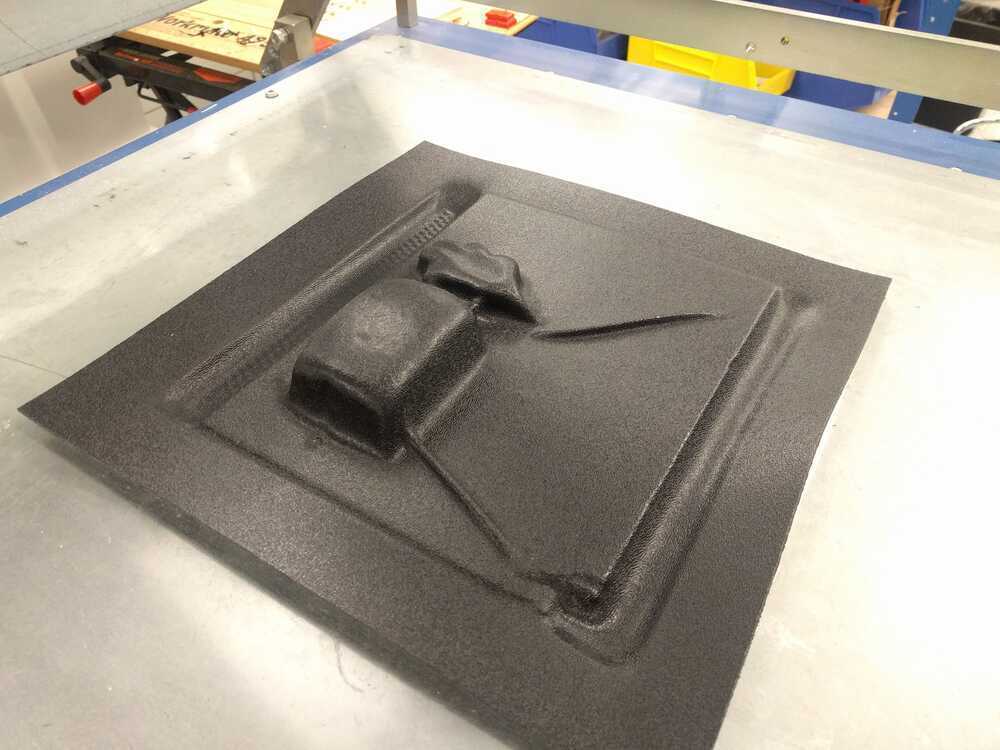
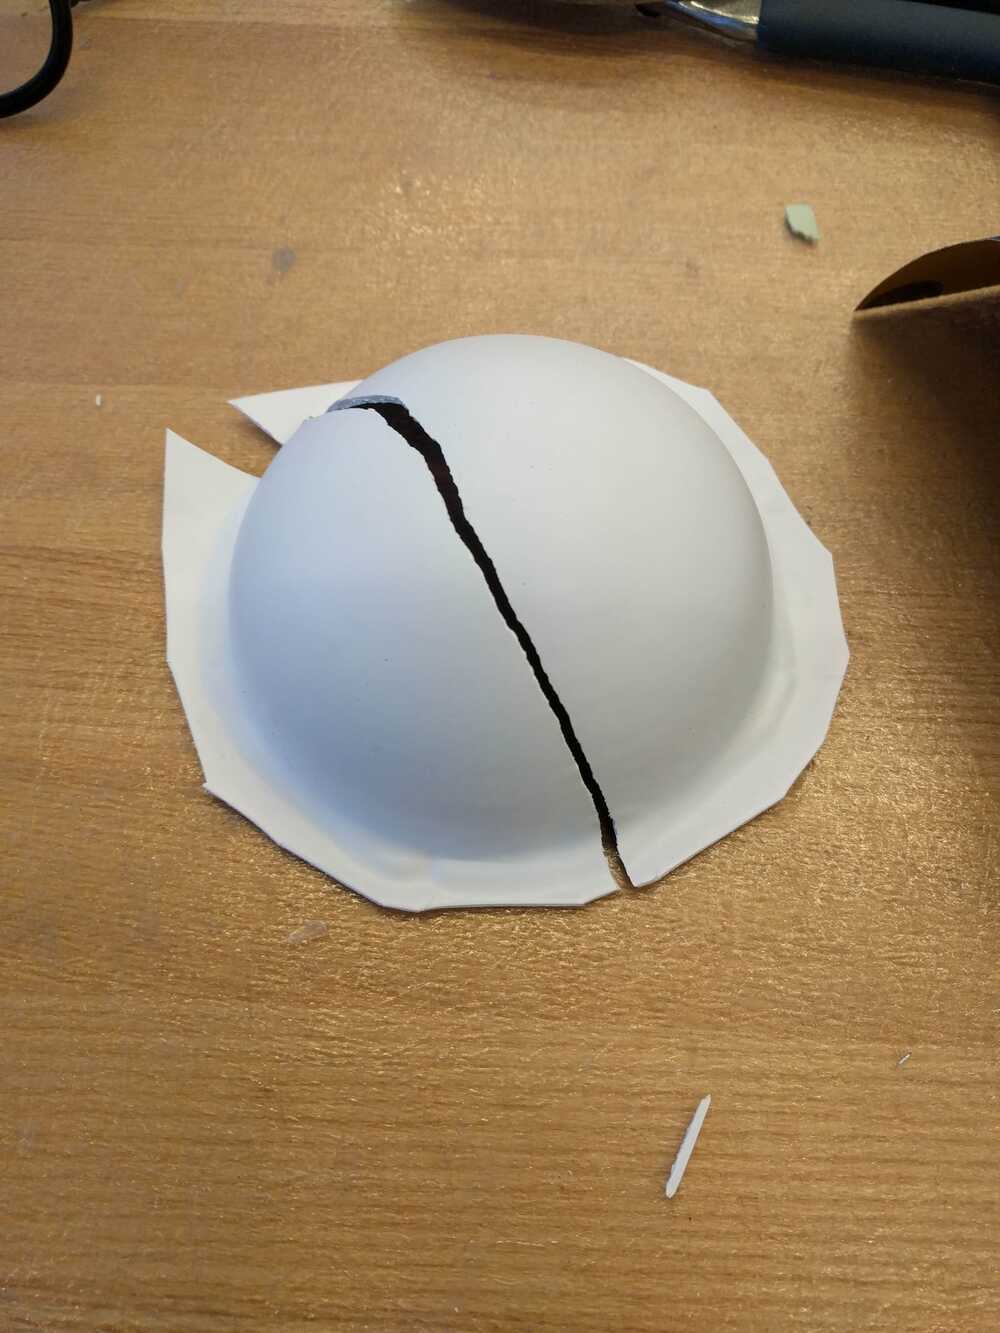
After it was nicely milled I took it to the EDS to thermoform. To thermoform, I first securely tape the dome down to a piece of wood and then drill holes around it so that the vacuum can pull against it as strongly as possible. First we practiced on a piece of scrap white plastic. I’m really glad we did this because it proved that the double stick tape was not strong enough from keeping the dome from getting stuck in the plastic. After trying to get it out for a long time I finally used a razor blade to cut the plastic off. Luckily the dome was perfectly intact for a second try.

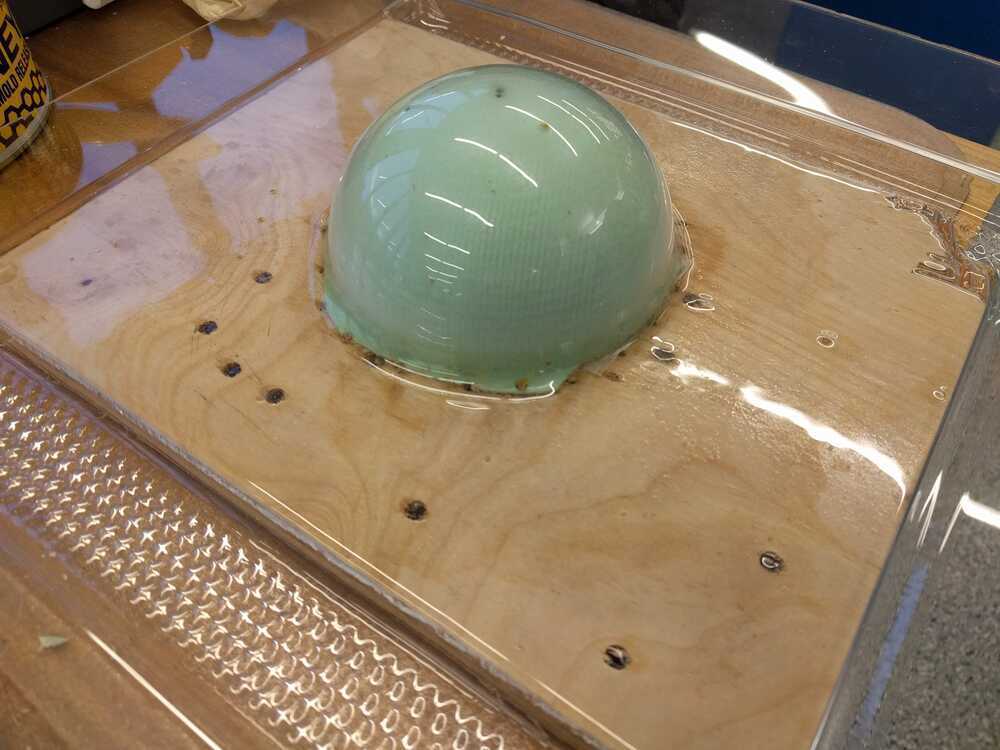
This time I taped it down and then screwed it into the wood from the bottom. I also was really heavy handed with the mold release honey wax and drilled a ton of holes around it. This attempt was successful and the dome popped right out almost immediately after.
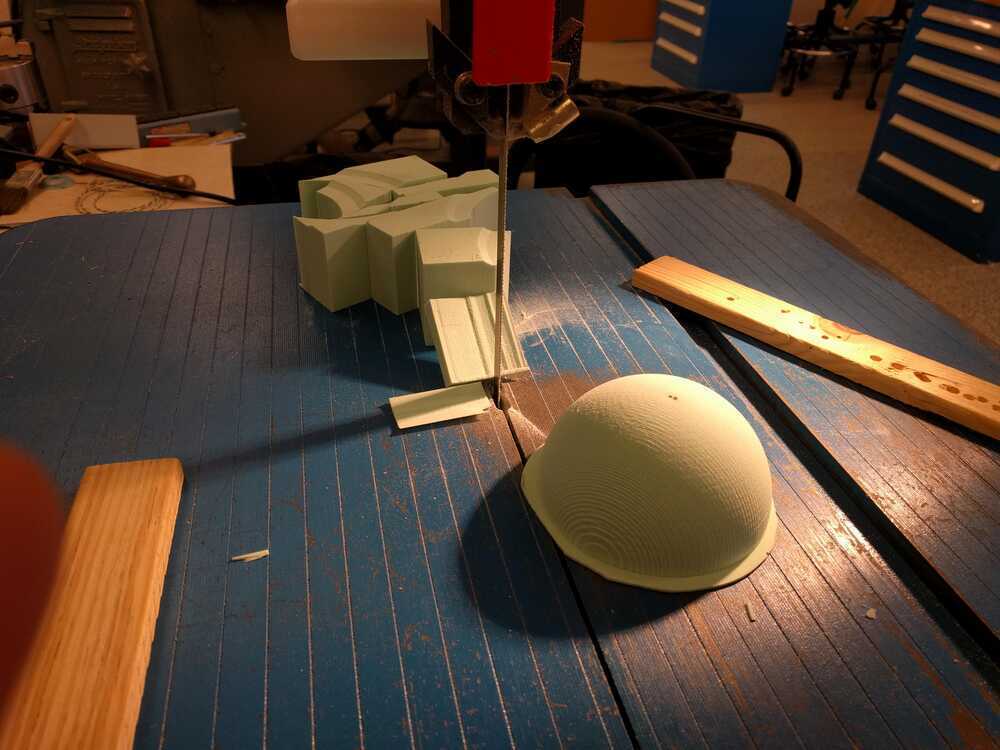
I used a dremel to cut the dome from the rest of the thermoformed scrap and was ready to sand it up and integrate it into my buoy!