Week 8: Molding and Casting
The assignment this week is to create a mold via a CAD model and to cast it.Making my Rhino File
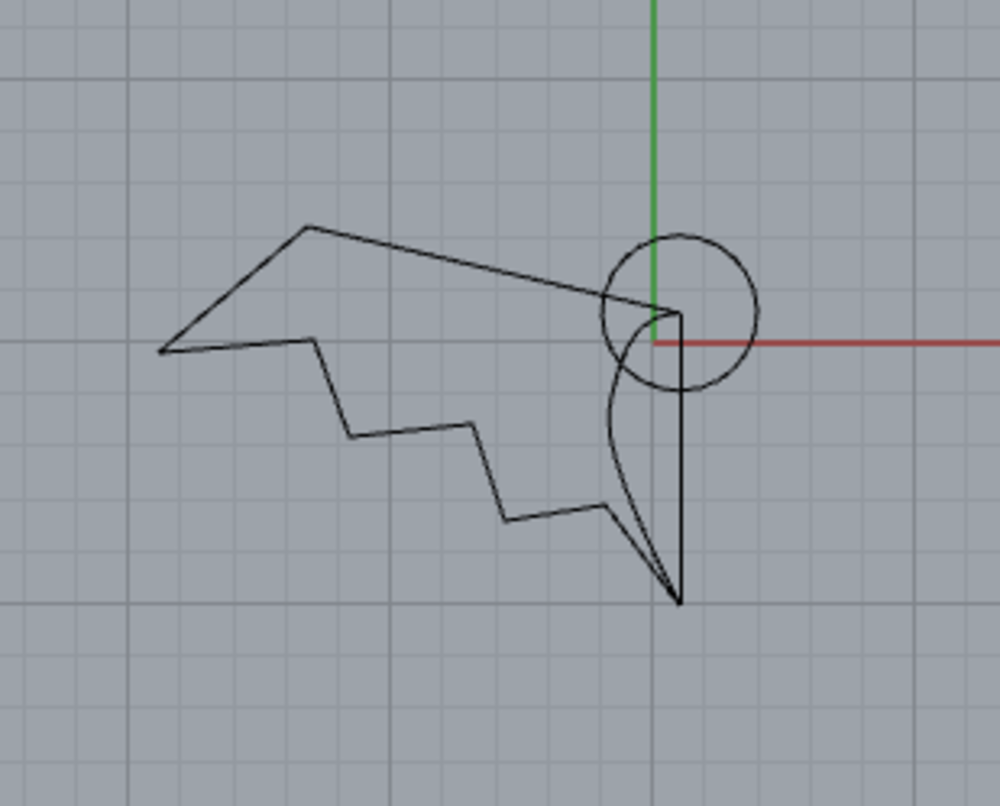
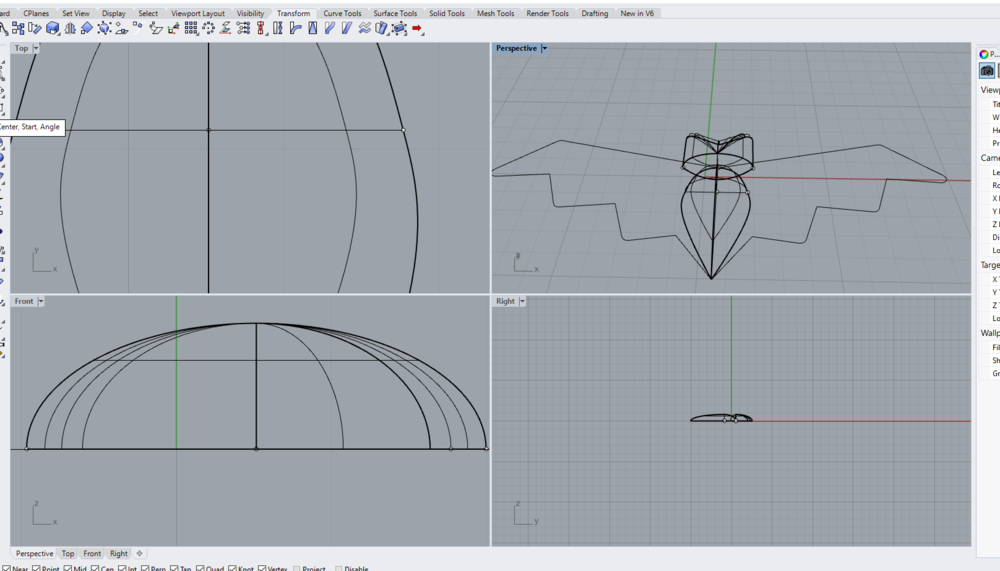
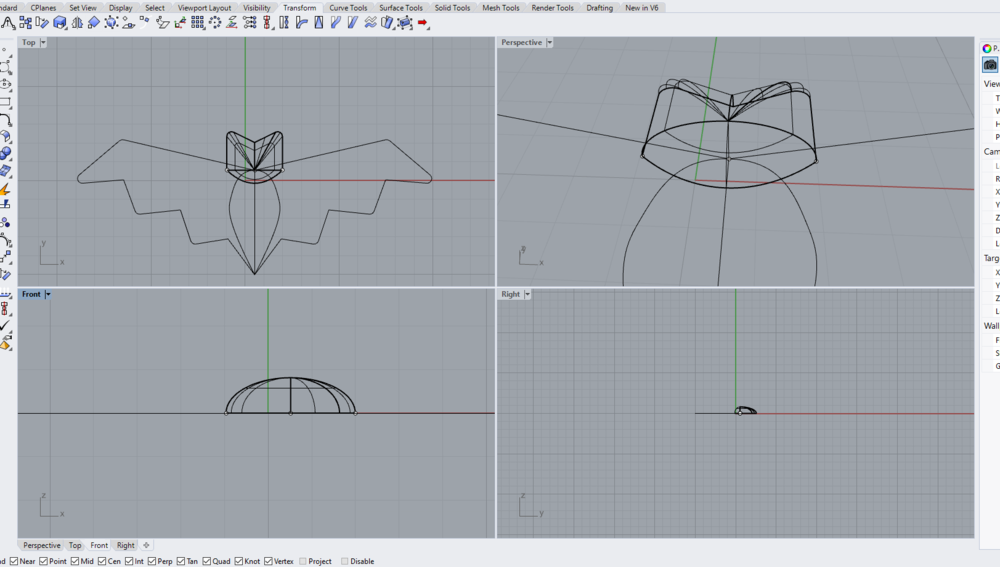
First I decided to make a bat (that's what I'm being for halloween too):For the computer controlled cutting week I used solidworks and then exported my drawings to DXF files and then uploaded those to rhino and then those rhino files to MasterCam. This was a somewhat miserable process so I bit the bullet and downloaded Rhino and set about learning it. I've done a lot of CAD-software-learning in this class and I've gotten a lot better at tackling new software. So even those it definitely took time to get comfrotable in rhino and make my part, I found that I got oriented much more quickly than I did when learning Fusion 360. Yay! I started by drawing the profile of half of my bat with the plan to mirror my design once I was happy. These pictures follow the progression of my rhino design process.
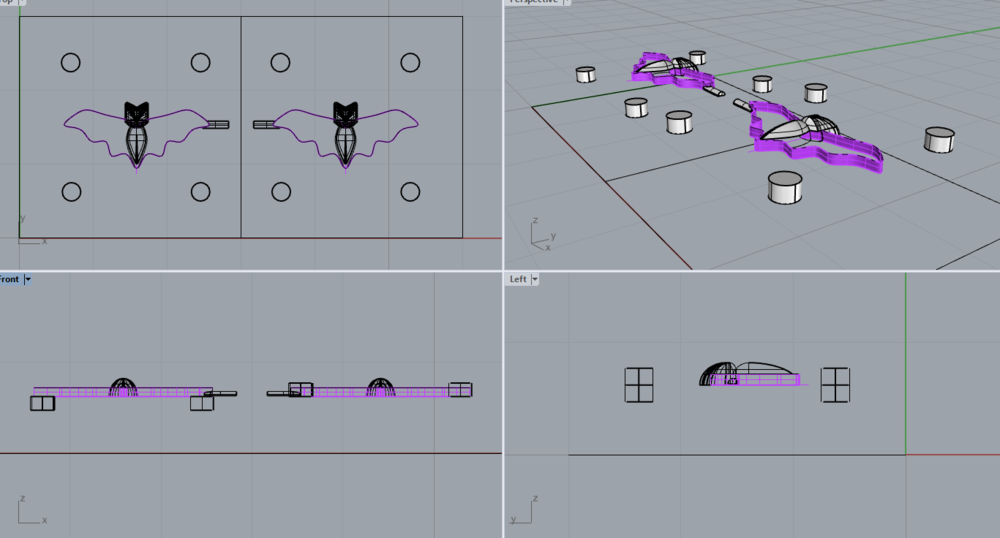
Key notes on using Rhino: - Typing in the commands to the command line is super powerful and a great time-saving method. - I found trying to use the split and booleanSplit commands to be super finicky- sometimes it would work and sometimes it would say that not intersecting correctly. It was hard to tell what I would charge about the parts/surfaces/curves but I would eventually get it to work out. - Turning the OSnaps on was really helpful in mirroring and moving the two halves of my part. Also using the "Move" command and selecting the move-from and move-to points. After my Rhino file was prepared I went into MasterCam. I used two tool paths, one for a rought cut and one for a surface cut. These were for the most part already set up on the N51 computers, which was so nice. I merged my file into an exiting MasterCam file with these tool paths and the 6" x 3" x 1.5" block already marked out. I selected all of the elements of my part and added these to the geometry for the tool paths, excepting the outer and top walls. Next I regenerated all selected operations.

Next it was ready for me to "Verify Selected Operations".

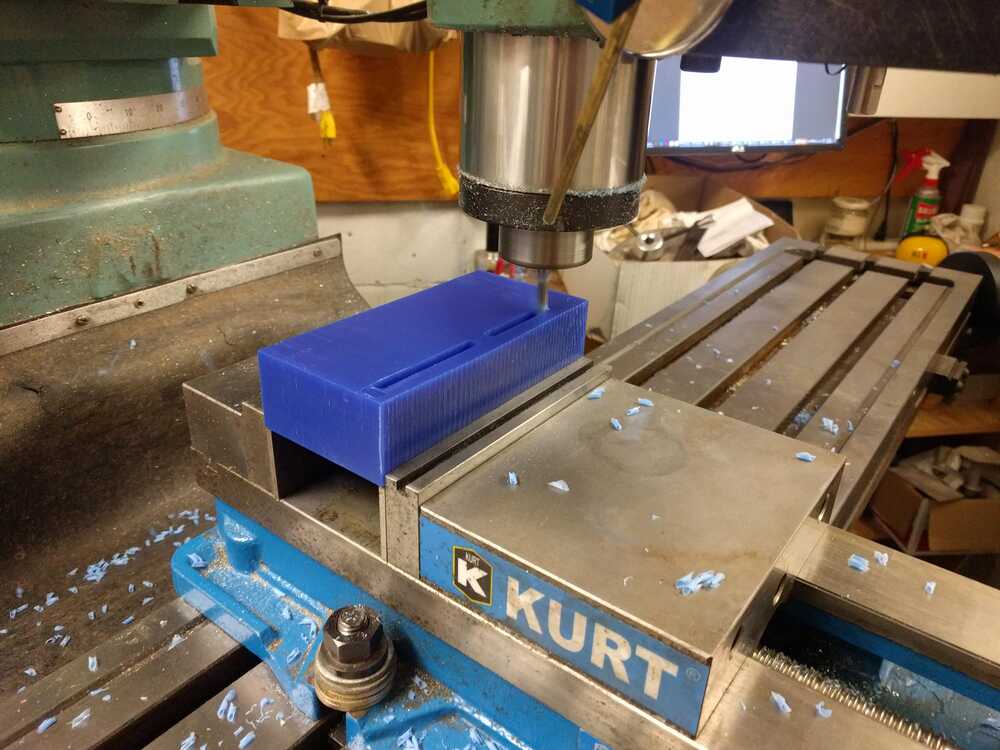
I set the step size to be .03 (1/32") and this gave an estimated milling time of 18 minutes which sounded fantastic considering that I'd heard some peoples were taking hours. You can tell from my rendering in the picture above that there are a lot of lines left on the part because of this, but my TAs suggested going for the shorter mill time and taking a razor blade to the waze to fix the rough/lined surface issue. Next I created G-code for my rough cut tool path and my finish cut tool path and saved them to a USB stick to take to the mill. I grabbed my wax block from the Arch Shop in building 3 and took it to N51. I secured the wax in position with the parallels and zeroed it in the x and y directions with the zeroing tool. I then installed the 1/4" end mill bit and zeroed it against the part in the z-direction.:
Next I milled. I ran the rough cut G-code file:
After the rough cut completed I installed the 1/8" drill bit, zeroed it in the z-direction and ran the surfacce finish G-code file.
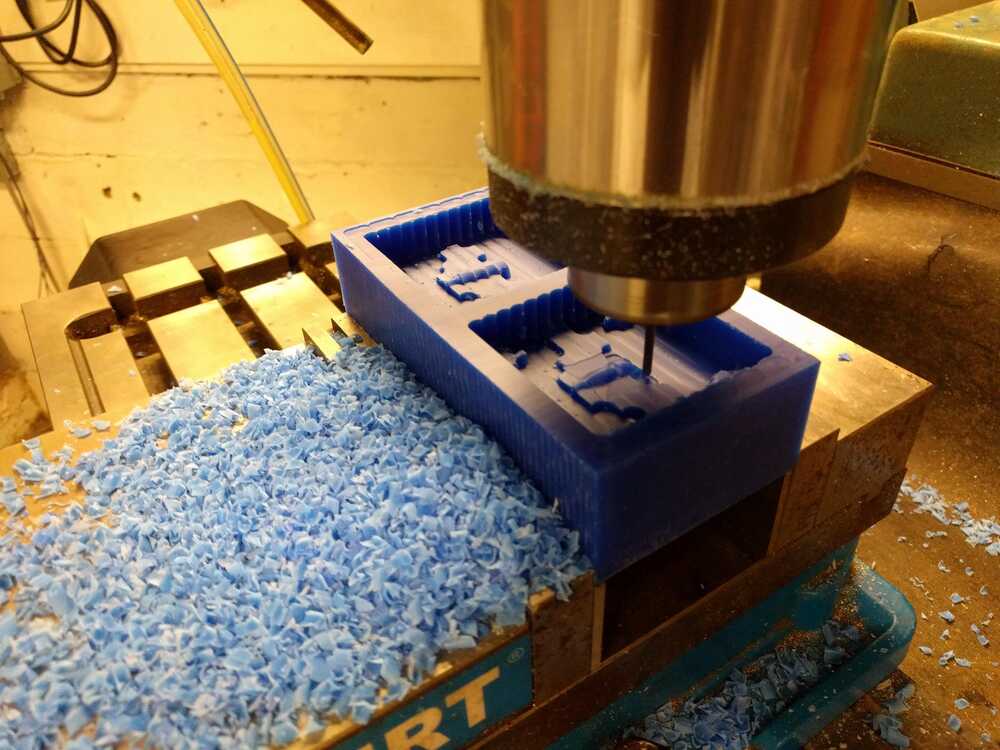
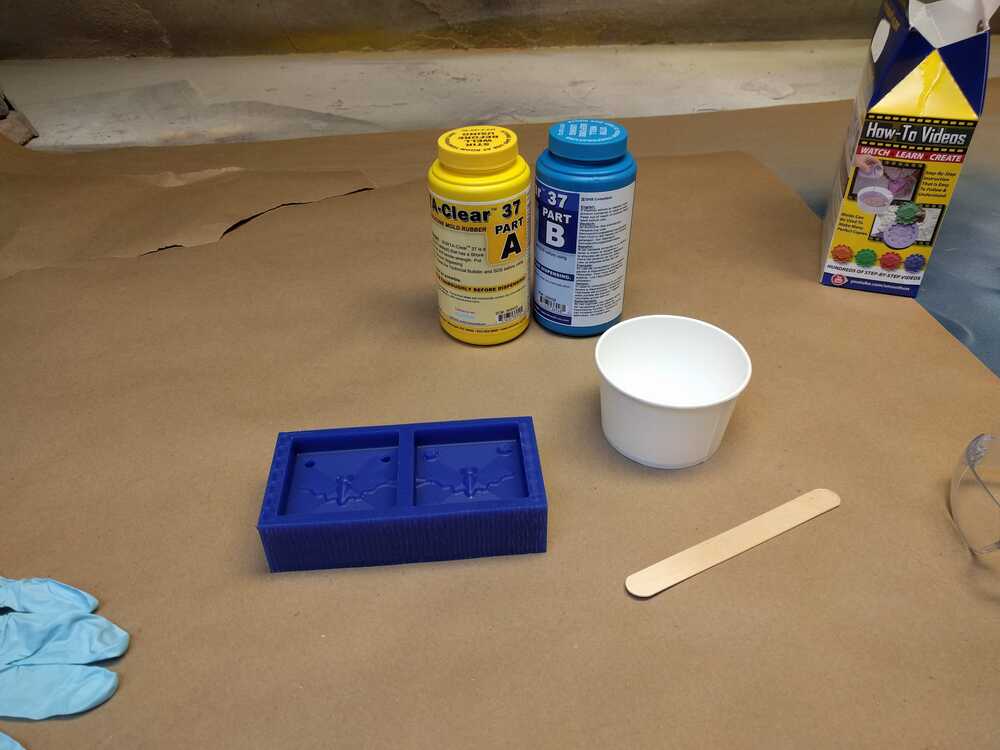
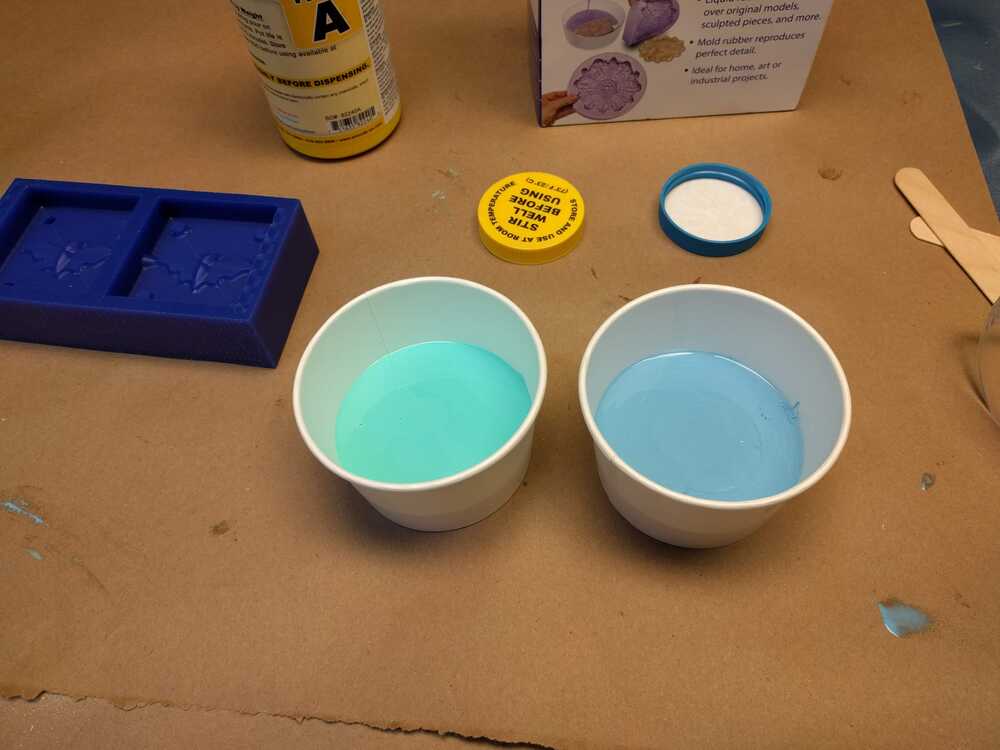
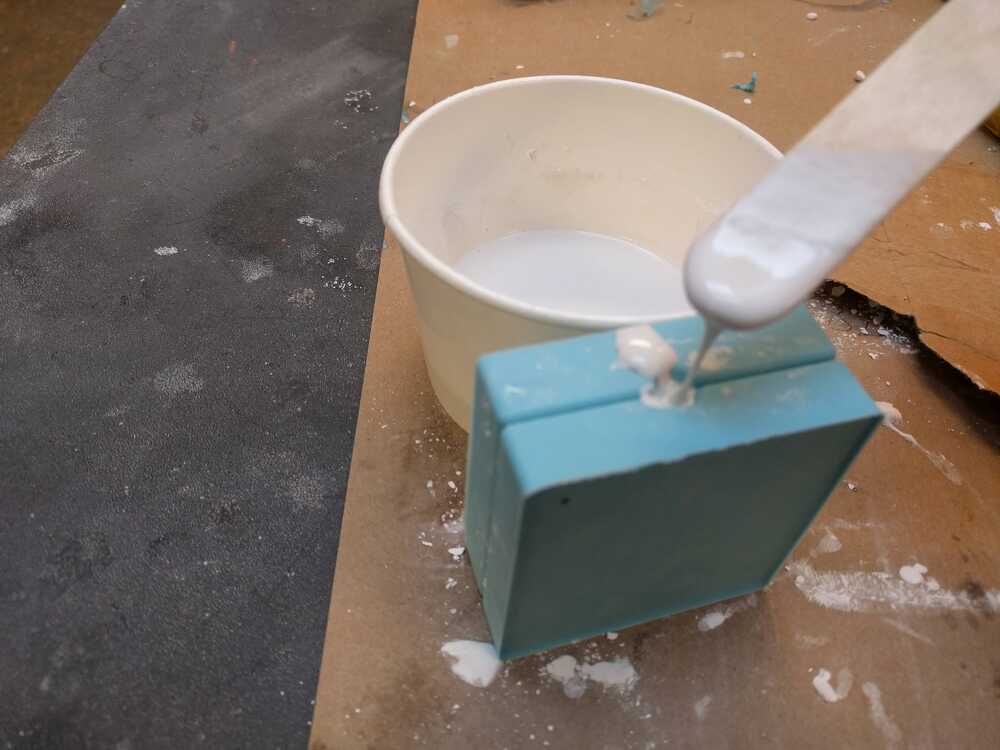
NOTE! I had to go in after running all the G-code and manually drill the 1/4" registration holes because they did not adiquitely drill in the program. I ended up accidently driling them too deeply (1/4" deep rather than 1/8") but I was able to fix this after pouring the negative mold. Next I poured my mold: I mixed a 1:1 ratio of the silicon mold (Smooth-On Oomoo Silicone Rubber- OOMOO 25)) into a cup and mixed it until I saw no streaks. I tapped the cup againsts the table many times to get rid of all the bubbles I could before pouring.
Next I poured the silicon into my wax positive and after filling it I again hit the table and tapped the mold to get rid of all the bubbles I could. Recommended cure time is 90 minutes, I let it cure for ~3 hours.
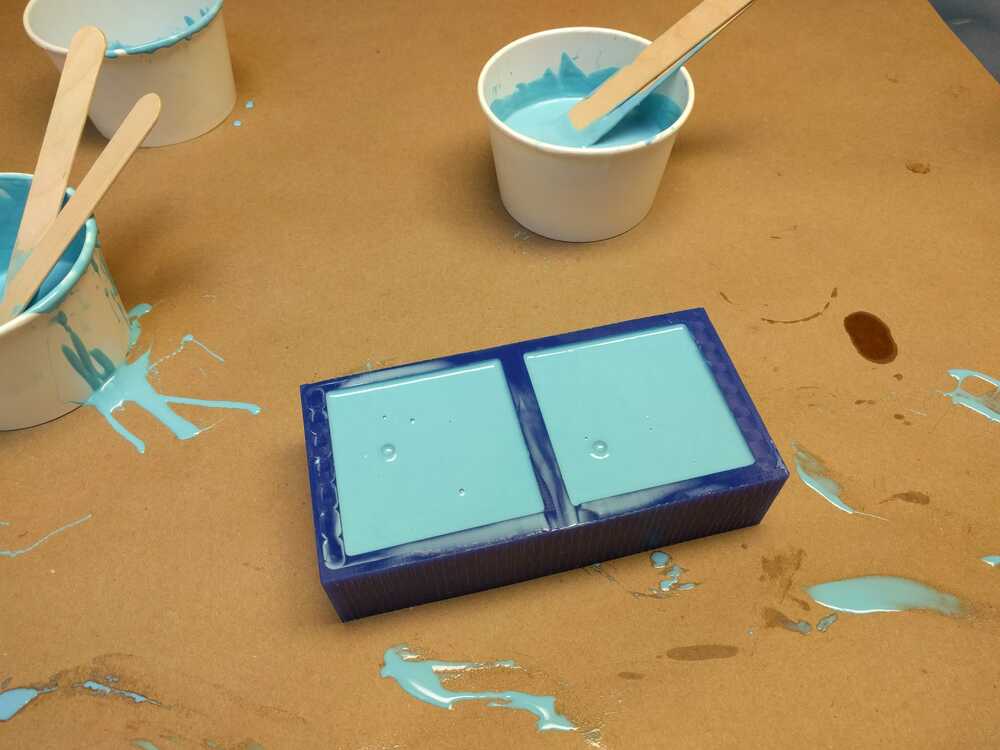
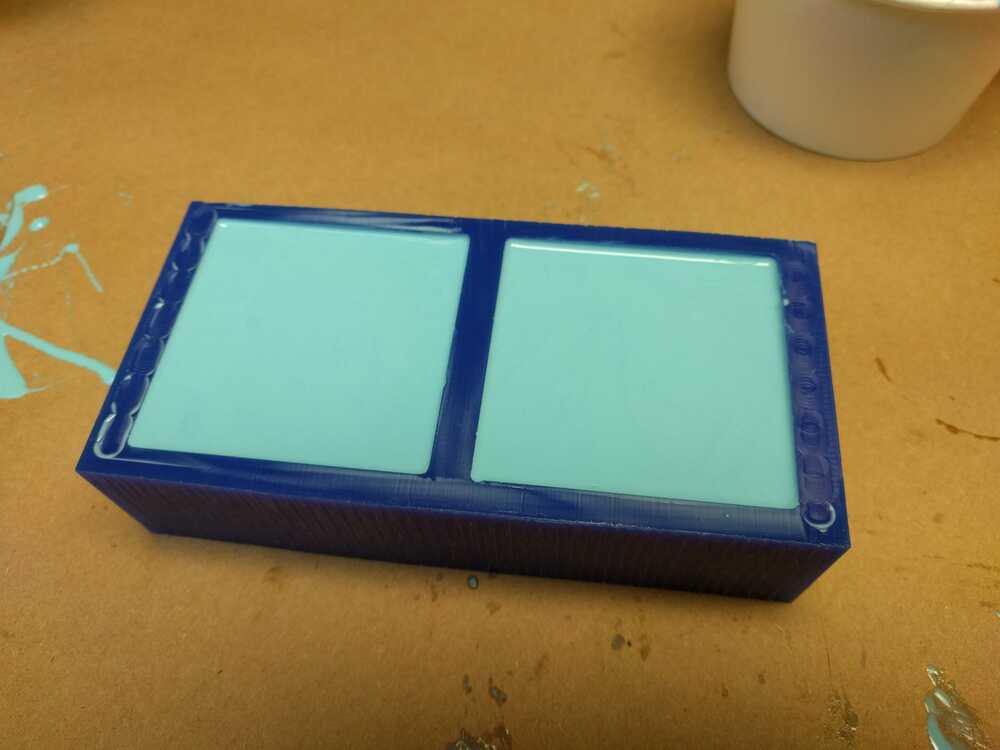
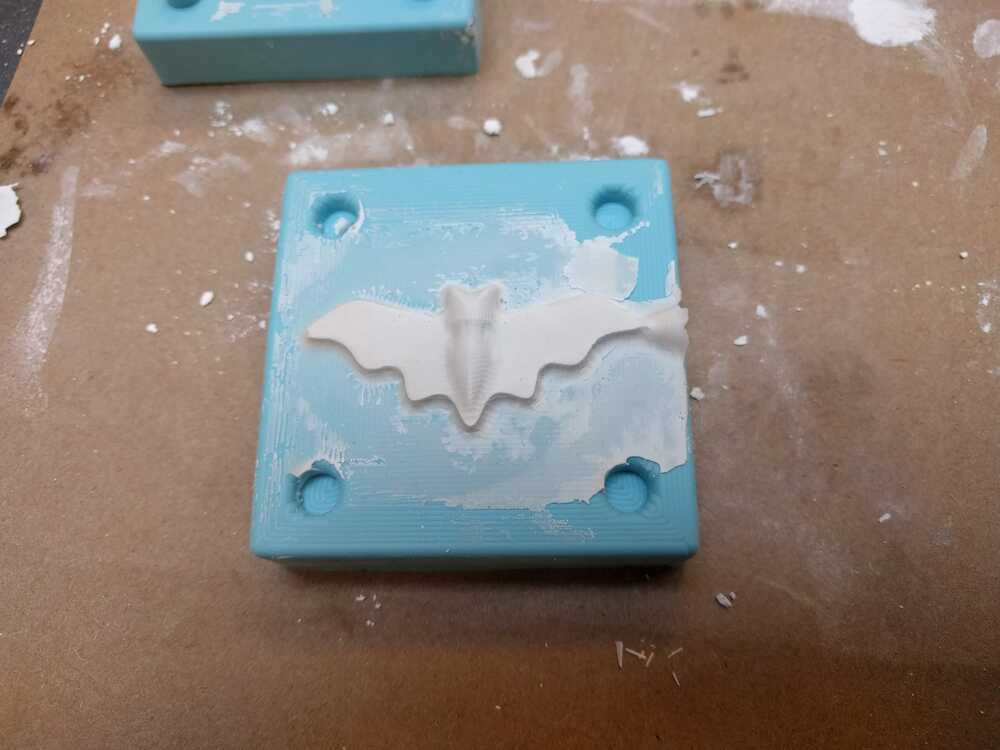
The negative came out really well! I saw virtually no bubbles or holes. The only issue was what I mentioned earlier, that my positive registration spokes were accidently too big for their negative counterparts.
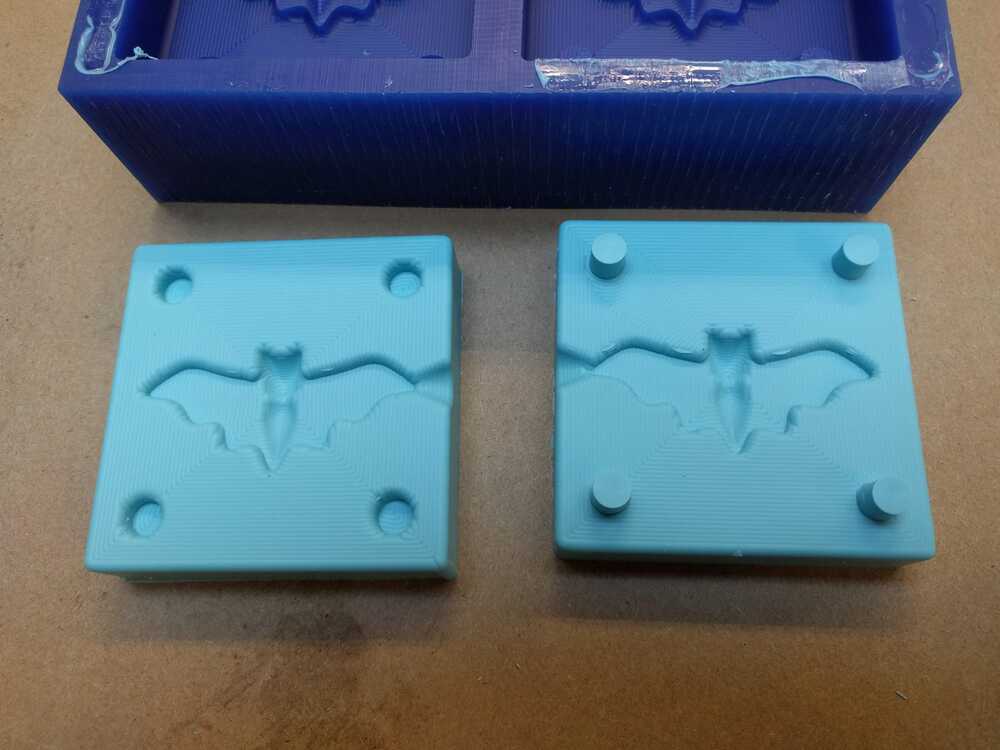
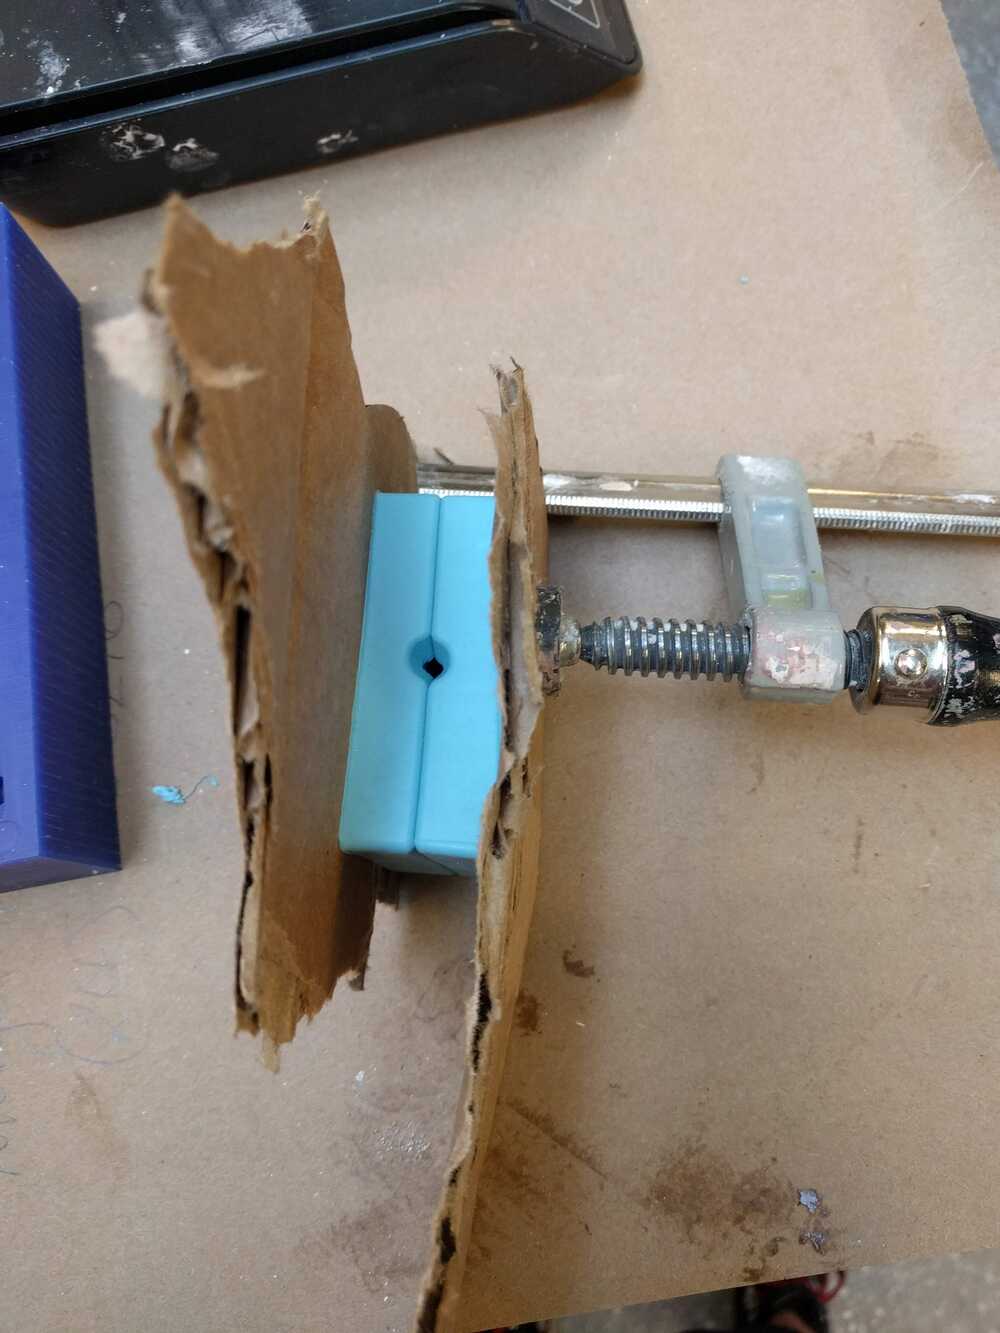
I trimmed the spokes on the positive side of the registration with a razor blade and now the sides fit happily together:
Next I cast with . I mixed ~ 5 parts powder to 1 part water, but it was pretty handwavey. The priority was making it both pourable and thick enough to cast a sturdy mold: I let it cure for about 1 hour.
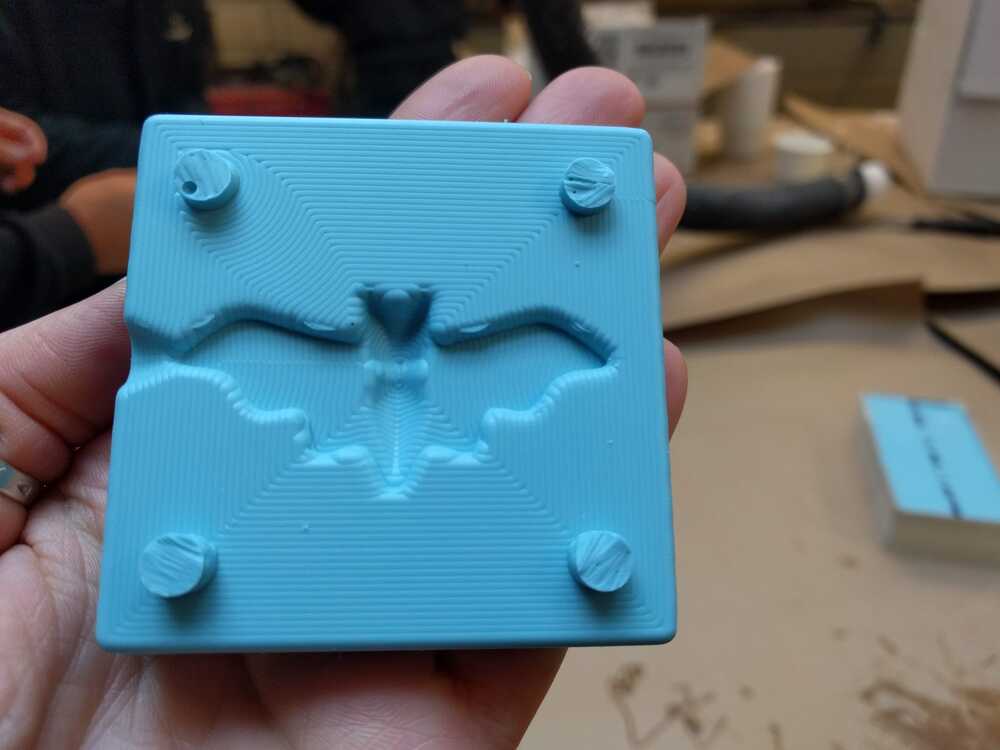
It came out with a big hole in the middle, I realized that I didn't think to try to tap out any air-bubbles when I poured this, which is likey why this happened. I think I also made the dry stone a little too thick so it was hard to pour and know if the mold was full.
And then I dropped the bat :(. Very brittle stuff! I was able to hot glue it:

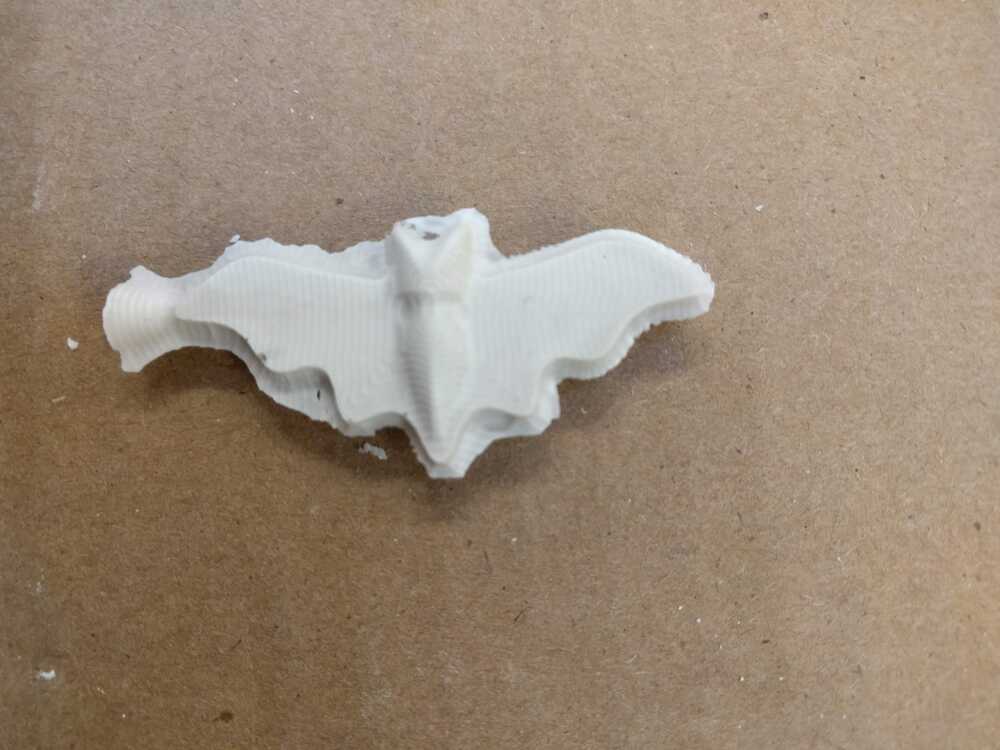
I tried again with the dry stone casting and this attempt went super well! I made the dry stone at the right consistancy and it poured well. I also tapped out all the bubbles. I sanded around the edges so that he bat looked polished and to get rid of the funnel: I let it cure for about 1 hour.
I was really happy with this little sweet bat, it joined me to my halloween party :).