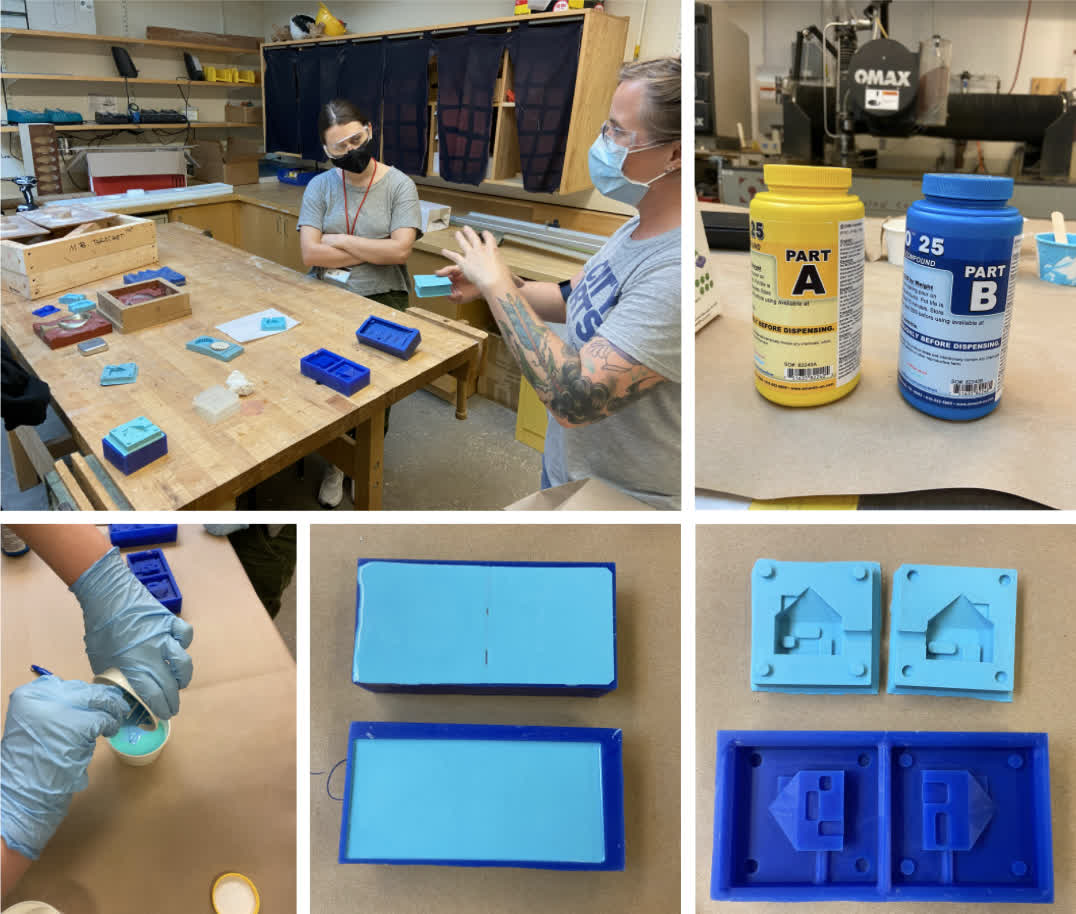
Group assignment page You can see more about our group assignment at the above link, but here's a little collection of images from our intro the casting process.
Assignment: Design, mill, and cast something
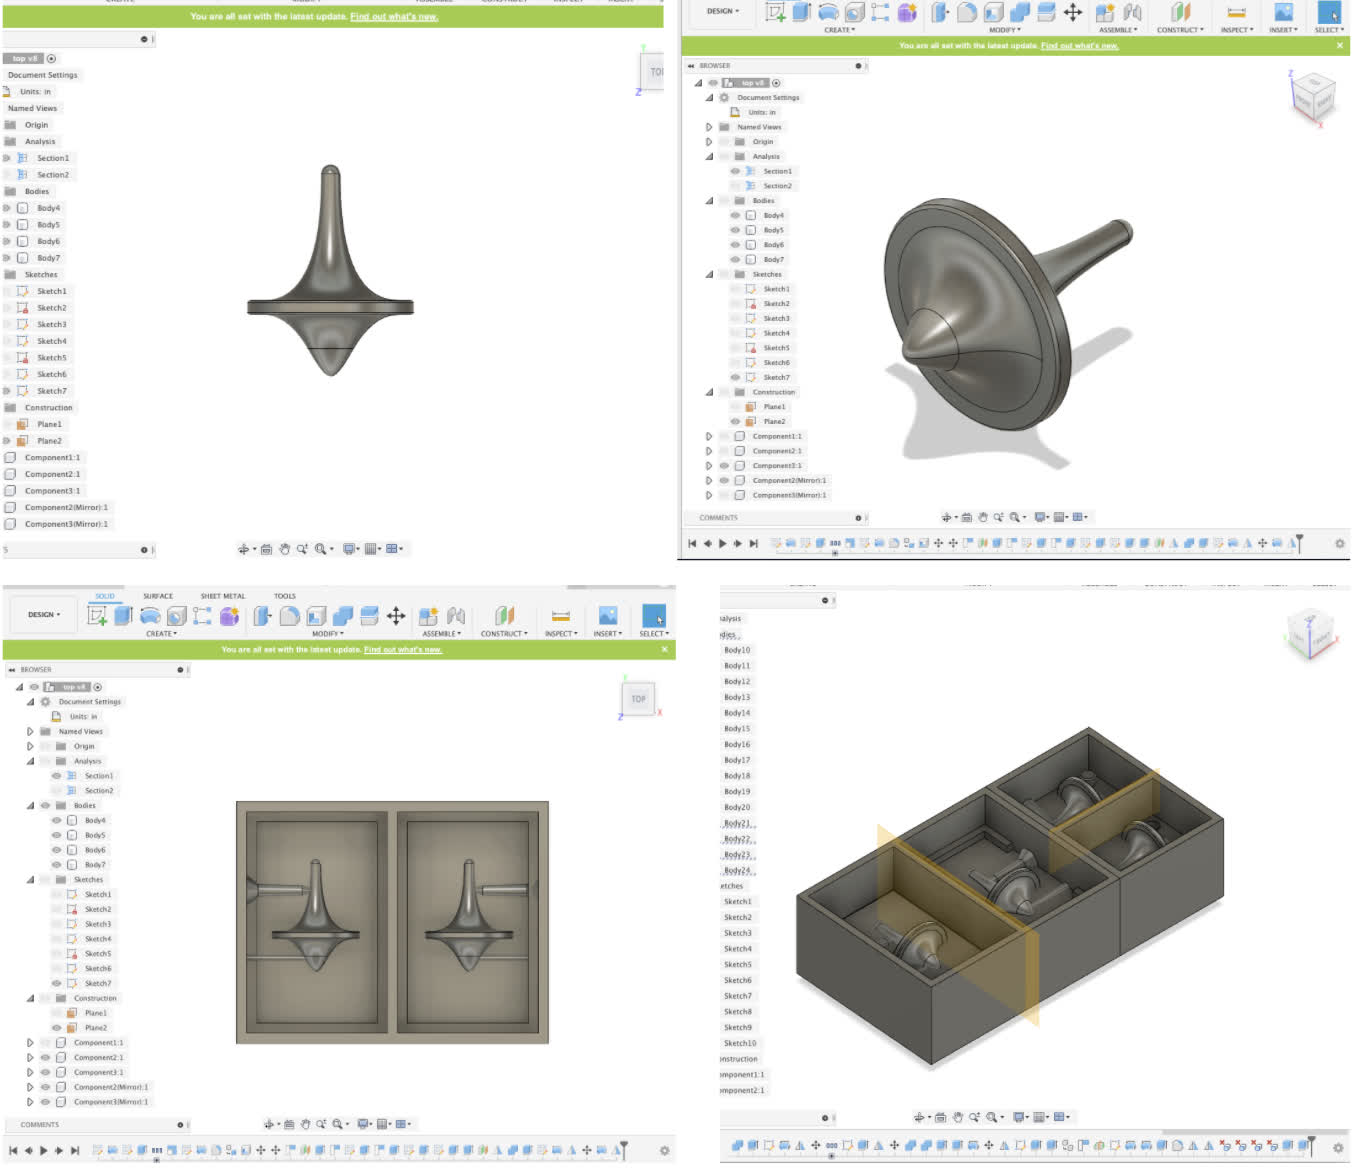
I knew I wanted to try casting something in metal. I thought about casting a die, but I ended up gravitating towards a spinning top.
And yes, the design was definitely inspired by Inception...
CAD: Fusion360, Rhino, MasterCAM, a not-so fine combination
I drew this form in fusion, and then nested it in a box that matched my wax block specs. Then I exported the STEP file to Rhino.
I have decided that I should try to eliminate this Fusion to Rhino workflow. Beyond just adding an unecessary step to the process,
my model broke when I made some adjustments and re-imported it from Fusion to Rhino. We then had to make adjustments anyway. Might as well just do it all in one program.
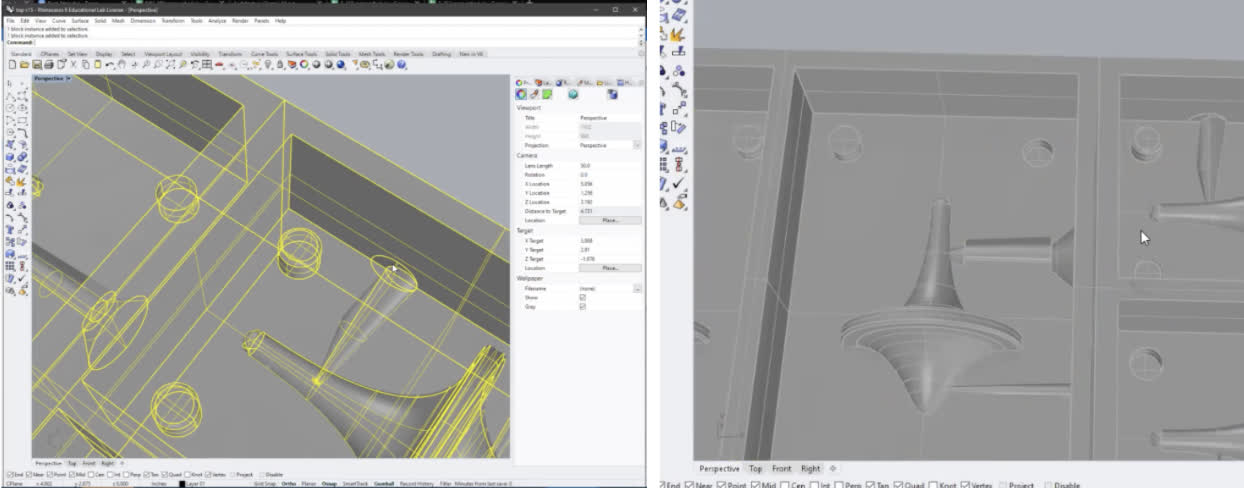
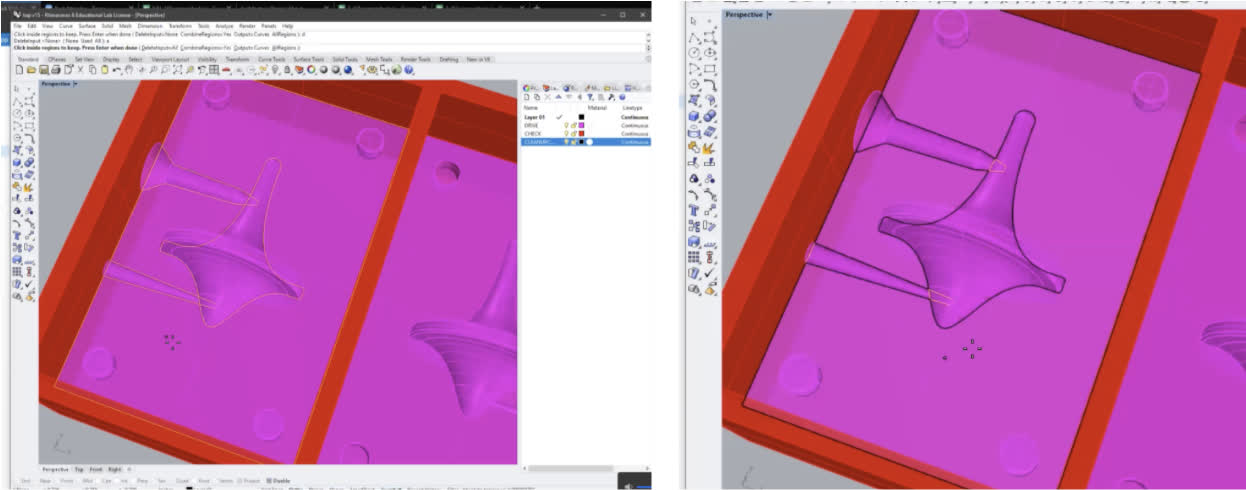
With the model fixed, Zain helped me separate the file into layers for the CAM setup, layering the outer wax box for a funciton that won't be touched, while the
interior surface would be roughed, milled and eventually traced with a finishing cut to remove filleted edges.
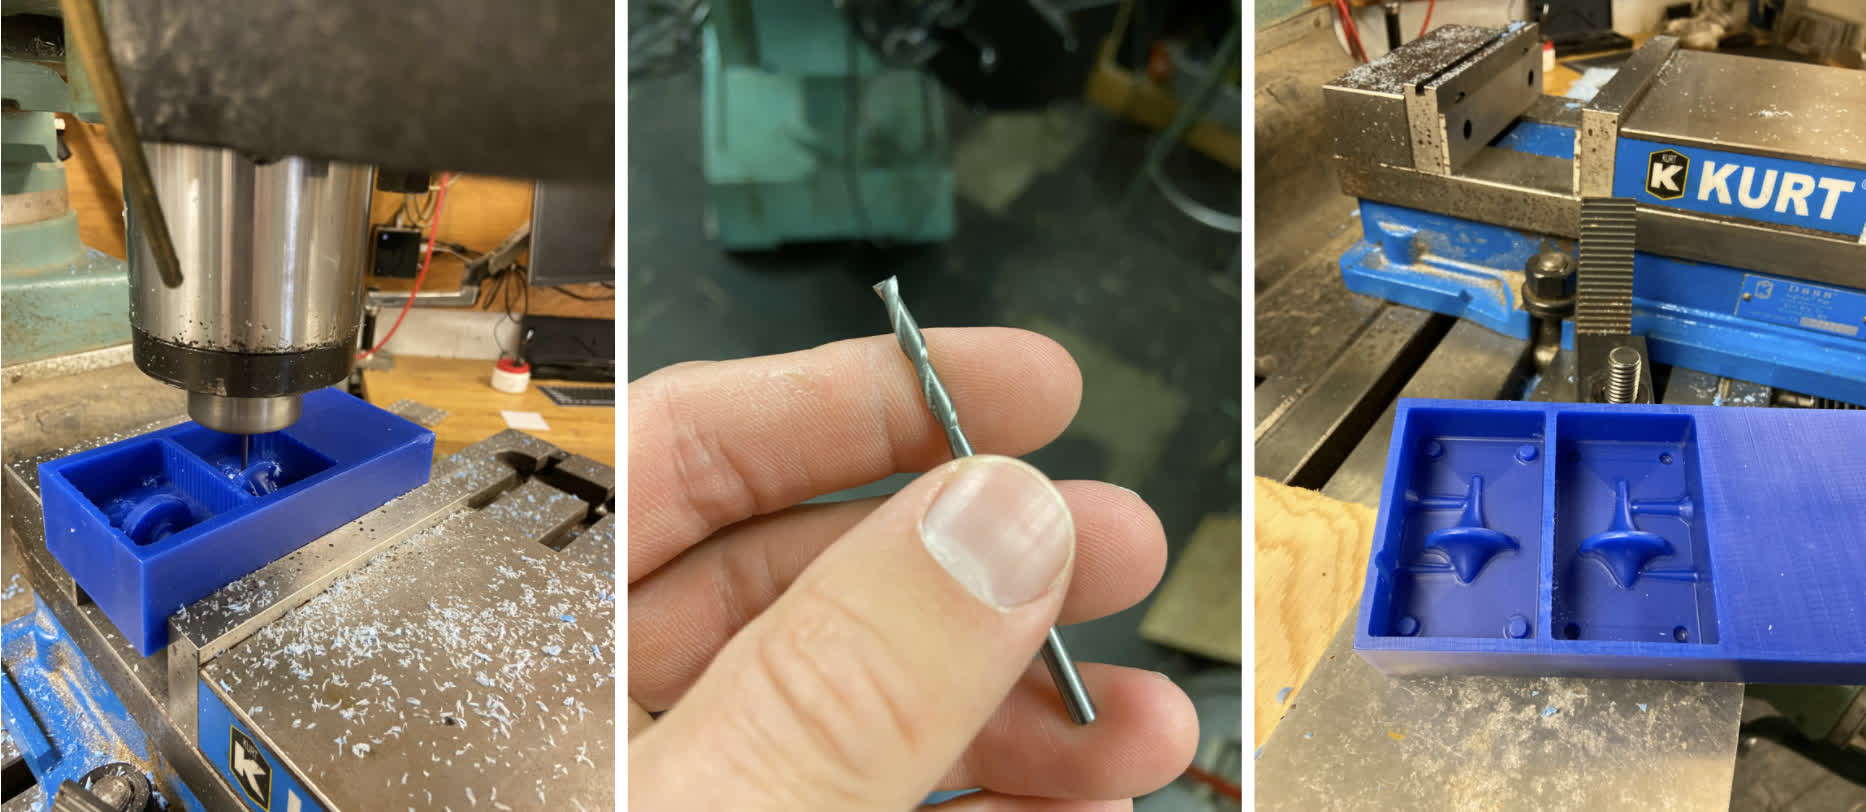
We set up the CAM file in MasterCAM. The roughing bit would be a 1/4" flat end mill, the finishing pass a 1/8" ball end mill, and a tracing pass a 1/8" flat end mill. We found a few issues
with my tighter set on the right side of my wax, which a failure that was good to see. Because the other setup looked good, I decided to move forward with only that section rather than remodel the
entire thing and retool the CAM.
Milling: ProtoTrak Time!
ProtoTrak setup and a rough cut. I found it interesting that the operator can manually crank through the tool path or choose to fully CNC the piece.
The rough cut came out well.
Finishing pass has less than 50% step-over using a 1/8" ball end mill, which created a really nice surface finish, but it took about 45 minutes.
For the tracing cut, we used a 1/8" flat end mill, but the Z height was somehow incorrectly callibrated, so the final surface is slightly raised from the rest of the floor of the mold.
Overall, the mold looks good though!
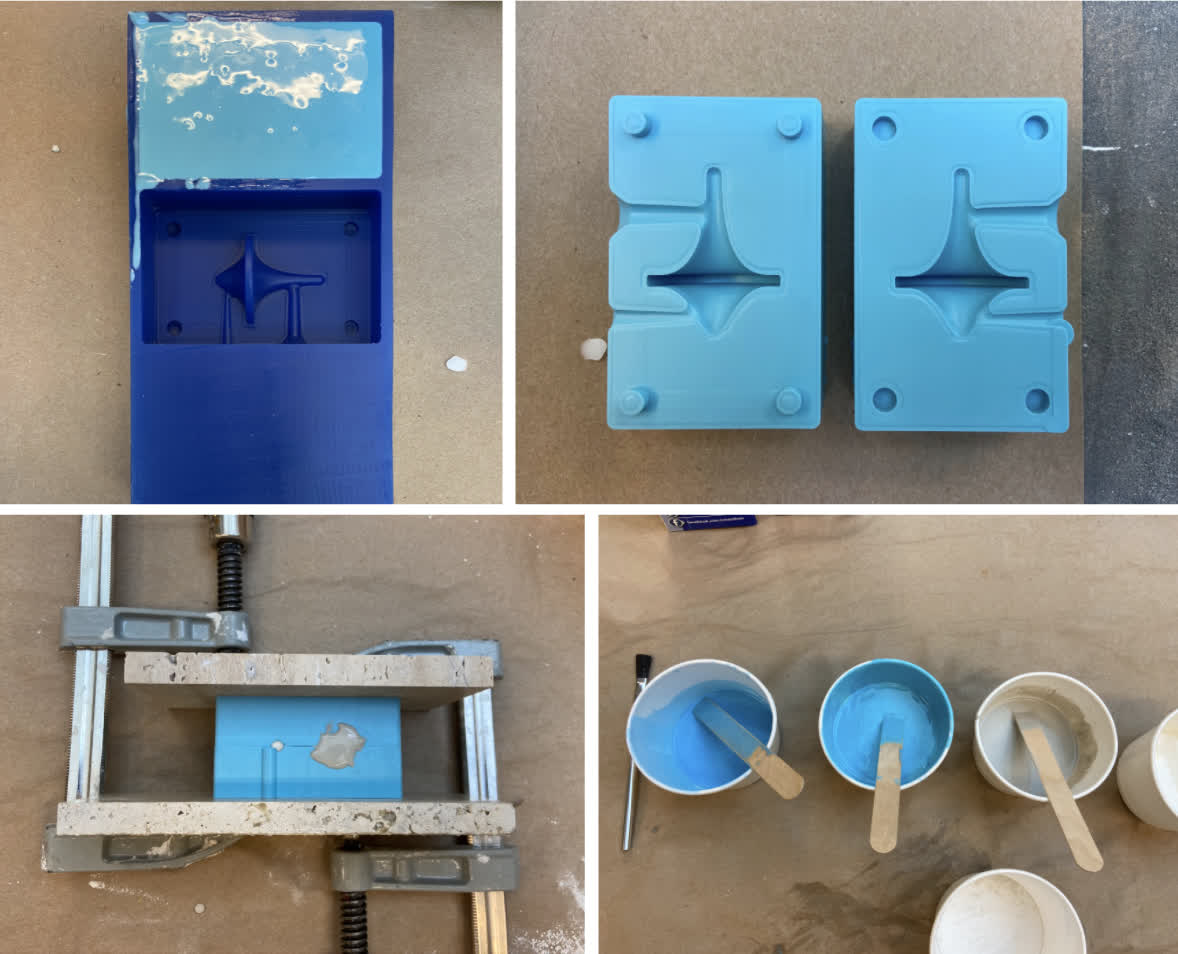
Casting: Oomoo Mold, Hydrostone Fail, Metal success
Now for some straight forward Oomoo mix and pour magic. Follow that with a little hydrostone. Thought that would be easy, but...
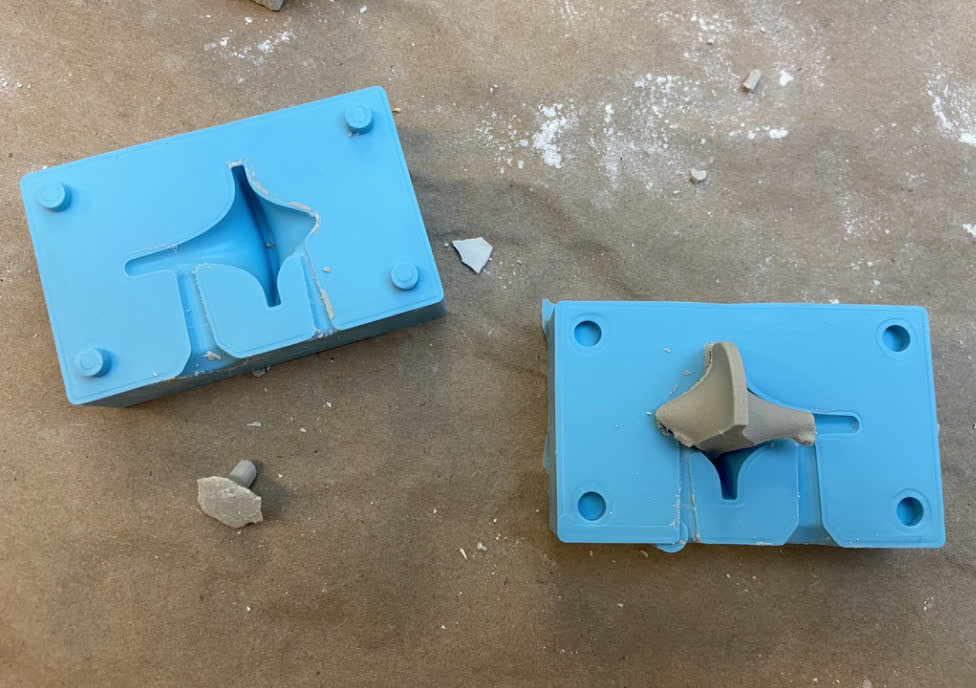
While the Oomoo mold looks great, the hyrdostone apparently clogged the channel on its way in, so the mold did not fill up entirely.
What did cure had a great surface finish though!
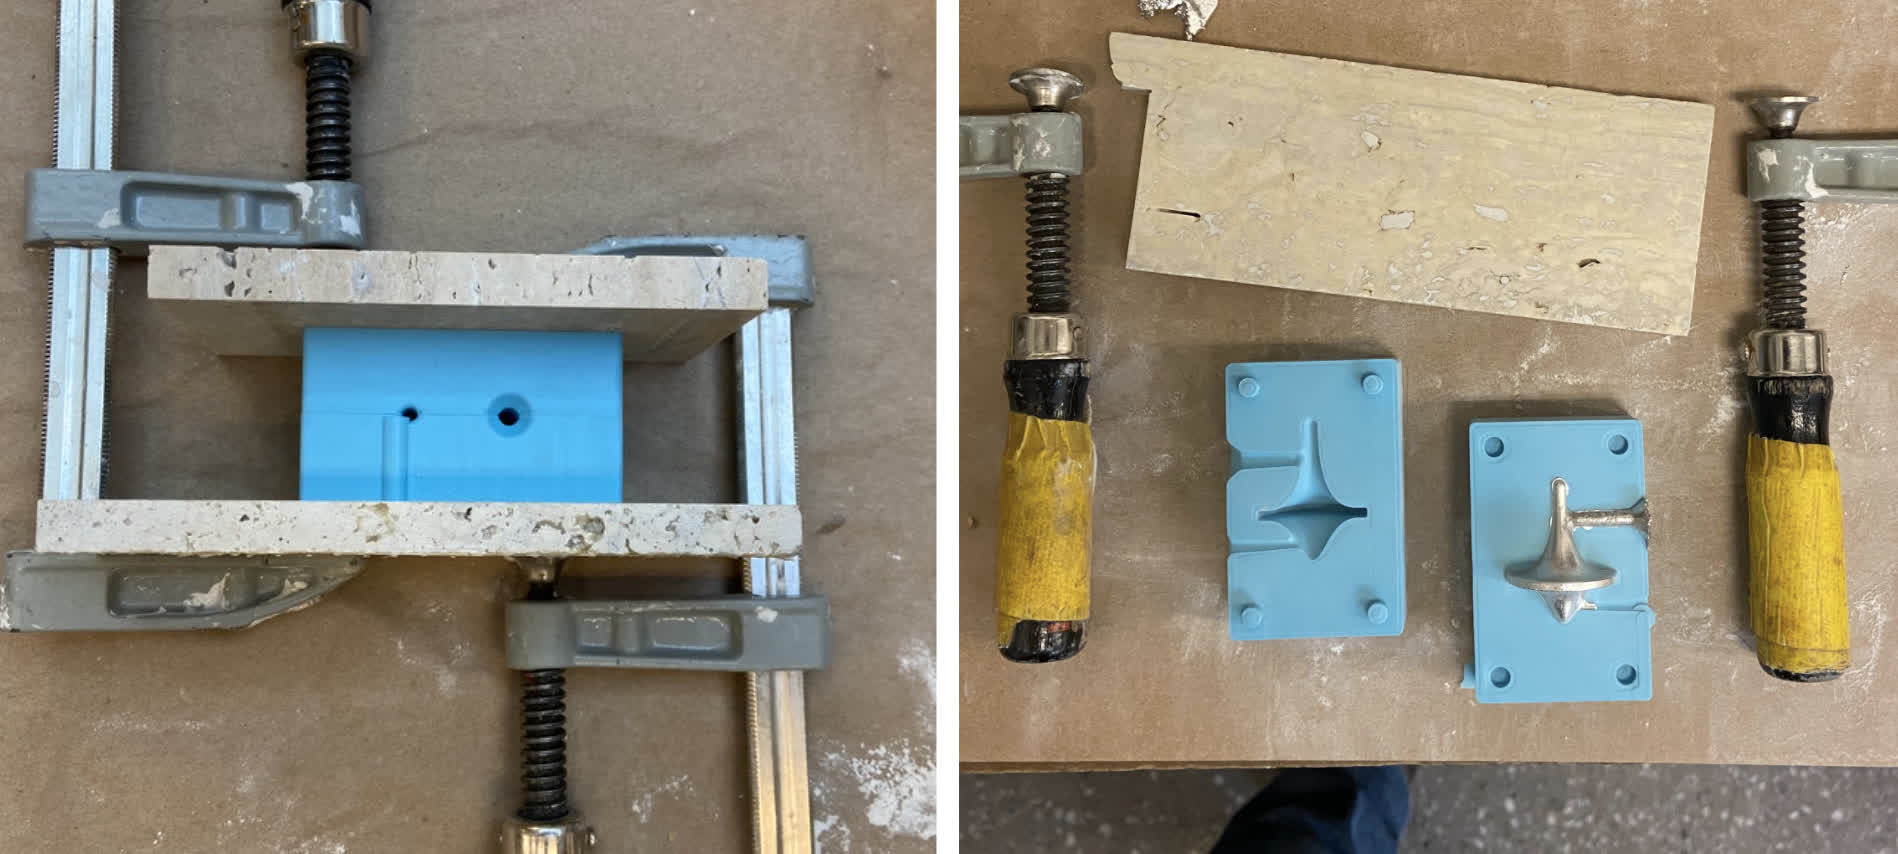
Nothing like a little metal melted the toaster to make up for a bad plater pour. Because the molten metal poured so quickly and overflowed from the mold, I assumed that
the pour had failed again. But...
The metal filled the mold!
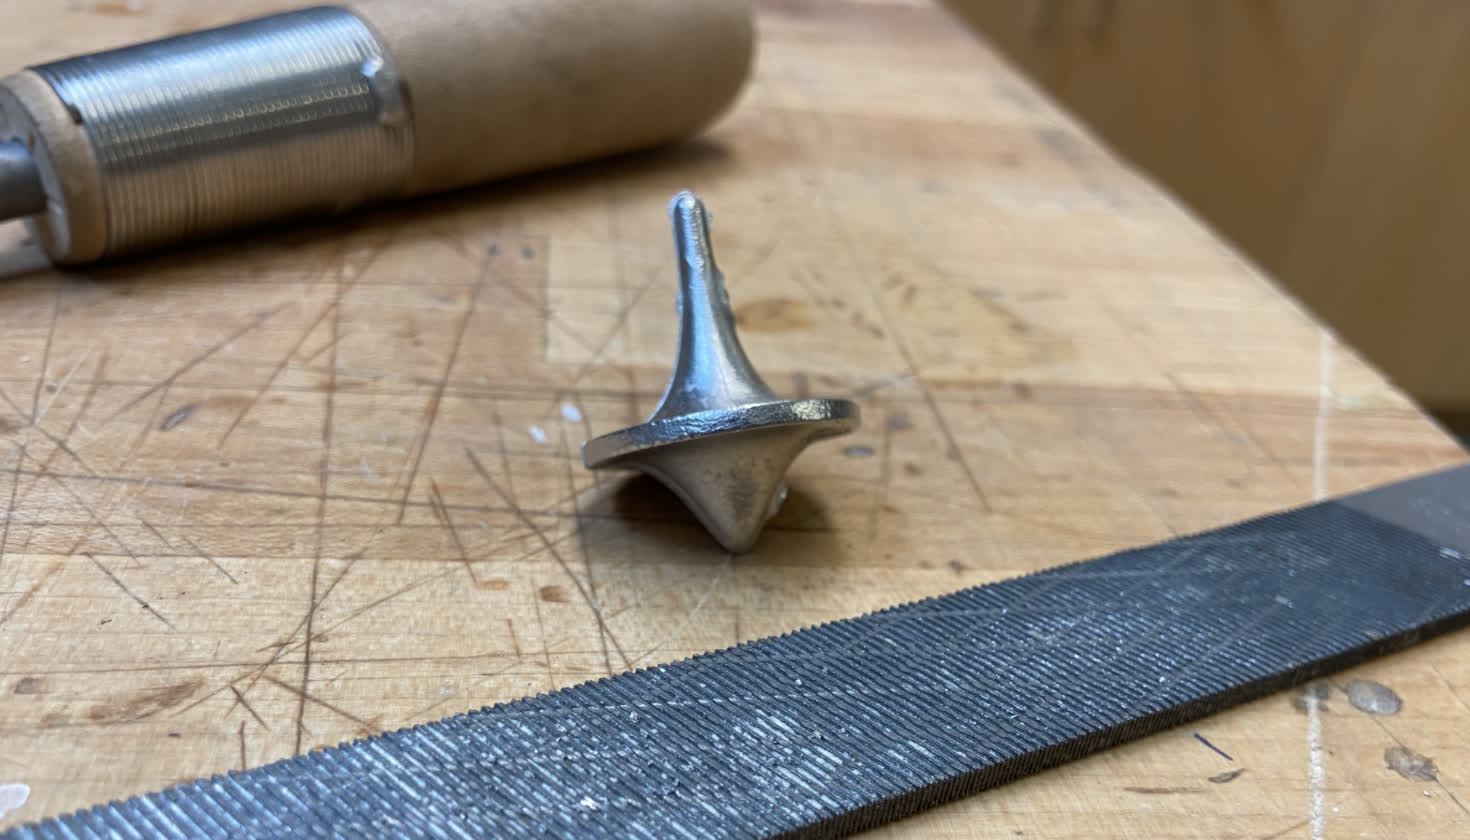
And it came out a lot better than the hydro. Just look at that side by side. I did need a little post processing, though.
So I took a file too it. I think if I were to do this again, I'd try to come up with a more clever way to integrate the seam. Maybe
cast one half as the top and one as the bottom, and have seam run the outer circumference of the skirt. I'd need more wax for that, though. Still, this came out
pretty well, and I am happy to have thoughts about how I could improve the next run.