What a week! Following the assembly videos, I was able to put Clank together with minimal hiccups. I stripped a couple screws, but, for the most part, things went pretty well
throughout the assembly phase.
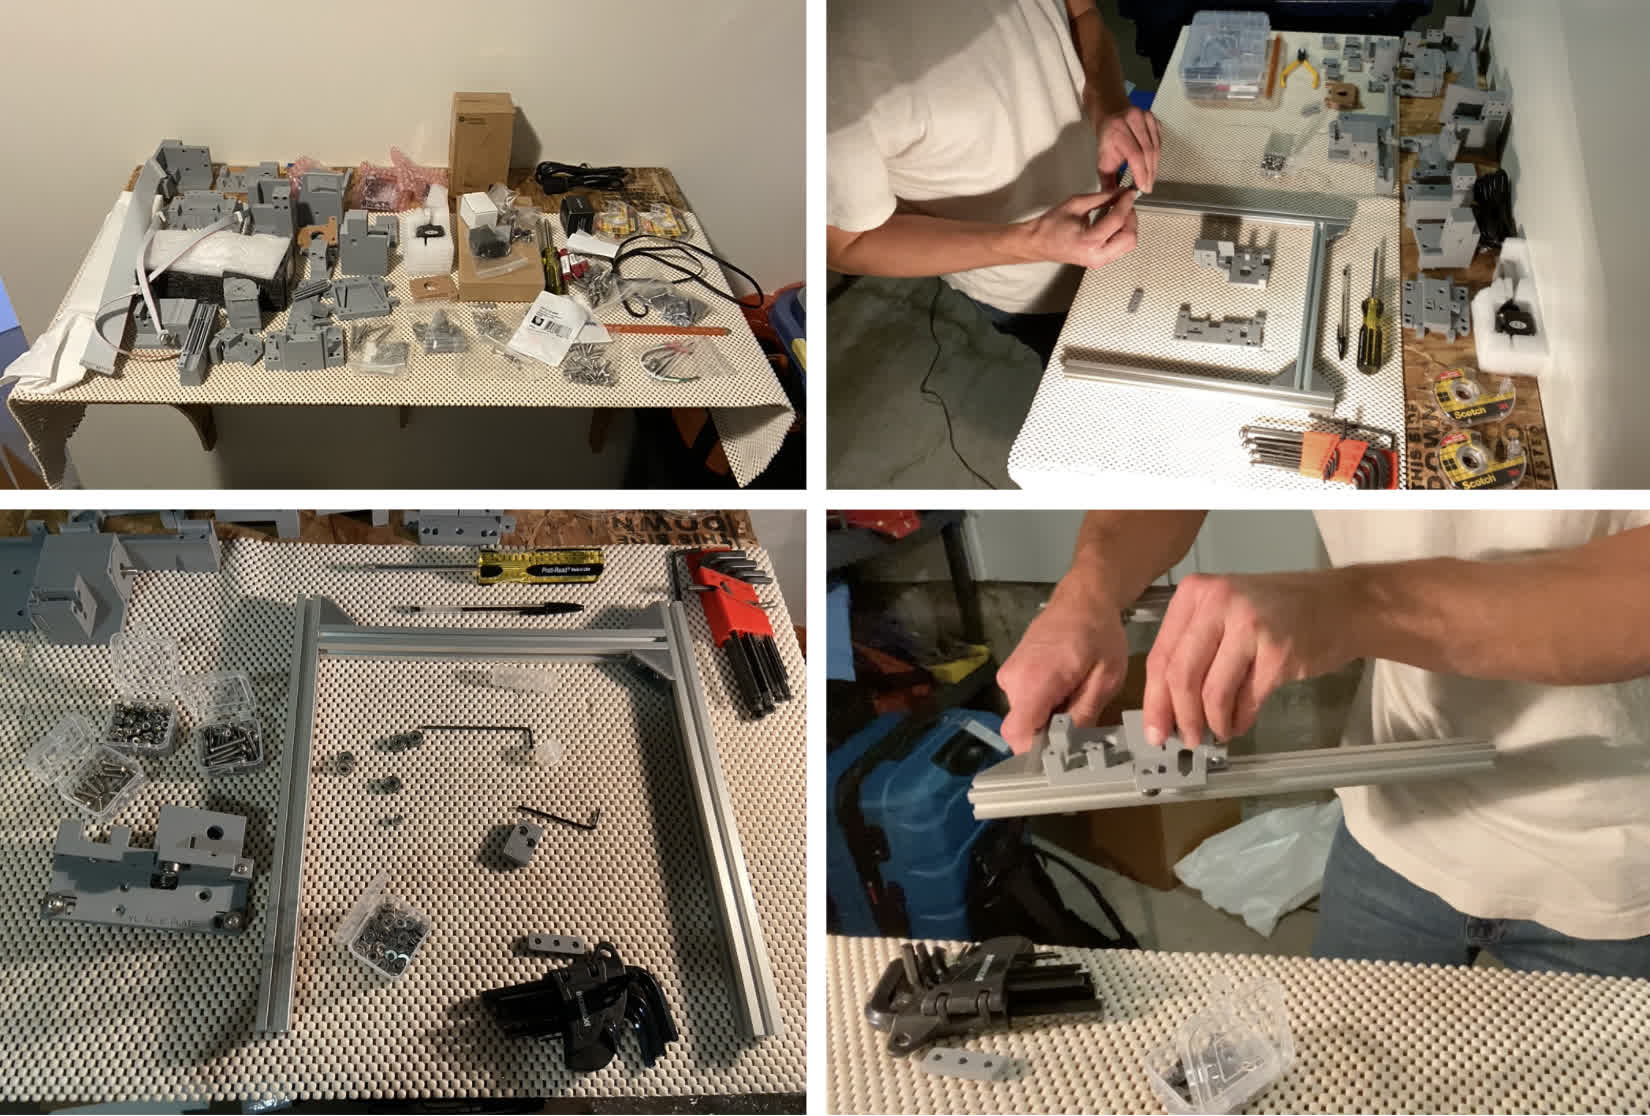
Step 1: Organizing parts & assemble subassemblies.
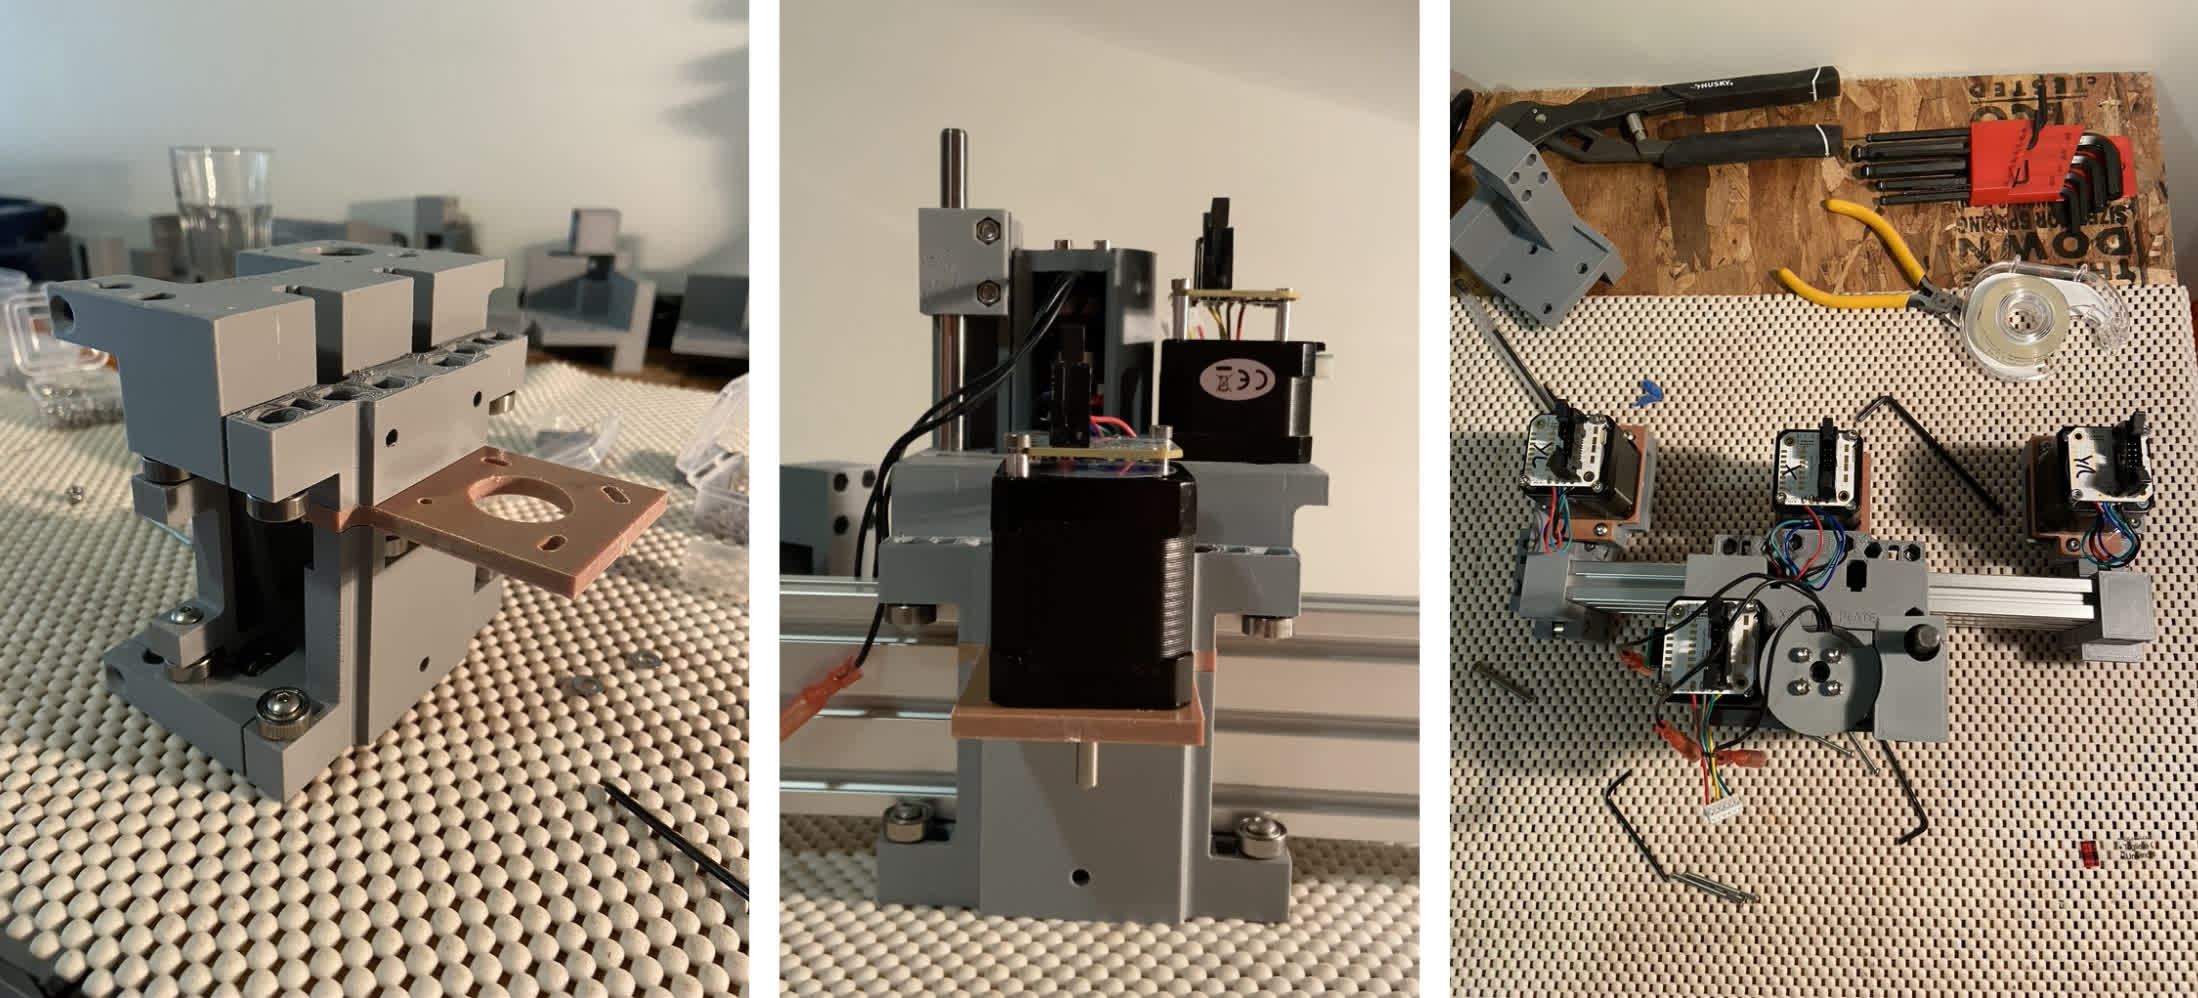
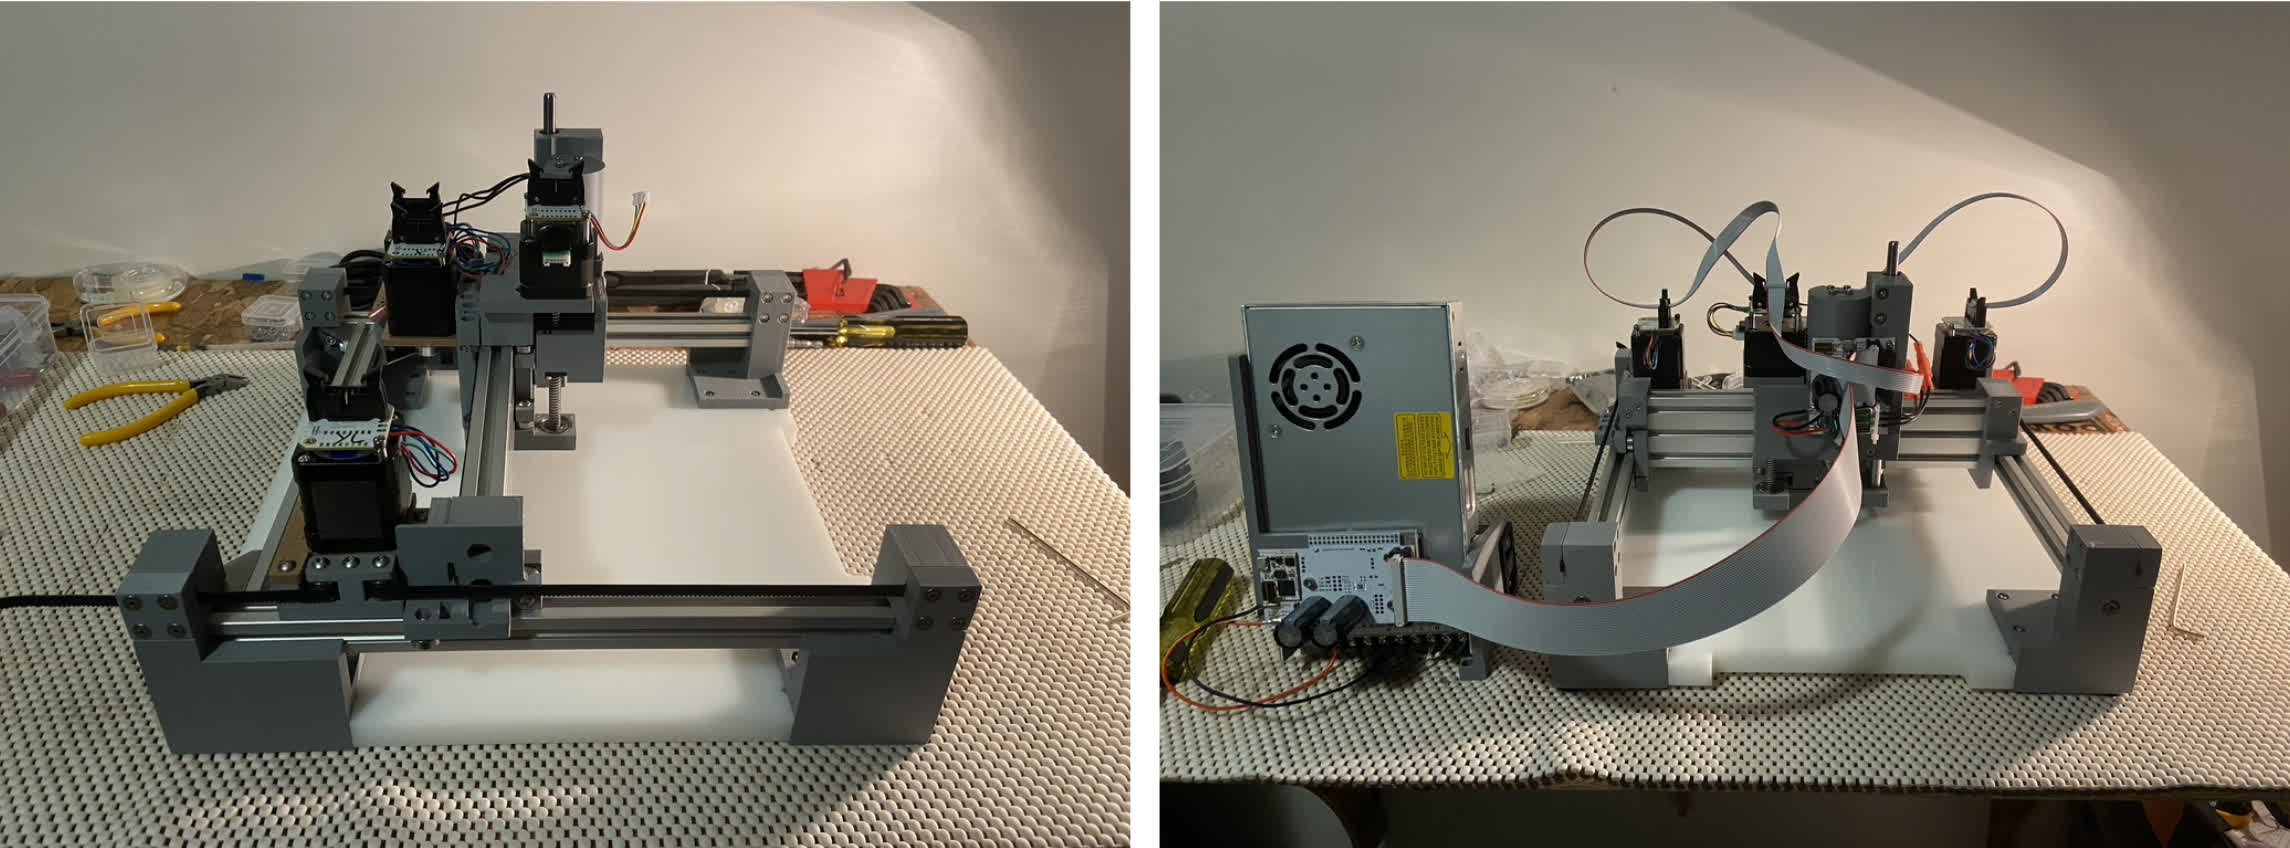
Step 2: Combine subassemblies.
Step 3: Wire it up.
Clank Phase 2: Bring it Online!
My experience operating Clank for the first time was a little rougher than the assembly process. Such is life...
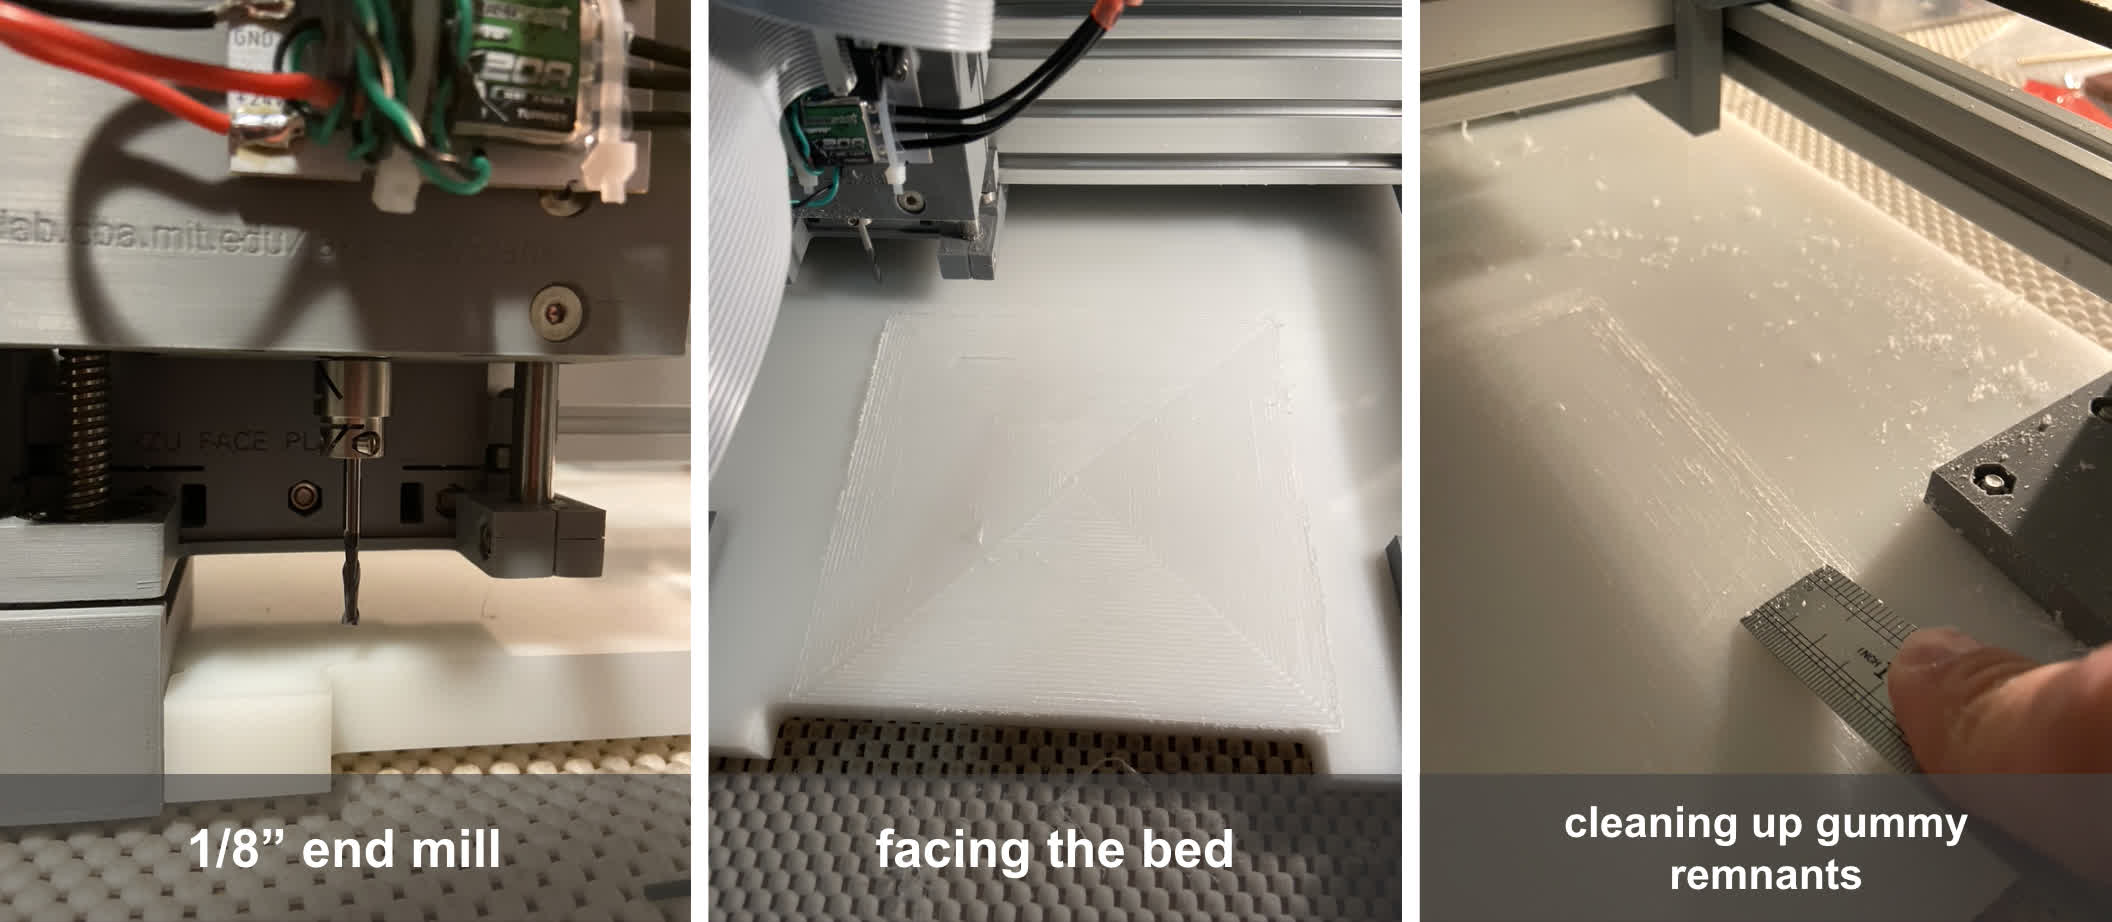
Step 4: Face the bed. I encountered a few challenges:
1. I did not correctly home my bit in the x and y coordinates, so my machine faced a section that was slightly off center.
2. I let my computer fall to sleep half way through the cutting process (see video below), so Clank stopped tracking part way through the cutting task. I had to manually power down the machine to stop it.
3. After manualy powering the machine down, the z-motor started continually beeping at me when I powered it up again. I powered down and unplugged logic, and this seemed to work.
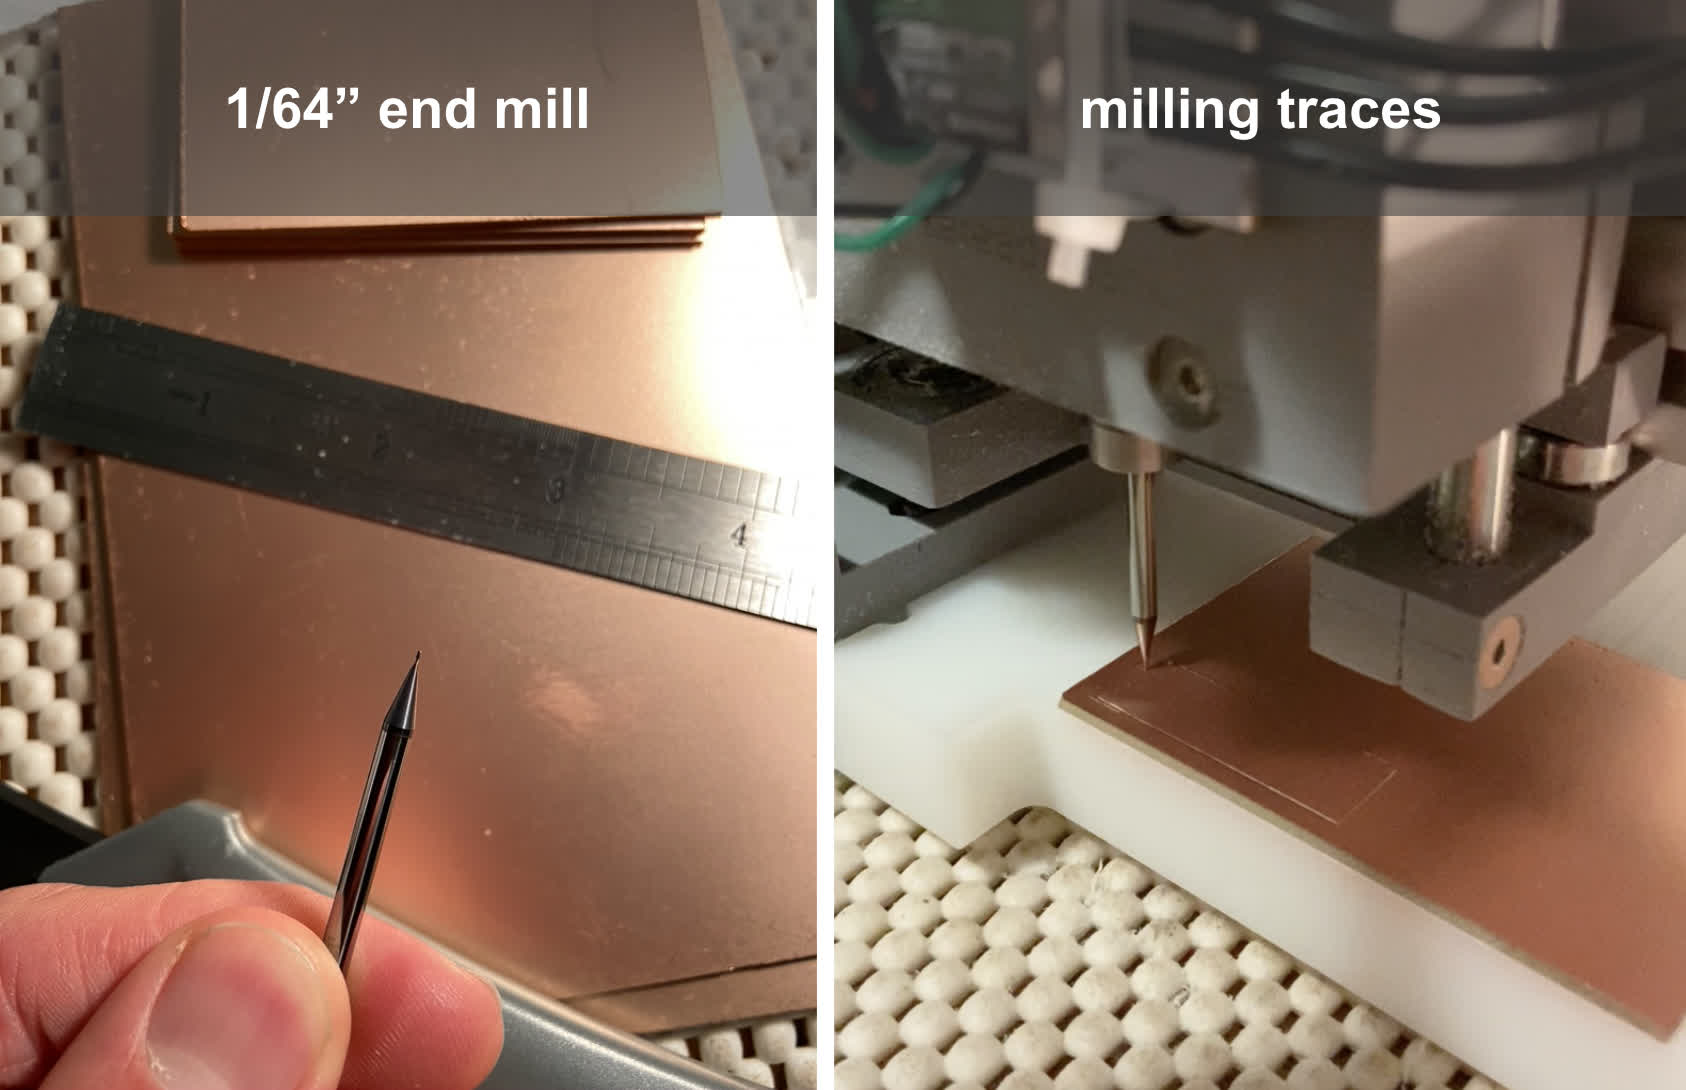
Step 5: Line test file. Cut traces with 1/64" end mill.
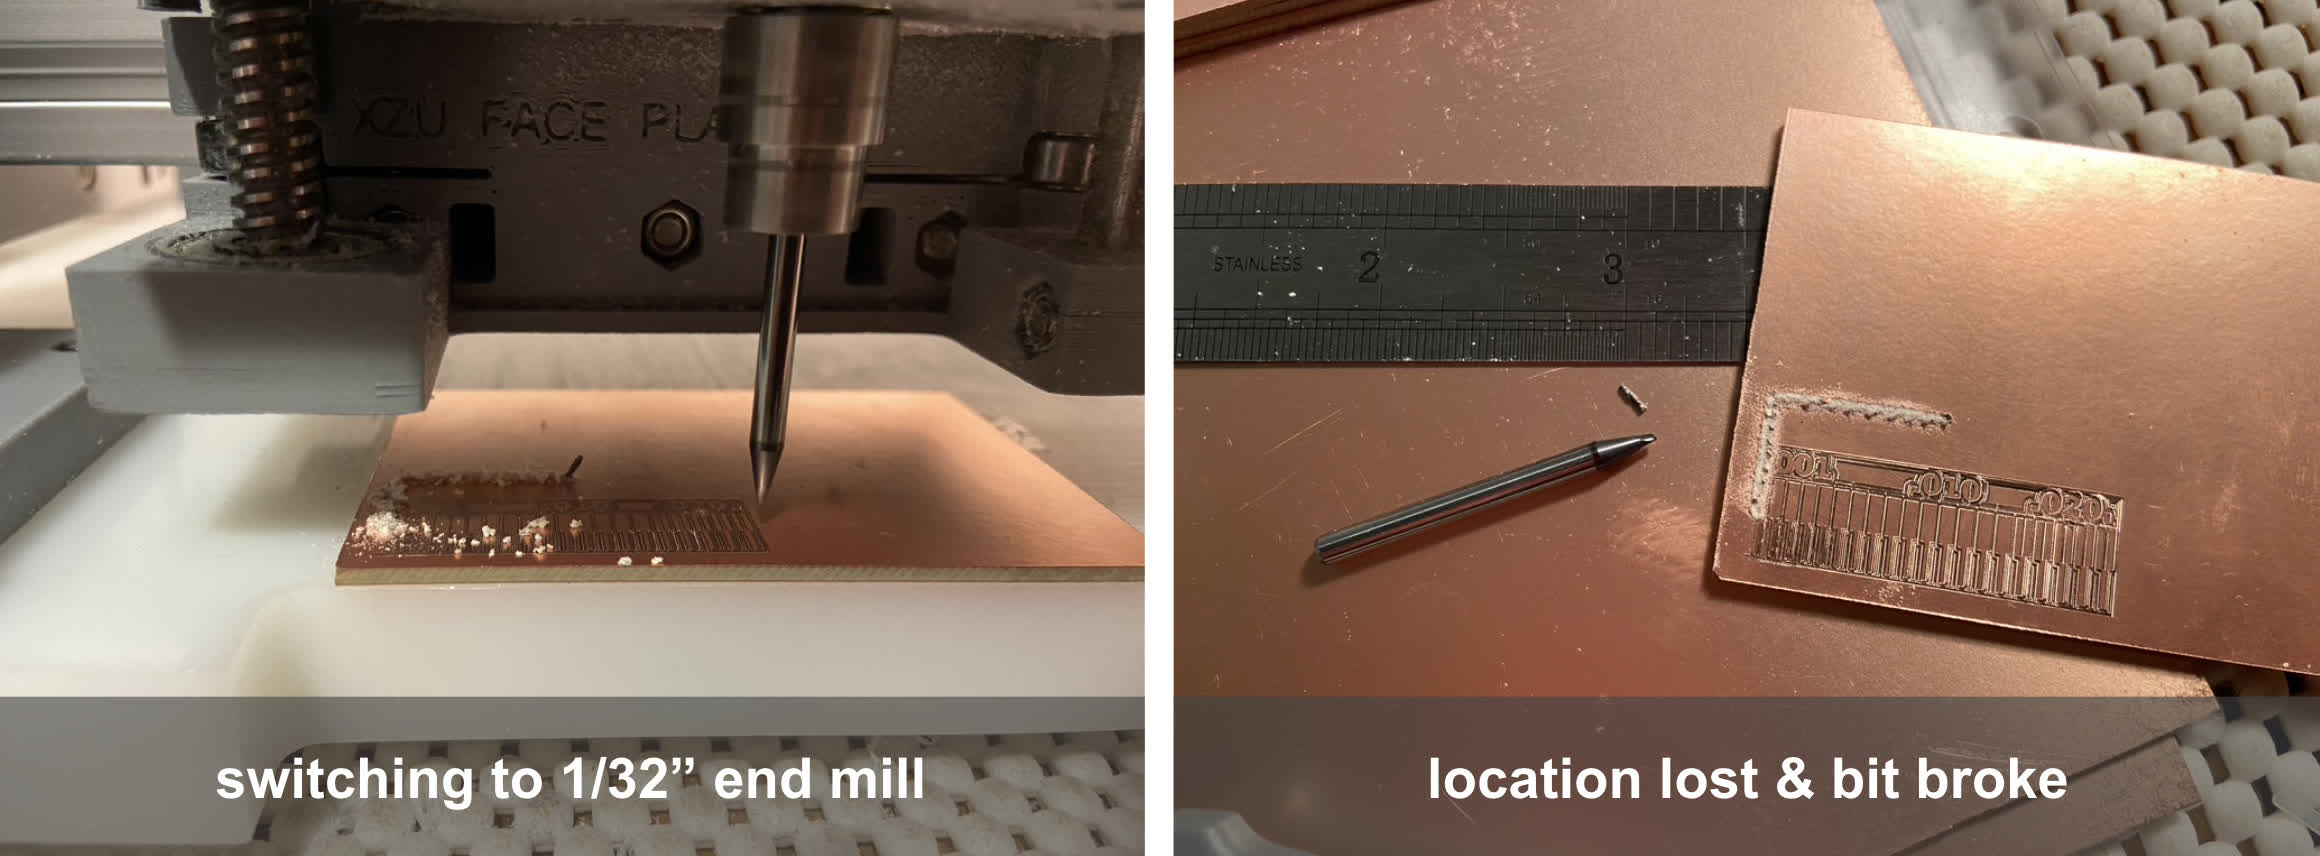
Step 6: Stall your machine, lose your x,y location, break your 1/32" end mill.
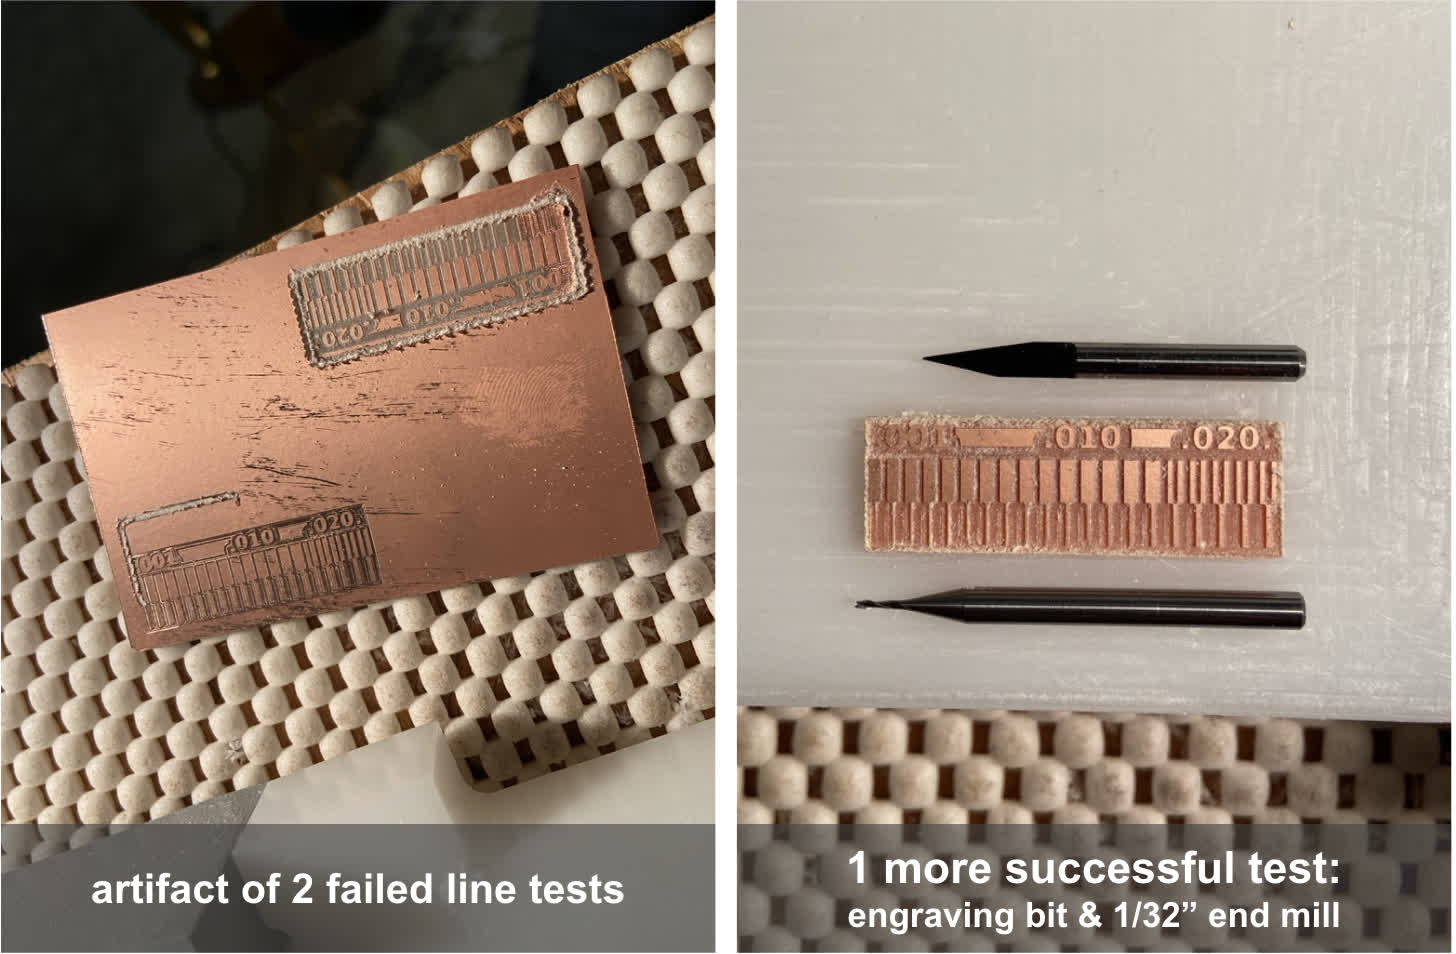
This tool change proved the most frustrating part of this process for me. I lost my location and broke a bit in my first test, and in my second test, my fixturing failed. See video below:
Eventually, I was able to successfully cut a test. Still, I think my bit change and secondary cutout pass workflow can definitley be improved.
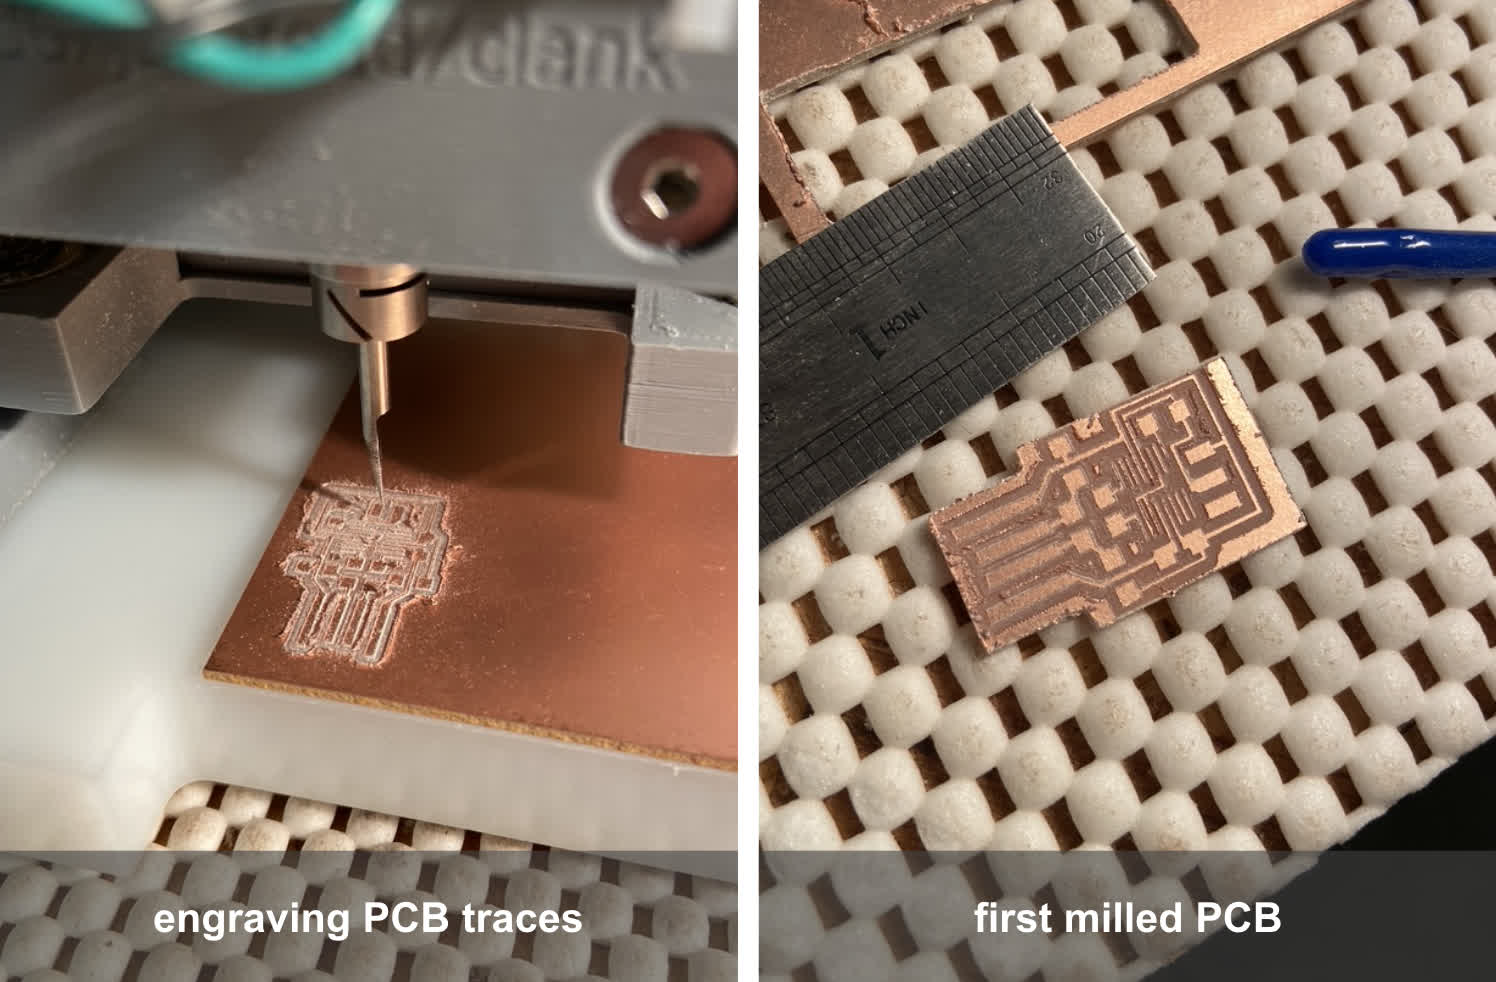
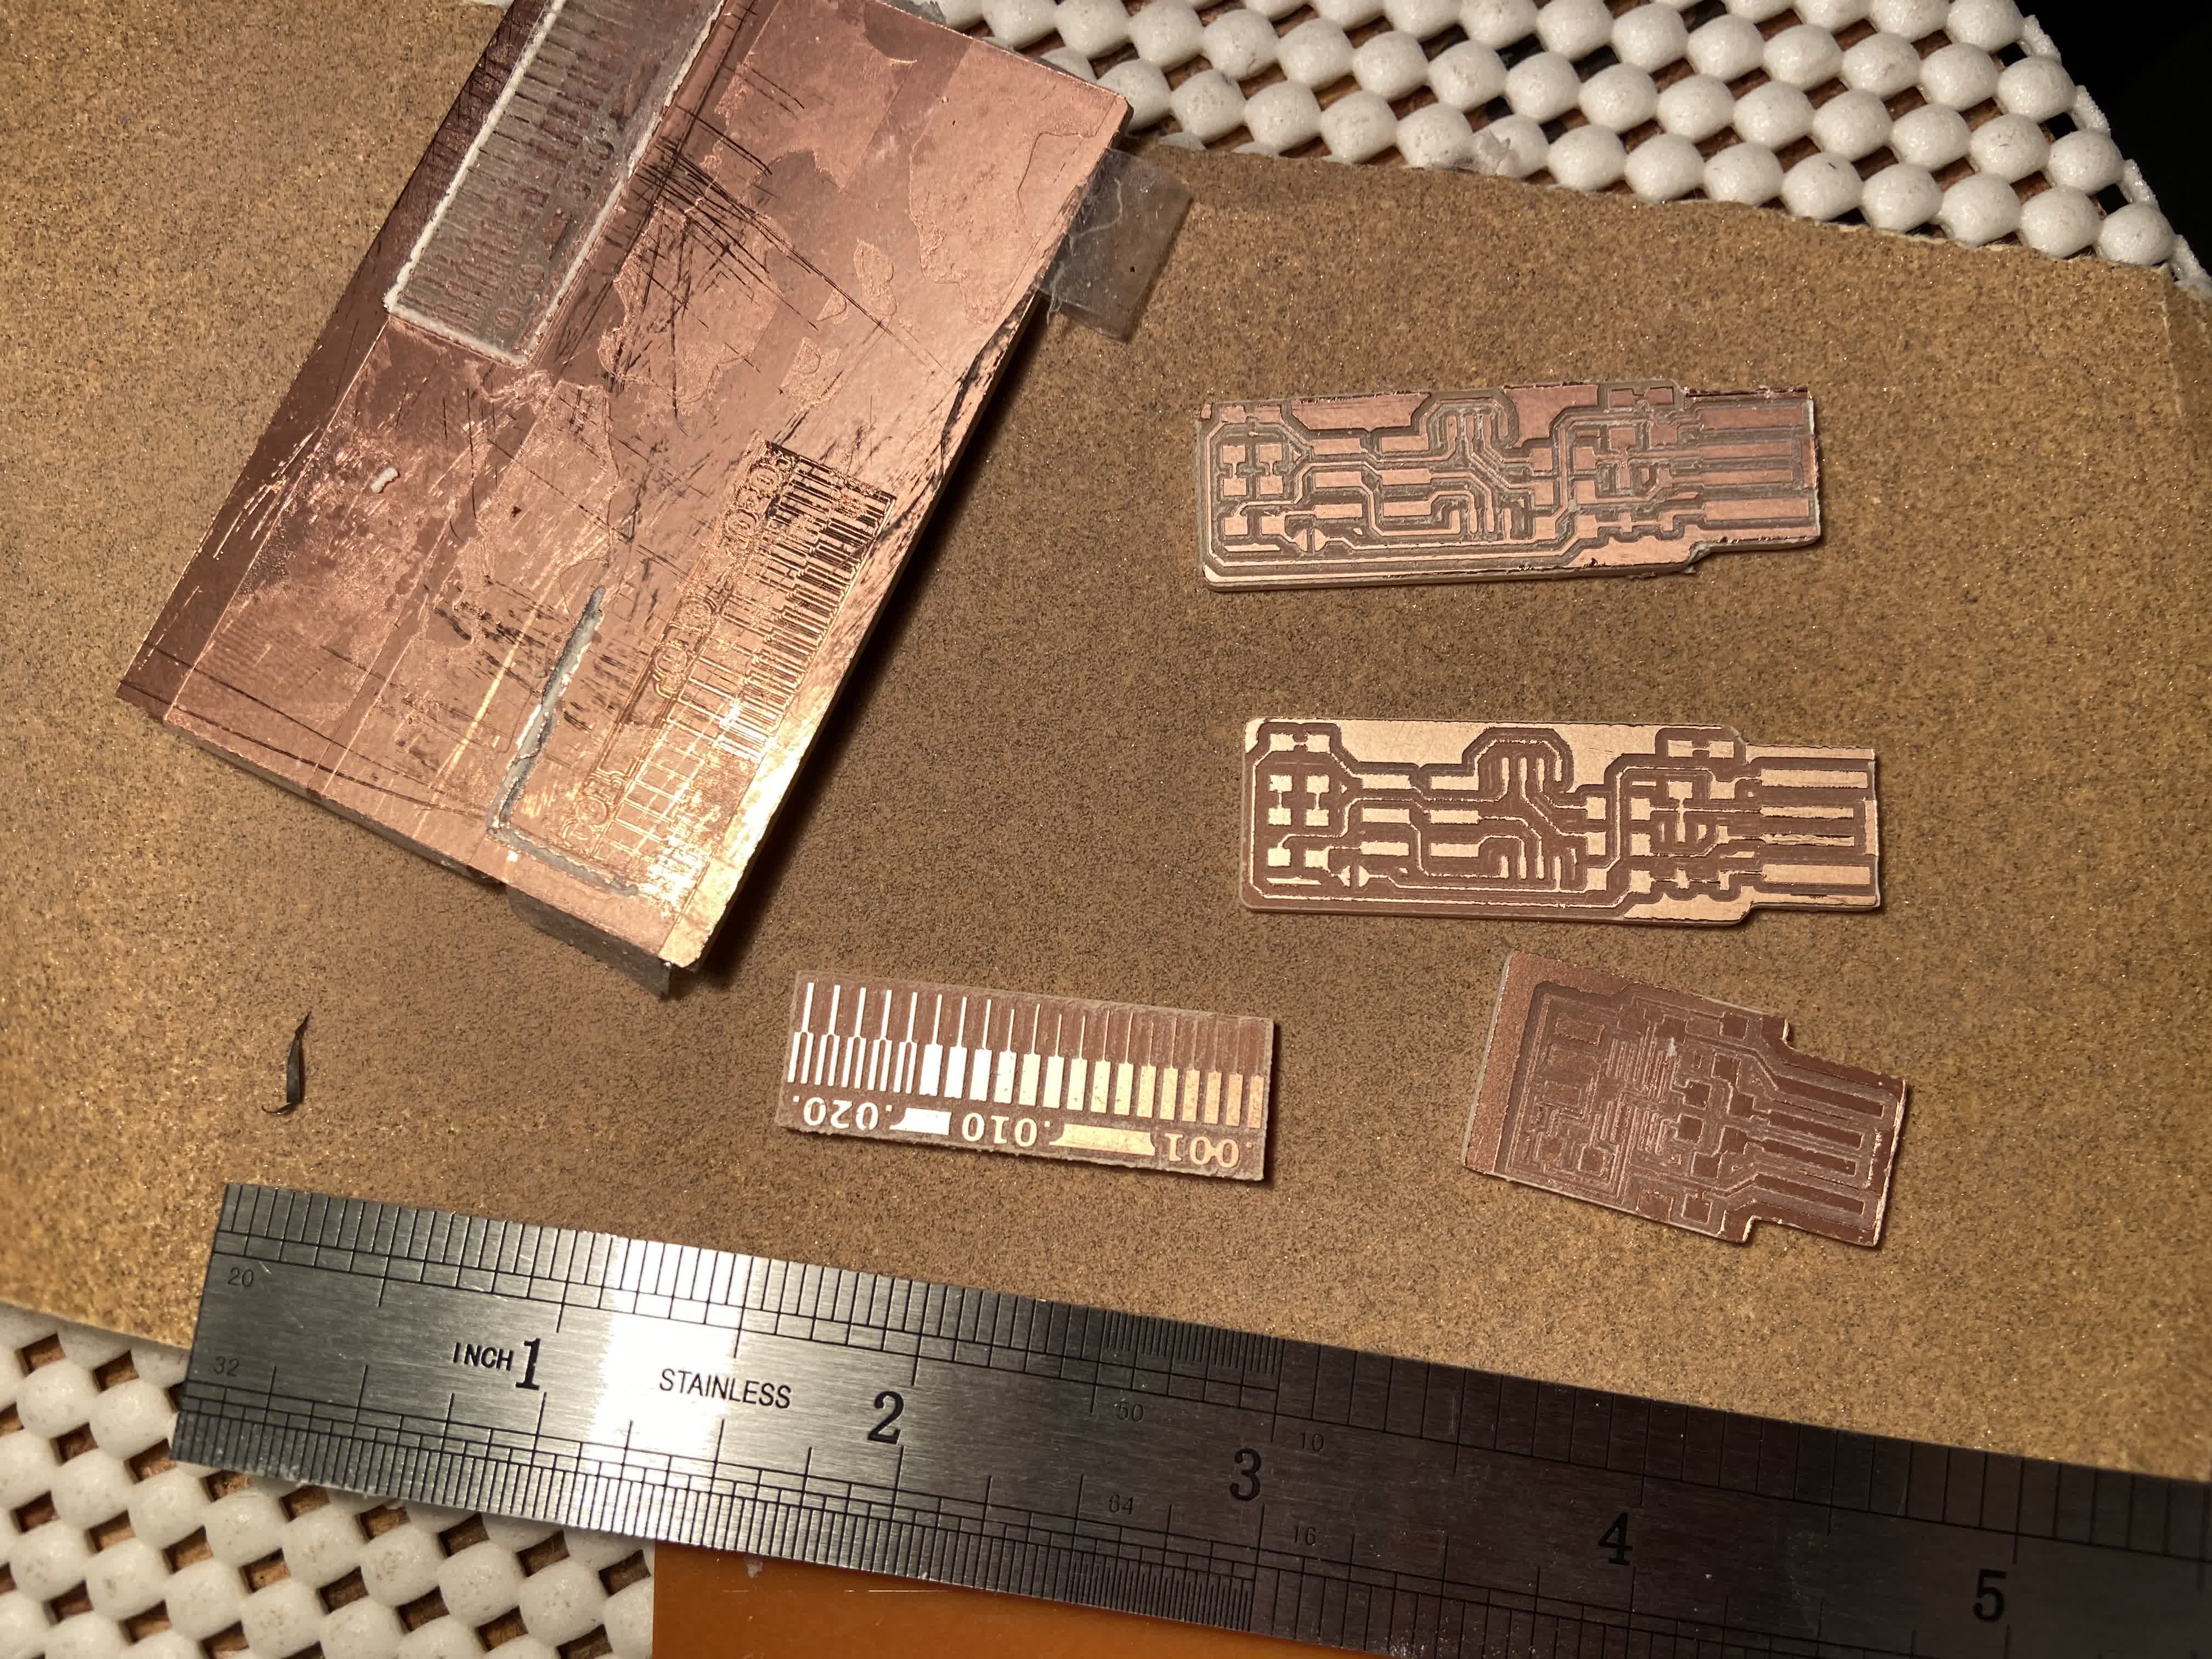
Step 7: With a test complete, I tried my Clank's hand at a PCB board. It came out ok. It needs some de-burring though, and I'm not sure about the size. I need to look at the specs again.
Step 8: Keep testing. I have workable milled boards, but they are a little rougher than they should be. Still need to trouble shoot the Clank settings.
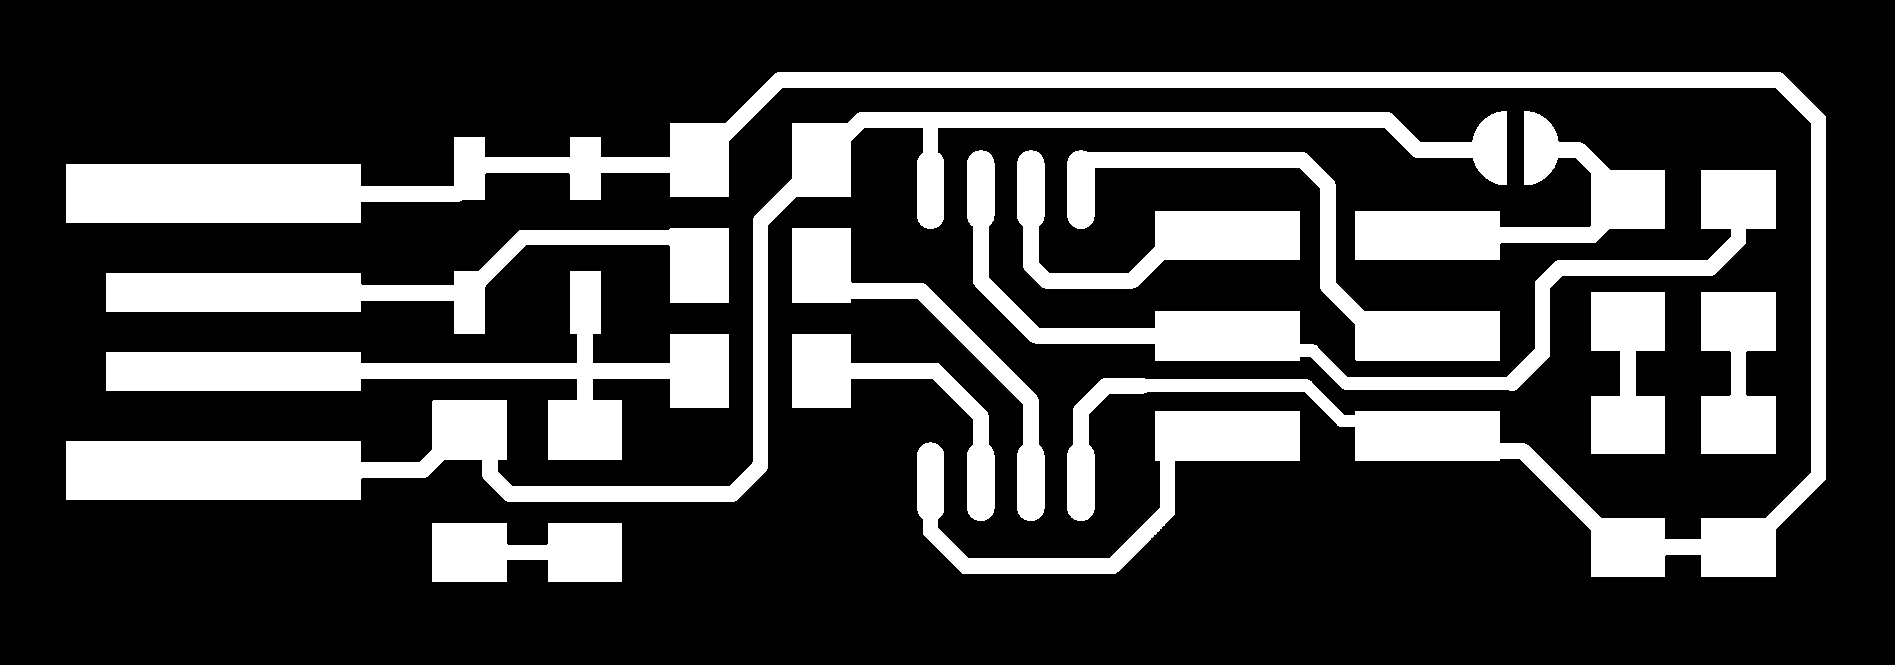
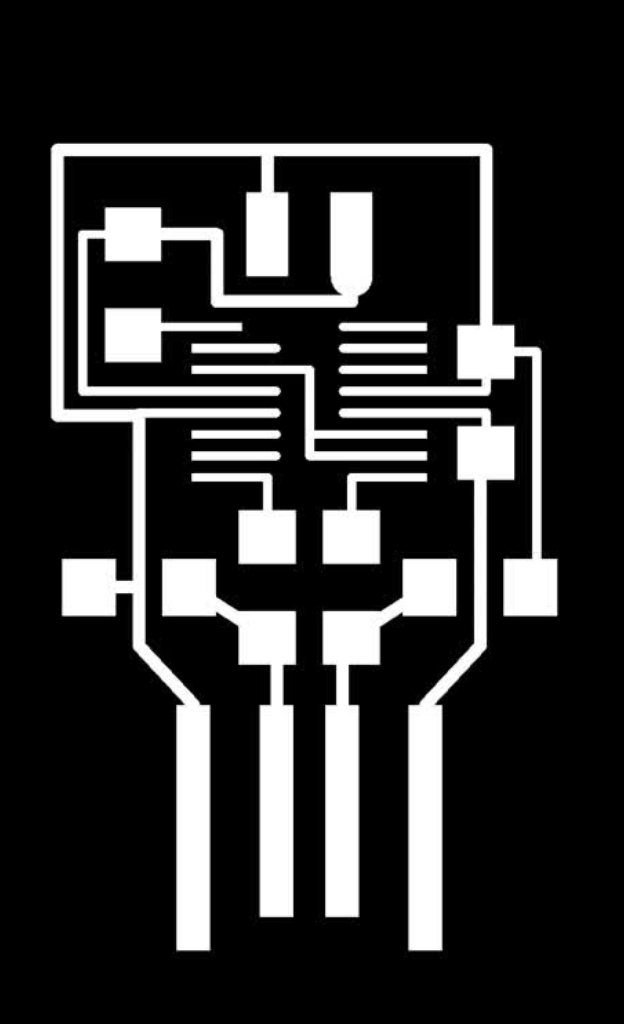
PNGs of my two test boards.
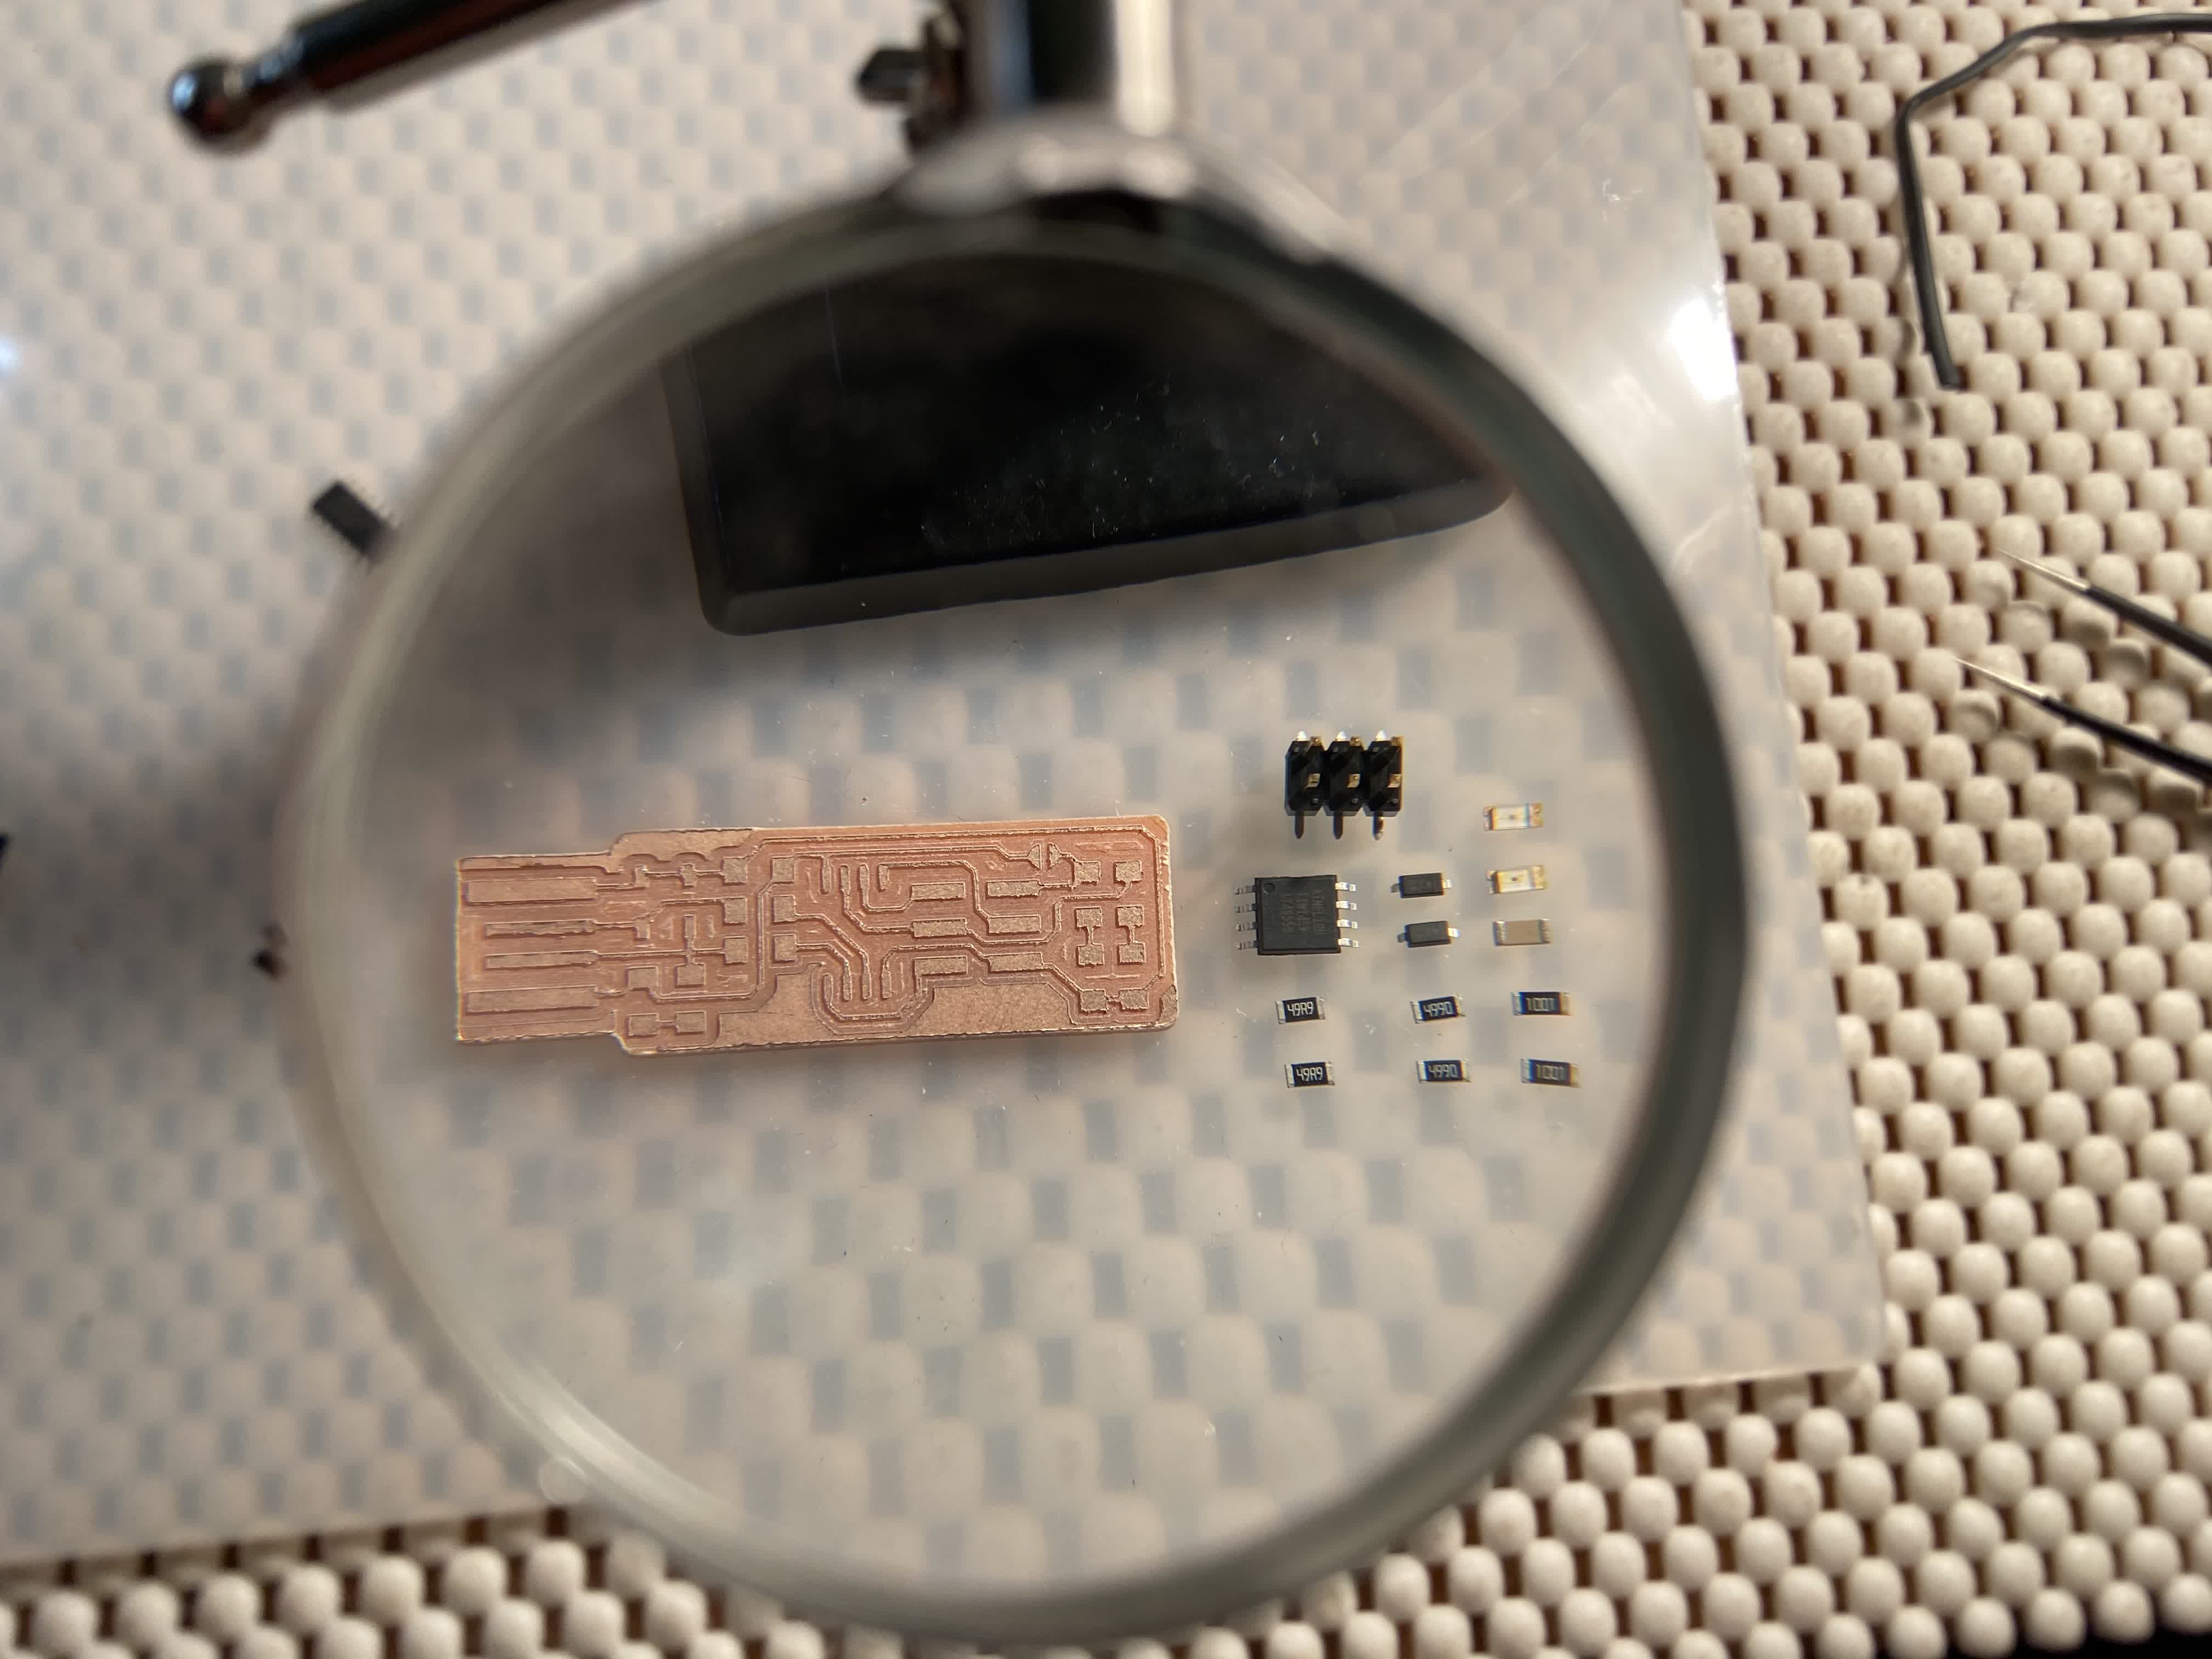
Phase 3: Stuff some boards
To keep this thing moving forward, it's time to stumble my way through some soldering.
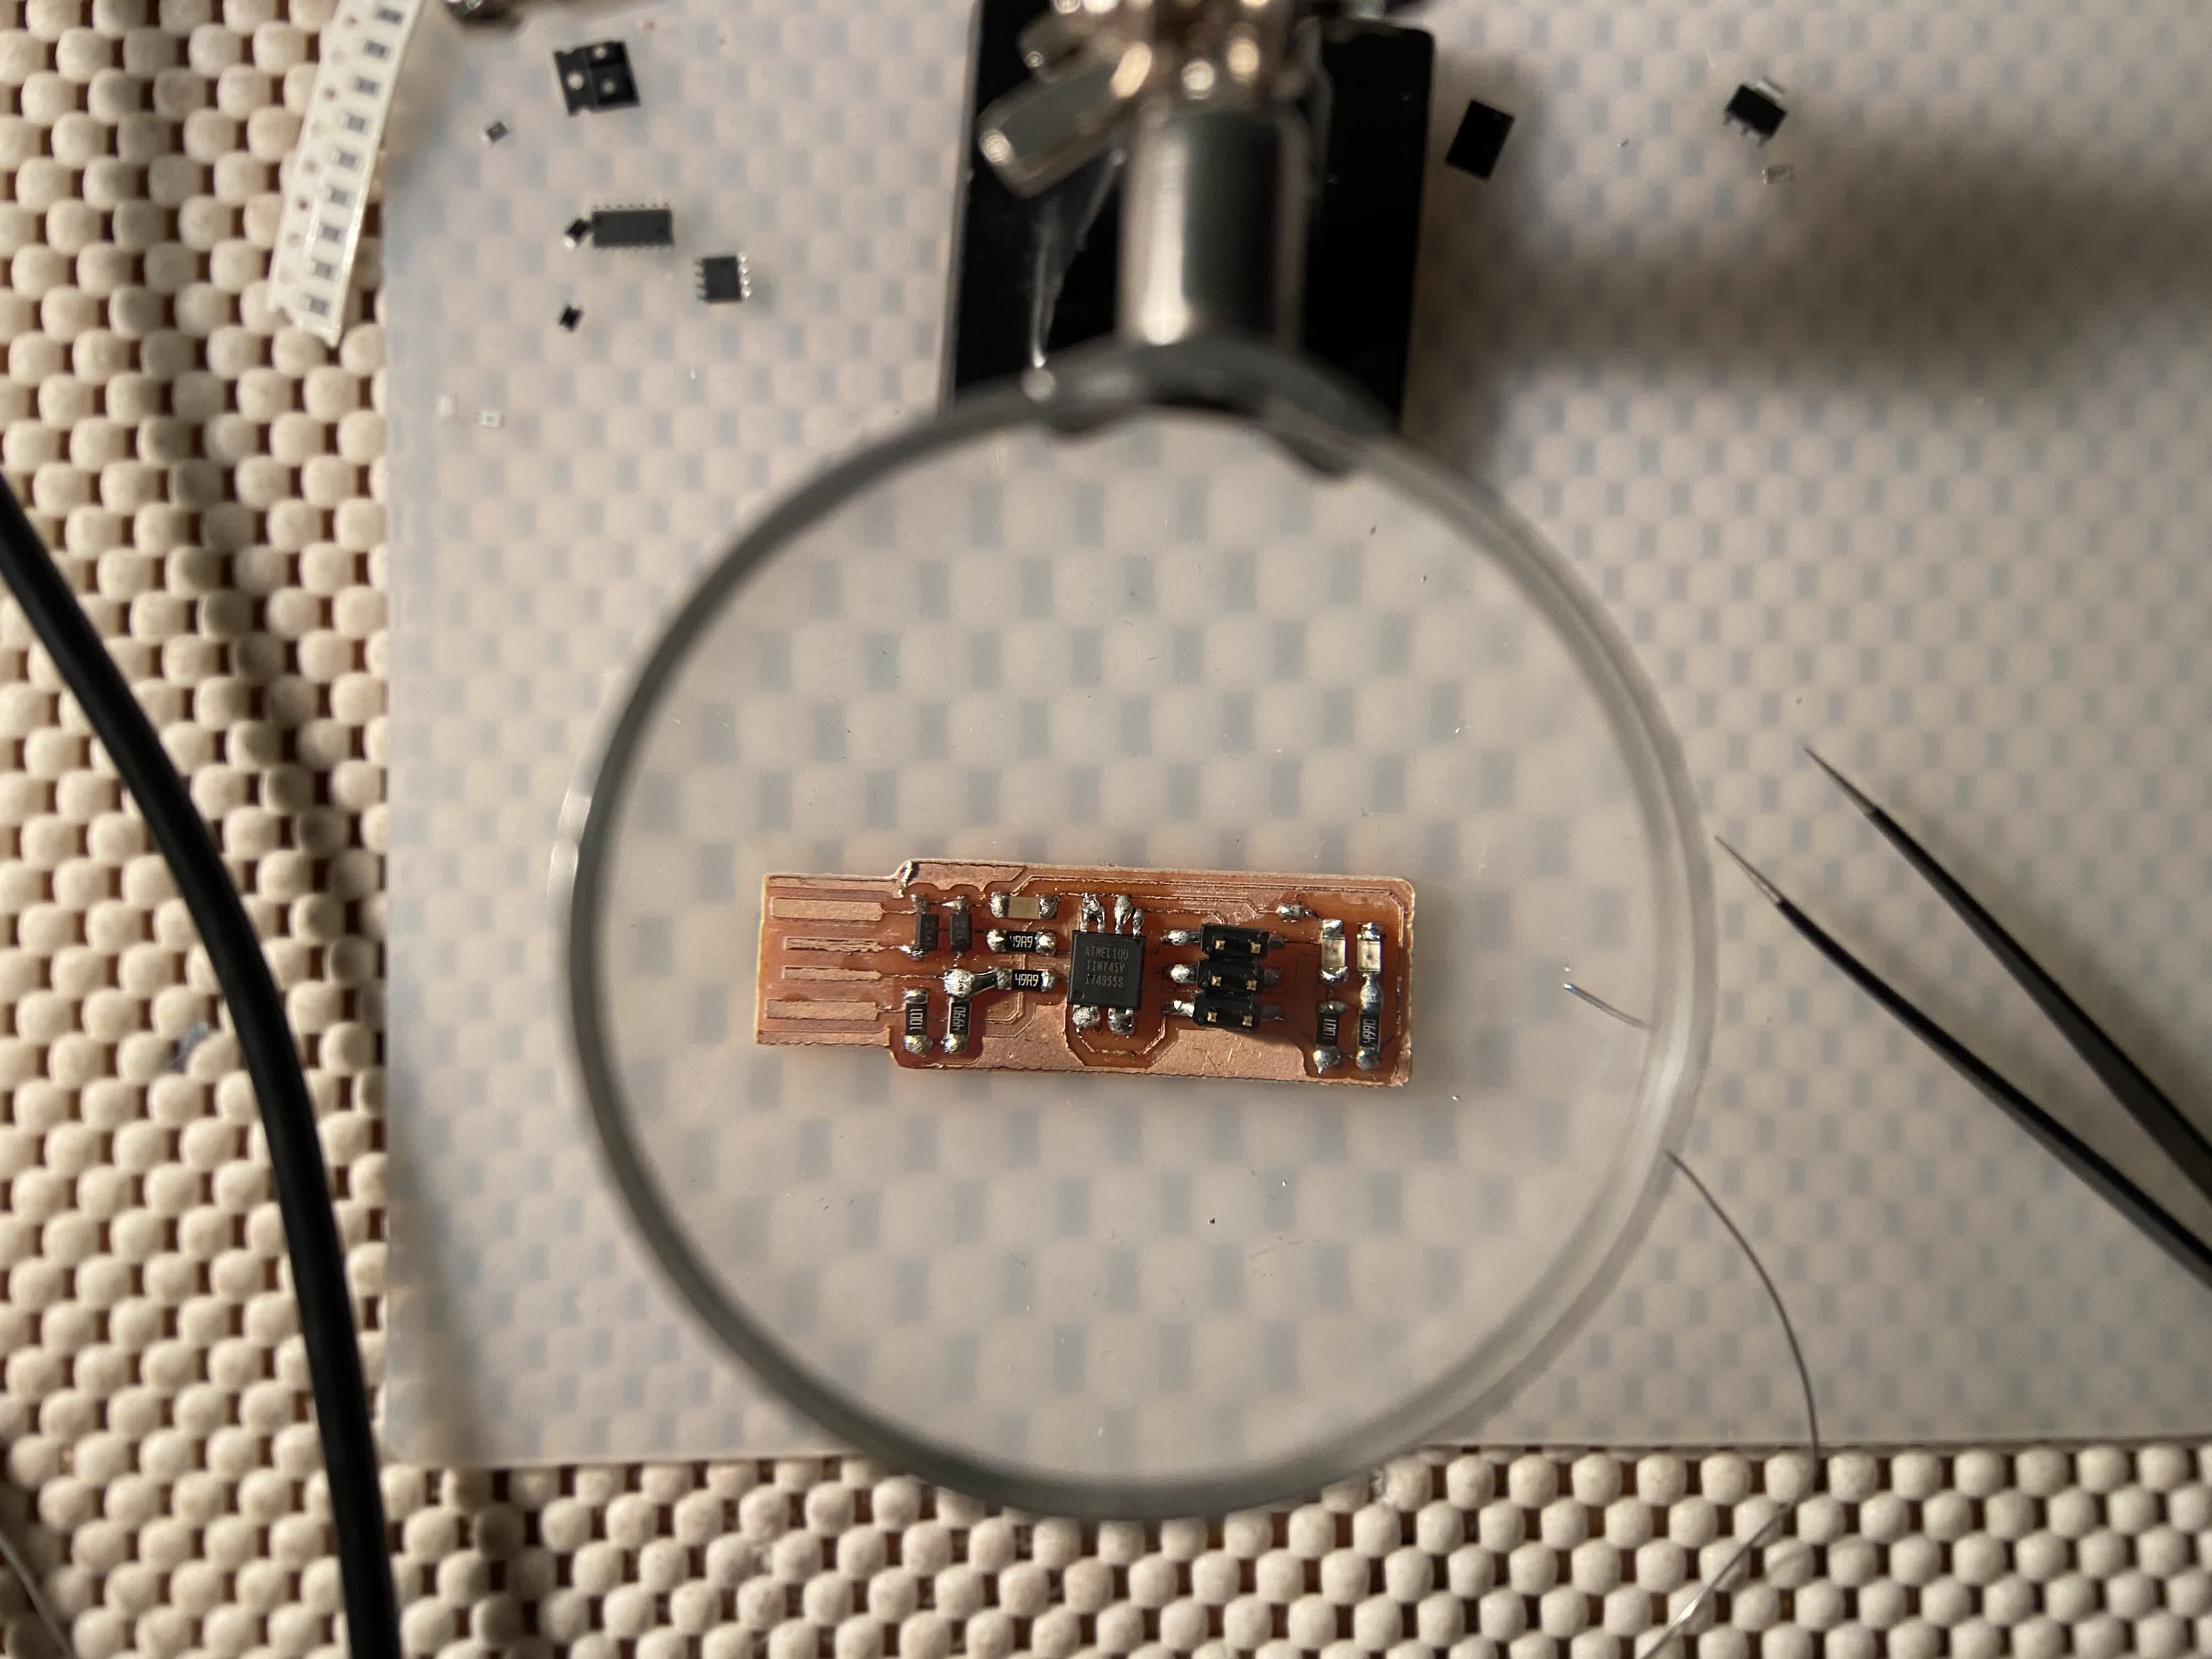
I found that I was missing some components to fill out the FabTinyISP. Here are the list of all the components:
1. 1x ATtiny45
2. 2x 1k ohm resistors
3. 2x 499 ohm resistors
4. 2x 49 ohm resistors
5. 2x 3.3v zener diodes
6. 1x red LED
7. 1x green LED
8. 1x 100nF capacitor
9. 1x 2x3 pin header
not-so-pretty soldering job, but the components are stuck on there.
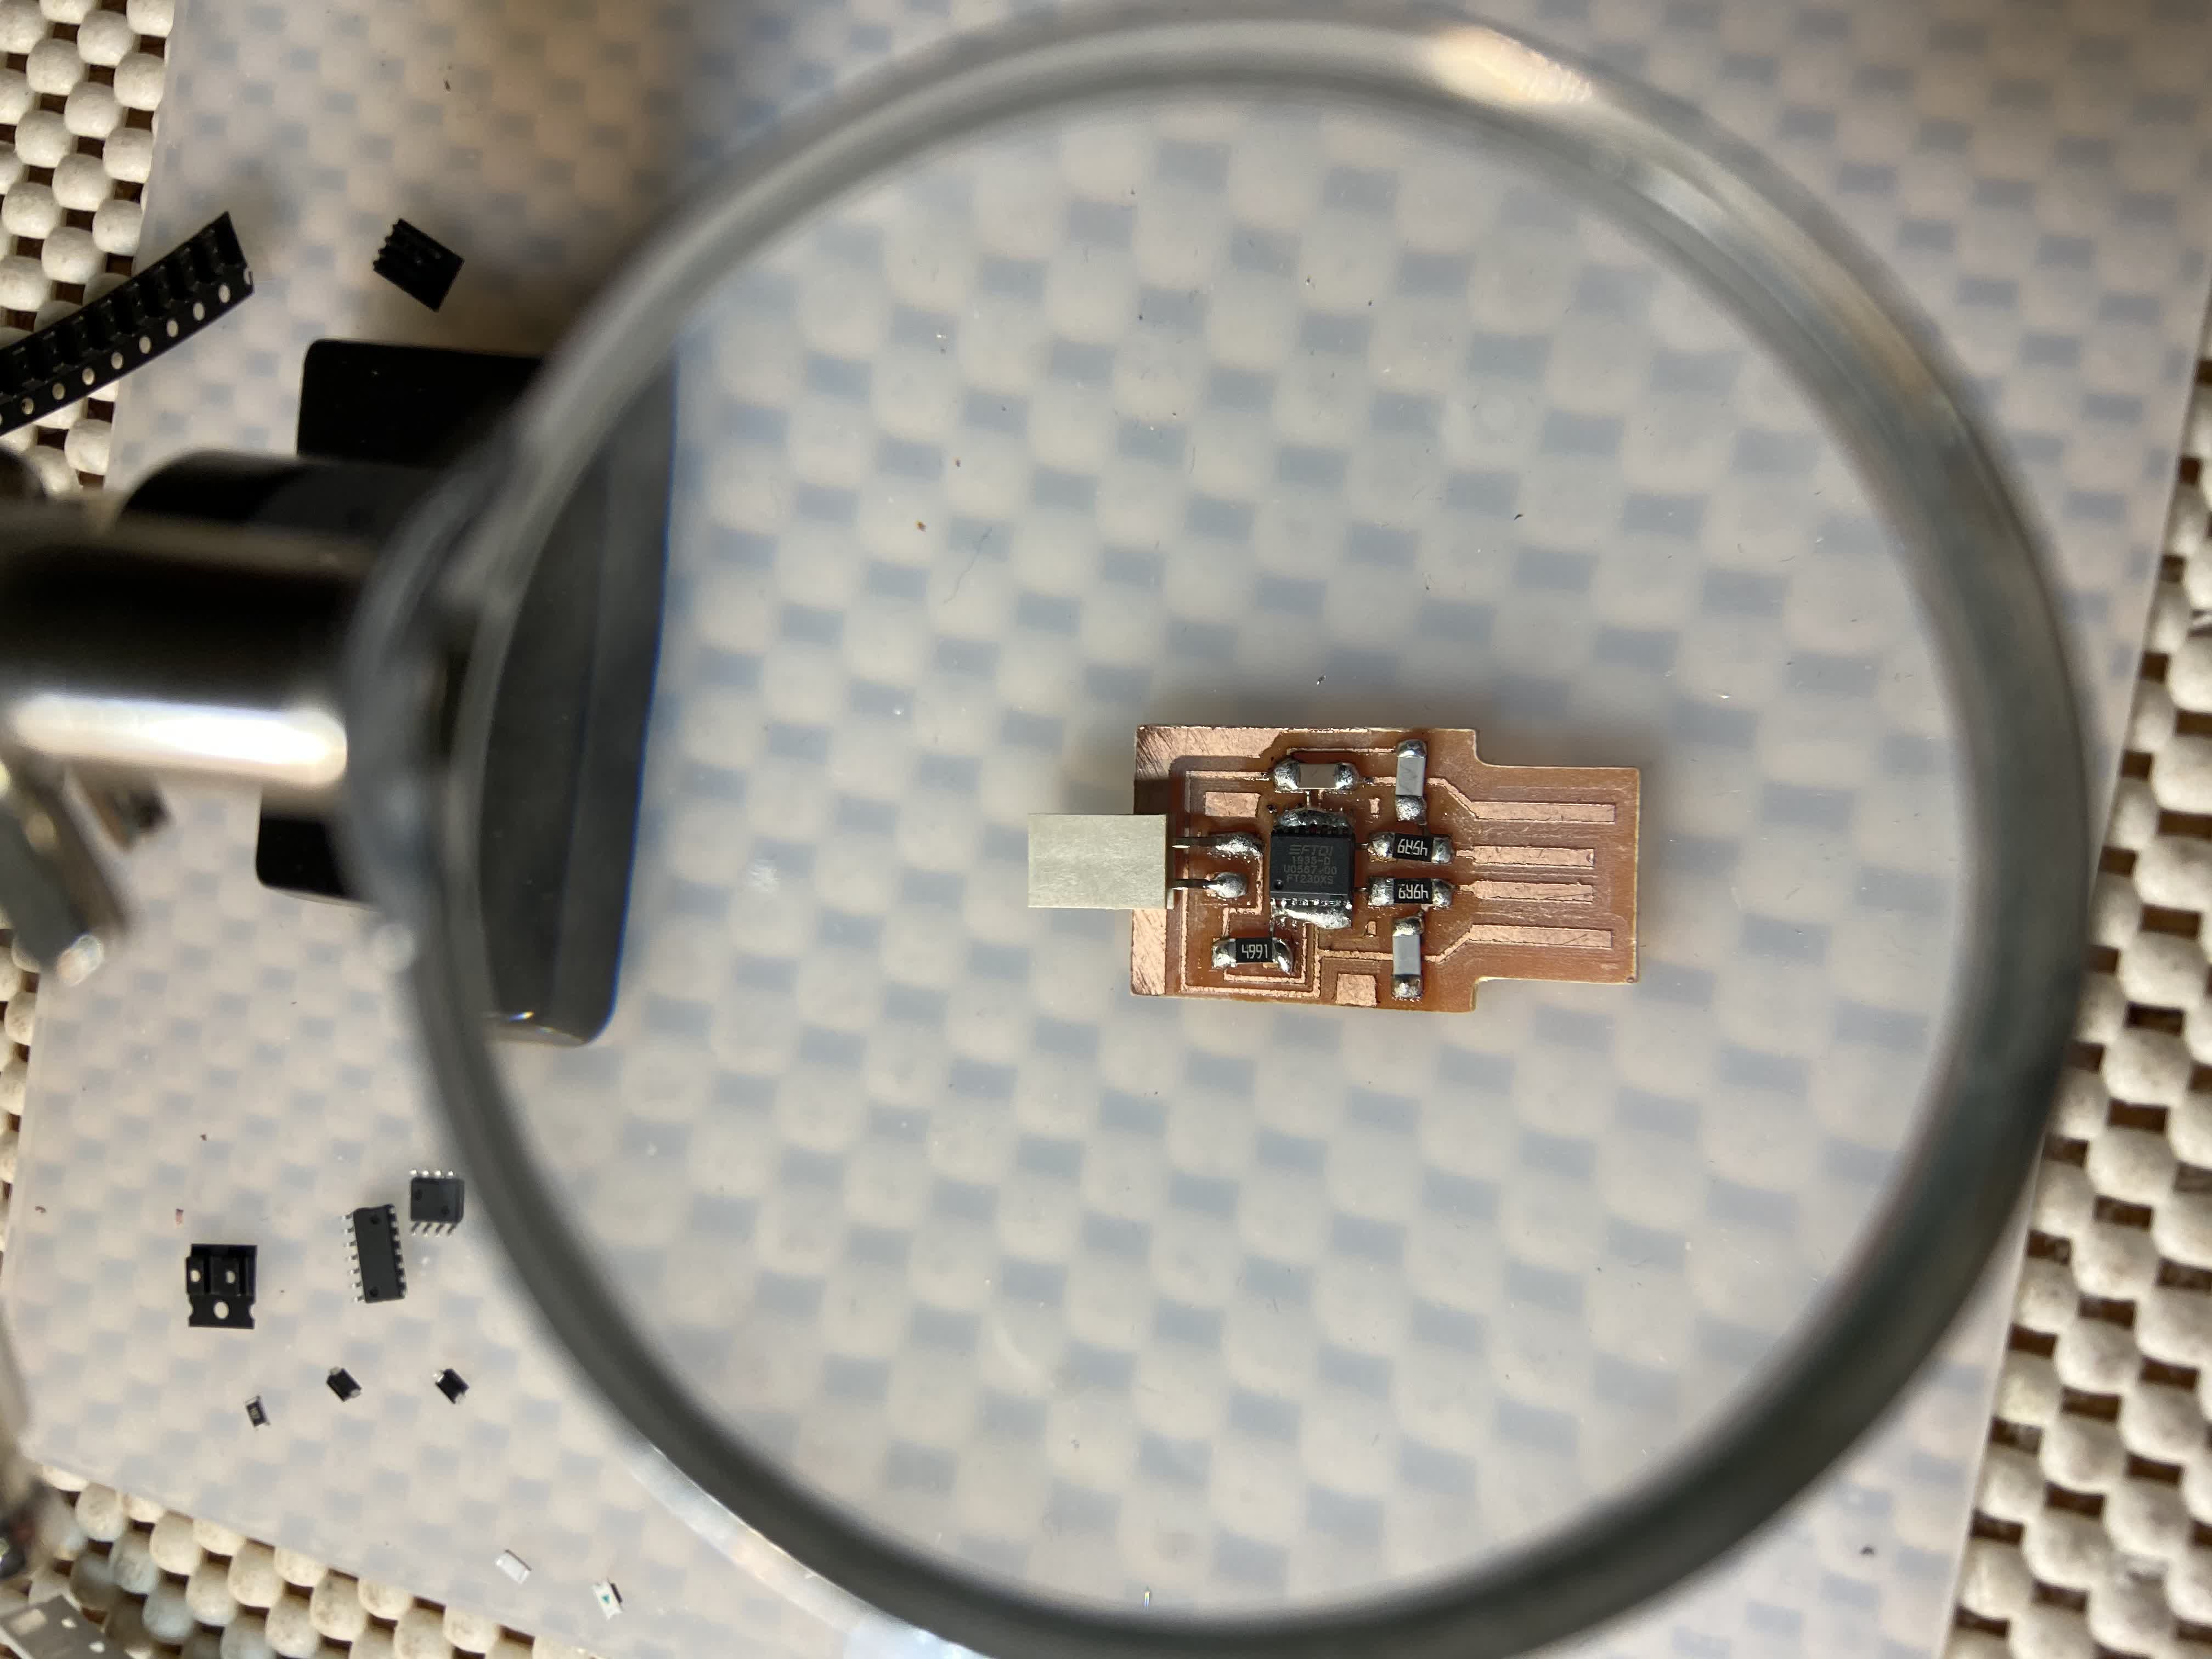
PCB one was not pretty, so I wanted to try another. I think this soldering thing is going to take some time to hone.
Board 2 went a little better, but it's still pretty ugly. Again, this is going to take some practice.