[02 3D Scanning and Printing]
There were two parts to the assignment this week. The first was to scan an object, any object. The second was to create a small 3D object to print that could not be made subtractively - in other words, you couldn't have carved the object from the outside, the only way to make it was through the layer-by-layer printing method where the inside of the part is accessible.
Scanning: What to scan?
There are many different ways to scan an object, and I definitely plan on trying out some of the DIY versions - did you know you can use your phone to 3D scan an object? This is one I need to try out later. But for now, I wanted to give the Leo (a very fancy 3D scanner that we are lucky enough to have access to) a try. Tom did a demo of the Leo using a swim bubble. This worked surprisingly well. I was surprised that the scanner could pick up all of the curves and edges of an object that was relatively shiny. So what did I want to scan? For my final project I am going to print a glove, so I took this opportunity to check off the first step of my project, which is to have a 3D scan of a hand (my hand) to use as a glove model.
Scanning: A handy tool
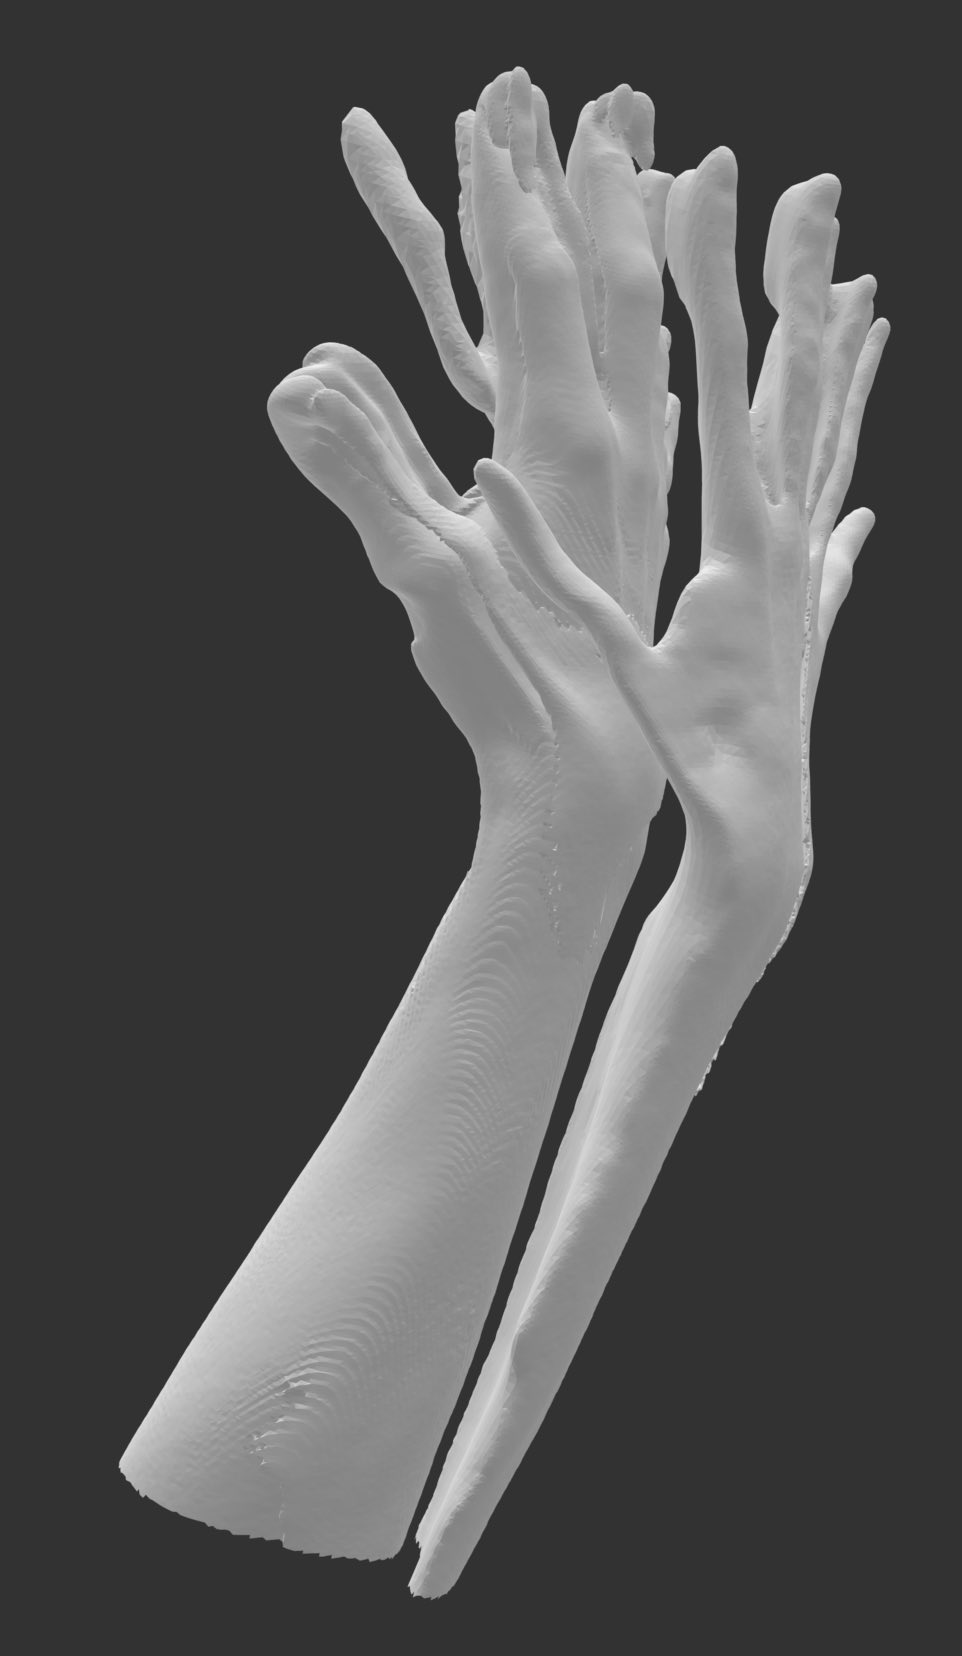
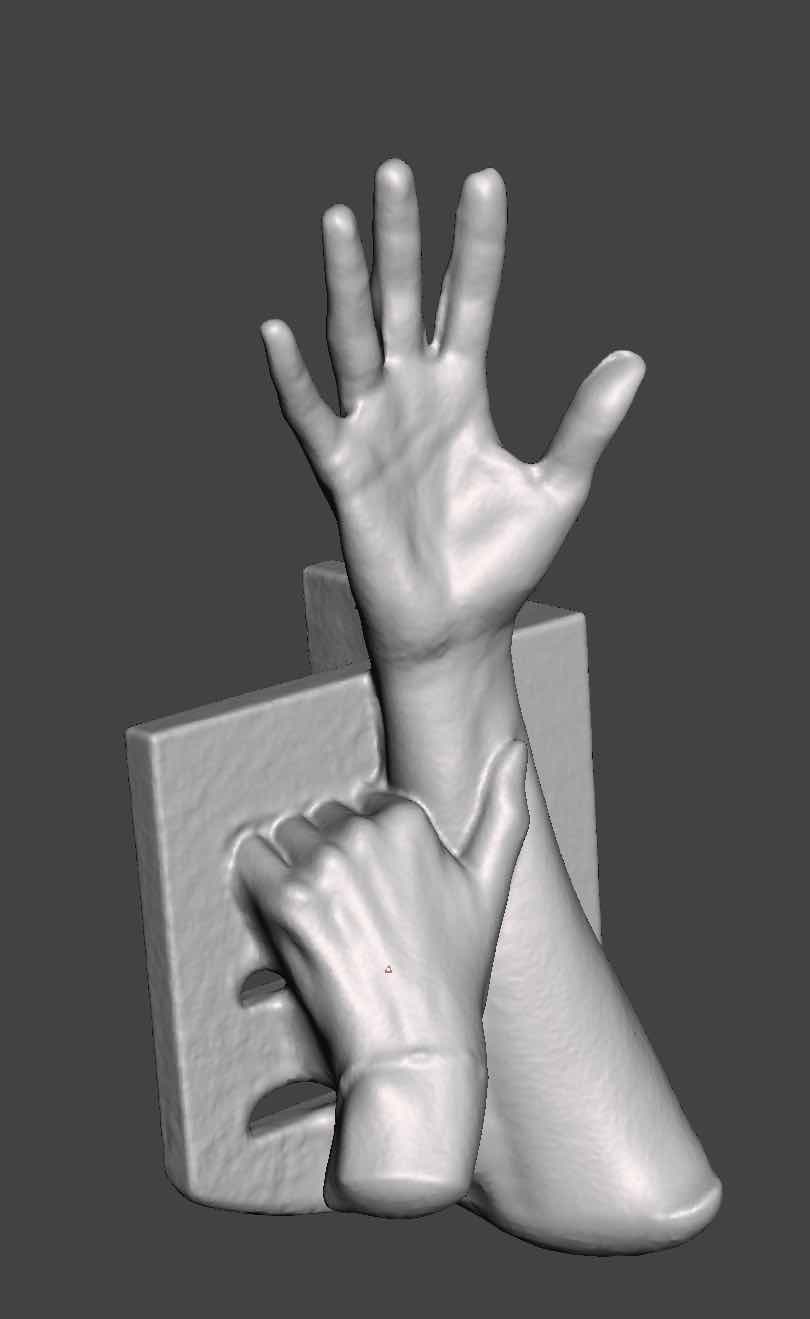
Scanning in my hand was actually more challenging than I thought it would be. First, I needed a helper (thanks Tom!) to do the actual walk-around with the scanner. Second, I needed to stay very still, even micro movements made my fingers into blurry blobs. By the fifth try, we'd figured out that I needed to have my arm upright (for easy, quick, walk around scanning) and resting as high up on my arm as possible on something solid. I also needed to have my fingers spread out as far as possible, the closer they were, the harder it was for the scanner to see the spaces between them, especially if there was any amount of movement. Eventually we got a scan that were pretty good, here's the first blob-finger scan, and the final scan, both before any mesh editing.
Scanning: Editing the blobs
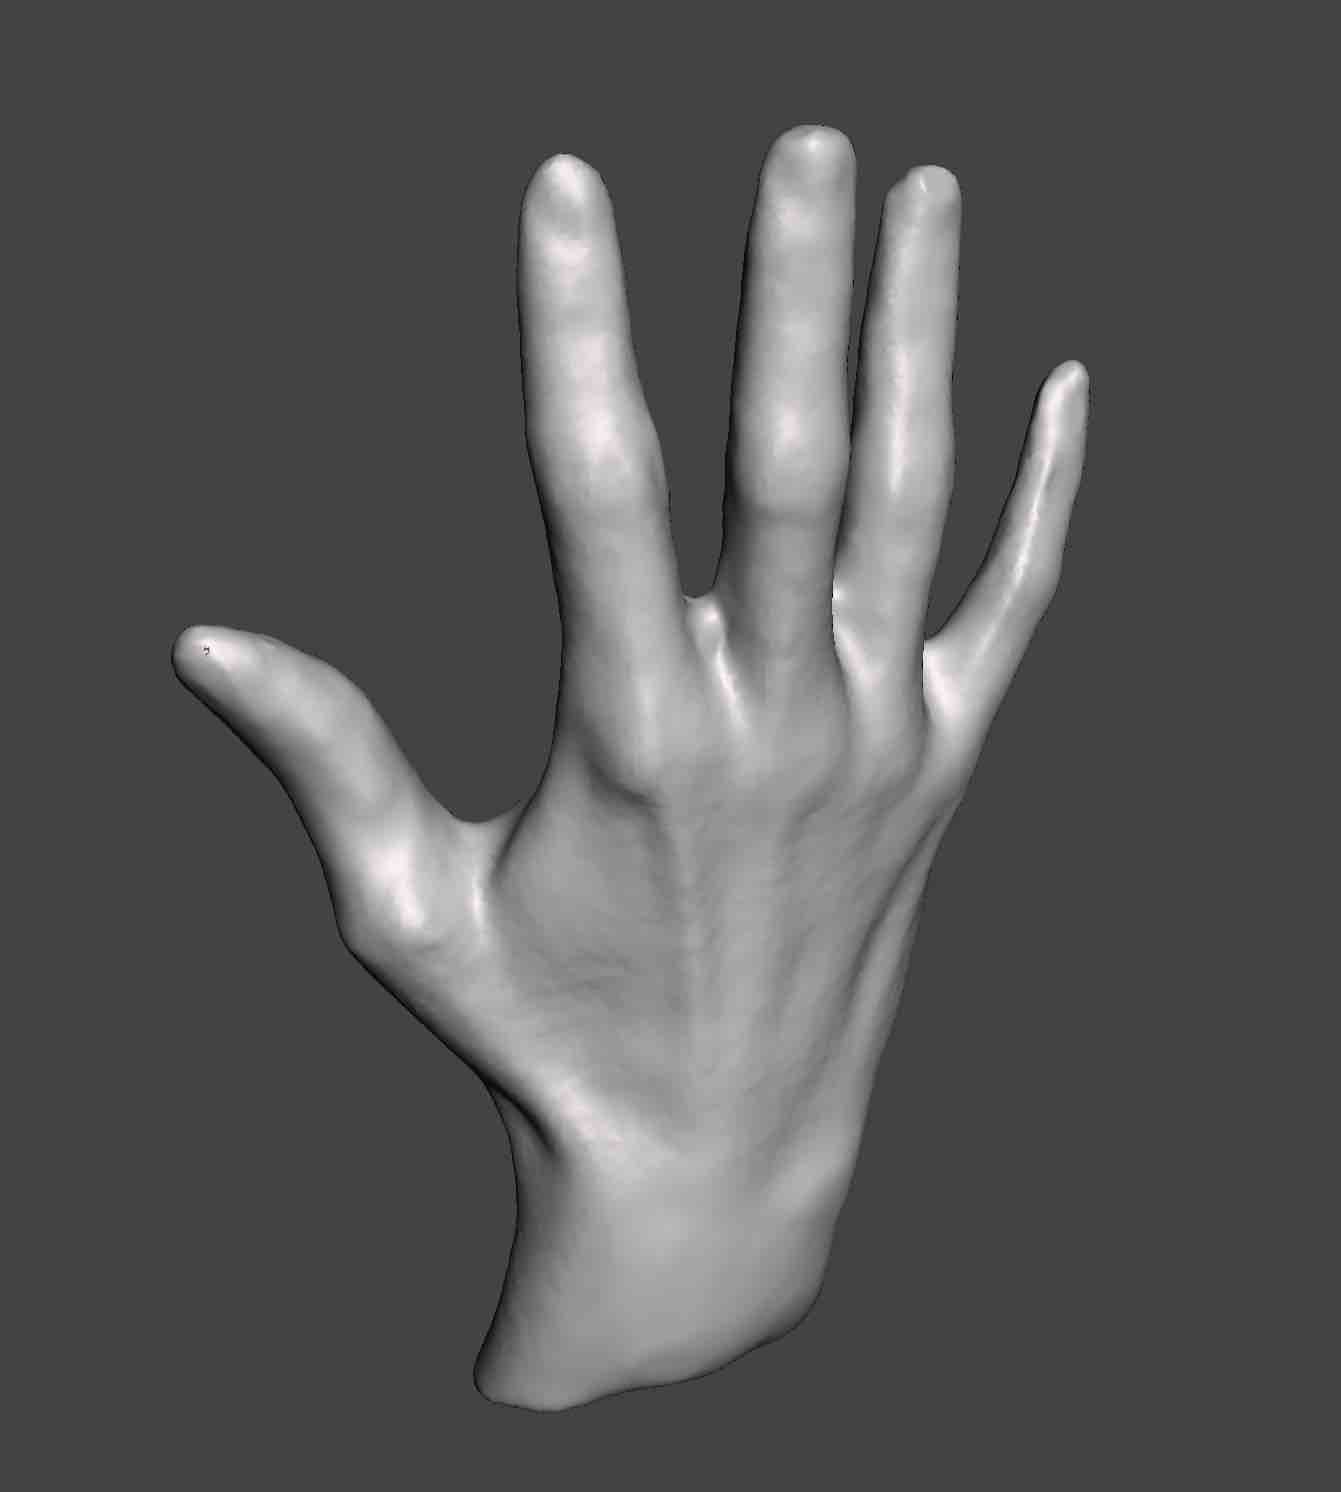
I used Meshmixer to edit away some of the artifacts of the scanning. This was very intuitive to learn how to use and really feels like you have good control over the sculpting tools. Here I've included the 3D model for you to check out as well as an image of the high resolution final version of my scan.
3D Printing: The evolution of learning
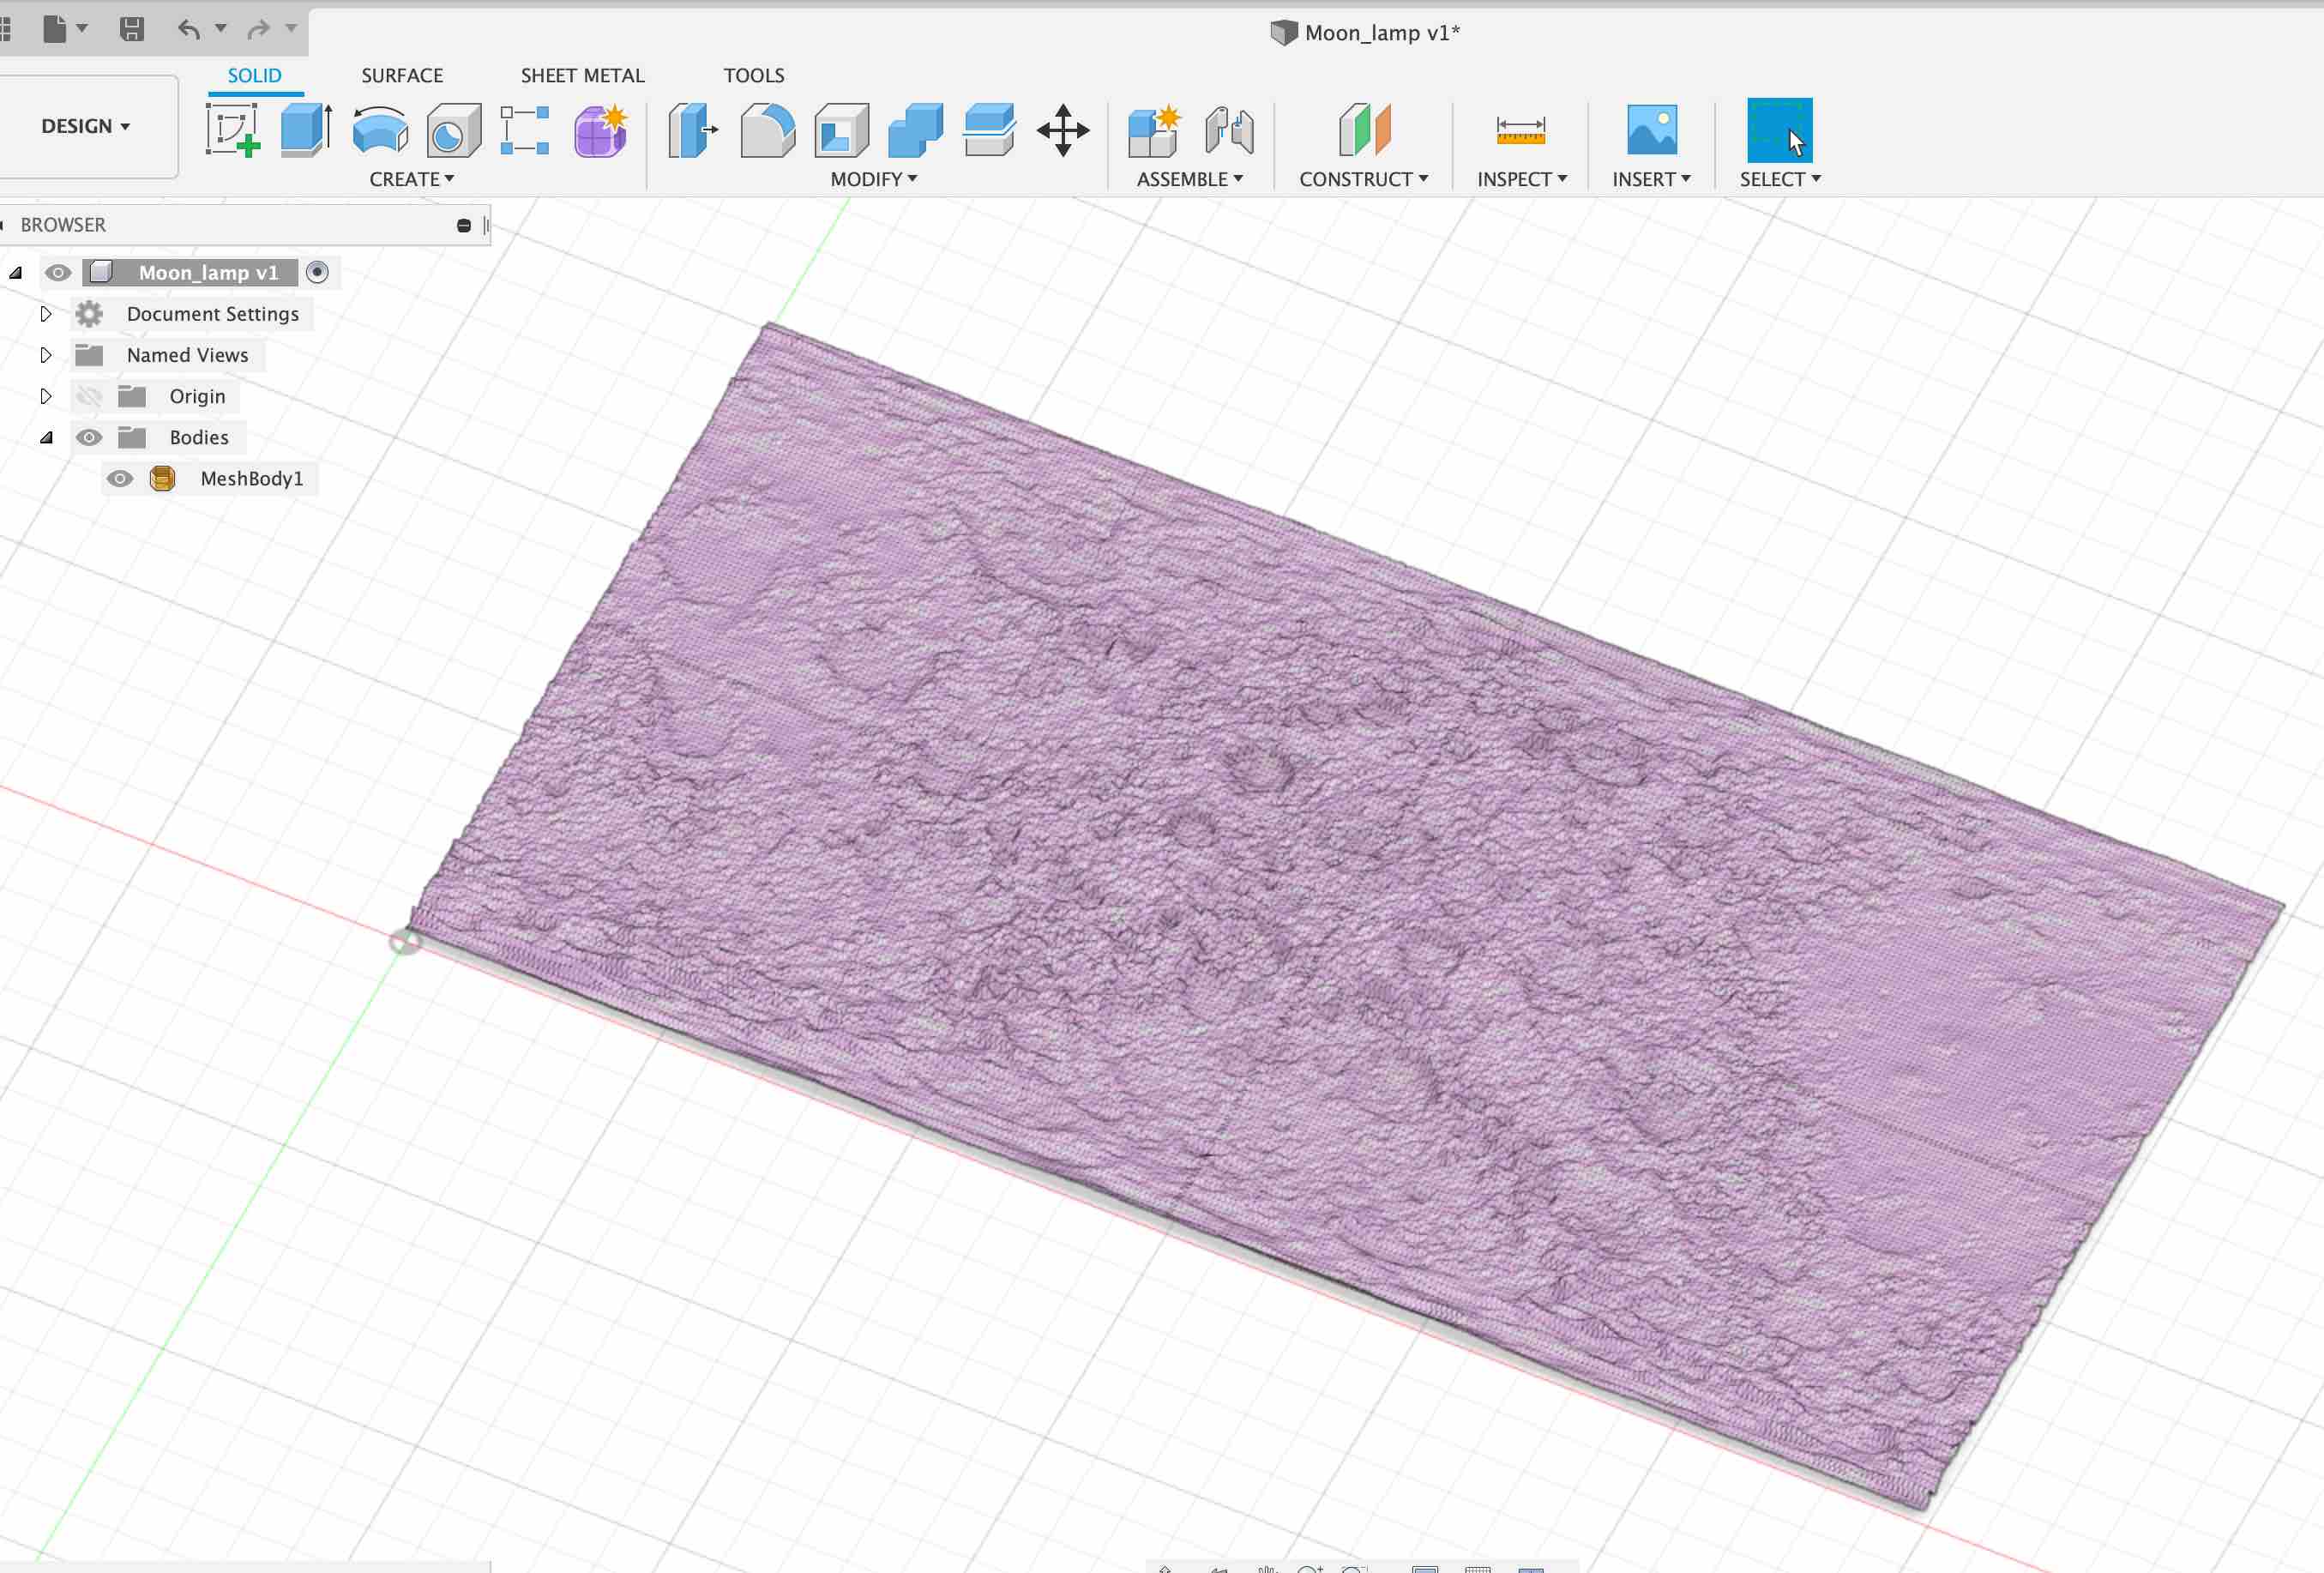
I began this week thinking I was going to make a moon lamp shade - a sphere with a topographical map of the moon inside and out that lights up looking like the actual moon. Little did I know, this is no easy task in Fusion 360. I did manage to convert a black and white map of the moon into a topographical mesh map. I did this using an add-in for Fusion 360 called Image2Surface. But getting that mesh into a spherical shape proved to be much more difficult.
Realizing this wasn't something I could learn in a week (stay tuned, it turns out its much easier in Blender, so I'll be trying that out soon!), I thought instead I could try to learn to modify a mesh for my project. I found a super cute .stl of a baby yoda, I hoped to make his head swivel and maybe the arms as well. Part of the requirement, however, this week was to be able to design our projects from the ground up to help us get up to speed on the basics of CAD modelling. BUT, before I moved on, I did learn how to take a very detailed mesh and reduce it so that I could then turn it into a solid. This will be useful once I start developing my own meshes. This can be done in Mesh Edit mode, using the Reduce Face Count tool.
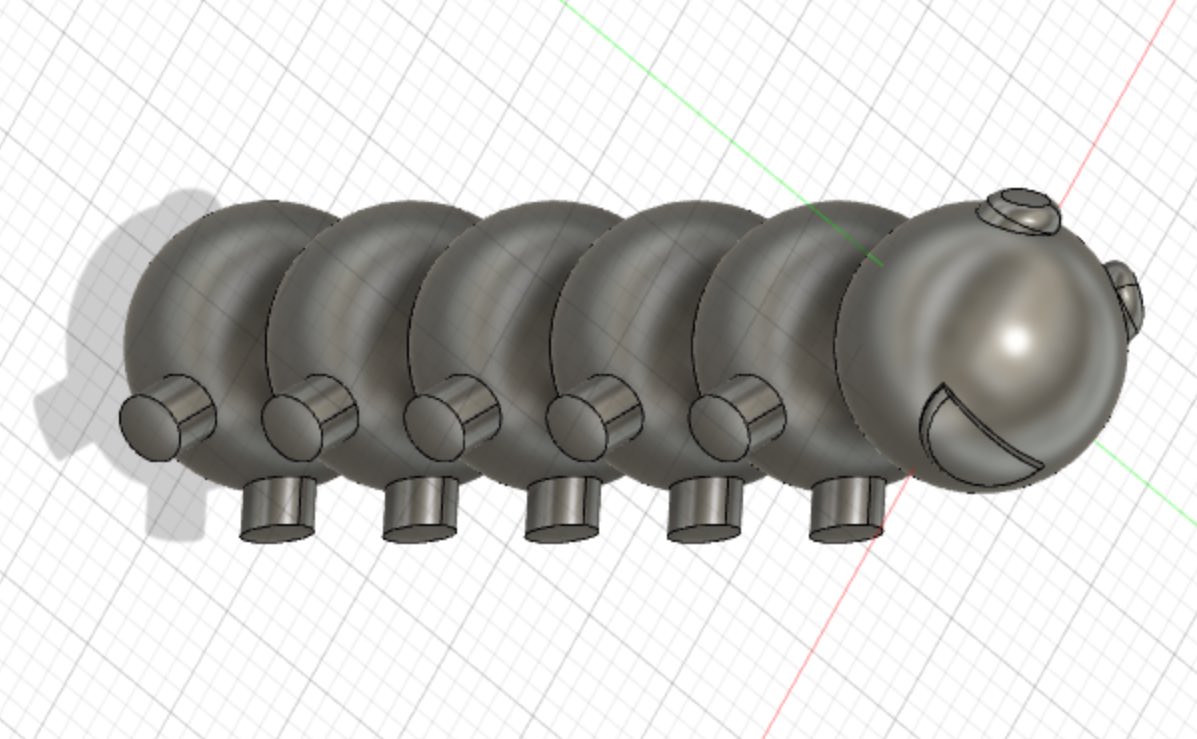
Printing in place is something uniquely useful from 3D printers. This involves printing joints or hinges pre-assembled, taking advantage of the fact that printing gives you access to the interior of your object as it is forming. I landed on ball joints so that I could still try something with spheres and decided to make a caterpillar of print-in-place ball joints. I landed on a caterpillar because my 1.5 year old nephew is absolutely obsessed with bugs. Figured this would delight him!
3D Printing: Design work
I initially designed the caterpillar with the joints as flush together (no gaps for movement). I'd hoped to add the gap as a tolerance but once I turned the bodies into components and defined the joints with rotational movement, I realized I need to physically add the gap. My second version of the caterpillar, I made a crucial mistake. I didn't properly constrain my sketch! The sketch is the most important part of the design process, especially since we hadn't yet characterized the printer so I knew I would most likely need to do some edits. The design was done by drawing half of the profile of the joint and creating a pattern for the rest. I then used a sweep to turn the profile into a body. When I went back to change the size of the gap, and the size of the joint, the sketch went over the rotation axis of the sweep, which of course created erros in all of my swept bodies.
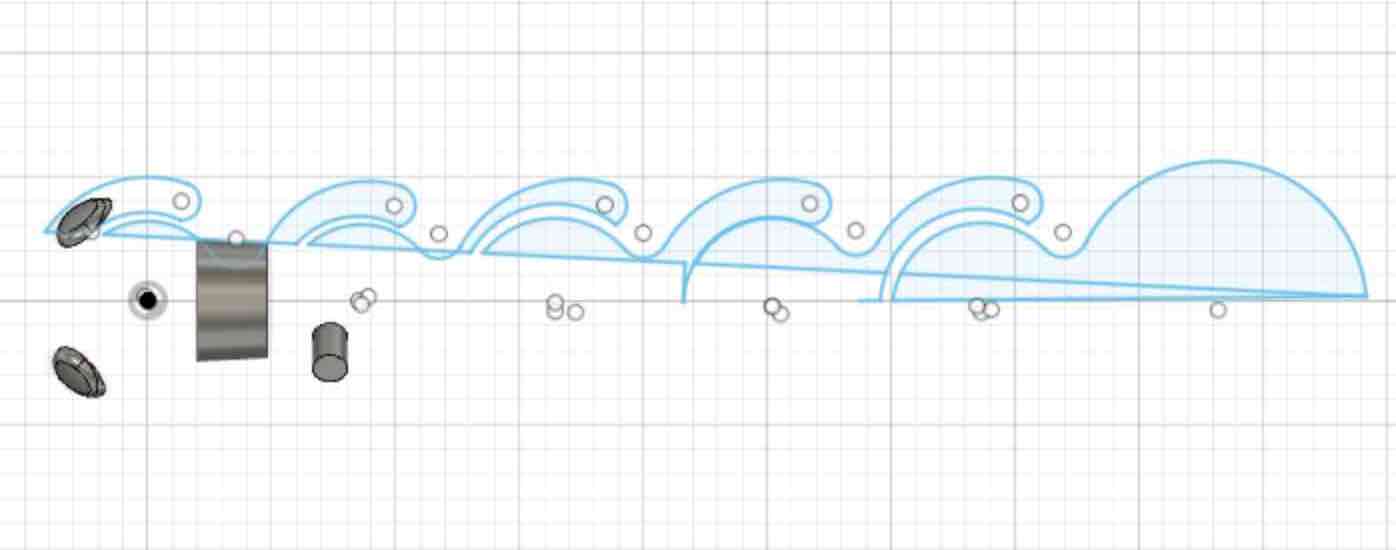
My final model was fully constrained, with defined user parameters for all the dimensions. And it worked great!
3D Printing: The real McCoy
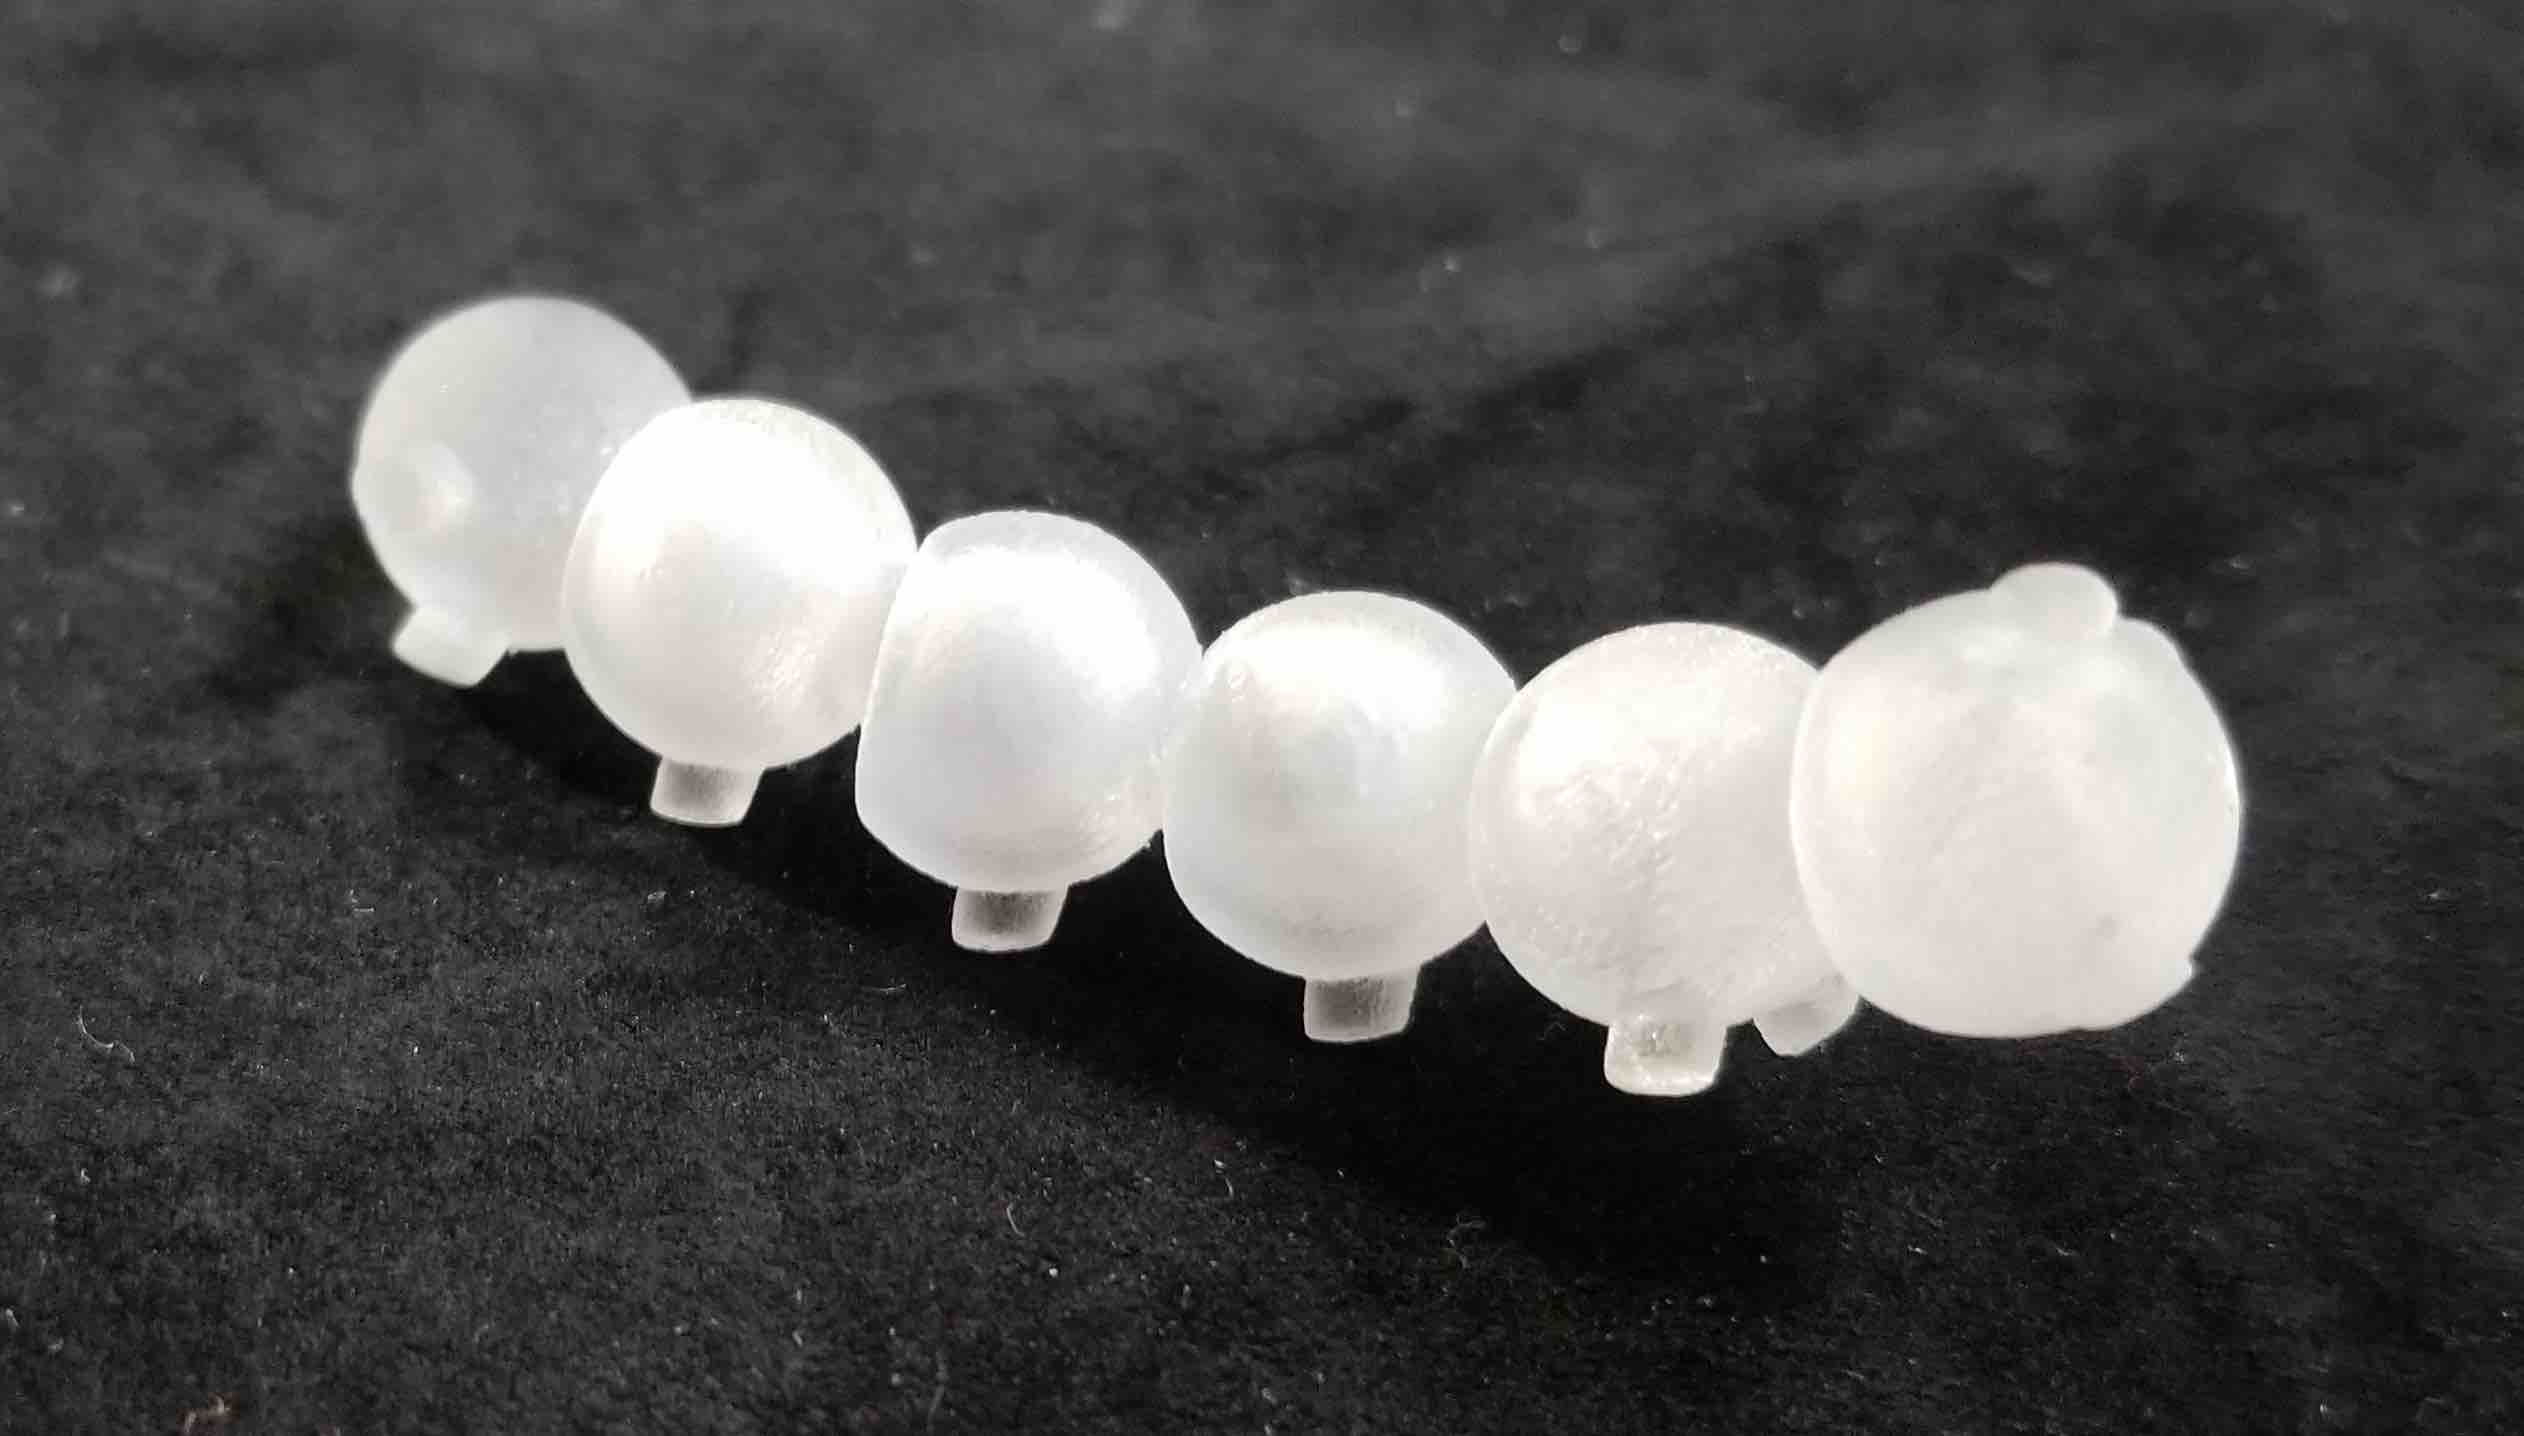
As part of the group project this week we characterized the Prusa 3D printer and a partial characterization of the Objet printer. The results of the tests we did are here. Using the results from Andres Rico's preliminary prints on the Object printer, I decided to use a 0.3 mm gap in my ball joints. I printed the caterpillar on the Objet to get better definition of the legs, eyes and smile. After removing the support material, I needed to twist out the ball joints to remove the material in the joints. After all of the excess was removed the joints were a bit looser than I would've hoped for. I would have liked the joints to be able to maintain some friction so they could keep the position I set them in, so a 0.2 mm gap would have been better. Overall, however, I was quite pleased with the outcome! To finish it up I painted on eyes and a mouth to give him some character.

Source Code