[04 Molding and Casting]
Molding and casting is an underappreciated way to create. I think what's also underappreciated is how challenging it is to design for this method! We used the Tabletop Shopbot this week to create a wax mold which we then would use to create the ACTUAL mold which is made of Oomoo (a friendly silicone material). This is the mold that we then use to make our project. Confused? Yes, its complicated because you need to consider a few major factors:
Designing a Mold
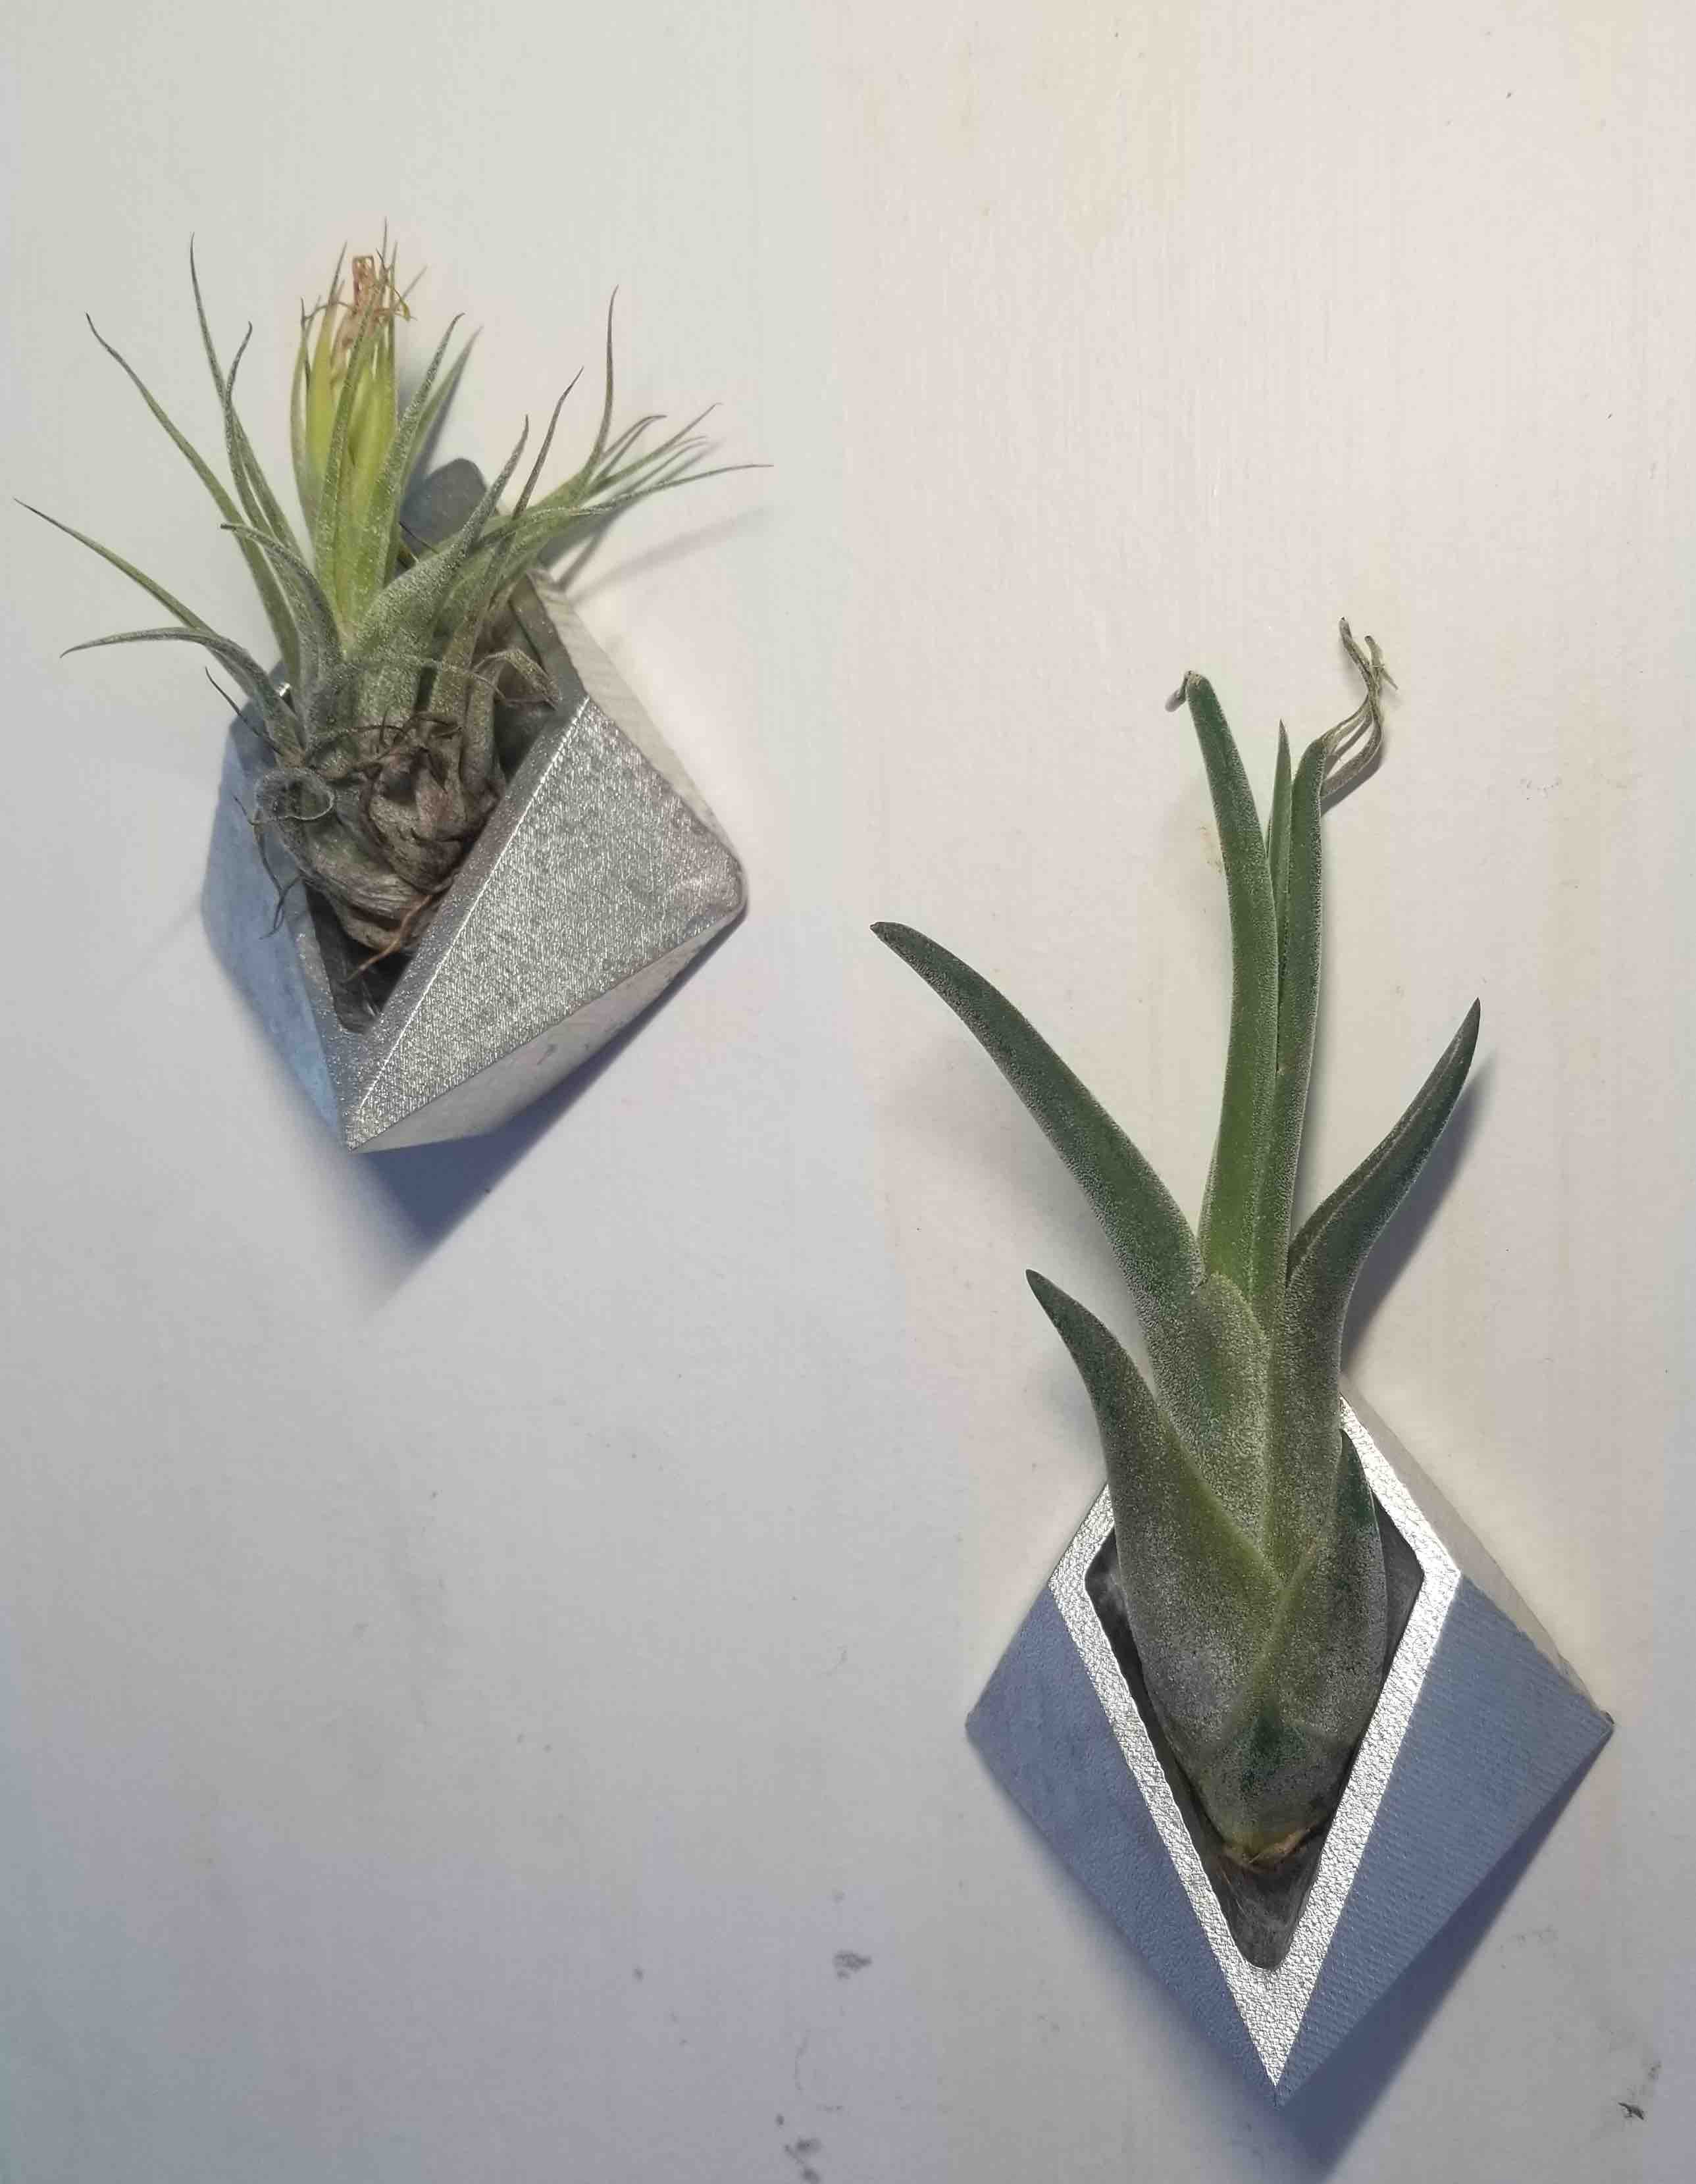
Now, initially, I'd wanted to make a hat block in this week's class (I make my own felt hats - millinary hats are very expensive so I wanted to create one myself), but again, the material needs to be considered, and of course the fab machine. We were working with 3.5"x3"x1.5" wax blocks... a bit small for a head! New idea! My lovely neighbour (who also took this class --> Rupal Jain) gave me a bunch of air plants.
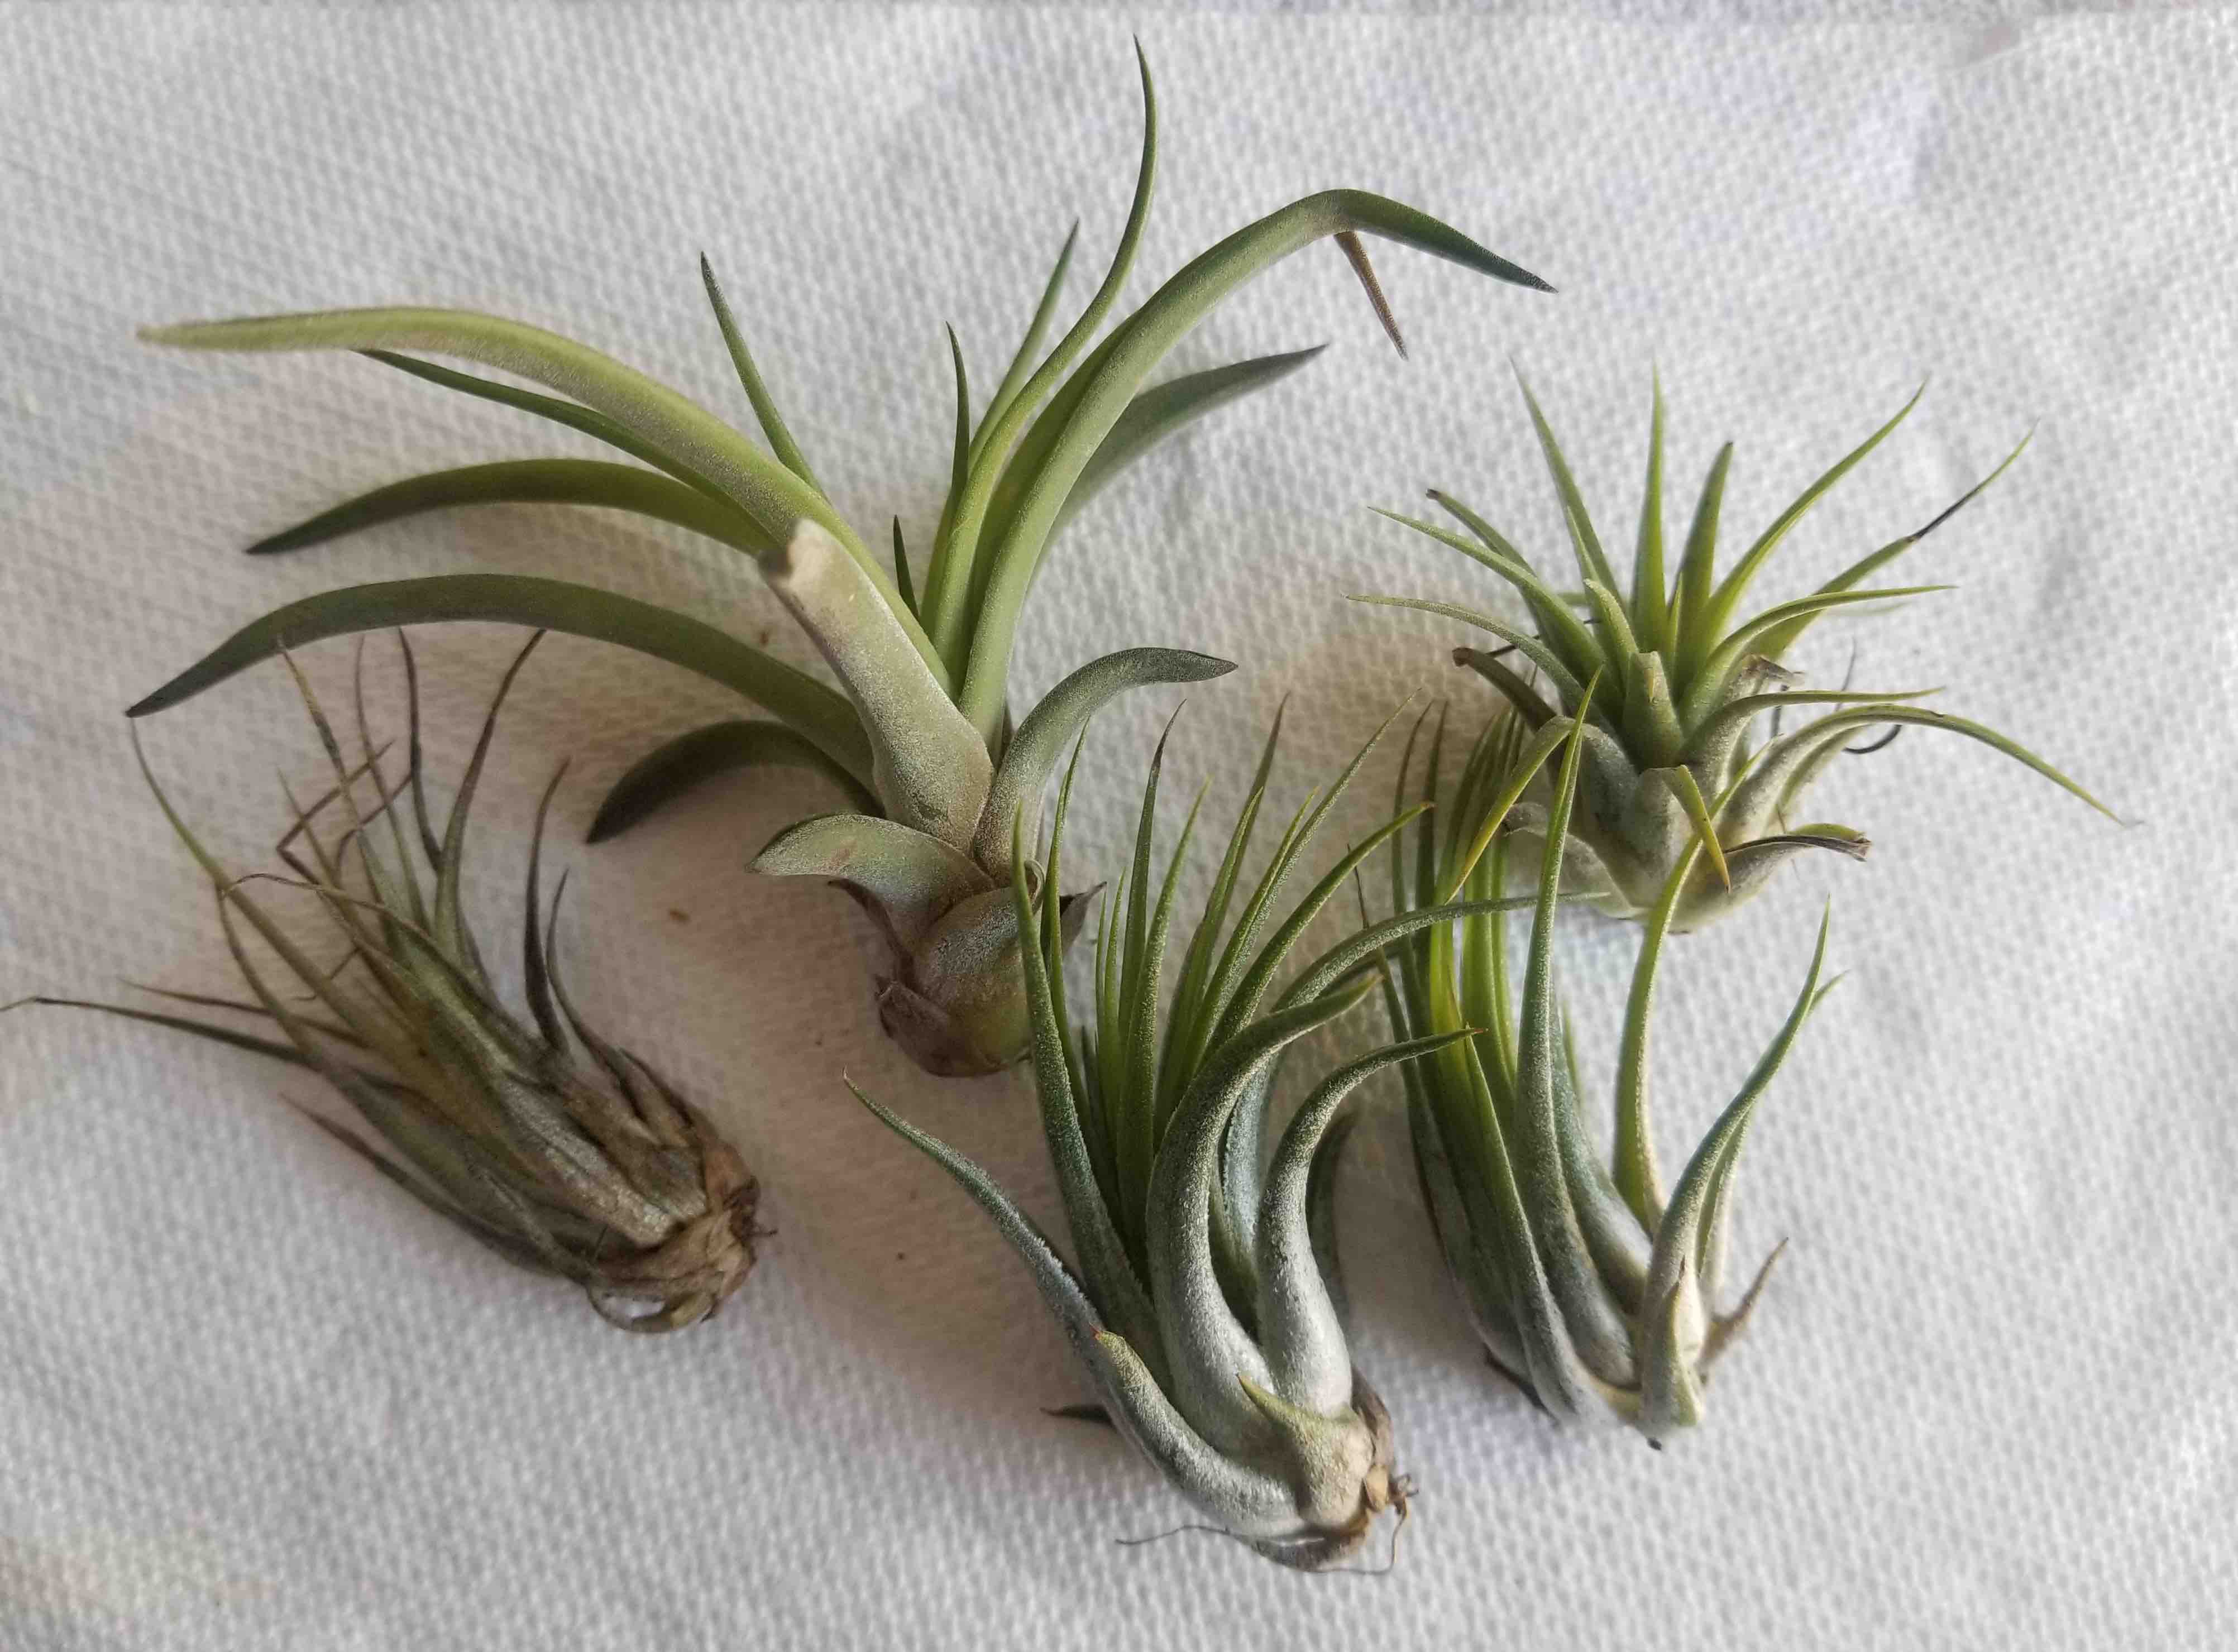
These little guys don't need any dirt and they don't need a lot of space. So I wanted to make a little holder that I could then cast a bunch of times to hang all these cuties on my wall. I went through a number of iterations trying to make a design that followed the rules I outlined above - this was not easy! Here's what that learning process looks like:
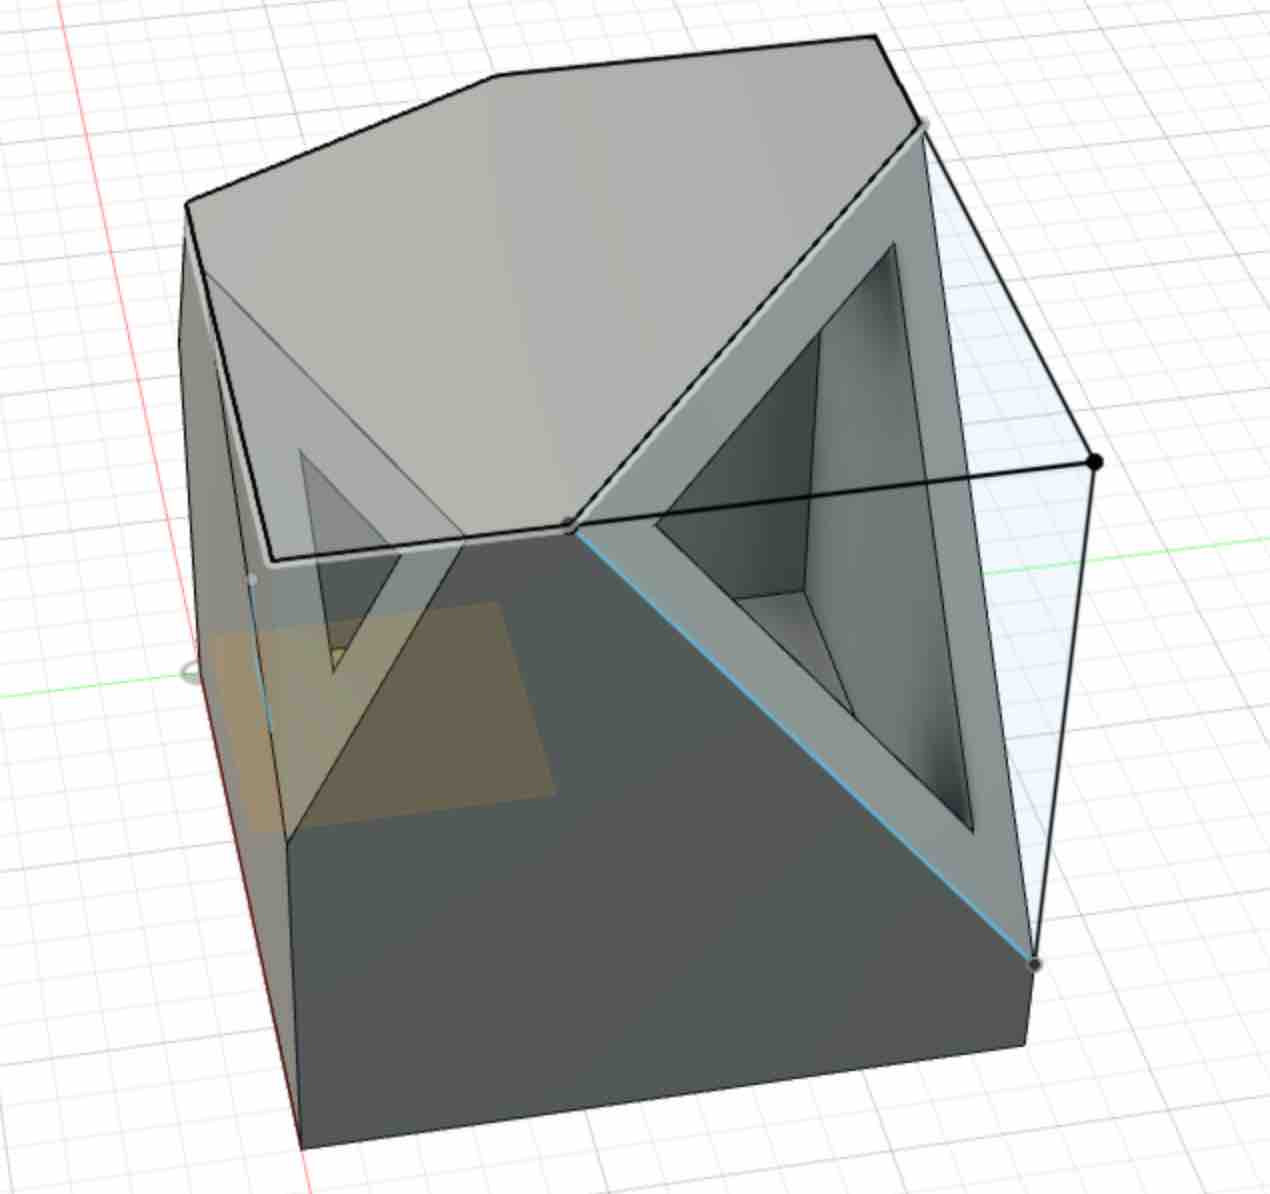
Trying to make a hollow cavity - but how would I cut in there? How many parts would this need to be?
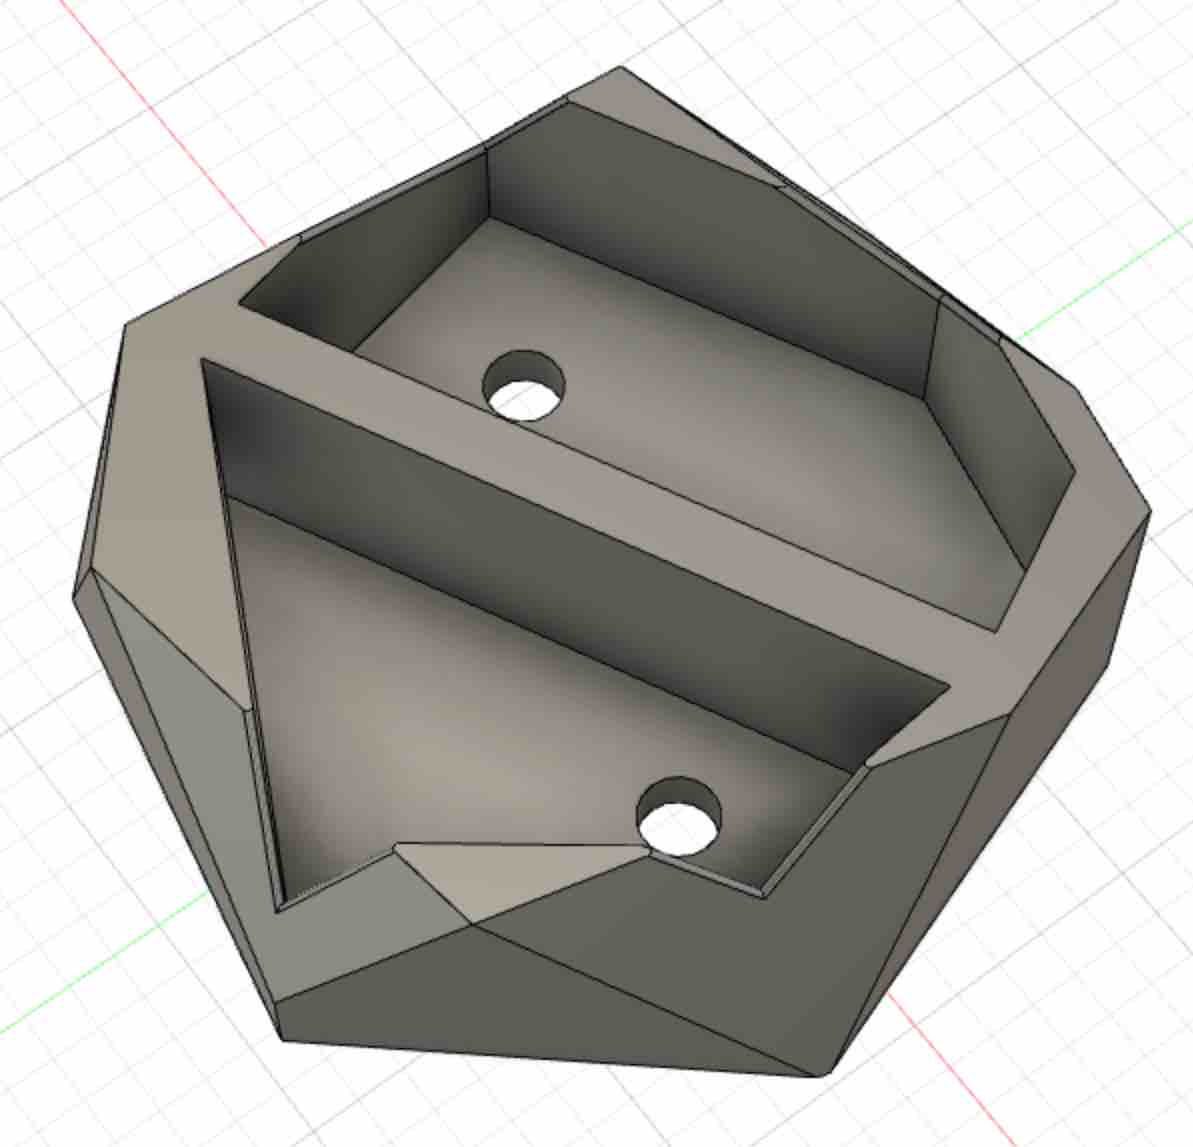
Making something a bit better but need to consider the size of my block! This is going to be miniscule.
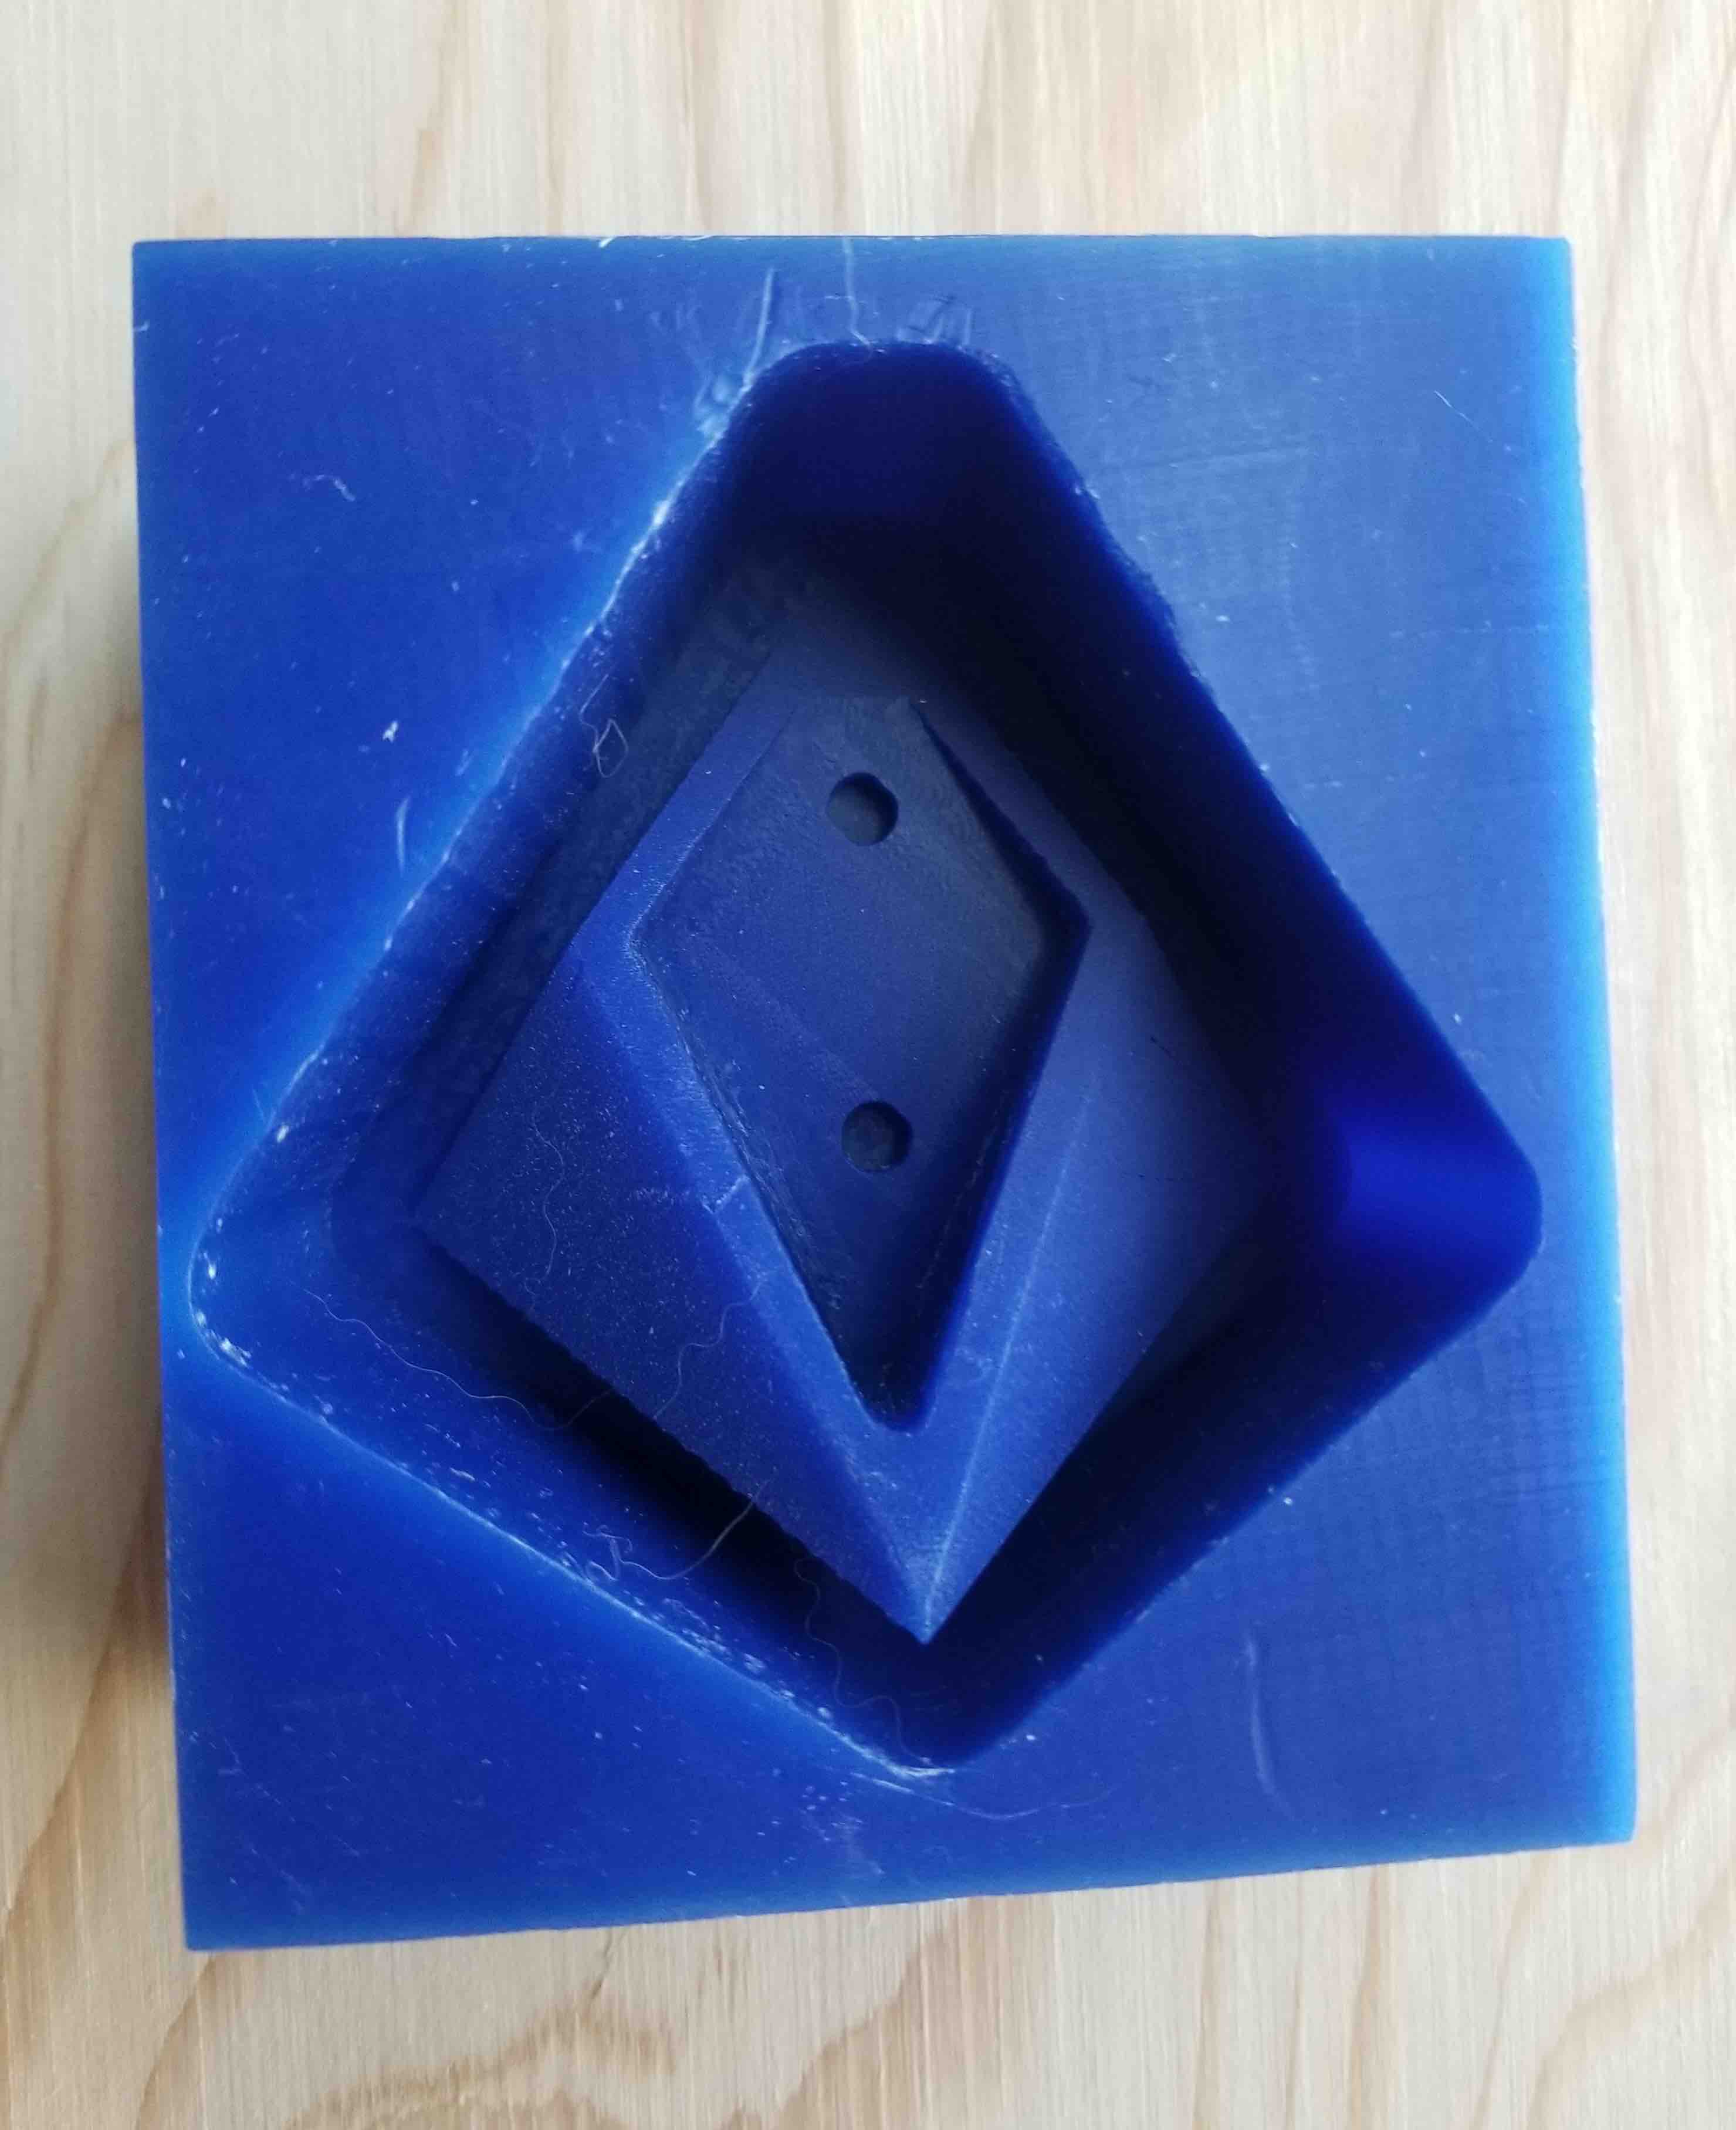
Finally though, a design I like!
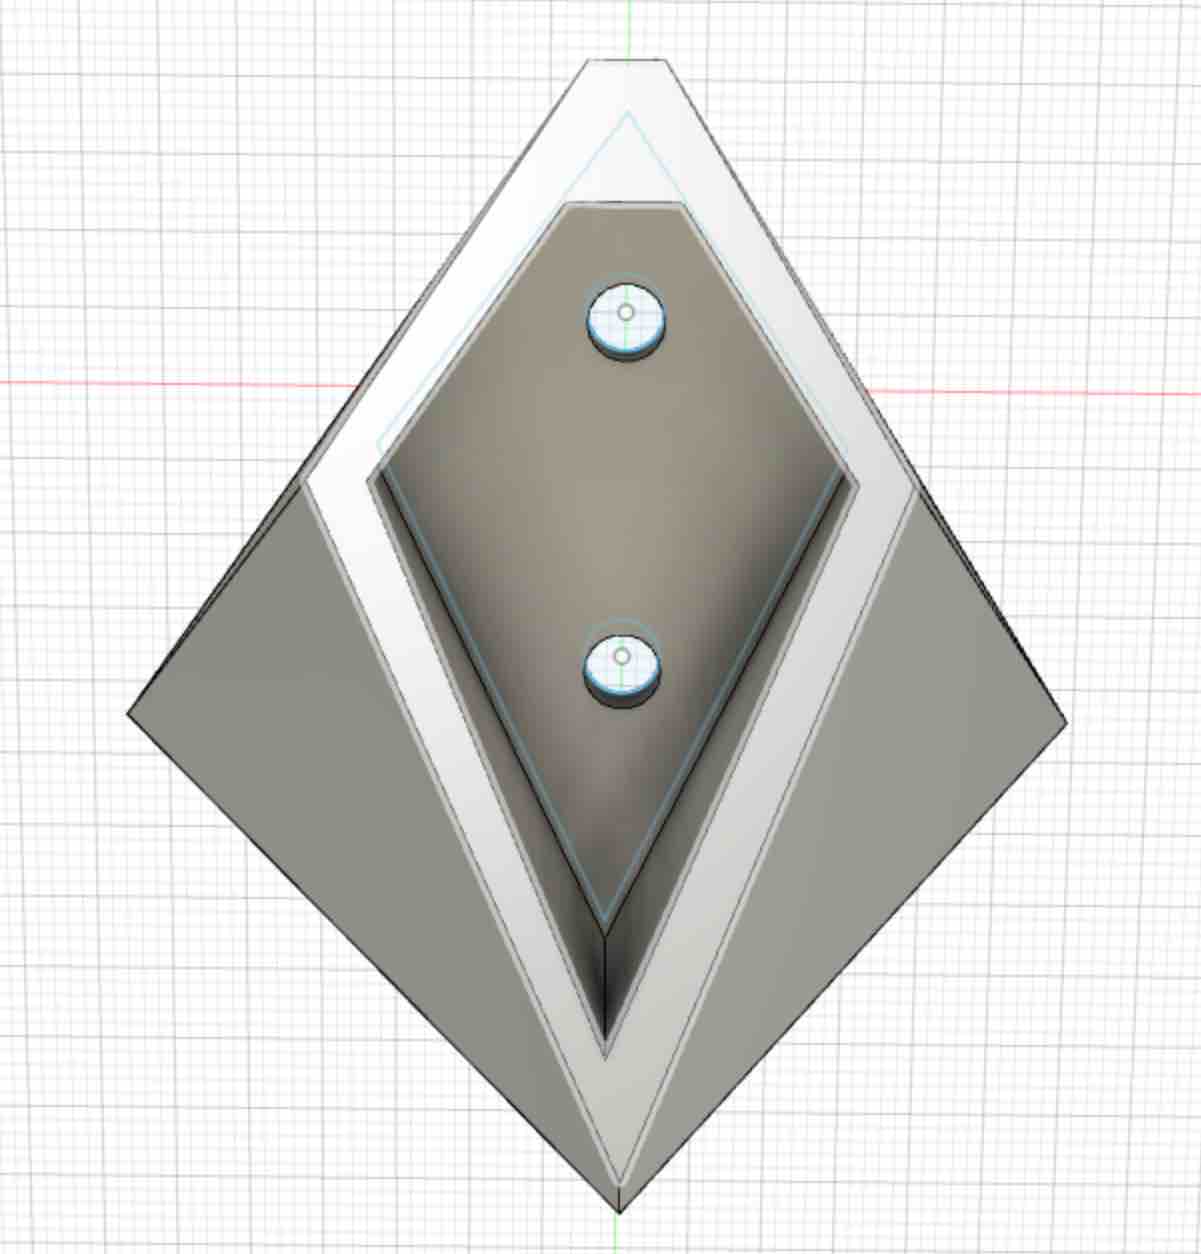
I liked the shape, I was interested in how the sharp angles and steep walls would work with the Shopbot and with the Oomoo as well. I made sure that my hole diameters were bigger than my tool diamter and also needed to pay attention to how deep the tool would need to go.
Cutting the Wax
Next up, I cut the POSITIVE shape into my wax (1. Wax - positive, 2. Oomoo - negative, 3. Final material - positive). No issues here. A couple of notes when prepping to do the cut to remember:Here's how the wax mold turned out.
Making an Oomoo mold
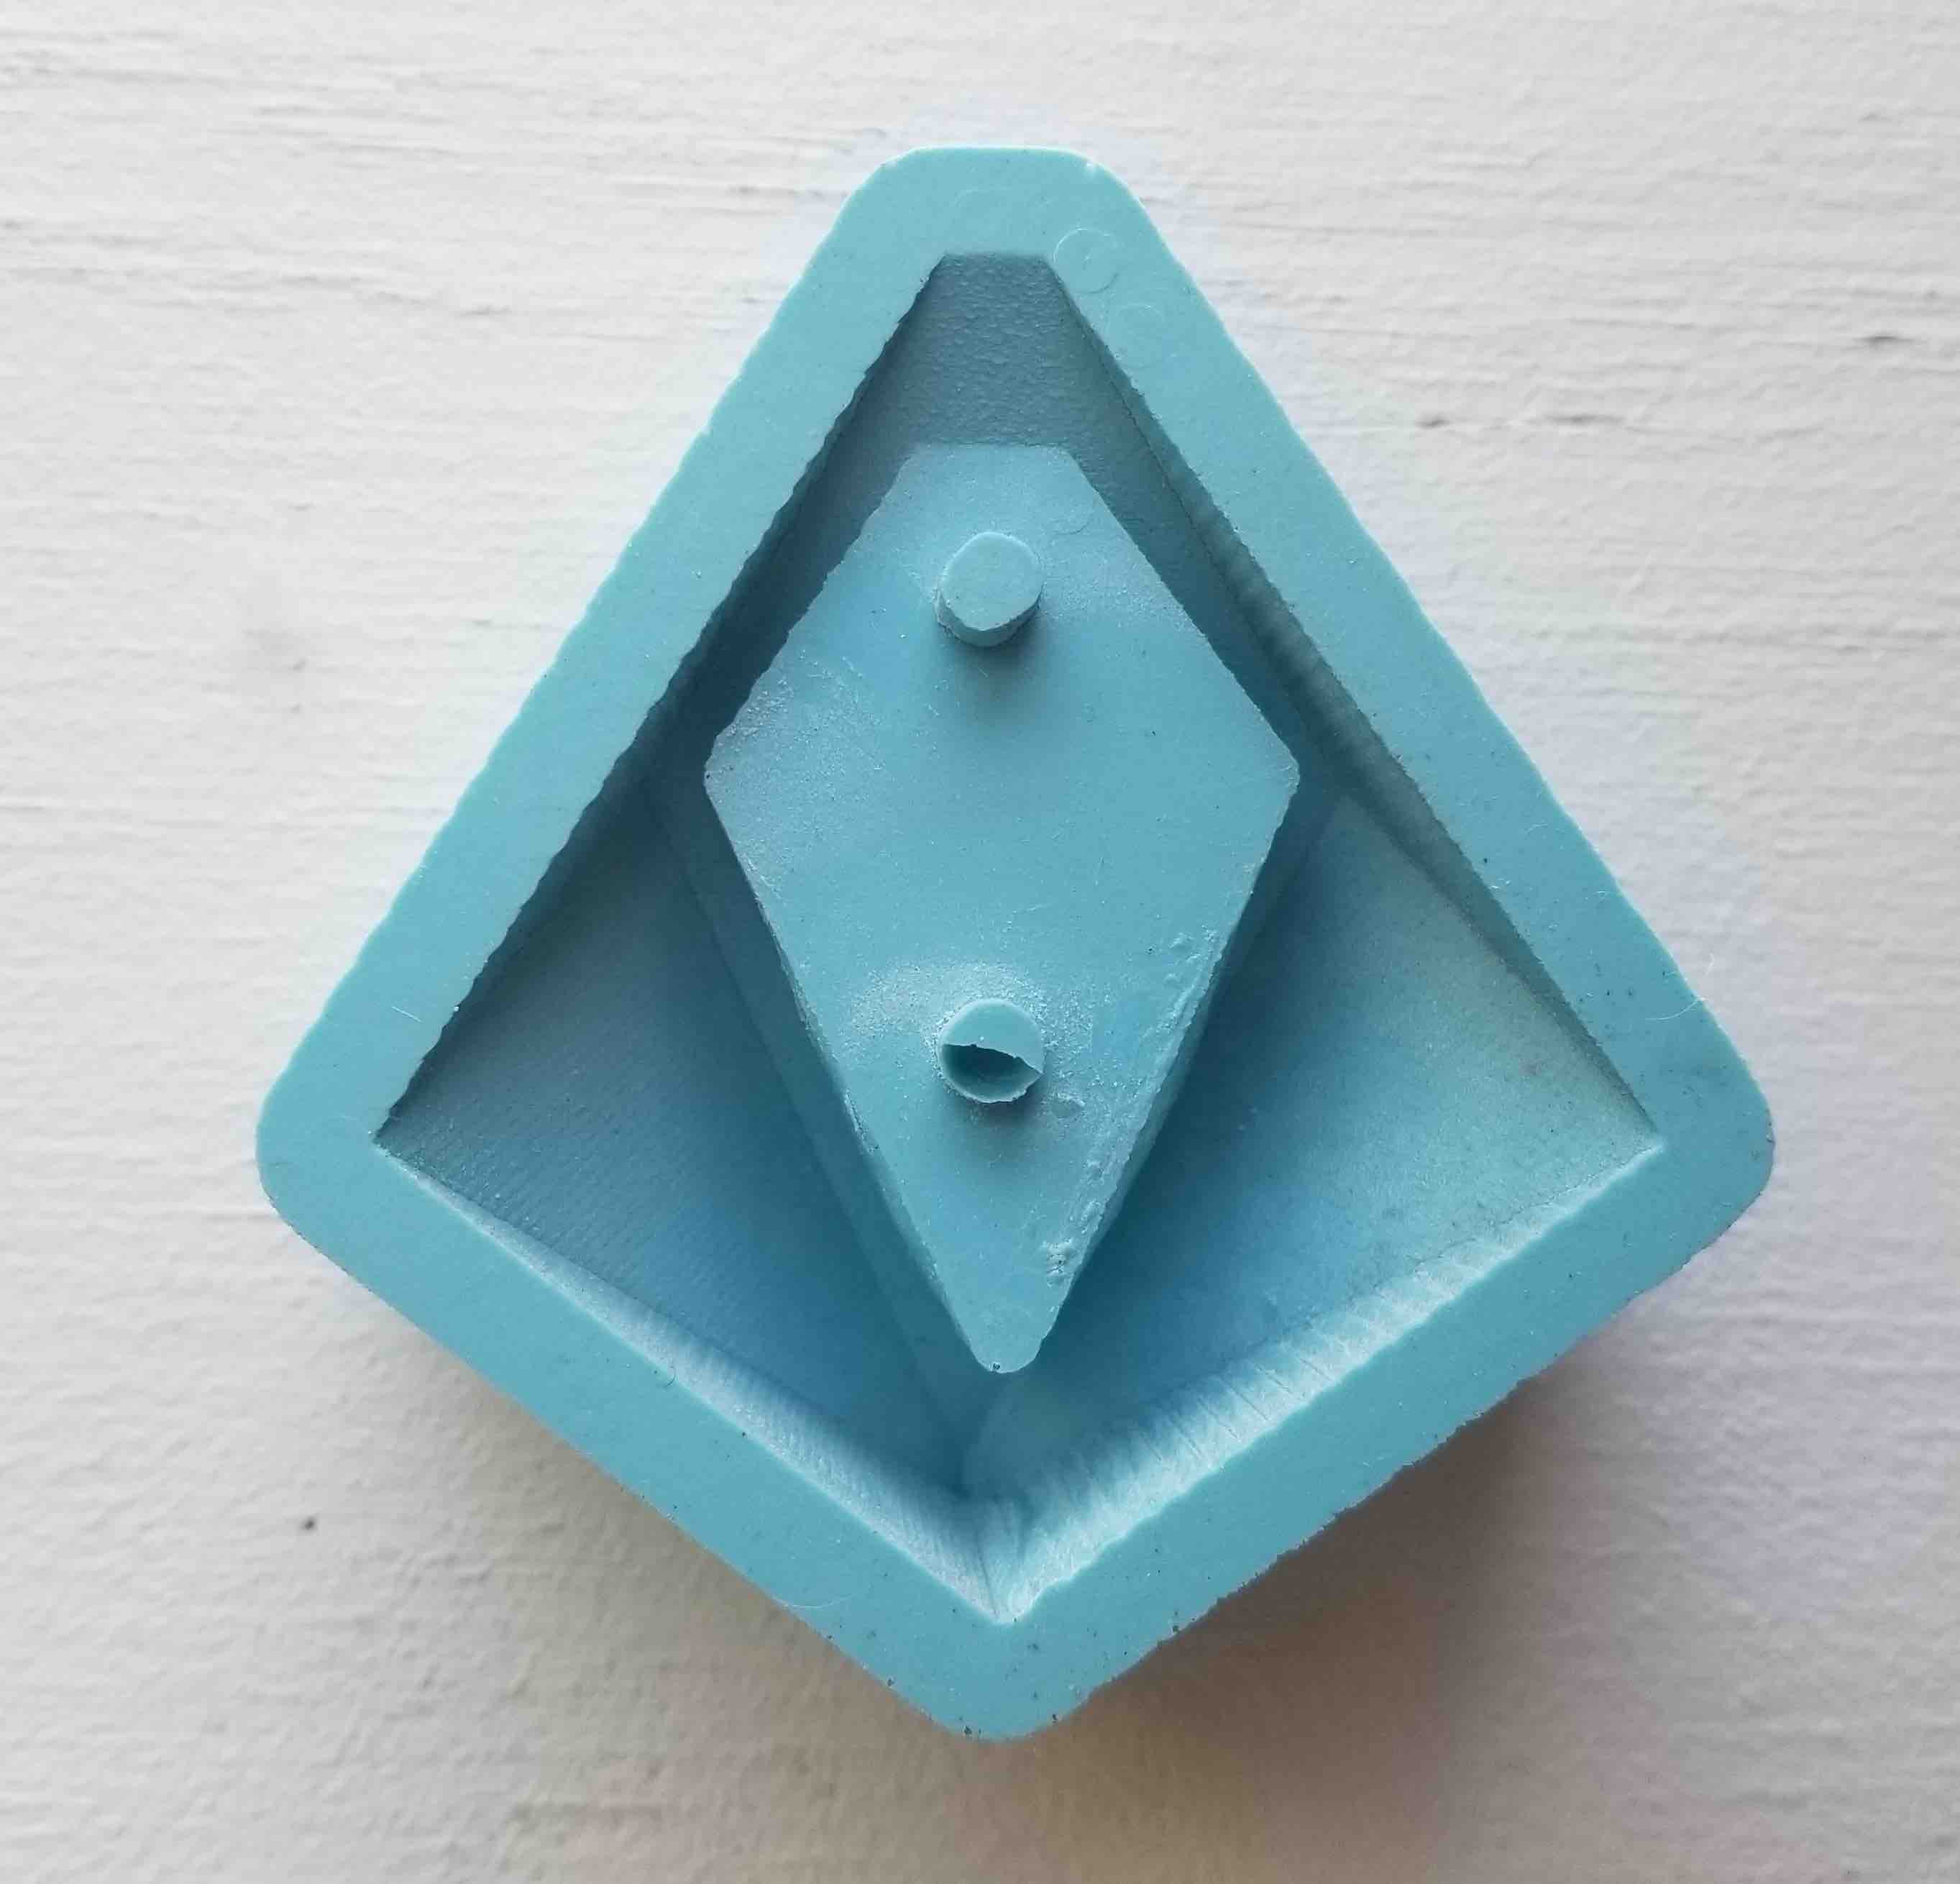
I then mixed up the Oomoo - this is great material, very easy to work with. Its 1:1 of the two liquid components, mix for 3 minutes and pour! I took a good few minutes to get rid of any bubbles while it was still in the mixing cup, this meant dropping the cup on the table repetively to get the bubbles to coem to the top. When pouring I went very slowly and allowed the Oomoo to settle into the mold without trying to move the pour around. Despite my efforts with the bubbles I did end up with one bubble right in one of the pins for the hole cutouts. This could probably have been avoided if I'd poked the Oomoo into the holes first or maybe brushed it on.
Casting (quiet on set!)
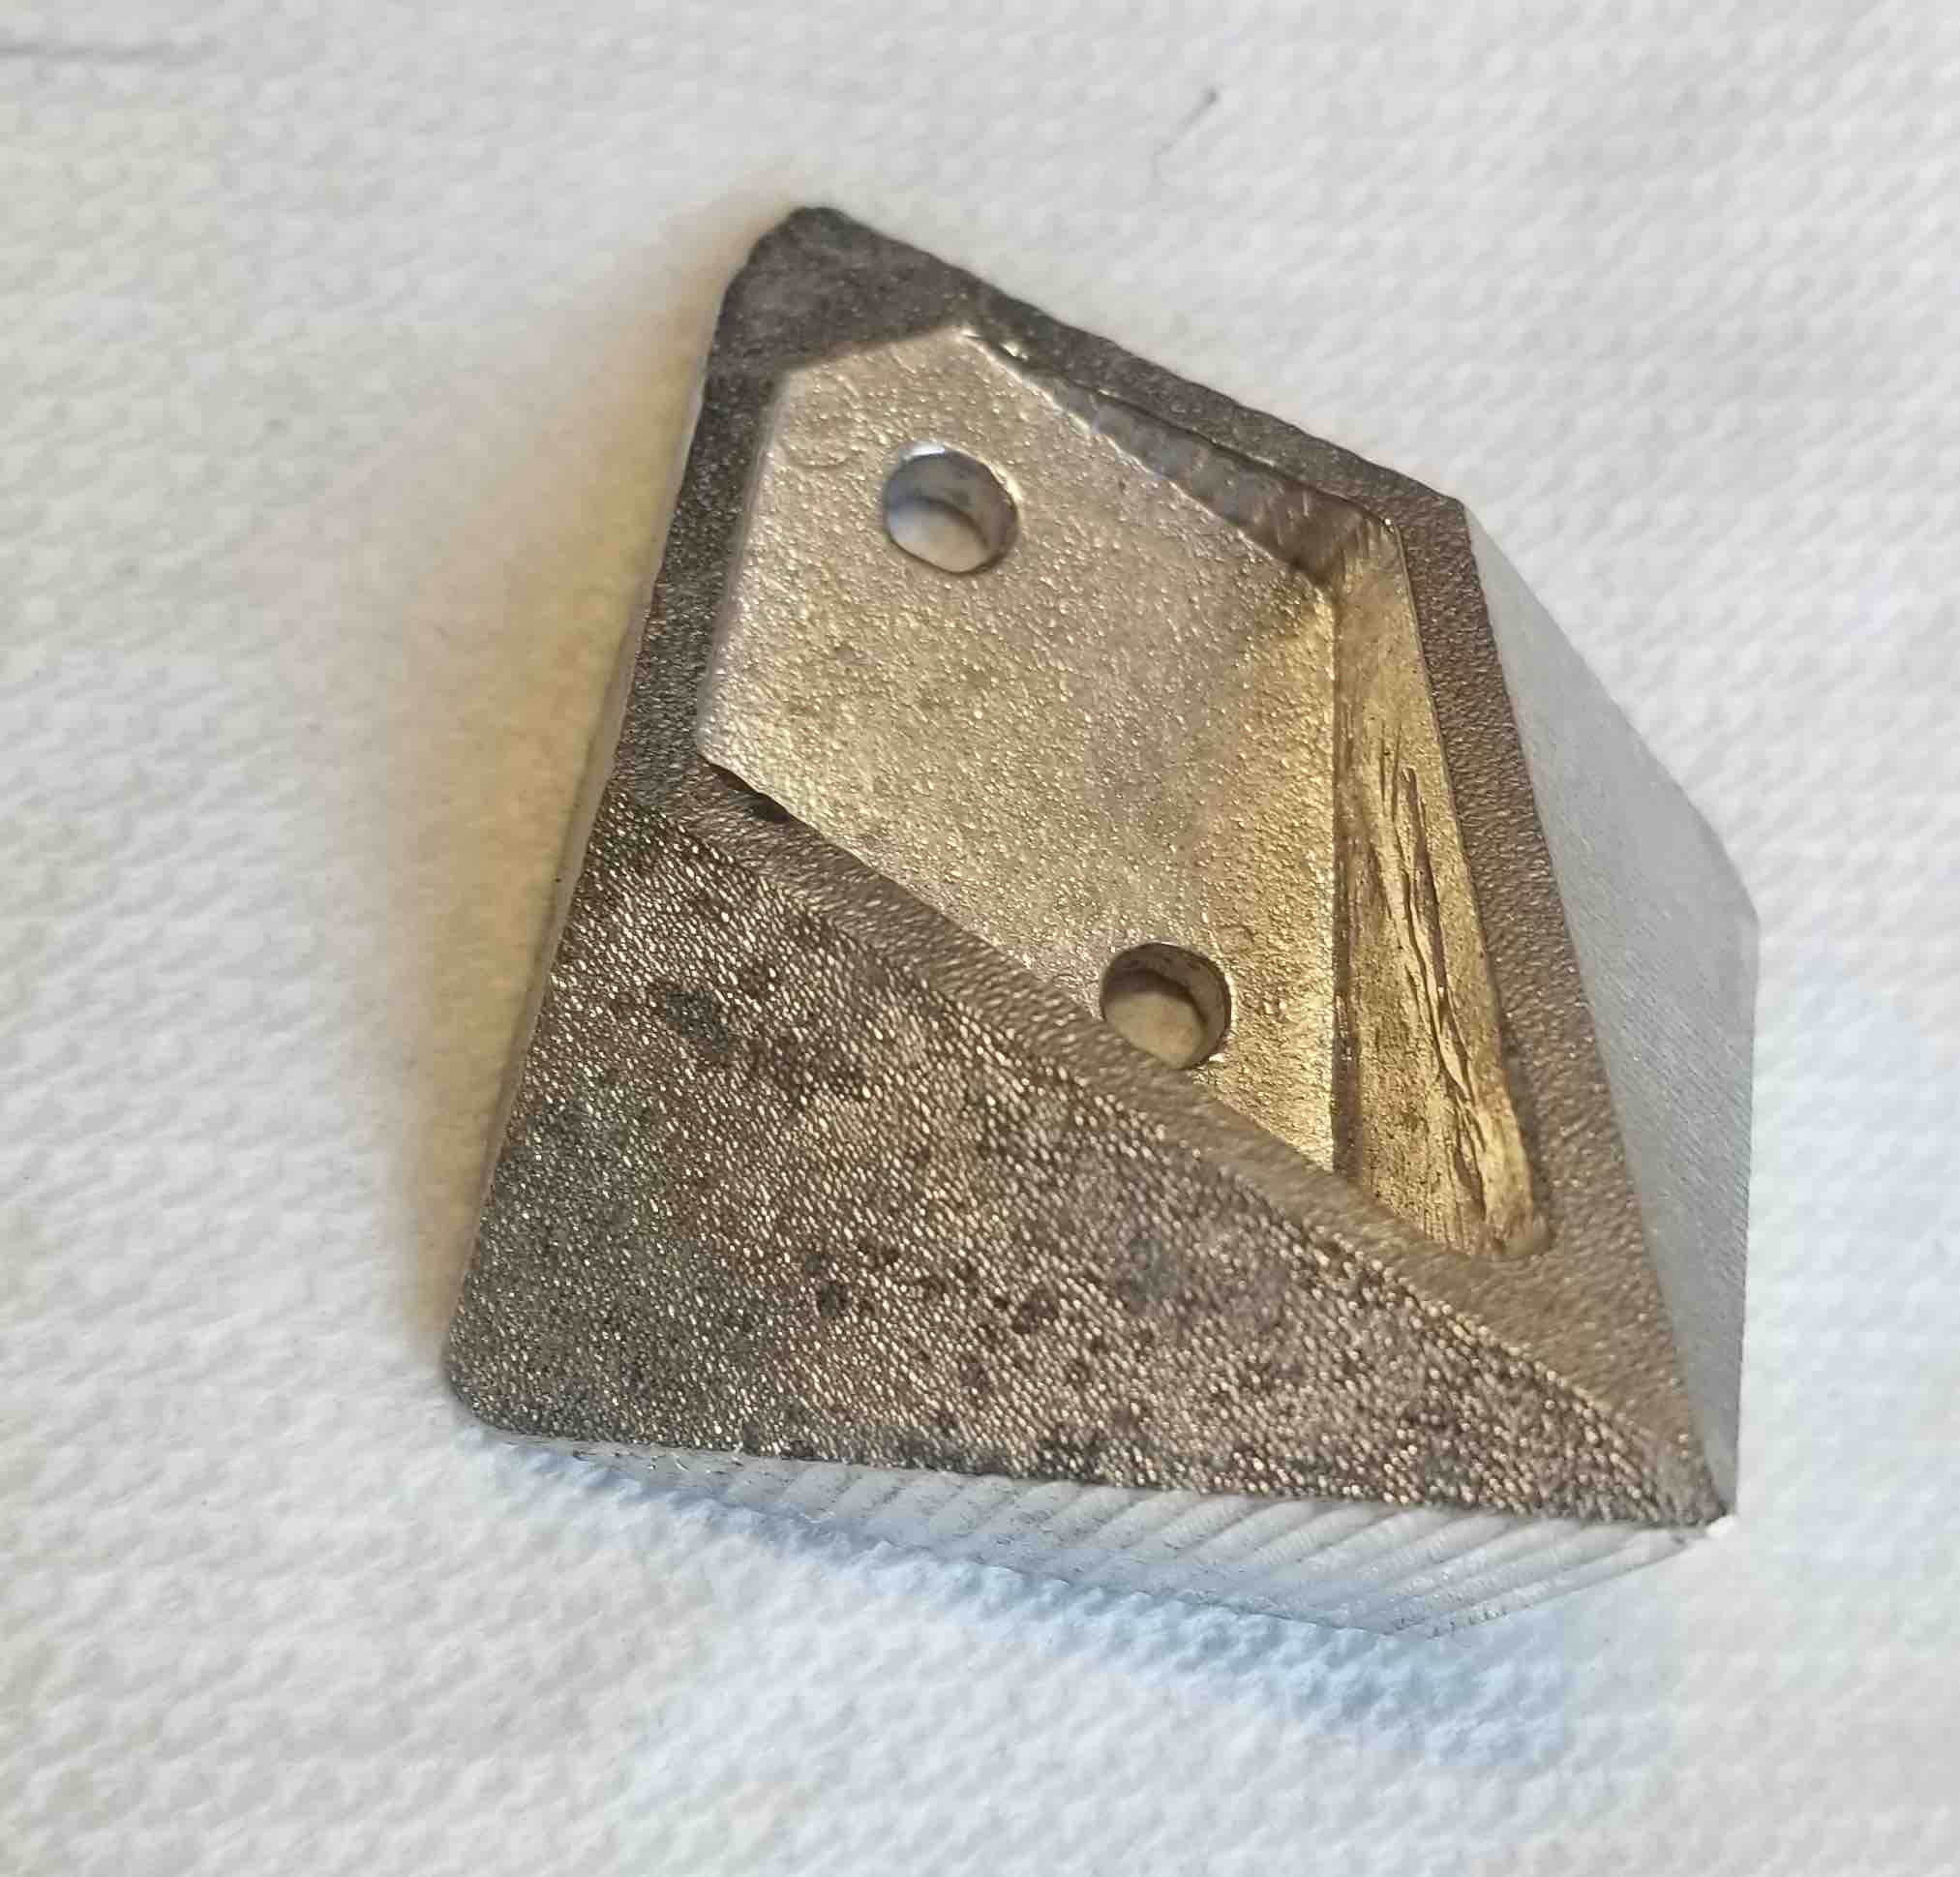
We learned how to use two different casting materials - drystone and Cerrotru (a tin-bismuth, low melting temperature metal). We characterized the drystone for different ratios of powder to water, which you can find here. I loved the heft of the Cerrotru and the idea of casting something in metal, so of course I decided to go with this. One bonus of using the Cerrotru was that when you pour the molten metal it quickly forms a skin. This provided the needed surface tension to stop the metal from flowing into that pesky bubble I had in my Oomoo! Here's the steps to casting with metal:
The block had enough metal to make 2. I needed to file down a few spots where the metal had flowed over the top of the mold but other than that it turned out great!
I really liked working with the wax molds so I thought I'd try using this approach to make the arm band for the interface of my final project. Check that out here.
Maker files