Goal#
- Design and print a 3D object that could not be made using subtractive methods
- 3D scan an object (and optionally print it)
Result:#

But better than downloading my file, why don't you make a torus knot that represents you? I made a short personality quiz (at thais.dev/selfToken) that you can answer and see what your unique torus knot will look like. You can optionally click on the model to save it as a gLTF file, which you can convert to STL using a conversion tool if needed.
3D Printing#
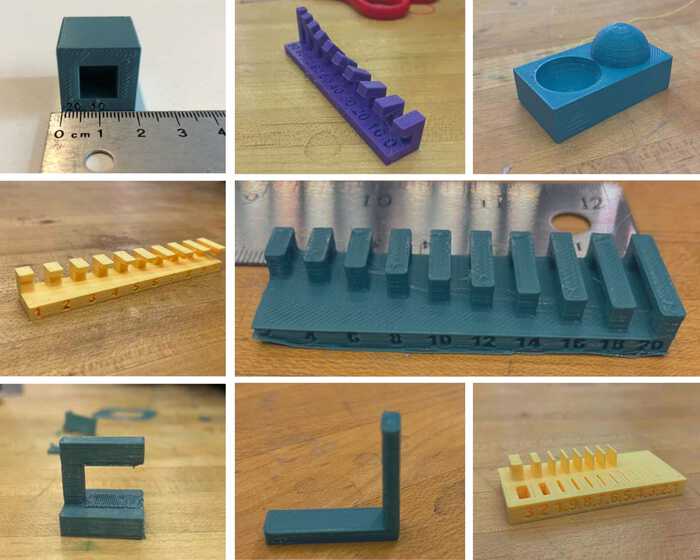
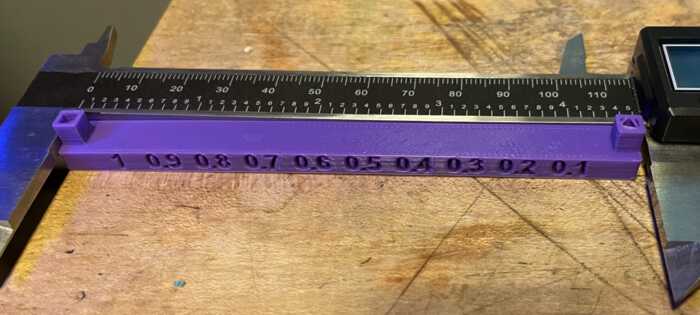
As usual, this week started with a group assignment so that we could get a better sense of the Prusa 3D printer's capabilities. We set out to characterize various design rules by printing small test models that Neil gave us. Here's a few but not all of them (too many pictures):
 )
)
Assorted thoughts I had while holding the test prints:
- The printer can be off by about 1 mm.
- Angles up until 30 degrees or so print well unsupported.
- The default surface finish setting is OK but I'd really like to try the highest quality setting.
- Basically I should not try an unsupported overhang unless it's under 4 mm. It spaghetties pretty quickly.
- Surprisingly bridging up until 20 mm worked fine!
- Supported overhang worked well but removing the support leaves behind an undesirable texture.
- I was surprised the printer could make a hole smaller than 1 mm
Here are some print attempts I didn't get to hold but learned a little about from my peers:
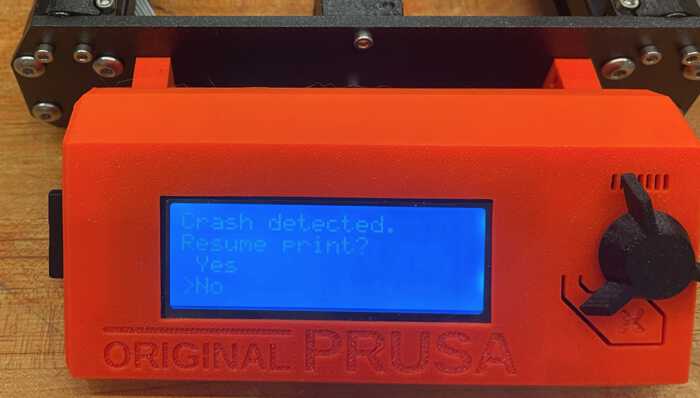
Apparently the printer crashed while trying to print the clearance object. We haven't yet figured out why but I'm curious about the lack of support on the job up until it crashed. It clearly didn't need any support for the base and the columns, but it would need them for the rod and the nuts so I'm wondering why it didn't print the supports.
On Wednesday night, I started working on my own print for the week. I was inspired by Lingdong's generator during laser-cutting week and wanted to make a generator too. I haven't practiced enough to be able to hand-code all the geometry in the time this class allows, so I used Three.js to do that work for me. You can see my code in my personal GitHub repo. I picked a small number of parameters and tied them to a personality quiz because I like the idea of being able to print a little token that represents you, in some way.
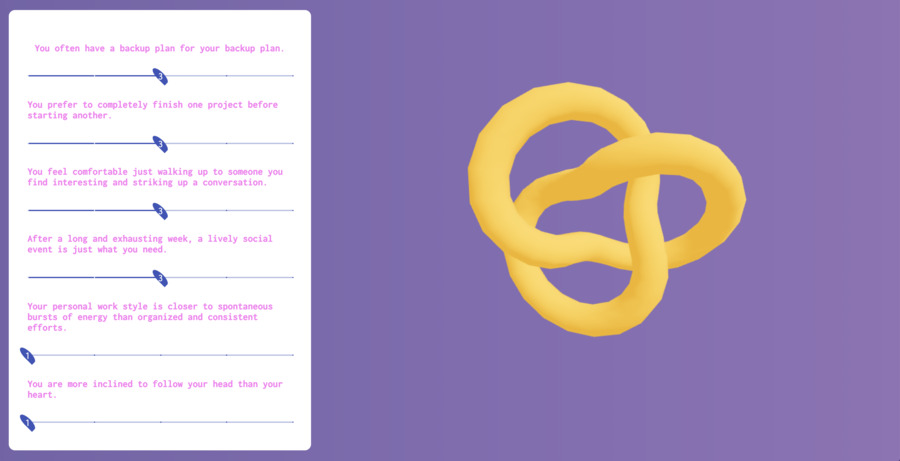
You can make your own at thais.dev/selfToken. Please show me your result if you do!
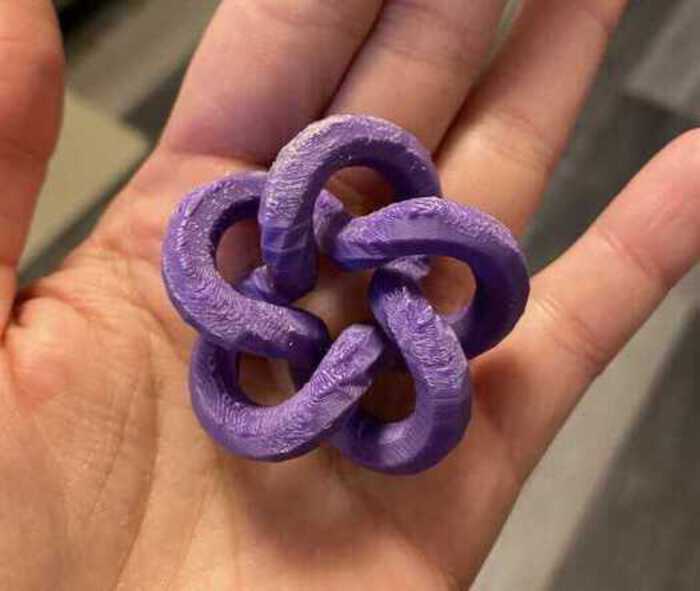
You can click on the model in the browser to export it as .gLTF. I used AnyConv to convert that to .STL, and opened that in Prusa Control. After exporting the gcode, I almost forgot to open it and change the two temperature settings from 55 to 72 like Tom had showed us. Thankfully he was watching over my shoulder! I'm pretty happy with my print...
Except... the supports left behind an undesirable texture on the underside of my print. I did try to sand it away but that left behind a white residue. Maybe the trick is to print this using white filament. Or get some Smooth-On, which Tom said we did not have. Removing the supports was surprisingly not so hard though.
After this, I also started to learn Rhino and Grasshopper to model a case for our USB programmer circuit. It's going... slowly. But I figured I'll need to learn it anyway and the sooner I start the better.
3D Scanning#
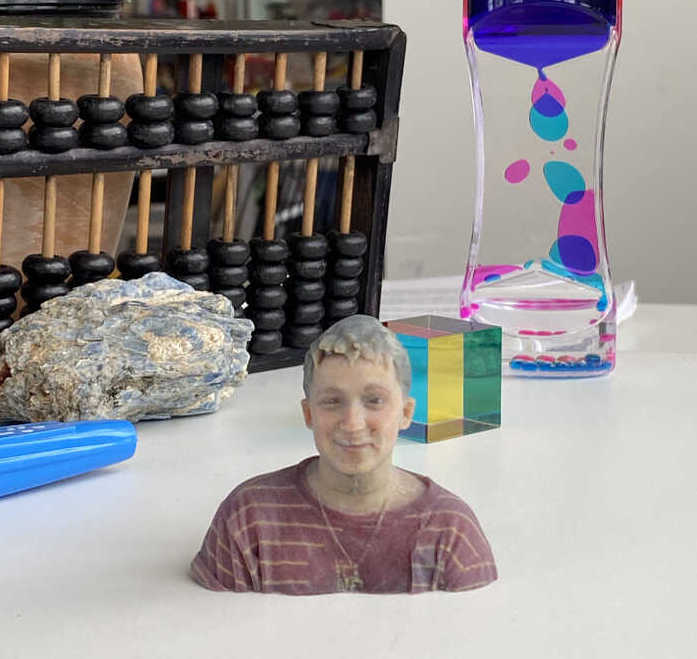
For the scanning project, I 3D scanned my partner! This is them normally, because I forgot to ask someone to take pictures of me scanning them:
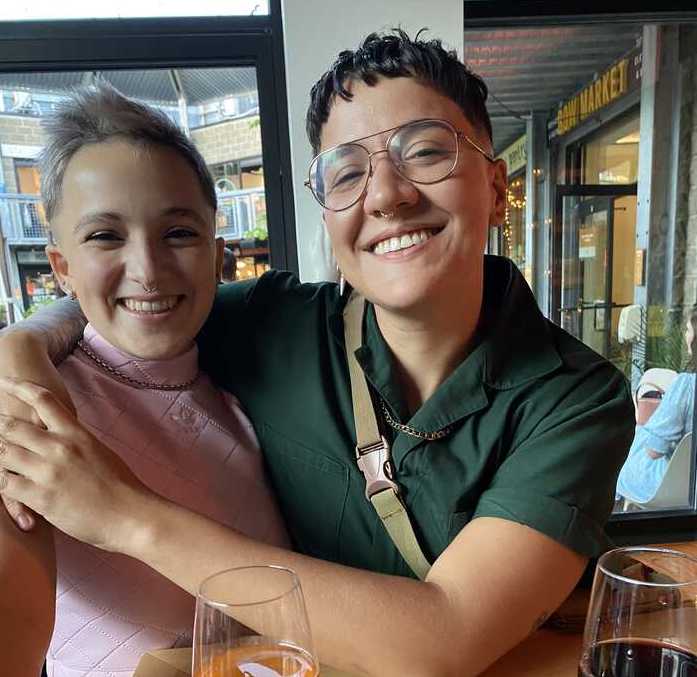
Doing the actual scan was pretty fun but it was hard to keep my model sitting completely still. If their face turns out wonky it's their own fault.
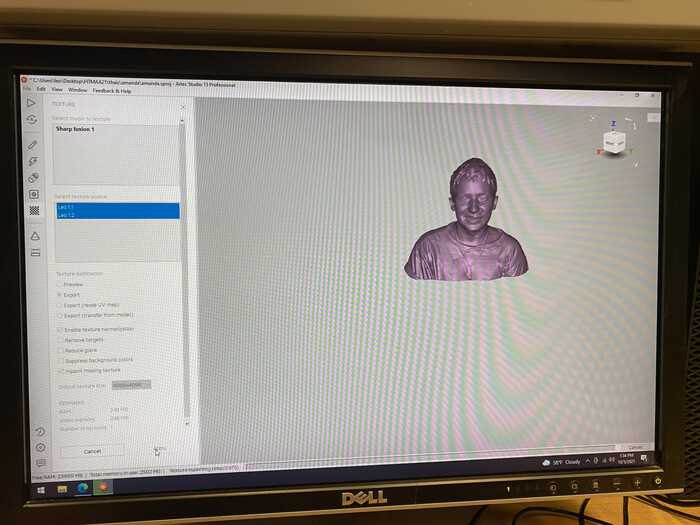
Using the ArTec software wasn't hard but I did make every. single. mistake. possible. First, after cutting away the excess scans and cutting away everything below a plane, I forgot to hit "Apply" so when I opened the model on Tom's computer it had all this extra junk. On take 2, I forgot to do "Fill Holes" so the model was still wrong. The third time was the charm. Here's a picture from before I applied to texture to the model.
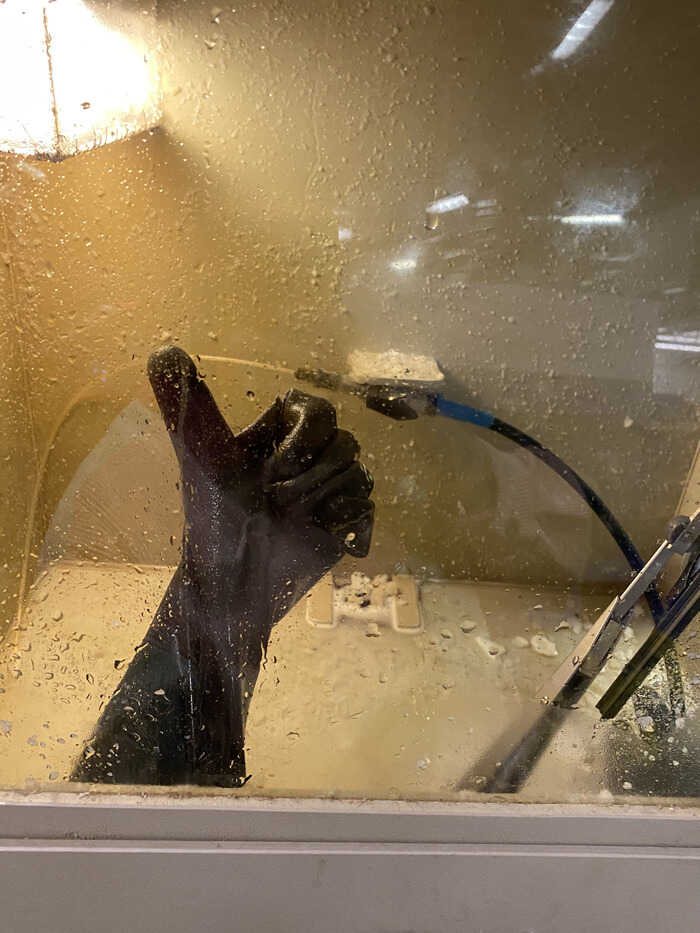
I sent my model to be printed on Tuesday at 3 pm and picked up Wenesday at 9 am. Tom showed me how to use the high-pressure water jet to clean off the goopy support. I thought it was super fun and satisfying!
Here's how the print turned out!
You can clearly see that they did not hold their facial expression still while I scanned them. Maybe my mistake was that I started scanning from the left side and went around to the right. It might be easier to scan the whole front of the face and then move around the sides and back. Either way, I'm happy how this turned out because now I get to carry around my partner in my pocket and I think that's sweet.