For my final project, I want to make a portable pop-up projector table. I want there to be some interactive and creative (as in, people who see my project can create something themselves) element as part of the experience
Initially, this was going to be for a dining experience very much like TeamLab Borderless' En Tea House (click through to video).

But I kept thinking that I didn't just want people to experience something, I wanted them to participate and create something as well. I remembered when I was young and some restaurants would give you crayons to draw on the tablecloth with, that was really fun! So I want to make something where people can draw ingredients that can be project in their soup (or anyone's at the tables). It could be called "Build-a-Broth Workshop".
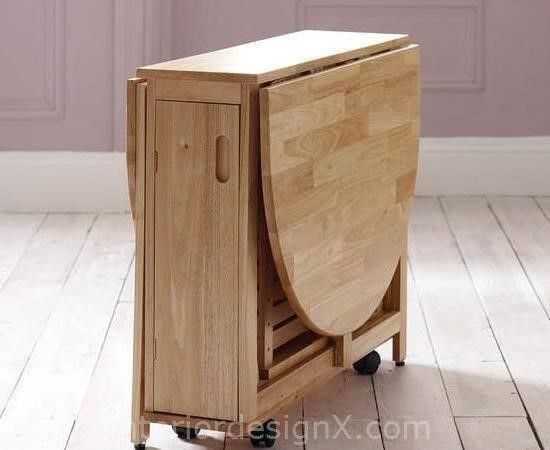
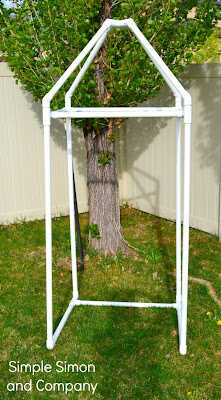
I started by thinking about the general size and shape of this table, and how I could make it portable. I drew inspiration from portable and foldable breakfast nooks, foldable stools, and this PVC cabana project I found online (their site has since been taken down).

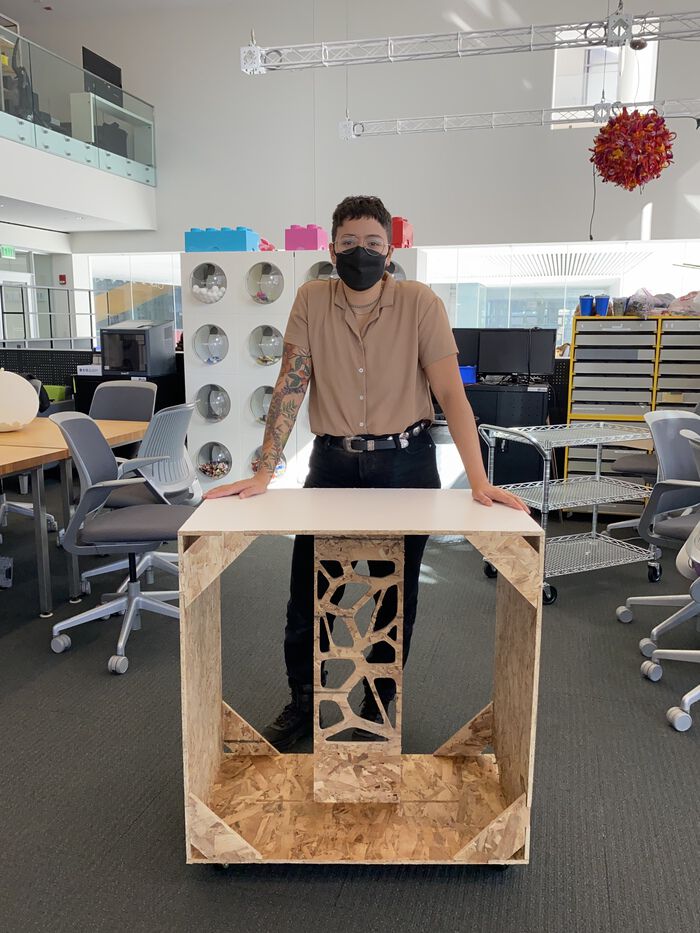
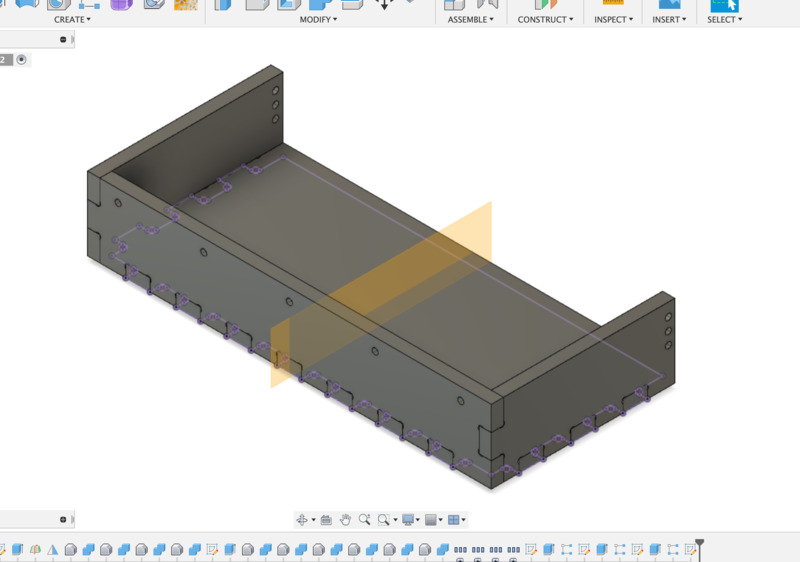
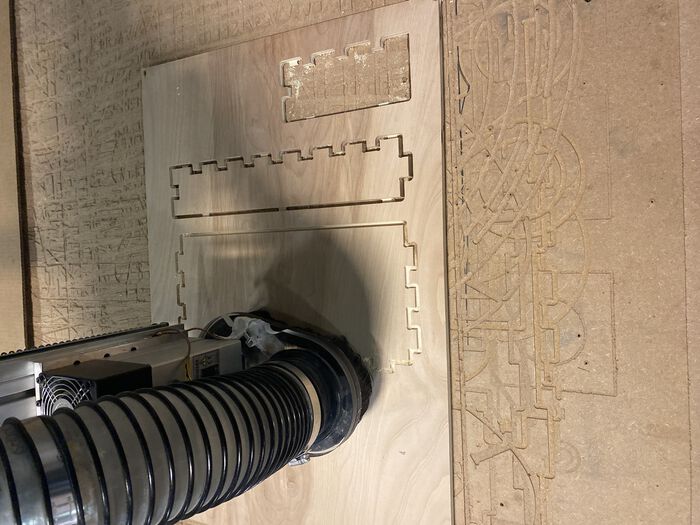
In Week 5, I got more familiar with using Fusion 360 to design 3D models. I then learned to use the CNC machine and made a prototype of my cart. It's much smaller and lacking features I will need in the final version. We were limited to one sheet of OSB so this is truly just a trial run at the real thing.
I later spent some time getting set up with my Raspberry Pi Zerp W and my Infrared NoIR Camera v2. Here are some links I referenced while doing so:
- How to Setup Raspberry Pi Zero (2021 Tutorial)
- The New Method to Setup Raspberry Pi Zero (2021 Tutorial)
I did have some issues SSH-ing into my computer. I tried a bunch of things, including resetting my home eero. It eventually worked but I'm not sure what finally got it to work...
I then followed this video on setting up the NoIR Camera and here's my first test image!
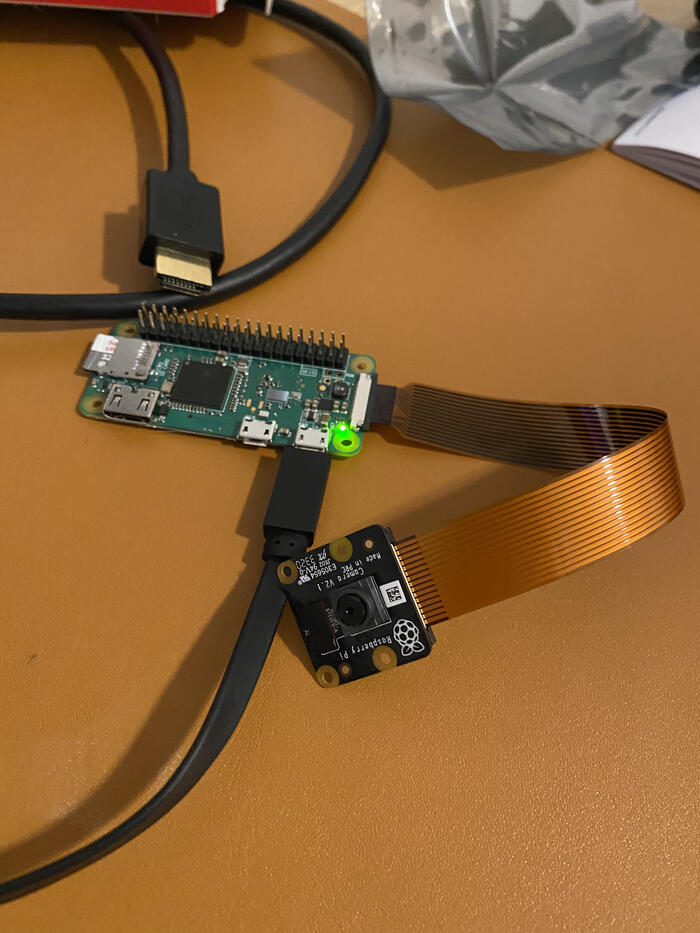
Next I'm going to get my infrared lights working with it. They came with a slighly different mounting setup so I'm gonna need to do some solder brute-forcing.
Everything above was before I settled on an idea, here's where the real project starts
I'm gonna make a tidepool.
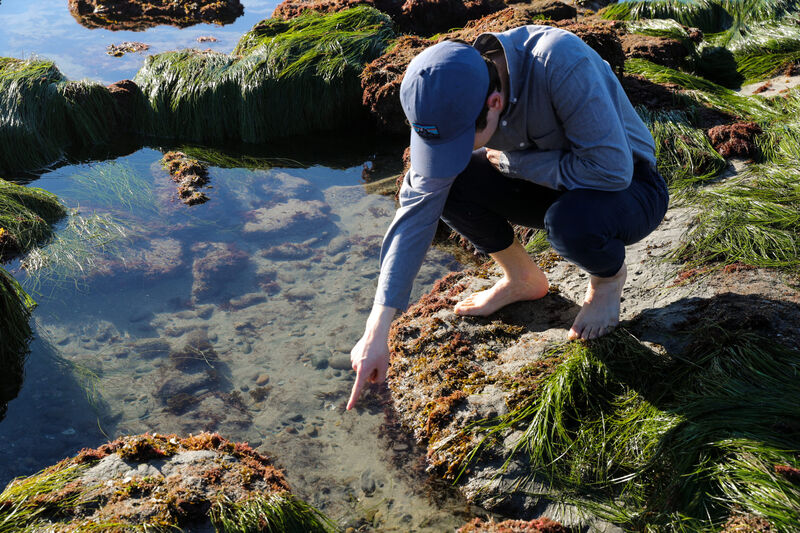
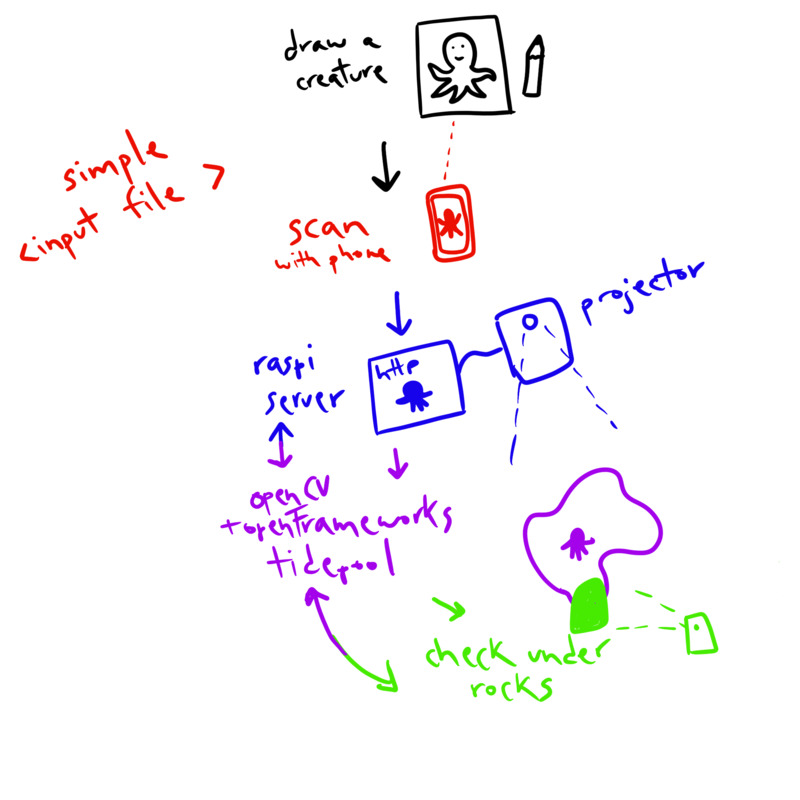
Here's a visual, I'll break down each part and link to whatever work I've already done.
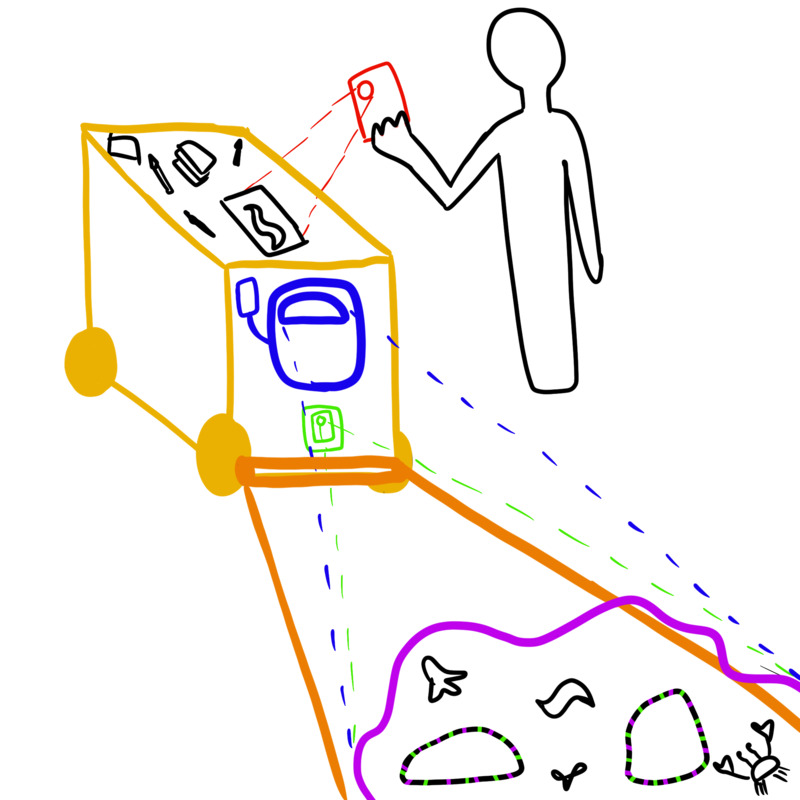
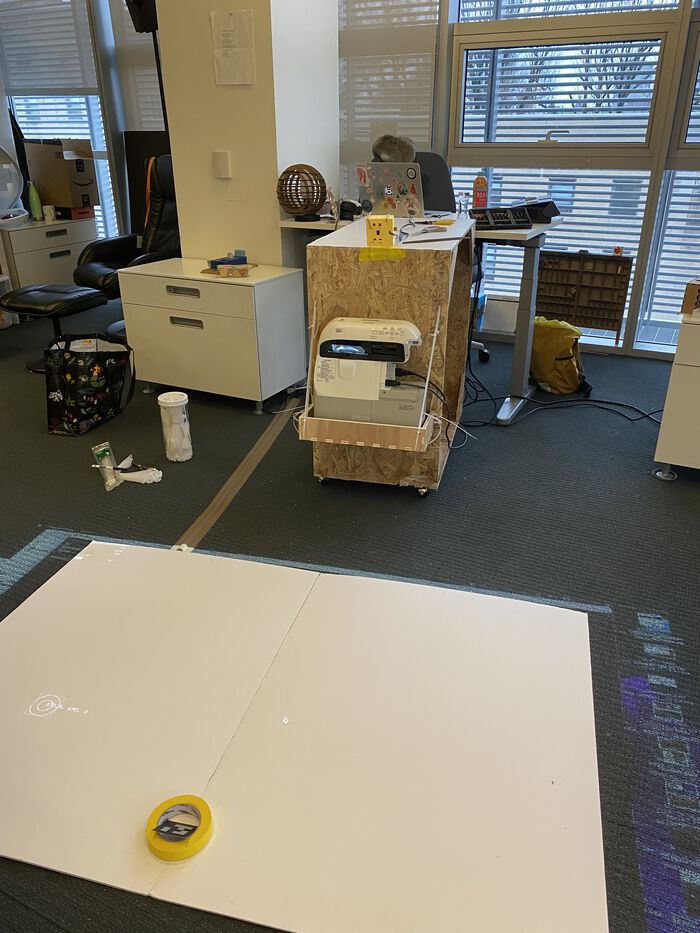
The experience starts with somebody coming up to my cart. I already have a cart prototype from Computer-controlled Cutting Week. I will need to add a roll holder for some white frabic that will become the screen on the ground, a mount for my projector, and a mount for my IR camera.
They'll be asked to draw a creature that's going to live in the tidepool. So I'm going to need to have some drawing supplies on the table. I'm going to make a super simple web app during Interface and Application programming week that they can use to take a photo of their creature. I'm going to have a QR code on the table for accessing the web app.
The photo will be POSTED to a server running on my raspberry pi. I'm going to use python to write this server, also during app programming week. I'm going to use openCV to process the image. I'm going to use openFrameworks to draw my tidepool and to add the creature to it, with some motion.
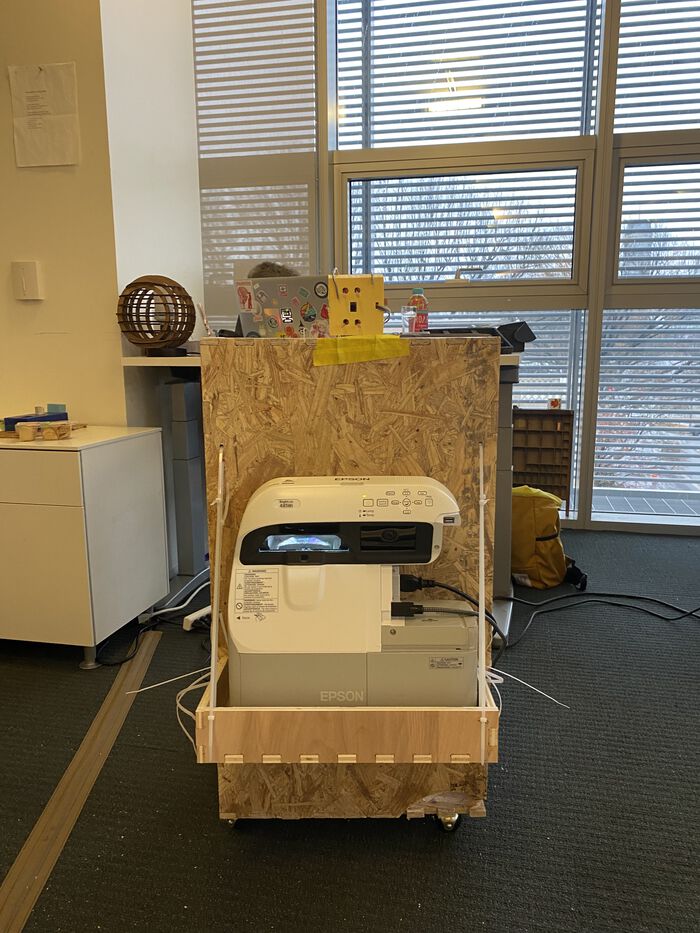
I got an old but good quality ultra-short throw projector, an Epson BrightLink 485wi. From 2 feet away, I can project a 125" x 78" screen which is a good size I think.
The server will also be receiving a video stream from my infrared camera. I have a prototype for the IR camera and IR ringlight from input and output devices week. I also have a stream from the ESP32 to the HDMI output of my raspberry pi working but I haven't documented that yet so no link for now. This camera will be for tracking rocks / other obejcts place on top of the projection. The objects will have retroreflective tape markers for ease of tracking. I will run blob detection using openCV on the raspi server. Knowing the positions of the rocks, I can make some creatures "hide" beneath them. I can also imagine other object interactions like avoiding a piece of trash or swimming towards a piece of food, but those are extra.
The Actual Week of Final Project Work
With a week to go, I took stock of what I had built or learned about through the semester that were relevant to my final project goals:
- I could probably re-use the cart I made during CNC week with some modifications (it would be a little uglier than I wanted, but I didn't have time or money to start over with nicer wood)
- I already had my infrared-modified ESP32 CAM from input devices week
- I already had my circuit desing for an infrared ringlight from output devices week
- I already had my ESP32 set up to output an mjpeg stream from networking week
- I already had a photo upload app from app week
- I already had OpenCV compiled on my Pi, also from app week
I decided the next thing was to get OpenCV within Open Frameworks to do contour finding on my mjpeg stream. I used ofxIpVideoGrabber to connect to my ESP32 mjpeg stream inside an Open Frameworks app. This was my first time working with Open Frameworks. I really like the variety of helpful addons available. I really hated the build times between saves that could be over a minute long, and even over three minutes as my project got larger. But anyway, I was able to get it working following this example. Here's a video of me pointing some retroflective tape at my ESP32. You can see the contours following it.
Direct video linkI also tested that my file watcher for uploading creature photos still worked when the IP video grabber and the contour finder were running.
Direct video linkTo make progress with my infrared tracking, I knew I needed to have my projector and camera set up on my cart for proper callibration. I was planning on going into the lab the following day (Thursday), so I spent the evening designing a case for my camera+infrared ringlight board and a holder for my projector.
I was able to import a 3D modelf of my circuit from the Eagle part of Fusion 360 to the 3D modeling part, but I had some issues getting a super precise model. I couldn't place the ESP32 Ai Thinker board into the headers in the 3D model. I also coulnd't really find a good model for my IR leds since I was planning on cutting up some headers to be able to surfa-mount my LEDs. So I took some guesses about the precise dimensions of the holes and such in my case. I really wish I could've used the 3D scanner to make a super precise model but alas, not enough time.
ESP32 Case .stlI have a 10-year-old but excellent ultra-short throw projector, the Epson BrightLink 484wi. I made a super simple holder that I could attach at any height to the side of my cart.
 Front.dxf
Bottom.dxf
Left.dxf
Right.dxf
Front.dxf
Bottom.dxf
Left.dxf
Right.dxf
Wednesday was a big hands-on making day for me. I started my 3D print job in the morning, but I forgot to take any pictures! Then I used the ShopBot to make my projector holder. Thanks to Dave who saved me from making a costly mistake with my board orientation settings.
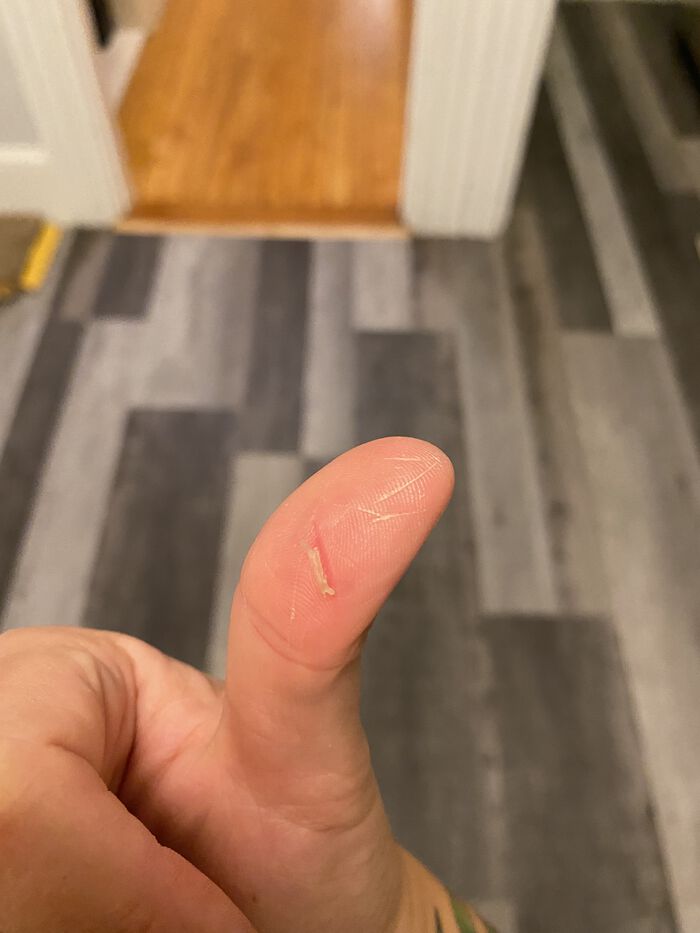
Next, I needed to re-make my infrared LED ringlight board since the one from output devices week was janky and some traces had ripped up. We were having some tape issues in CBA this week, but I risked it anyway. I put a fresh spoil board and fresh tape of my board to mitigate any issues. Still, my board went flying during the outline cutting process. Also, using friction to remove the tape several times left my fingers raw :( The scraping tools worked even worse.
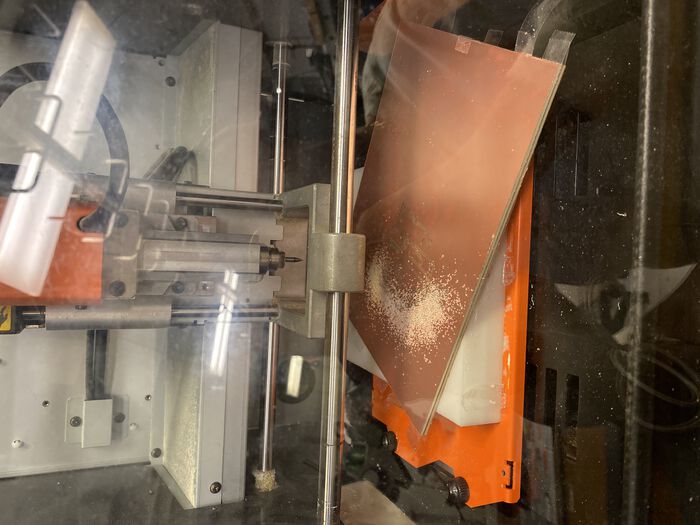
Thankfully, no traces were harmed in the process and I was able to re-aling my board and try again. I also handmade some headers (by cutting up some 1x8s I had at home) so I could mount my LEDs on the surface of my board. Please, more varied types of headers in CBA!
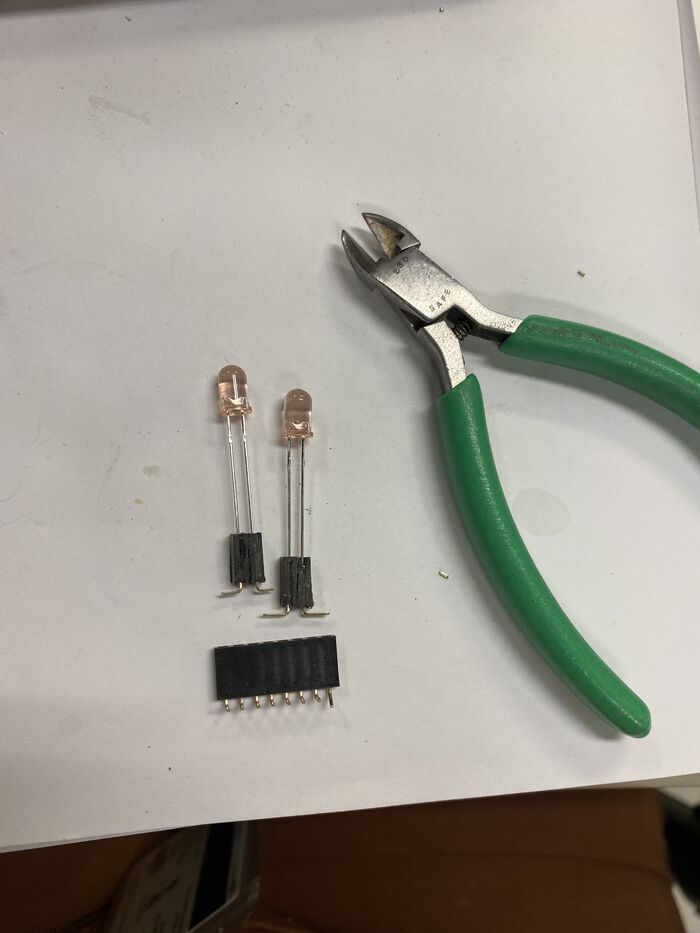
Here's what my final board looked like, minus the mounted ESP32. This photo is also from Sunday, after I had accidentally ripped my power trace (oops).

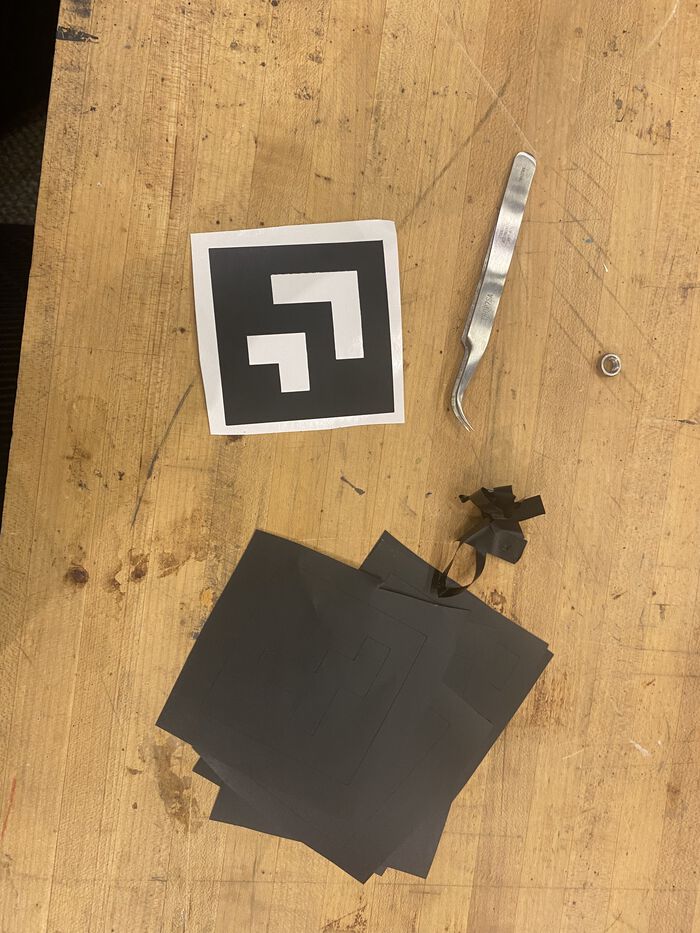
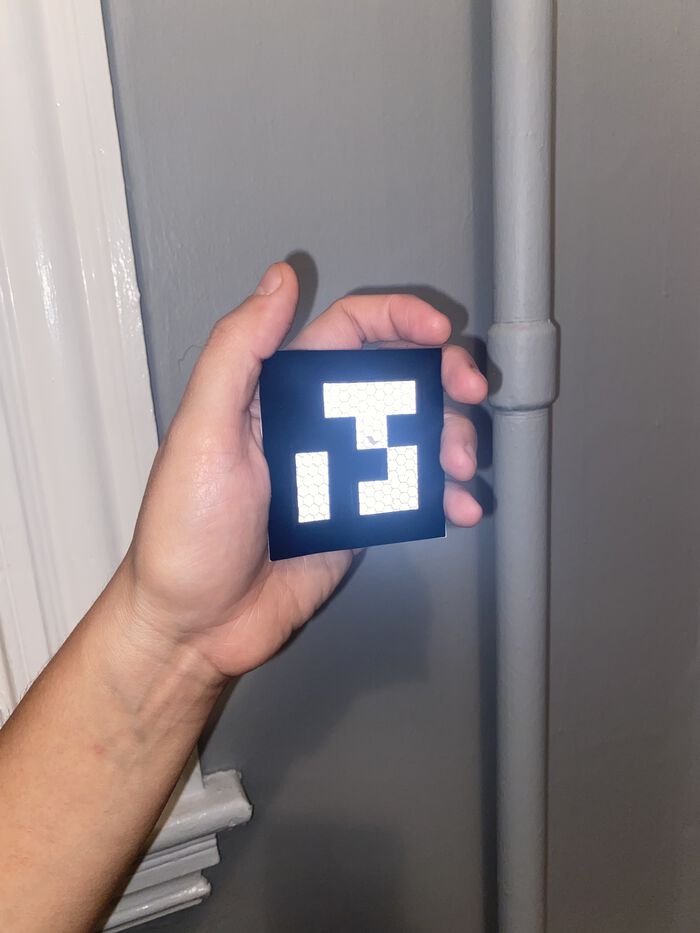
I also used the vinyl cutter to cut out some generated ArUco markers. I then placed retroreflective tape underneath it. My original plan was to use these for tracking. They ended up not working because they were SO bright in my camera's view that you couldn't make out the shape, just a big bright spot. I should've made them in higher resolution, but I had no time to remake them. I still thought the idea was cool and ended up using the markers for calibrating the camera.
Friday morning, a disaster happened. In trying to set up my Rapsberry Pi to be its own WiFi Access Point (to avoid using the Media Lab WiFi during demo day), I accidentally deleted EVERYTHING on my pi... My code was thankfully backed up on GitHub, but I lost a lot of images I had taken for documentation purposes. More importantly, I lost my compiled version of OpenCV on the Pi which took 8+ hours to get set up previously. I simply didn't have that time left to waste anymore. After my mini breakdown, I decided to forget the Pi and run my Open Frameworks app and my creature upload app from my computer. That in itself wasn't so simple... to get Open Frameworks working, I needed the latest version of XCode. To get the latest version of XCode, I needed to upgrade my Operating System. To upgrade my OS, I needed to clear some files from my computer. To move files from my computer to my external hard drive, I needed to figure out why my hard drive was suddenly write-protected... I ended up just deleting some movies and games I didn't want to delete and after doing all the installing above, I moved onwards...
I wasn't sure what height would make the biggest projection that my camera could still see. I tinkered with it for a bit, then once I found a decent height I drilled holes and attached my holder with zip ties (time is of the essence at this point).
I quickly found out my camera would need to be placed above my projector (to have a greater viewing area) and at an angle to the floor (to be able to see the floor at all). I spent a good amount of time thinking about how to map the coordinates of what the camera saw to the projection on the floor and devising a system for being able to re-calibrate once I moved my cart to the 6th floor. Here's a video of me tinkering with this mapping using the ArUco marker.
Direct video linkAfter figuring out the mapping, I worked on adding "natural" movement to the creatures. I started from this Open Frameworks Boids Algorithm implementation and changed some parameters and behaviors until I had something I liked. I covered a ball in retrorflective tape and attached that to a stick to use as my tracking object since I was no longer going to use ArUco. I made my creatures be attracted to the centroid of the bright spot if they were within "viewing" range of it. I also added a video of a tidepool to the background of my app.
Direct video linkI also fine-tuned my creature upload image processing during this phase. You can see a failed upload happen here.
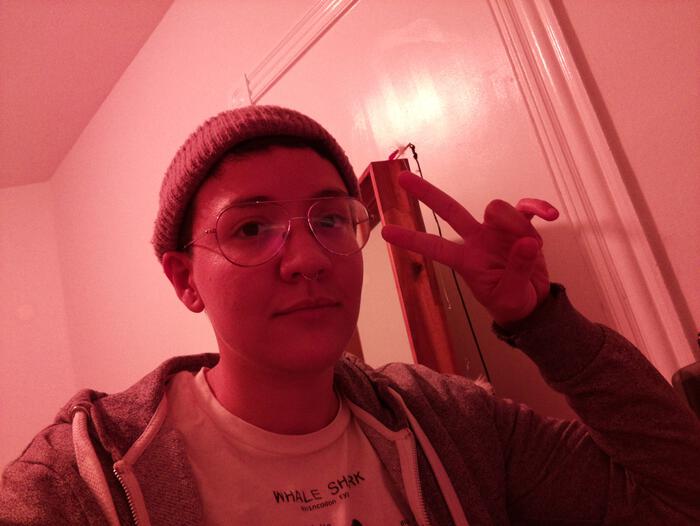
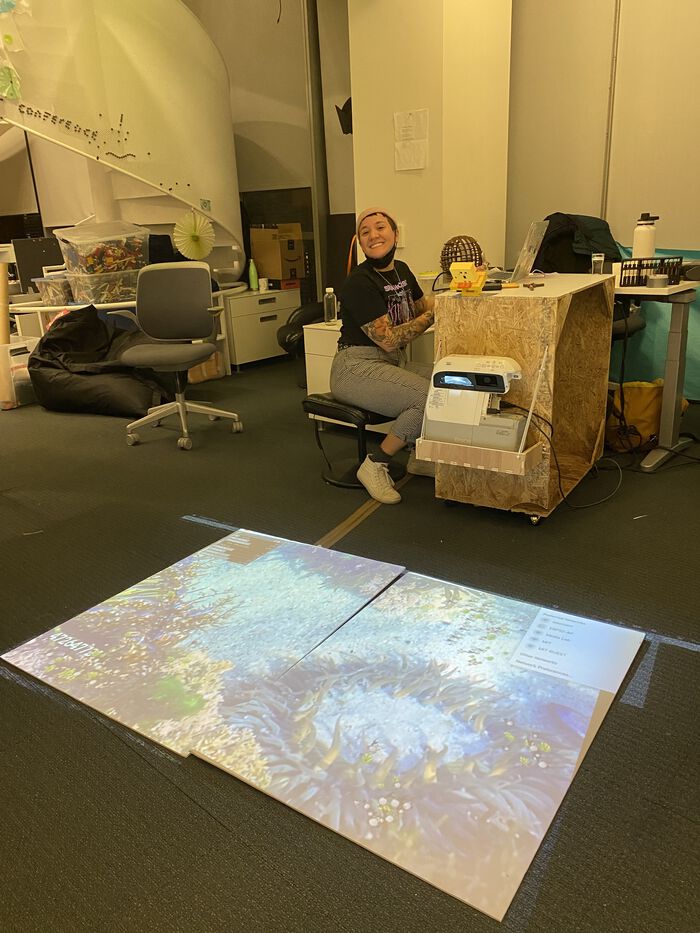
Me, very happy with my progress but also very tired.
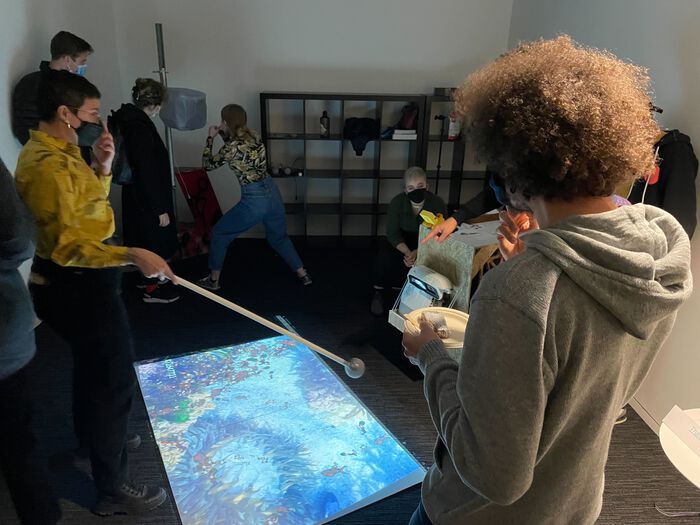
The last 24-hours before the finals were a blur... I remember accidentally ripping up some important traces while fiddling with my circuit board in the case. Luckily, I had also added USB for power to my board desing and was able to remake the power trace with a jumper wire. I remember getting paper and markers together for people to draw their own creatures. At some point I turned my ESP32 into an acces point.. Oooh right, here's the final ESP32 mjpeg stream + access point code. You will need the other files from here if you want to reproduce. And that's about all I remember... Here's pictures and videos from open house.
Direct video linkMy favorite part was definitely when people saw their creations come to life on the projection. They were surprised to see so many copies! And the nice comments people made about each others creatures :)
Direct video linkAfter running for a while, my ball tracker would some times need to be restarted. Small glitches still there I guess.
Direct video link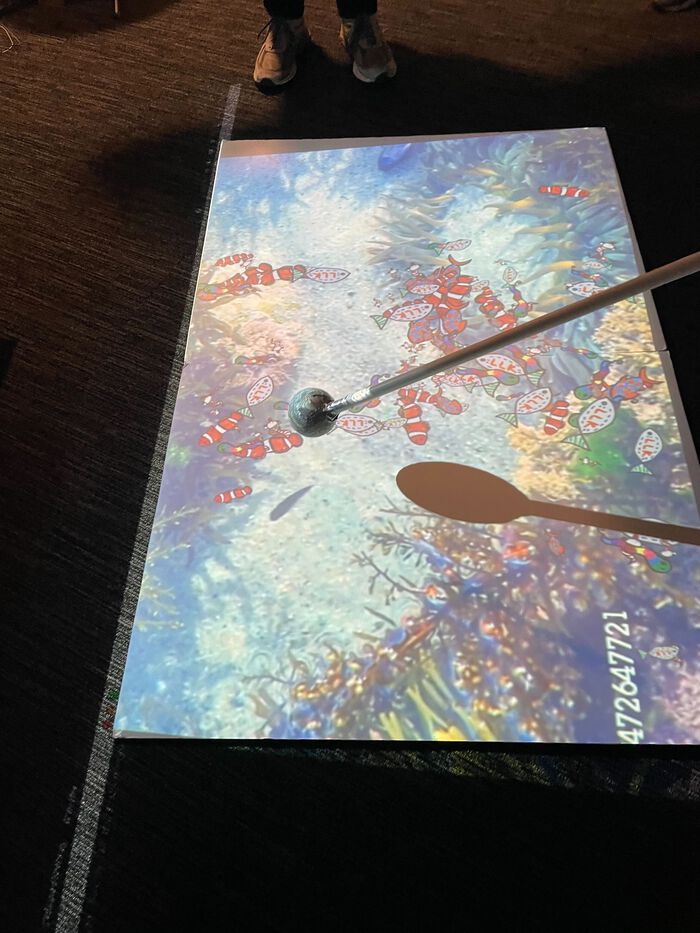
I learned SO MUCH during this project process, but mostly, I got some practice in time management, project planning, being resourceful, perservering through setbacks, and following through on my ideas. On a more technical side, before this semester I had never made any kind of circuit, I could not tell you what a resistor was for, I had never used a laser cutter or a CNC machine or a vinyl cutter. I had never used Open Frameworks or Flask or OpenCV. I had never done any kind of 3D modeling. So many things I'd never done, this isn't even an exhaustive list. I'm grateful for the space to learn and all this and now I'm going to go sleep for a month.
Direct video link