Goal#
- Design, build, and connect wired or wireless node(s) with network or bus addresses
Result:#
This week, I wanted to try to stream video from my ESP32-CAM to my Raspberry Pi Zero W and output that video via its HDMI port to my pico projector.
During input devices week, I got the ESP32-CAM's example camera server code working. But I didn't need everything that came with the example code (it has a GUI for changing video settings, for example) and I wanted to try a higher quality streaming format.
I found code for a super simple MJPEG ESP32 streaming server here. I download the repo into my Arduino projects folder and uploaded the sketch without any issues!
My first test was to just check out the stream on my computer. When the ESP32 is in run mode and connected to my computer, I can see its program output using the Serial Monitor in the Arduino IDE. It prints out the address for the streaming server it set up.
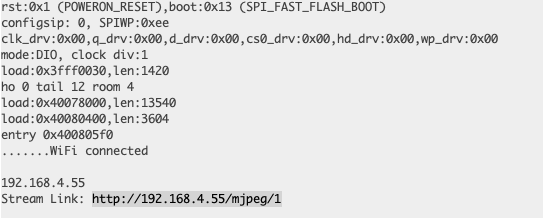
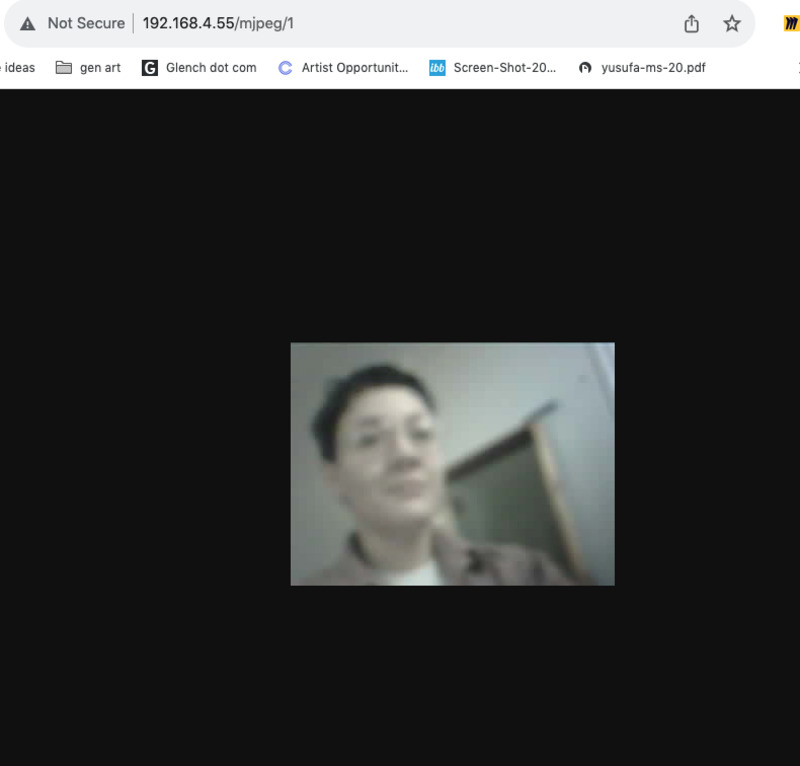
Because my computer and the ESP32 are connected to the same WiFi, I just needed to enter the IP address in my browser. The stream was excellent! Smooth and imperceptable lag. It's blurry because I scratched the outer lens while trying to sand down the edge of the camera.
Next, I wanted to connect to the stream from inside my Raspberry Pi. I used VNC Viewer to connec to my pi and be able to see the Desktop GUI. By the way, you need to enable VNC connection on the pi. While SSH'd, you use the raspi-config command, go to Interface Options, and there you'll see the option to enabel VNC remote access.
From inside VNC, I opened Chromium and put in the same ip address from before. It's important to note that my pi is also connected to the same WiFi as the ESP32.
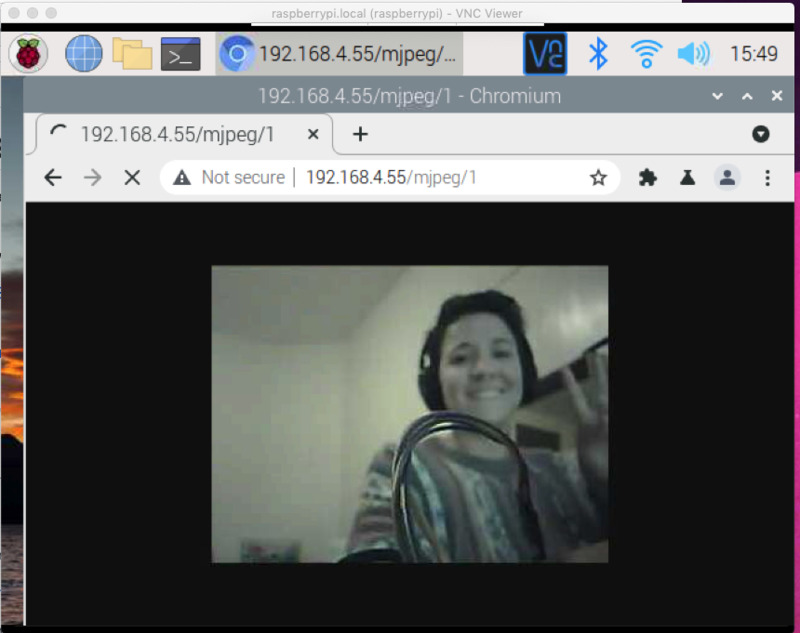
Awesome, it works! Next, I connected my pico projector to the pi via HDMI. I also wanted a lighterweight way to connect to the stream than opening a browser, and ideally something I could call from the command line while SSH'd. After some research, I learned that the pi comes with VLC and VLC can connect to a network stream.
Running VLC from the command line didn't immediately work. First, I learned I had to explictly set the display when starting vlc from the command line. I can do that using DISPLAY=:0. During this research I also learned I could run vlc without the extra GUI elements using cvlc command.
At first, my stream was super choppy. Like one new frame every 30 seconds or so choppy. I tested streaming using VLC on my computer, using the GUI, and it worked great. I didn't know why on the pi it was so terrible!
I went to the VLC command line docs and found my answer there. On command-line VLC, http continuous streaming is disabled by default. I just needed to add the --http-continuous flag! I also wanted to make the video full screen. The full command I used was:
DISPLAY=:0 cvlc http://192.168.4.55/mjpeg/1 --http-continuous --fullscreen
And I got a surprisingly smooth stream with < 1 second of lag.
Next, I wanted to turn my pi into an access point. That way I can connect the ESP32 directly to the pi and not rely on Media Lab WiFi the day of project presentation. I found RaspAP, which let's me turn my pi into an access point and simultaneously a wireless client (so my pi can still connect to the WiFi for things like downloading packages).