Goal#
- Design a mold around the stock and tooling that you'll be using,
- Mill it (rough cut + (at least) three-axis finish cut),
- Use it to cast parts
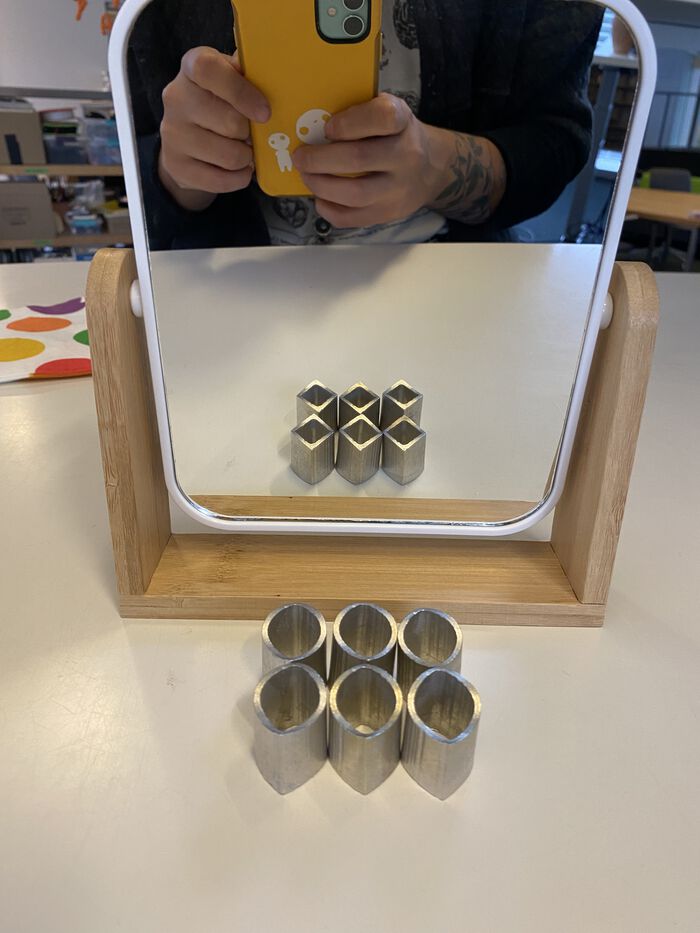
Result:#
Desiging#
I couldn't think of something I could make for my final project this week so I decided to just have an expressive week. I've been feeling strange about getting misgendered daily here at the Media Lab. Do people just see a woman when they look at me? Do they have a hard time categorizing me? I decided to make an optical illusion because I feel like an optical illusion.
I have loved Kokichi Sugihara's illusions for years. He always wins Best Illusion of the Year. I saw his amibiguous cylinder illusion in 2016 and it seemed like a good candidate for molding and casting so I thought about how to design it.
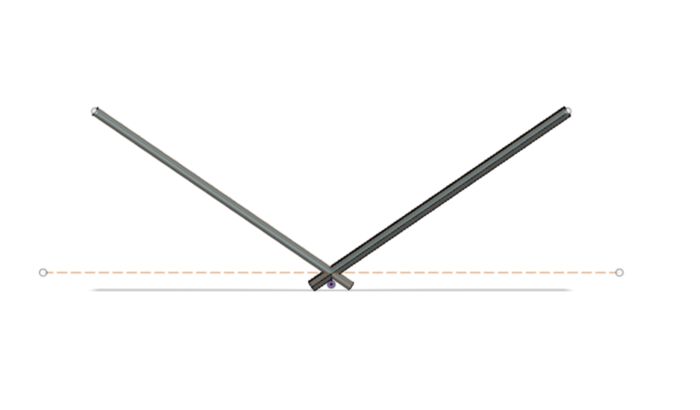
in Fusion 360, I made two planes on opposite sides at roughly viewing angle and distance.

On one plane, I drew a circle. On the other plane, I drew a rhombus. I actually did this process twice because I couldn't figure out in my brain if a perfect circle and rhombus would make the illusion work better than an ellipse and an elongated rhombus, so I tried both. Then, I extruded each shape with a thin shell down until it reached the ground.
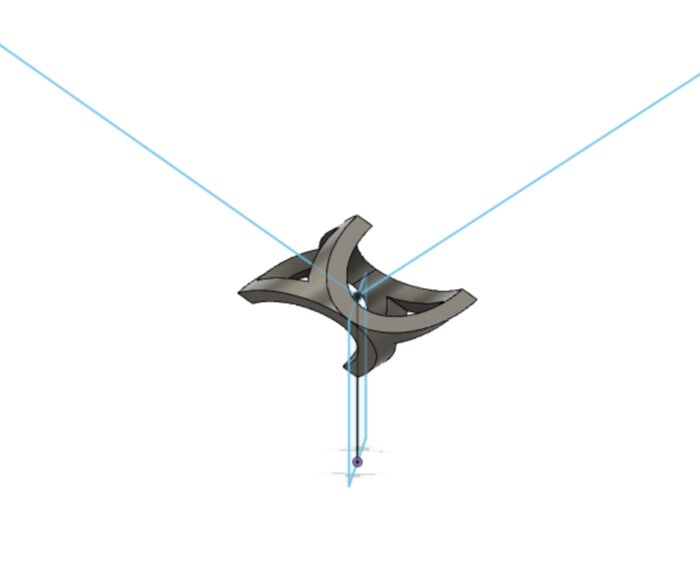
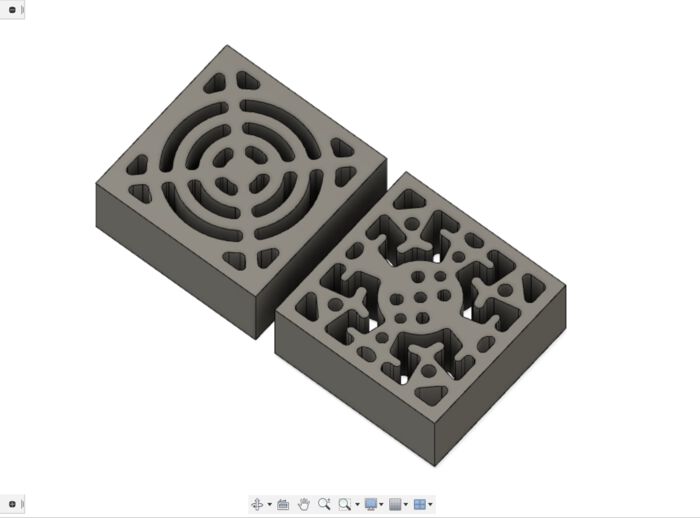
I did a boolean intersection of those tubes and got this funky shape.
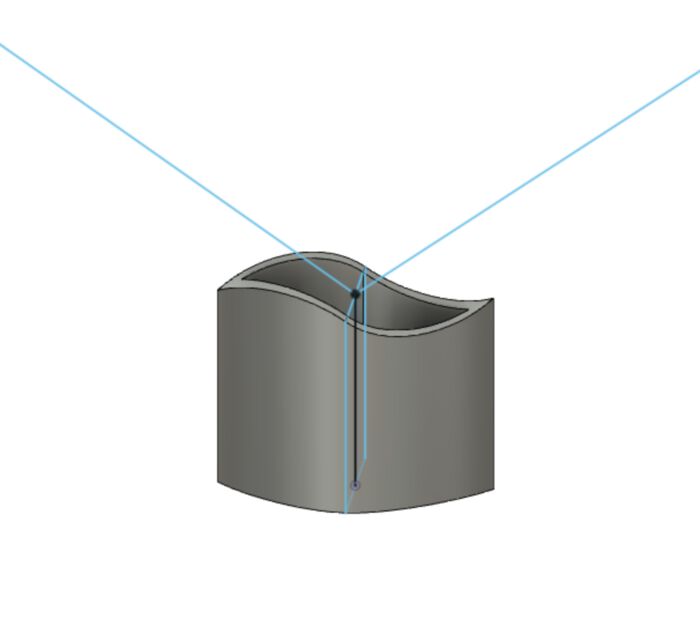
I projected the top view of that shape, which looks like an eye shape, to make the base of the cylinder. I extruded that base with a thin shell. Then I made a surface out of the S shape on the side view of the funky shape and used that surface to cut off the cylinder. That leaves us with our final object!
Since I wasn't sure which version of the illusion would work best visually, I 3D-printed some tests. Would the illusion work better if I made the shape with a perfect circle or an ellipse? Also, would the illusion work if I made a design with 100% machineable angles? That's what I wanted to test. I accidentally ran out of PLA in the middle of printing and didn't notice until after I'd removed the objects, oops.
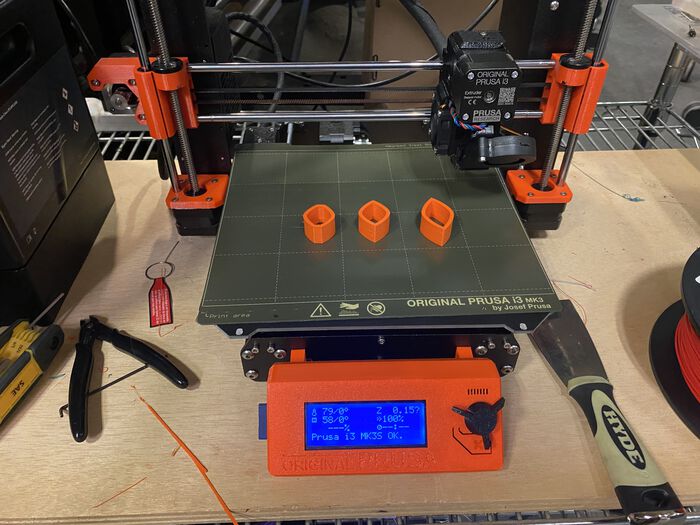
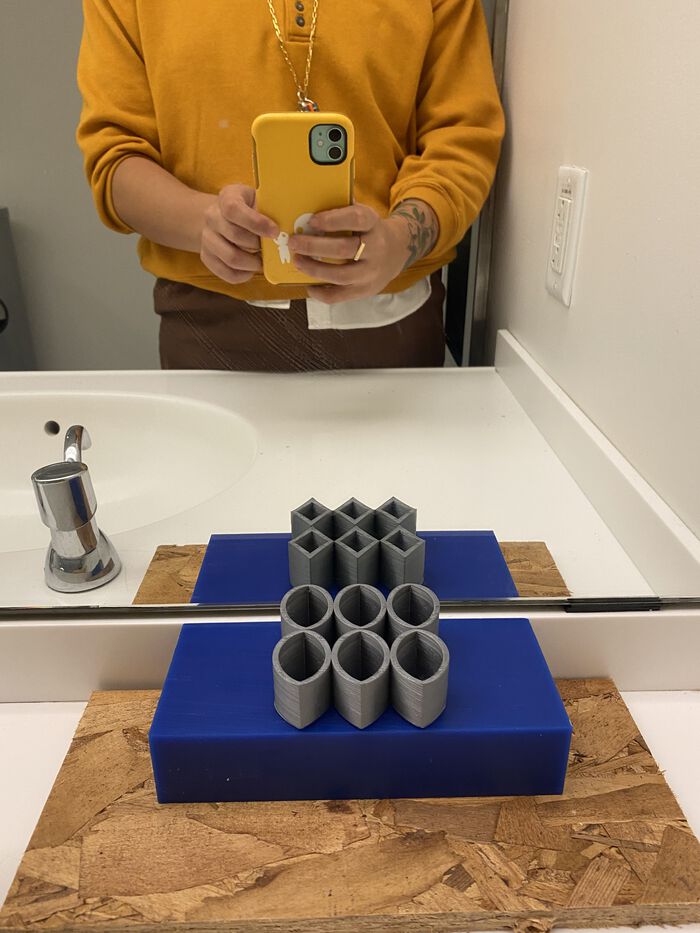
I made myself a cool array of the design in the middle.
Here's a video that shows the trick to the illusion better.
Molding#
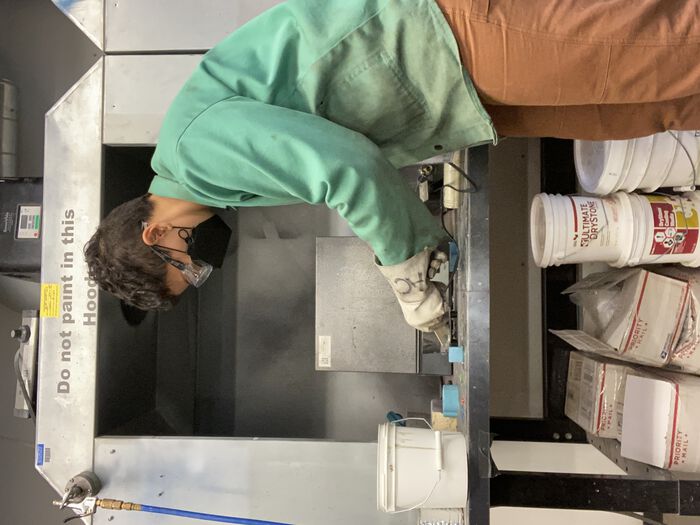
Since I already had a 3D-printed object, I decided to try to use it to make my mold. I brought a glass container from home to hold the OOMOO. Making the OOMOO mold is not hard. Make sure you check the validity of the OOMOO. Stir Part A and Part B well for 3 minutes each. Then, measure out equal parts by volume of each and mix them together for 3-4 minutes. Use a shearing motion to minimized air bubbles. When pouring the OOMOO out, make a thin stream. This will also help with air bubbles.
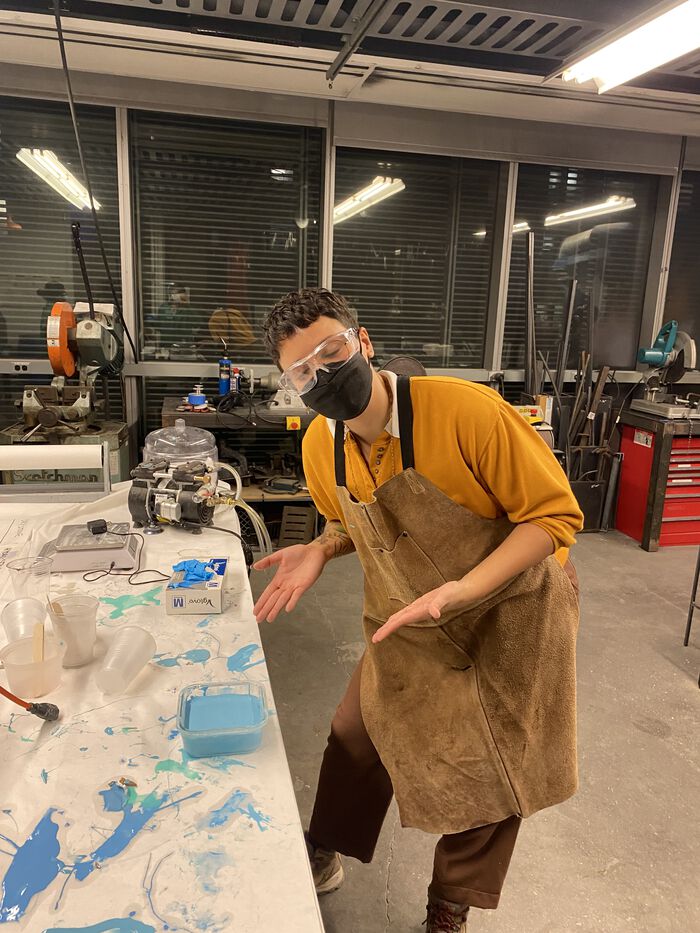
Here's my happy little self after pouring my OOMOO over my 3D-printed part into glass, blissfully unaware of what was to come.
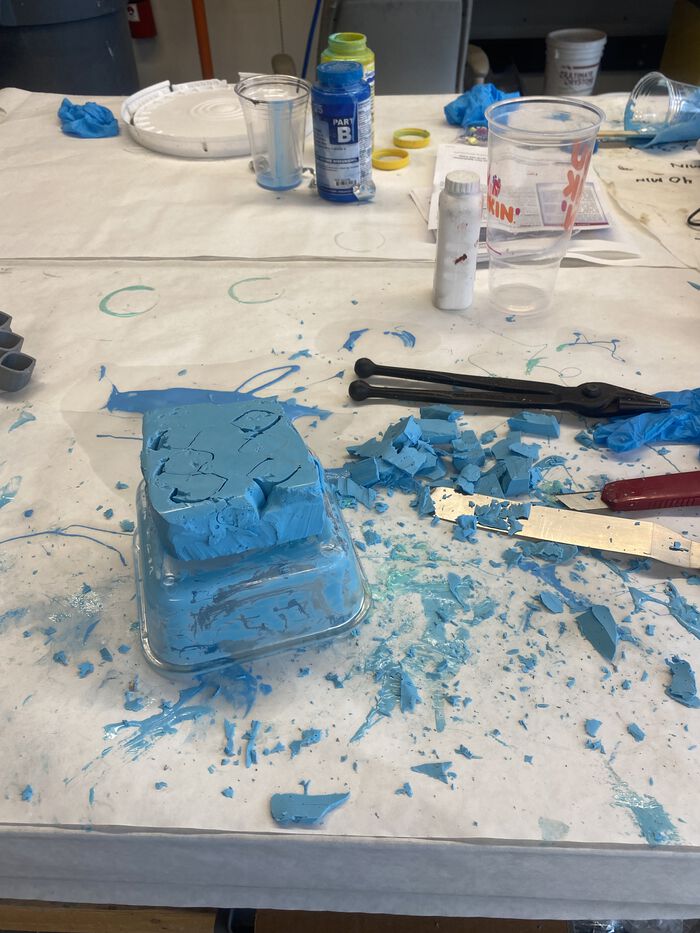
I left my mold in the shop for almost 48 hours (it was the weekend after all). When I tried to release it from the glass, it was stuck! It took me an hour to cut away the edges and pry the OOMOO mold out. And when I finally did pull it out, sweaty and breathless, I accidentally tore my mold in two places. I thought OOMOO was not supposed to stick to anything! If I had looked deeper in the Smooth-On FAQs, I would've seen that it does indeed stick to glass if you don't use a release. If you're reading this in the future, DO NOT USE OOMOO ON GLASS WITHOUT A RELEASE!!
Machining#
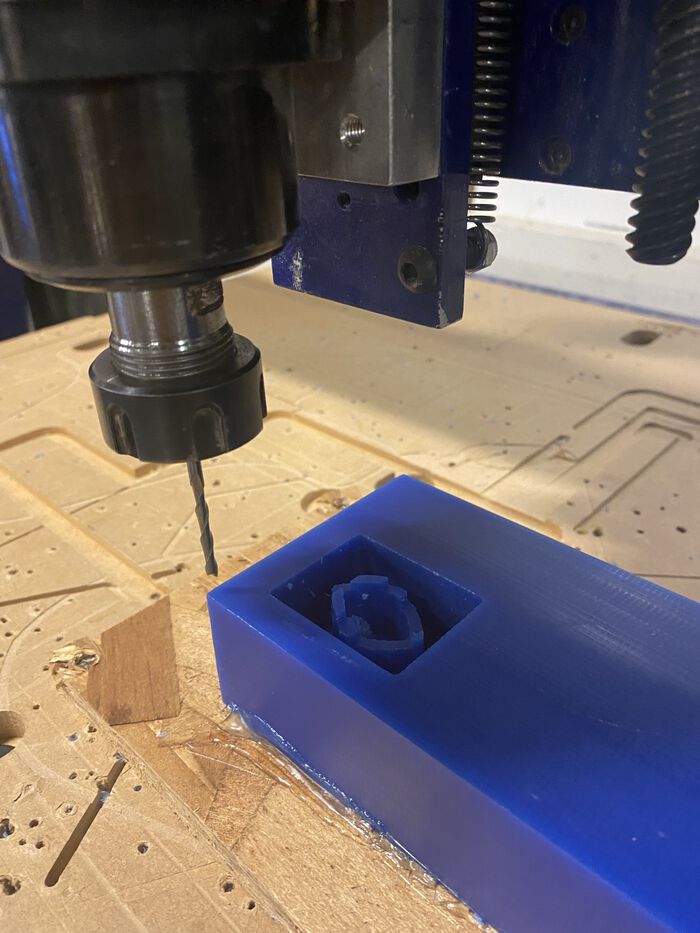
Originally I was going to machine something else with my wax, but since my ambiguous cylinder didn't work I decided to just try making a mold for it out of wax. I was going to make some cobogó, or breeze blocks, which are a common architectural feature of my region in Brazil (and other tropical regions).
There's an inner angle that's not quiiite machineable and I also had to make my model shorter (which I think affects the illusion a bit) so that the endmill could reach down into the wax.
I uploaded my .stl file to Partworks 3D. Tom showed us the process of getting our model machine-ready. It's basically replicated on this guide. The important things to note are:
Roughing Pass:
- Pass Depth: .1"
- 40% Stepover
- 90"/m Feed Rate
- 6000 RPM spindle
Finishing Pass:
- 10% Stepover
- 90"/m Plunge Rate
After that, I used the ShoptBot 3 software to zero my X, Y, and Z axis on the ShoptBot Desktop (very similar to the larger ShopBot during CNC week). My model took 12 minutes total to machine. Here it is after the roughing pass.
Molding and Casting Part 2#
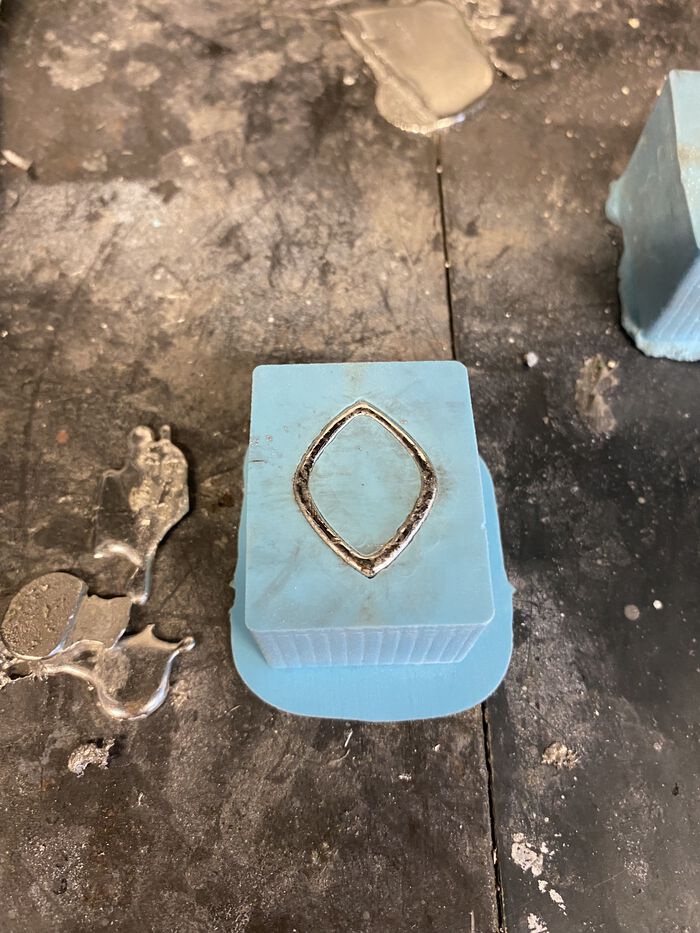
I used my positive wax model to make a new OOMOO mold. I actually had to do it twice. My first mold was usable but kind of sticky after 75 minutes of curing. I think I used some old OOMOO. But my second mold turned out perfect! Because I wanted to make lots of objects, I decided to use Cerrotru since it hardens much faster than the other plaster-like materials we had. I also thought the plaster materials would be too brittle to make the thin walls of my object.
To use the Cerrotru, you just pop a block of it in the small electric cast-iron pot. The Cerrotru melts at 138 F, and the cast-iron pot reaches 500 F, so it melts super fast. Pouring it into the mold is really fun. The metal wants to glob together so it kind of "pulls" itself down into the hole.
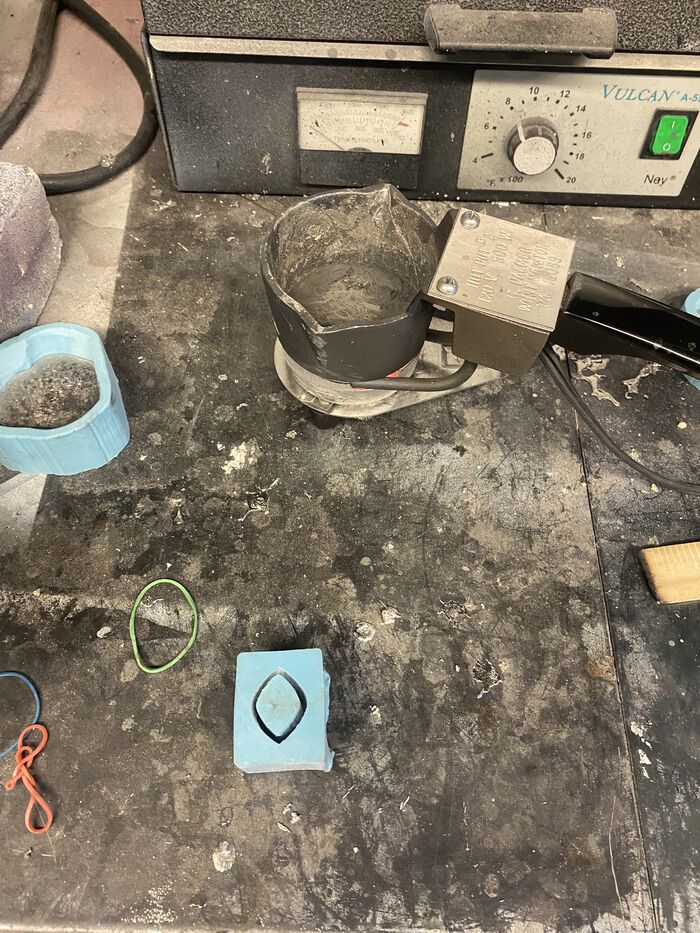
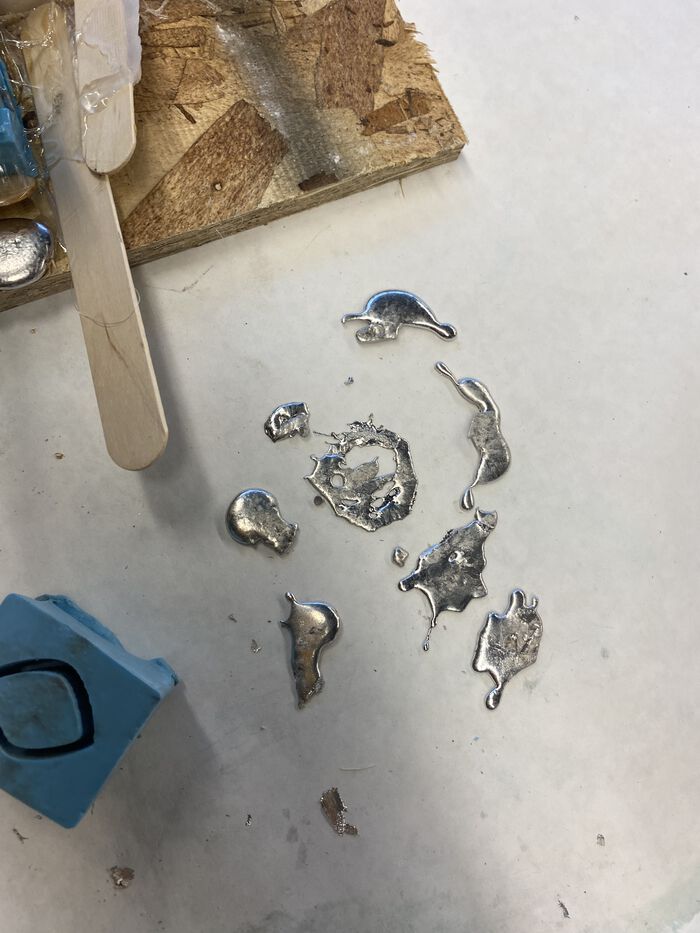
I also became obsessed with the Cerrotru spills after they cooled. Such cool organic shapes. It takes just 10 minutes or so for the Cerrotru to harden.
After making a bunch of cylinders, I used the belt sander in the shop to sand the bottoms of my cylinders so that they sit flat on a surface. I'm really happy with how my cylinders turned out!