Computer Controlled Cutting on the Laser
Purpose
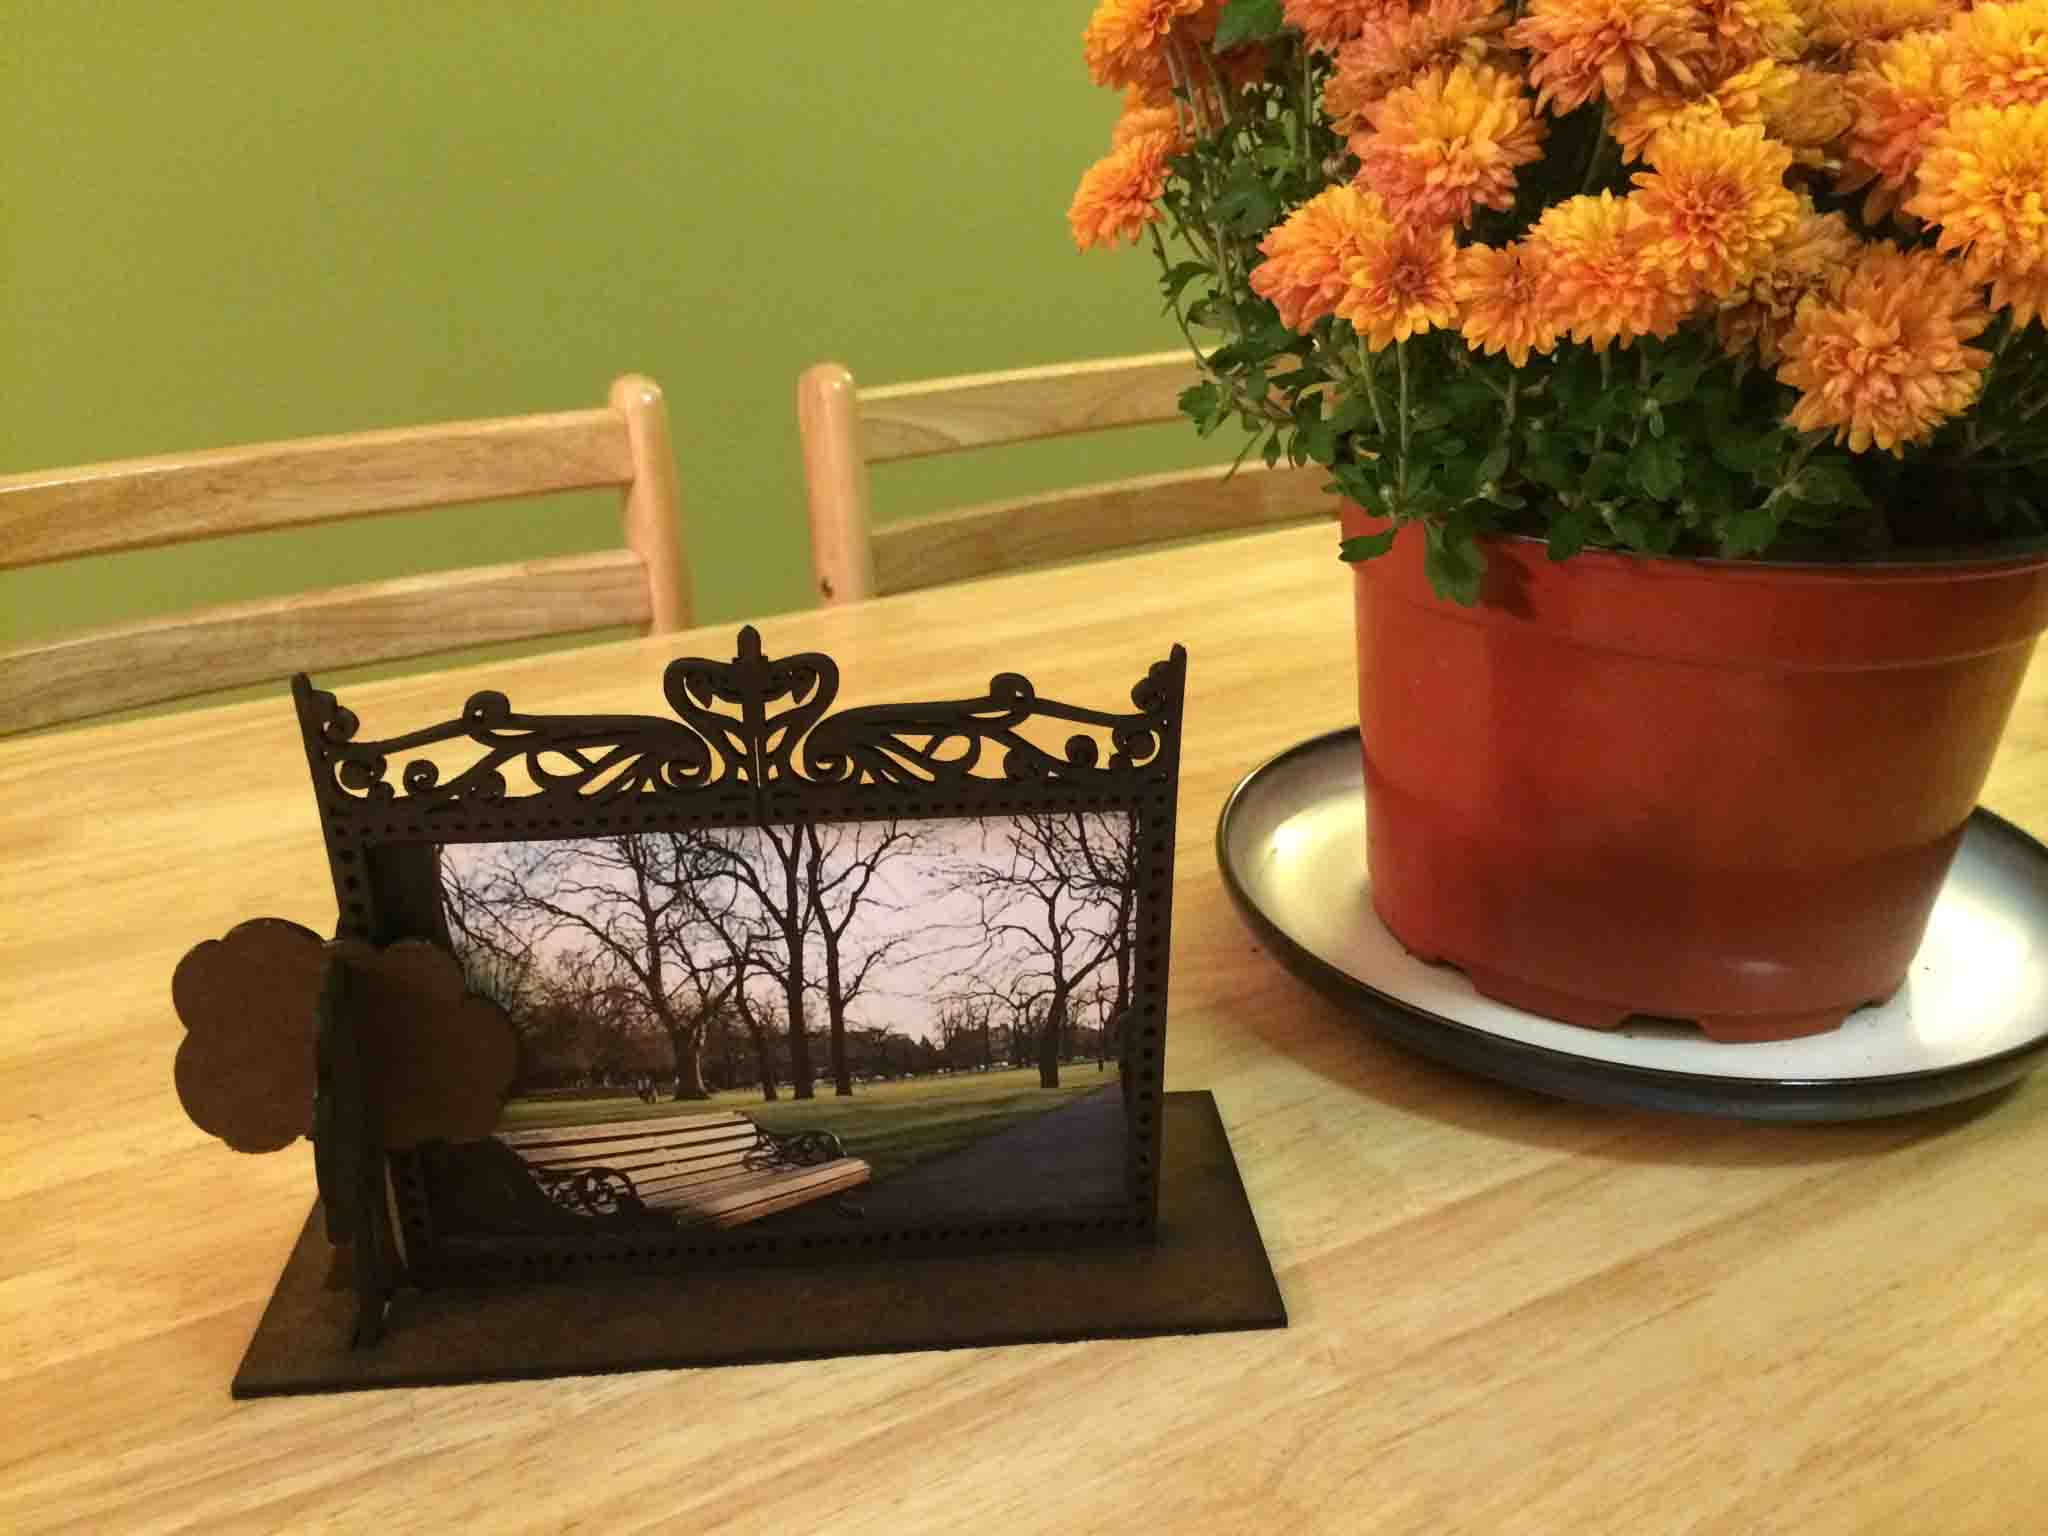
My mother's 52nd birthday is coming up and she LOVES pictures.
Goal: Make her a frame that is easily mailed flat, and have her build it (she loves to feel like she's part of my education).
Designing and Laser Cutting
My inspiration for the design came from the fact that my mother and I really enjoy going to the park to sit on a bench, under a tree, and just contemplate life. She's my best friend and our conversations can range from all over the place and she's not afraid to ask "why?" with me...that must be where I get it from. Unfortunately, we don't get to do this as often as we'd like, so I thought I'd bring the park to her, instead.
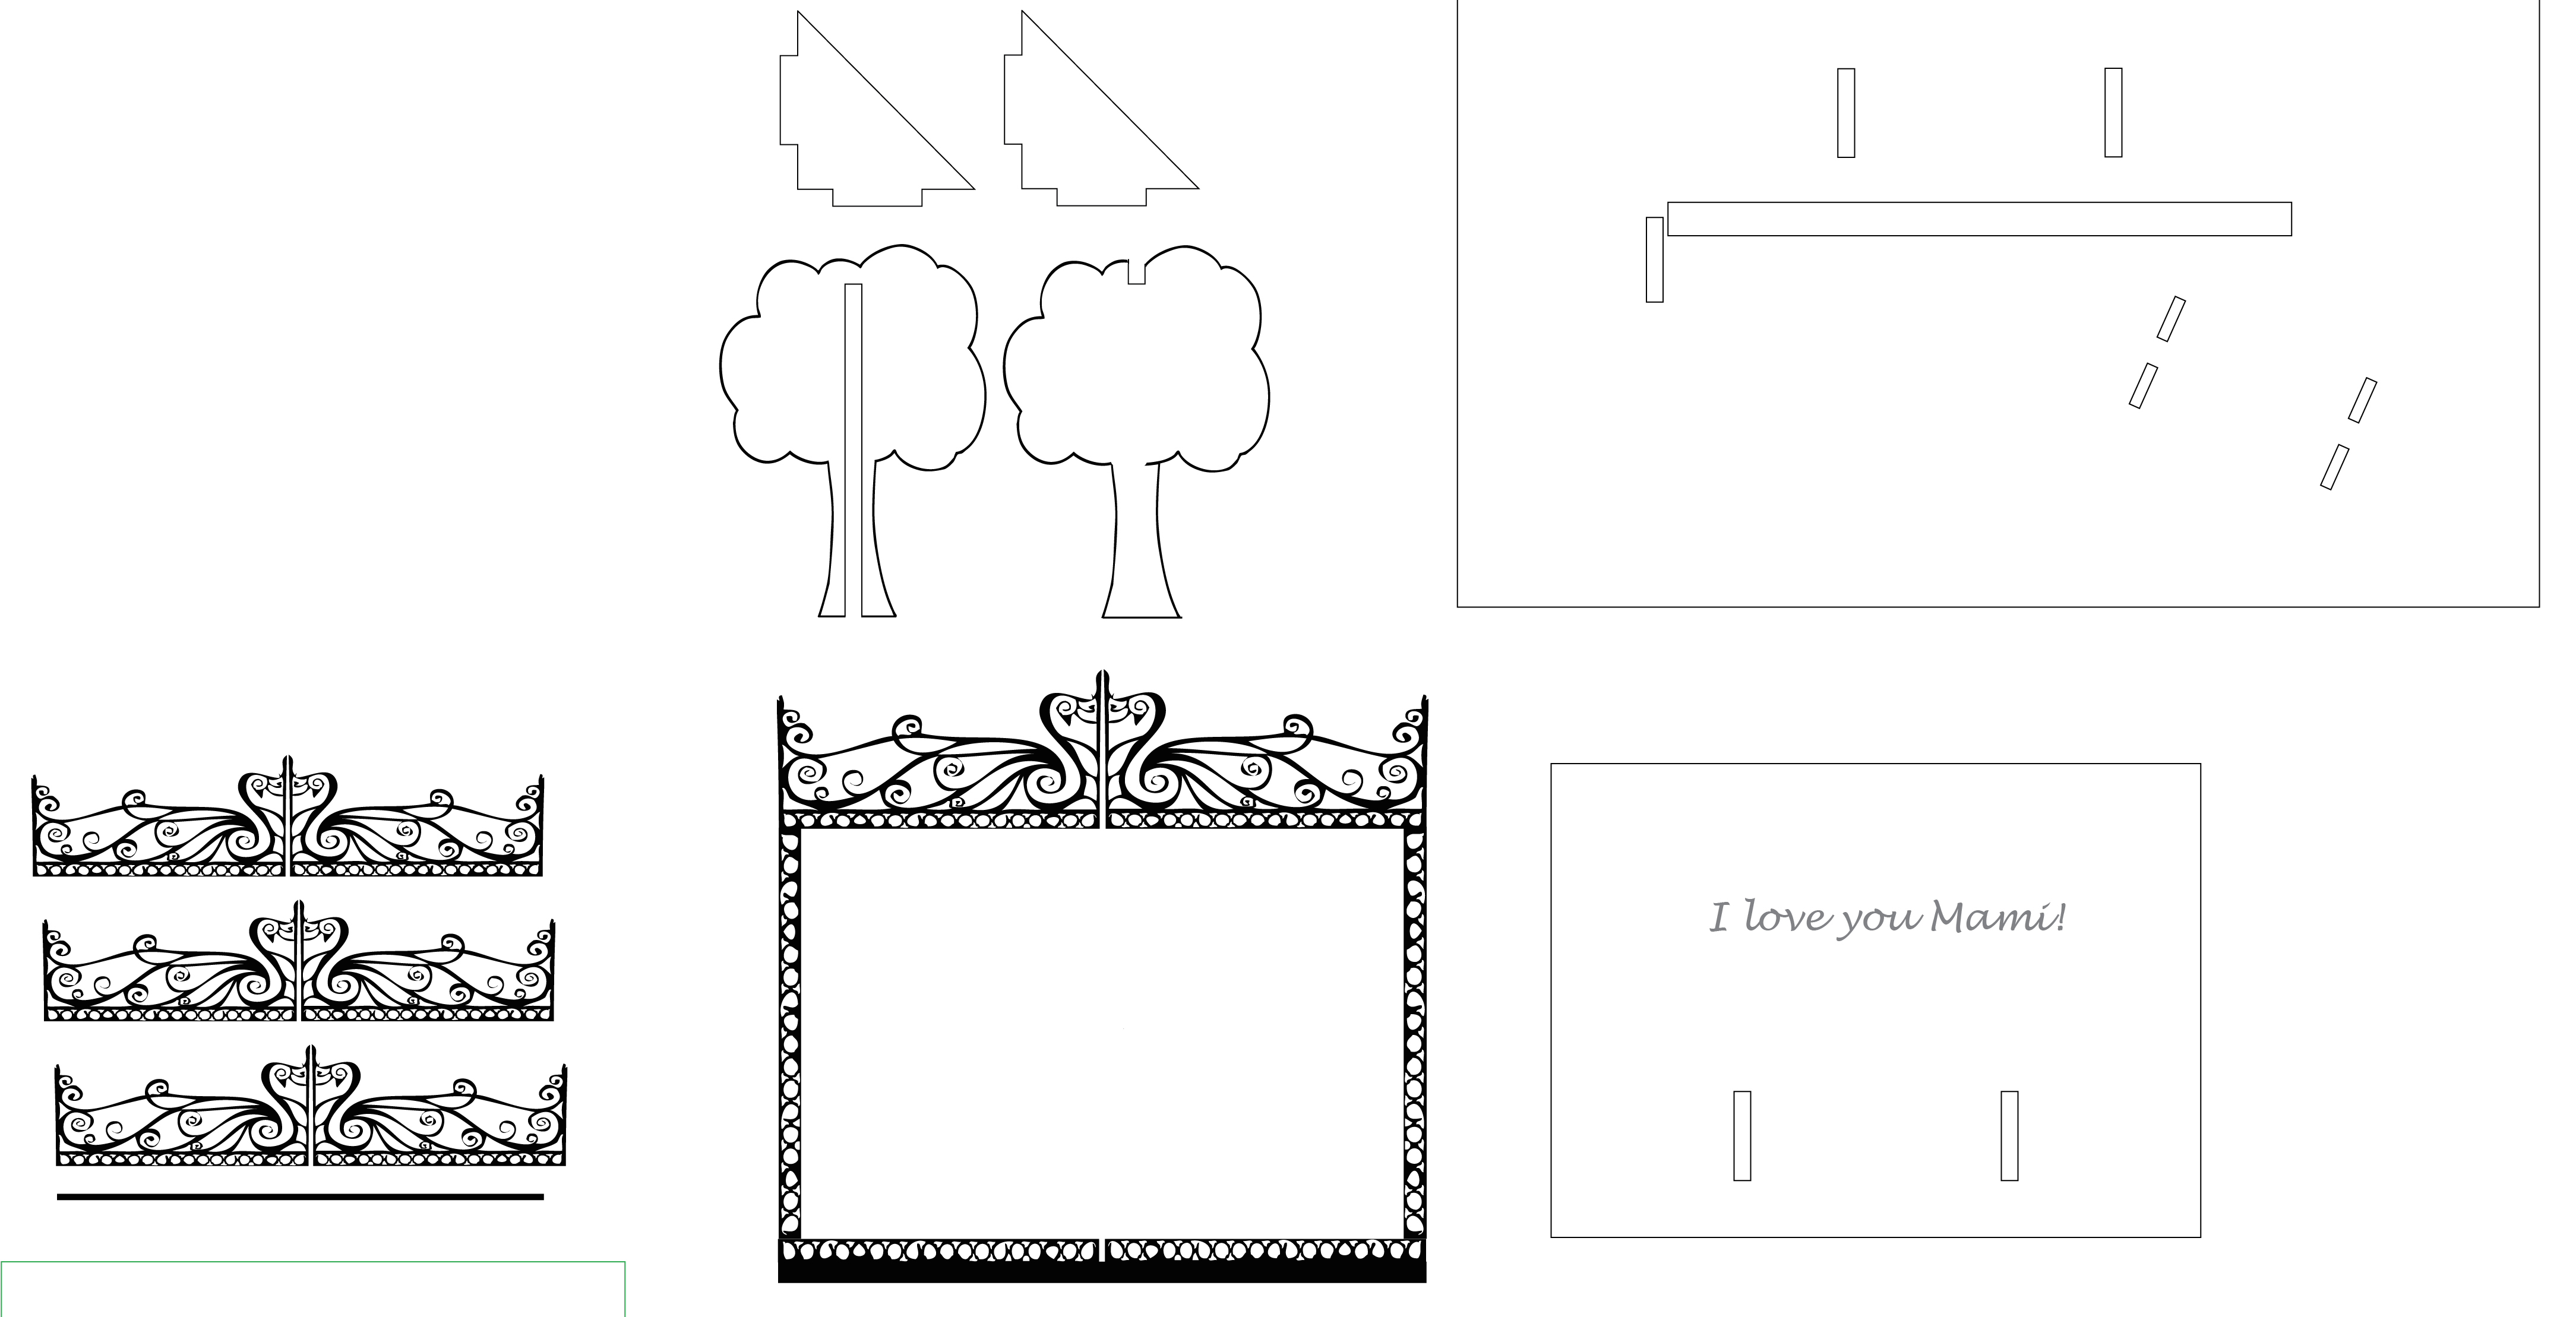
I used Illustrator and re-learned a lot of the basic functions (Thanks, Tiandra!) I downloaded the design of the Victorian fence from Google and imported it into Illustrator. I used the Live Trace and Expand (and Ungroup) functions and then used a mask to separate the bottom of the fence and use it for the square surrounds of the frame.
Lasercutting Cardboard
I exported the file into a .dxf that CorelDraw (software that interfaces between the computer and the Laser cutter) could read.
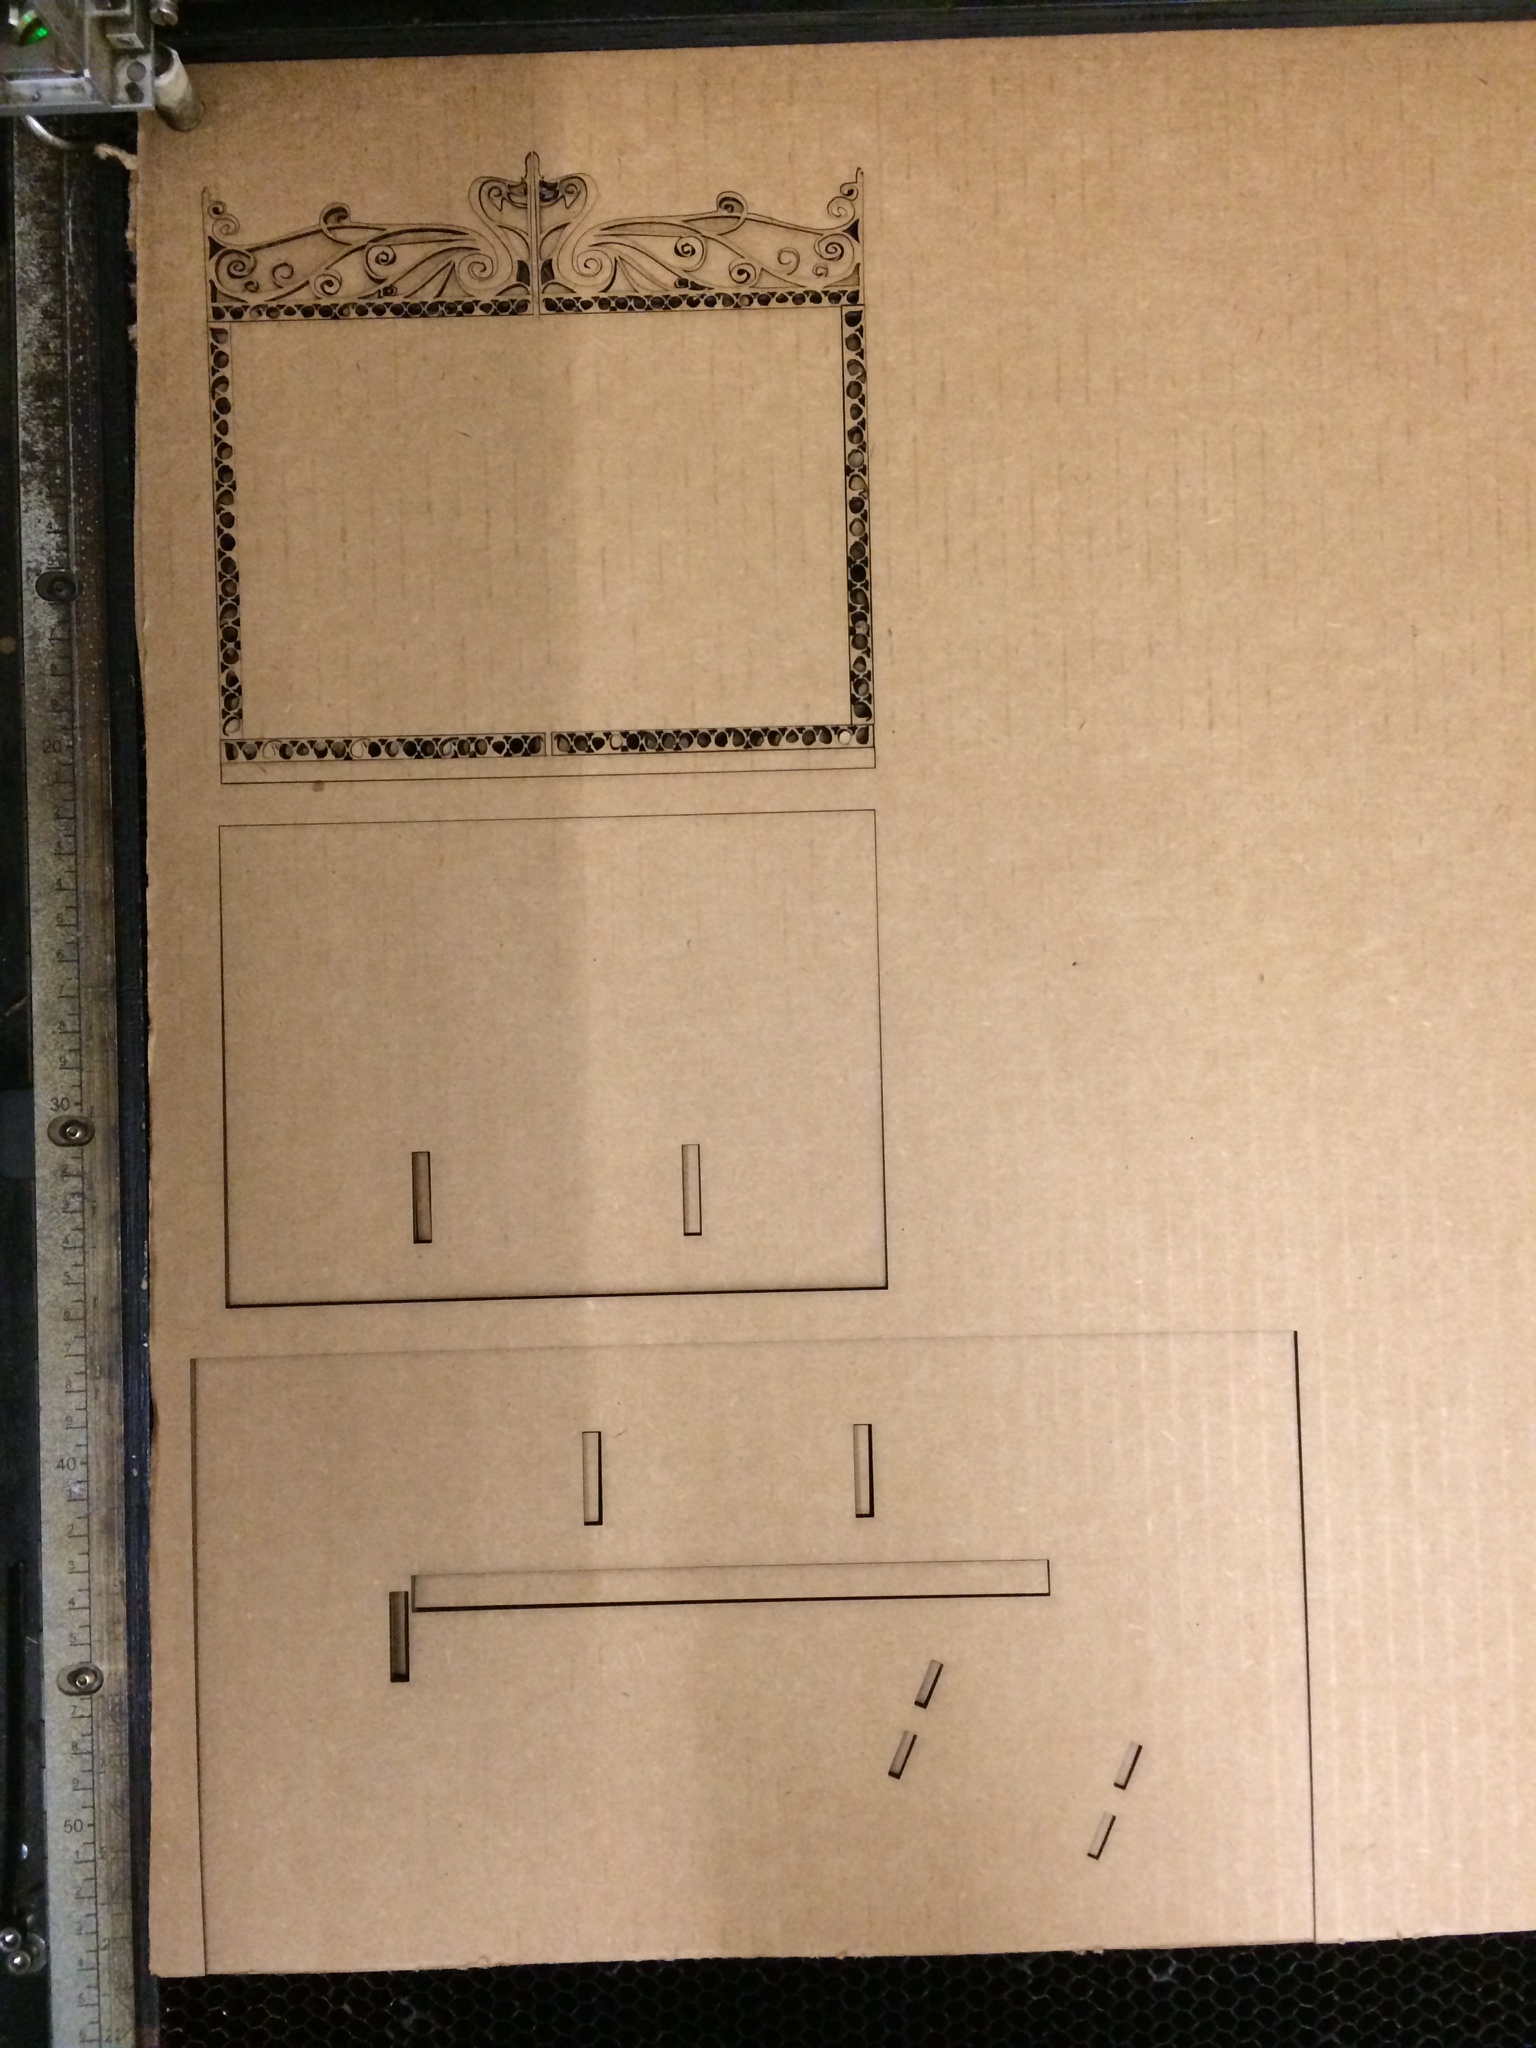
There were several issues with this design on the cardboard:
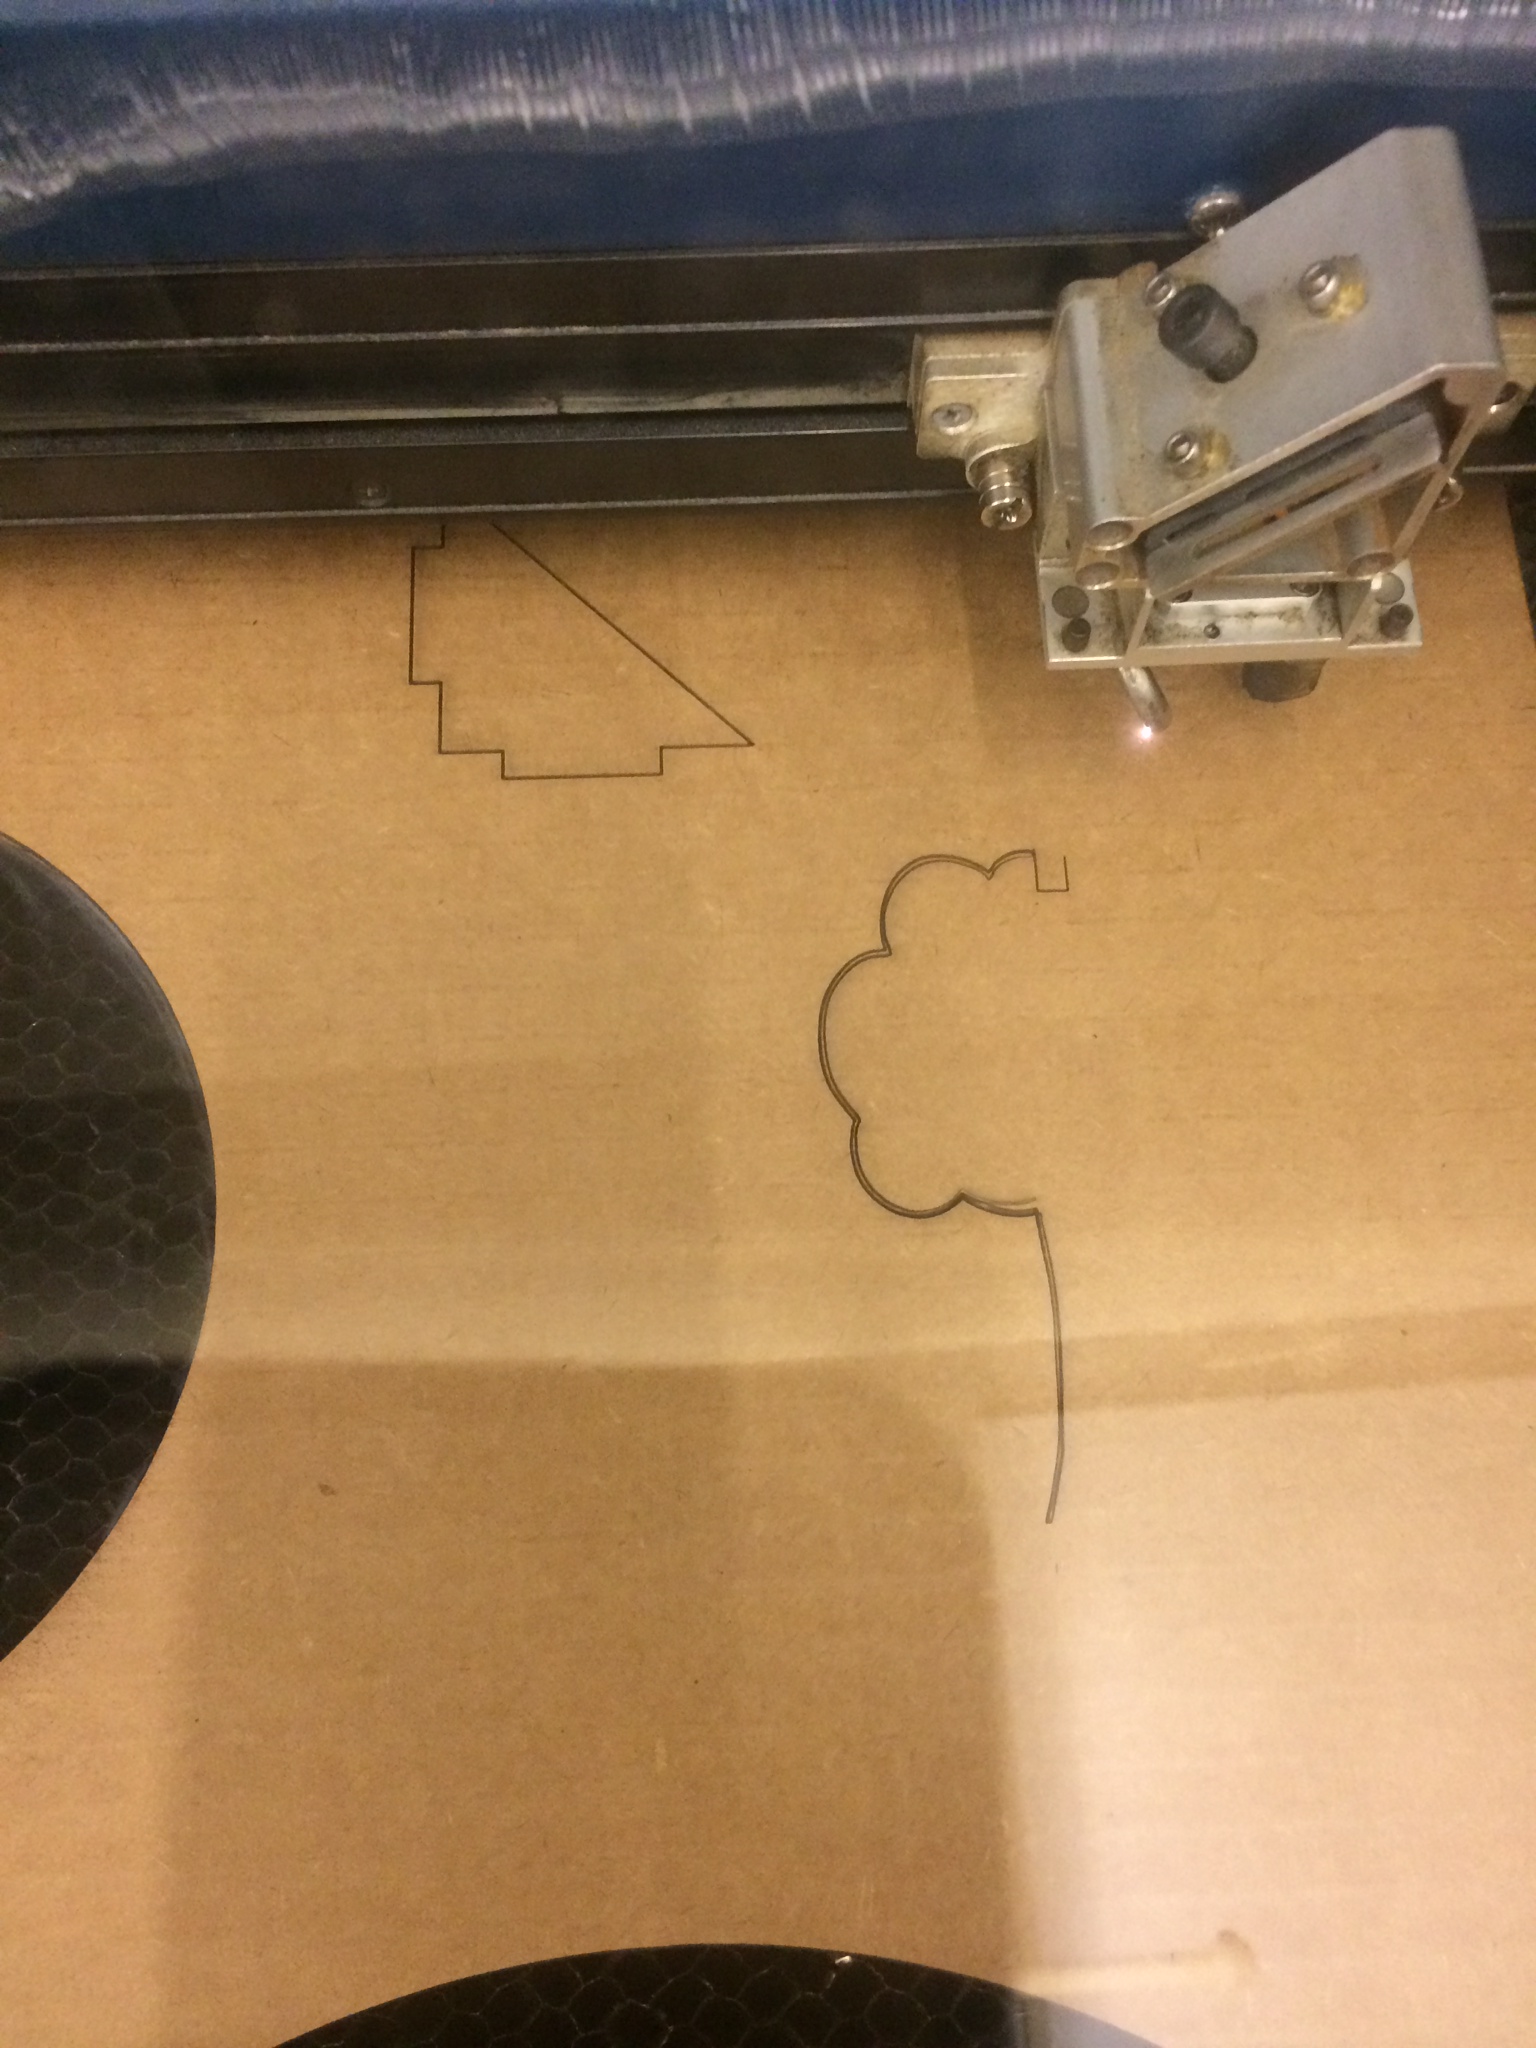
I tried cutting the same file on some scrap birch wood instead, but the laser cutter decided to do this one at a double pass for each hairline (I've really got to get the Illustrated path exports down packed!).
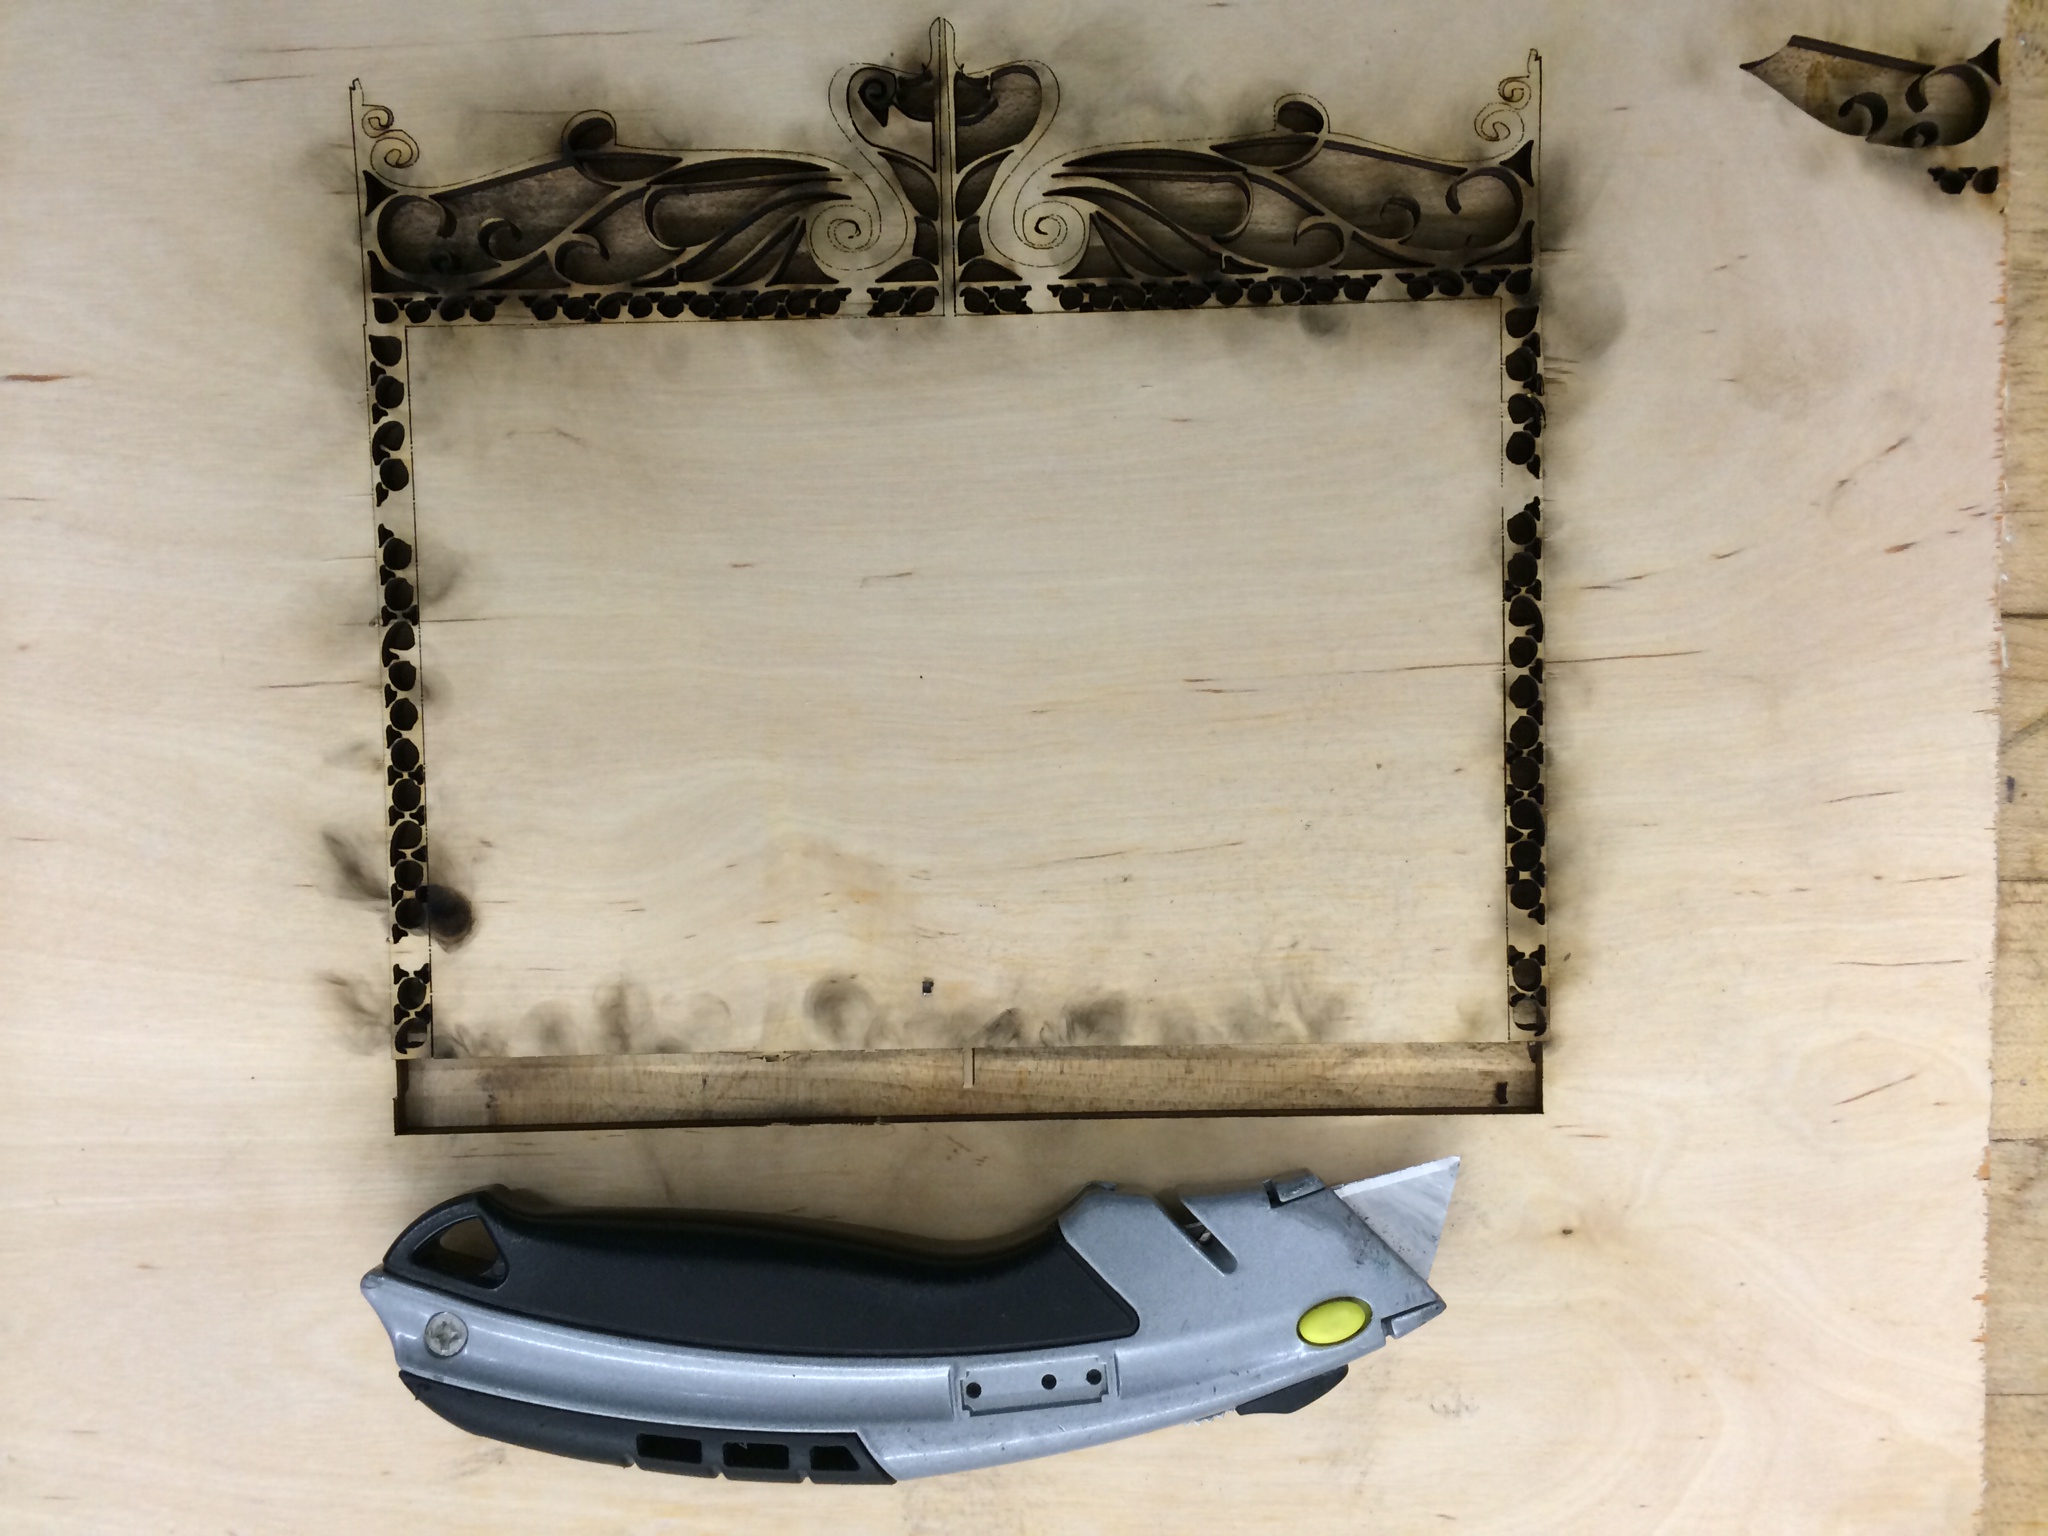
Some of the main lessons (re-)learned:
Final Iteration, featuring MDF
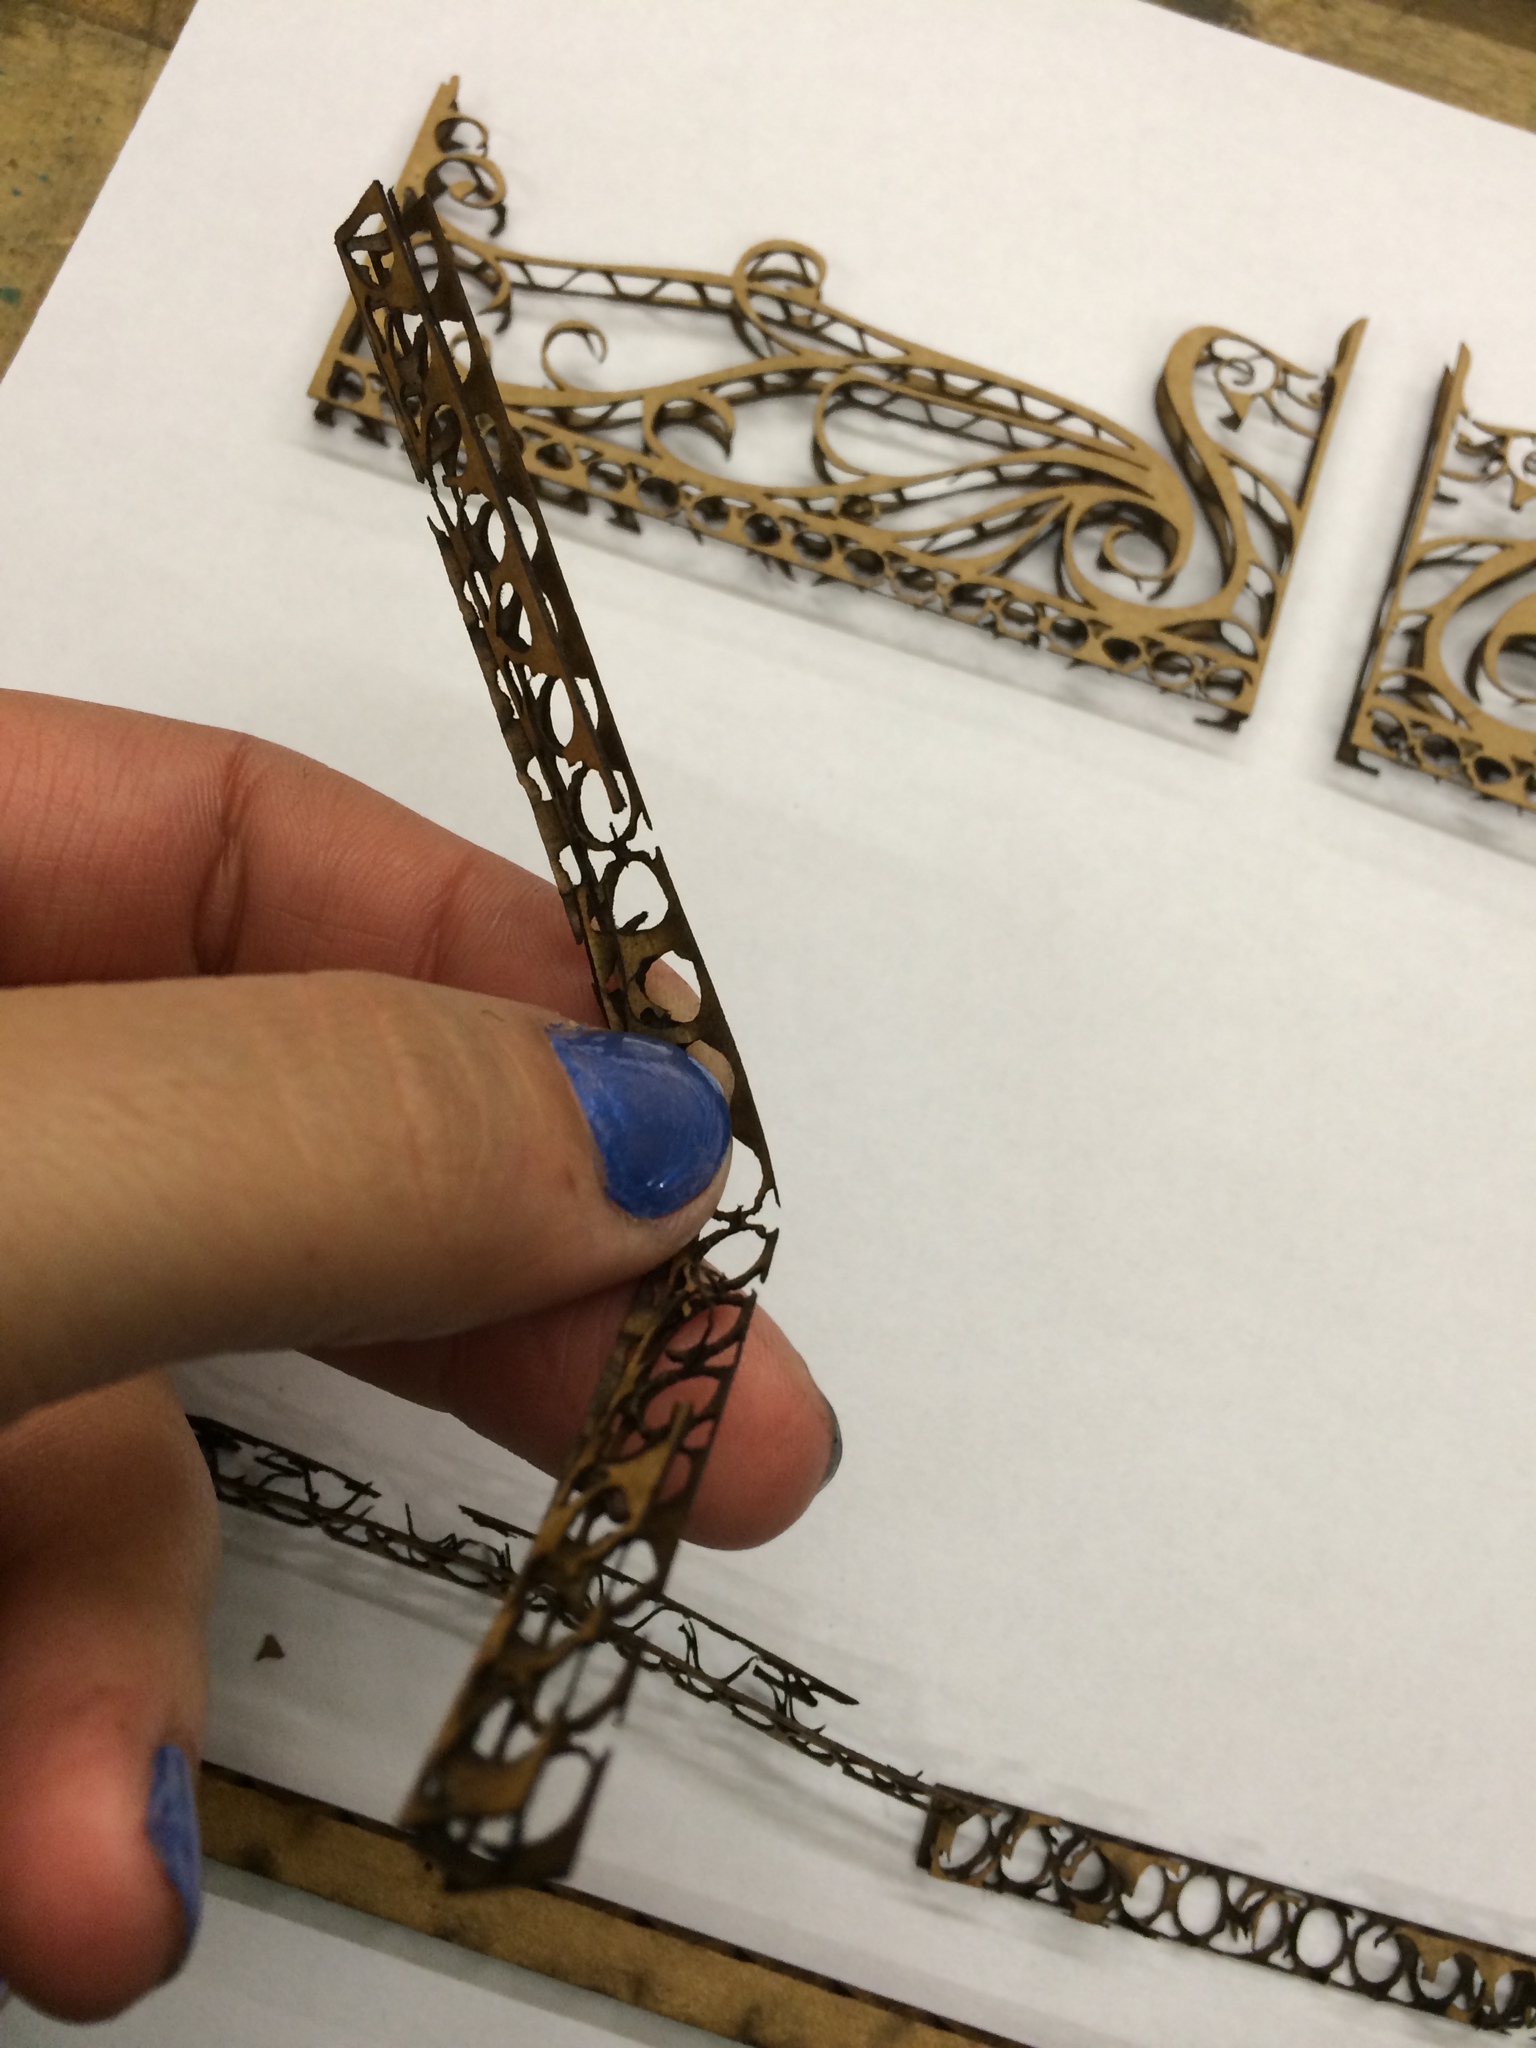
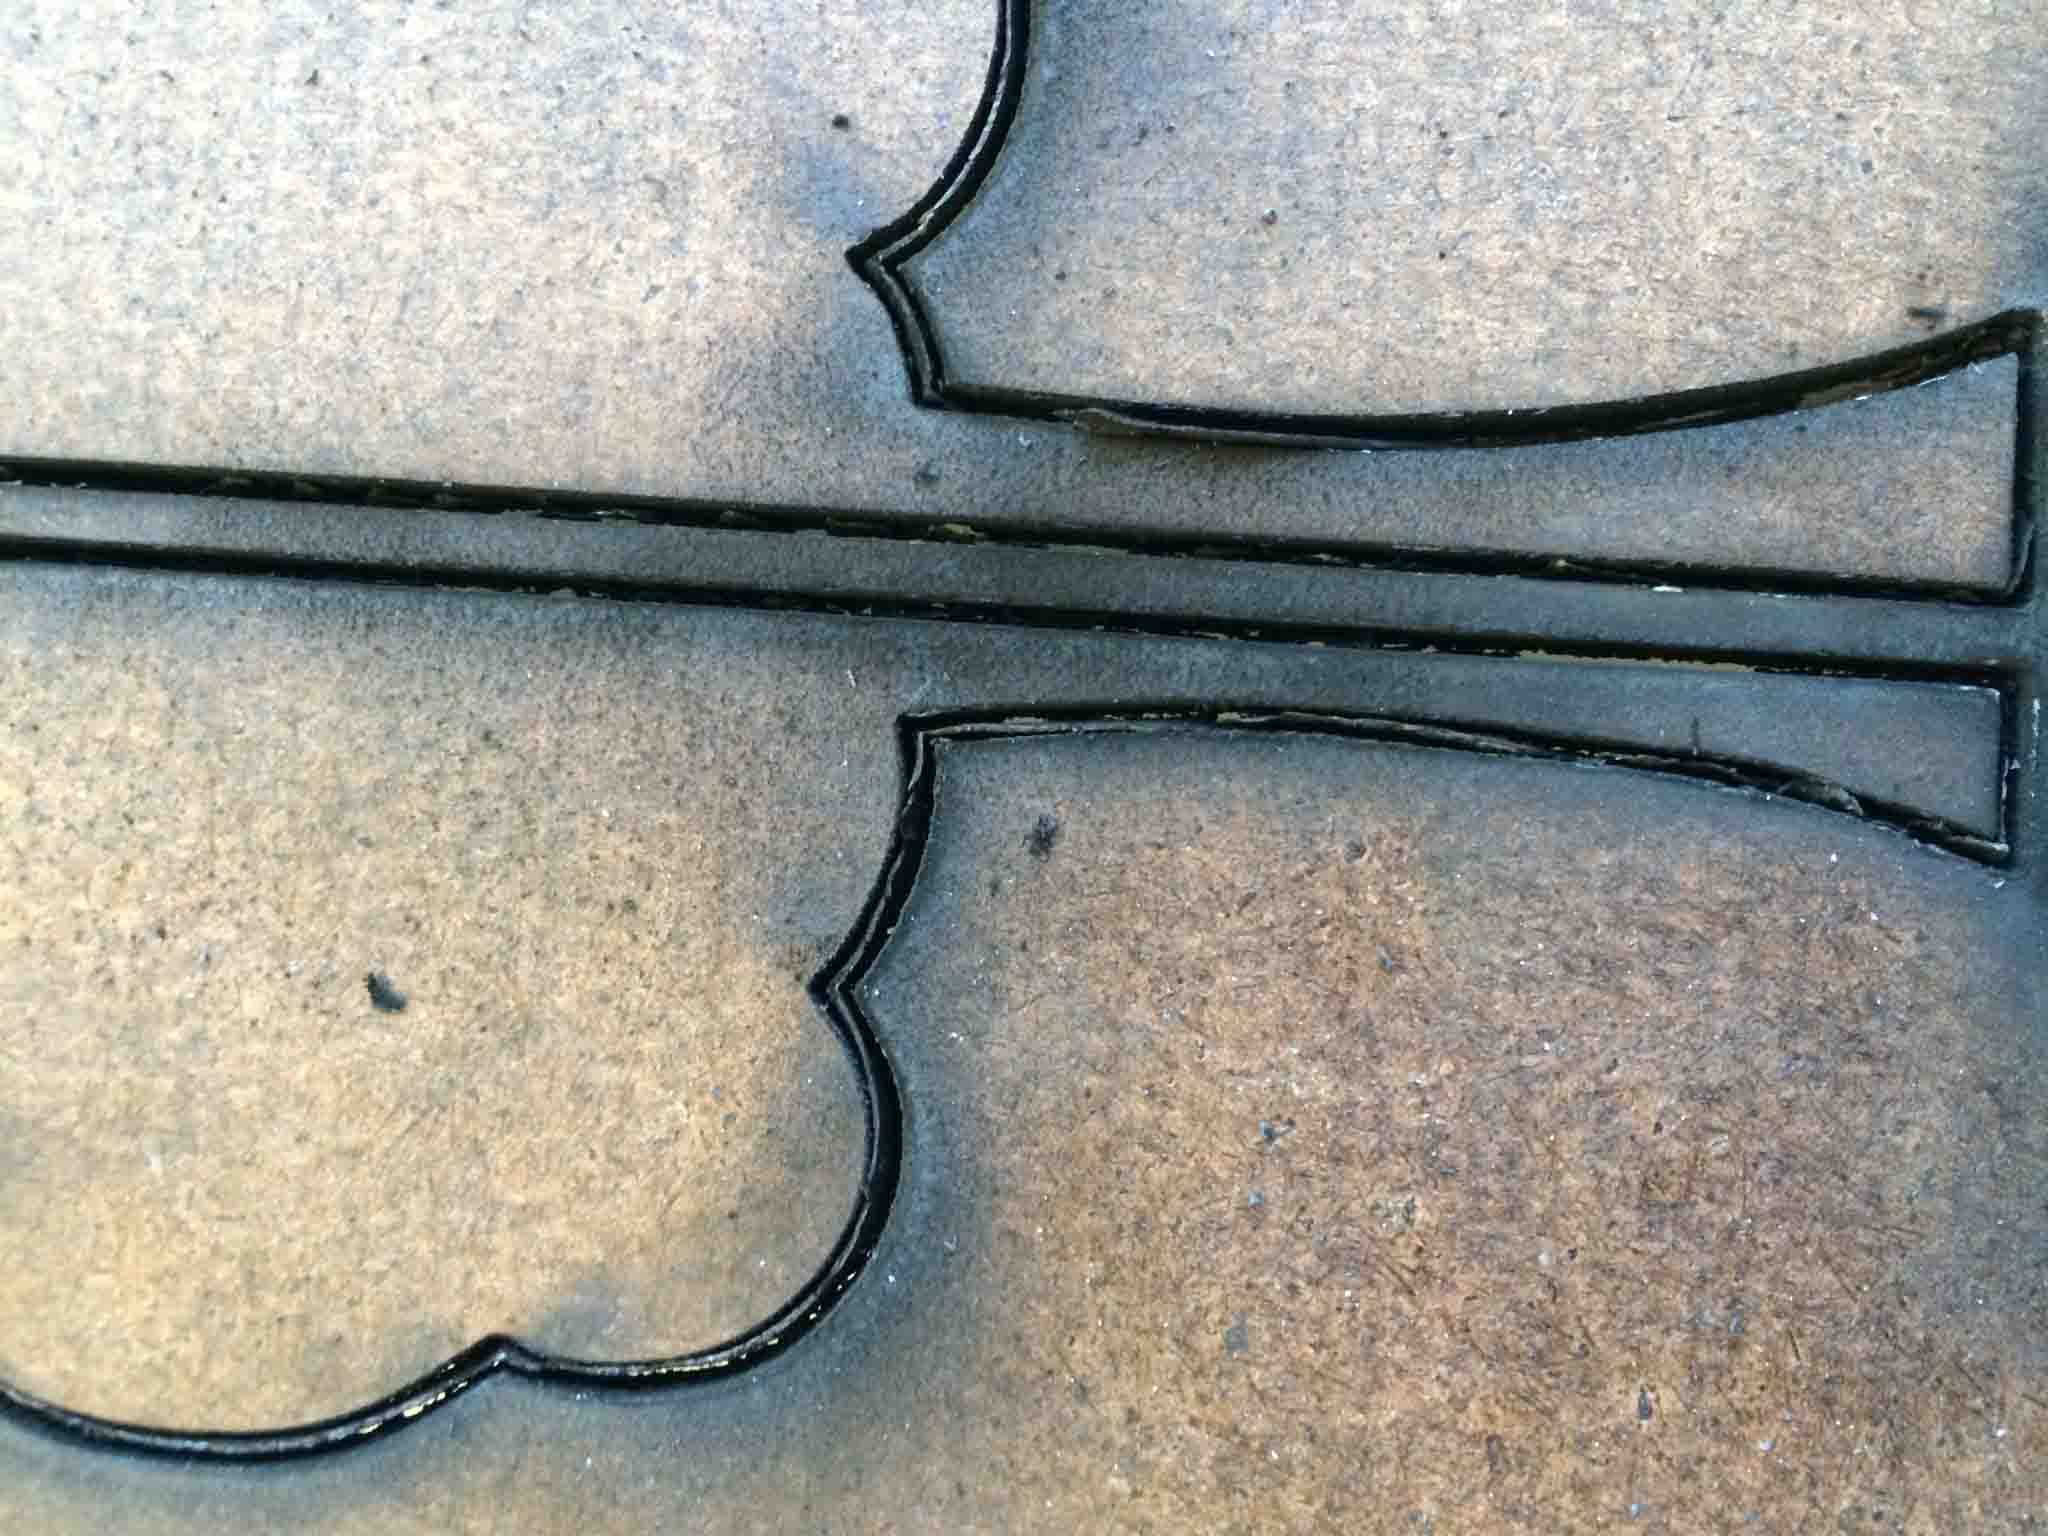
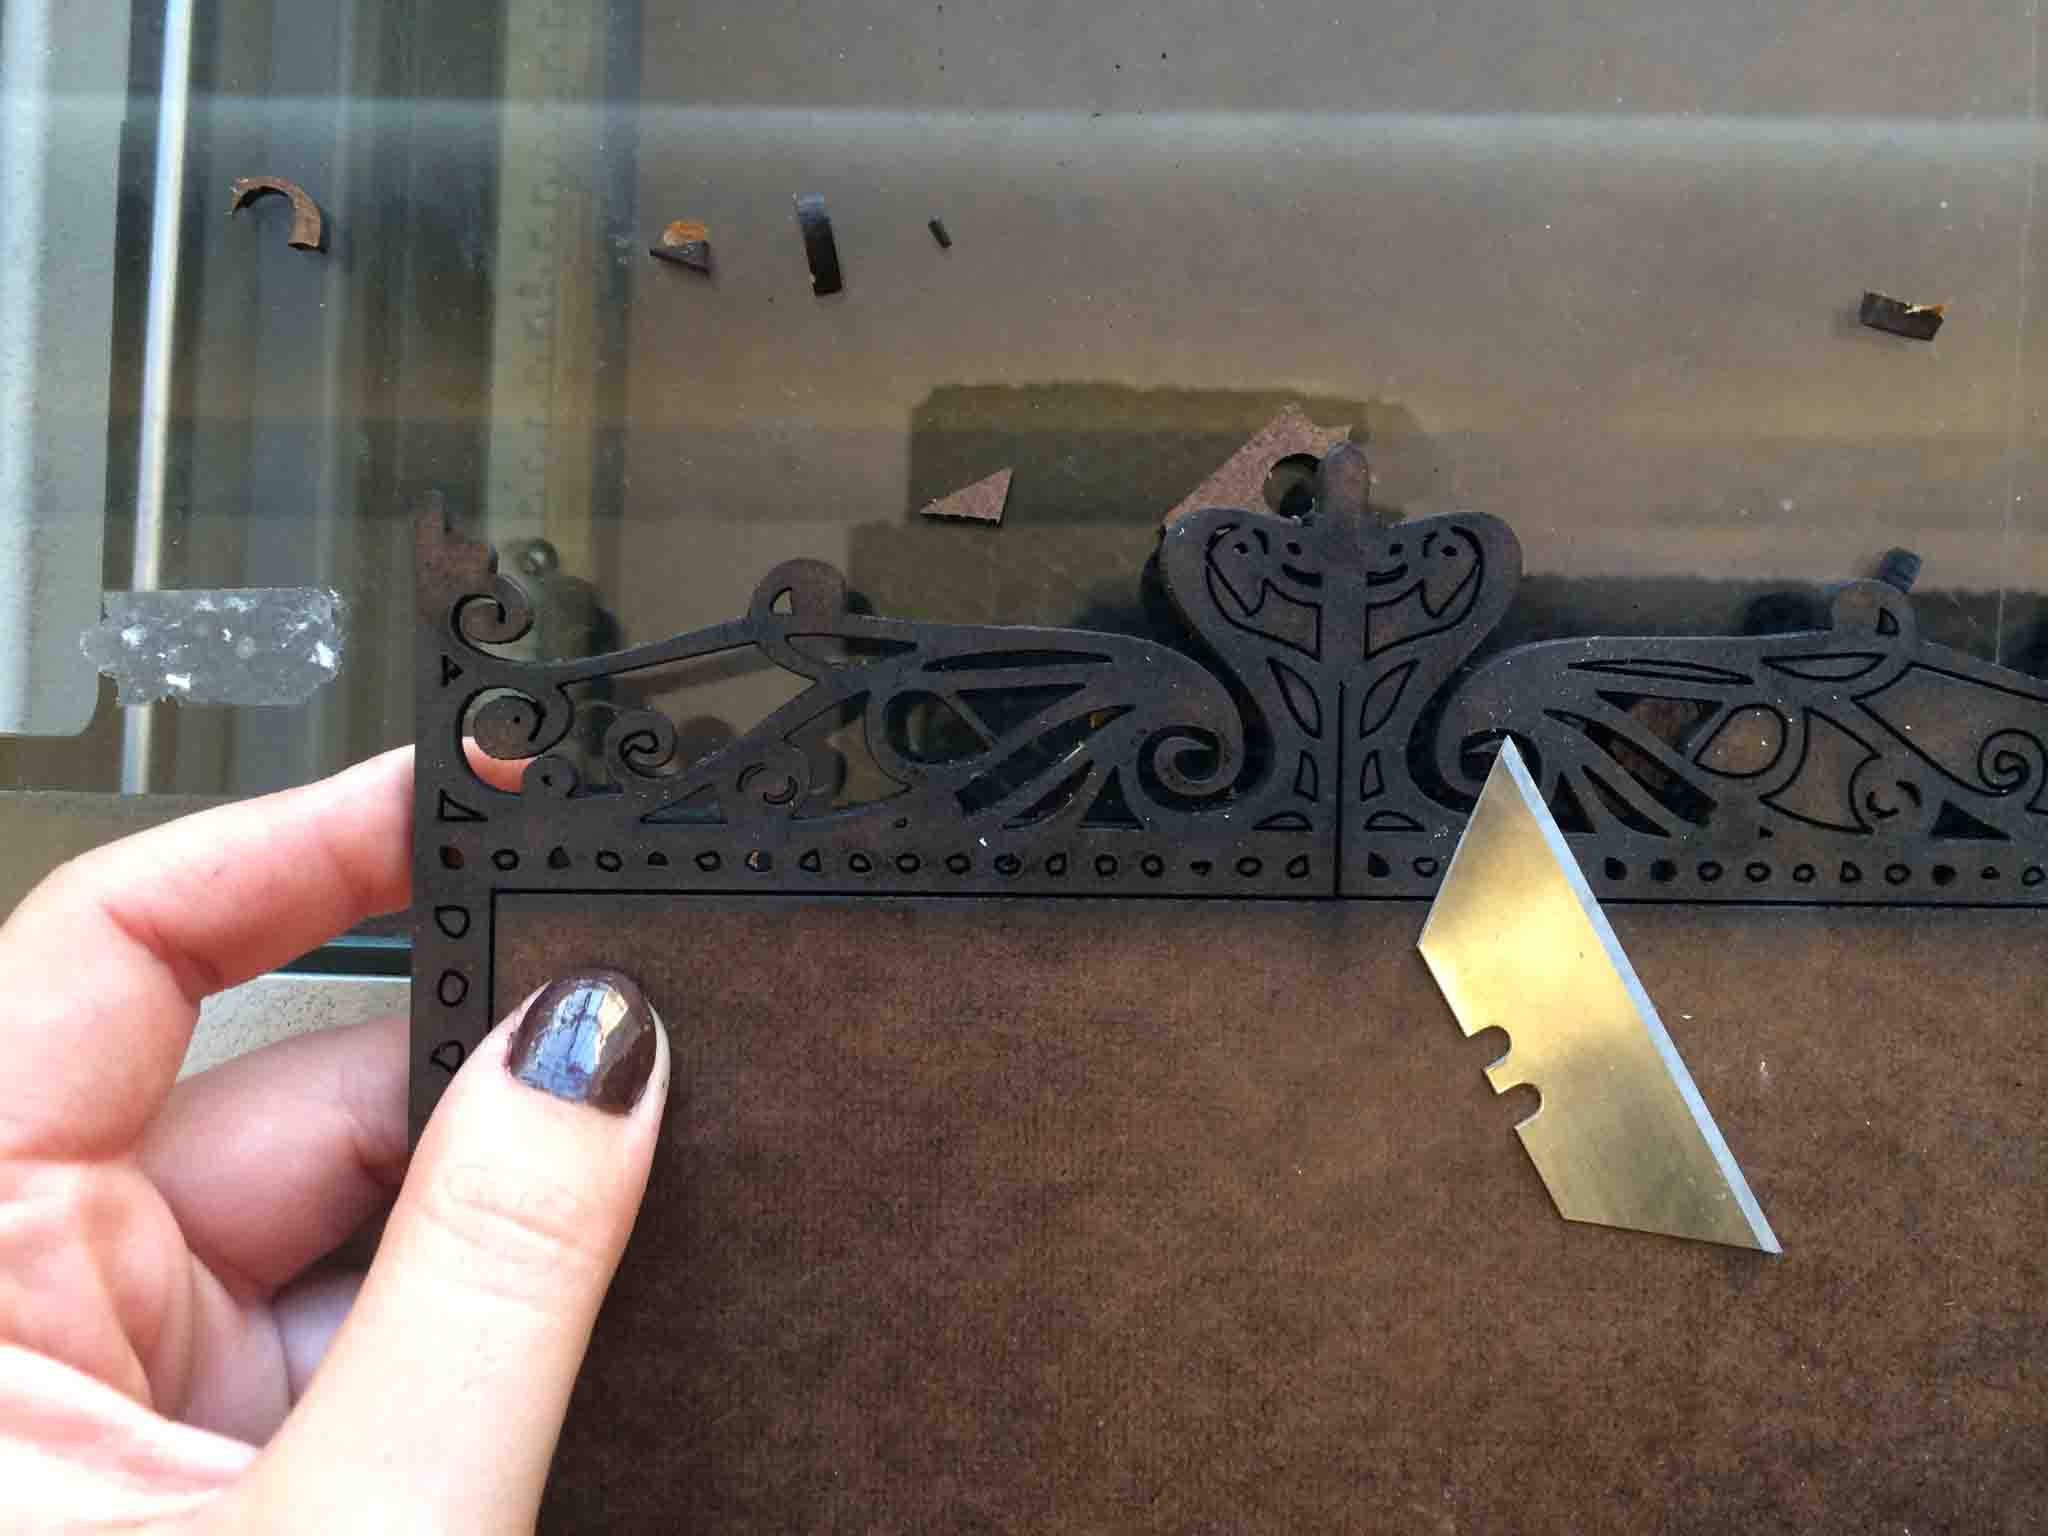
As Mami's birthday was quickly approaching, I finally made some time to get back into lab and finish the third and final iteration. I increased the stroke on the fence/park entrance design, and joined all the filled objects to make sure it was going to cut one square frame altogether. For some reason (probably dates back to the way I originally did the Live Trace on the image for outlines and not strokes?) the tree still cut in that double path of the outline. I used a the blade of an olfa cutter to push through the tiny scraps of the fence.
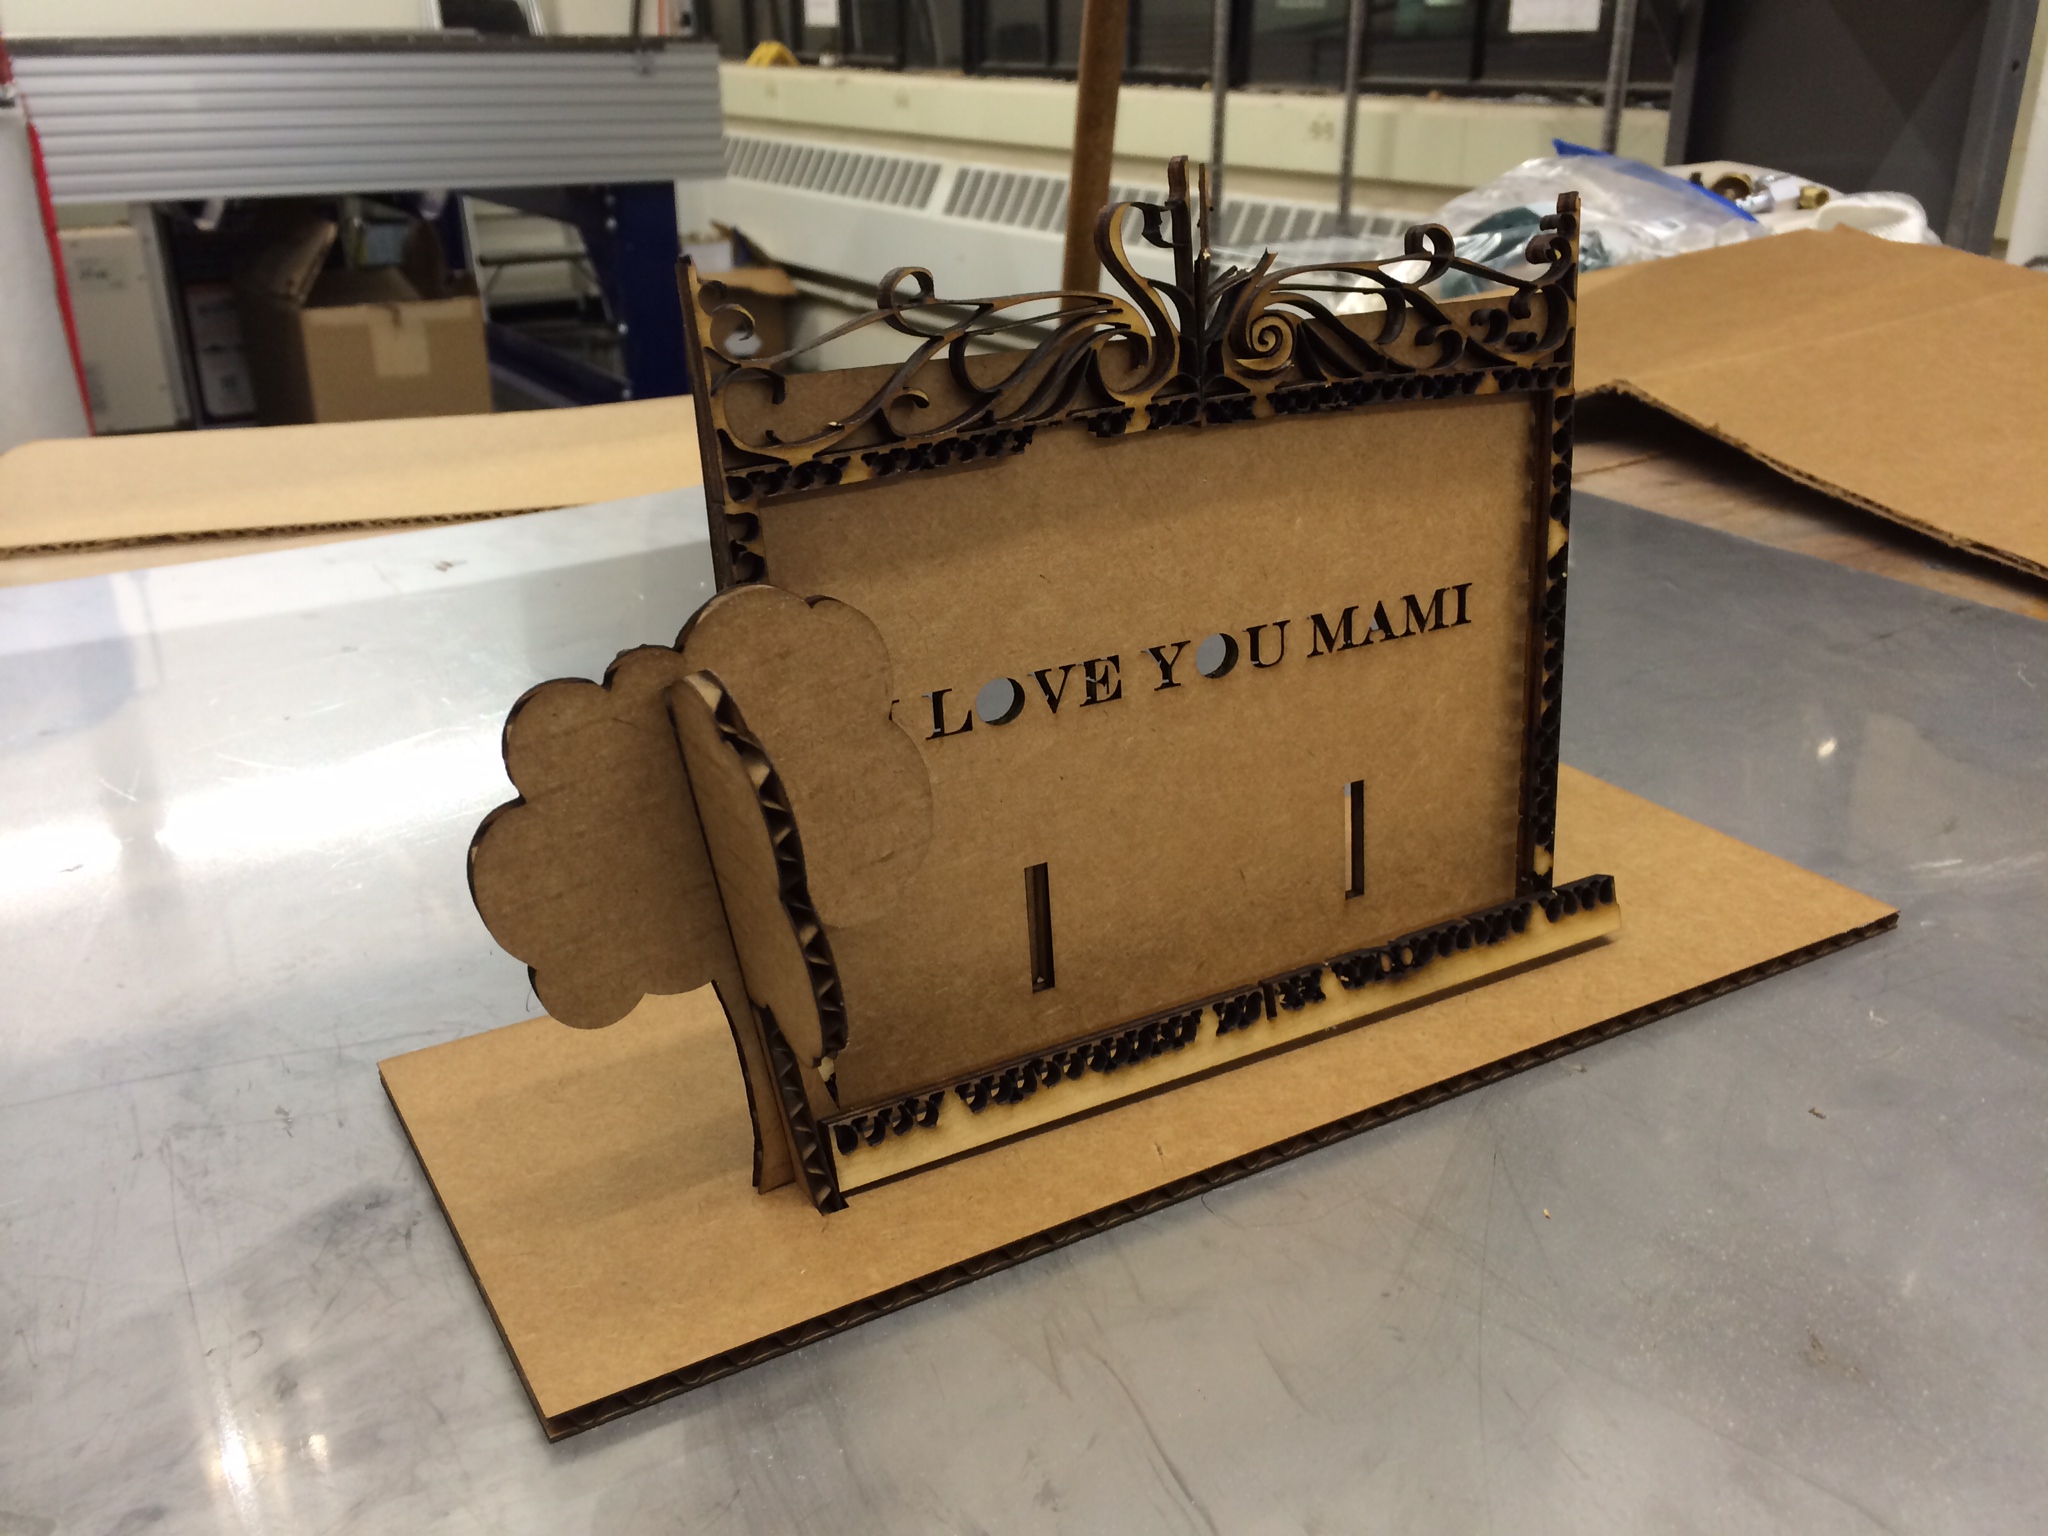
Mission Accomplished
Mami got her present just in time on the day of her birthday, she loved the smell of burnt wood and really enjoyed the fact that she had to assemble the frame. She really liked the meaning behind it, and most of all enjoyed reading through the documentation of making it after I sent her this website link! You can see the final product in the banner picture above.
Notes on pedagogy
It really helps for me to have purpose in my projects. Once I decided my mom’s birthday was close enough to warrant my focus, I had a complete new drive to design something that would be used and liked, not just satisfactorily press-fitting.