Molding & Casting
Baby's First Mobius Strip
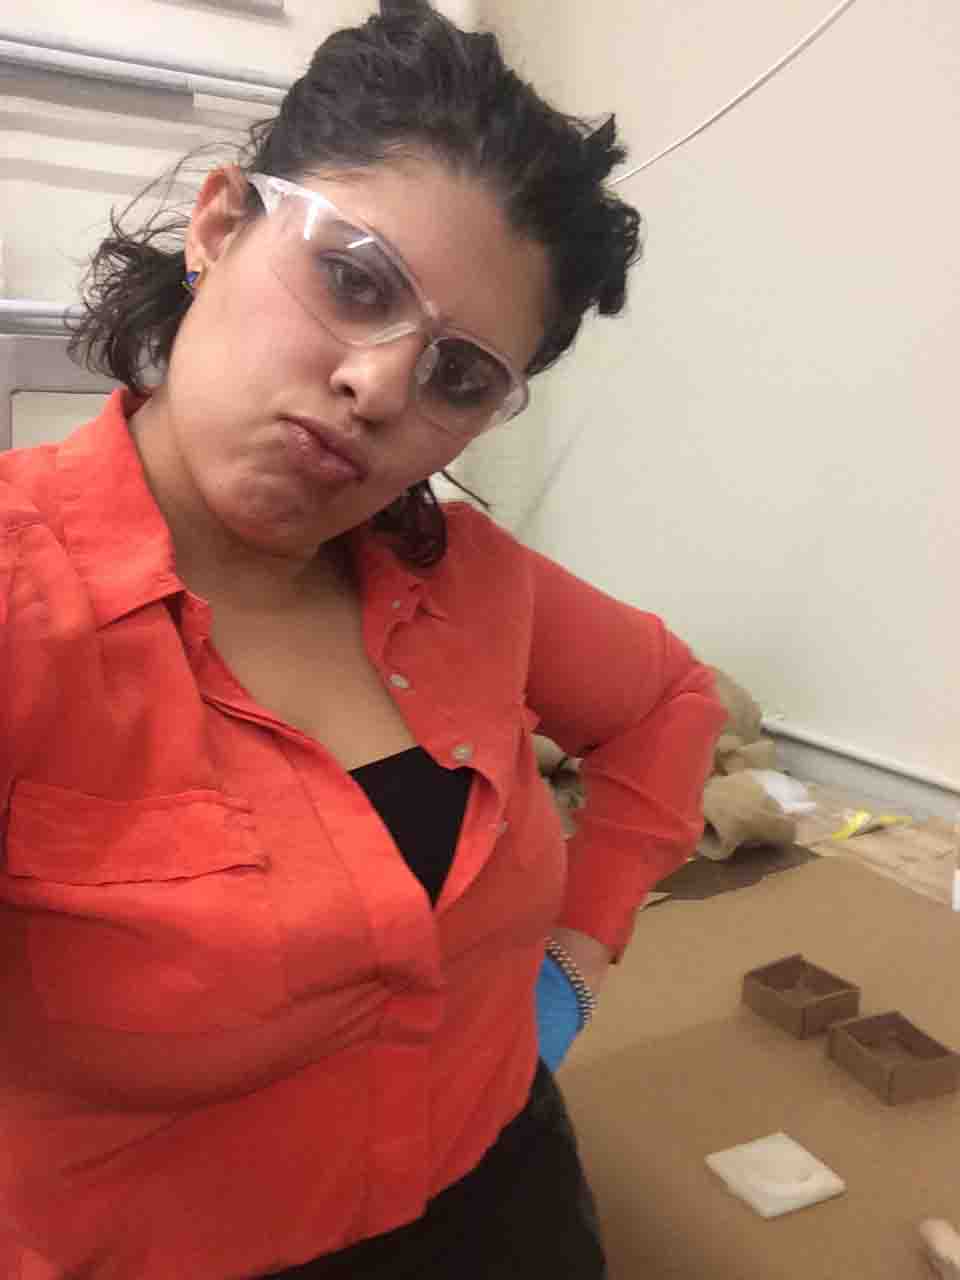
This is Scarlett.
 She's excited for her first mobius strip bracelet!
This week's assignment became a semester-long adventure. After an unfortunate turn of events where our Shop Instructor threw away my mold while it was curing, I was forced to try it two more different methods of making it, each multiple times. Though I was not successful in either take and it still remains a mystery among the TA's why this is the case, I still learned a lot and am proud that I kept up the persistence to try to make this thing come alive until the very end. Sorry, Scarlett, your mobius strip bracelet is going to have to wait, baby girl.
Below:
1st Strategy: Machining the negative, casting a mold, (and later casting a final part)
Inspiration & Design
I was intrigued by the nuances of machining a mold to make a mobius strip after attending the metal casting tutorial and seeing examples of Justine Levellee's work. I thought it would be really cool to make, so I tried it! Because I had already made jewelery for myself and didn't want to keep all the fun for me (see 3D printing week) (...and because the block of wax I had was not big enough) I decided to make it as a present for Scarlett, my brand new baby niece.
I downloaded three different GrabCad files and neither seemed to work for my design or parting line splicing, so I decided to make my mobius strip on my own from the ground up, following this great tutorial! For dimensions, I prototyped a couple of sizes of mobius strips with just some strips of paper.
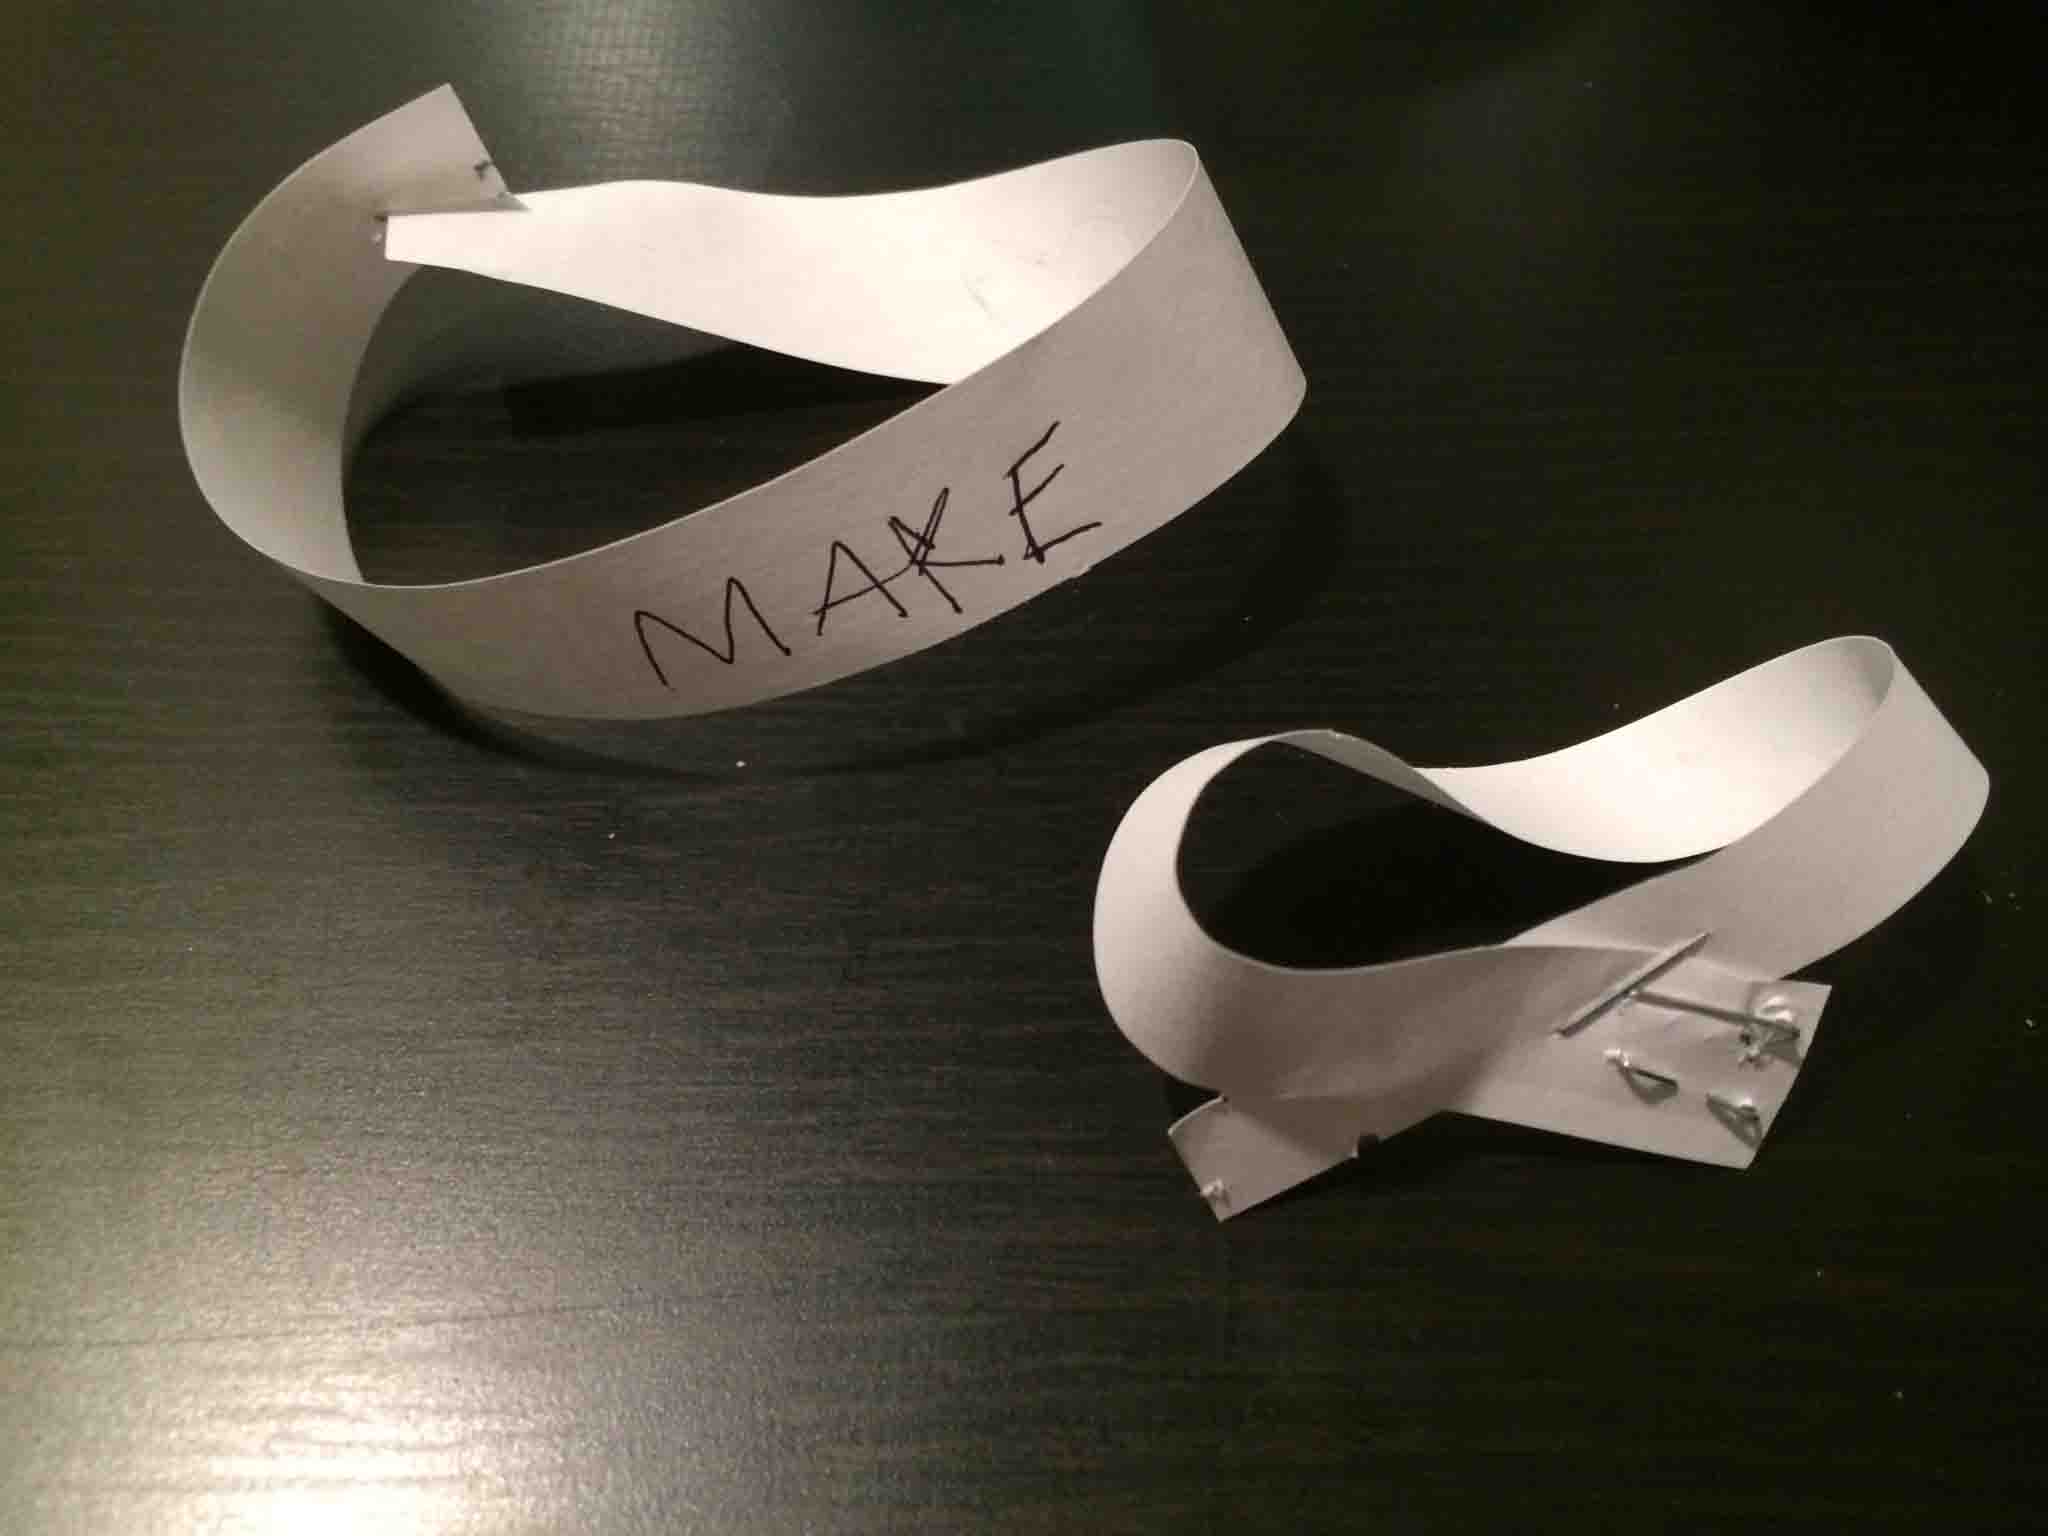
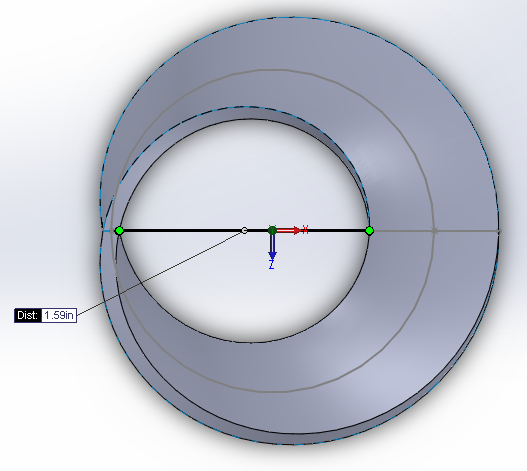
I figured out that for a baby bracelet— and to fit within my wax block dimensions— an arc radius of 1" gave me enough of a diamter of 1.59" for the baby's wrist to fit. This guarantees she'll be fashionable until she's at least 3 years old.
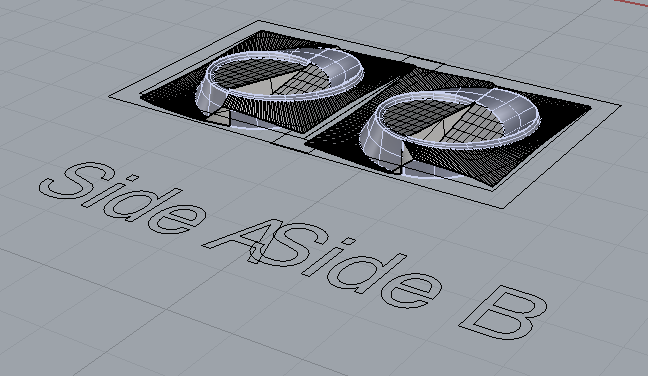
Now I was ready for the tricky part: making the parting line just right so that there was no overhang and so the ShopBot, a 3-axis machine (commonly referred to as 2.5D) could get to all the parts of it. Looking for help from the previous mobius strip maker, I emailed David Costanza, who led me to Justin Levellee, who deferred me to Robert White, who was SUPER helpful. For lack of being able to find a time to meet, I basically sent him my SolidWorks file and he sent me a Rhino file, complete with parting line and a Side A and Side B part. After some quick trimming of outer bouding box with Skylar's Rhino help, my Rhino renderings were ready to set up a toolpath!
Machining on the ShopBot
I used two tools: the square 1/8" end mill for roughing and the ball 1/8" end mill for the finishing touch, at a stepover of 10%. Thank you, Charles, for the reminder tutorial on how to get my ShopBot setup!
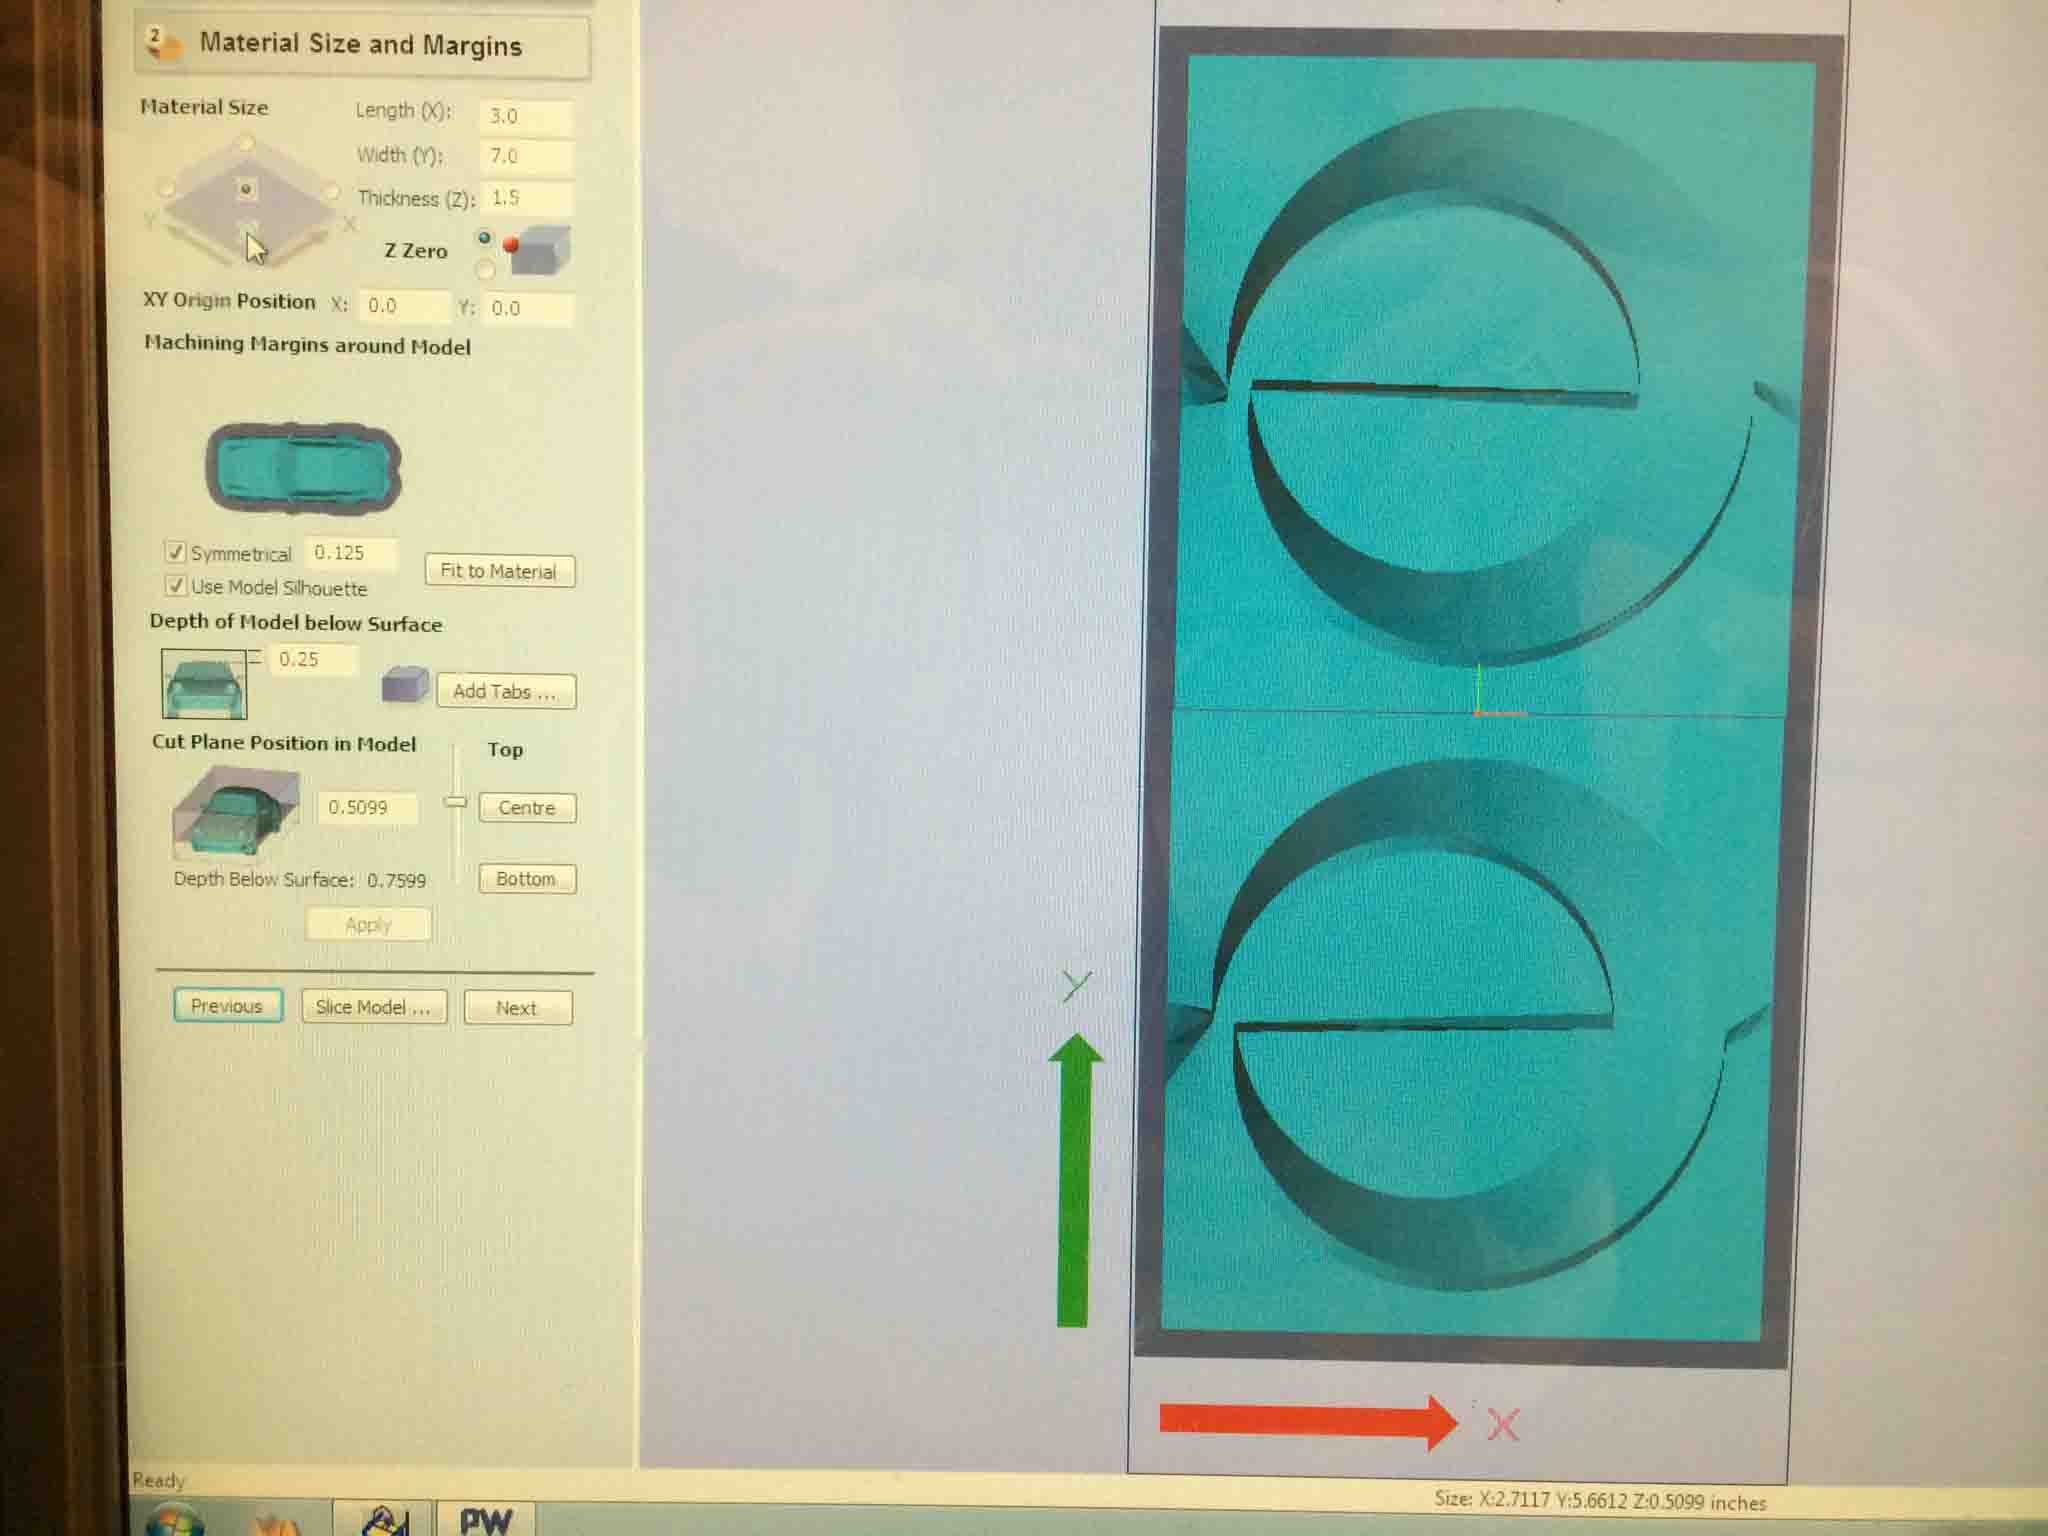
These are the toolpath setups in Partworks.
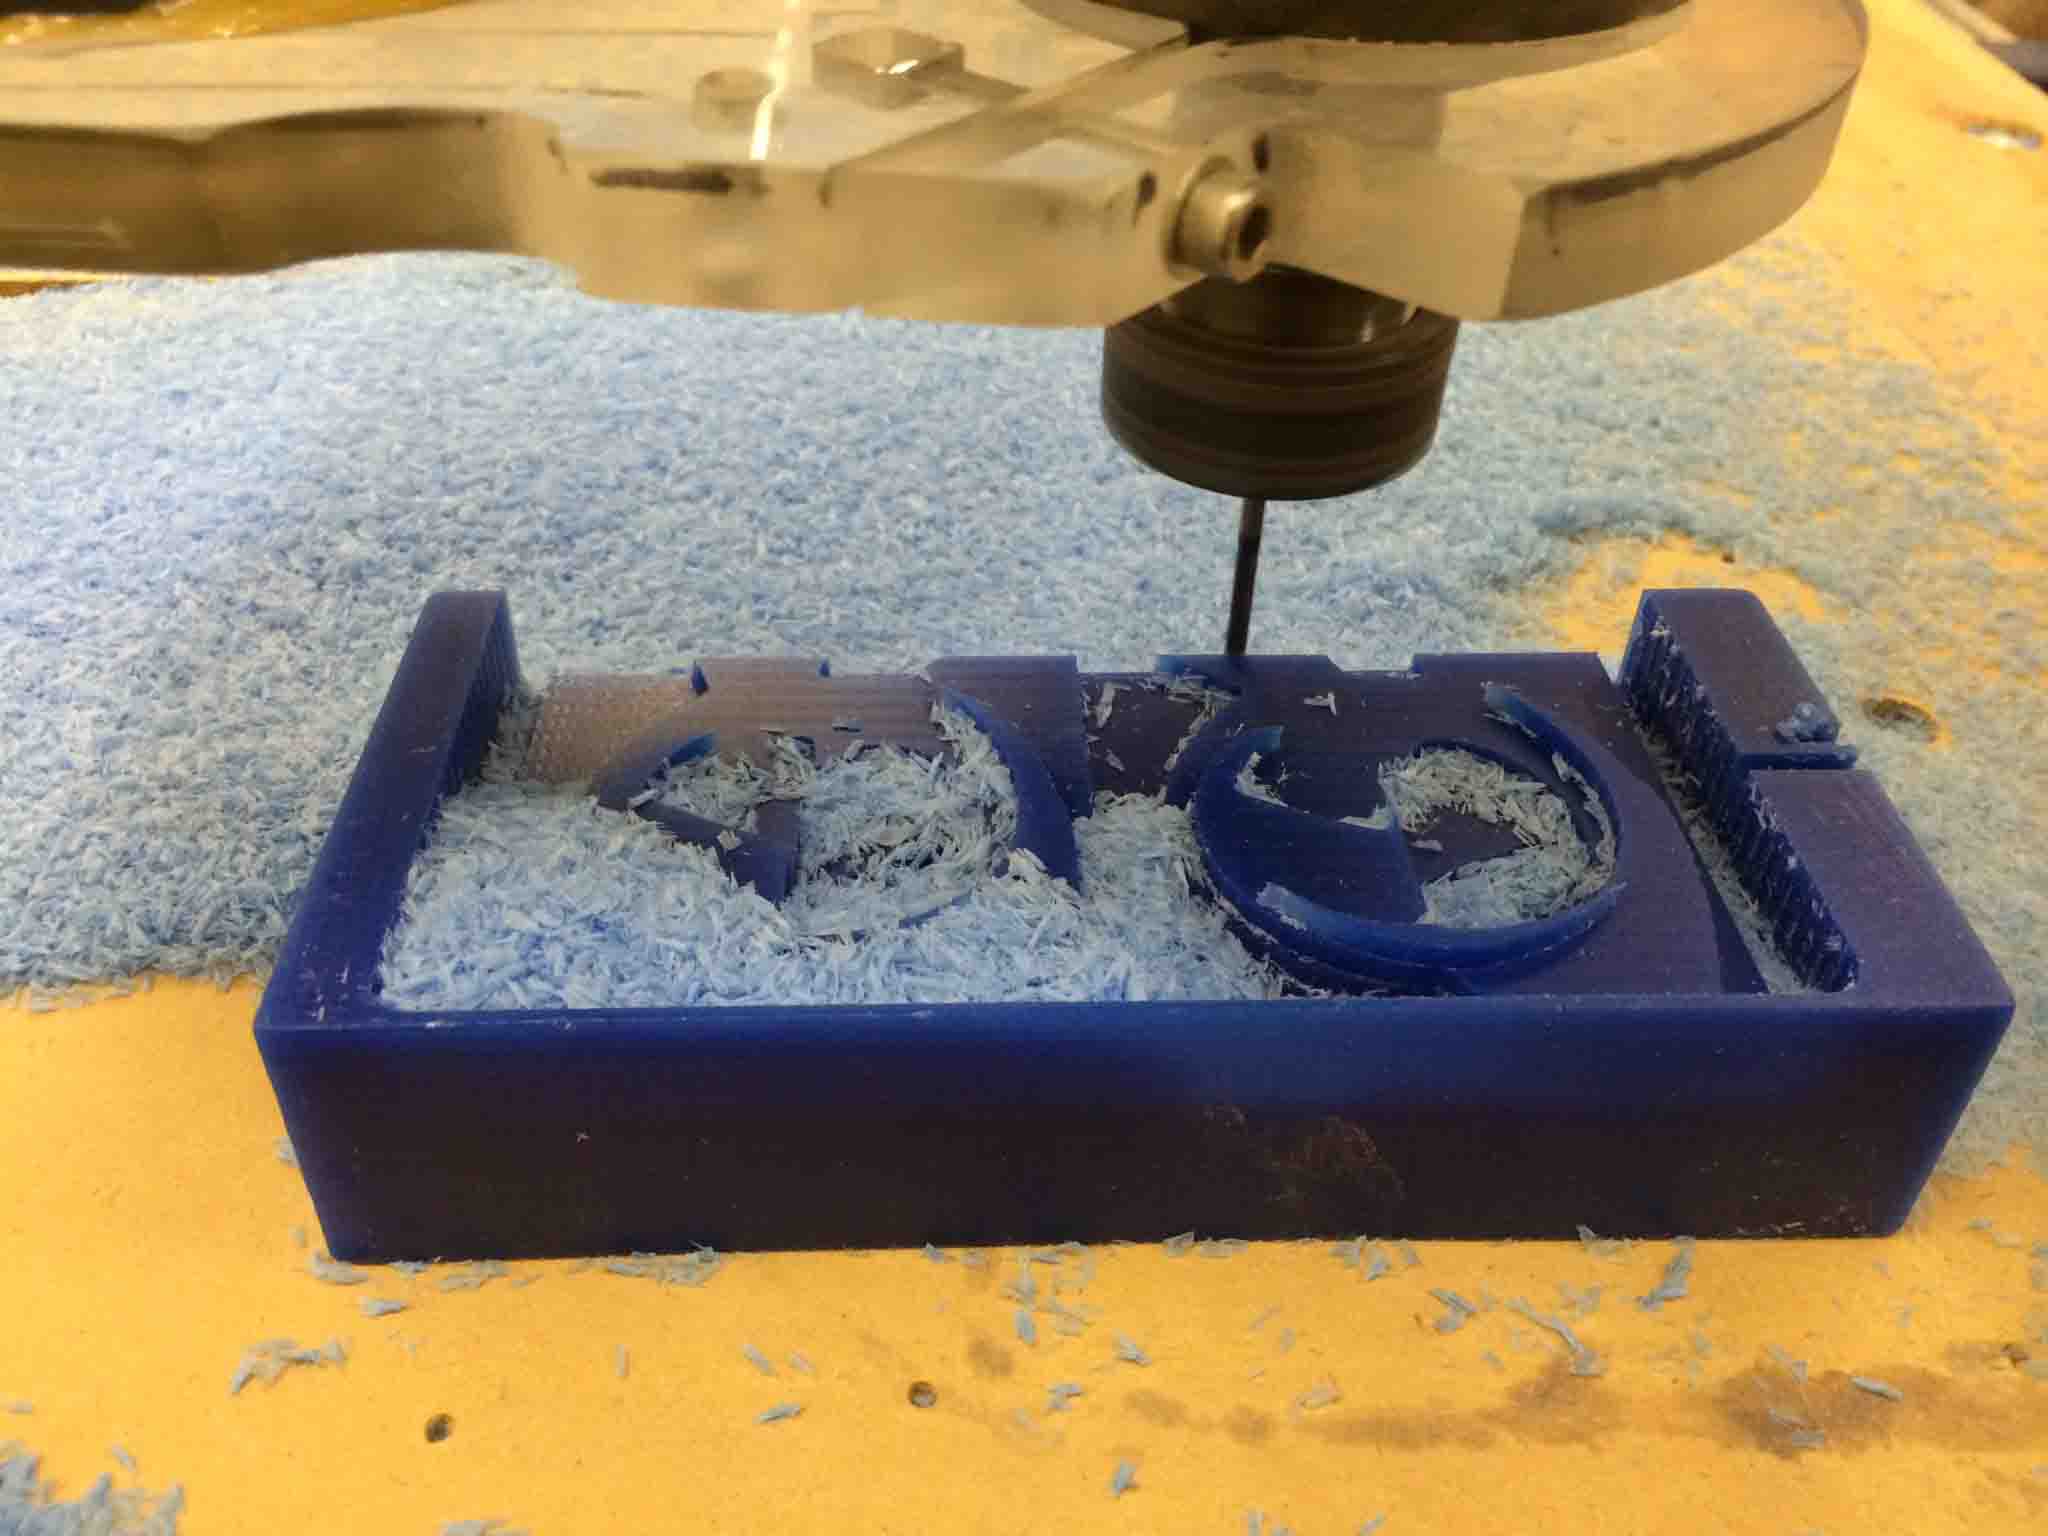
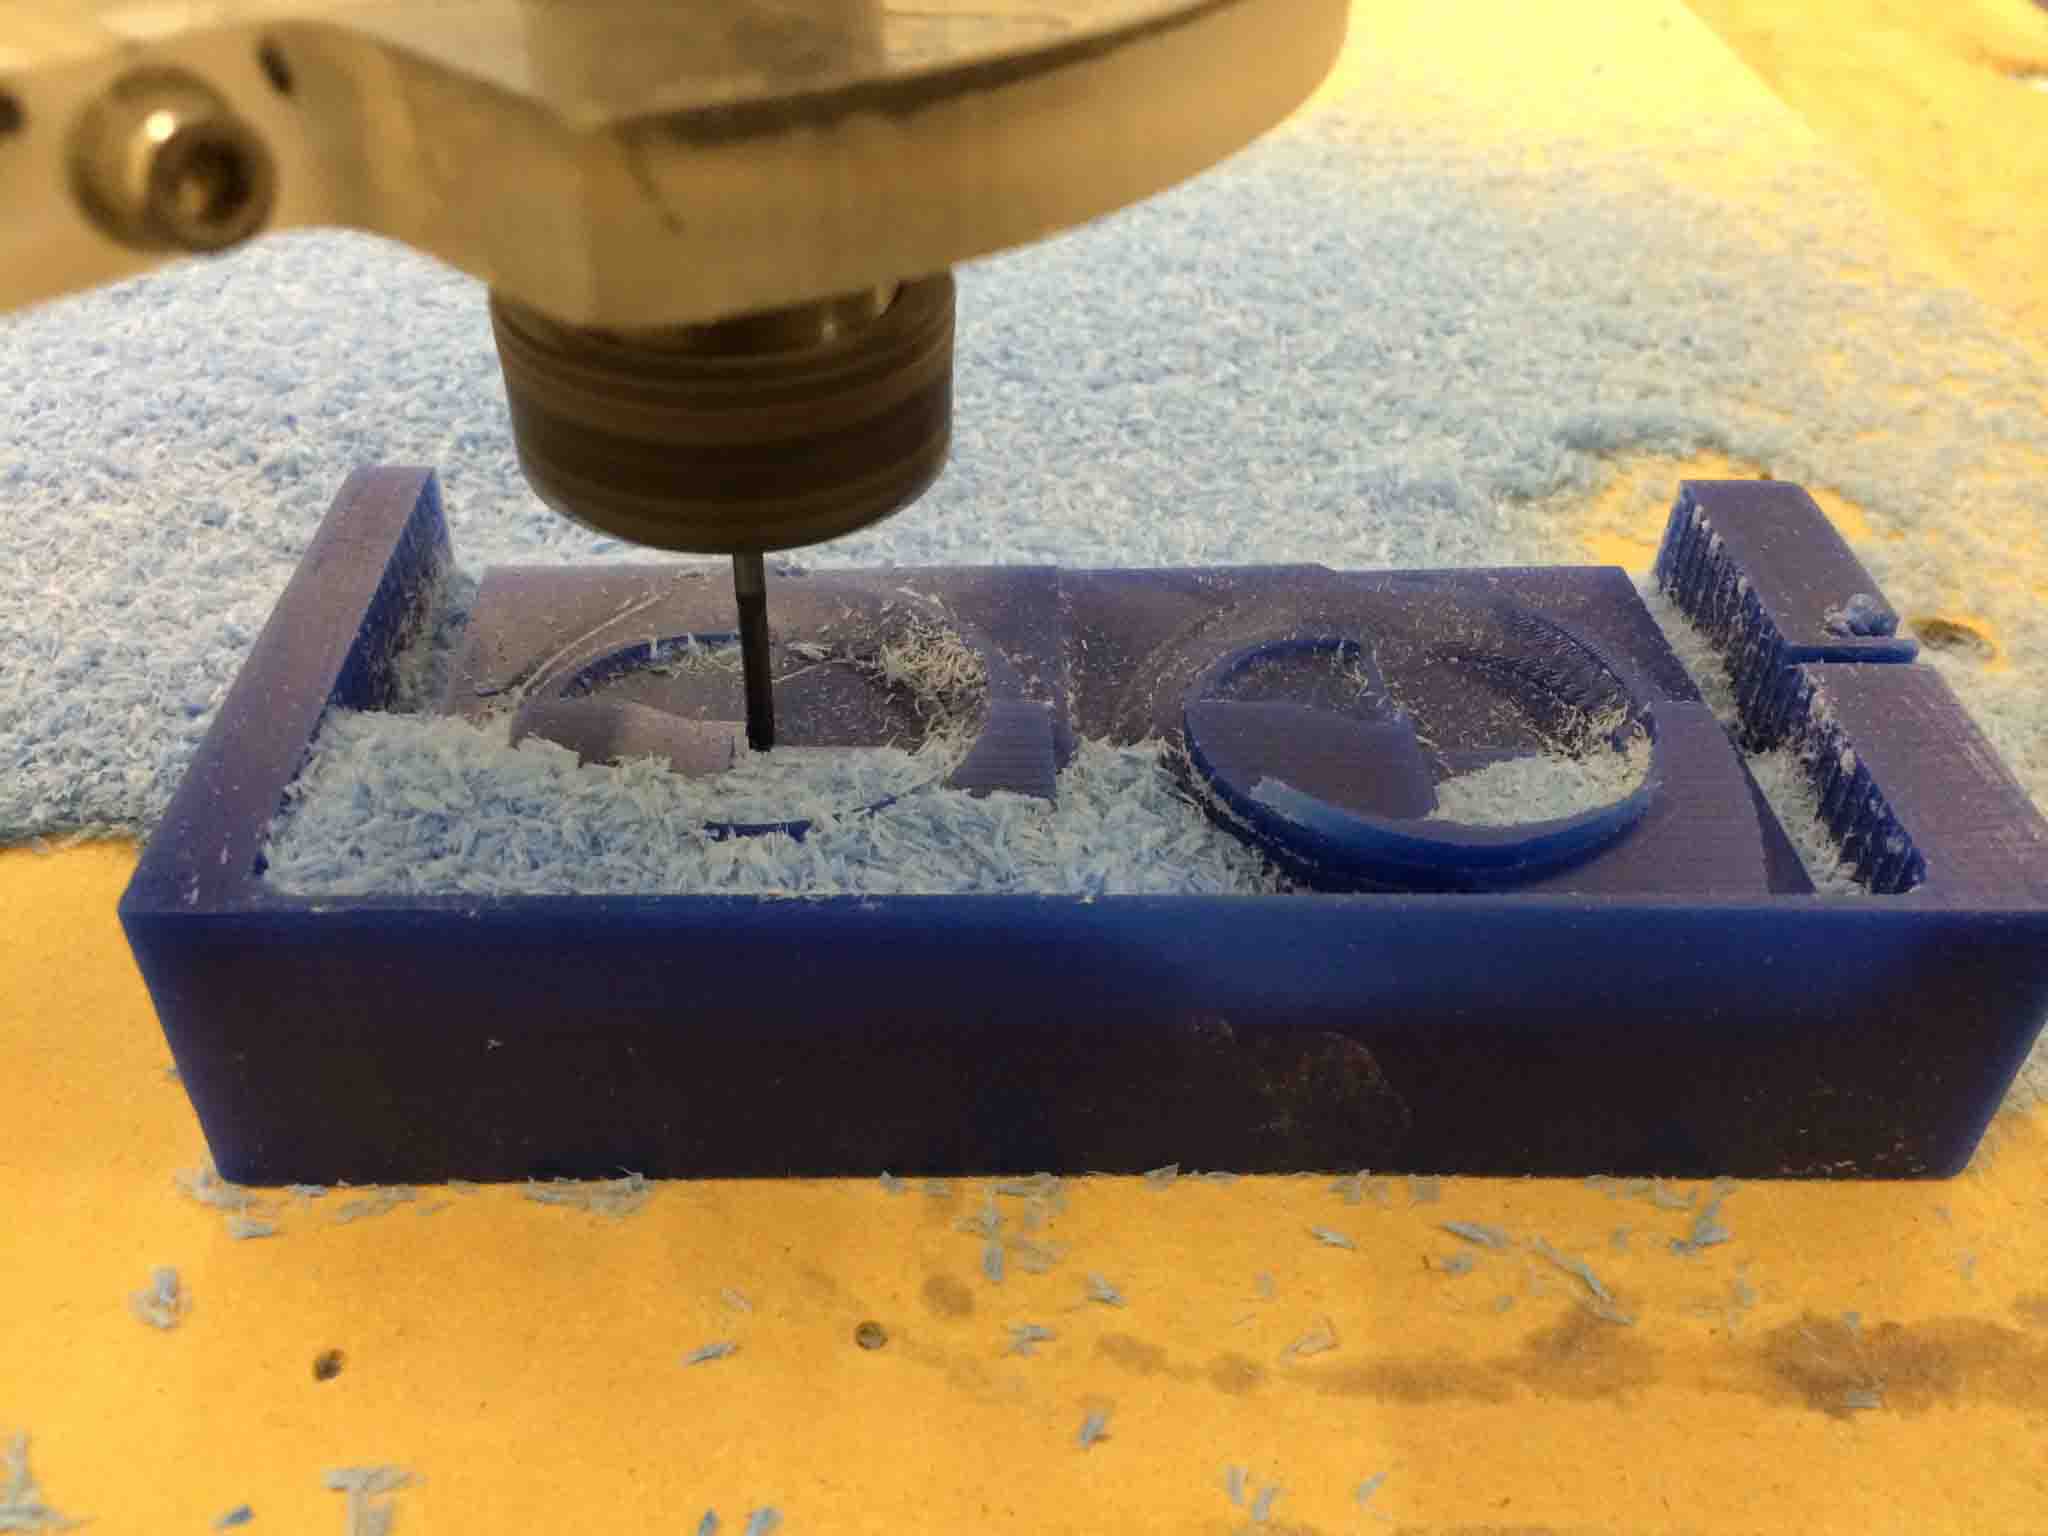
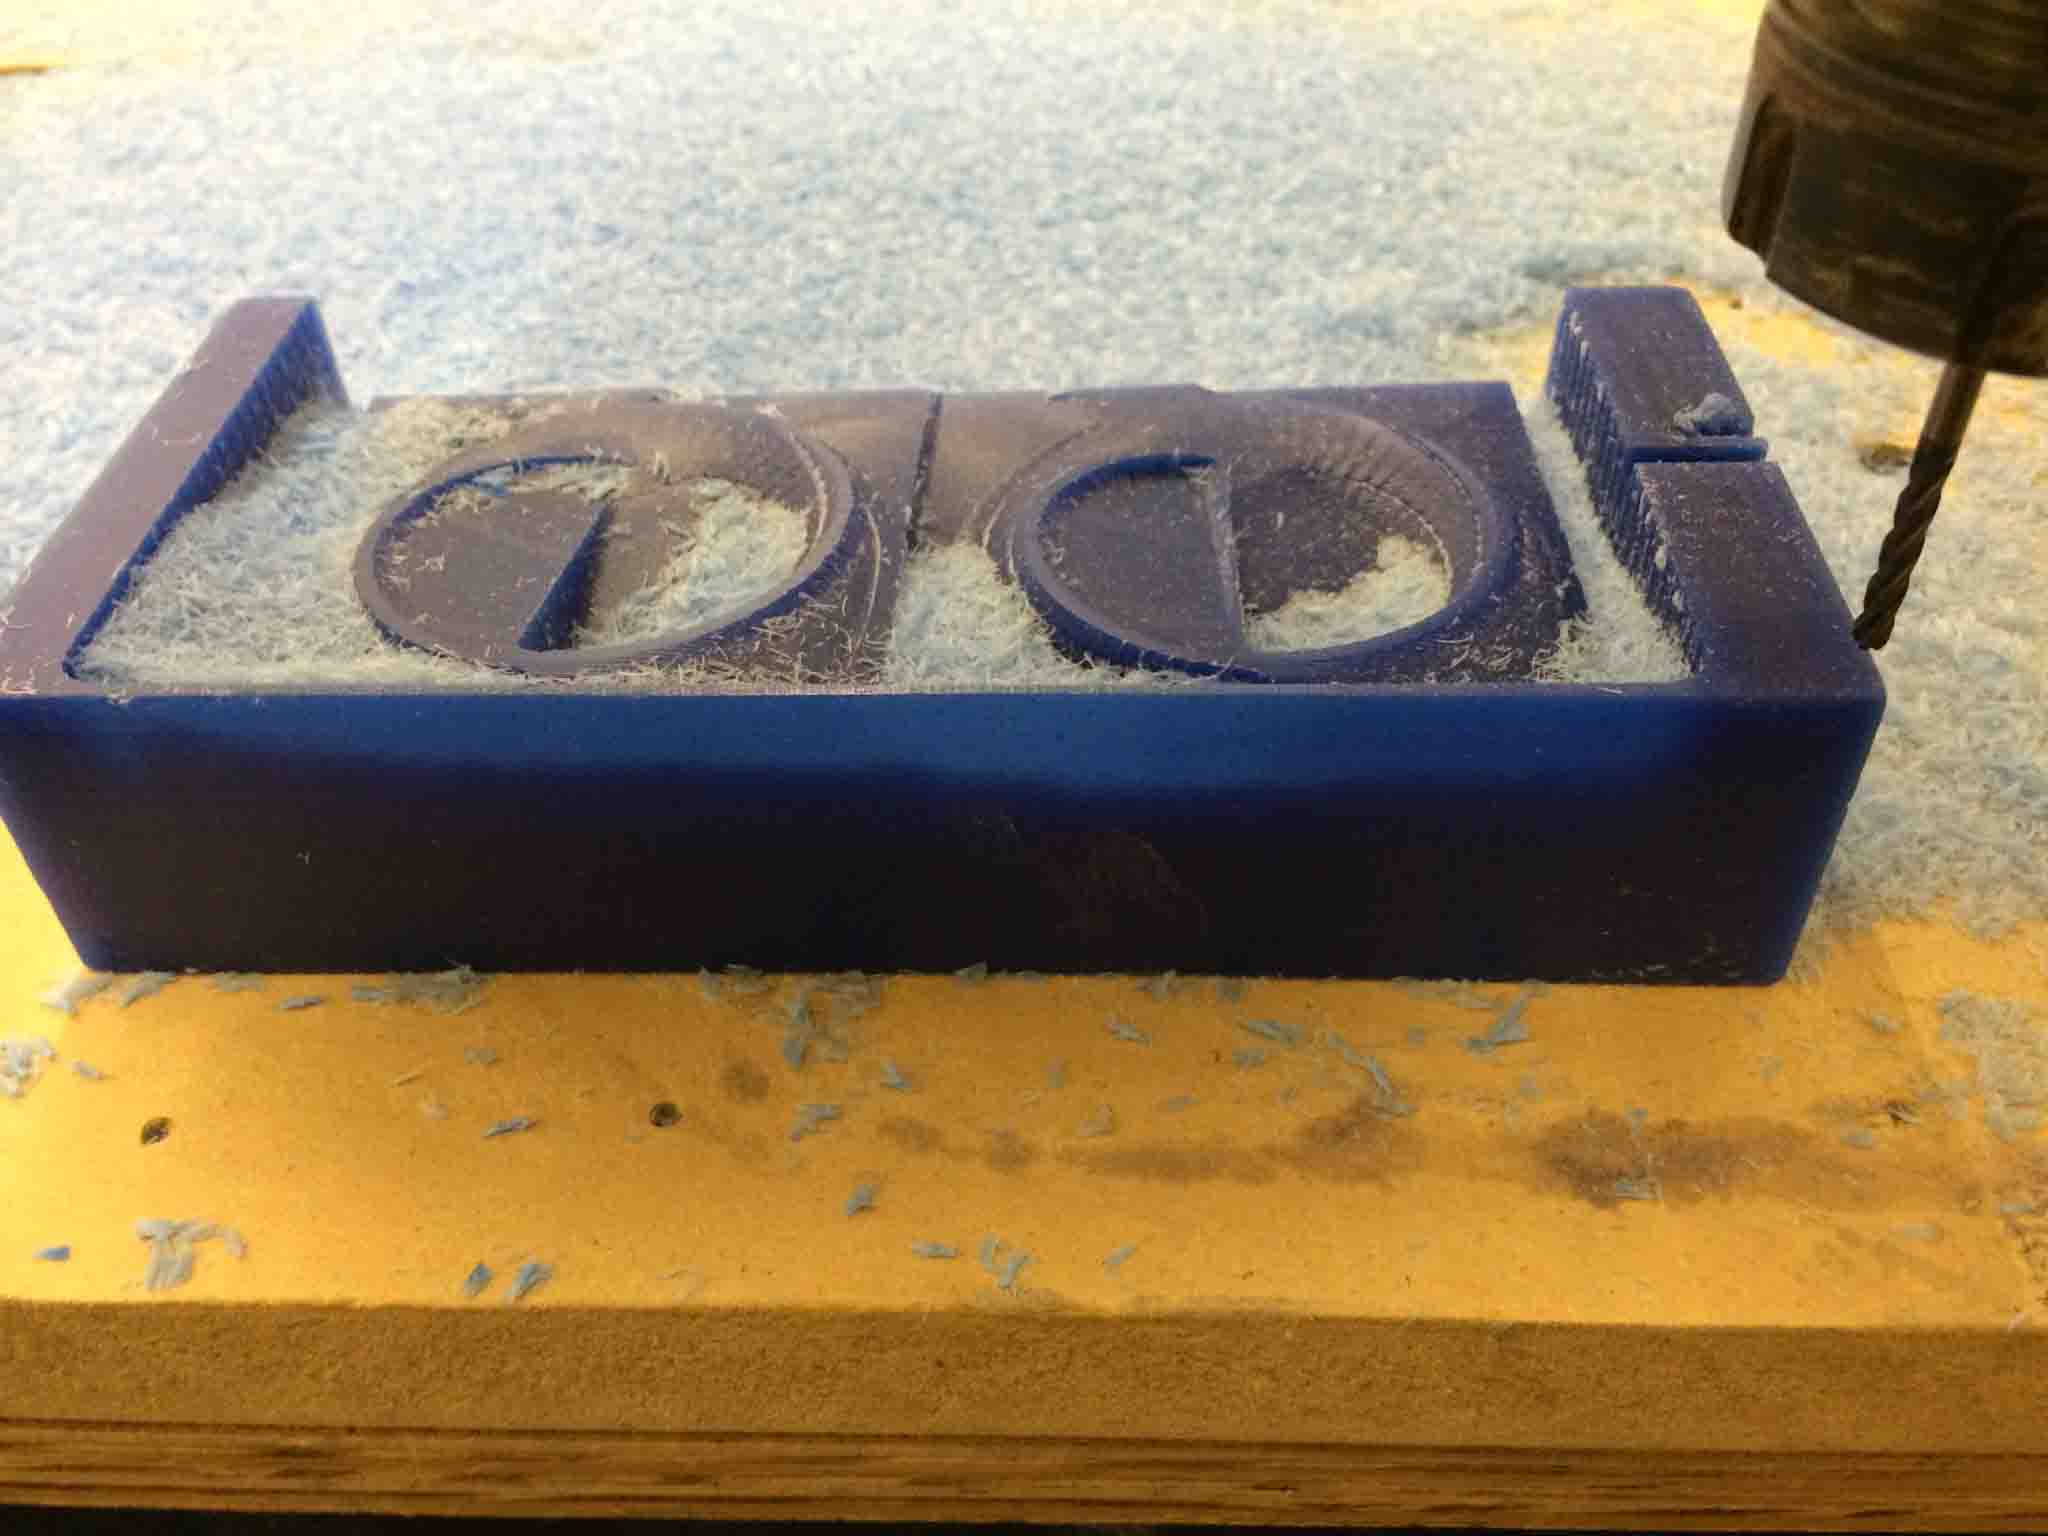
Here are some progress pics of the machining (~21mins for rough cut, ~45 mins for finishing cut):
If I could do it again I would add a more clear ridge in between the two sides for putting up walls to pour the mold. I would also use hot glue as a sealant in making the box around the wax block for pouring.
Molding and Casting
Let's be clear on terminology: A mold is something that helps you make something; casting is the action of pouring a material into a shape that hardens and becomes either a mold for a product or the product itself. You have to go from a mold of a part (usually the negative of the part) to the actual part by flopping between hard and soft materials (it's easiest to demold a soft part from a hard mold, and vice versa).
Mine was tricky. In my case:
- I machined the wax block (this is the HARDest material) as if it had a mobius strip already in it. This serves as a placeholder of space.
- Then I encase the machined wax block in a sealed box type thing so that I can pour in a food-safe silicone. That pouring step is called casting the mold. Thereby, this cast is functionally the negative of my final part.
- After that cast has cured I will have a mold (a cast negative of my part), so I can now pour in more material into it in order to make the positive of my final part (the actual mobius strip bracelet).
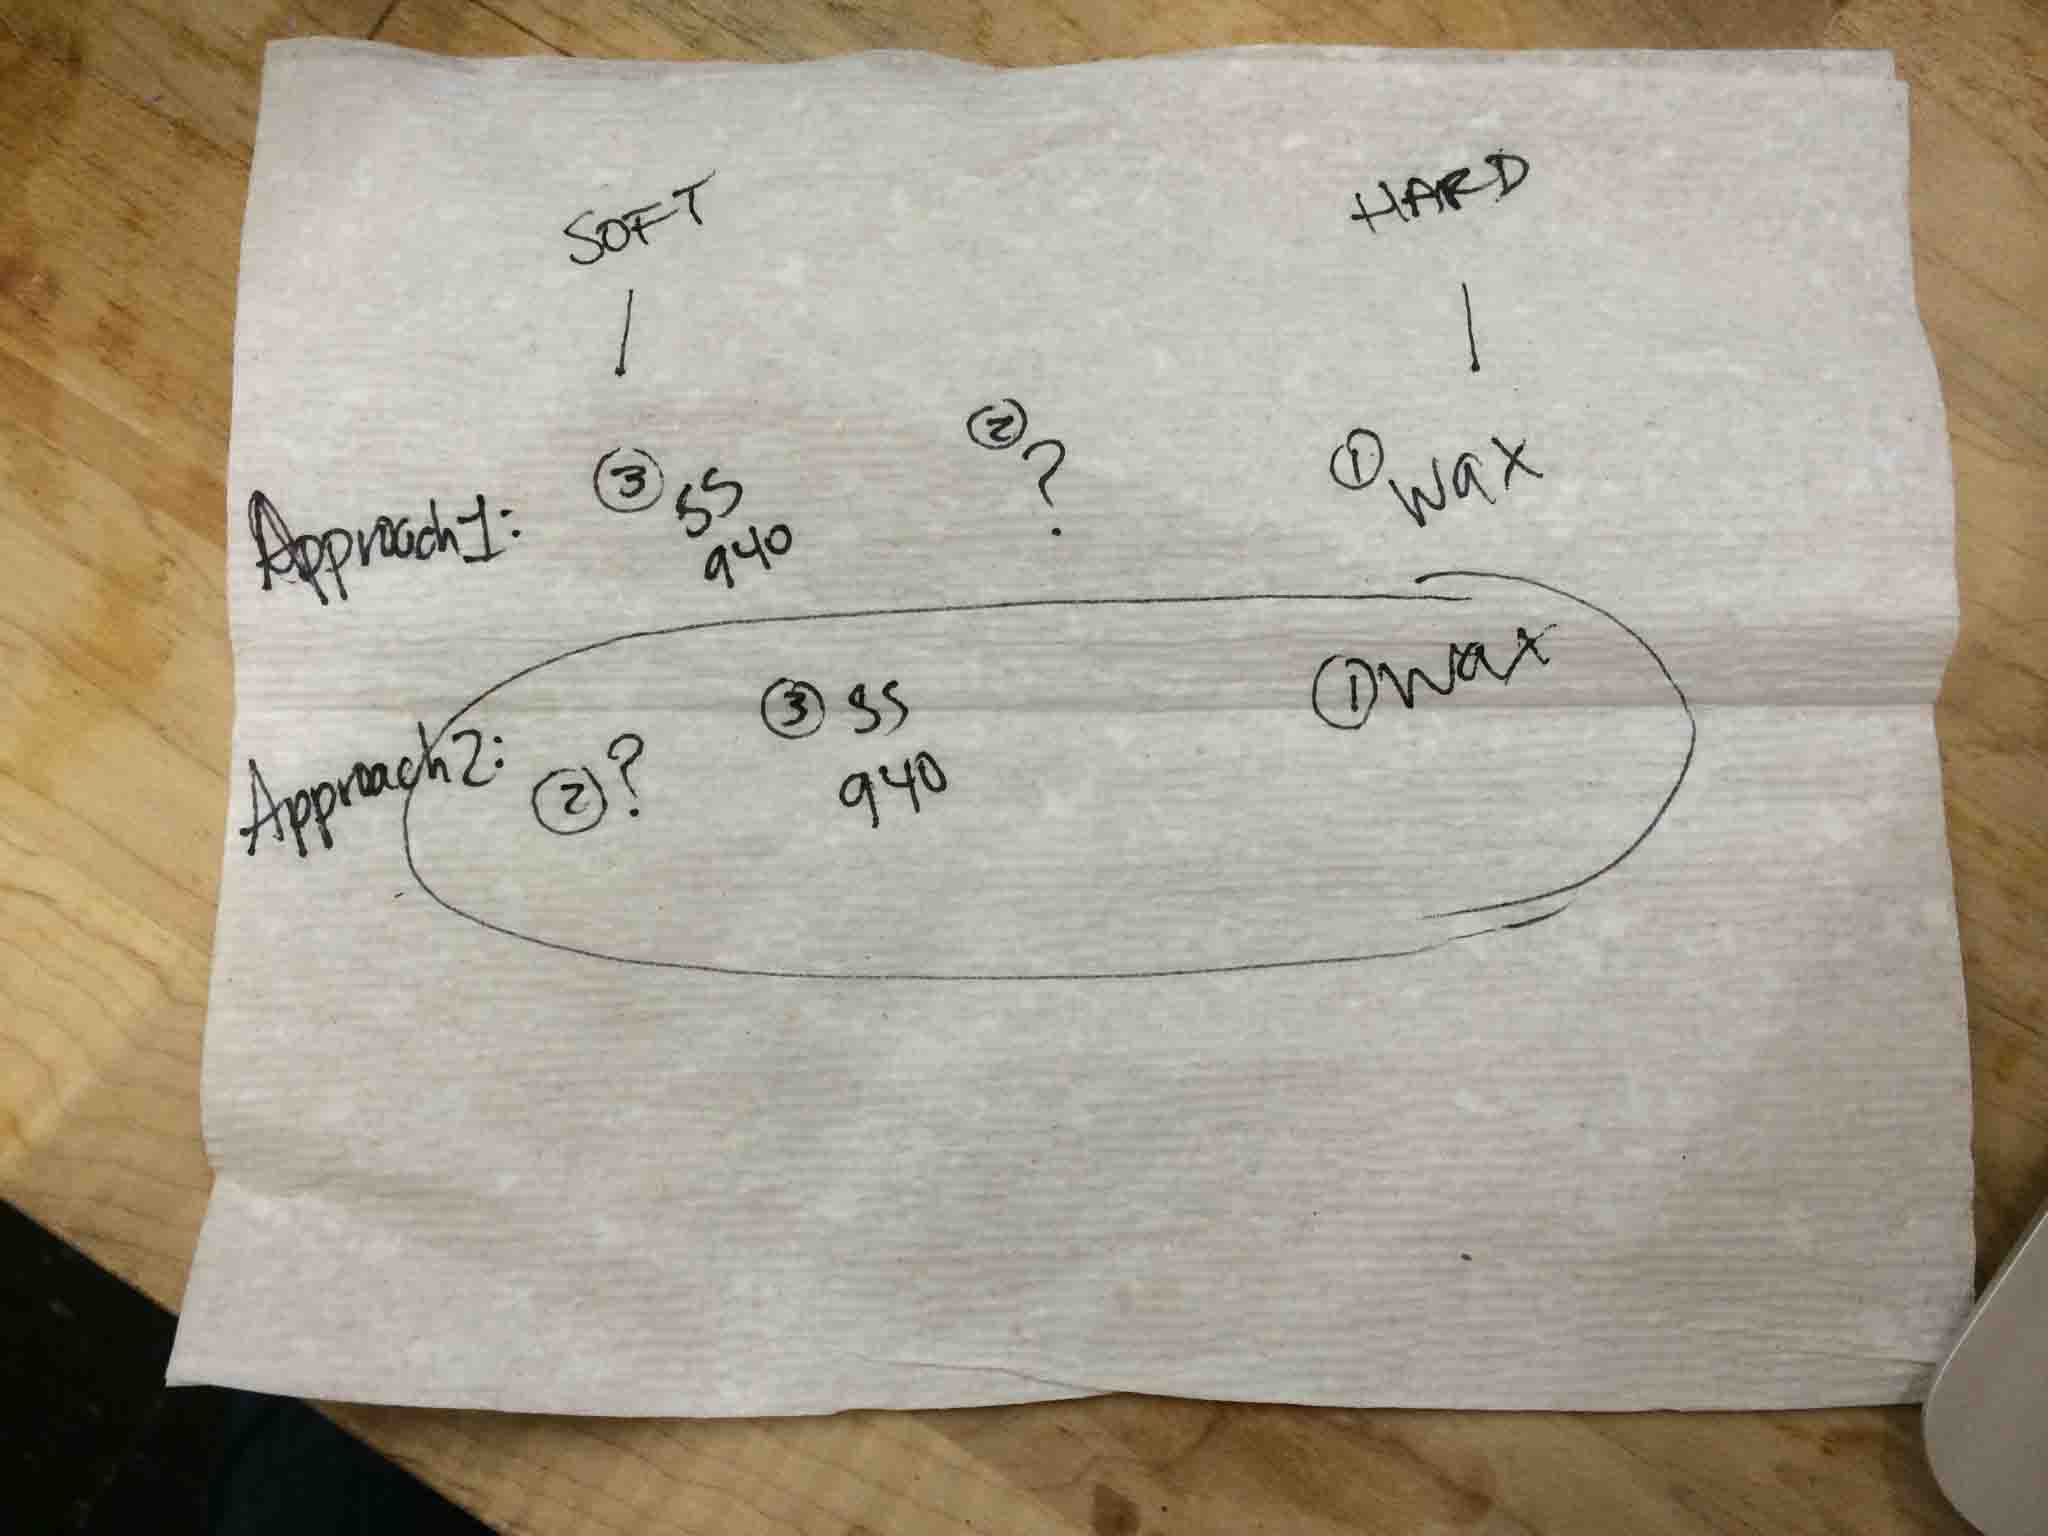
Finally I went with a third approach: my negative would be a food-safe silicone, and my final part is as of yet to be decided (see below).
I prepped my wax block by applying a release agent so that the negative would easily release from the wax block and surrounding cardboard walls.
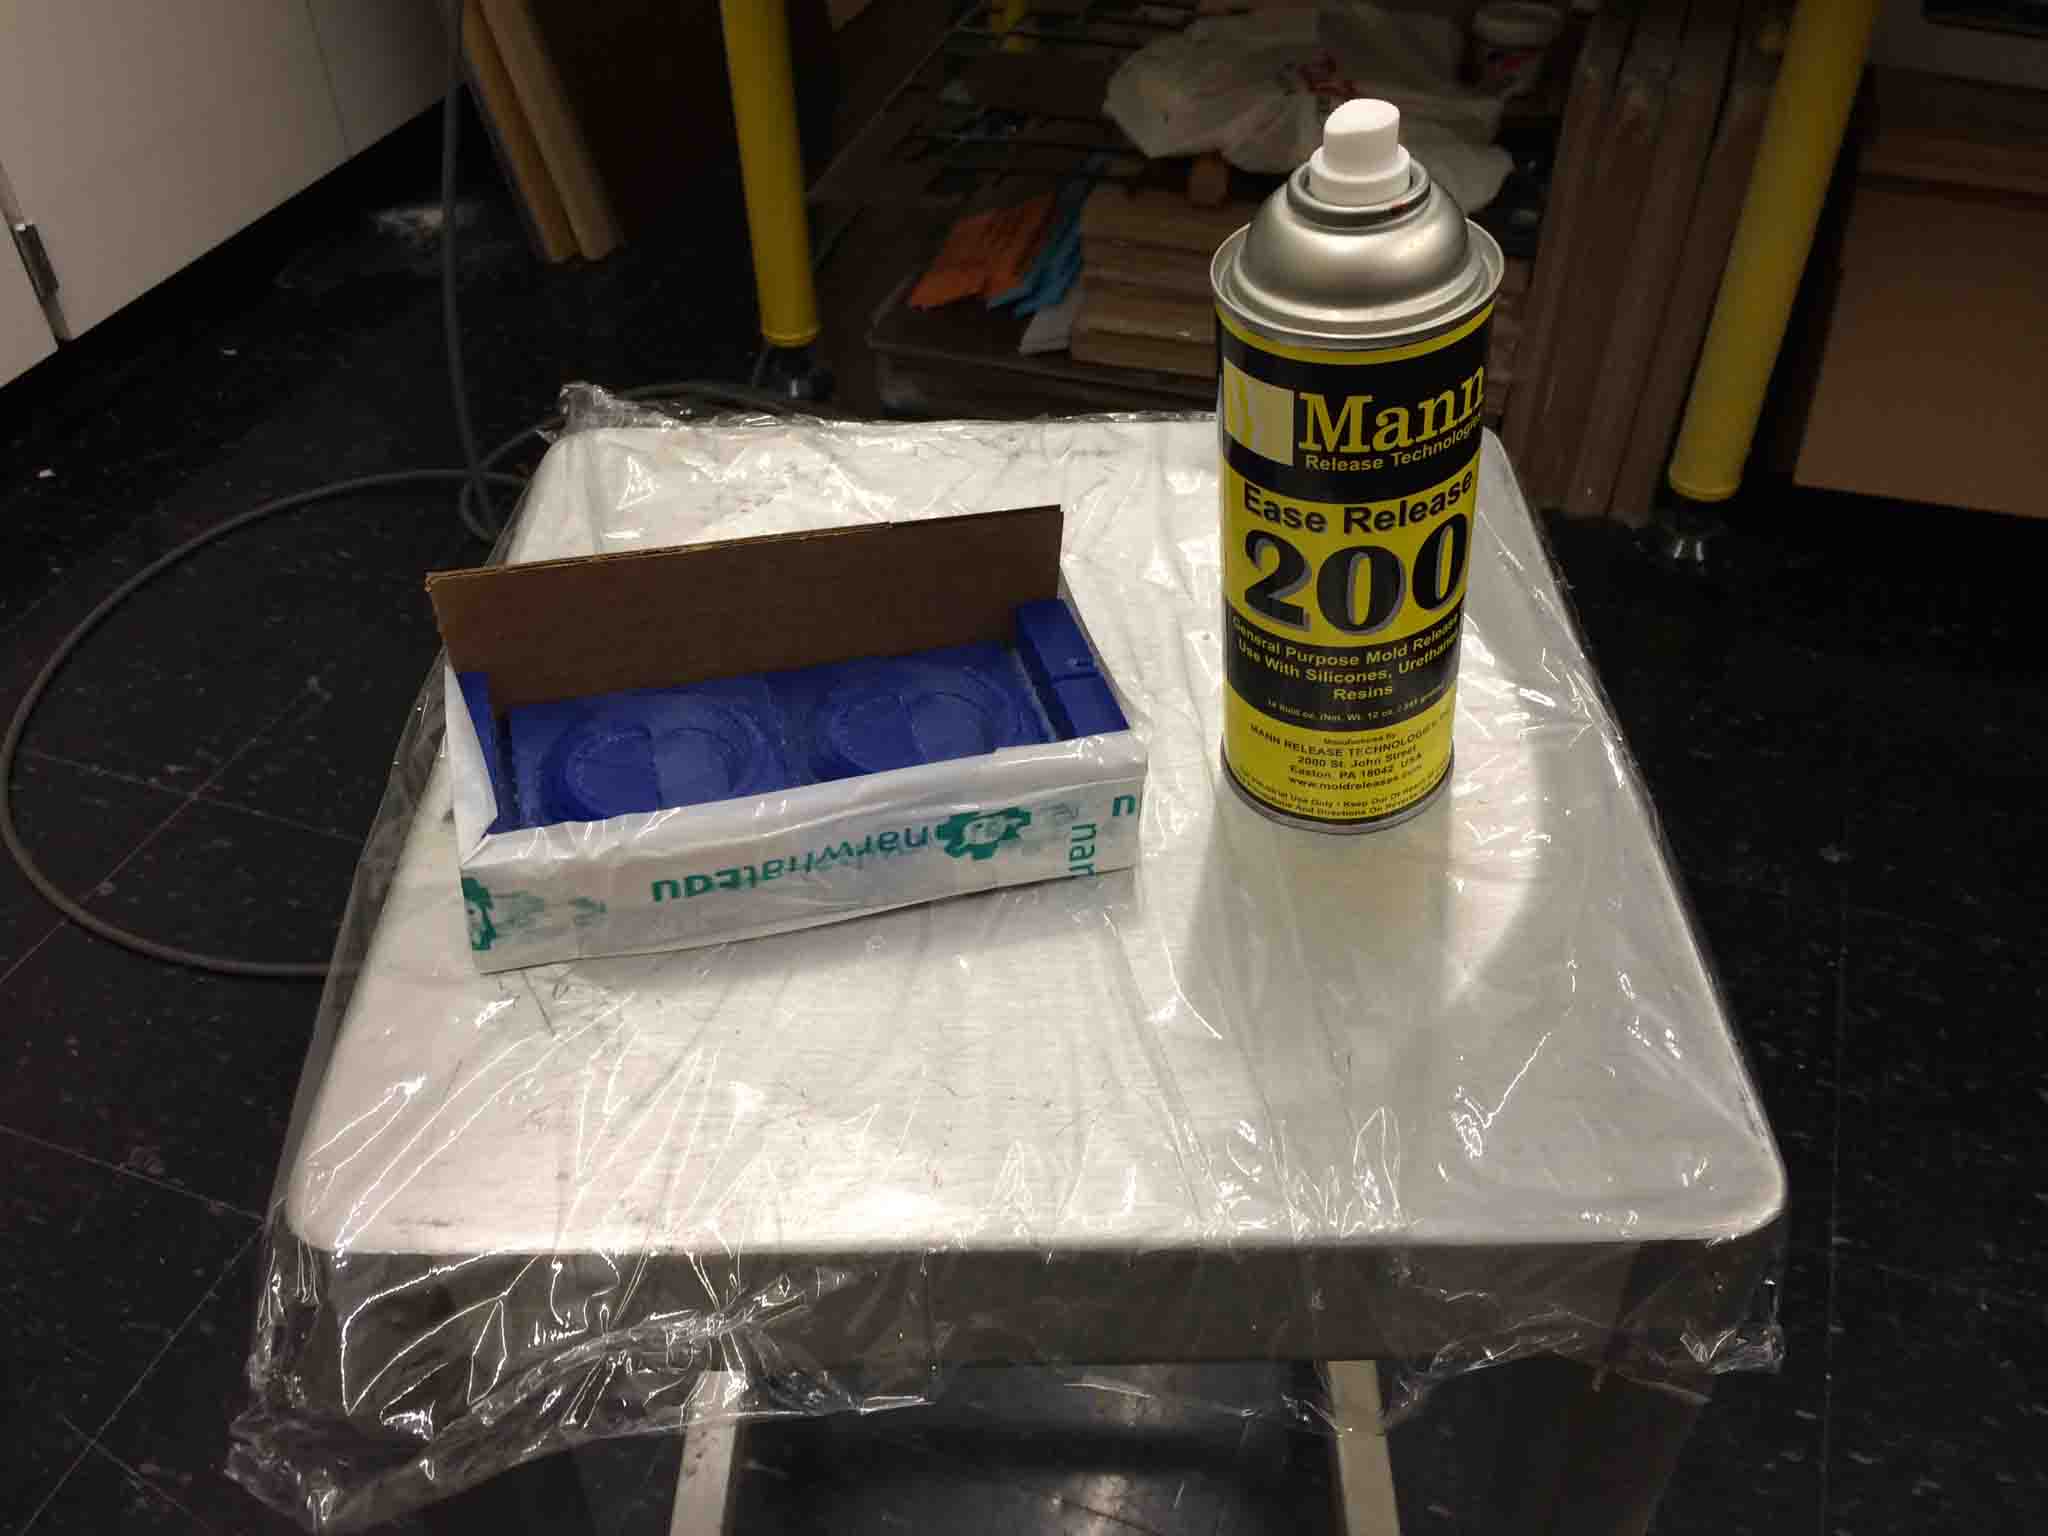
I followed our instructions of properly measuring volumes (IDC kids: use the micro scale that is on the top shelf to the left of the soldering stations in the electronics lab space), mixing, and stirring for the two parts for three minutes.
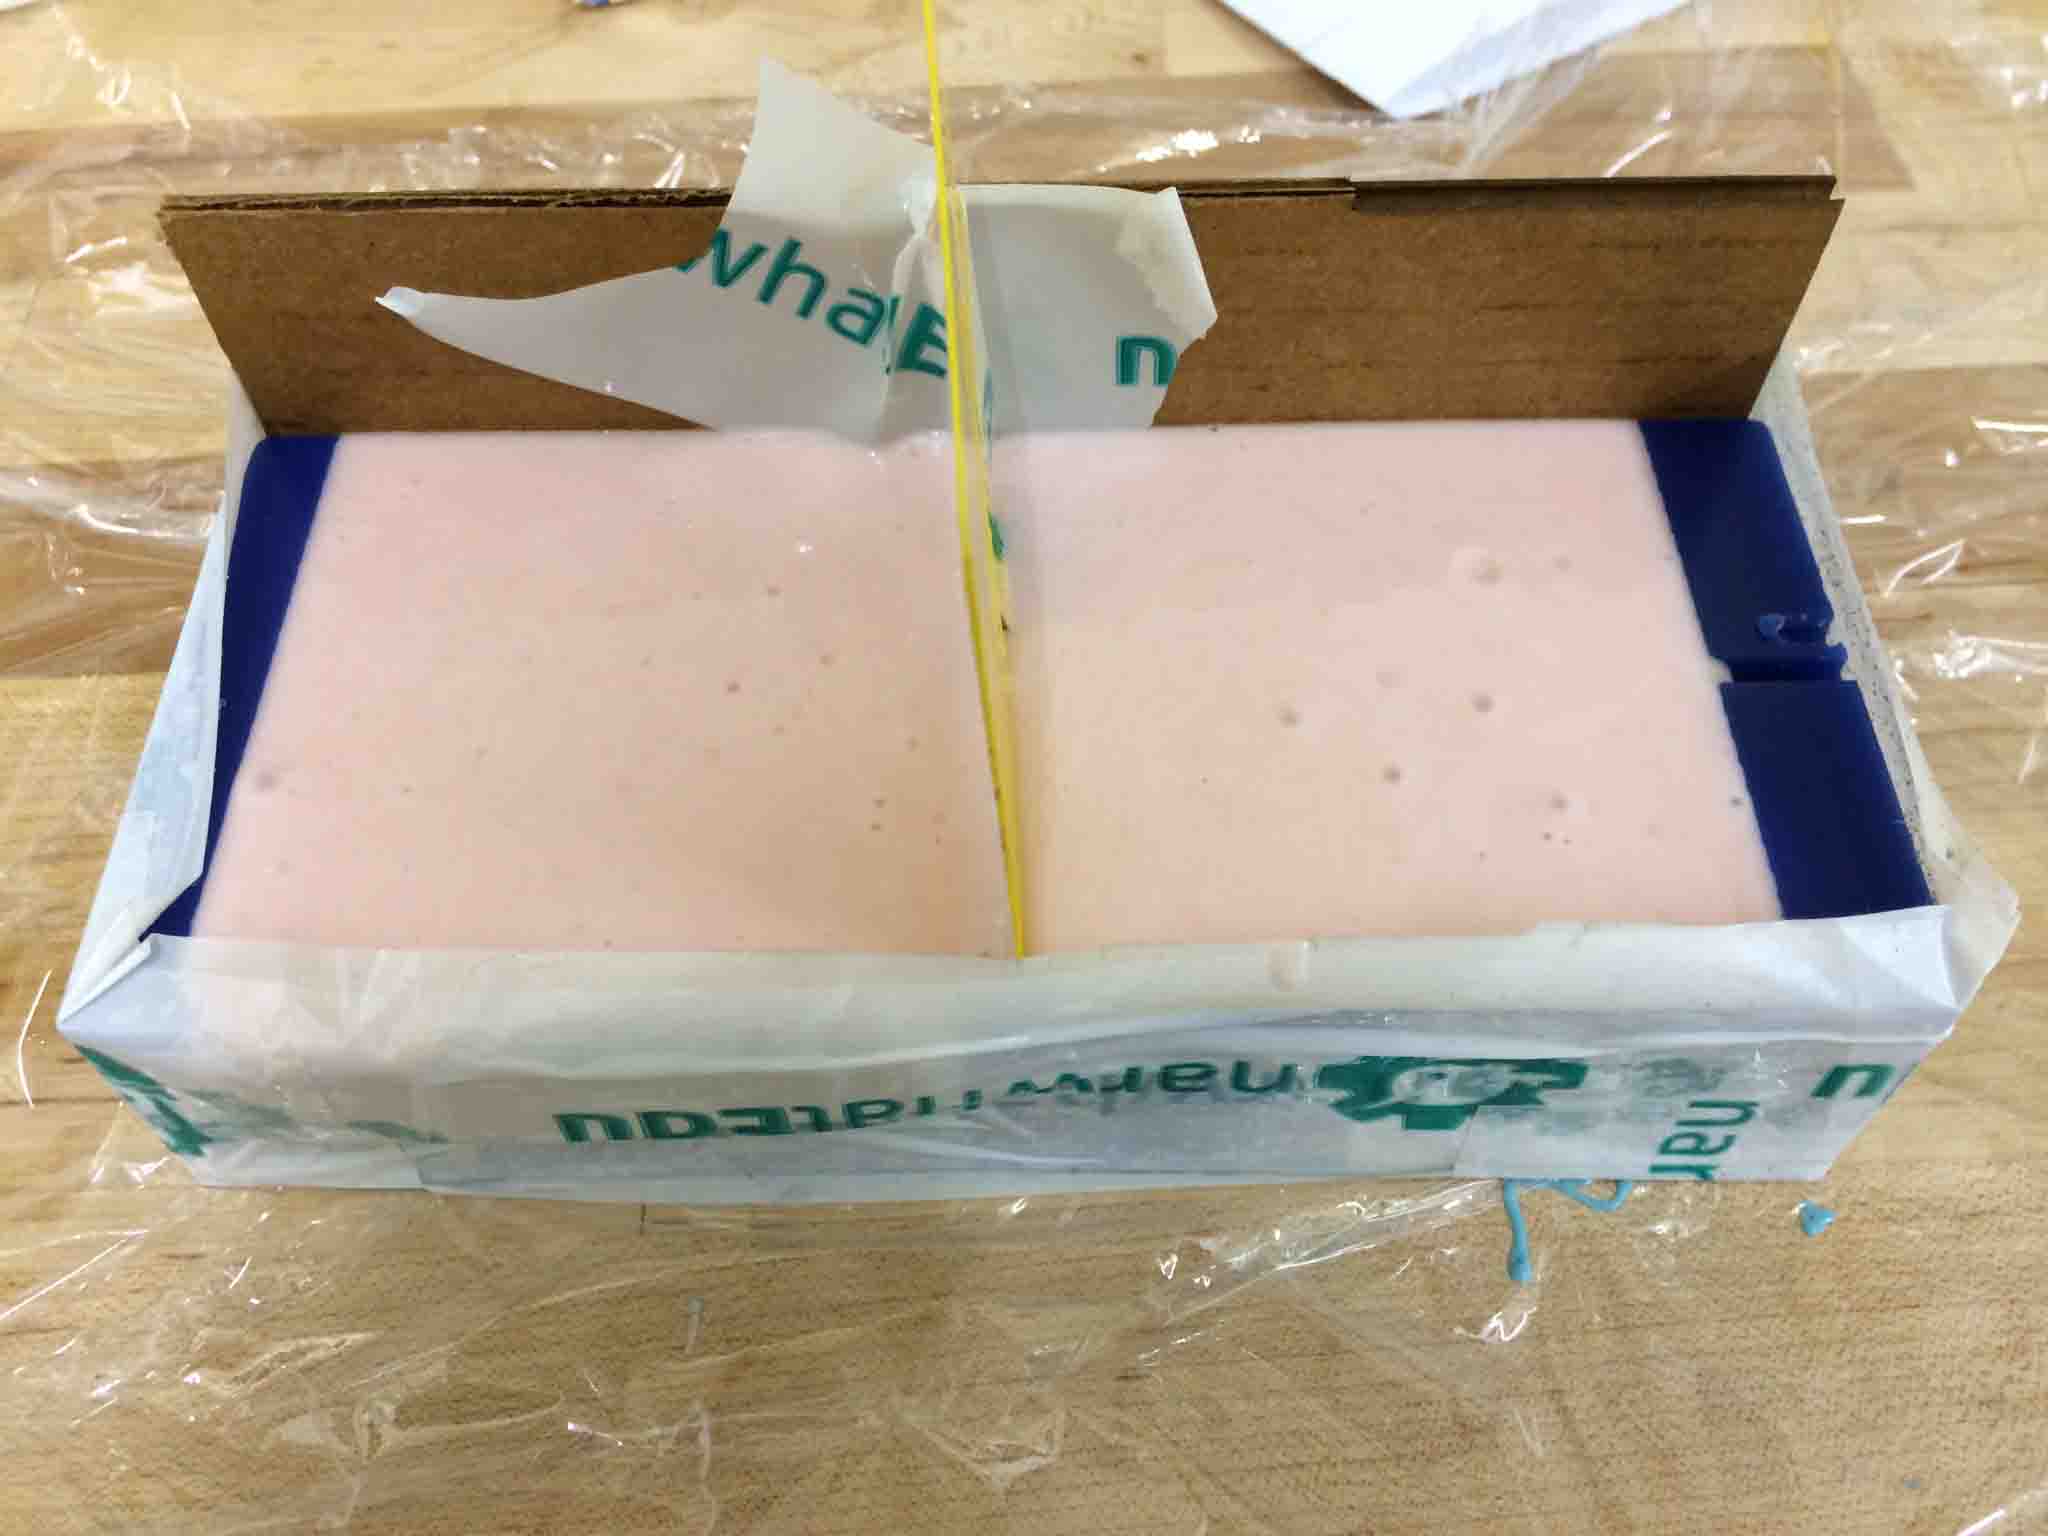
The negative will be done curing at room temparature at 1am on the night of Wednesday, and then I will buy the new material for the final part! Exciting!
Towards a final bracelet
Next step is to call Smooth-on in order to figure out their materials: Does "food-safe" mean "chewable toy safe"? Because Scarlett is a baby, she might not appreciate the difference between an accessory bracelet and a chew toy. In case she puts it into her mouth, I wantit to be as safe as possible. If they're highest grade of baby-safe is, indeed, the Smooth Sil 940, then I will likely have to use a mold release agent, and I would also want their help to make sure that release agent won't be toxic for the baby. In addition, this chewable toy safe material should be soft so that it doesn't hurt her, but also strong enough that it won't rip apart when she bites it.
Many thanks!
To Robert White for his incredibly useful Rhino help; to Justin Levellee for referring me to him; to Skylar for his patience in Rhino basics; to Charles for setting up the ShopBot; to Kate Mytty and Tomo for being willing and very helpful lab buddies!; to Lindy Liggett for always being a text away for invaluable advice; and to my advisor, David Wallace for imprinting in us that "anything worth doing is worth doing right."
Baby pictures of Scarlett modeling her new accessory to come soon!
2nd Strategy: 3D-Priting the positive of the part, Casting the mold, & Casting the positive part
This meant making a two-part mold out of a 3D-printed part.
First, I had to 3D print the positive of the part. I had an issue with leaving some open contours in my SolidWorks file when I merged the surfaces that made the first print on the left incorrect. 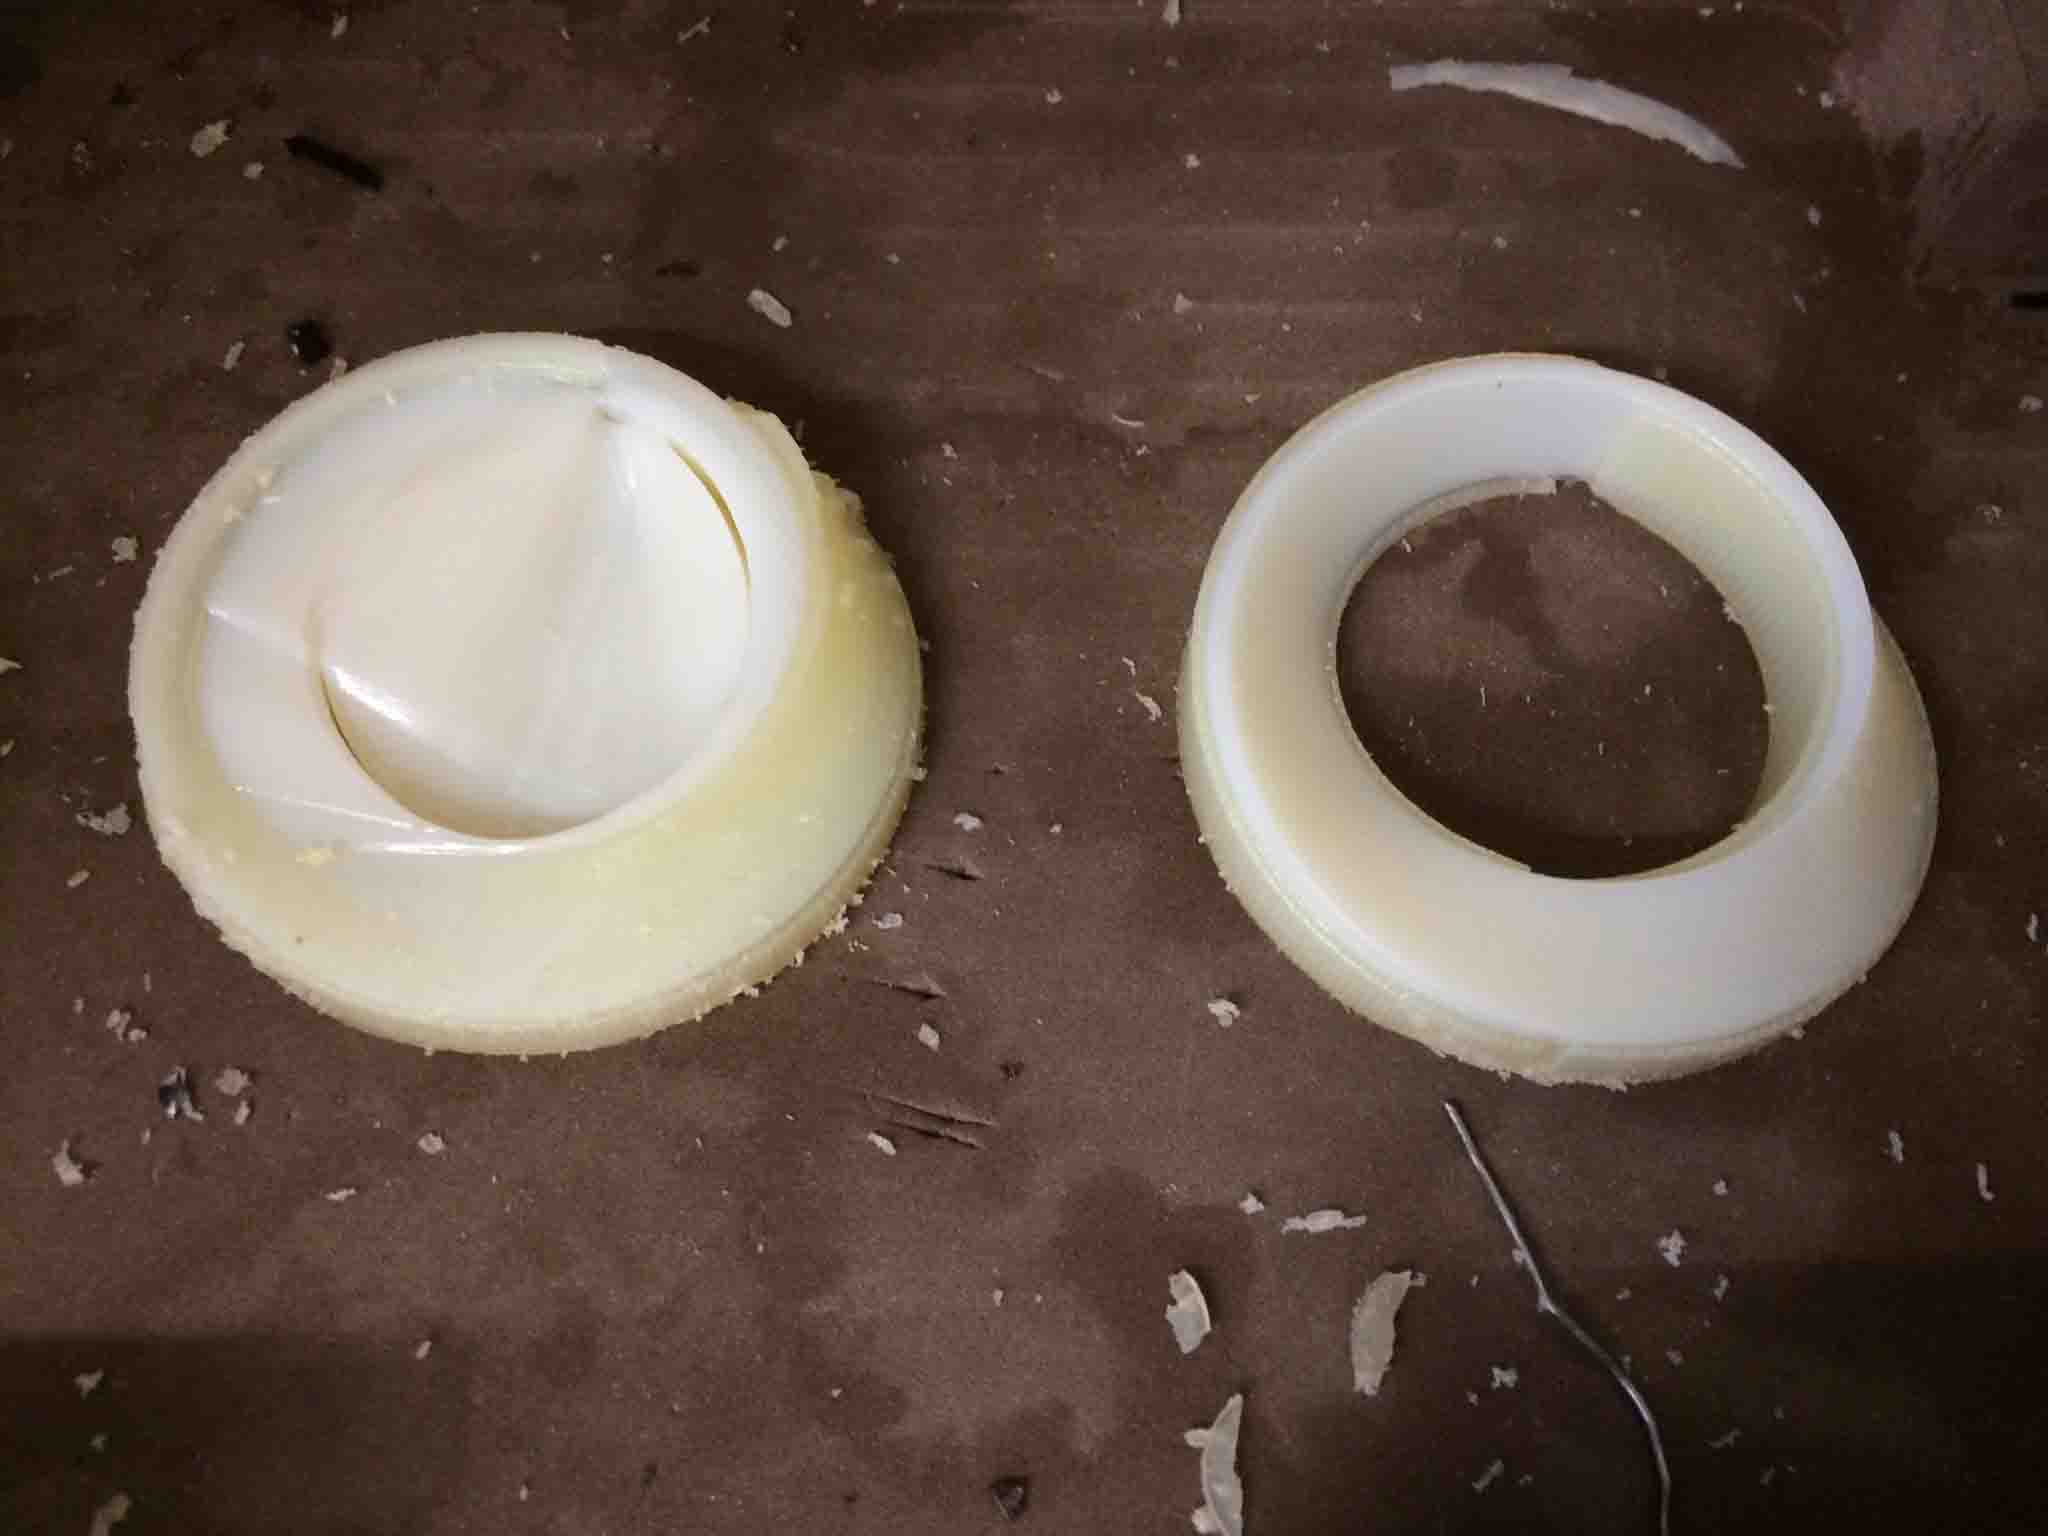
The fix is to Check under the tools menu:

So that you can get a nicer print like the one below, after cleaning:
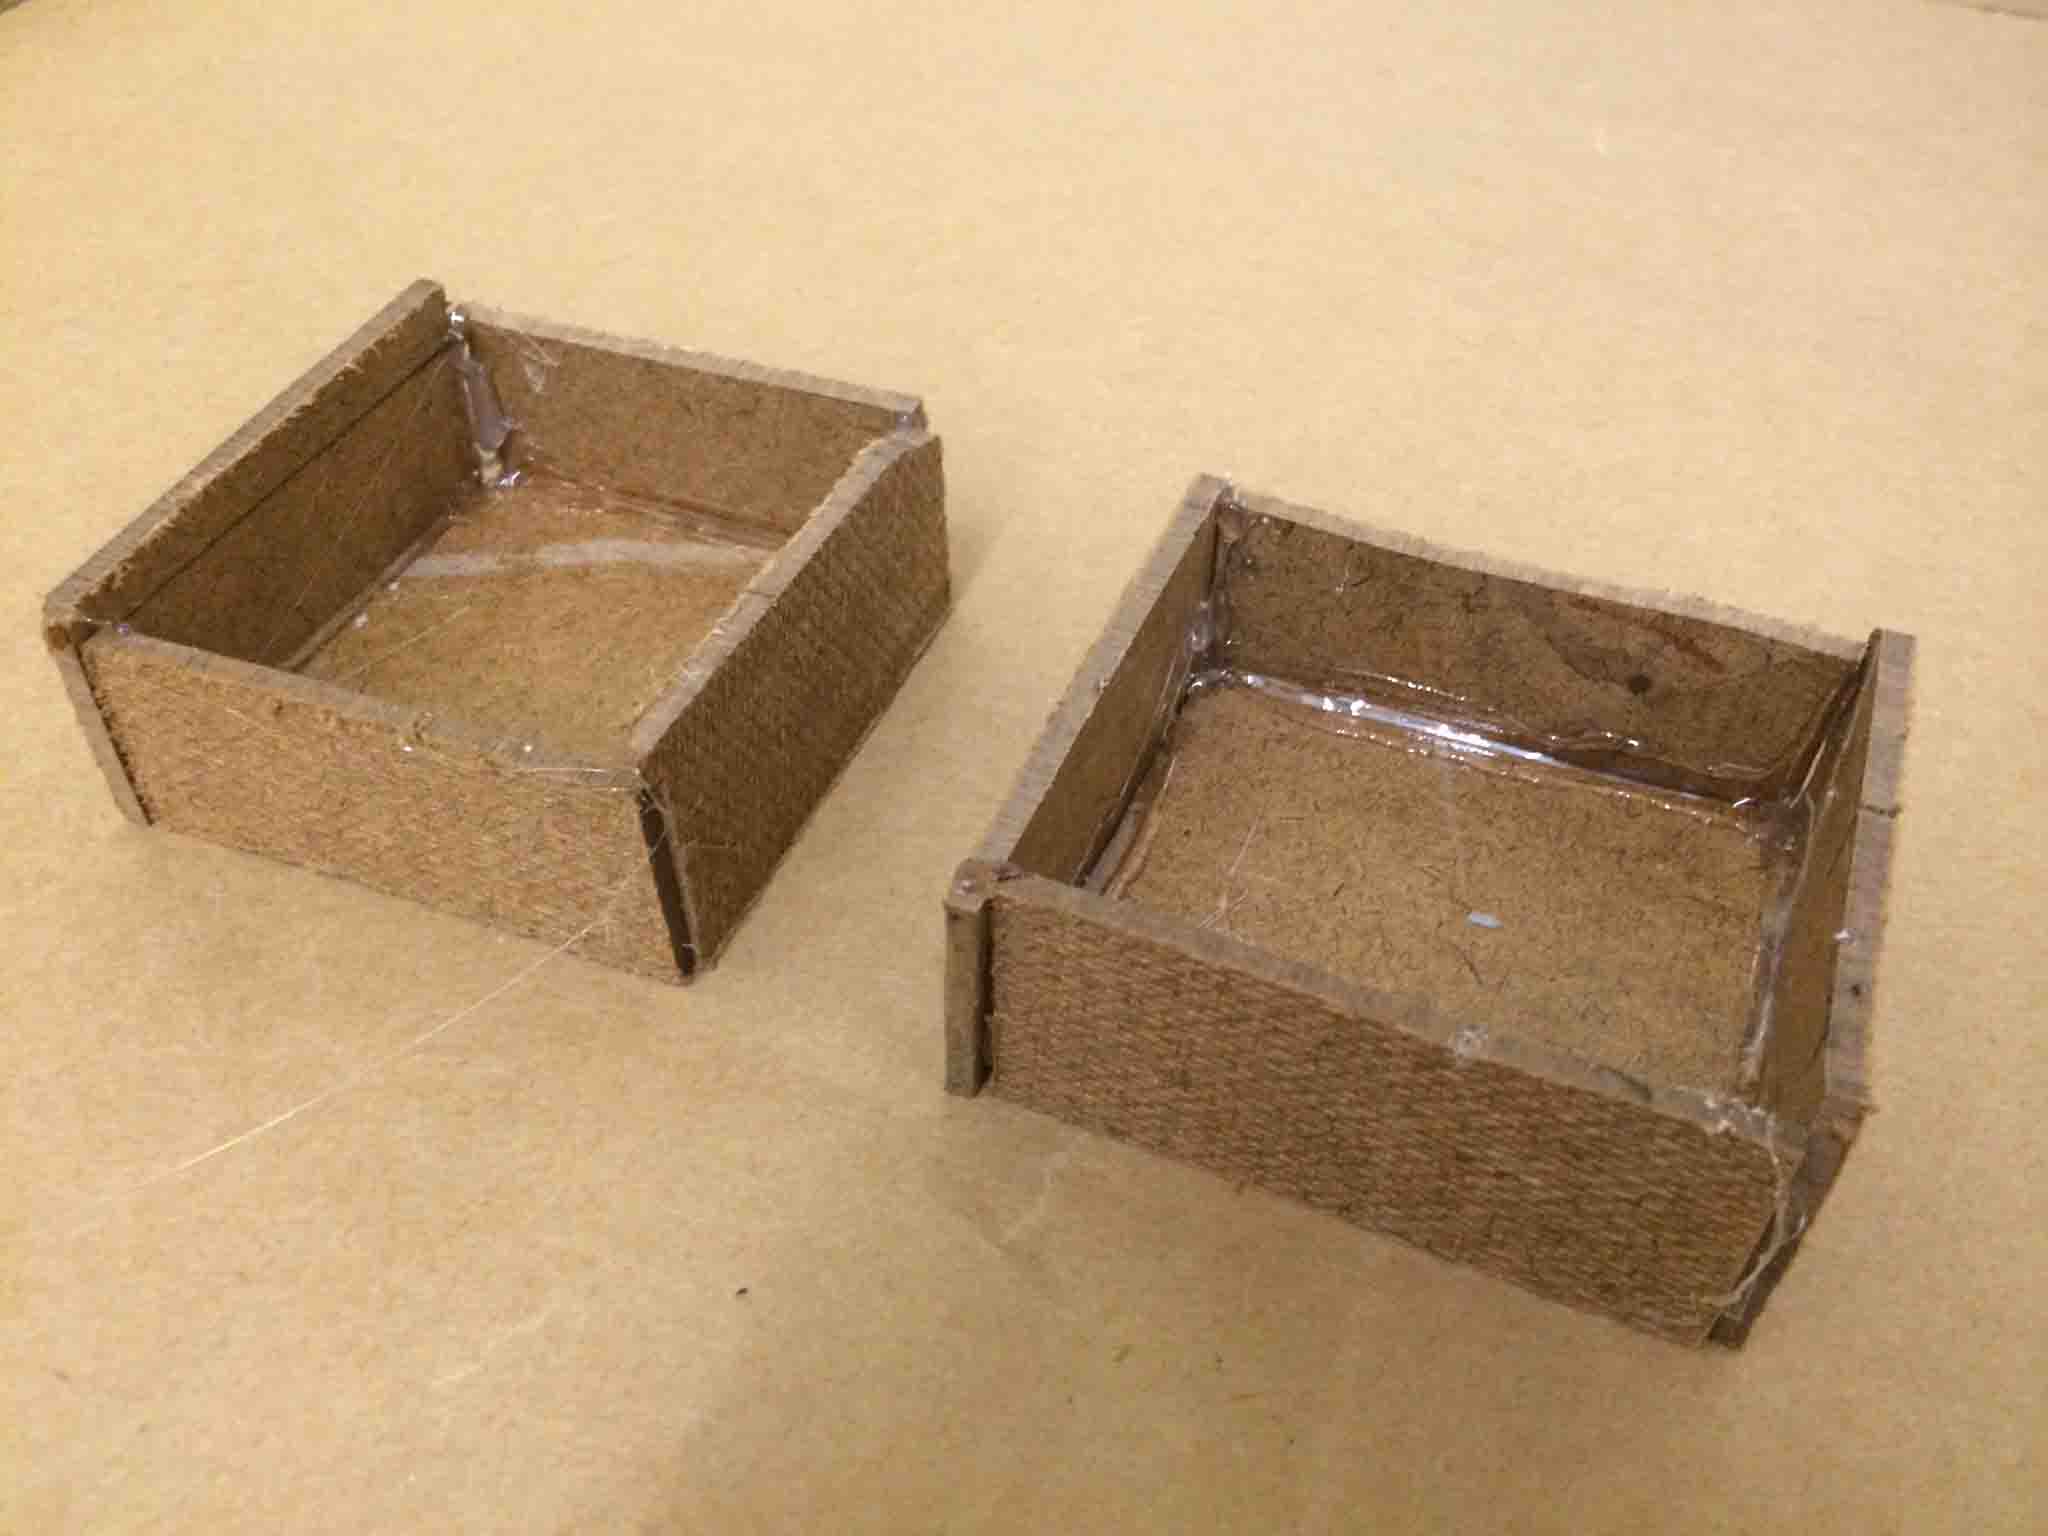
Casting the first half of the mold with clay
First, I had to make a box in which to make the mold: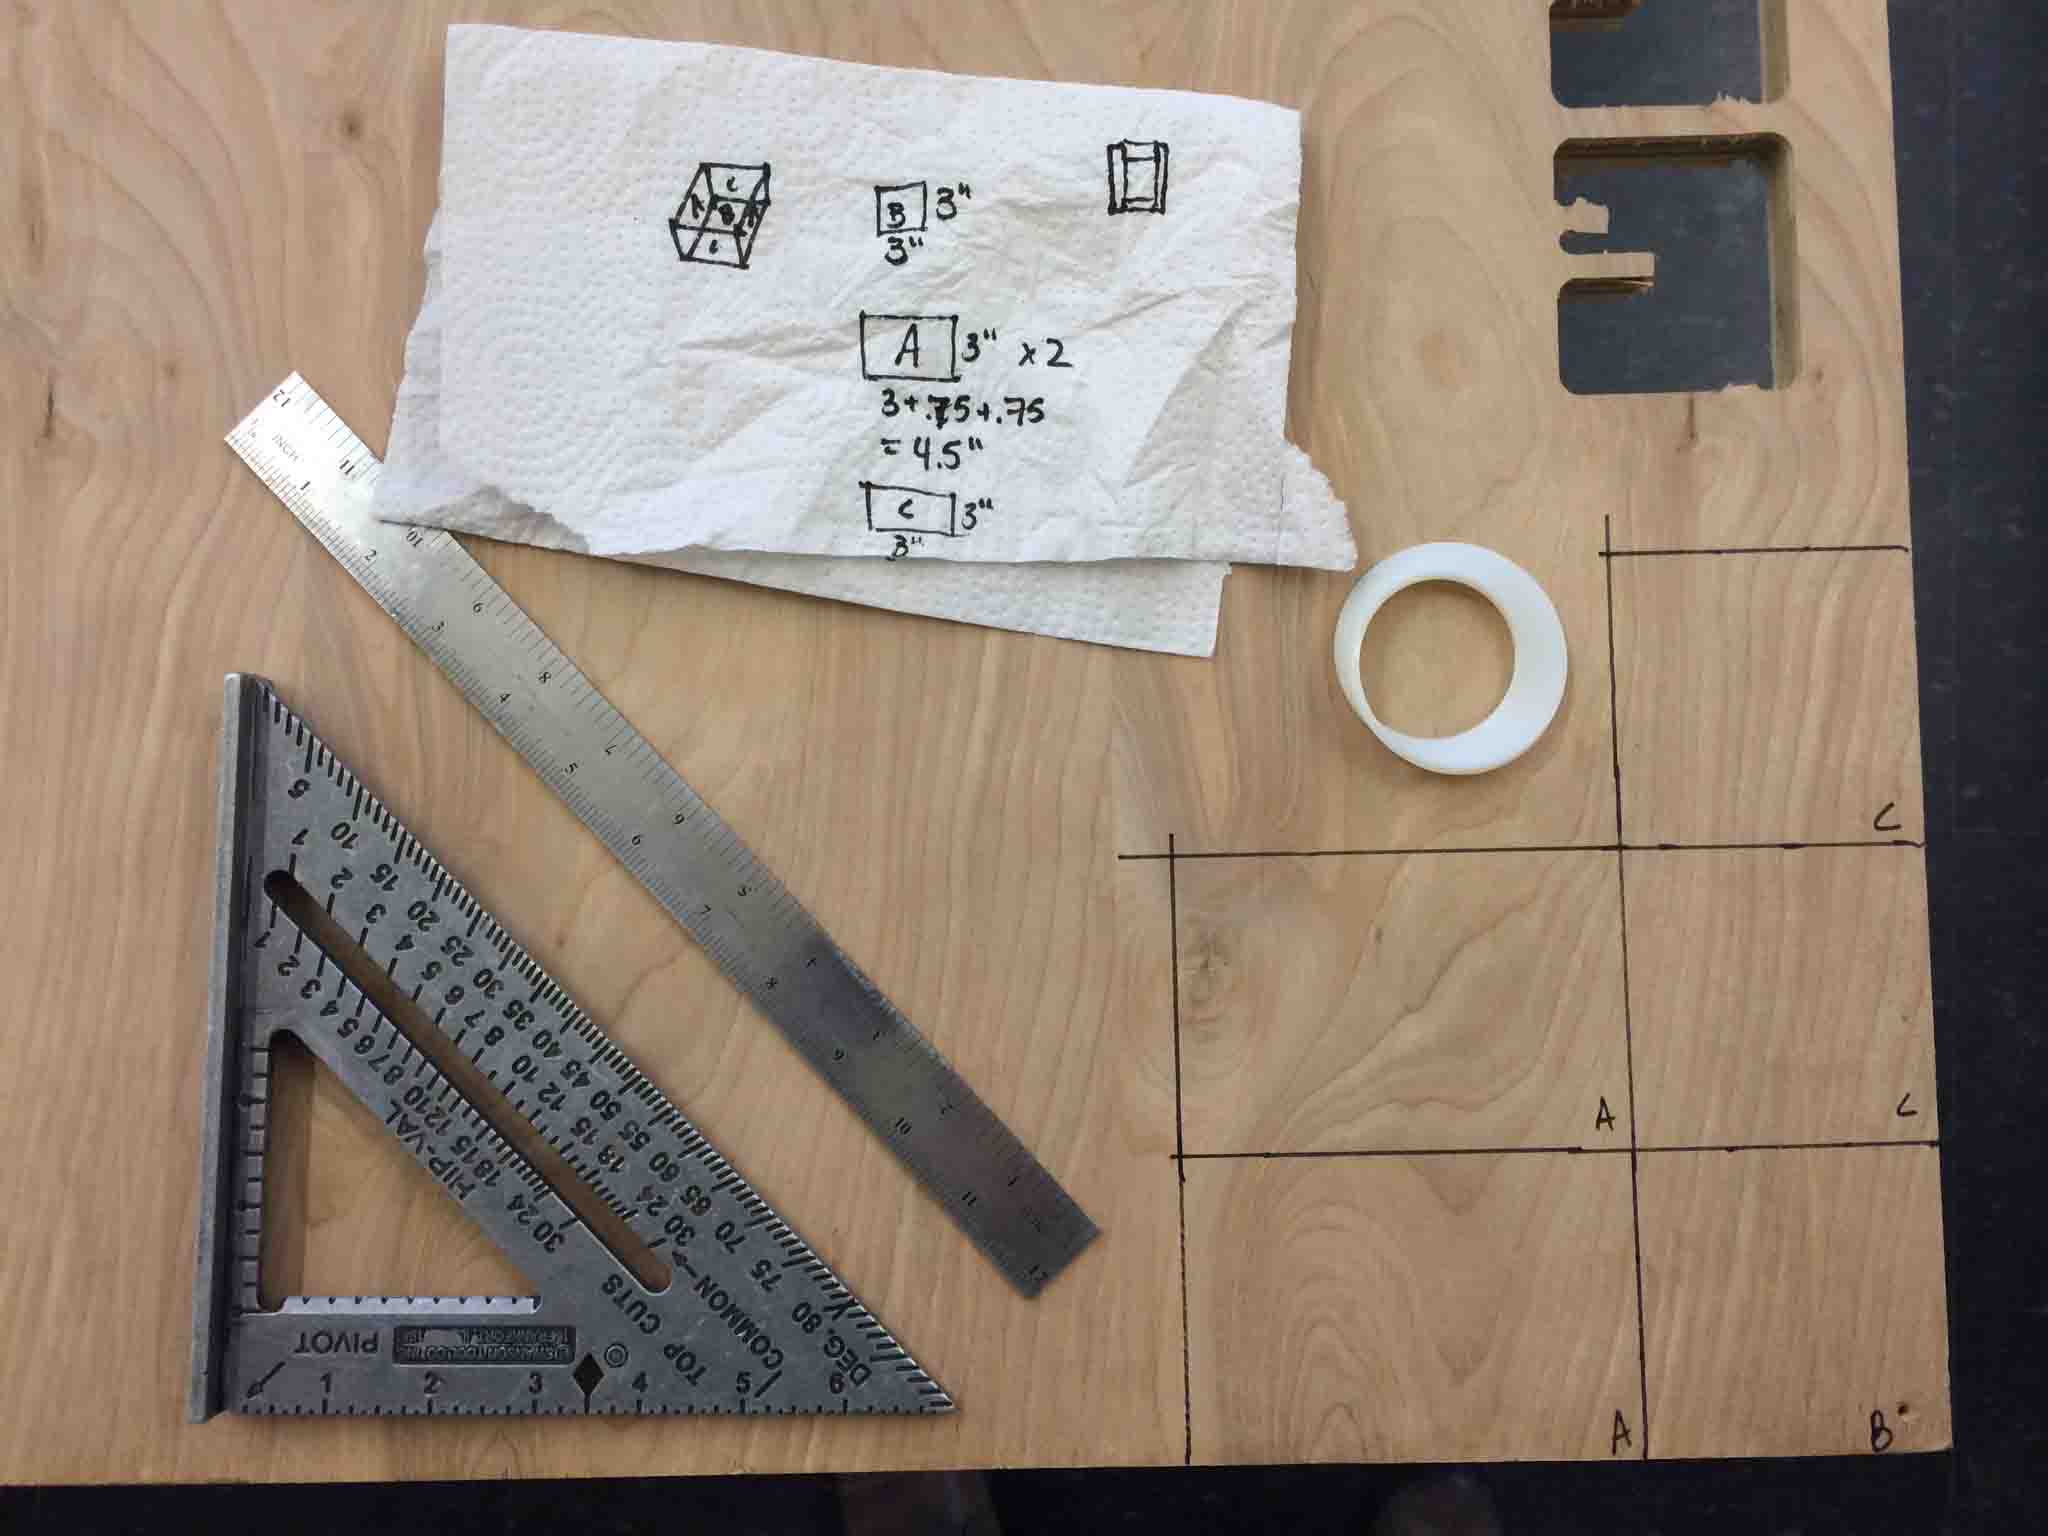
Note the shearing as a reminder why it's not a good idea to drill into the ply's of wood. Next time, it's best to just go straight to hot glue. The most important part is that the edges of the box are sealed so that there is no leakage of the material casted.
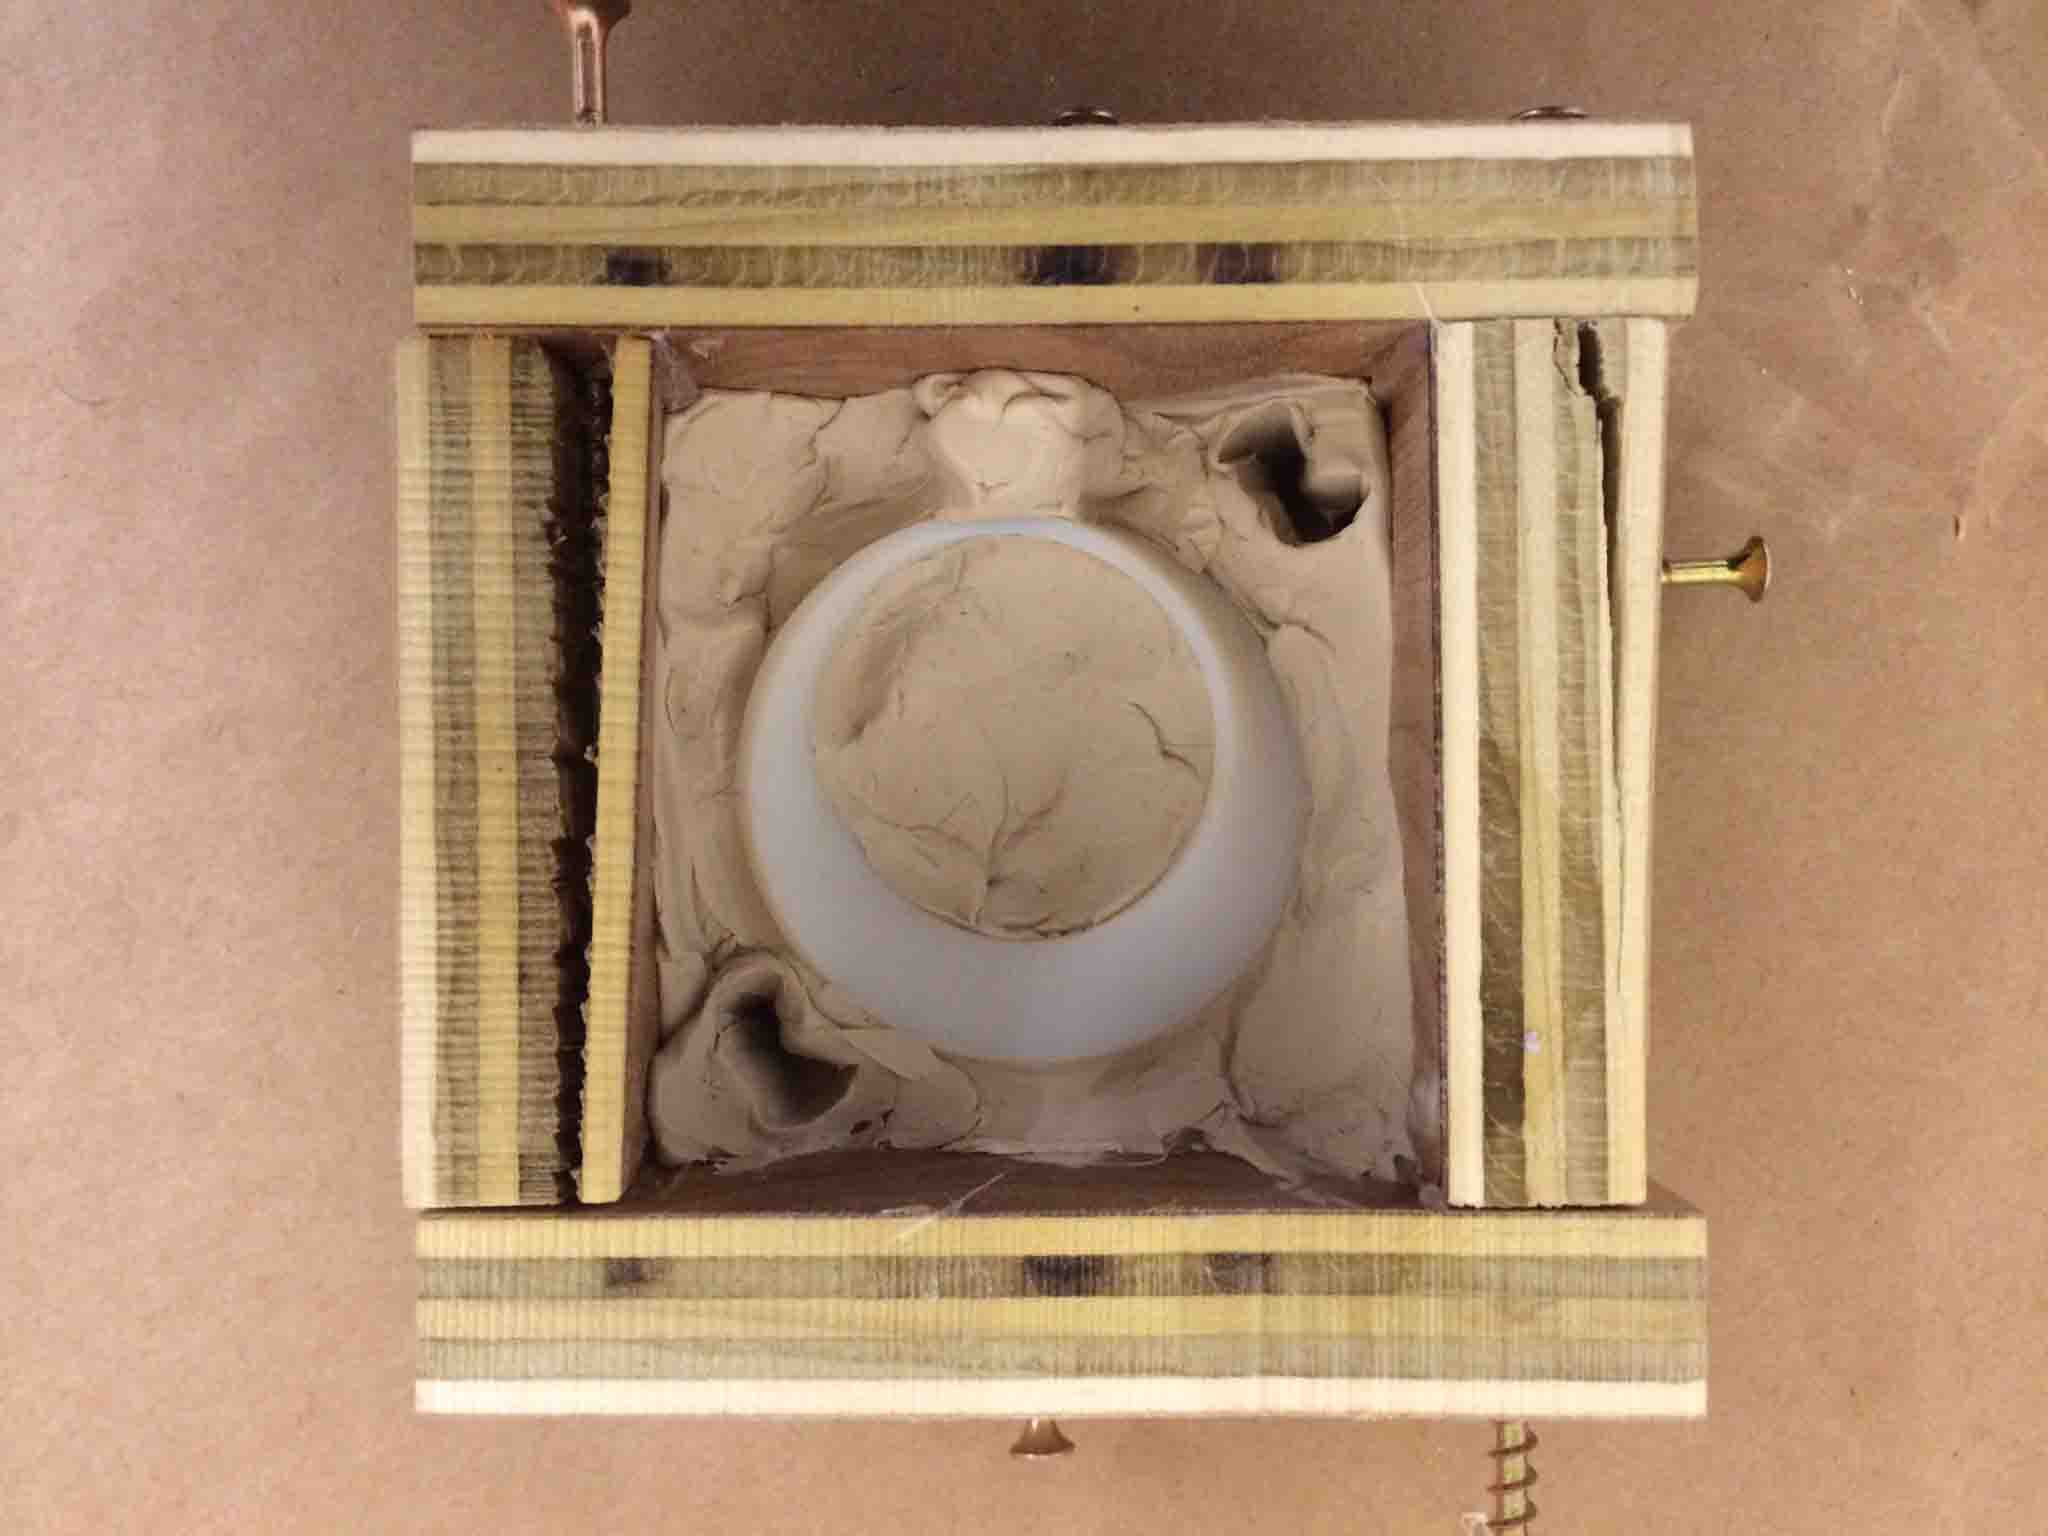
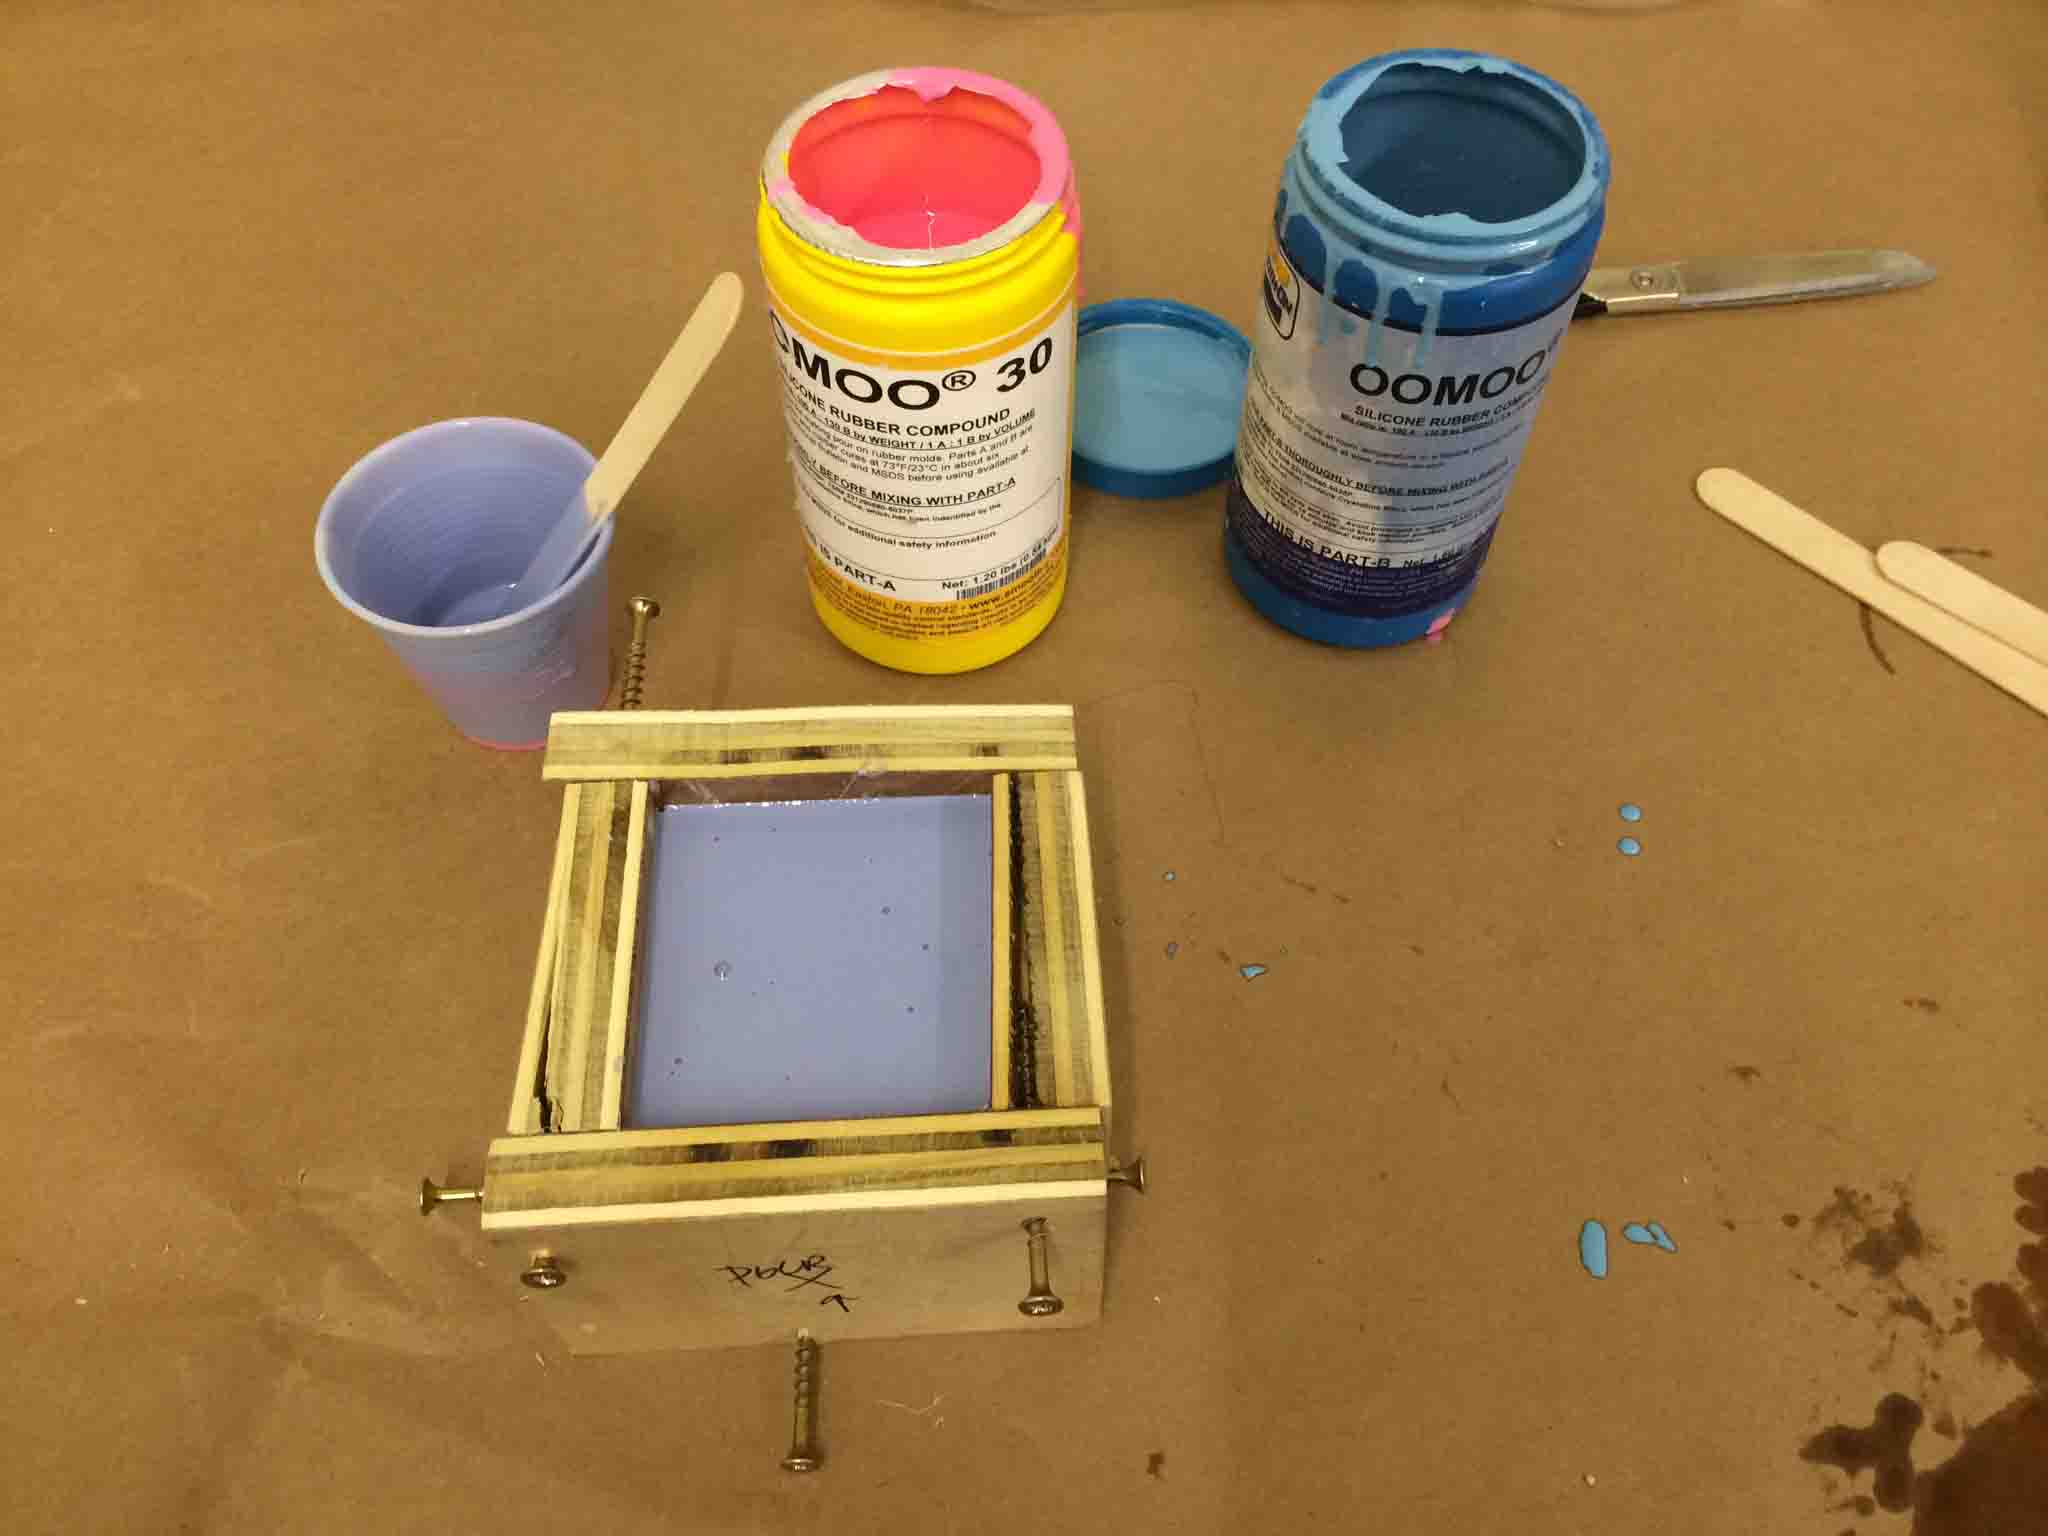
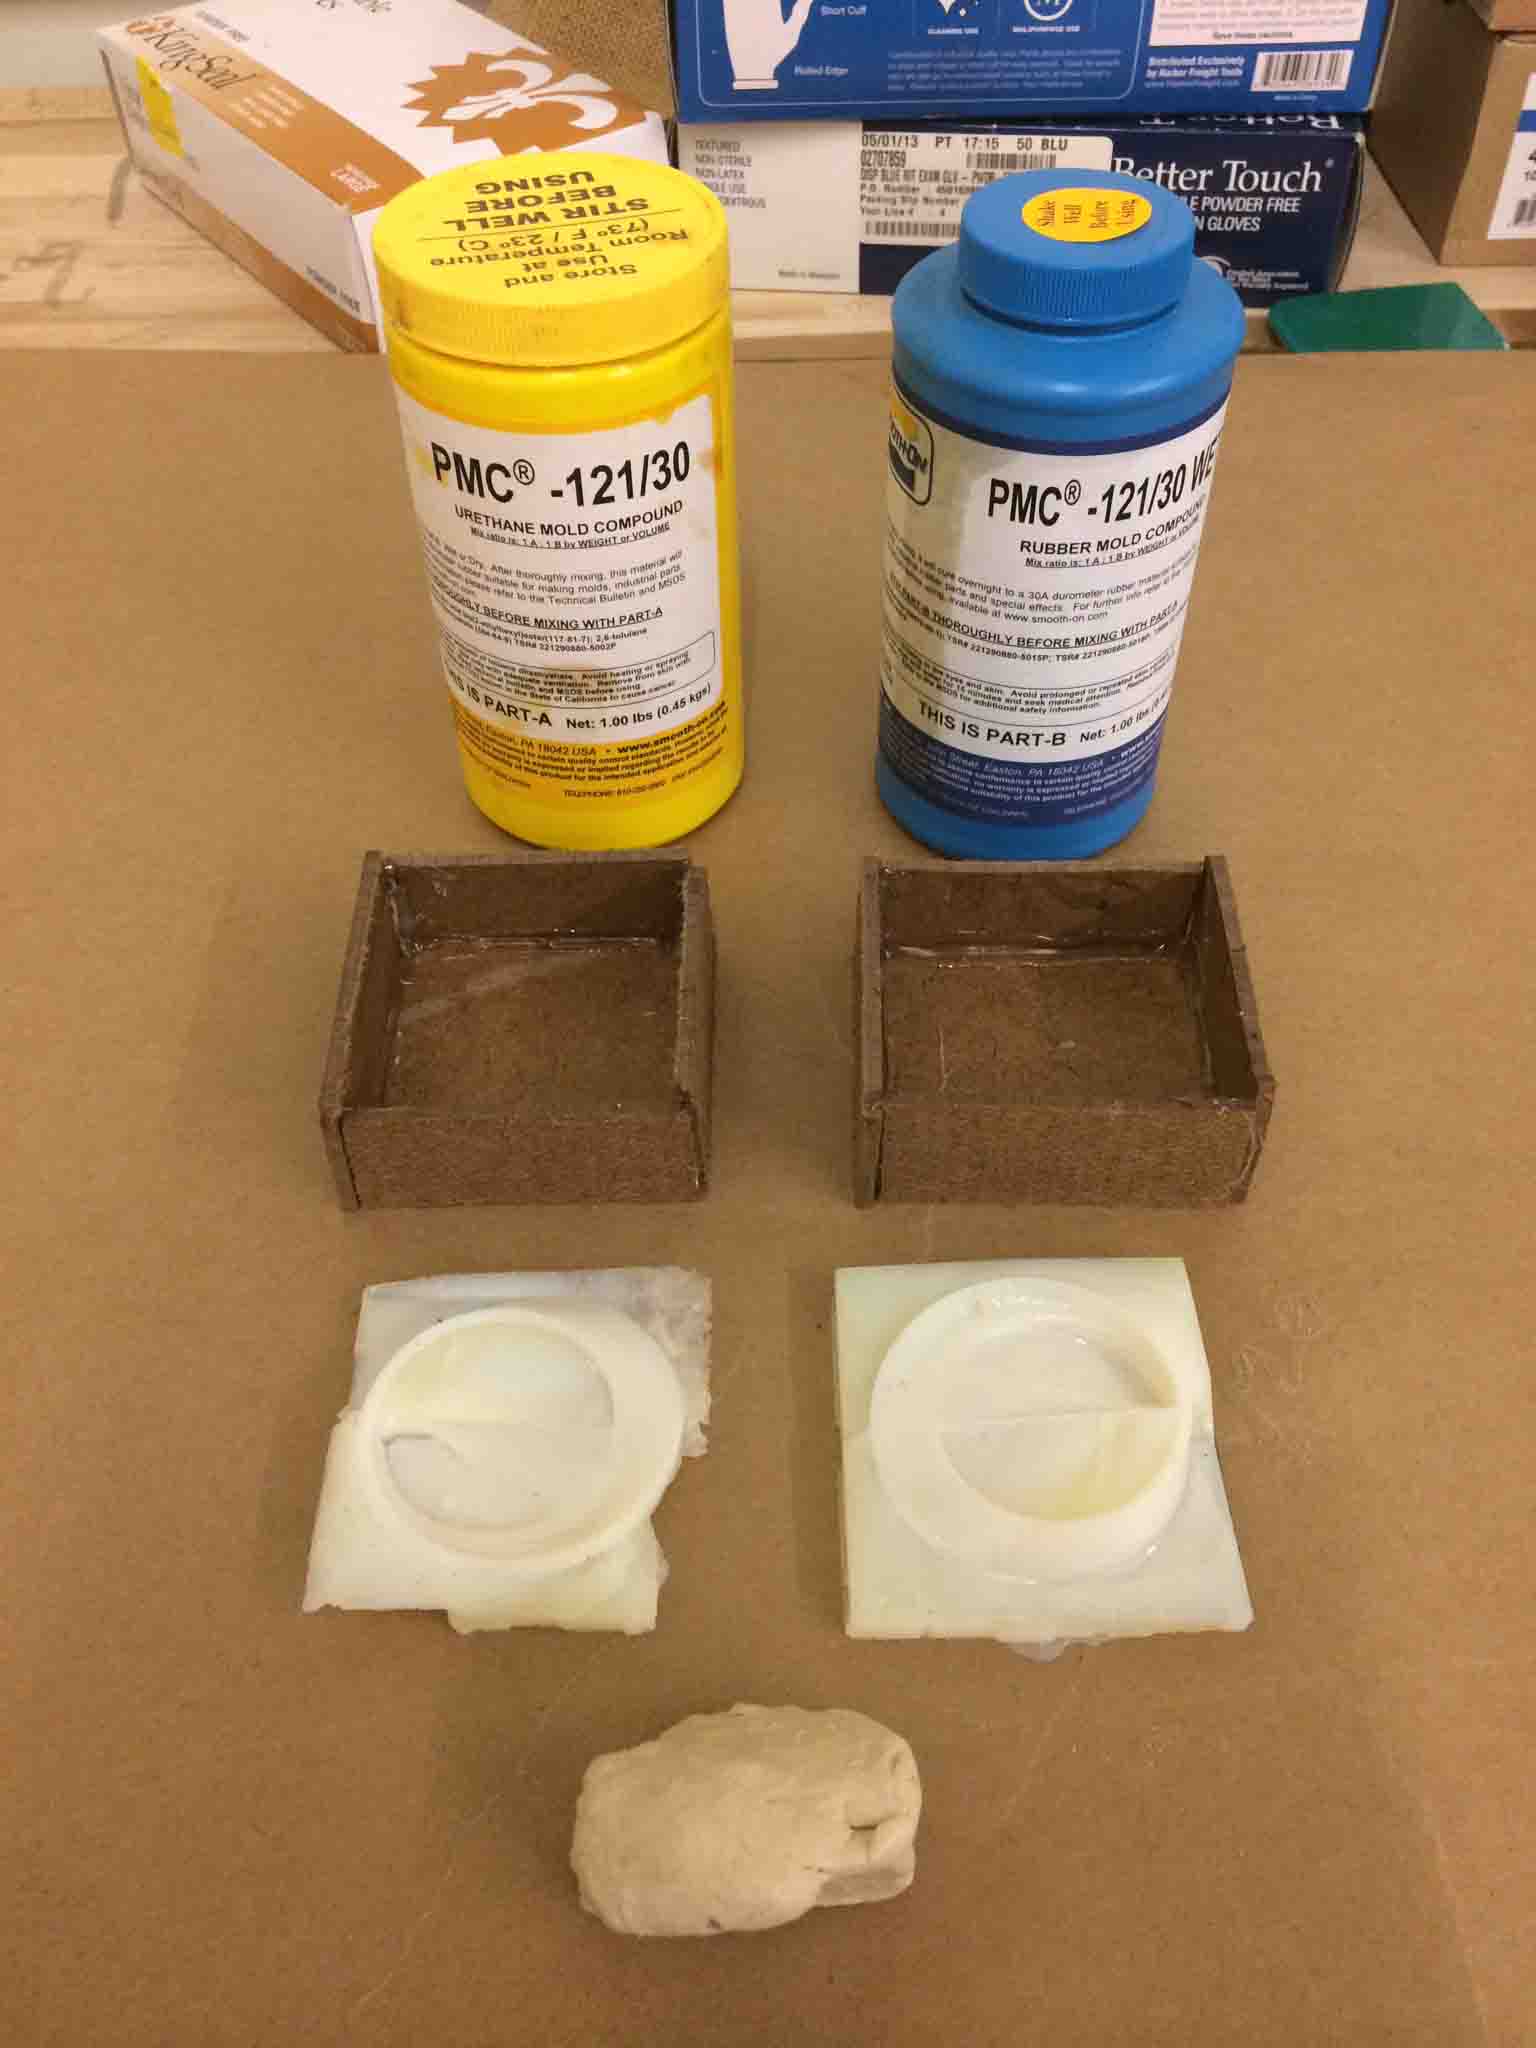
I placed the clay in the bottom, following similar protocol to Justine Levellee's tutorial and used the OOMOO 30, a tin-cure.
After a 6-hour cure at room temperature:

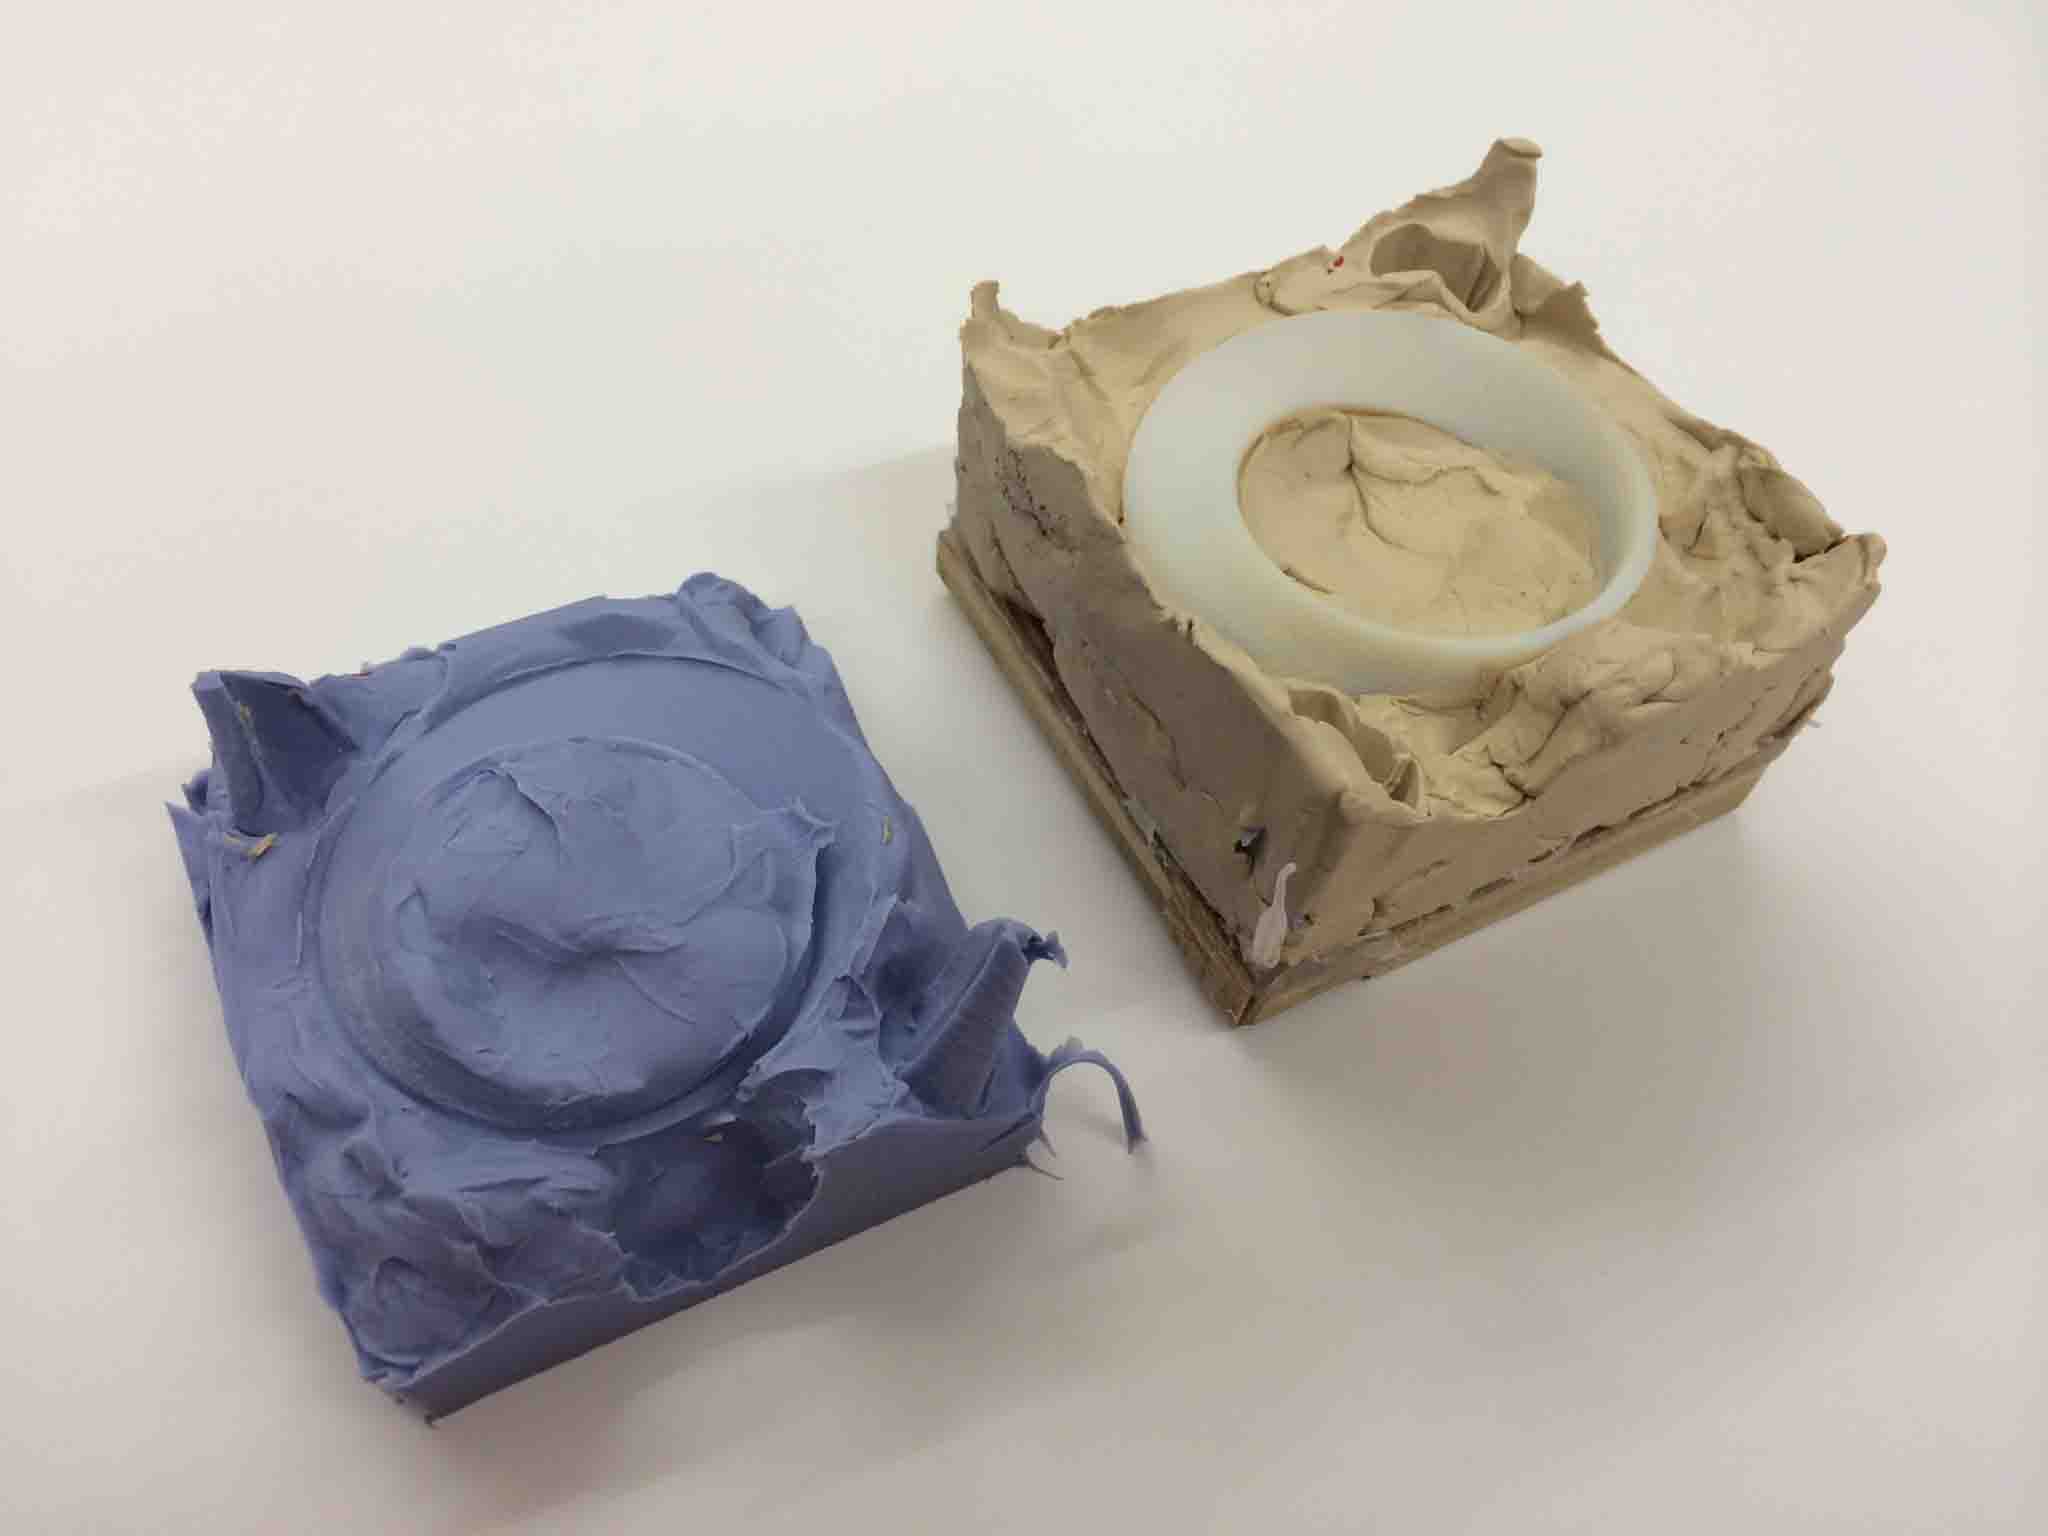
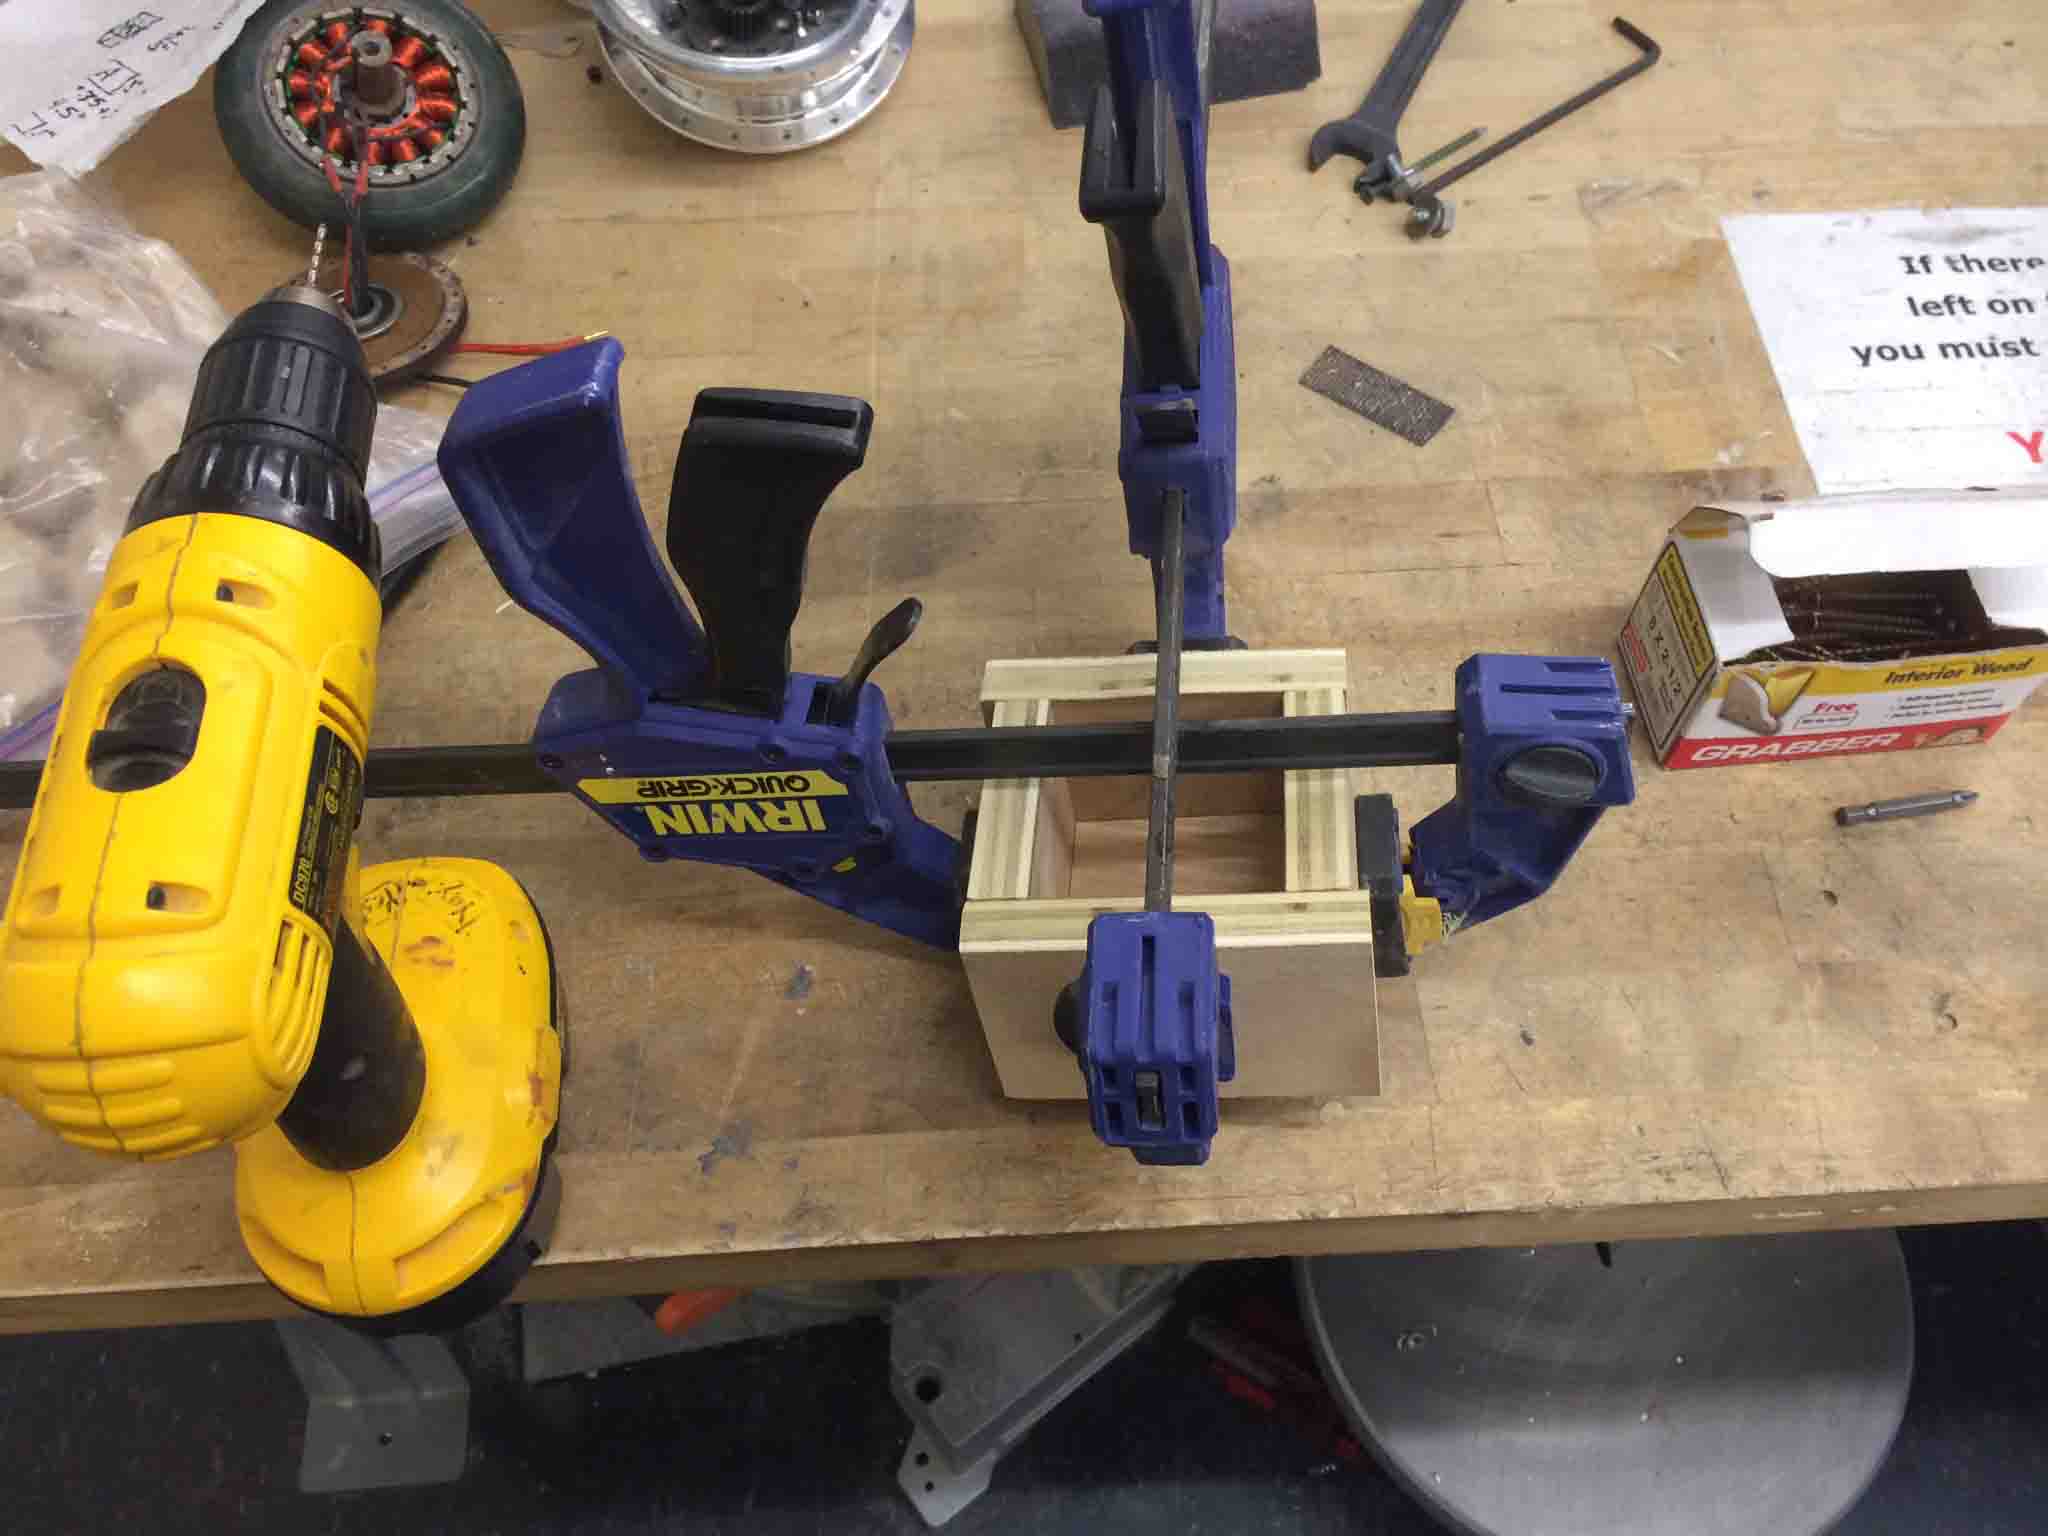
Then it was time to cast the second half of the mold.
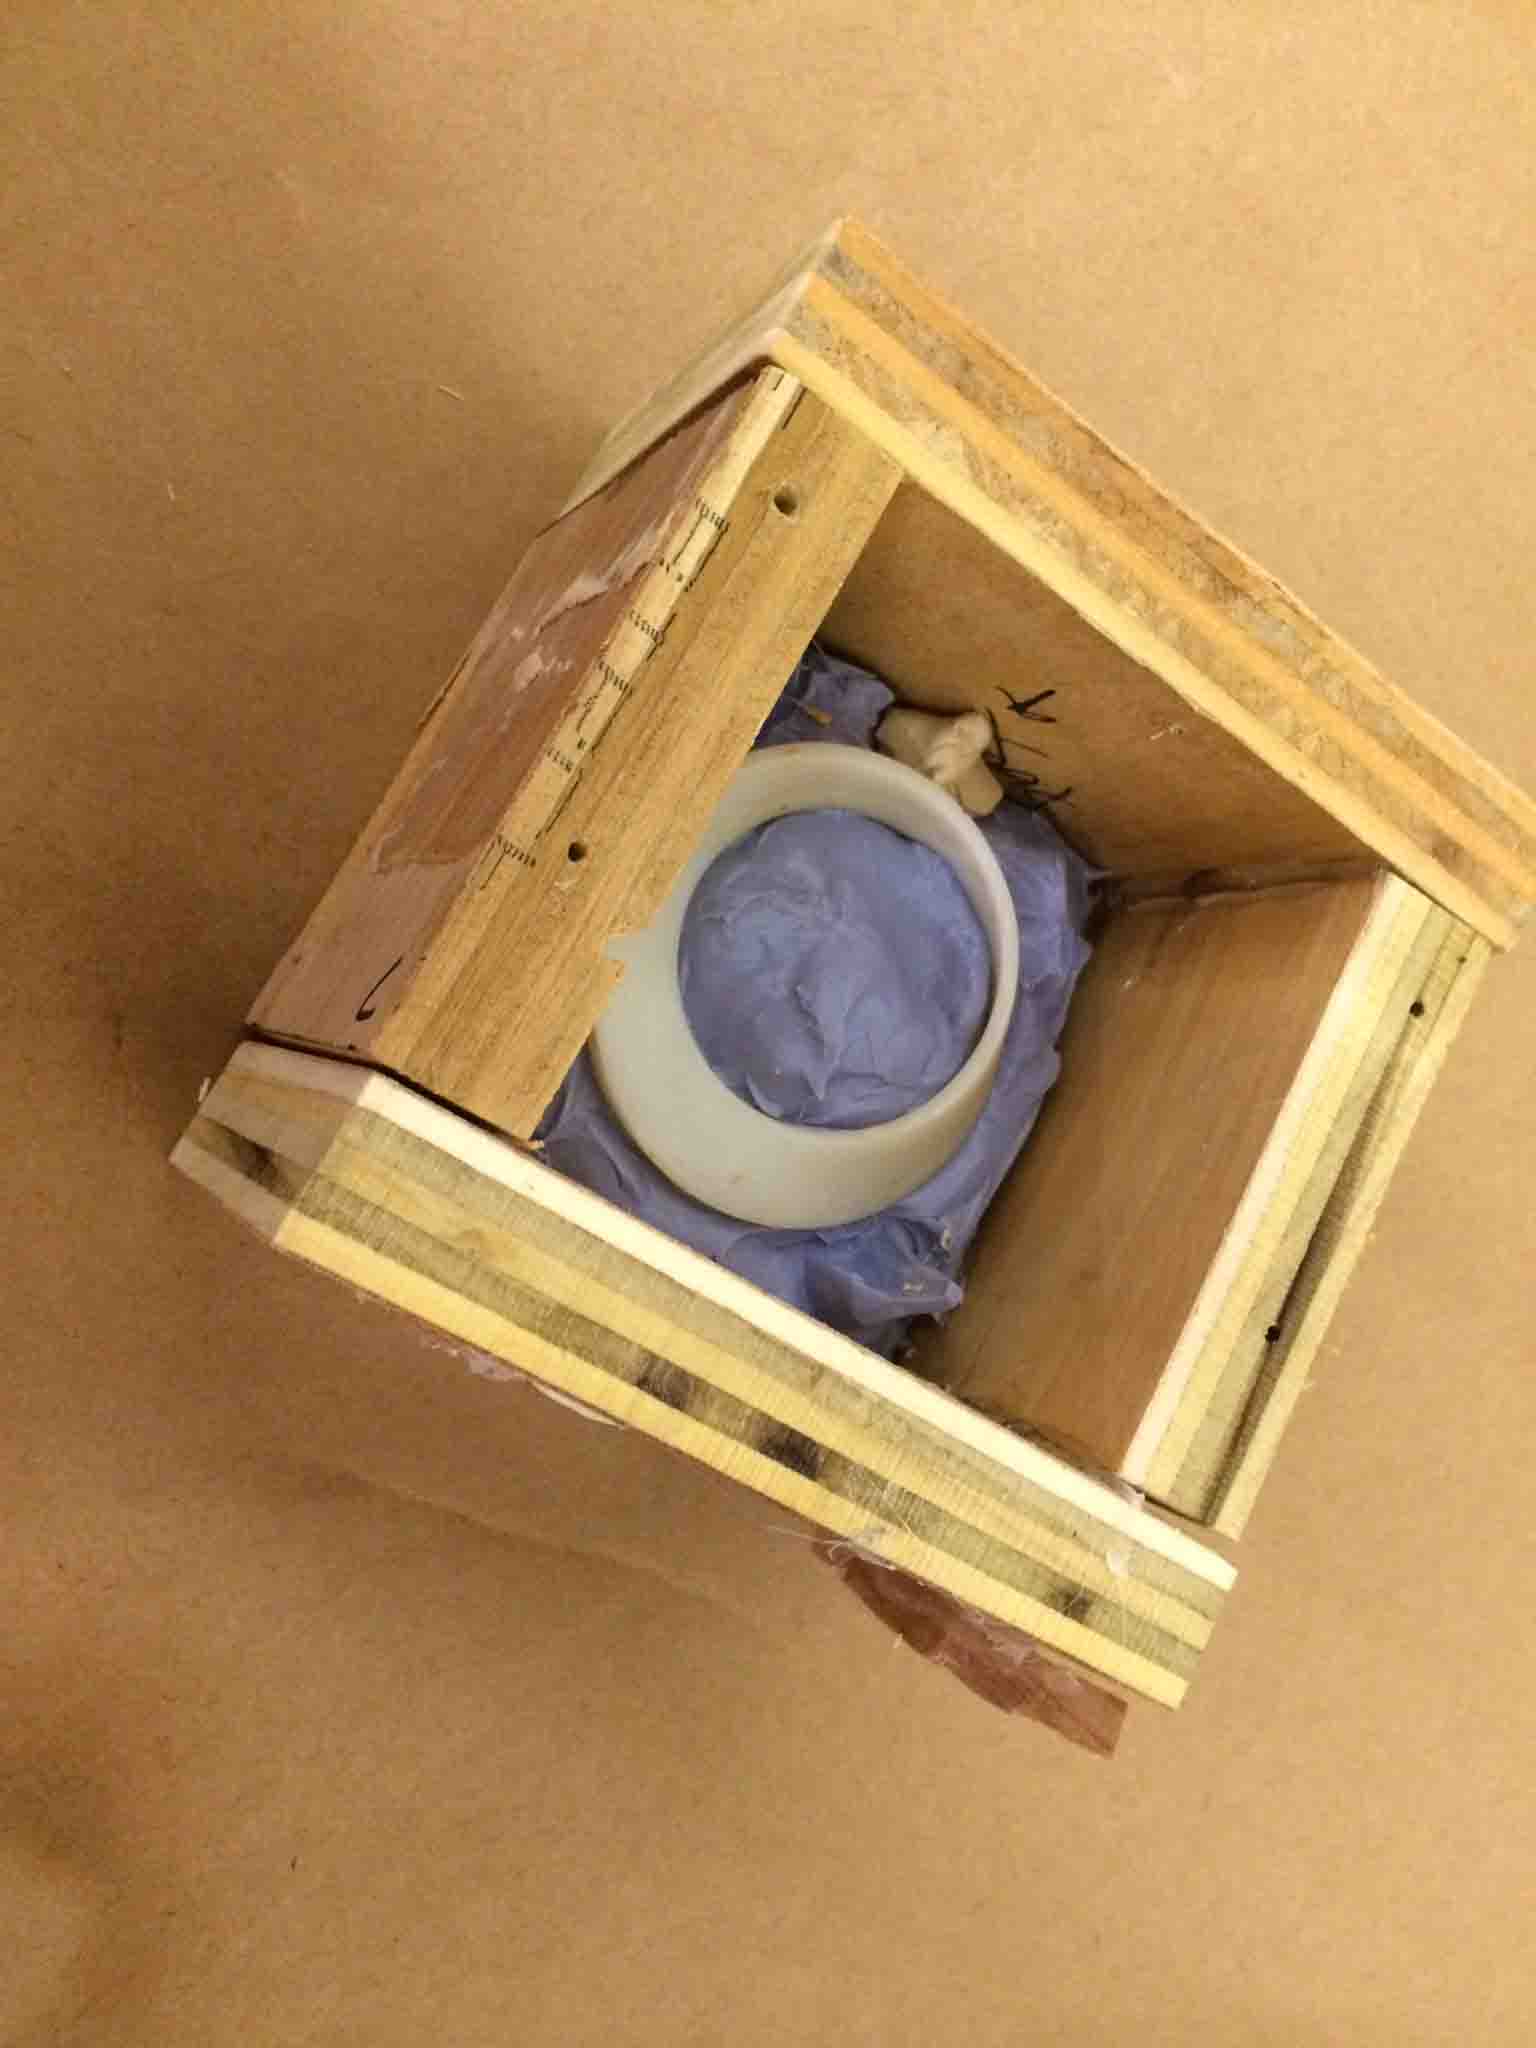
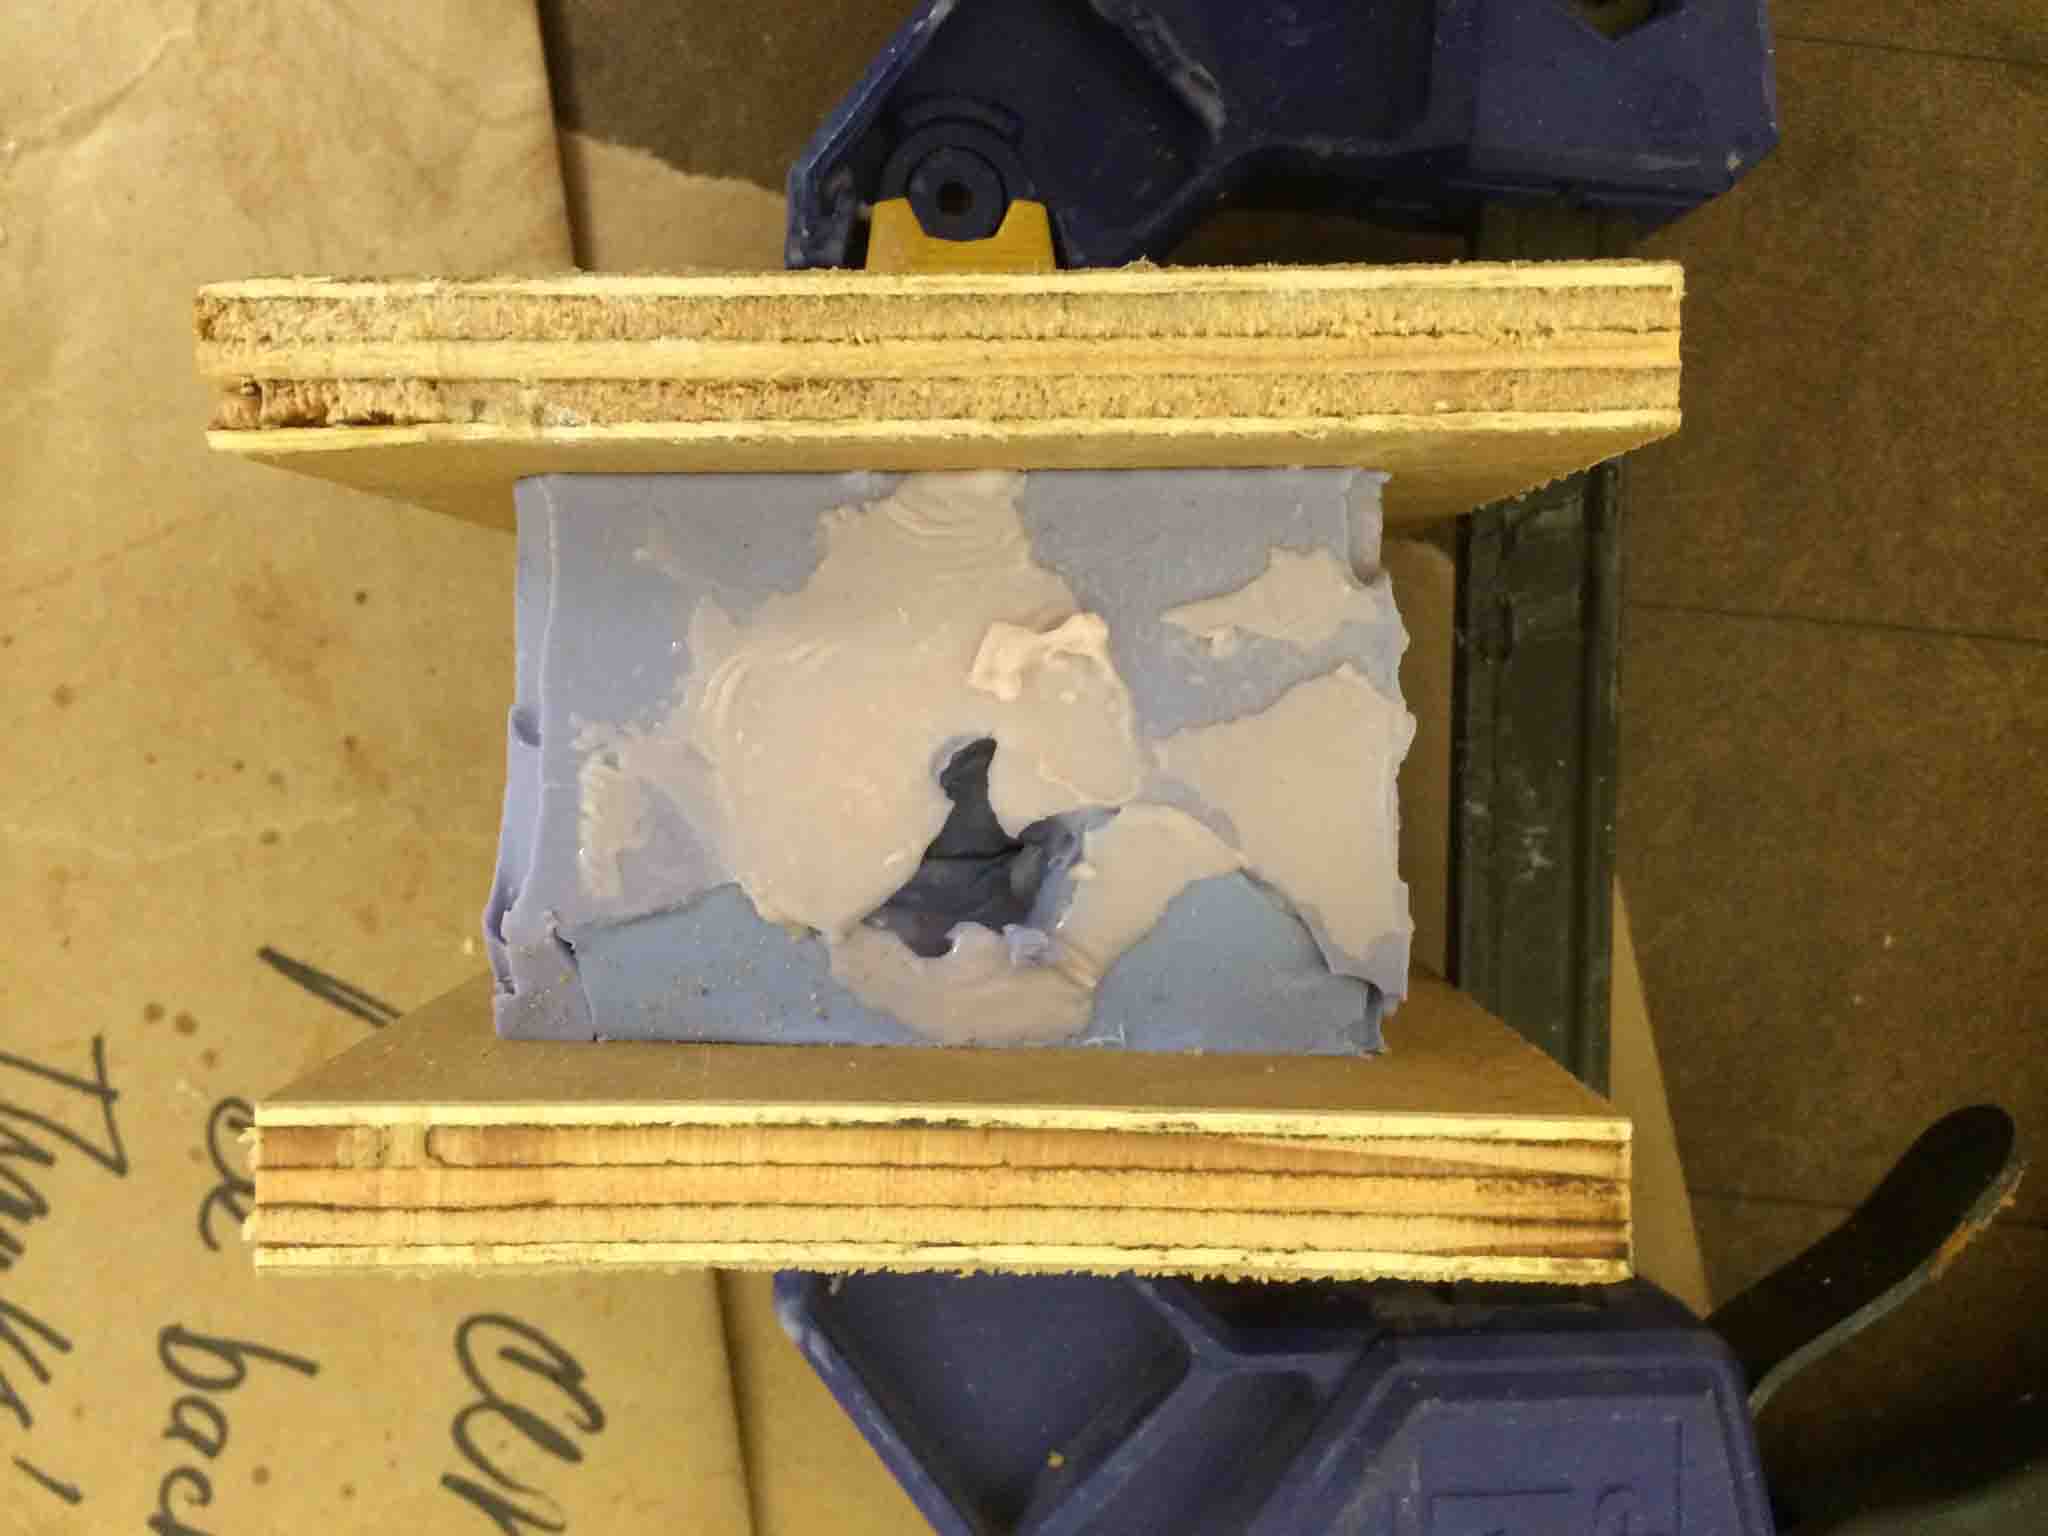
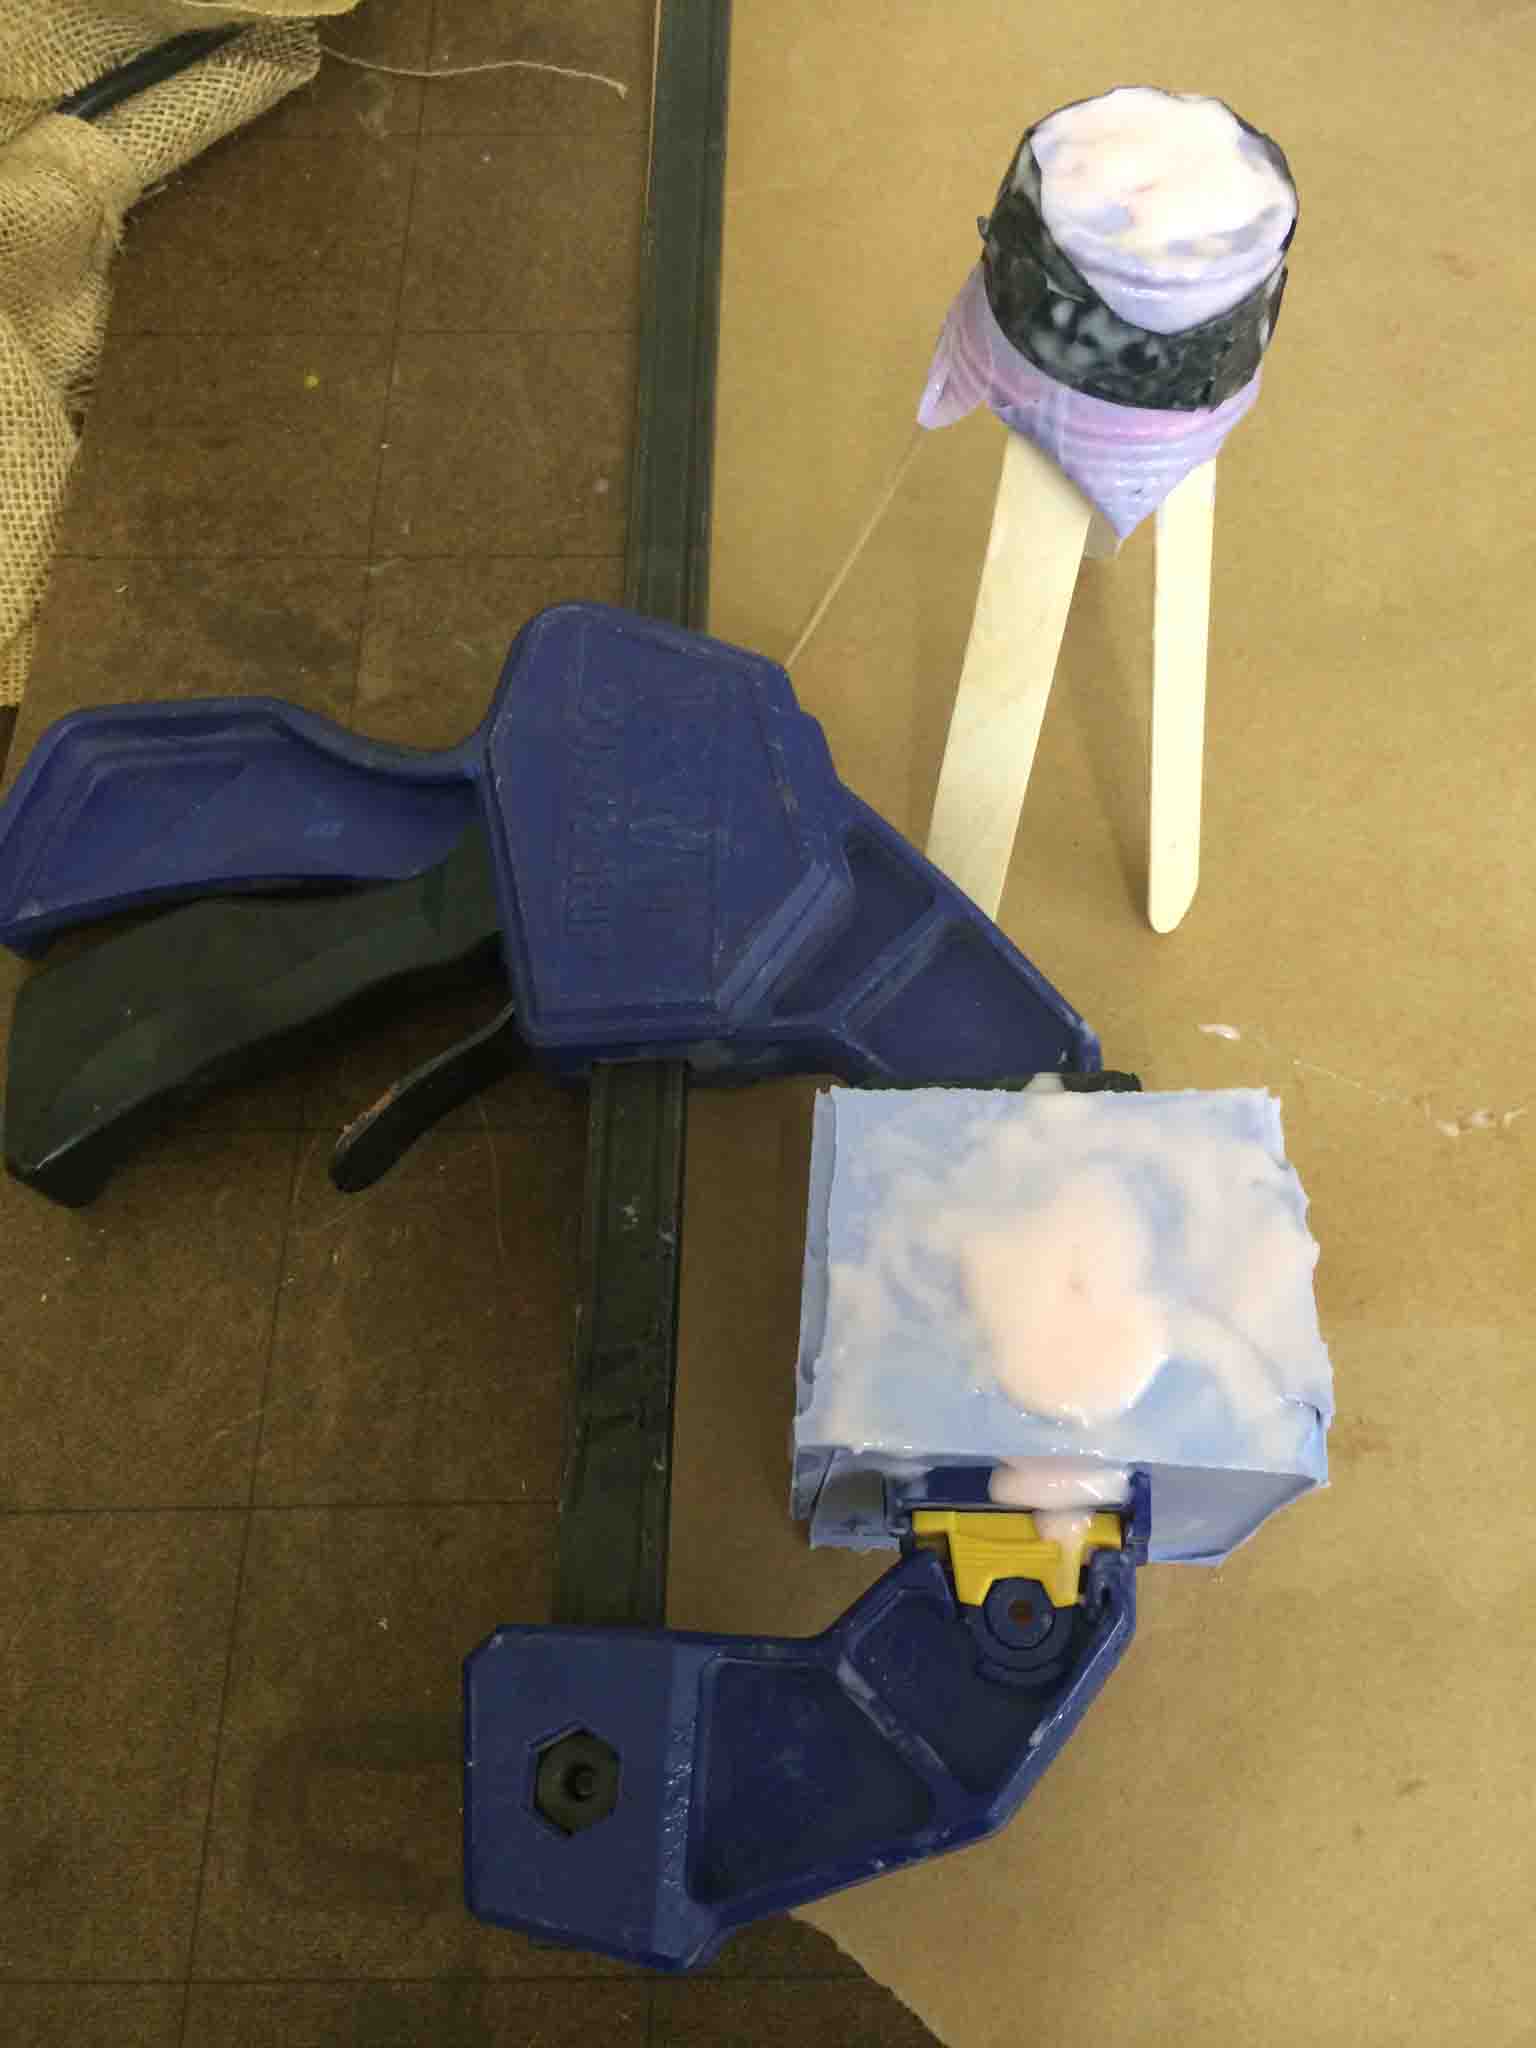
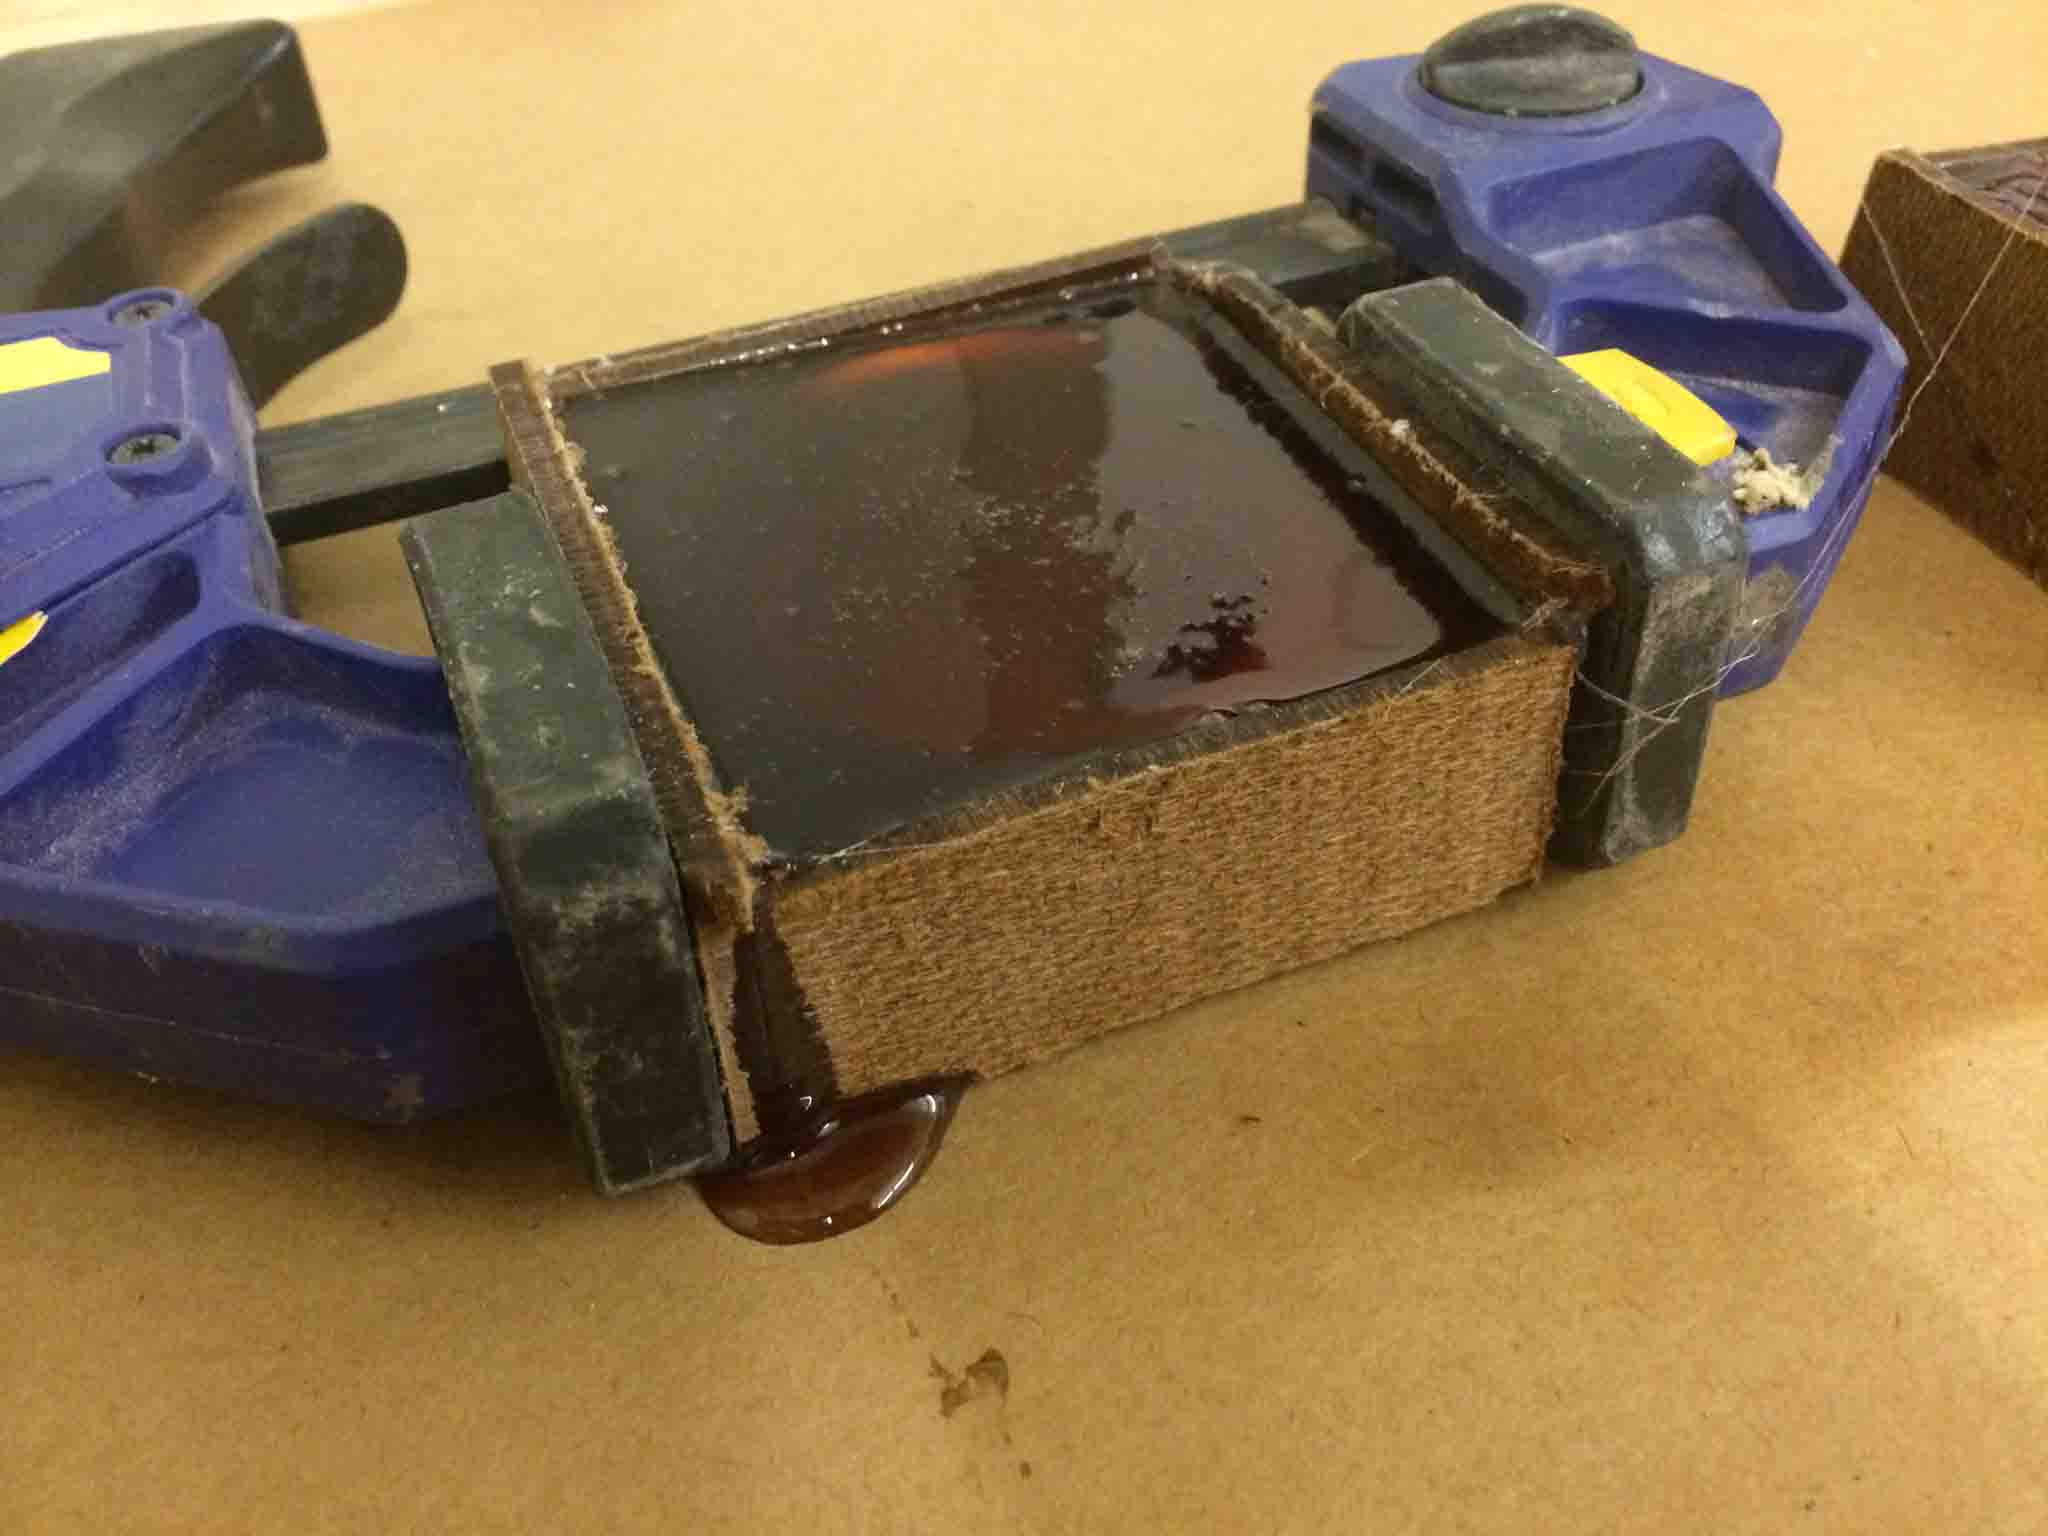
Don't forget to add A LOT of mold release on this one! After another 6-hour cure, it was quite hard to demold, so I held the box in the vice grip:
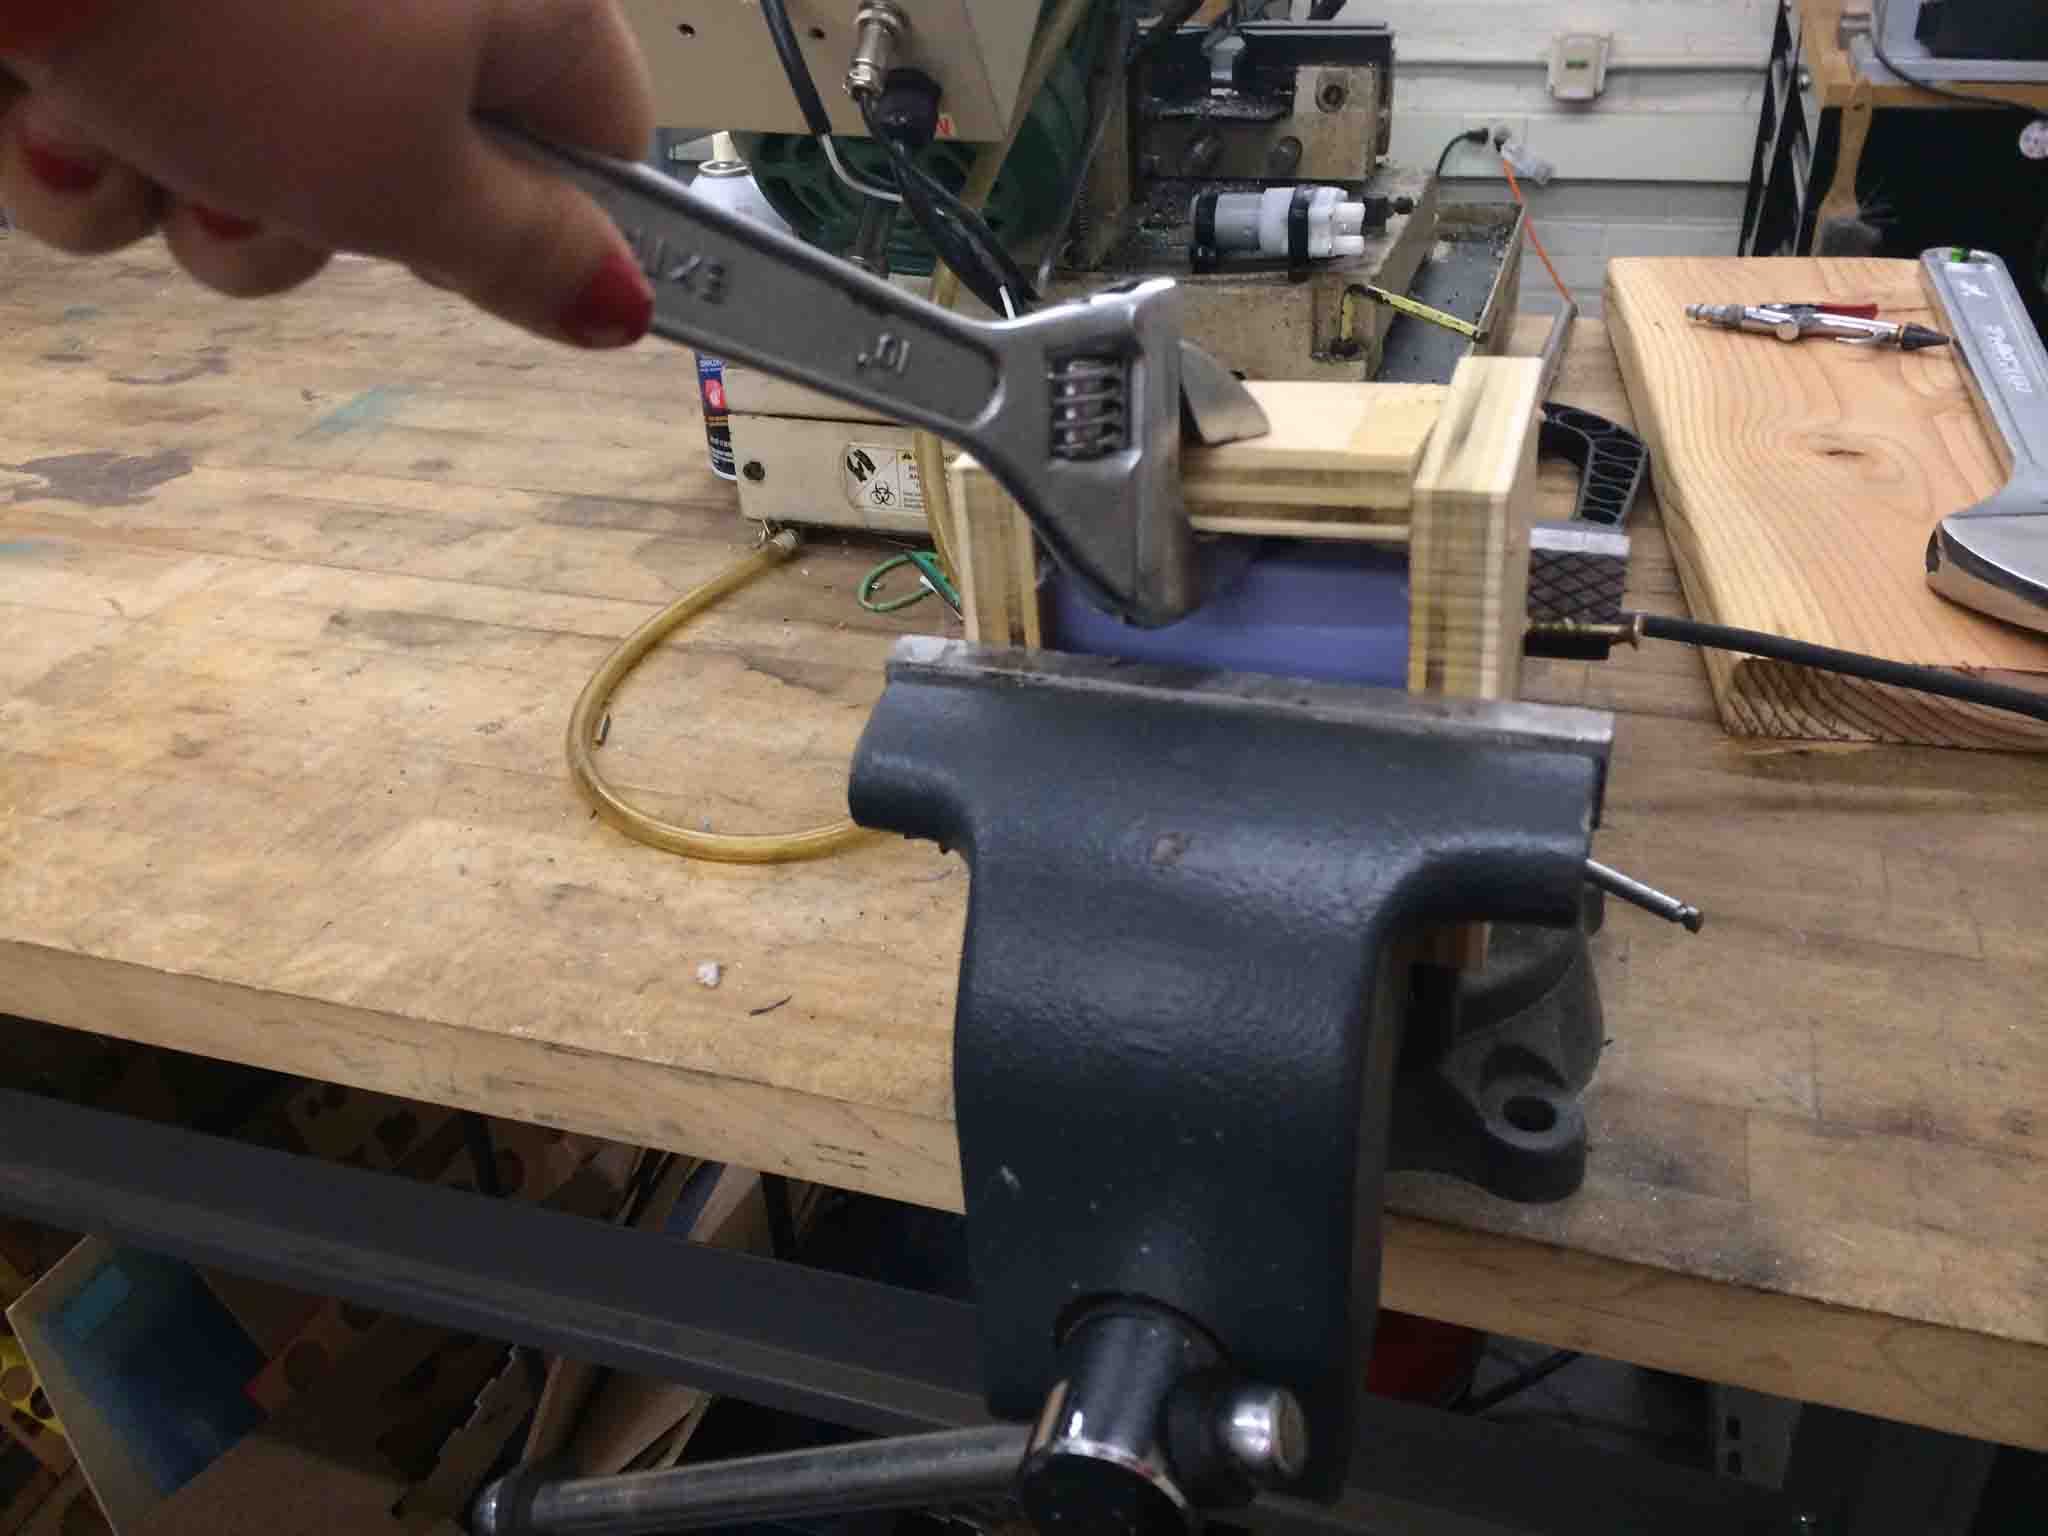
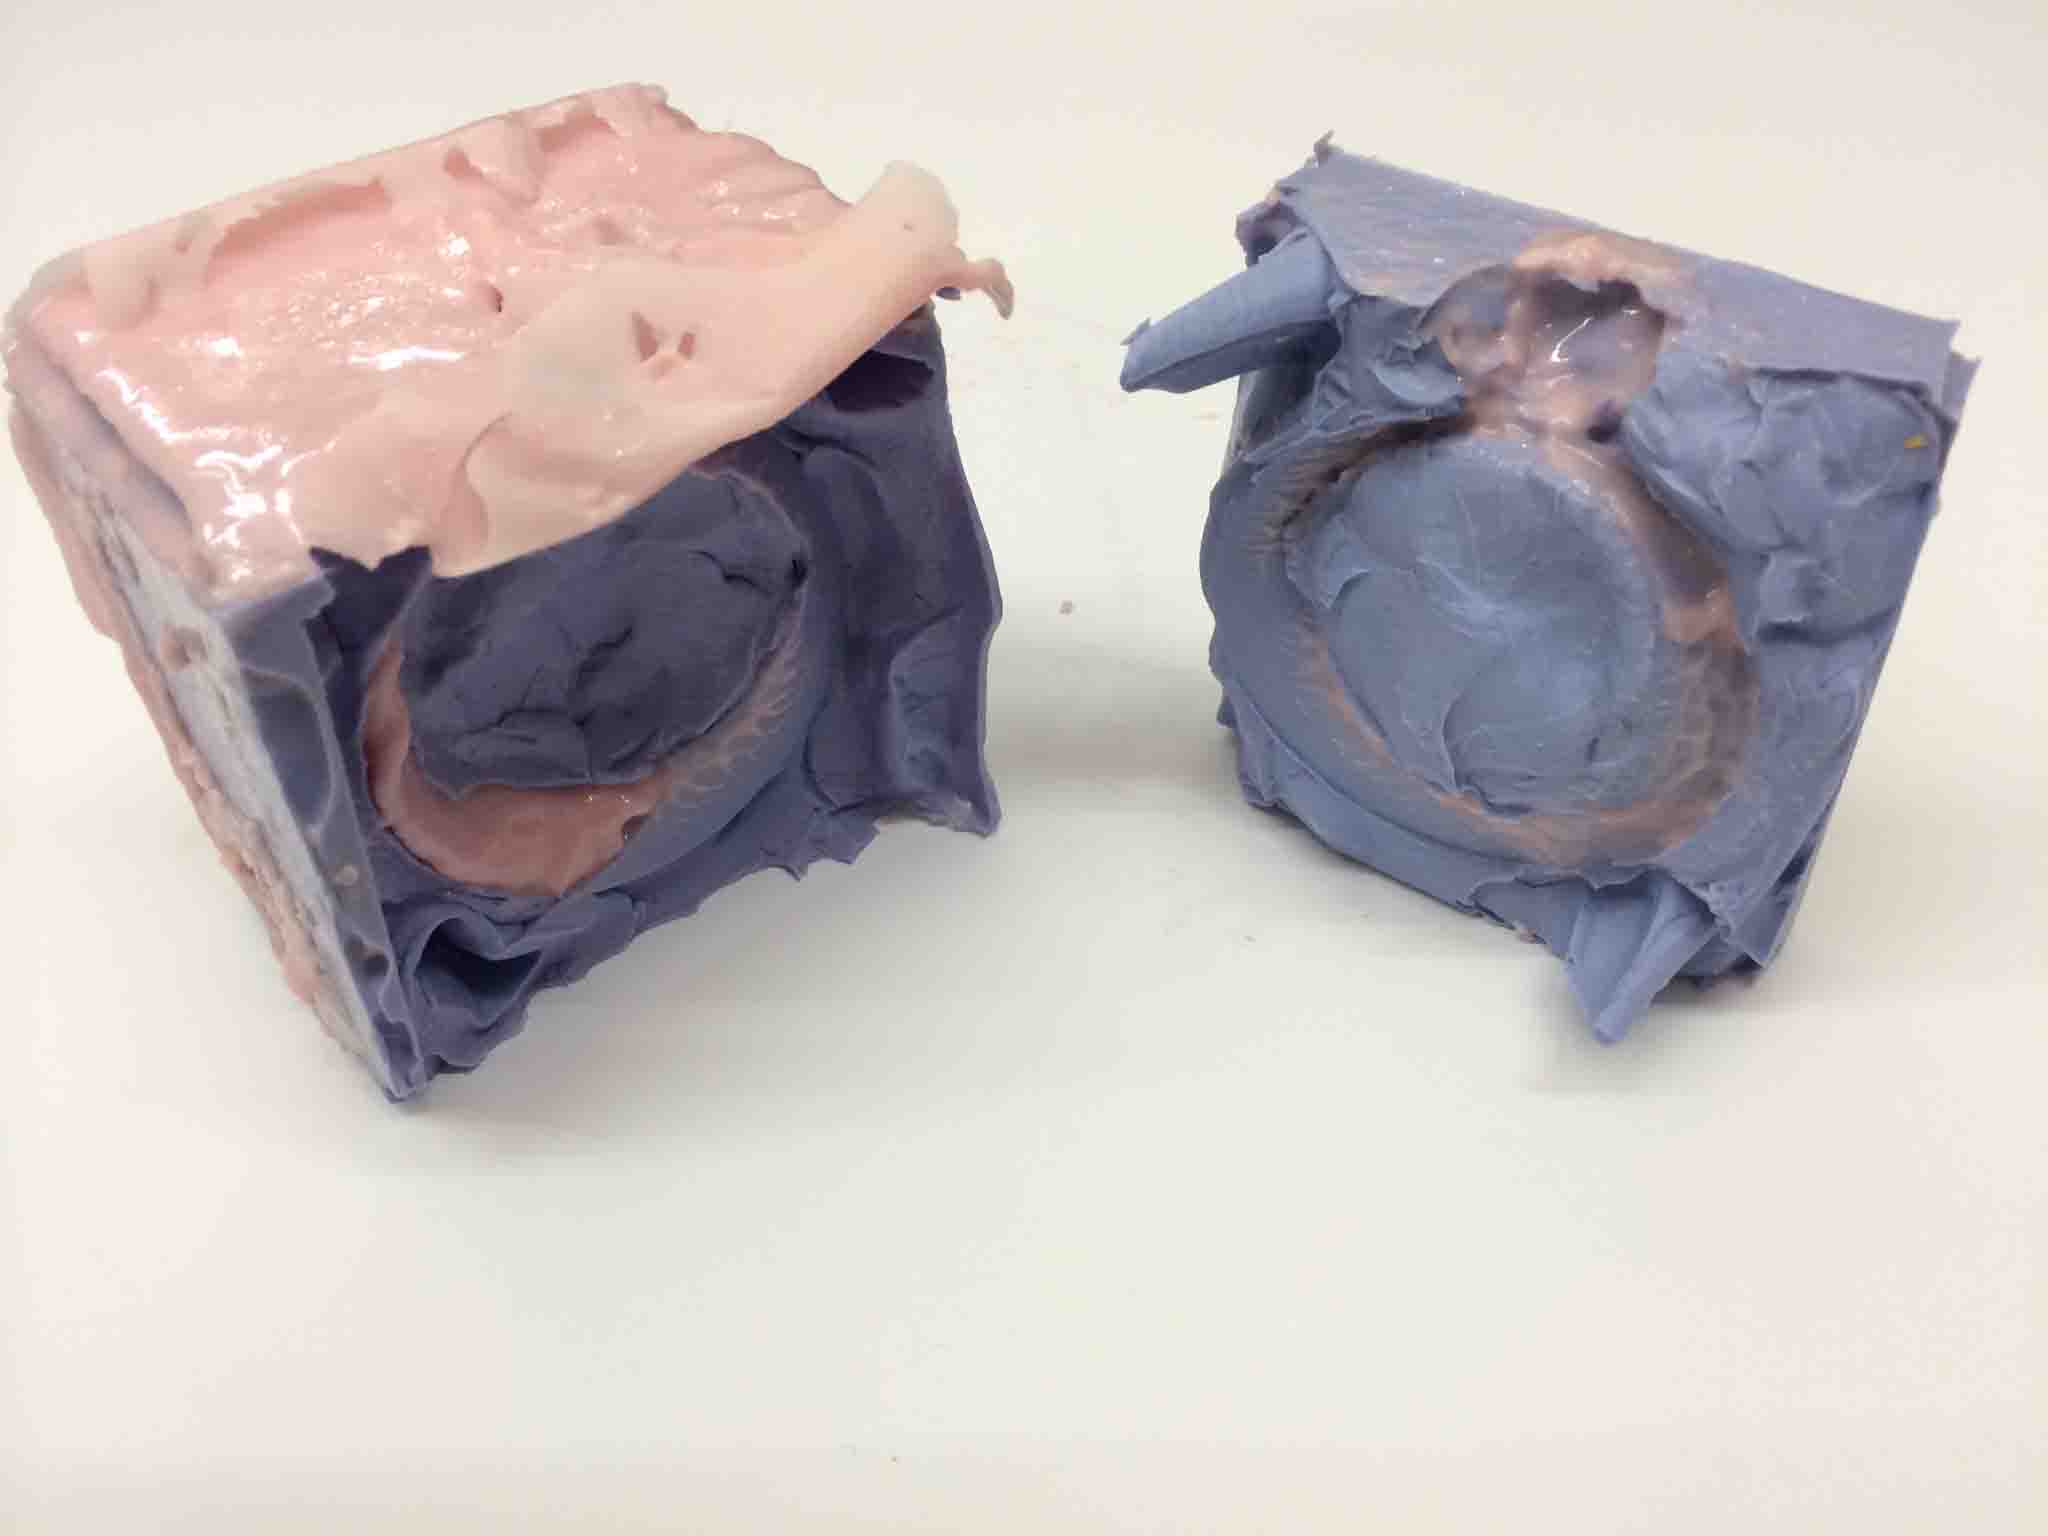
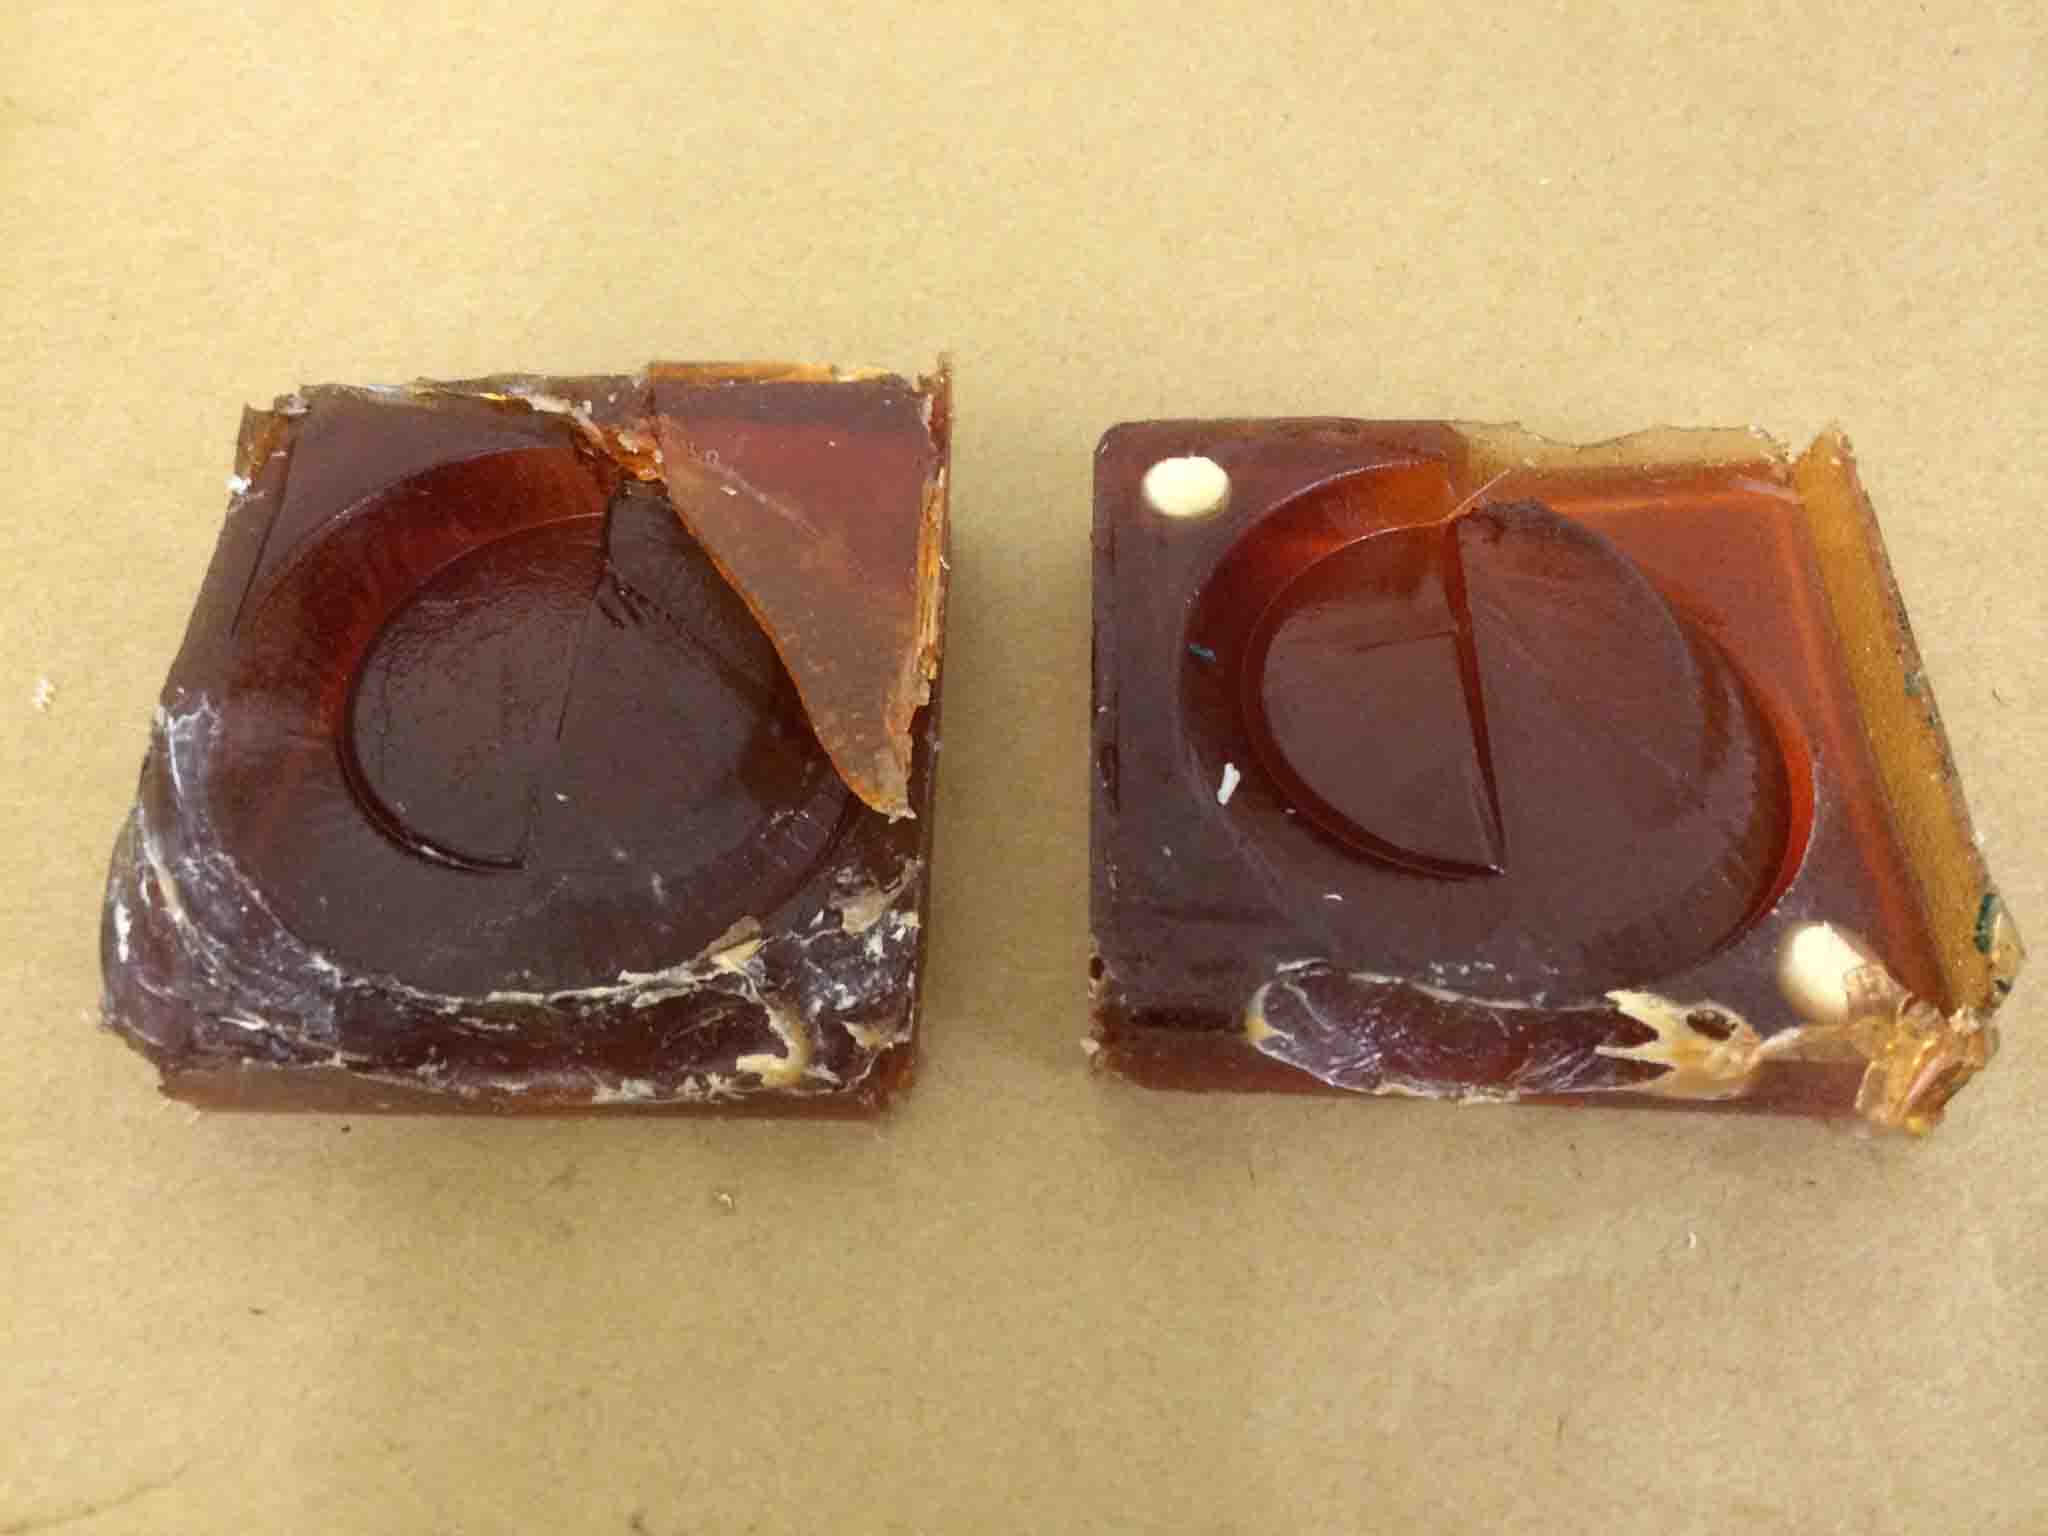
The resulting mold:
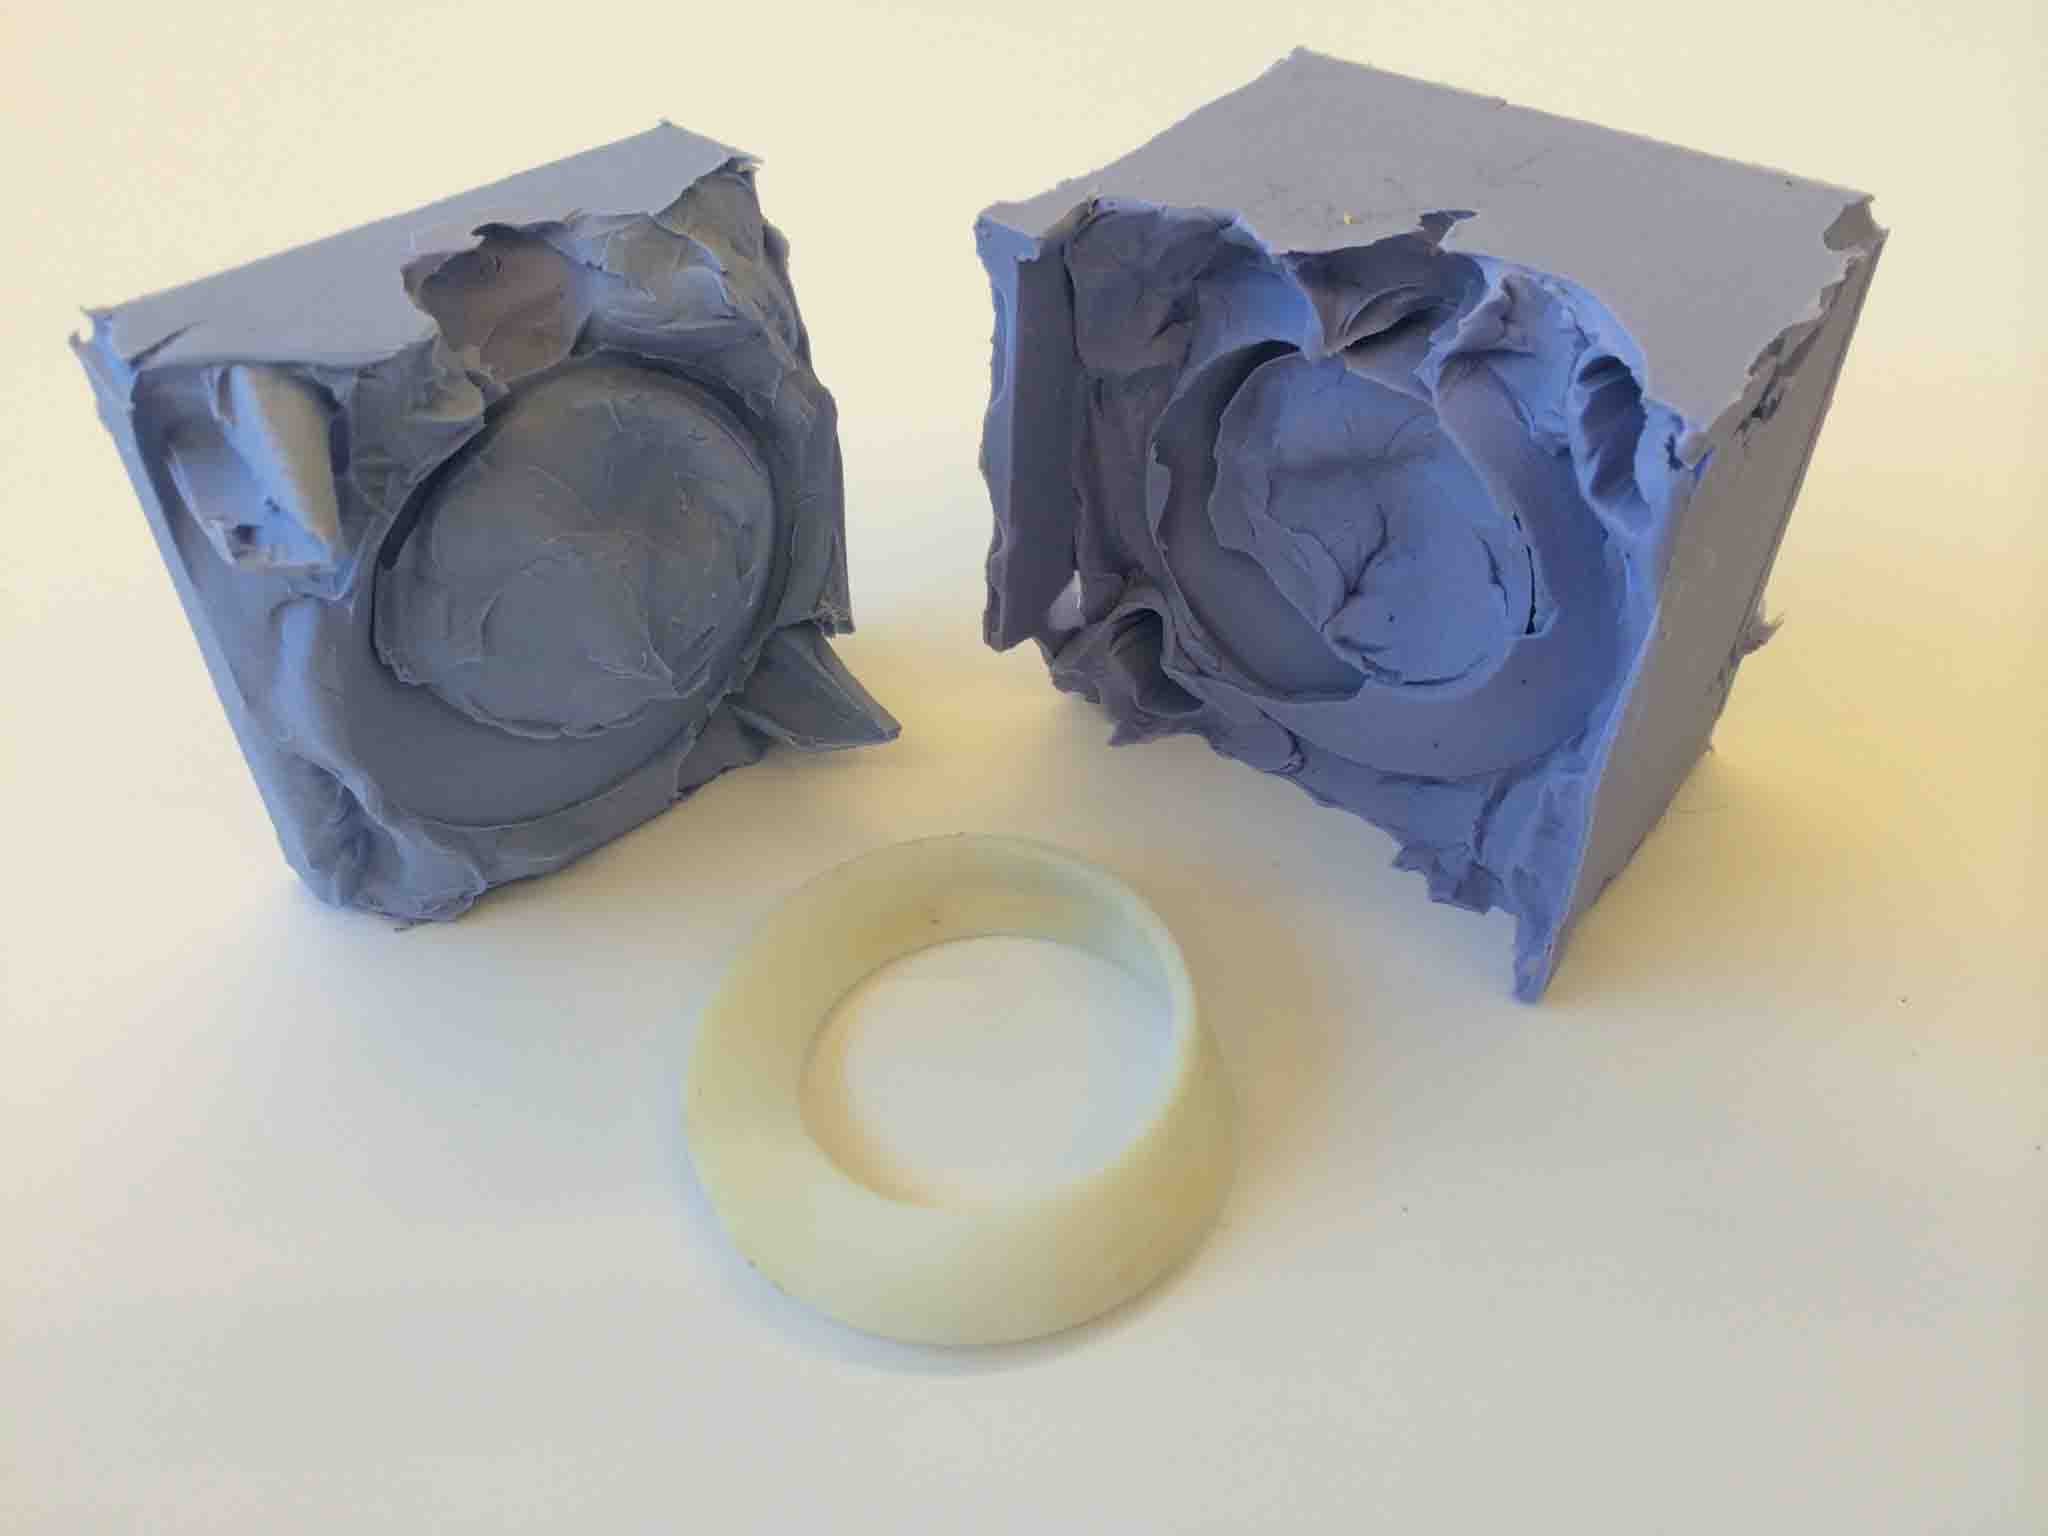
Extra Material? Cast a brass rat? Sure, why not?
I should note that because I had some extra OOMOO, I thought it'd be funny to make an accompanying brass rat to go with the bracelet.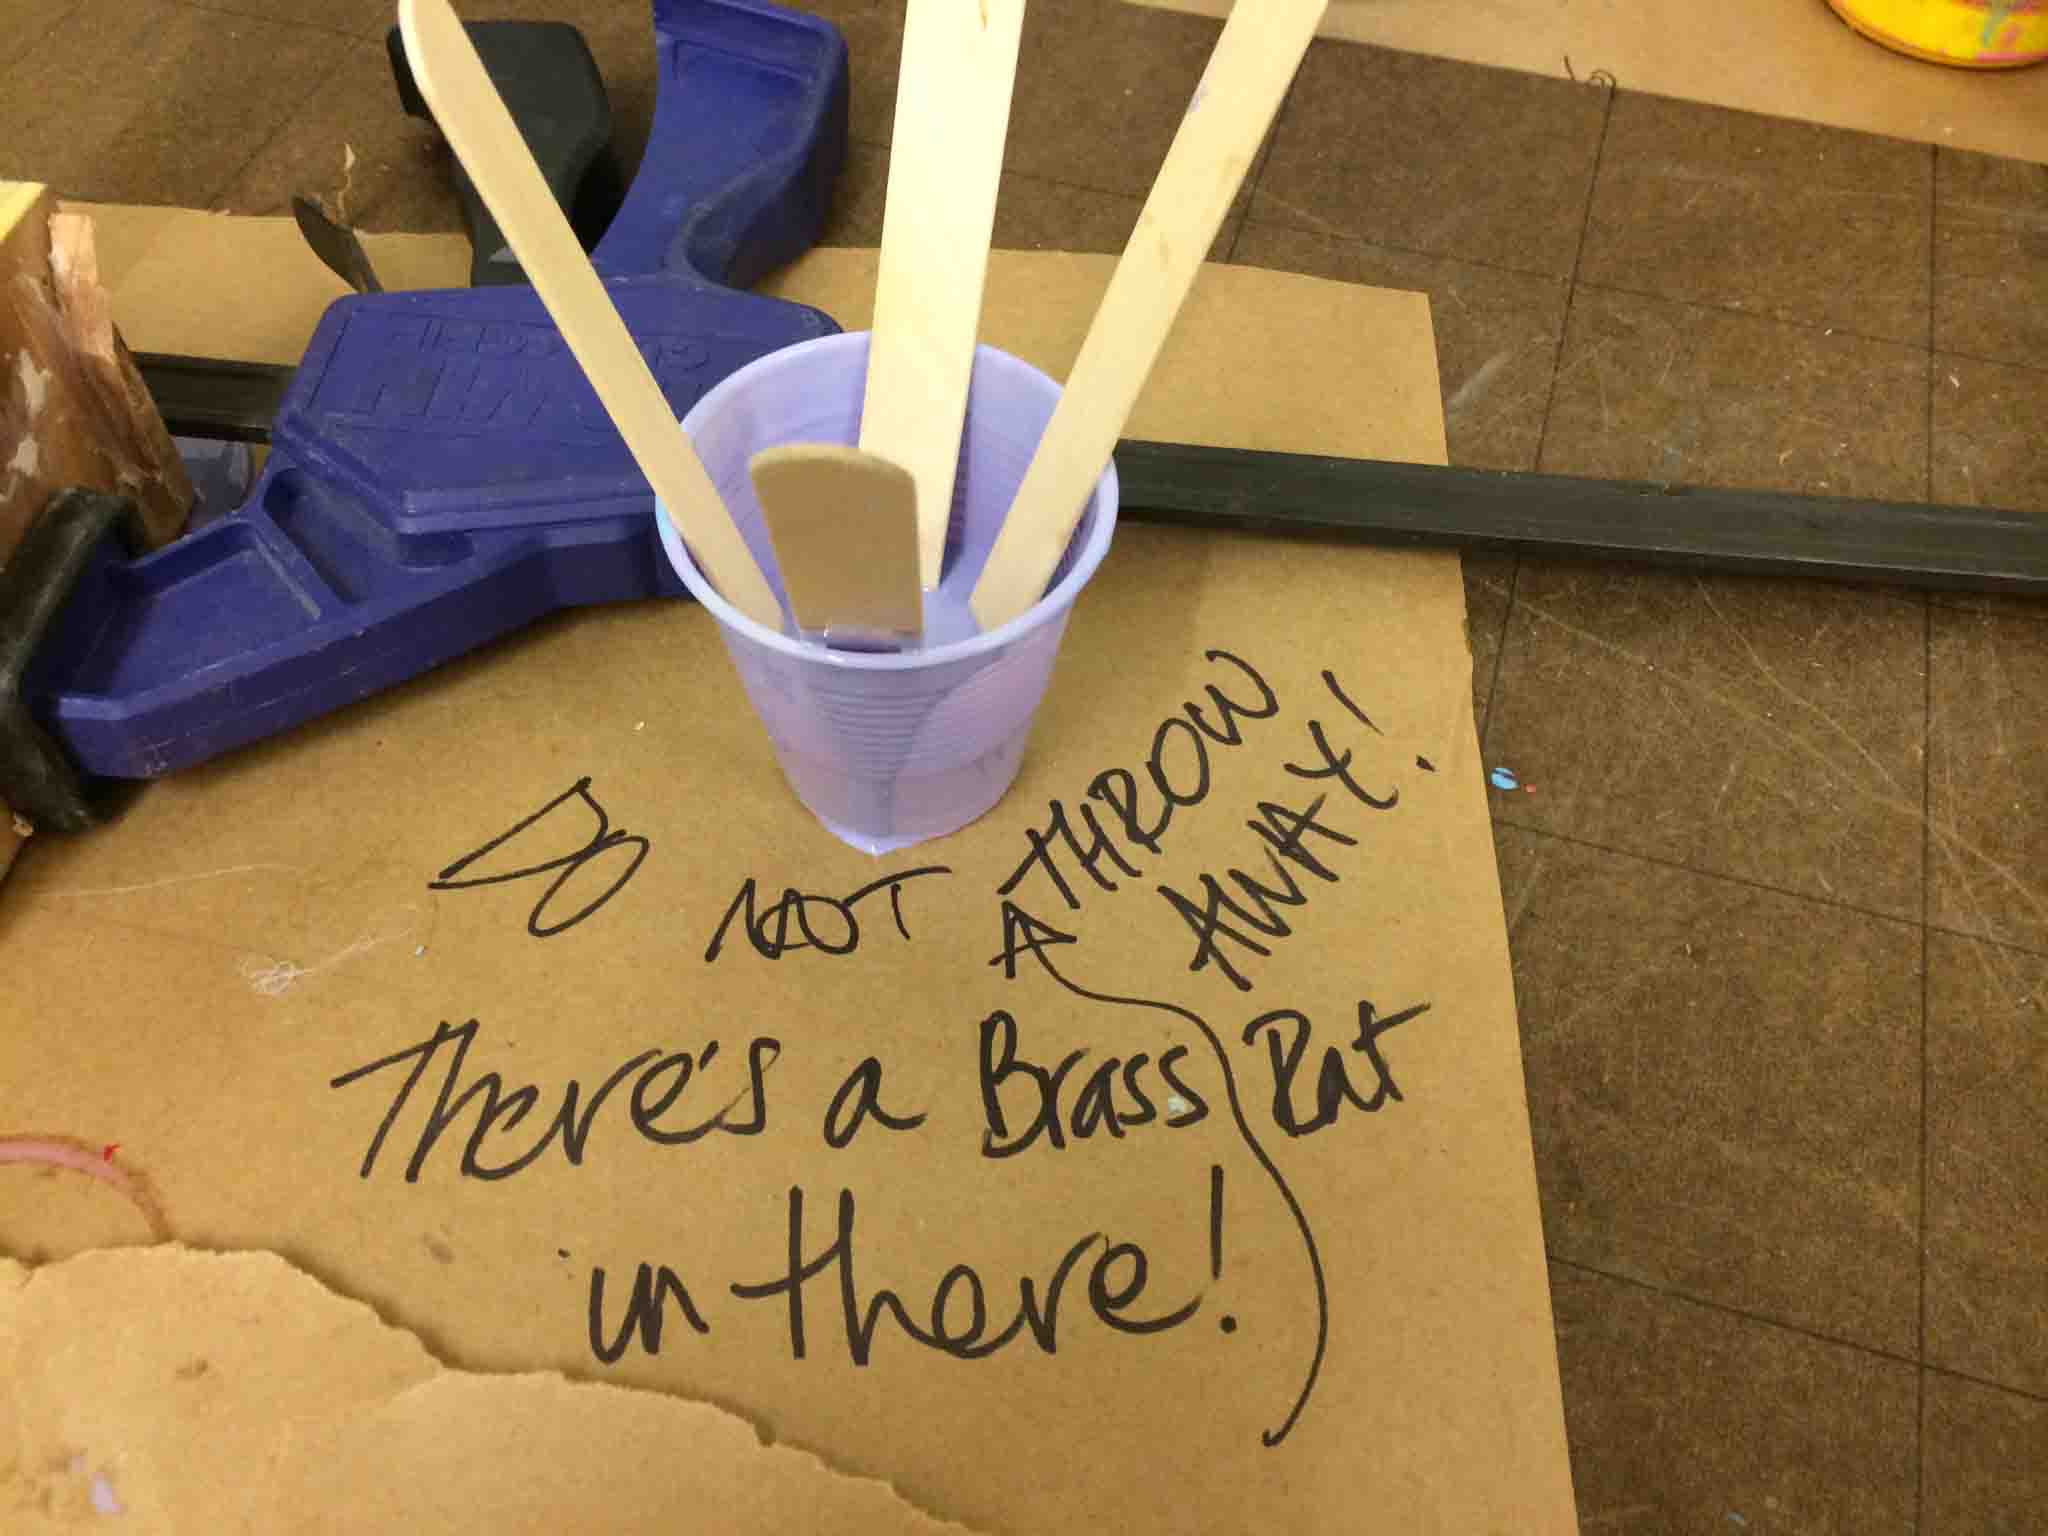
Casting the positive of the part
Here, we had to make sure to weigh the Smooth-Sil 940 and get the right weight ratios, pour slowly and evently, and tap many a time for the Smooth Sil to travel all the way down the mold.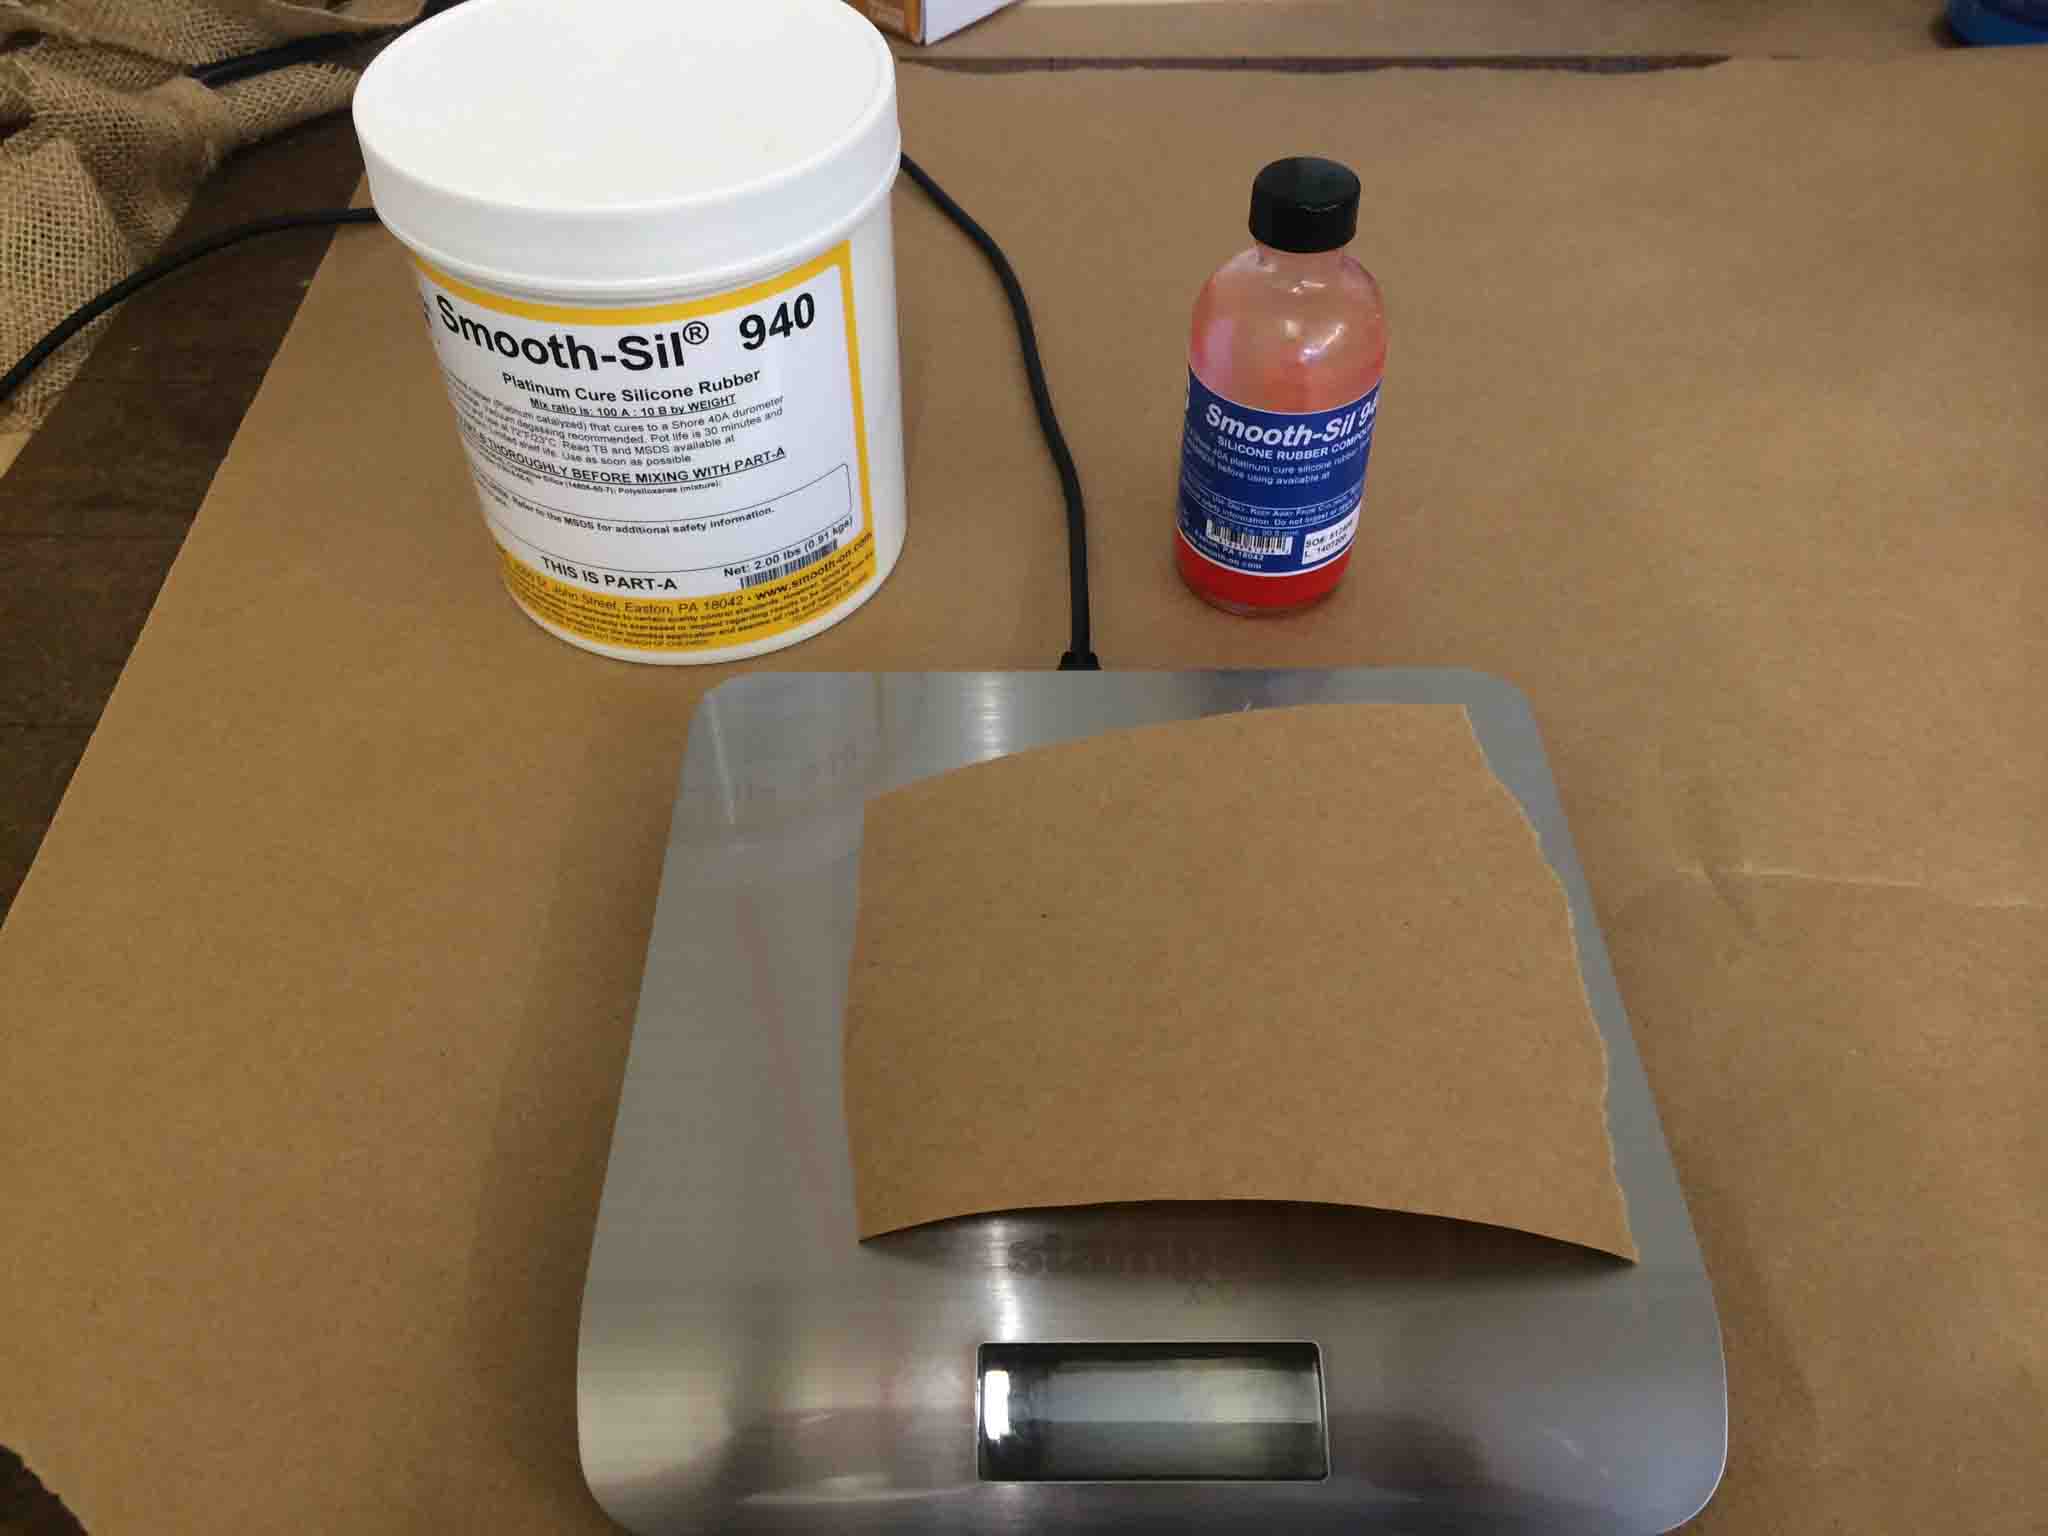
I also went ahead and inserted the part into the vacuum chamber at 30 Hg for 15 minutes or so to clear all the bubbles of air trapped inside the mold after the pouring.
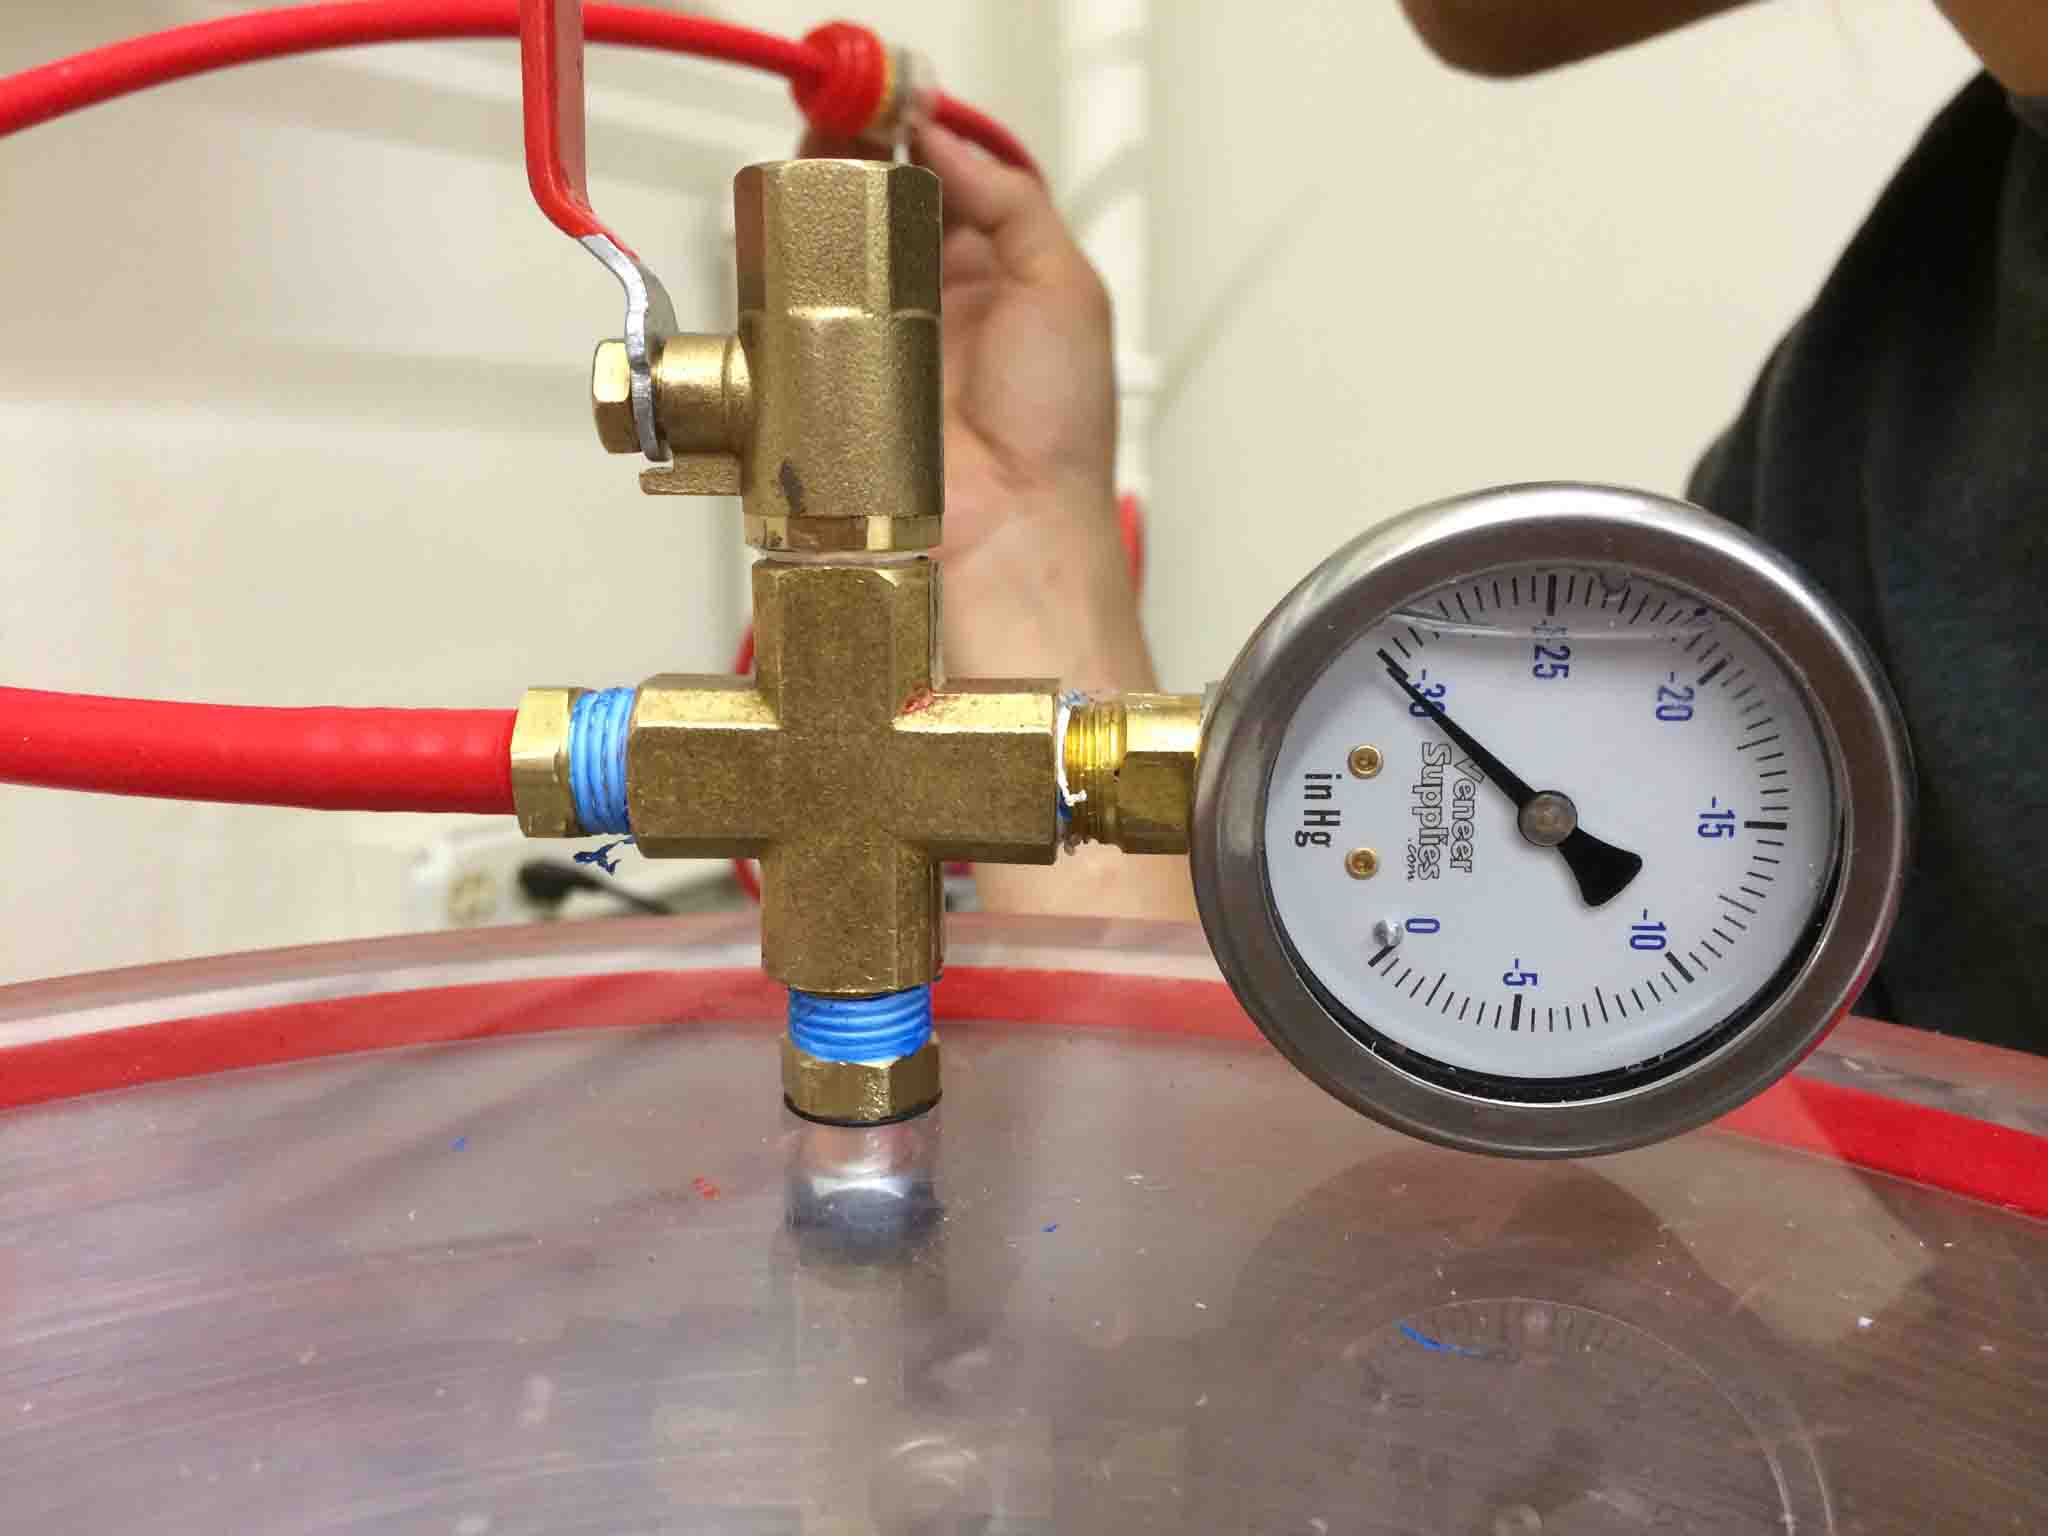
Here's a fun video to watch in fast motion:
After 15 minutes in the chamber, I left it out to cure.
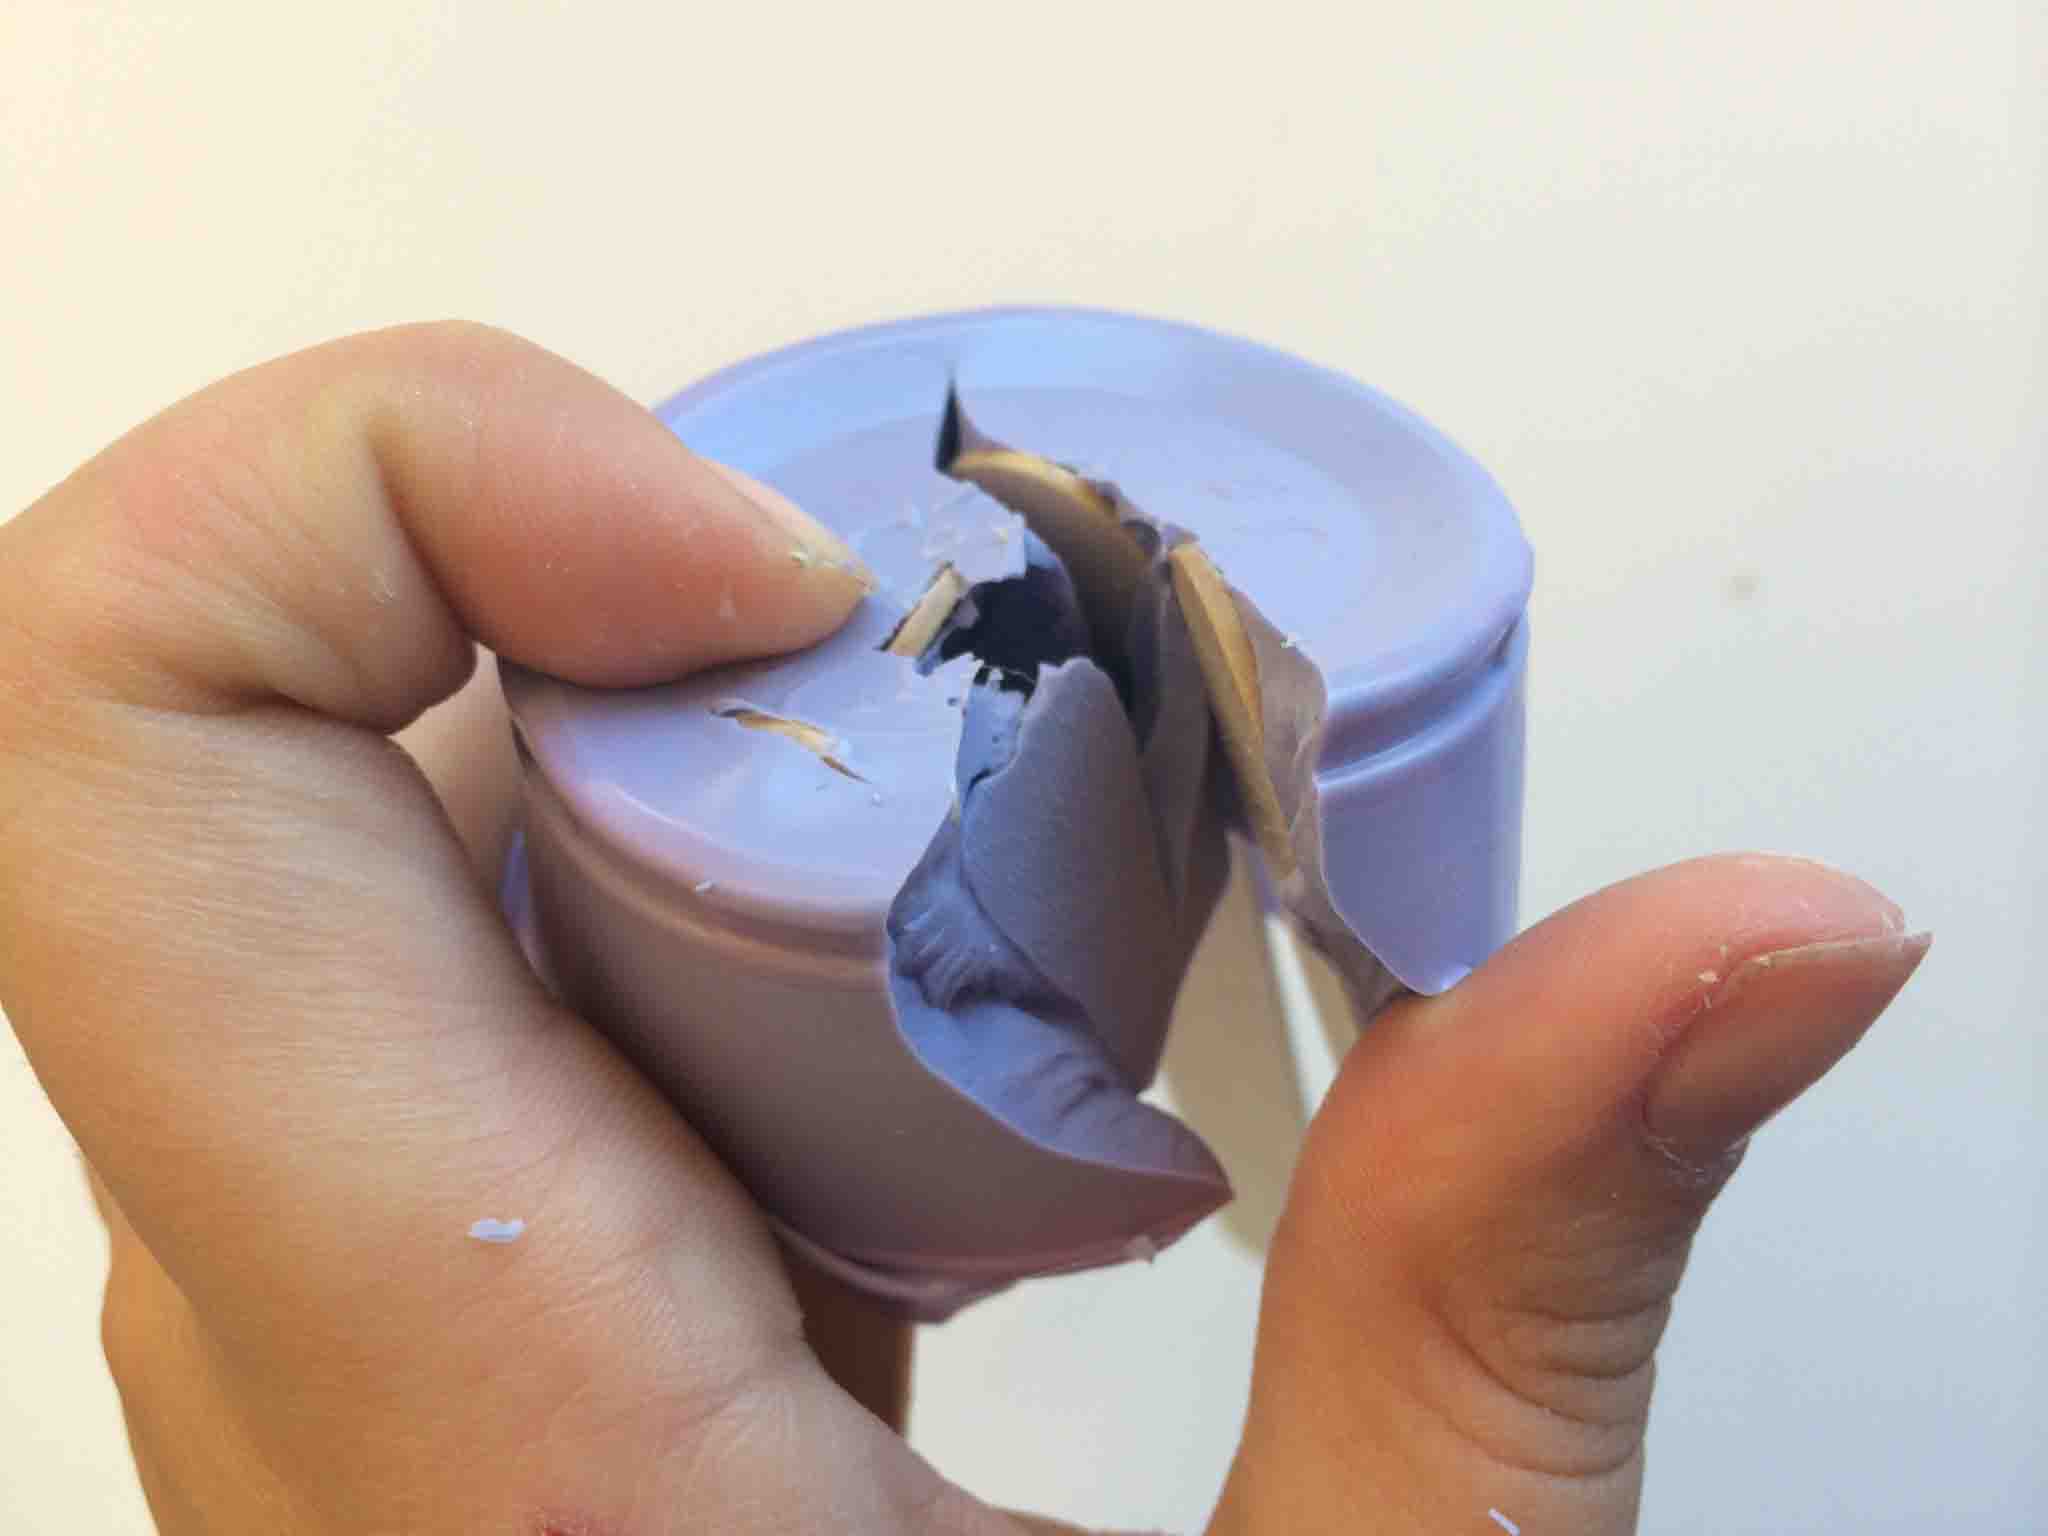
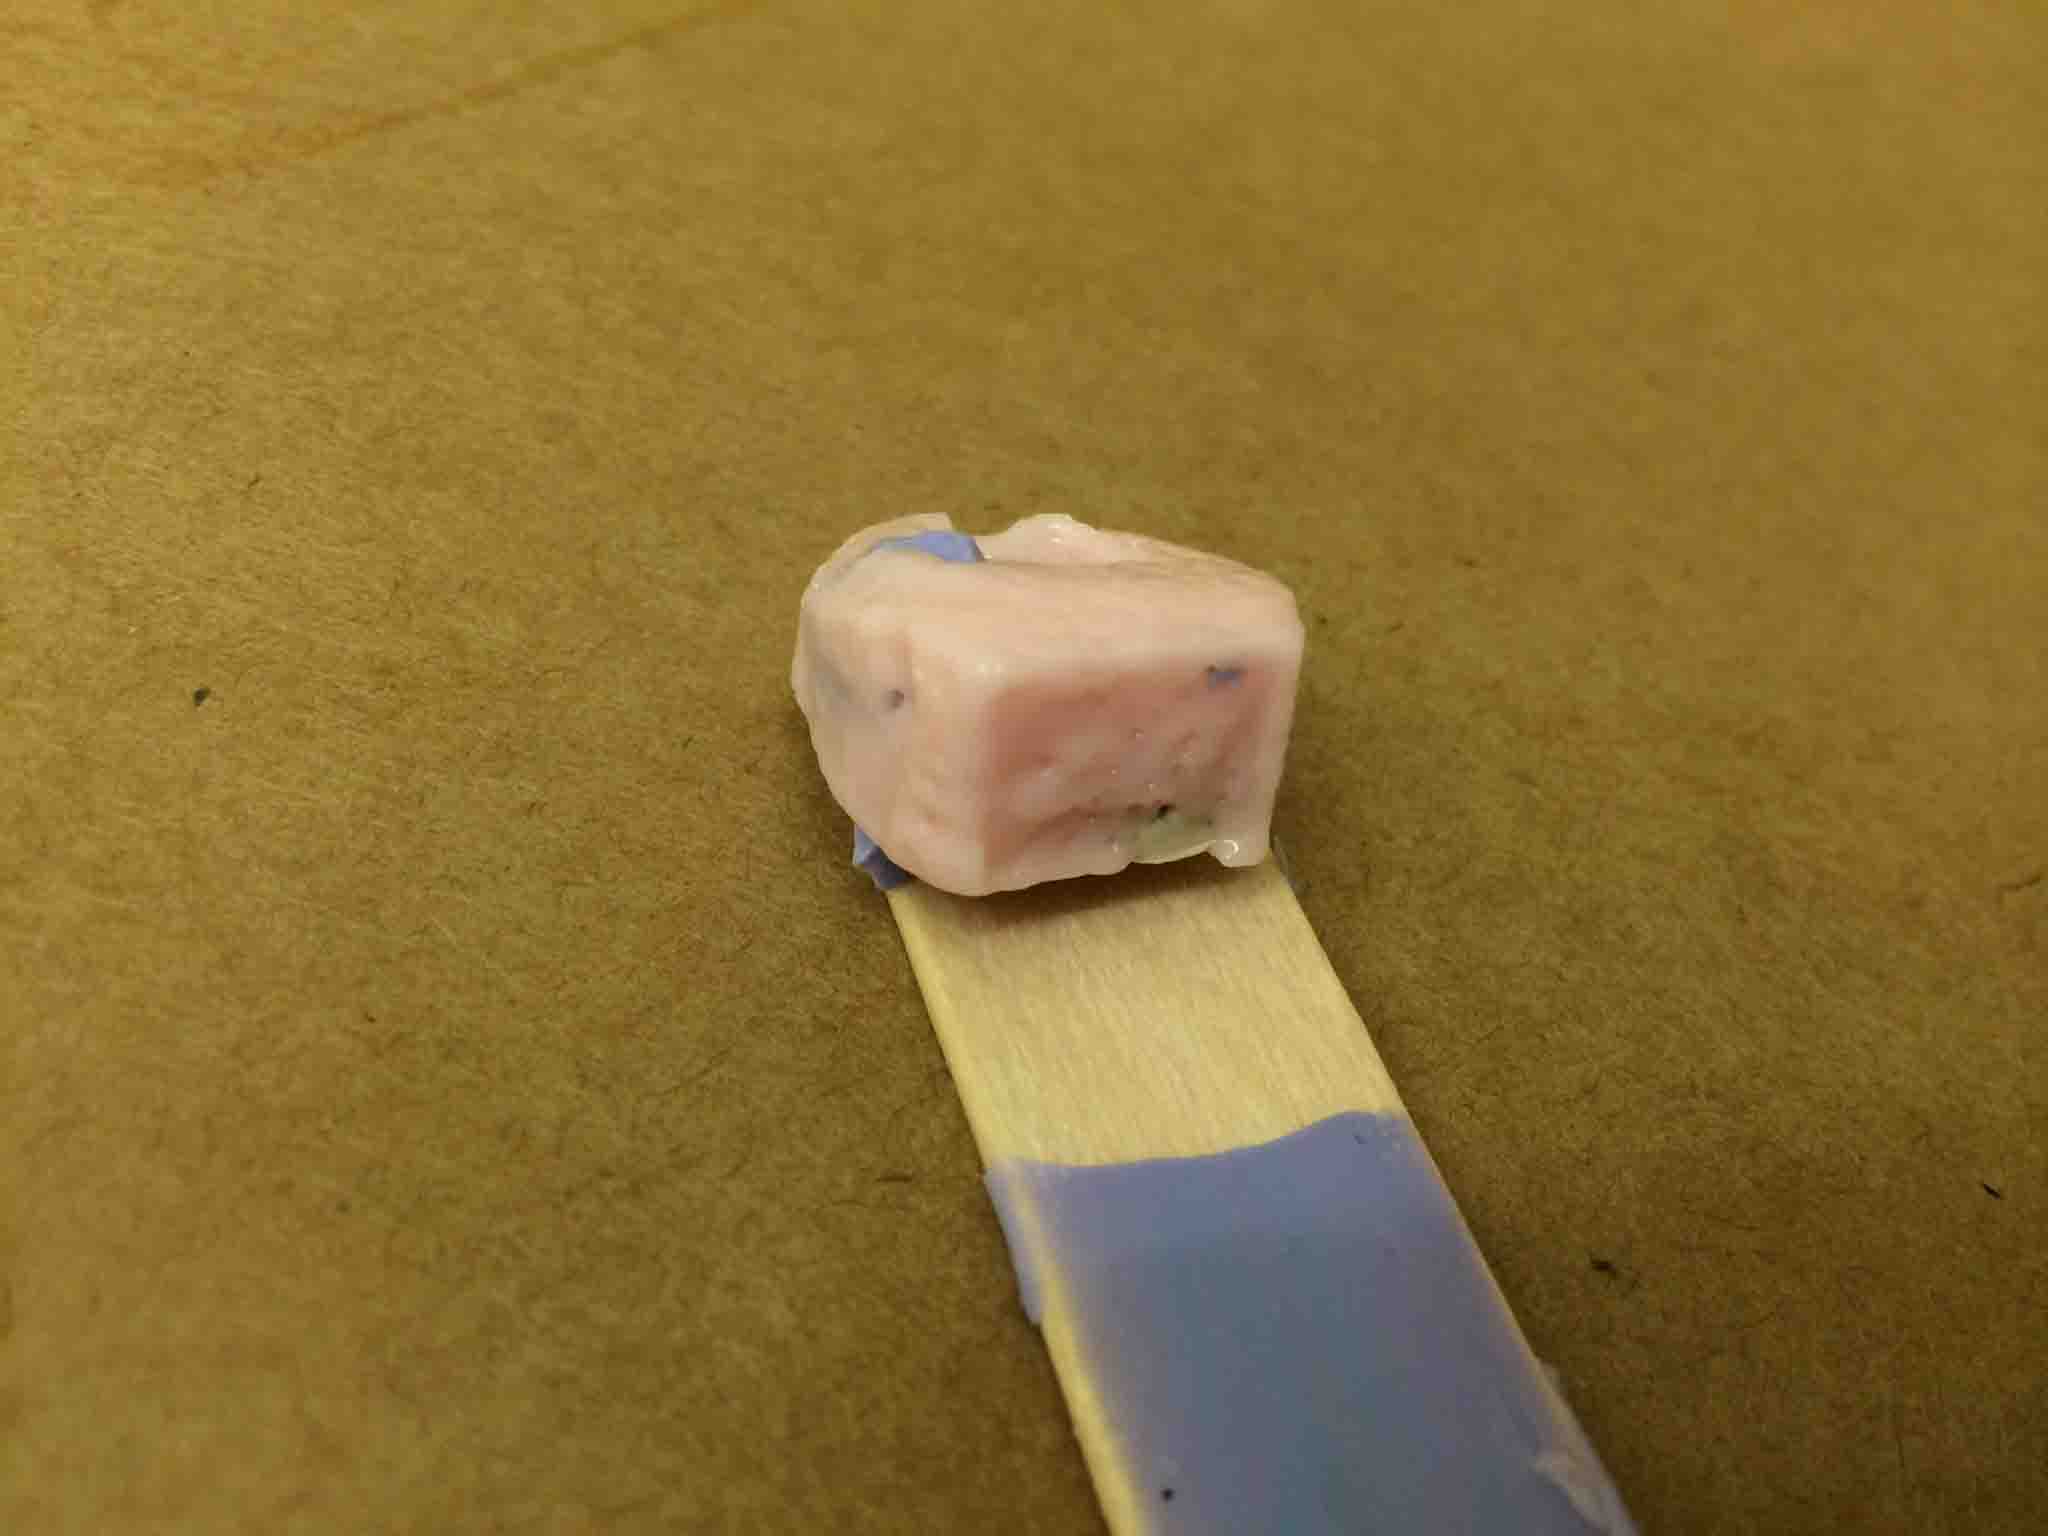
Eventhough I came back 48 hours later (well after the 24 hours recommended for a full cure), the part was still sticky and wet when I demolded:
Similarly, the brass rat also came out wet from it's cast:
After some thought experiments, Nadya Peek helped me realize that it was an error in material choice: Because the OOMOO was a tin-cure, it was reacting with the polymers in the SmoothSil, a platinum-based cure, that was not letting the part fully cure. This was unfortunate, but a doable workaround. I did some research and found a substitute for the OOMOO that we already had in-house, the PMC 121/30 Wet.
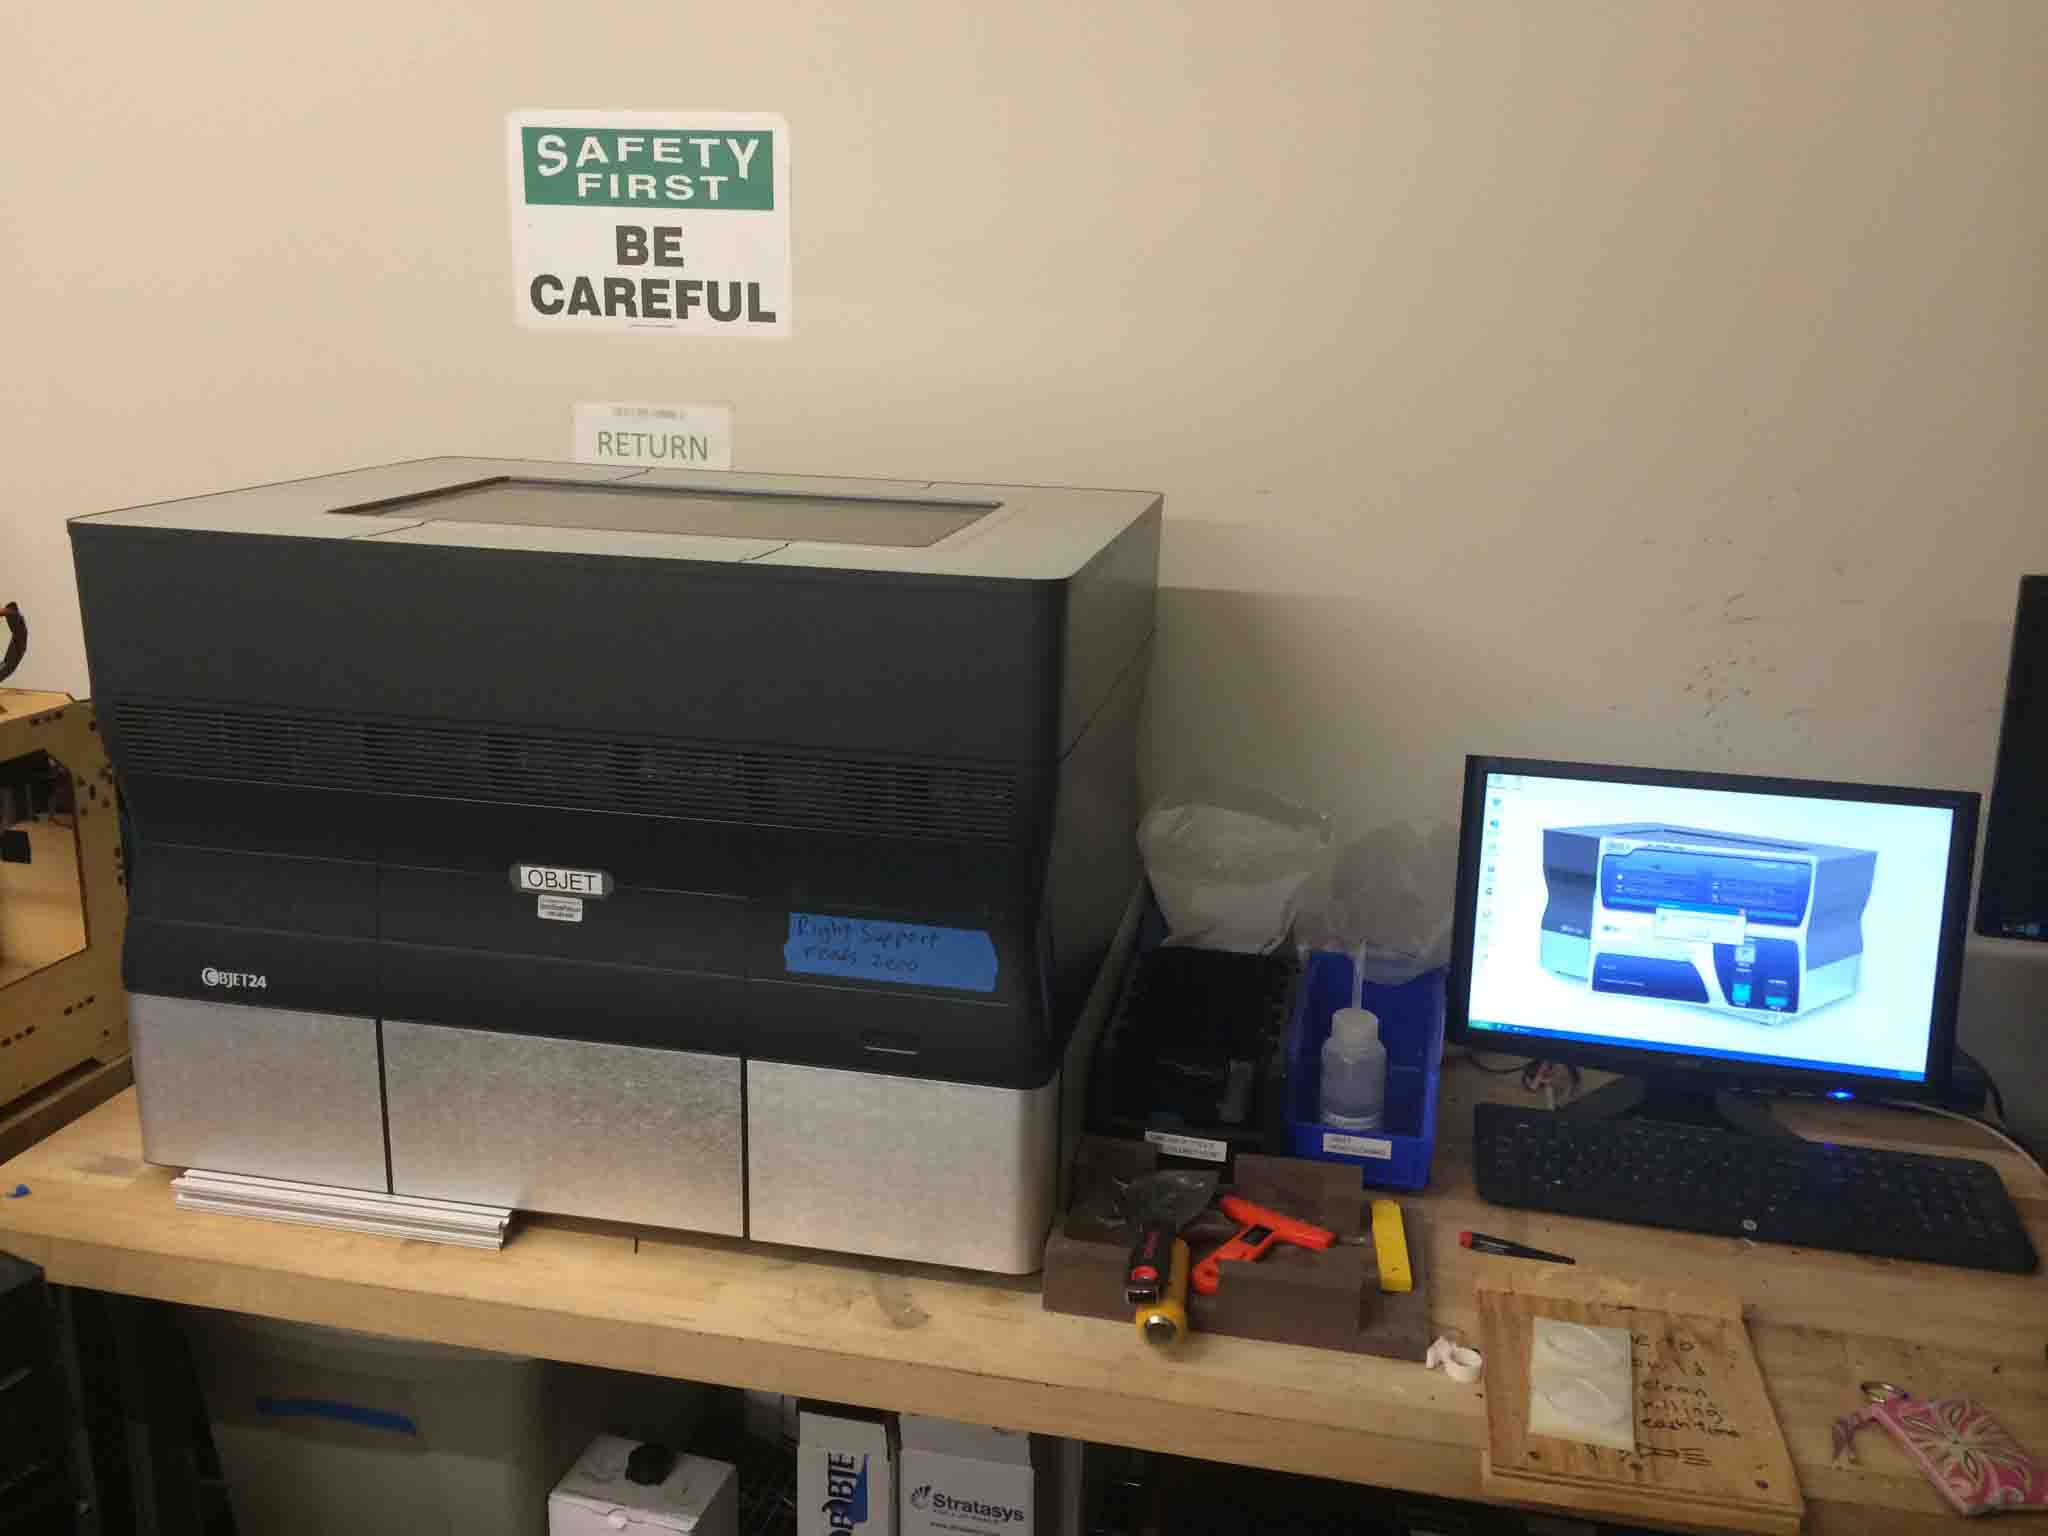
3rd Strategy (similar to the 1st): 3D-Printing the negative, Casting a mold, & Casting the positive part
This was supposed to be third alternative, though very similar to the rigor of having machined a negative like in Strategy 1,
but without the need to stand by the Shopbot while it machined it, again. This time, instead, the Objet did it for me with the same Rhino file above, thus allowing me to make the two halves of the mold in parallel.
This time, I made the box out of masonite and hot glue, simple.
 <
<
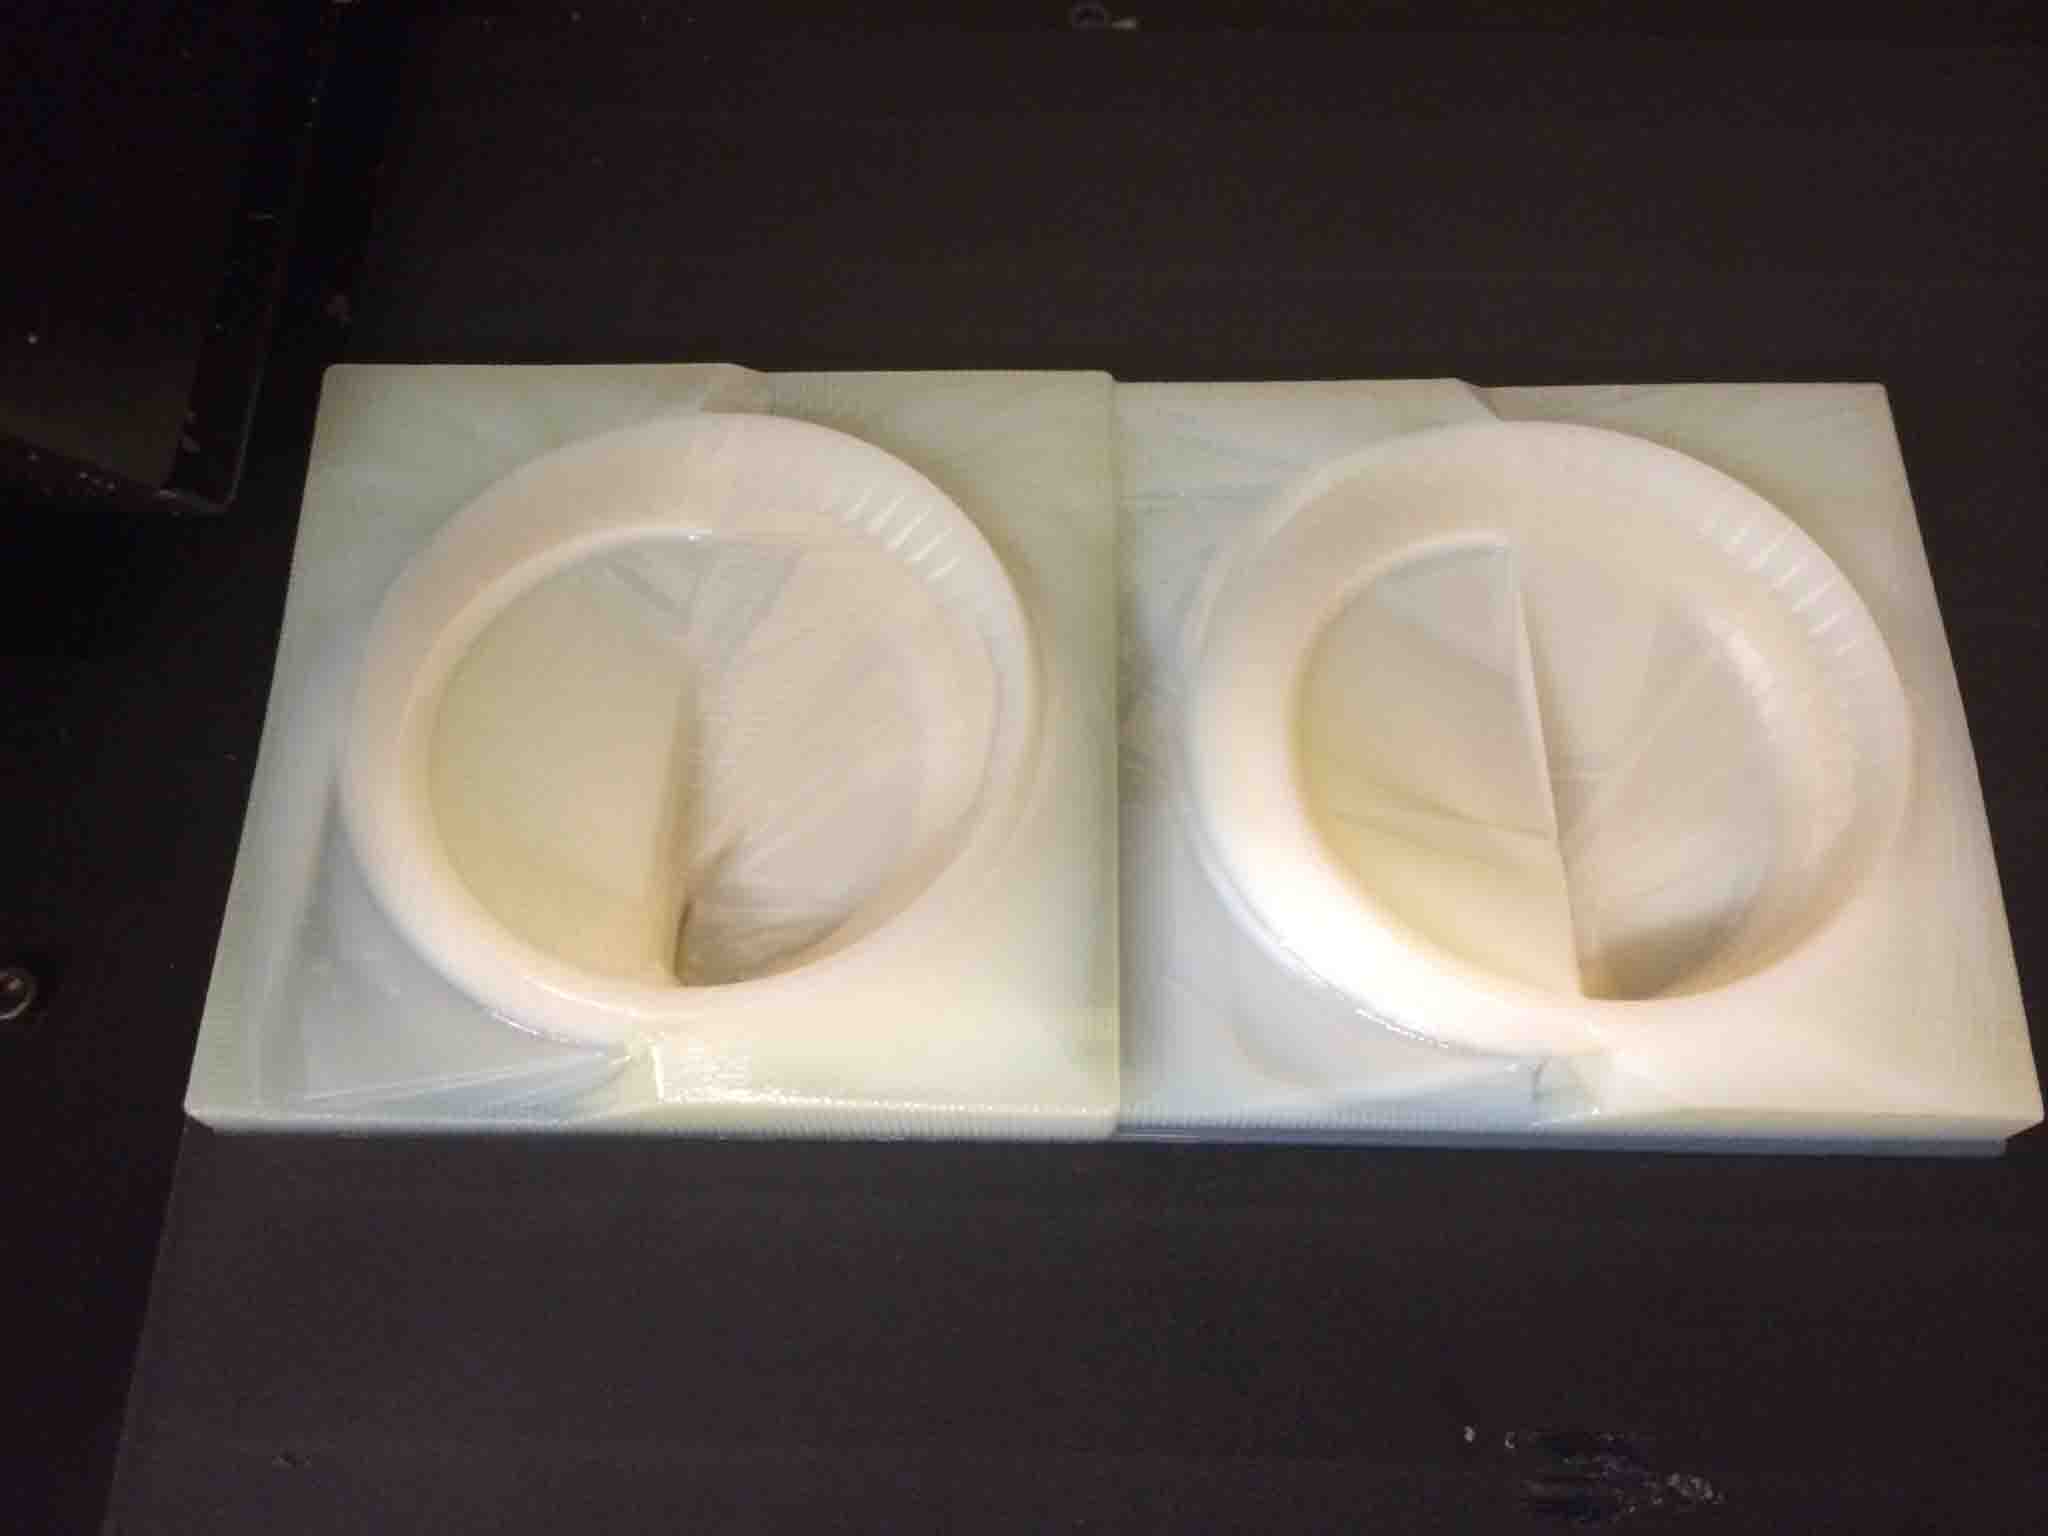
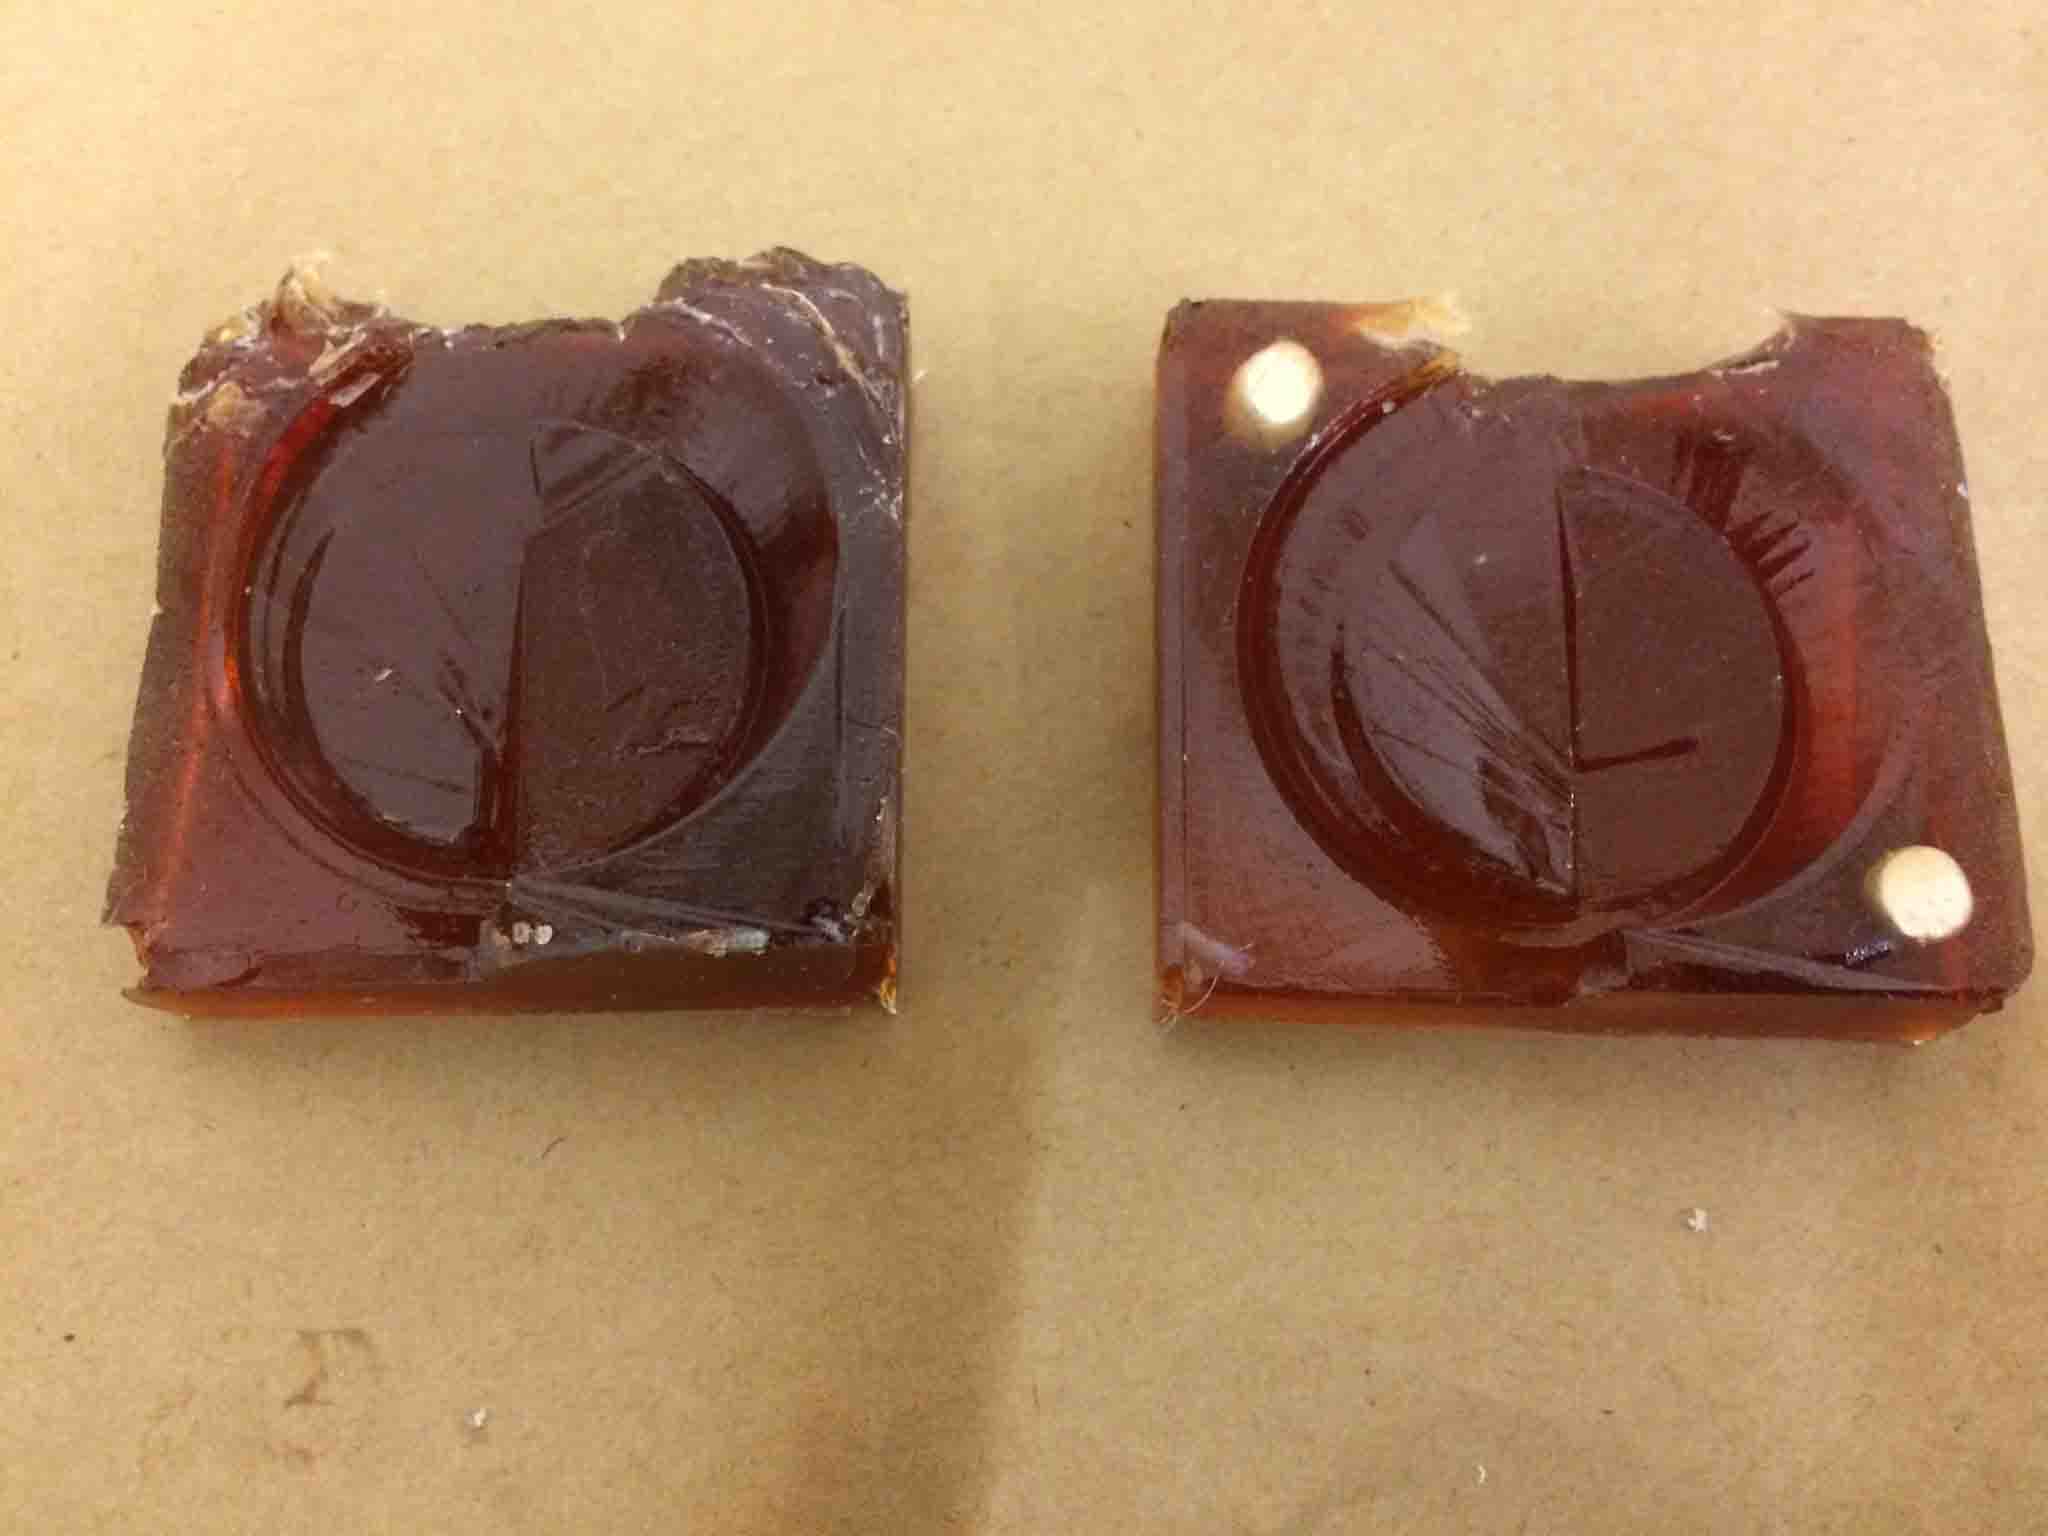
I found a platinum-cure that would not compete with the platinum in the Smooth-Sil 940 later and cast my negative mold, leaving space for the spruce for the mold pouring later. PSA: Girls in leather skirts on Friday nights can also have fun in lab.

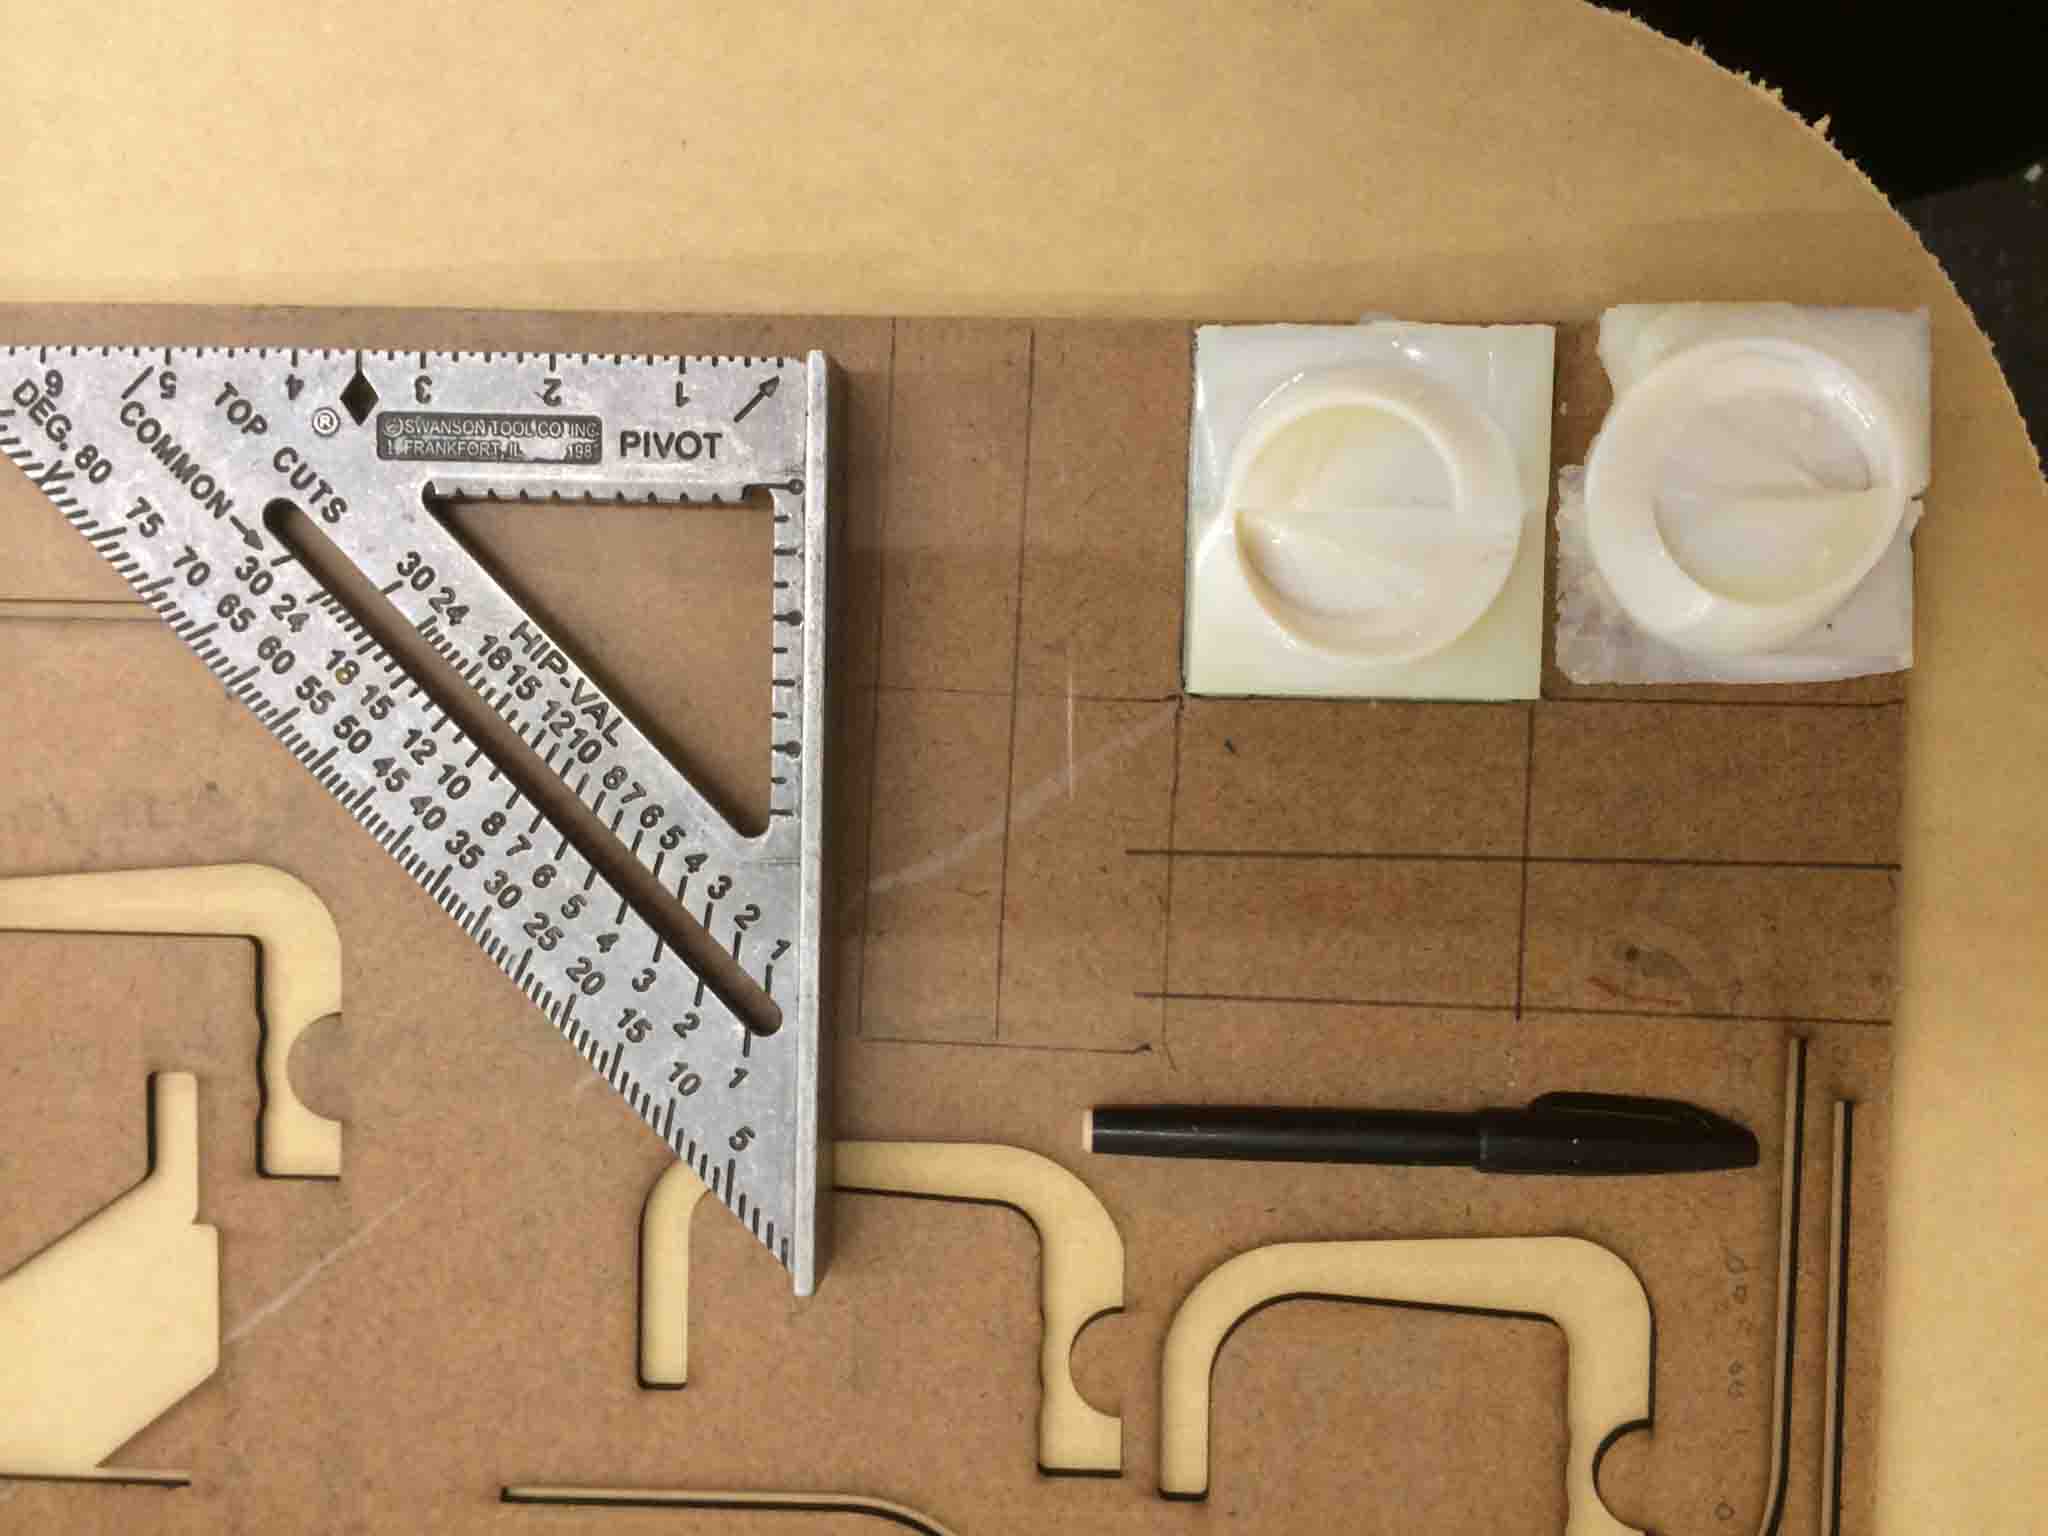
When it came out, I had to trim the overflowing edgest a bit to get the two halves to mesh well. I inserted pins, and then was ready to cast (for the 5th or 6th time....)
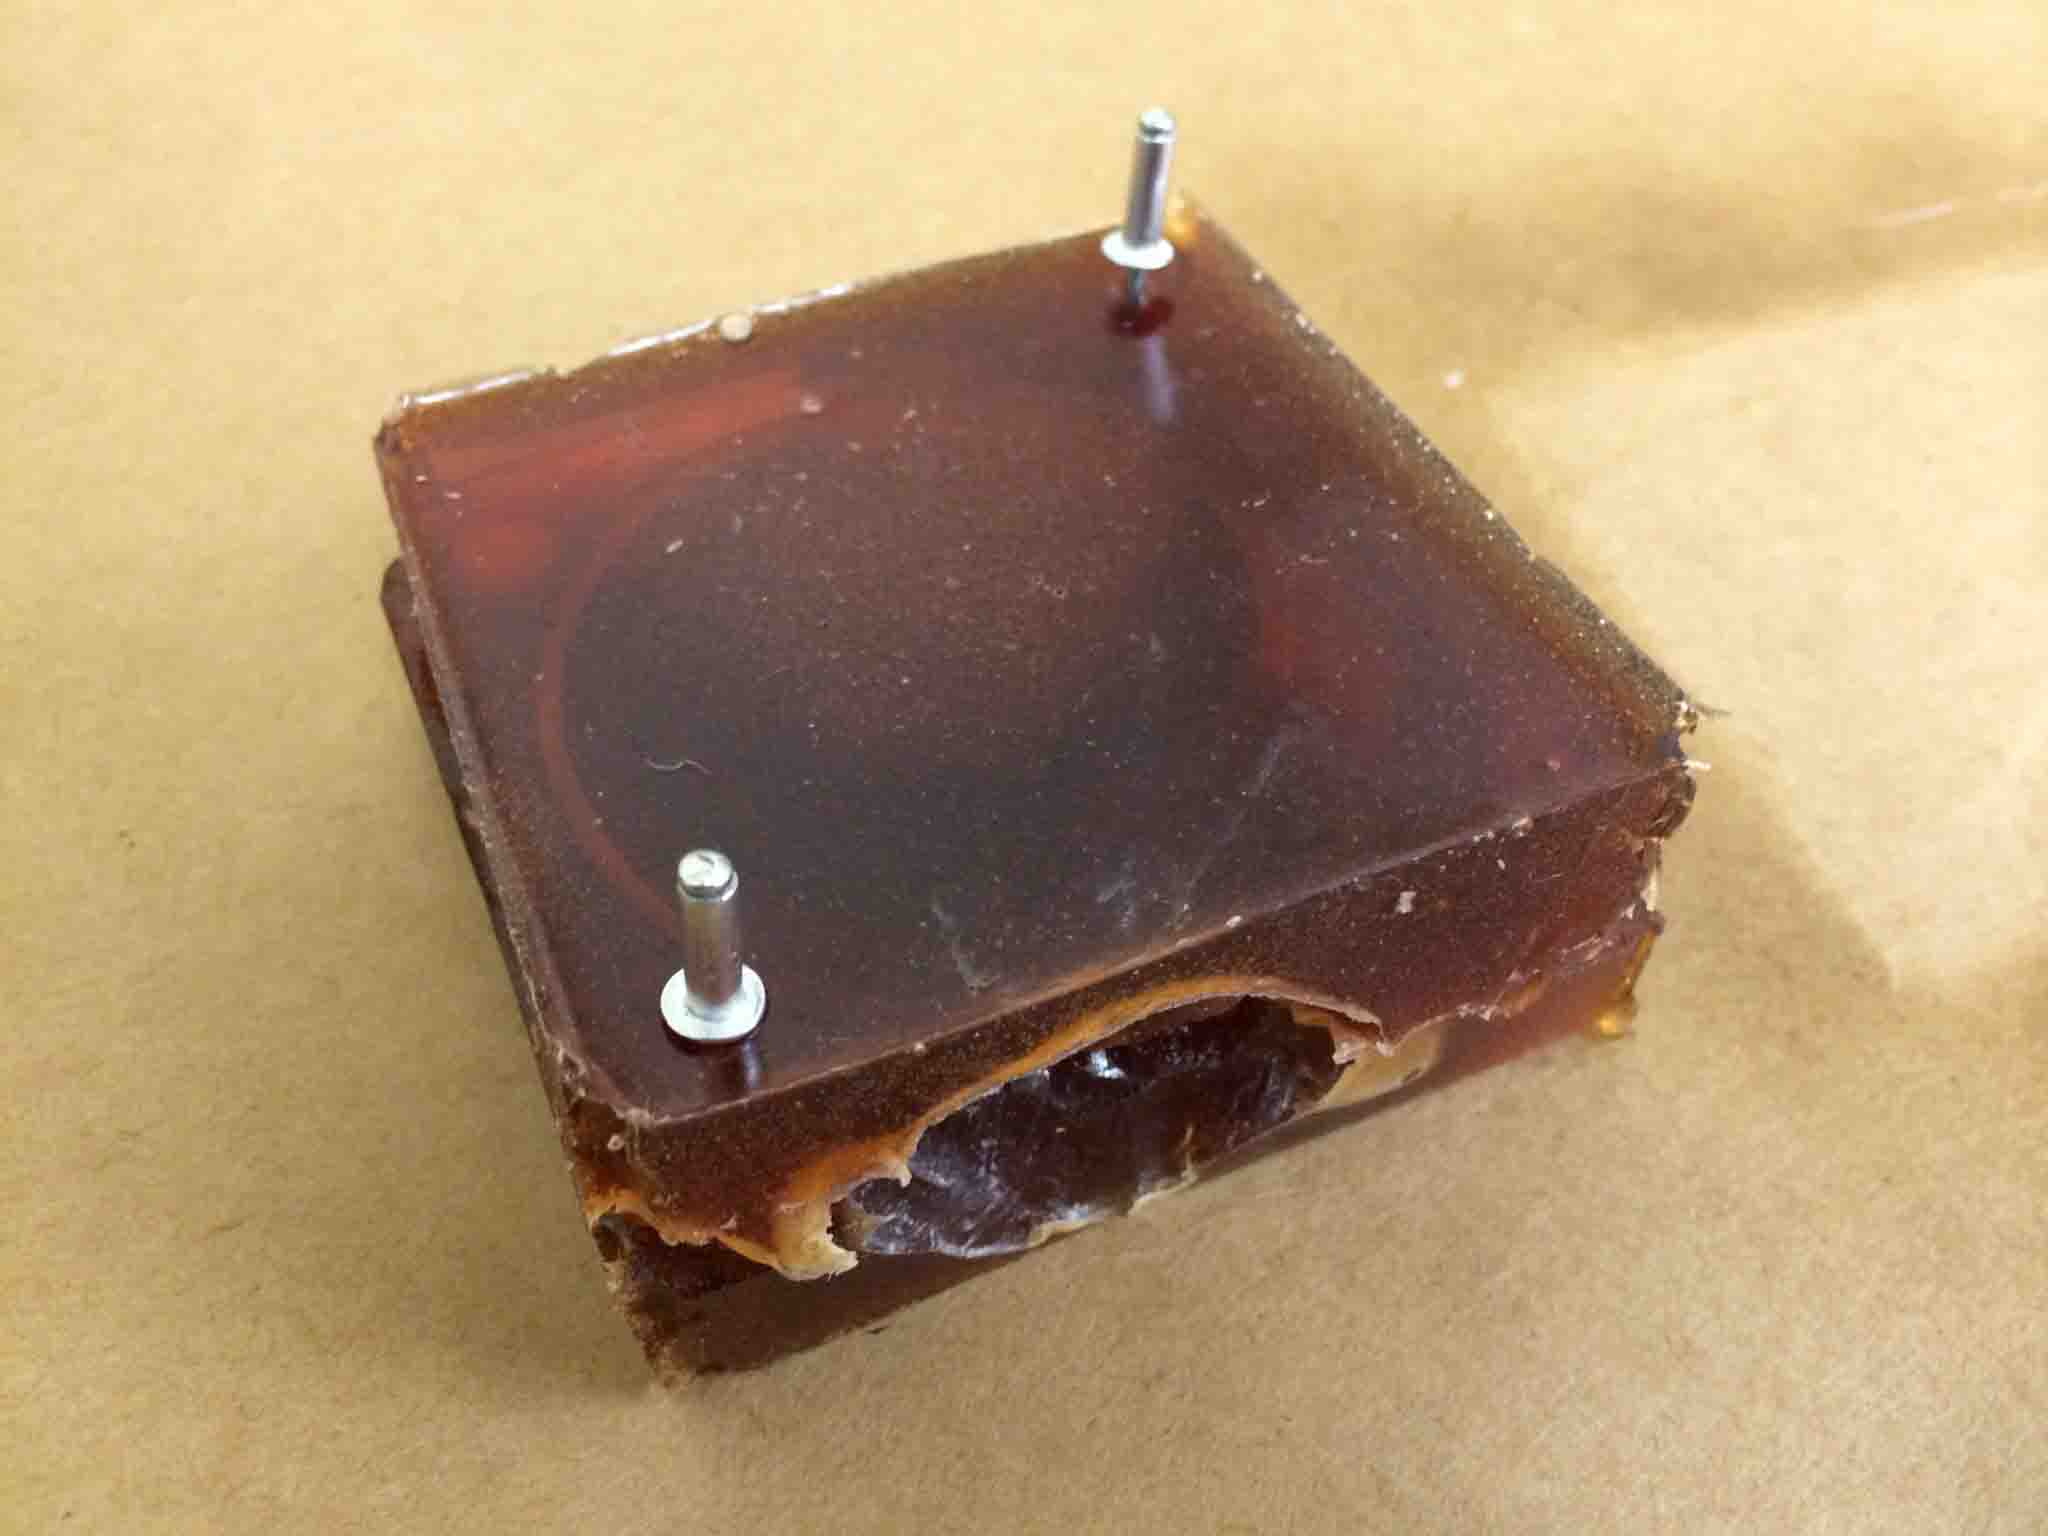
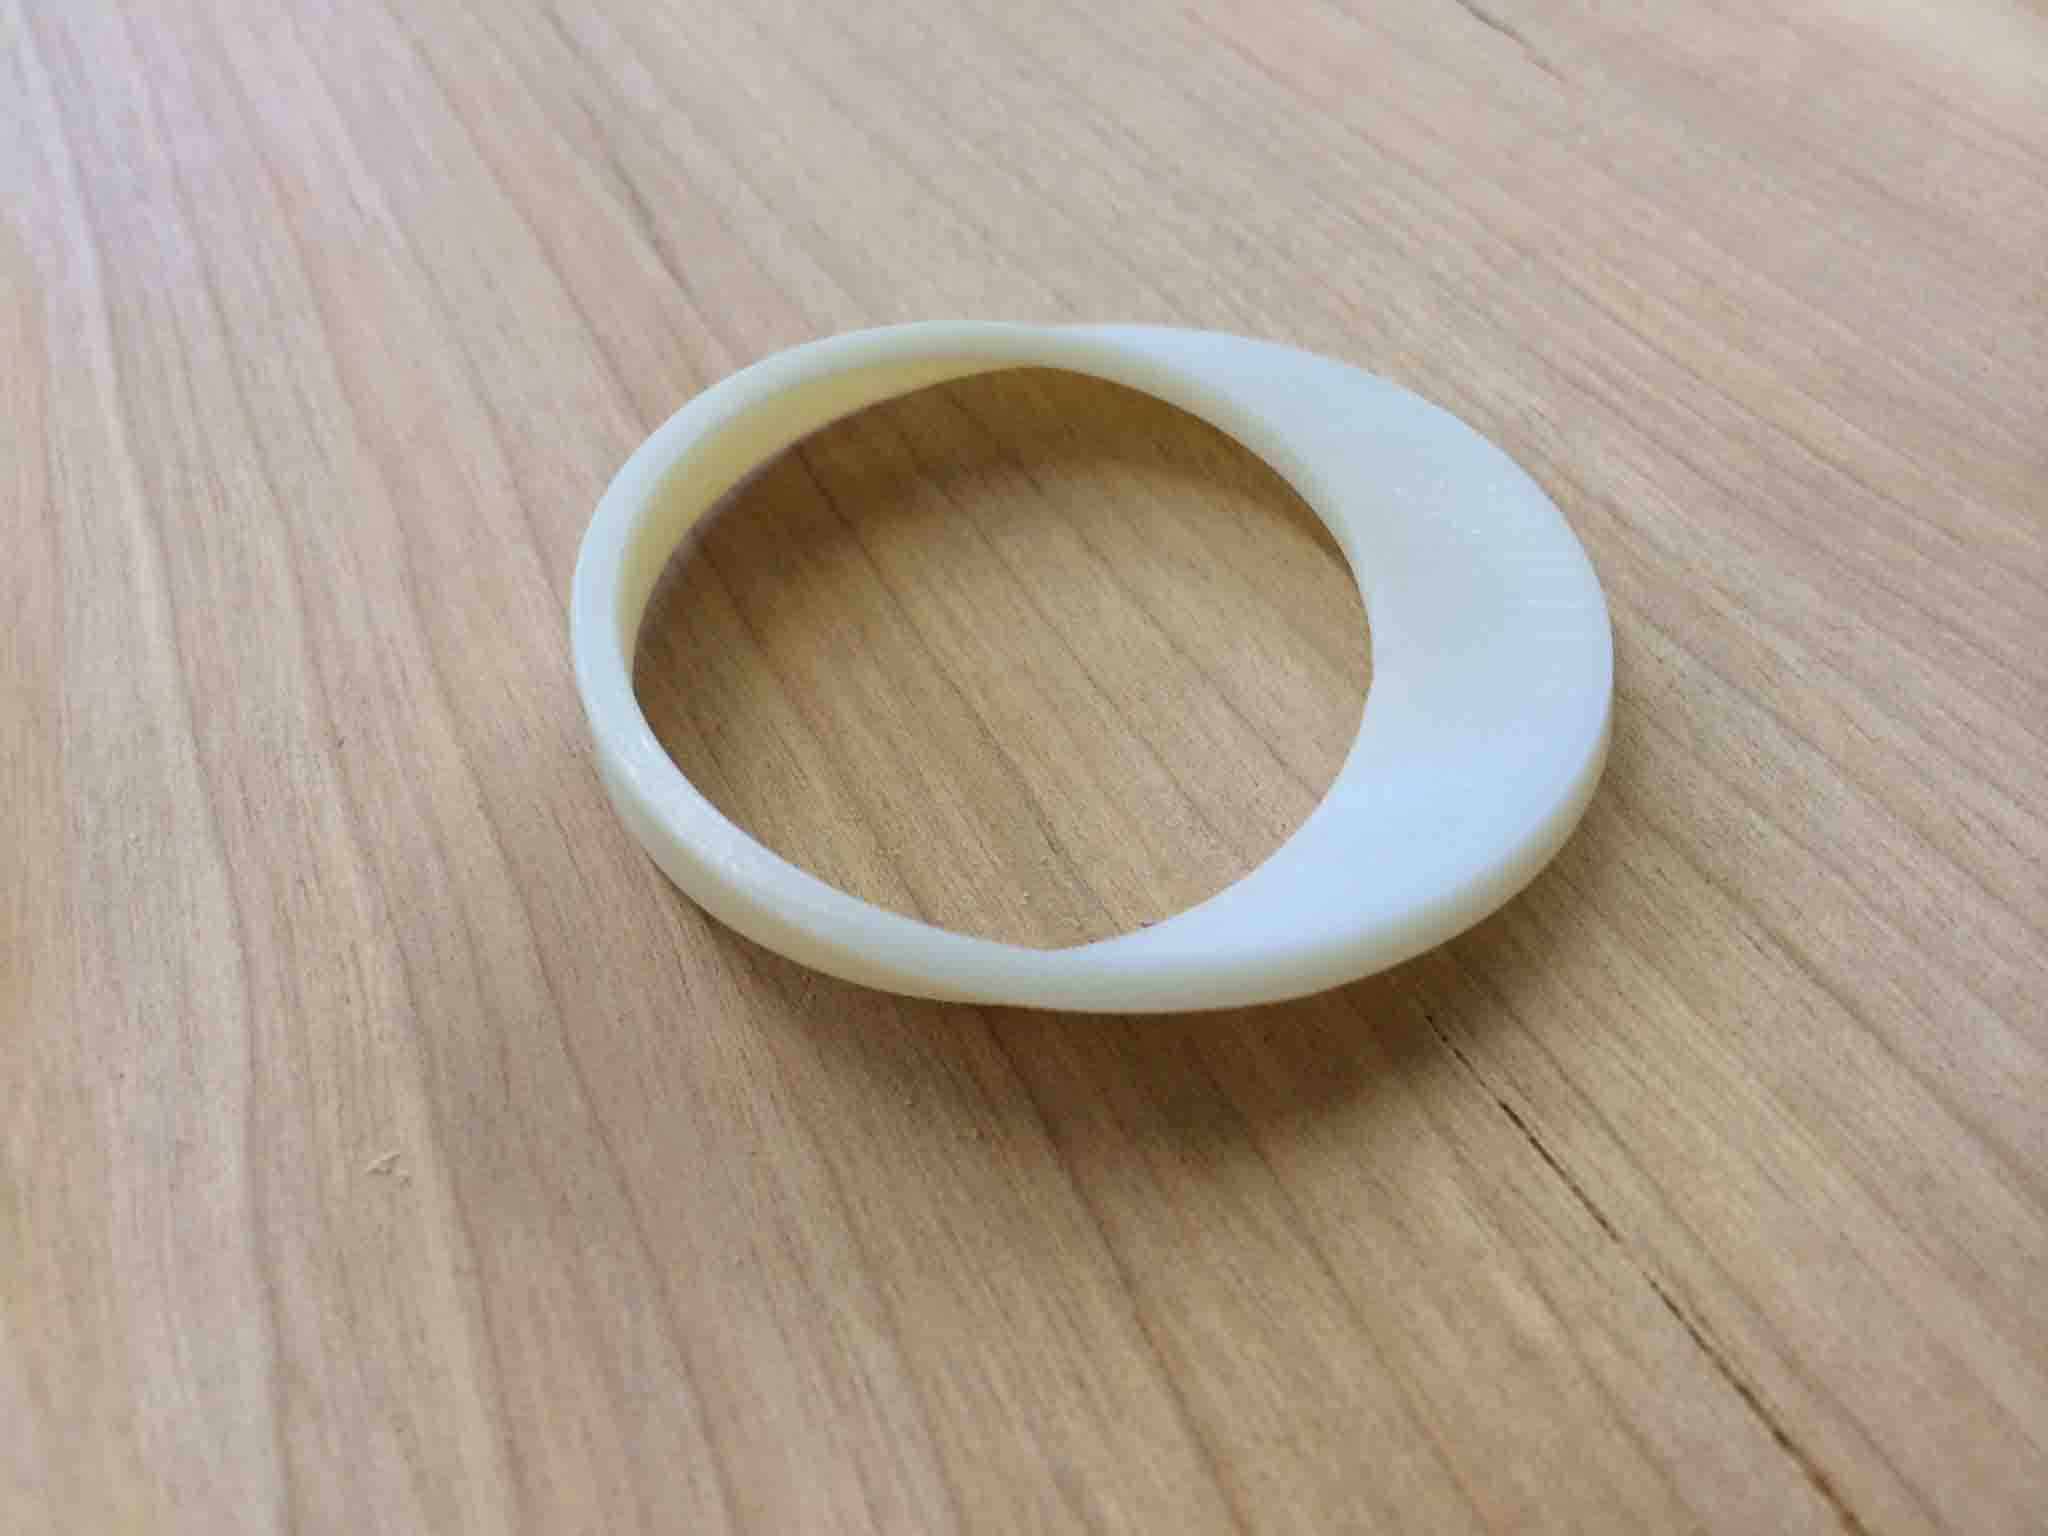
I again put the part in the vacuum chamber and patted it down enough to get the Smooth Sil all around the inside. I really liked using this PMC 121/30 that was somewhat transluscent so that I could see when the Smooth-Sil had really made it all the way around mold.
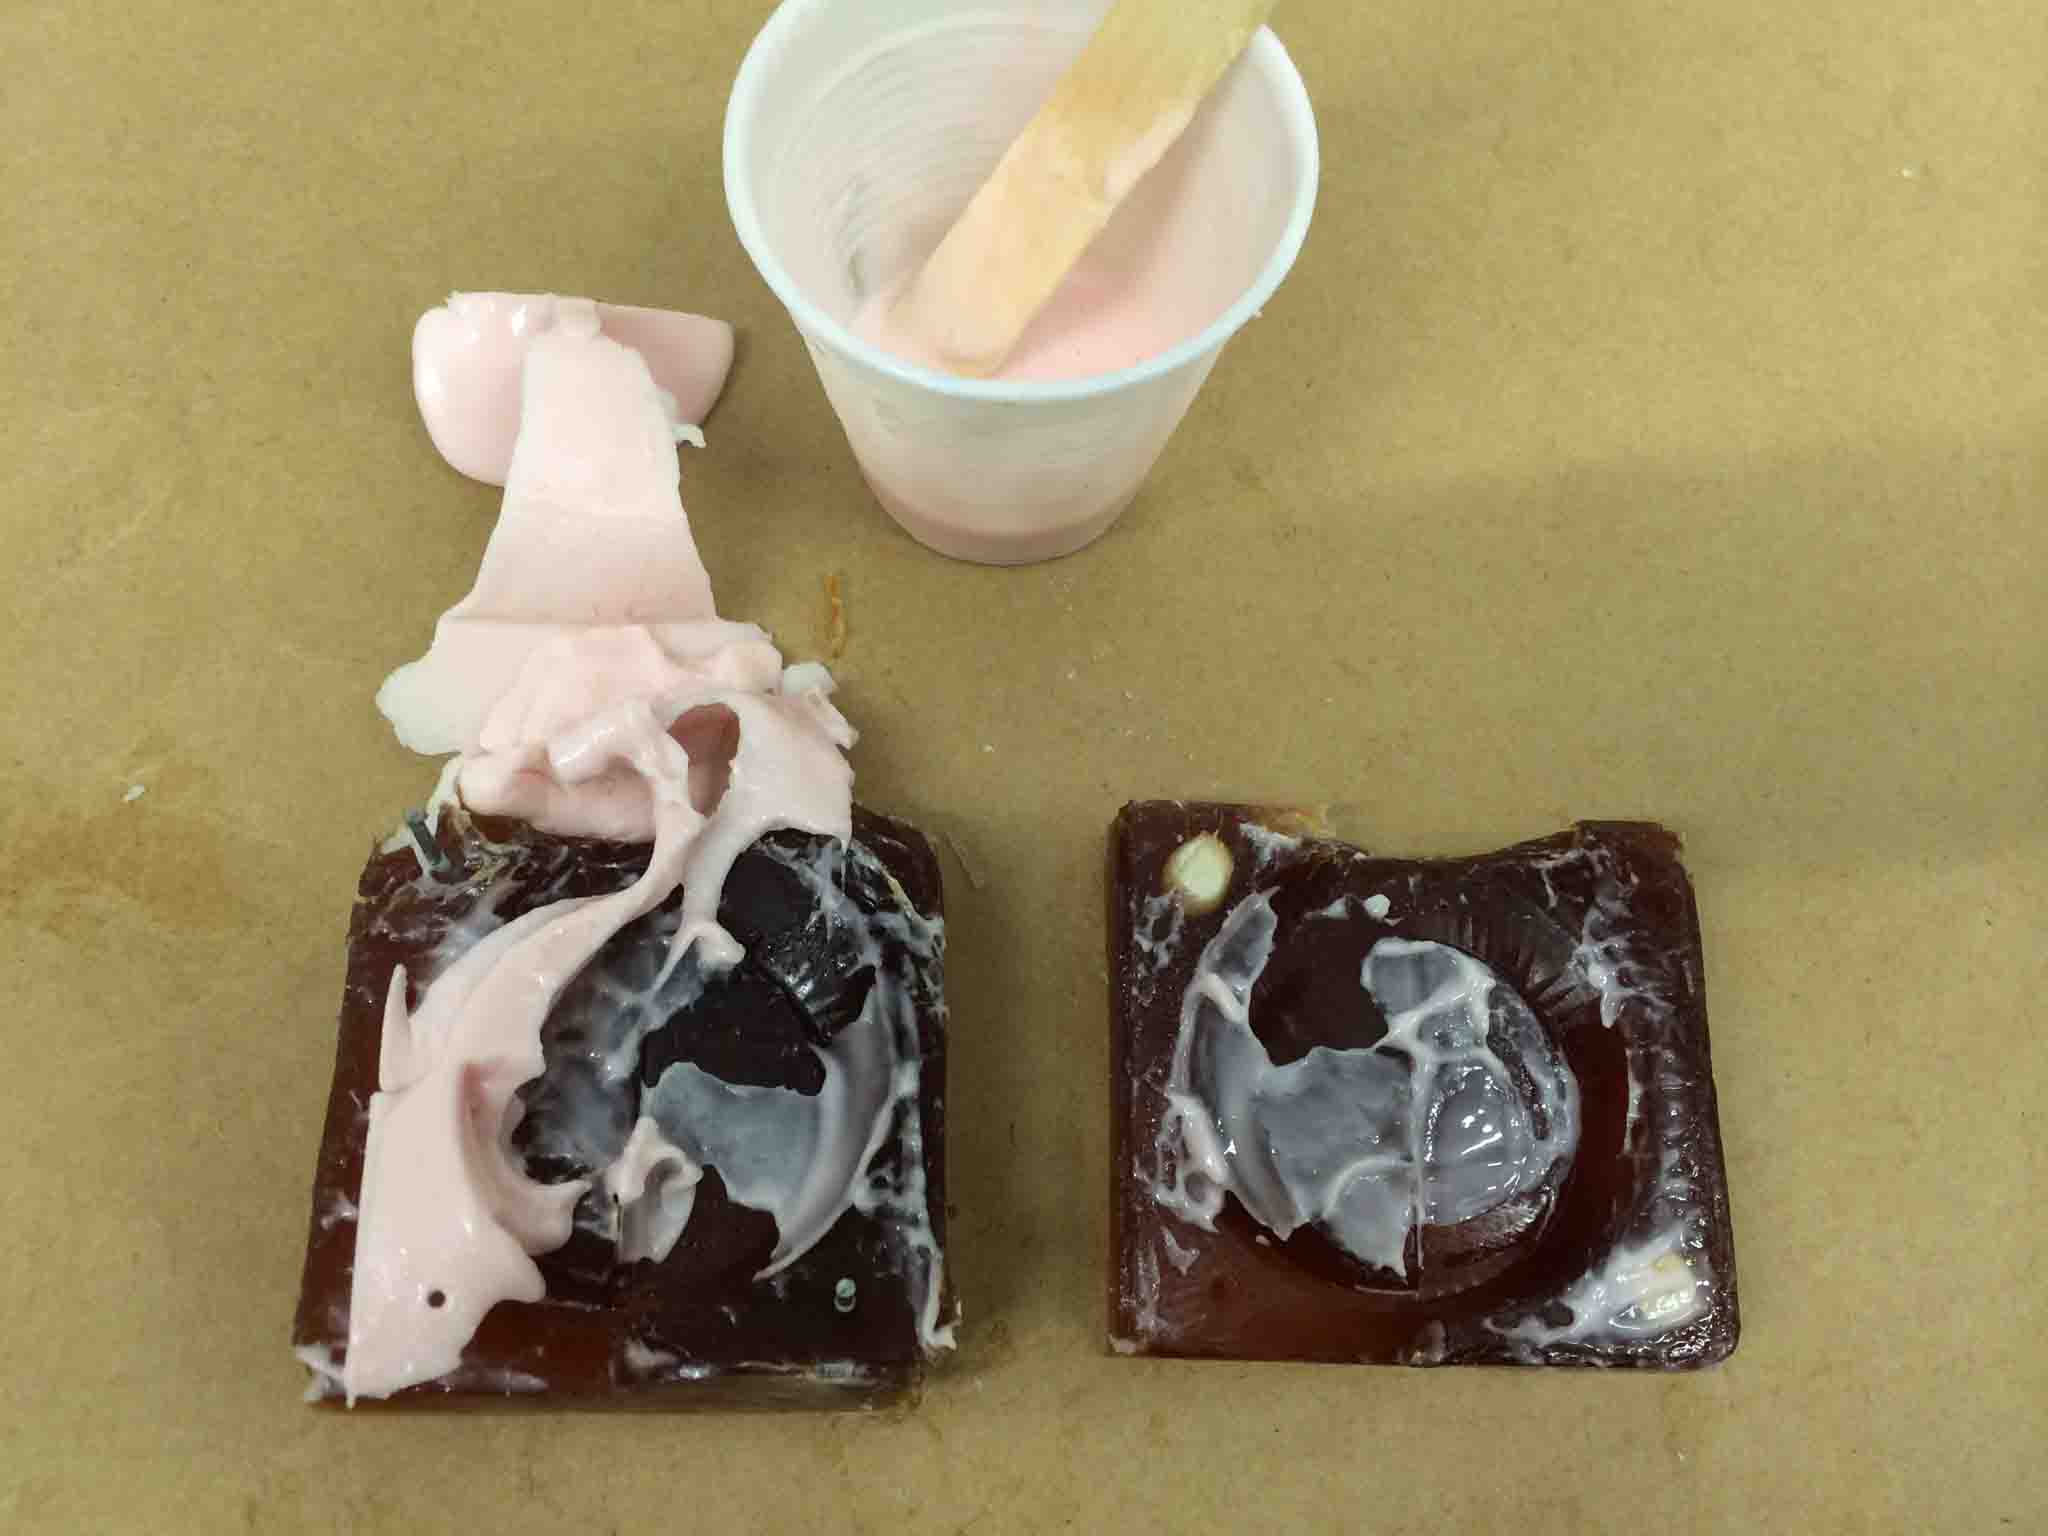
Unfortunately, still no dice. No one knows why this part didn't cast correctly, or why it struggled so much. The TA's have cleared that it's not a need for more air holes or spruces, and even Neil is stumped.