3D Scanning & Printing

+

=
Okay...not quite...but I sure learned a lot and had fun this week!
Inspiration & Purpose
My left brain easily takes over my attention span in many classes, so I've developed a system where I play with something during class in order to keep my right brain focused. Things like Play-Doh or ribbon or napkins for folding usually do the trick. So while Neil briefed us on what on our assignment for the week, I randomly thought of the childhood puzzle games like above and thought it'd be cool to make this into a double ring to wear!
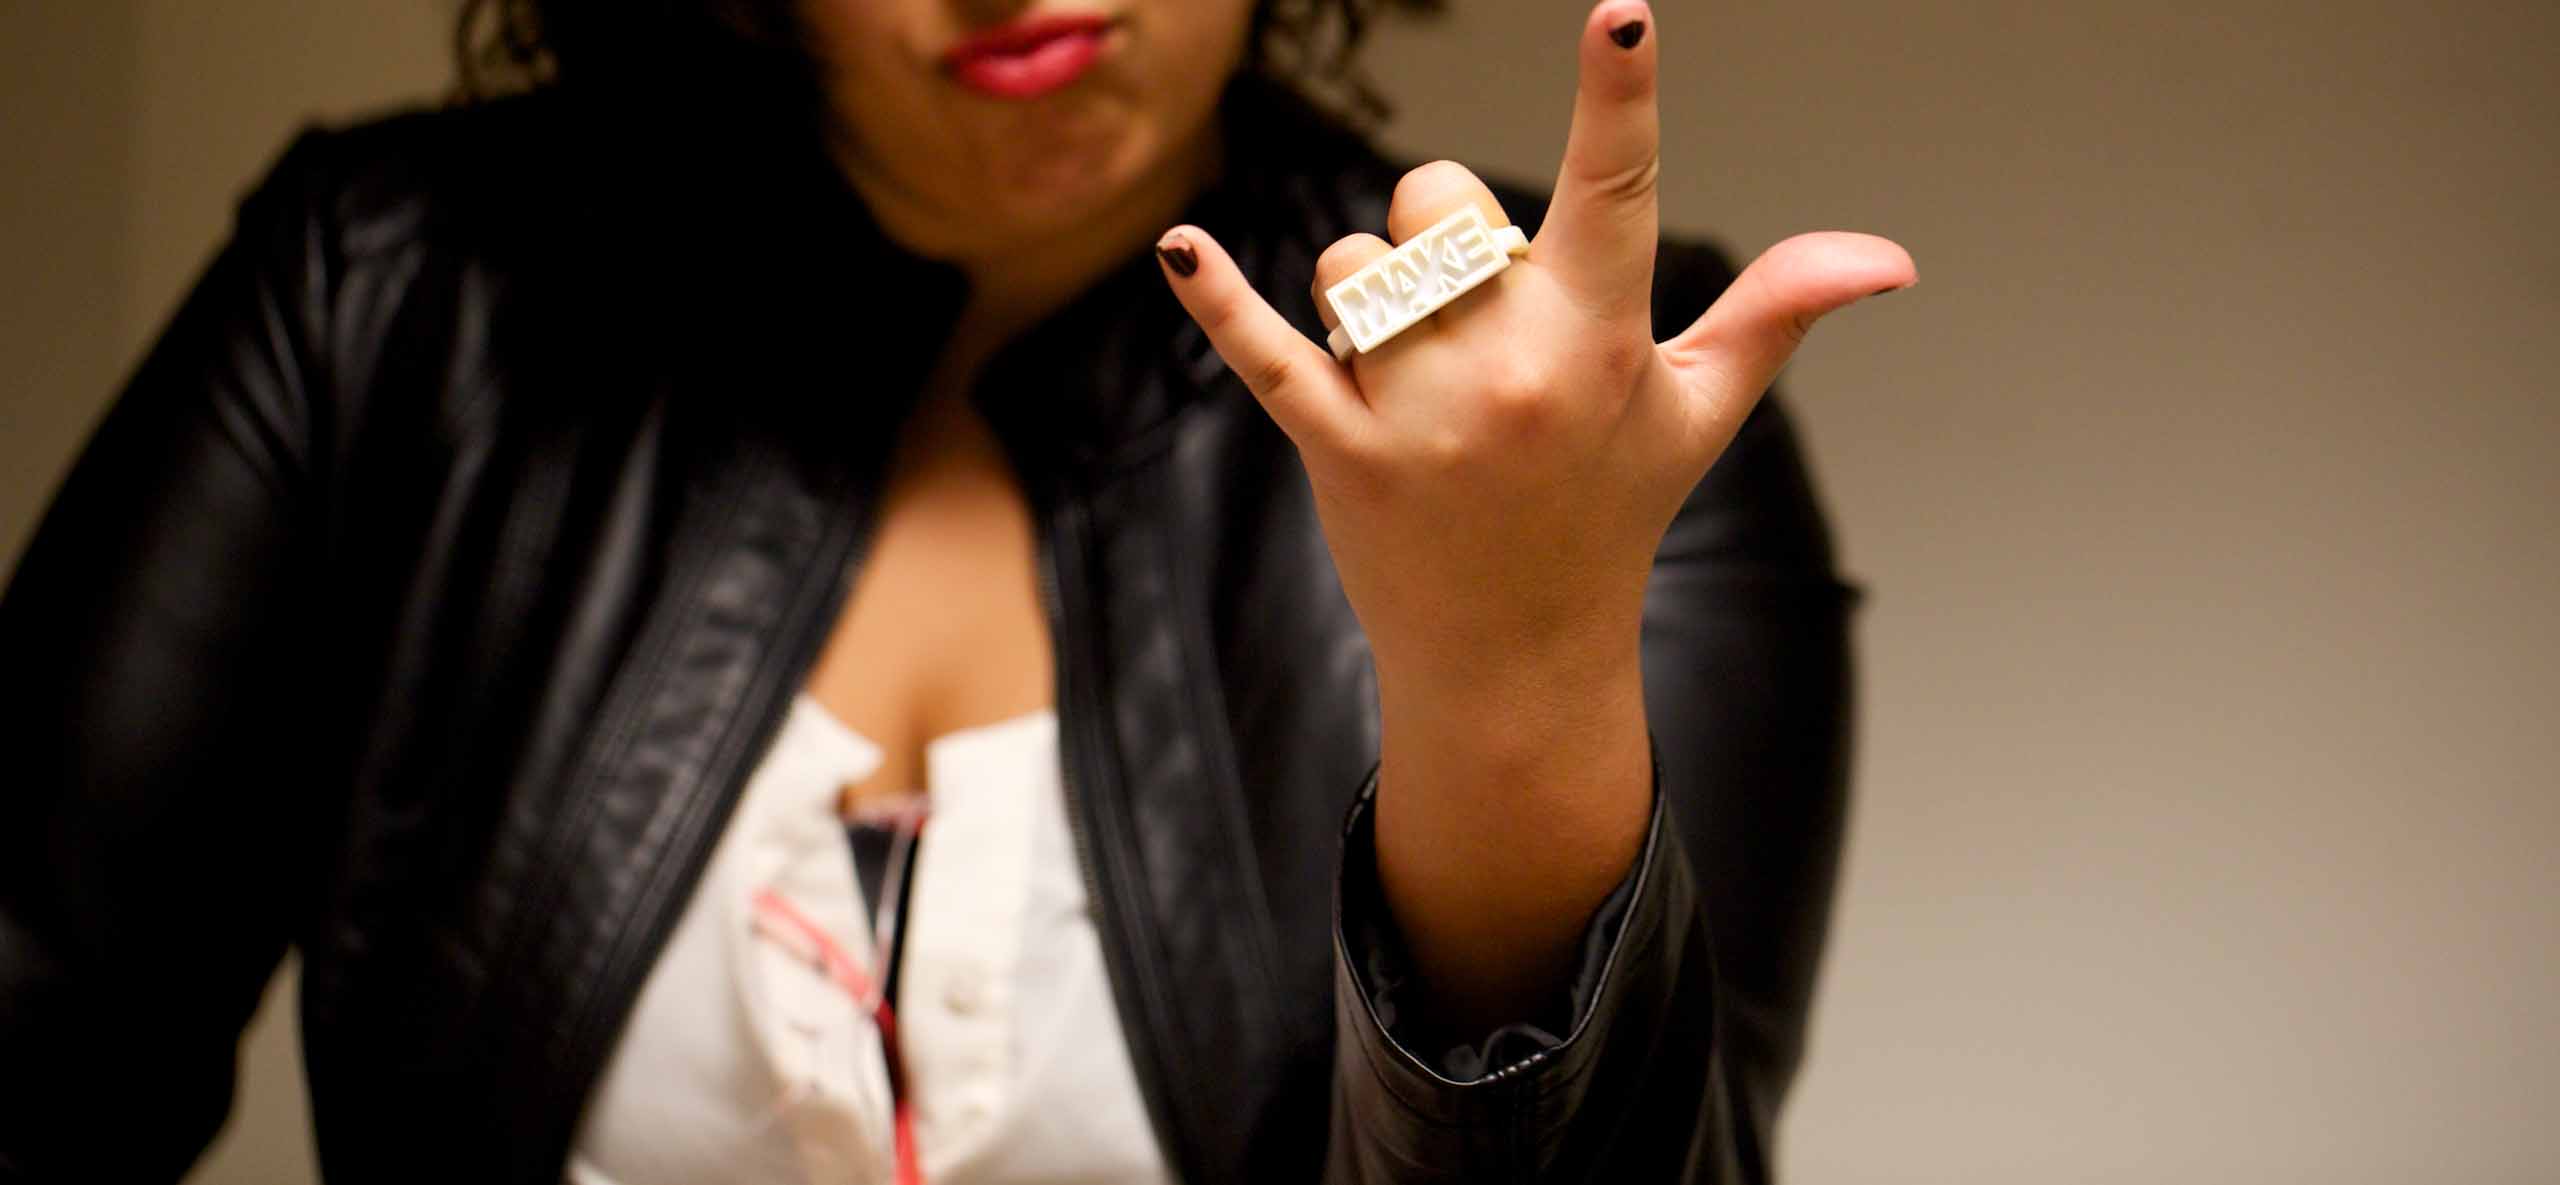
As I pondered what the ring might say and kept working on the planning of the MIT Mini Maker Faire, the two kind of merged at some point. One thing led to another I decided a great thank you gift for the organizers would be to make them rings that said "MAKE", after all, what better token for a Maker Faire?
3D Scanning
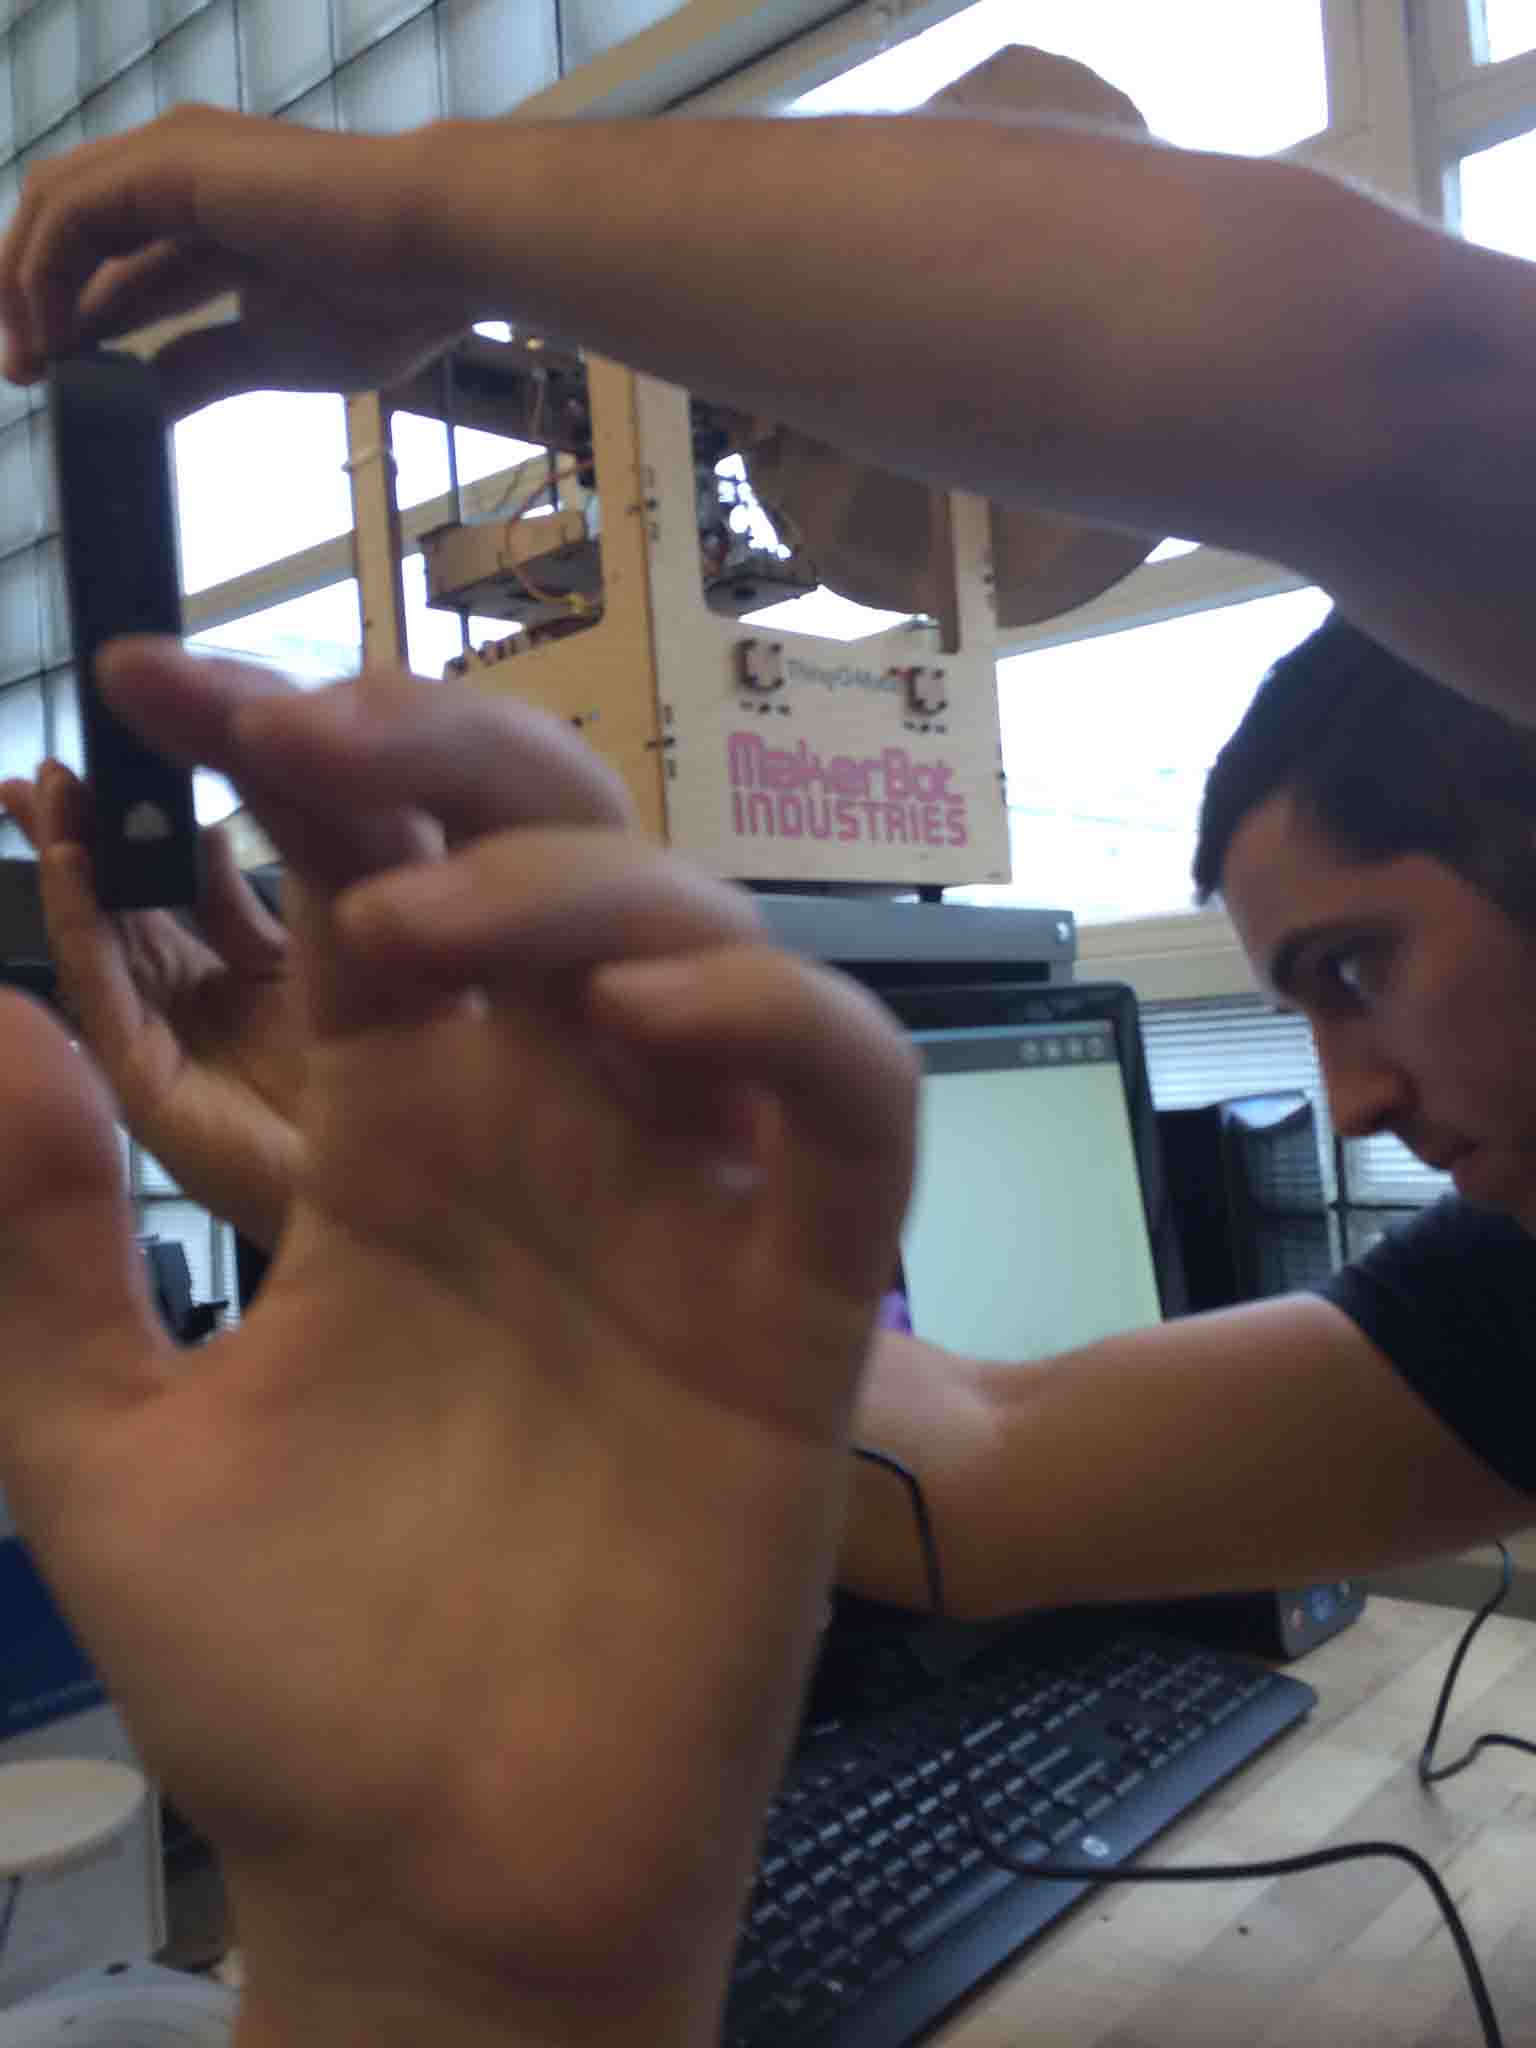
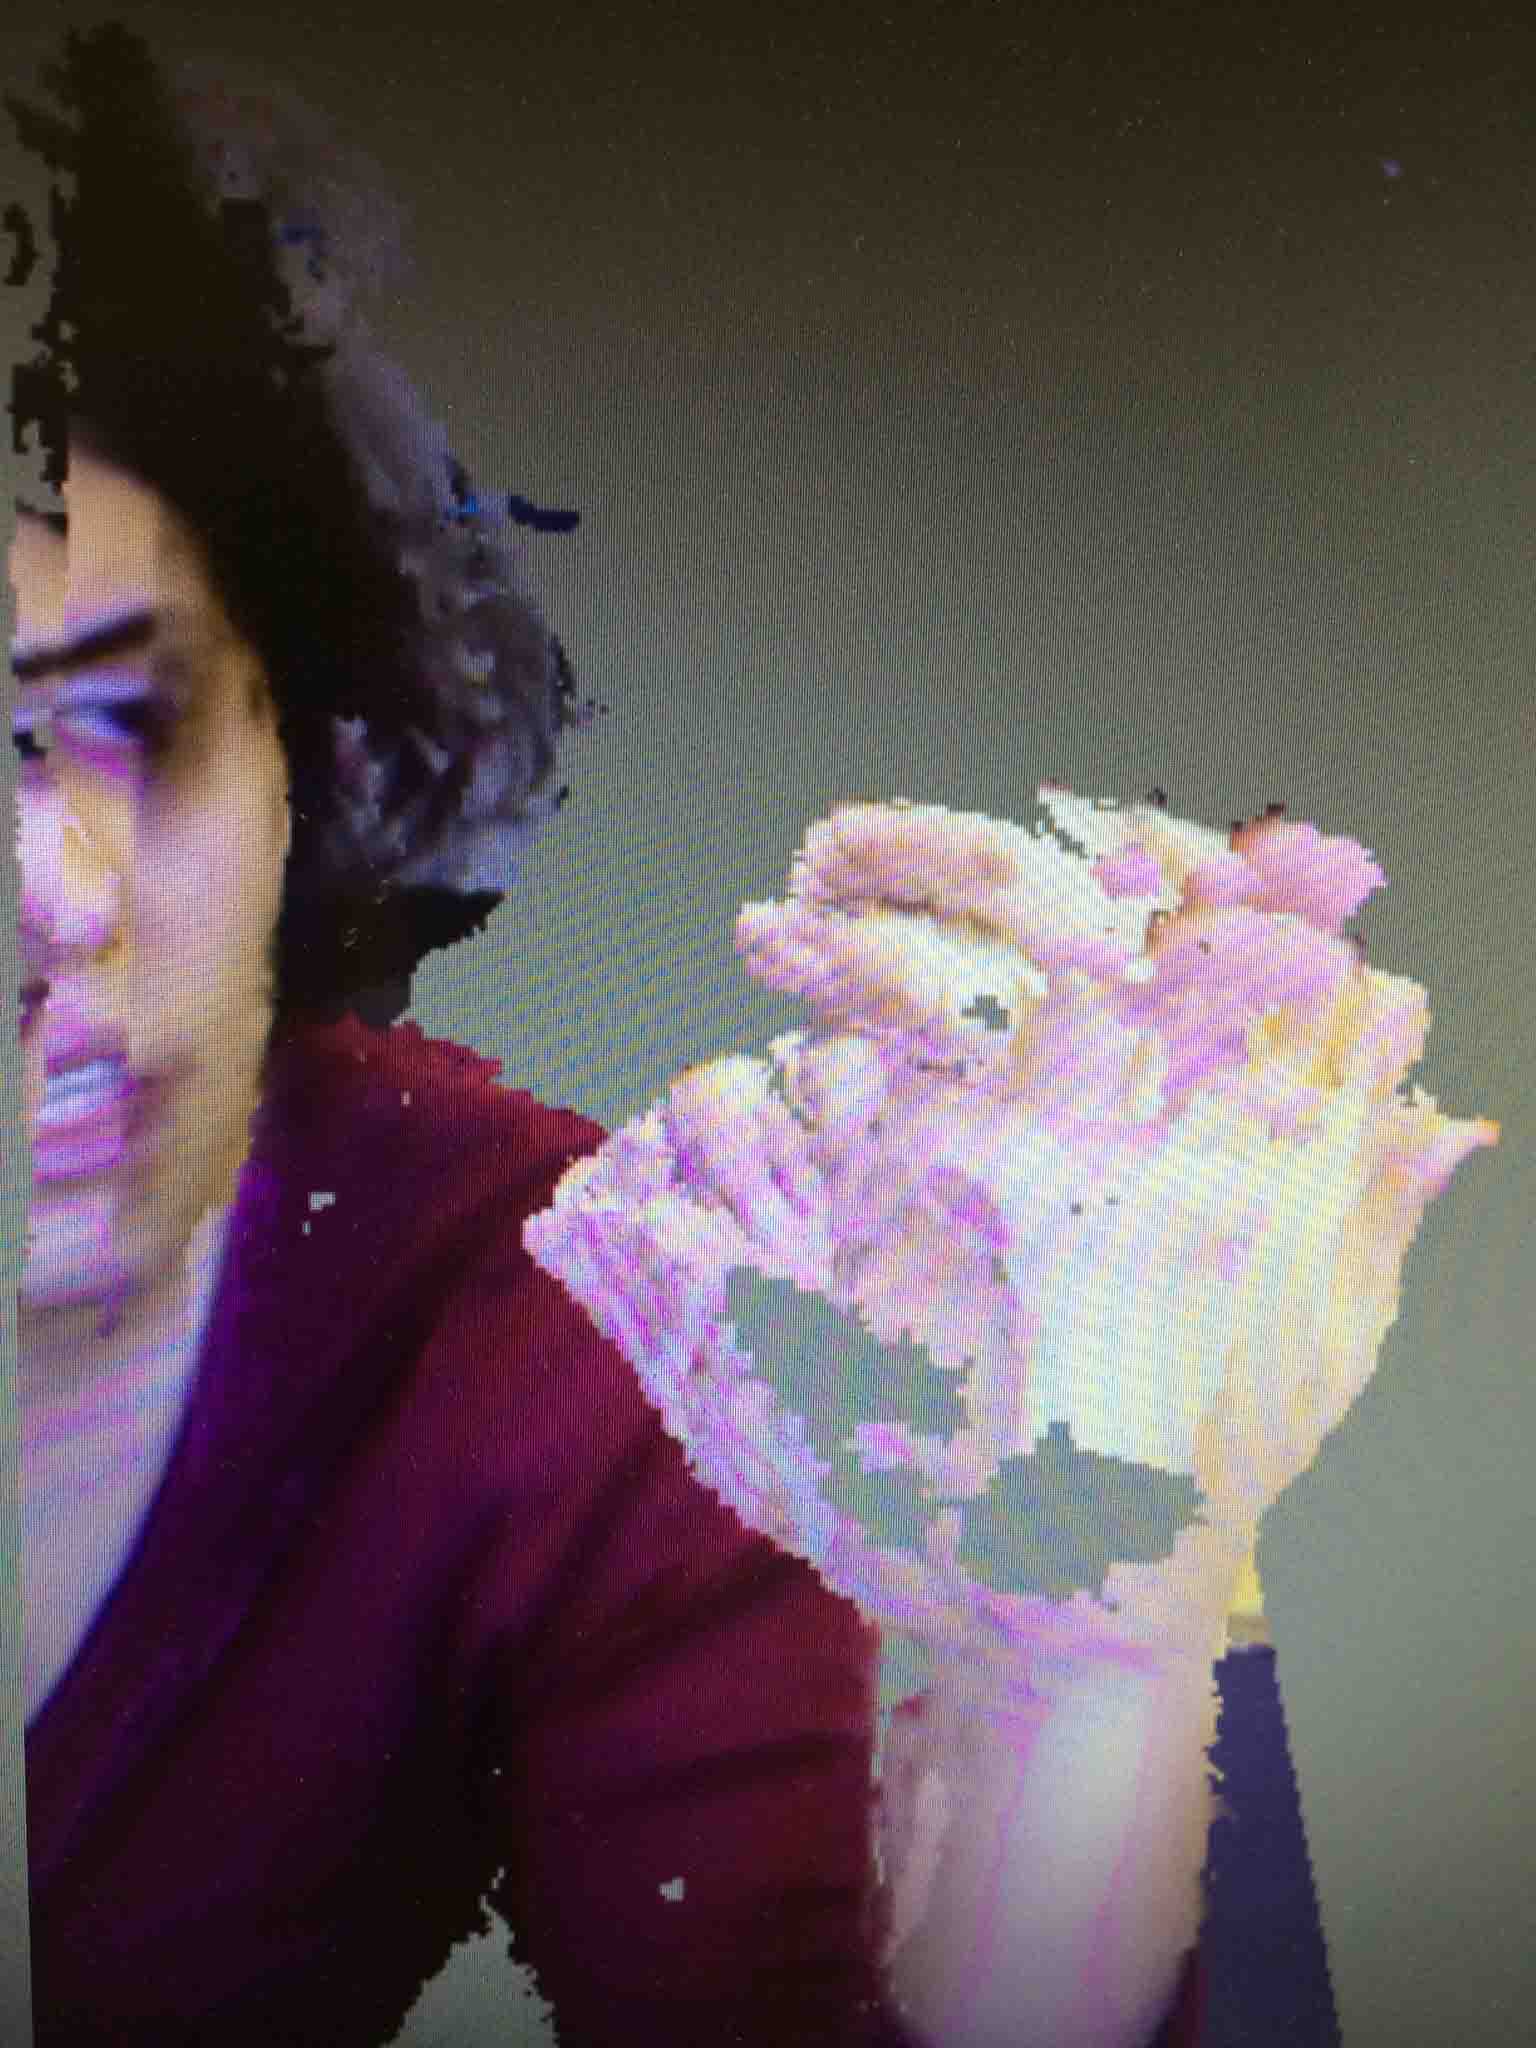
Our assignment this week was to 3D scan and then 3D print objects (not necessarily related). I thought I might be able to combine these by using a 3D scanner to get the closest measurement possible of my actual finger size. I volunteered to be the guinea pig of the scan during our section's training for the Sense scanner and scanned my hand a couple of times. As you can see below, even through I made sure my hand was as straight as possible, the resolution on the scan was never good enough to get measurements from, so I didn't bother with making survaces or meshes for the measurements. Good ol' calipers did the trick.

Designing in Illustrator
I went straight to Solidworks to start my modeling but soon realized that the text feature would not suffice: I wanted more font options, and more easily hacked letters.
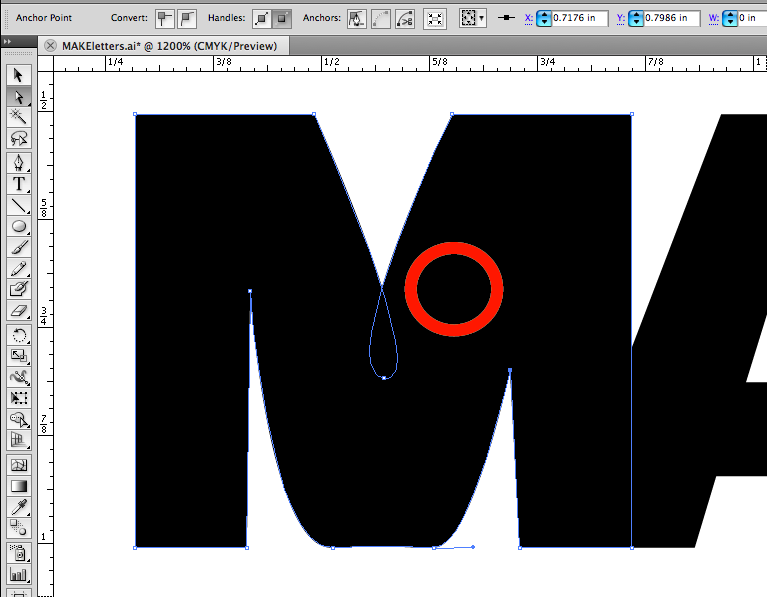
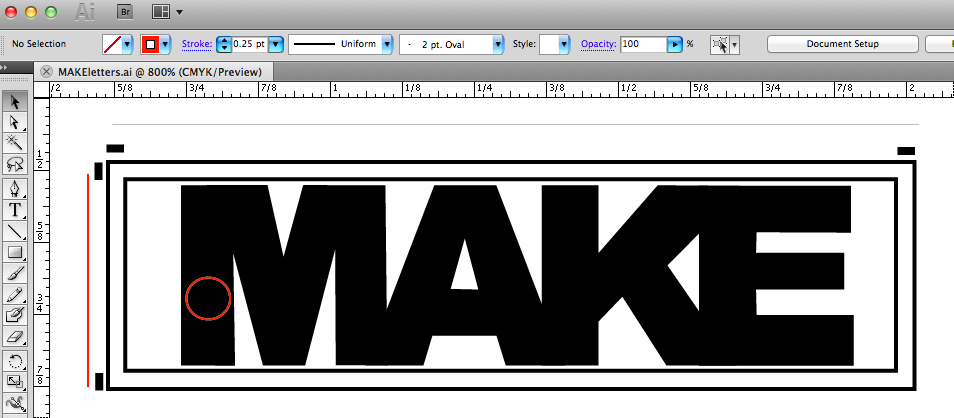
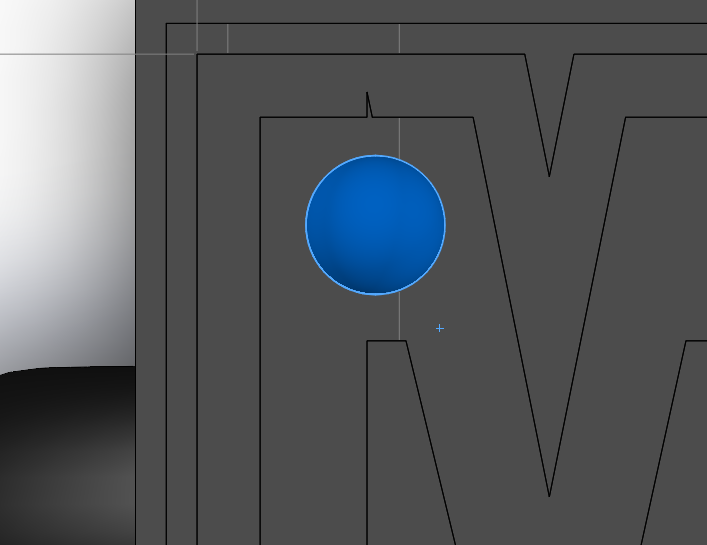
I re-discovered the need for Illustrator as a complimentary CAD software and re-learned a whole series of fundamental features, including actually understanding how on earth to manipulate the anchor points. I used the red circle as a quick measure for to make sure the ball would fit inside the letter track.
Solidworks Modeling
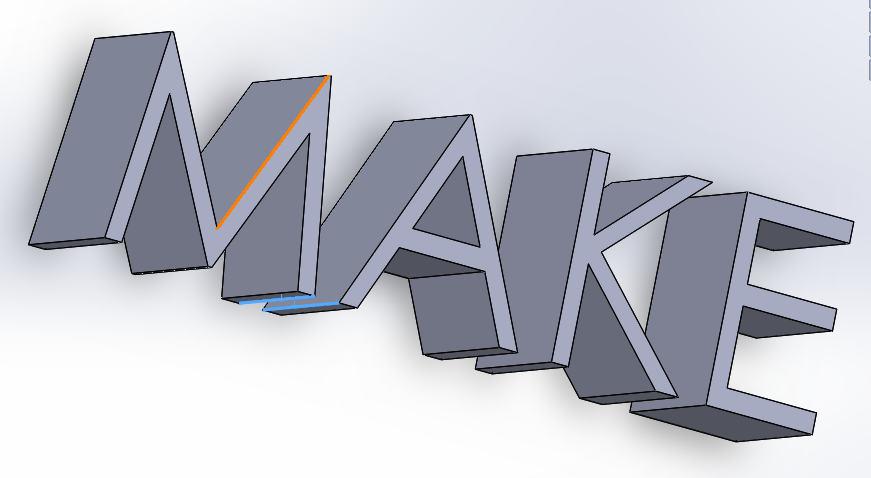
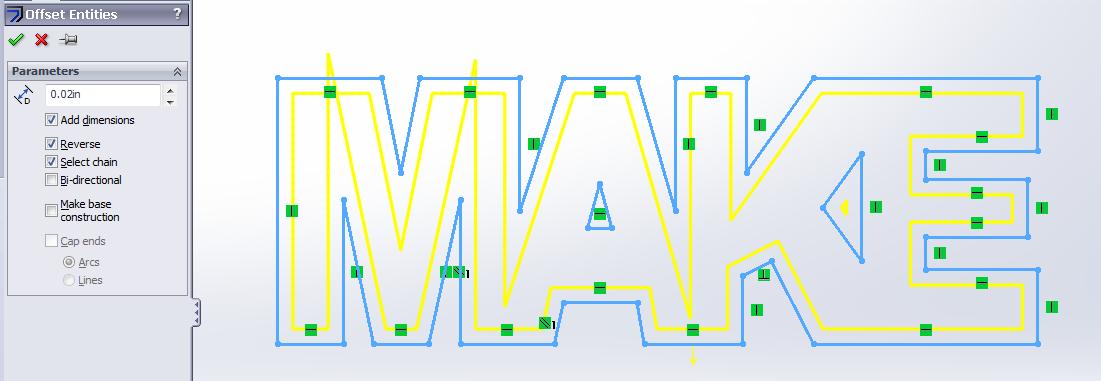
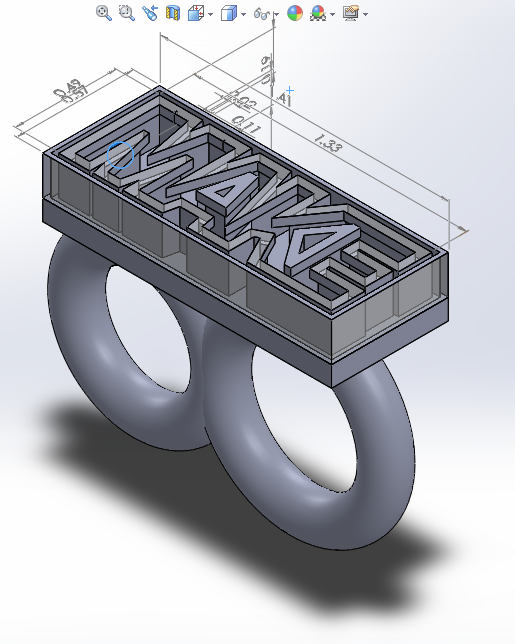
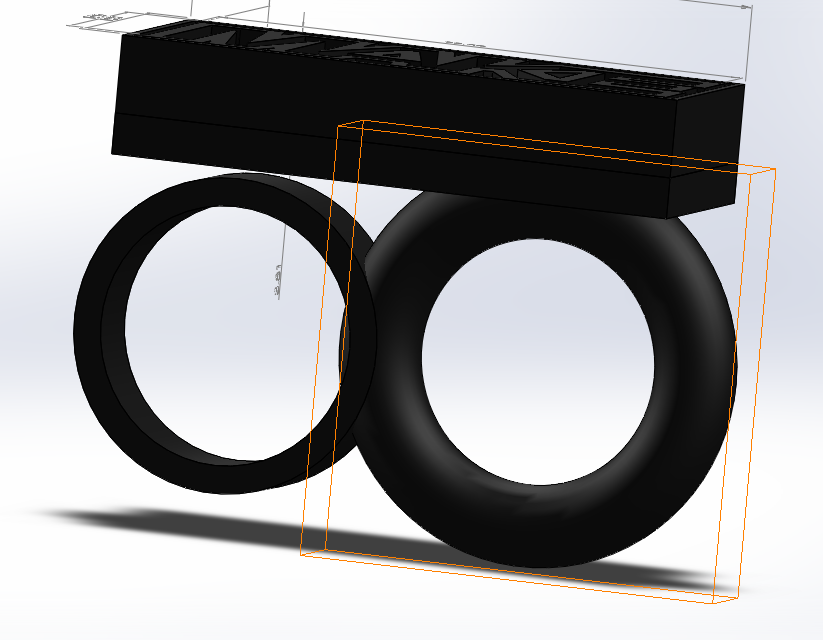
I imported the jpeg of the letters made in Illustrator into a new sketch and used the line tool to trace them into a closed path. I learned to really manipuate the offset tool and extruded the resulting surface to make the track for the ball to roll around.
In order for the ball to not fall out of the track, I designed an overhang on the letters. To do this I selected the top surface of the extruded letters to sketch a new plane and converted entities to get the same letters from the original sketch. Then I offset the letters even more for the overhang to be bigger than the letters under it, and extruded upwards. Now I was ready to print!
First 3D Print
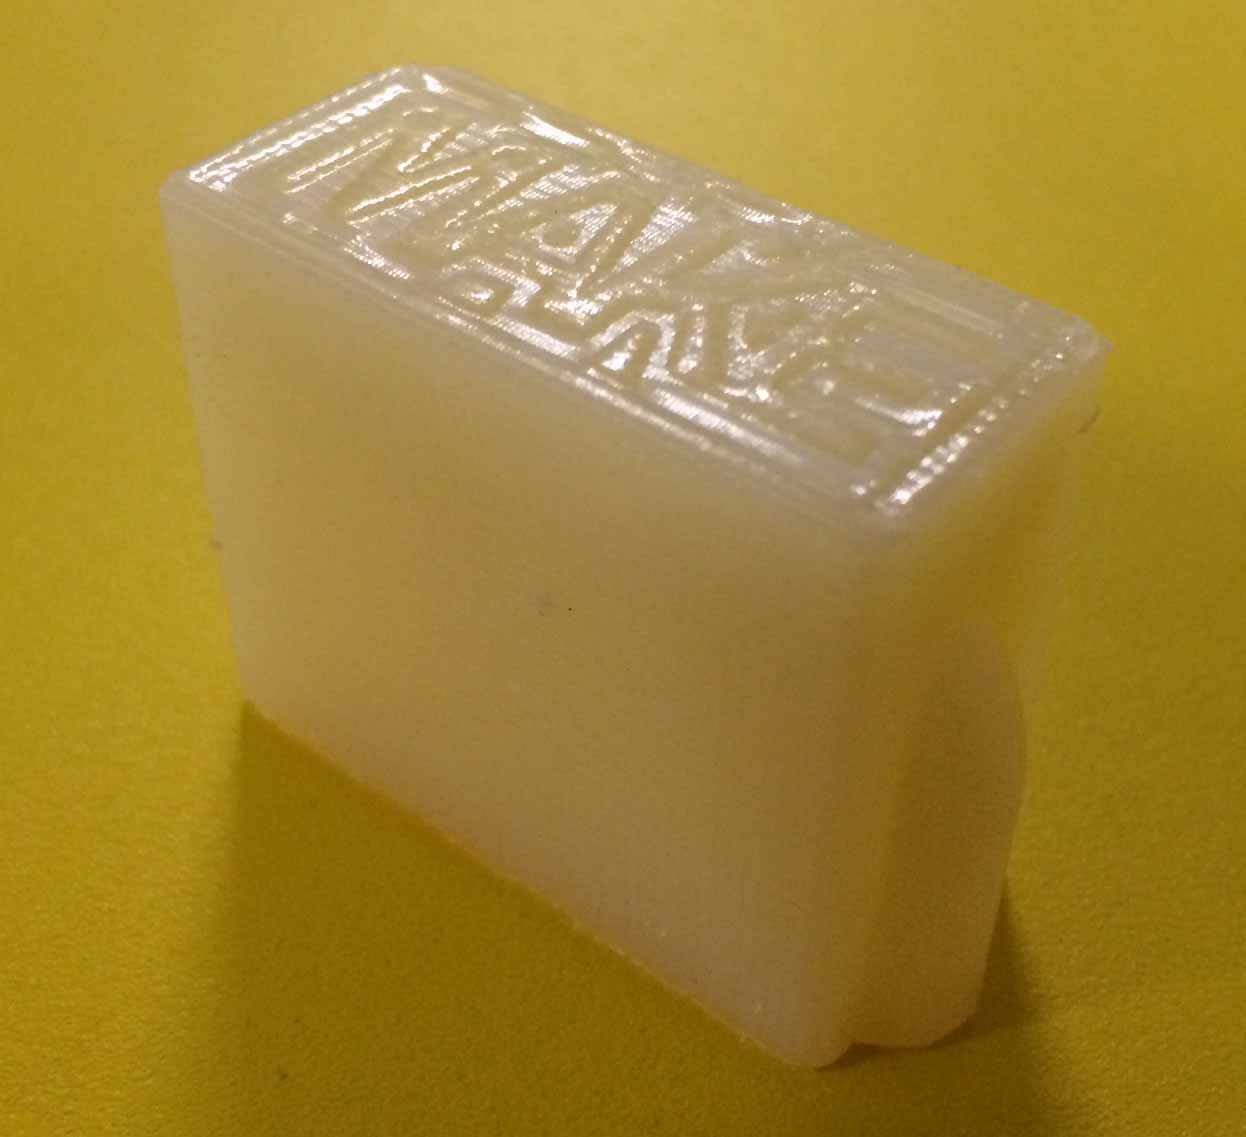
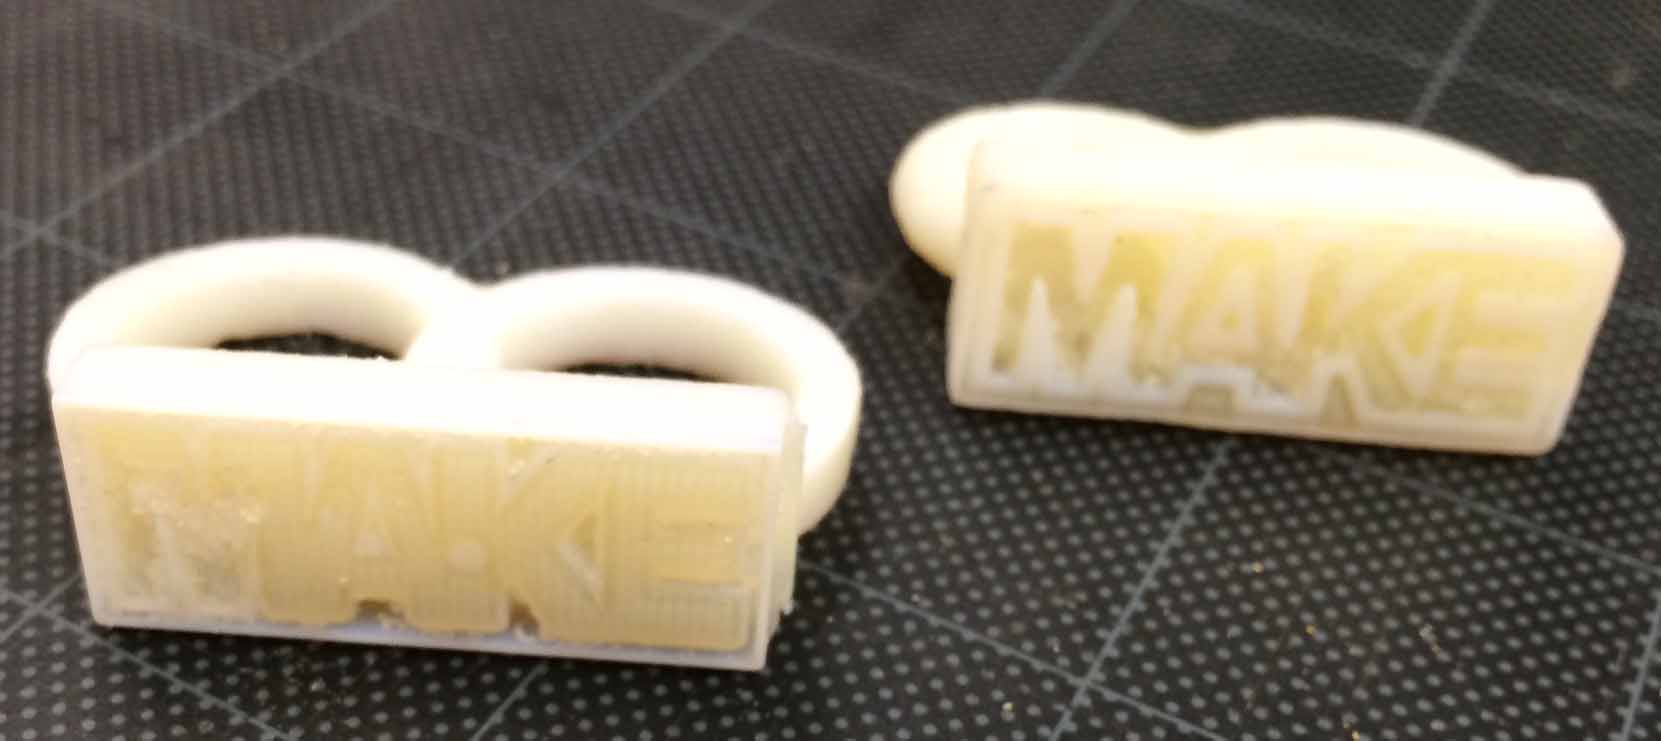
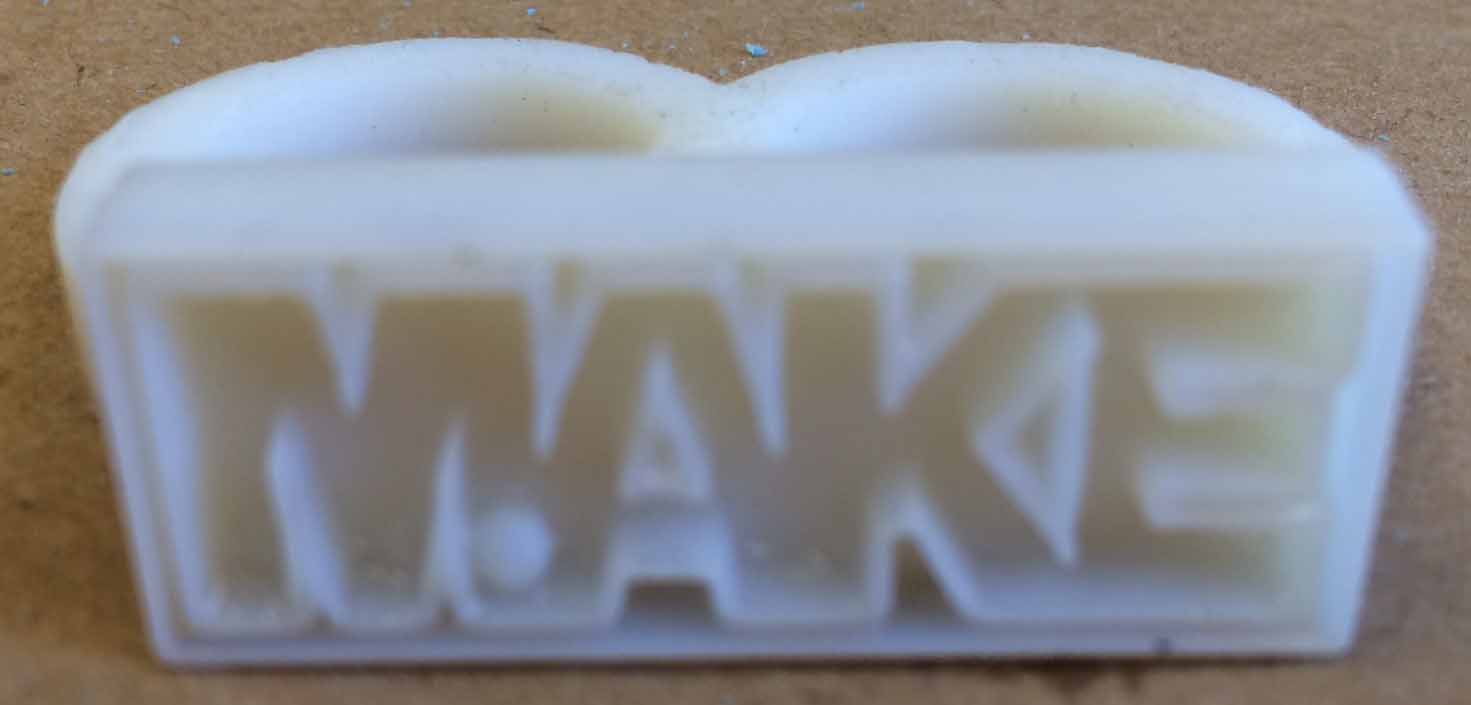
The first print came out of the Objet in a somewhat sticky Resin (pictured at left). The square ends it's sitting on were the support material. It was soft enough that you could just chip into it with your nail.

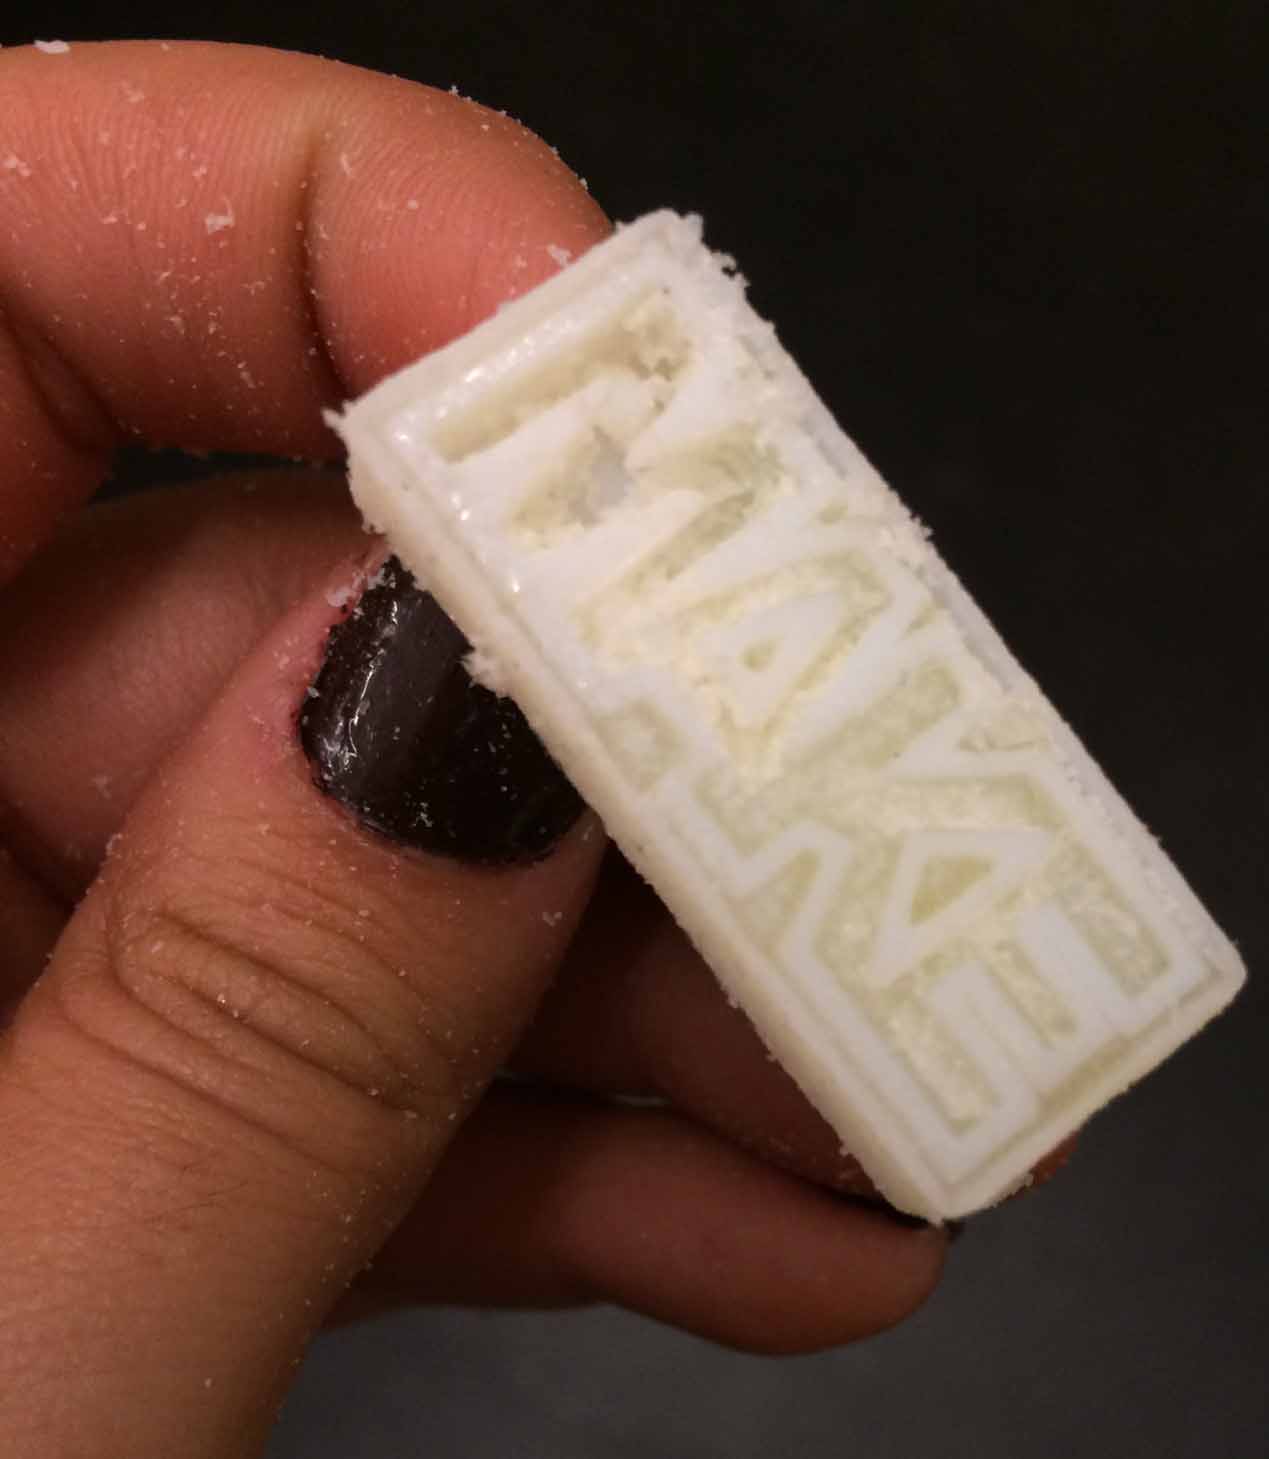
As expected, there were some things that needed iterating. For one, the sweep features that made the rings interfered with my math and they no longer fit my fingers. Secondly, my offsets had not checked all the clearances throughout the entire path of the ball on the track and there were some areas through which the ball could fall out of. The MAKE letters, however, were surprisingly nice and thick with the overhang feature.
Second 3D Print
I made some fixes for the second iteration in the 3D printer. Rings: To fix the size of the finger rings I changed the circle profile to a rectangle profile that would sweep around a centerline.
Trackpad: I used the mouse to move the ball through the entire path and make sure the overhang would keep it in.
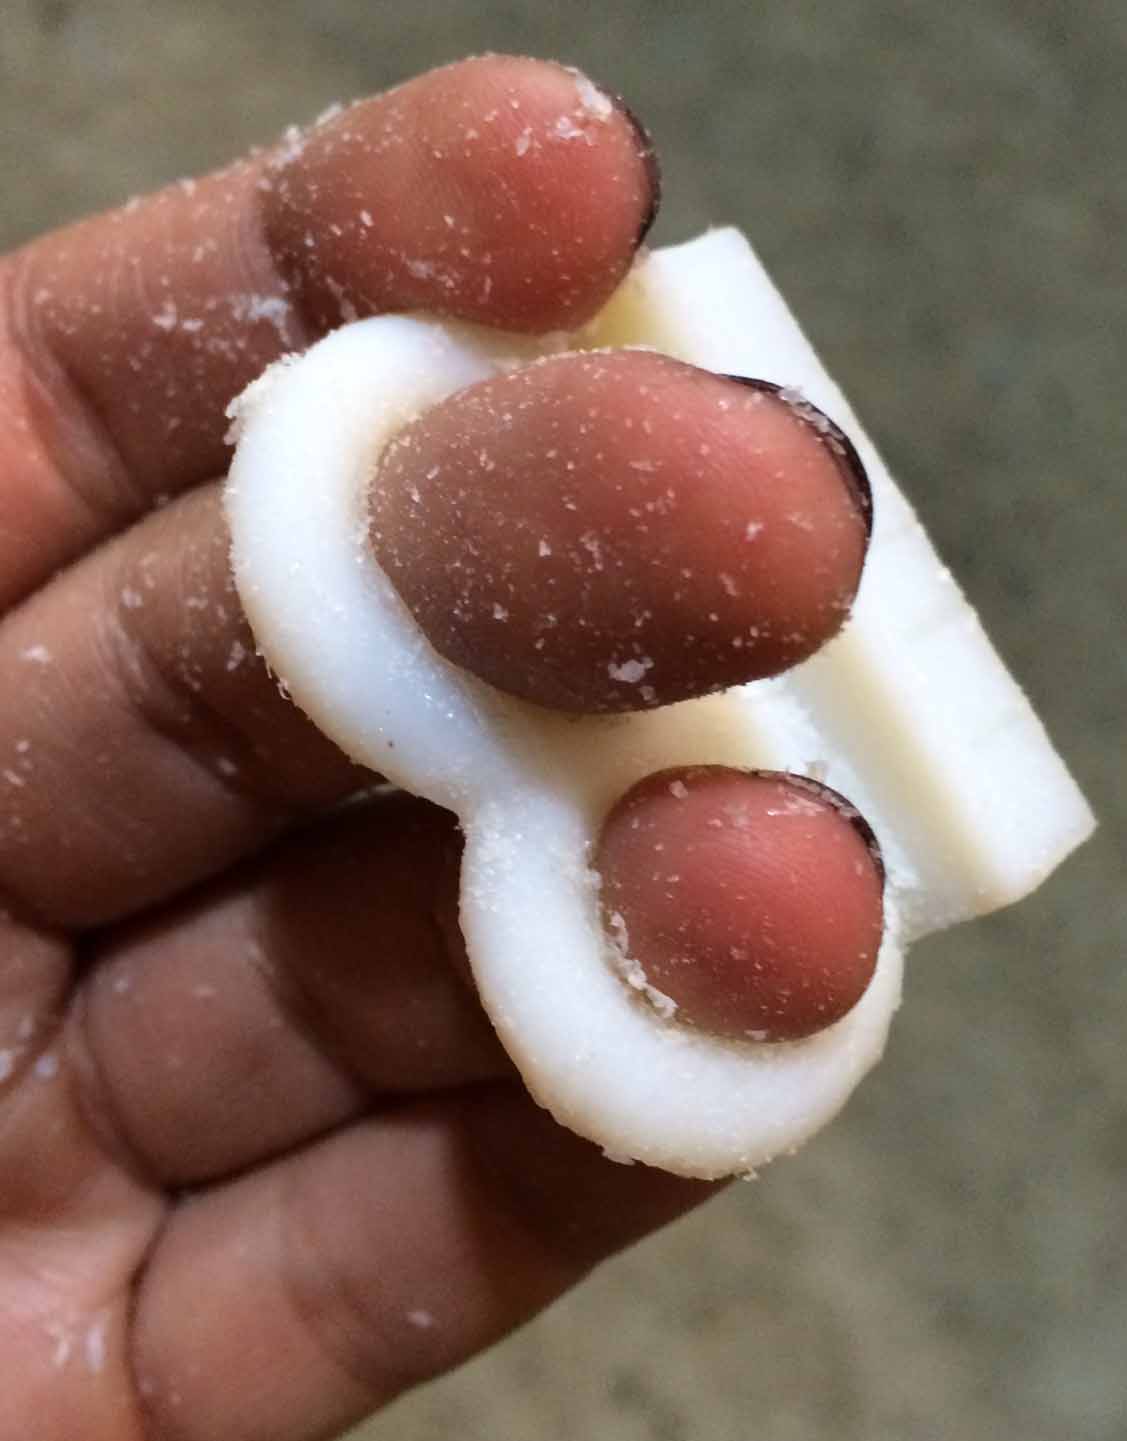
The first thing I did when it finally came out of the printer was to scratch away just enough support material to try it on, and luckily, it fit! The only problem this time was that for some reason the Objet printer didn't print the overhang, so there was nothing to keep the ball in. This mystery is still waiting to be resolved.
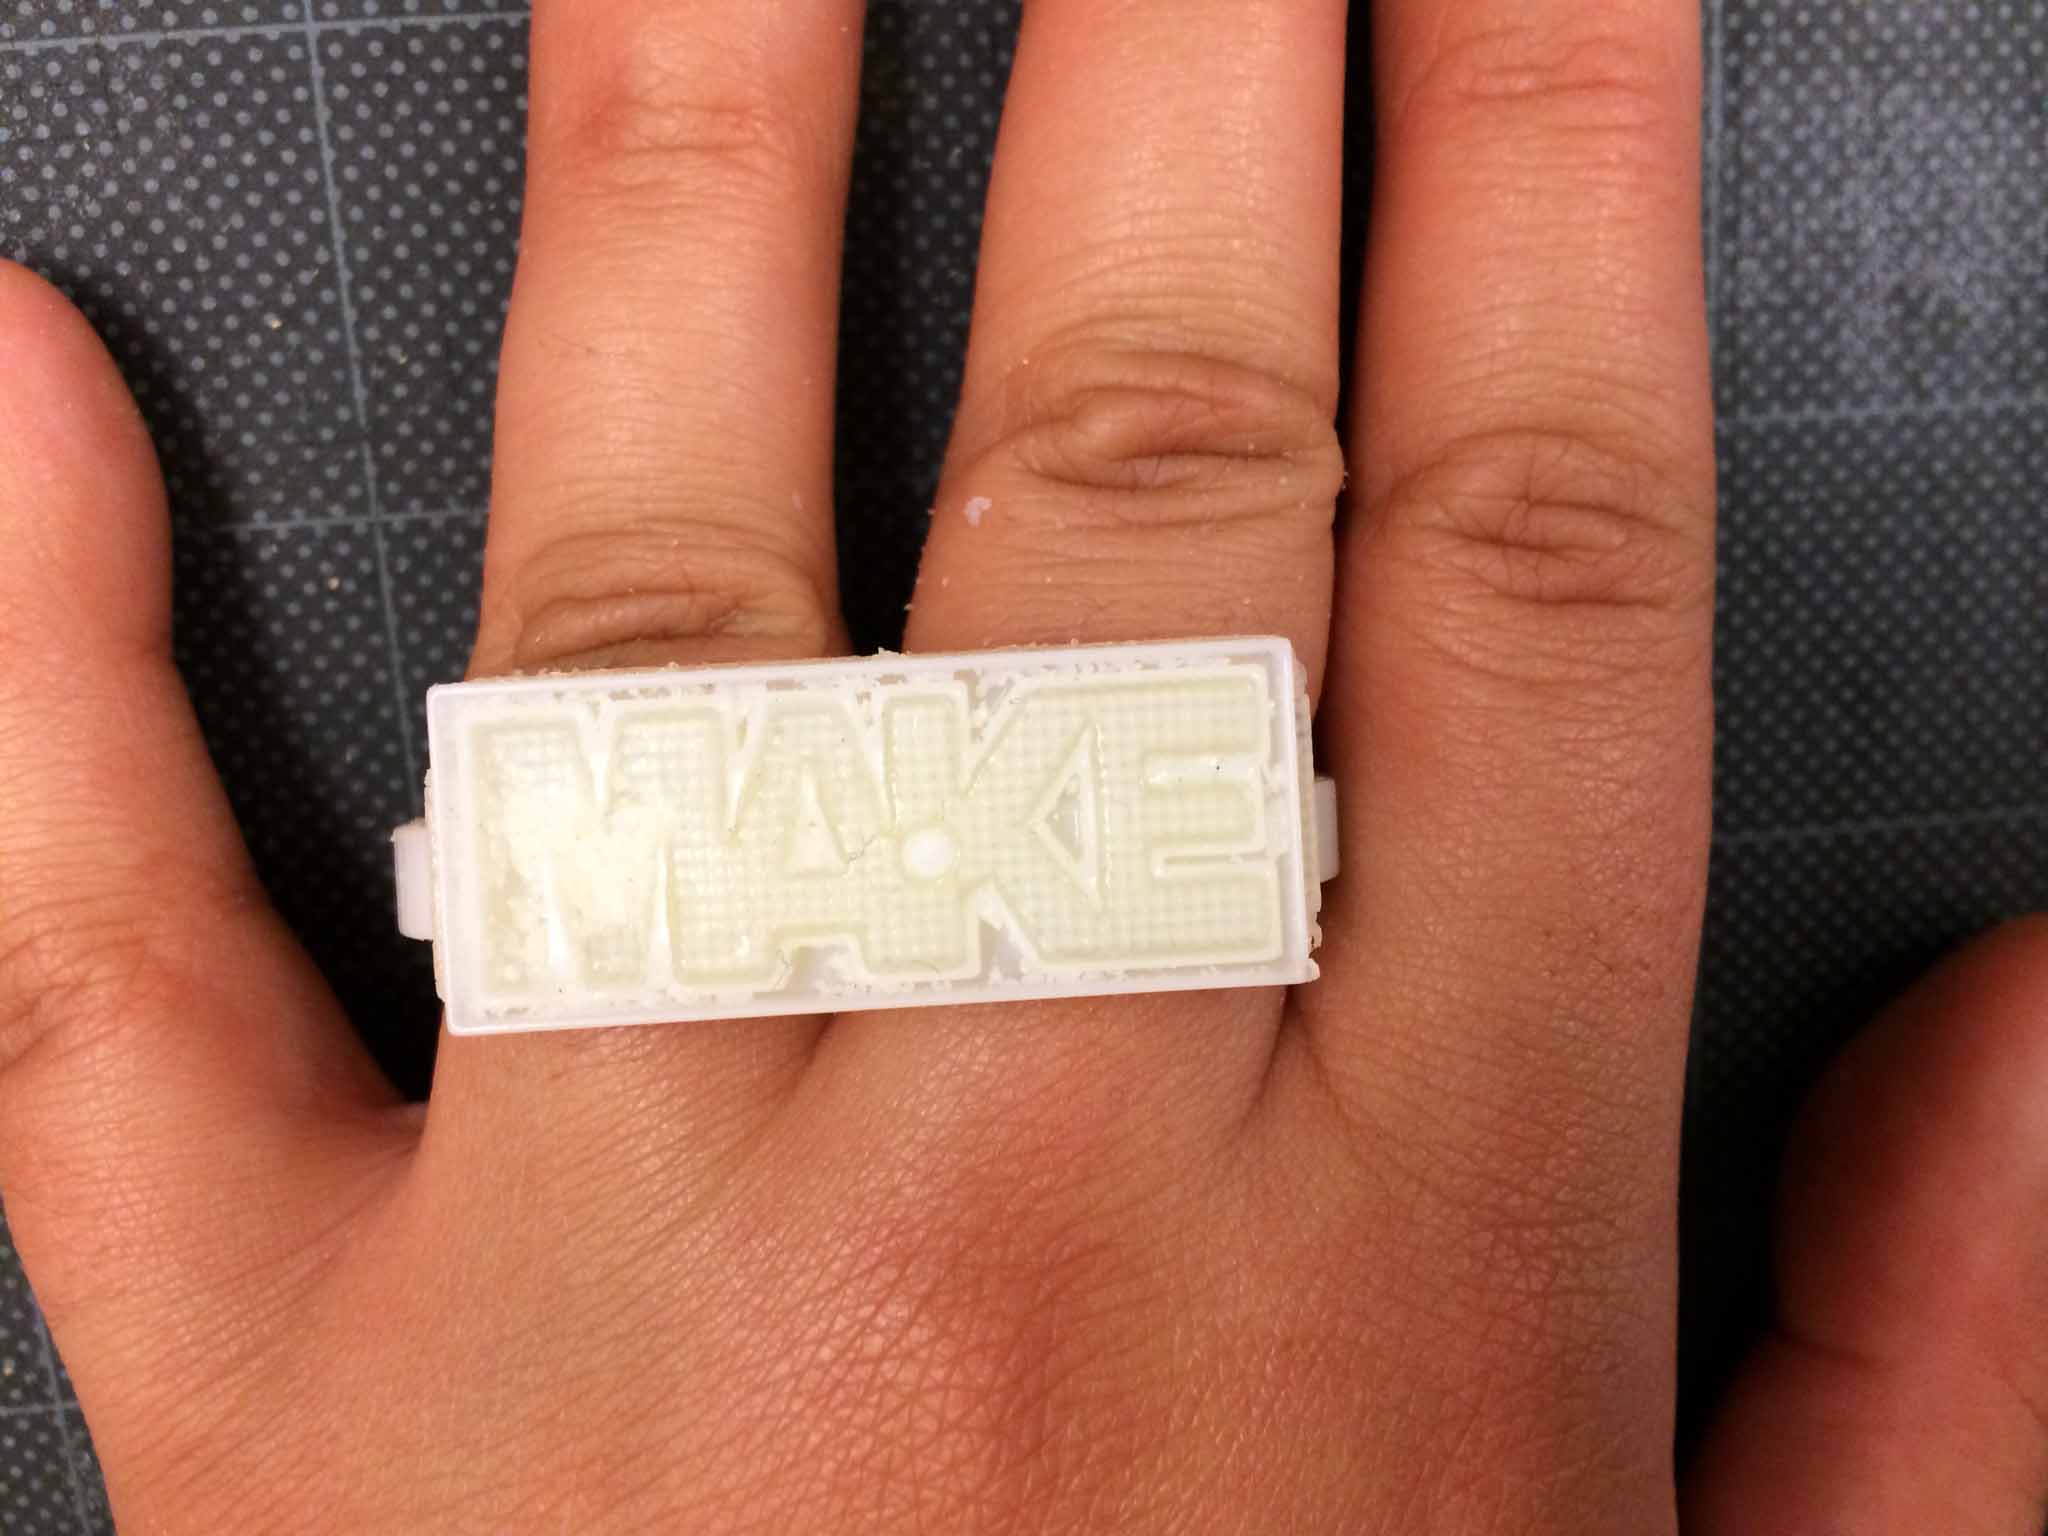
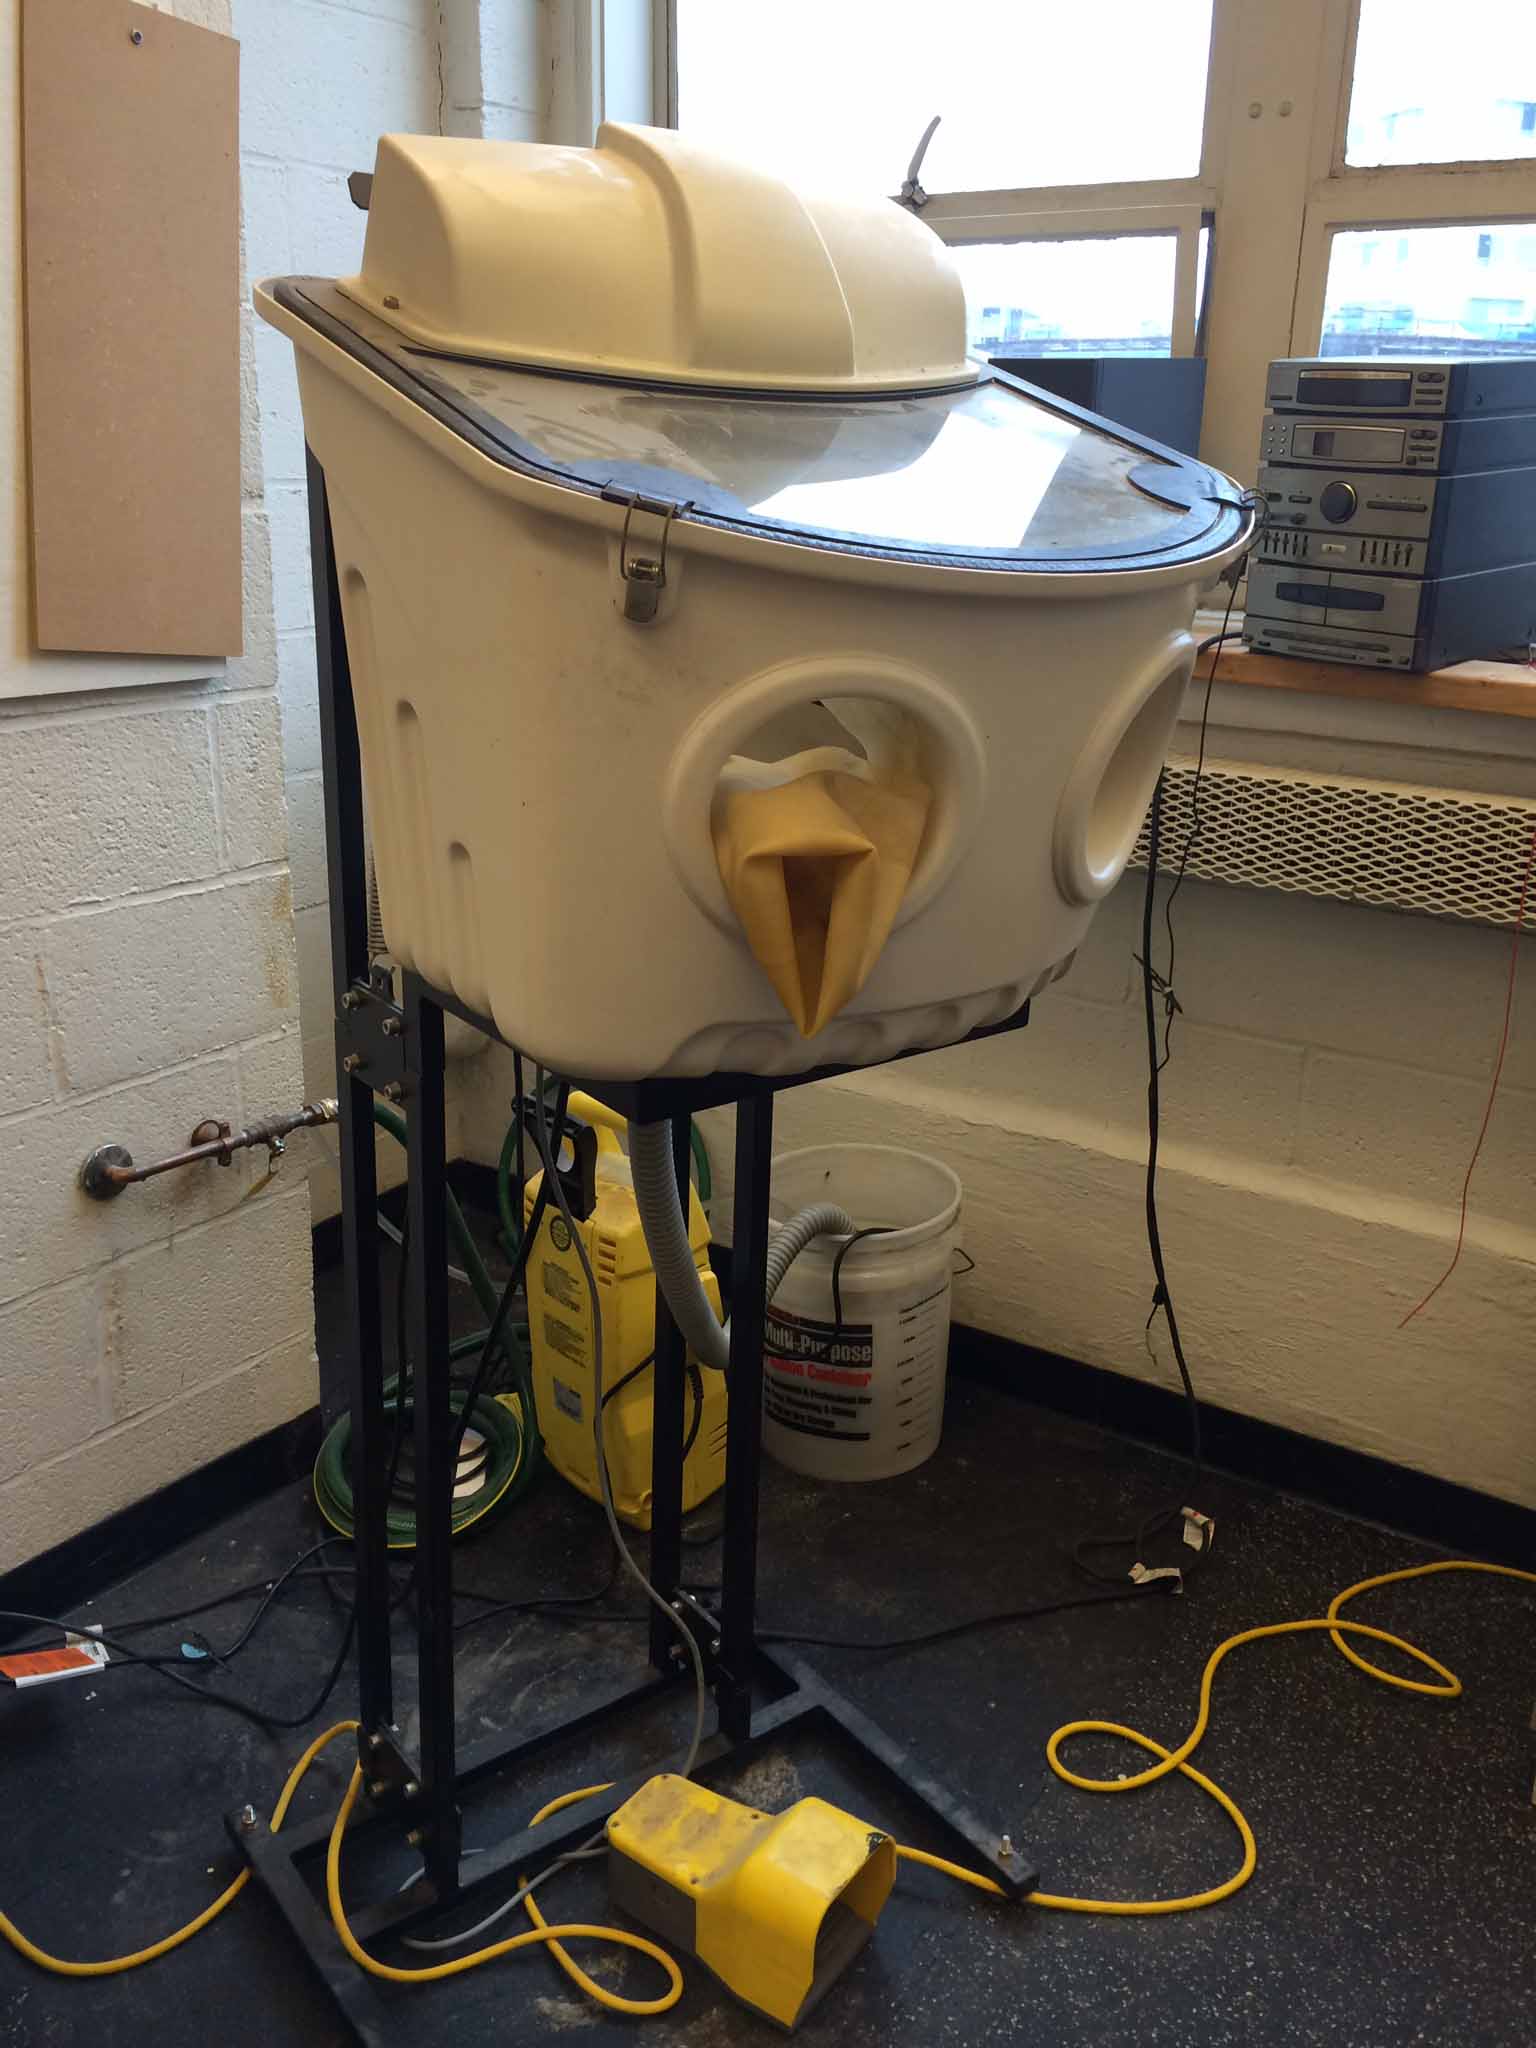
To really clean out the support material from the inside I had to use the watergun apparatus in the PDL (Product Design Laboratory). Also my first time, but it was super intuitive to work.

Finally! It was so fresh and so clean!
Lasercuting for mass production
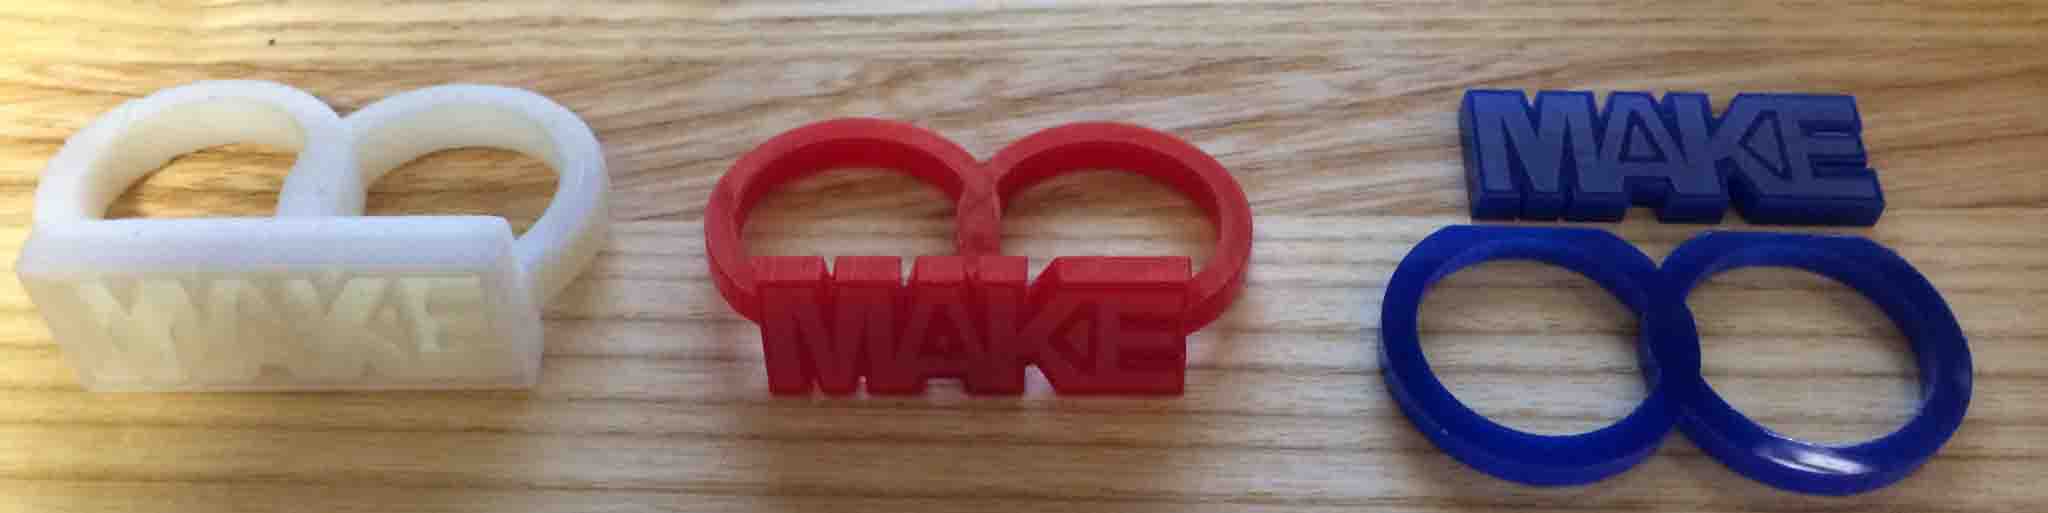
I planned on making some for the female organizers on the Maker Faire organizing team as a big thank you. For a quicker production time, I decided the laser cutter would be much quicker, so we scrapped the idea of the track ball and just made it in 2-D. I made some prototypes with the help of Tasker from the Pappalardo Laboratory (he's AWESOME) and brought them home.
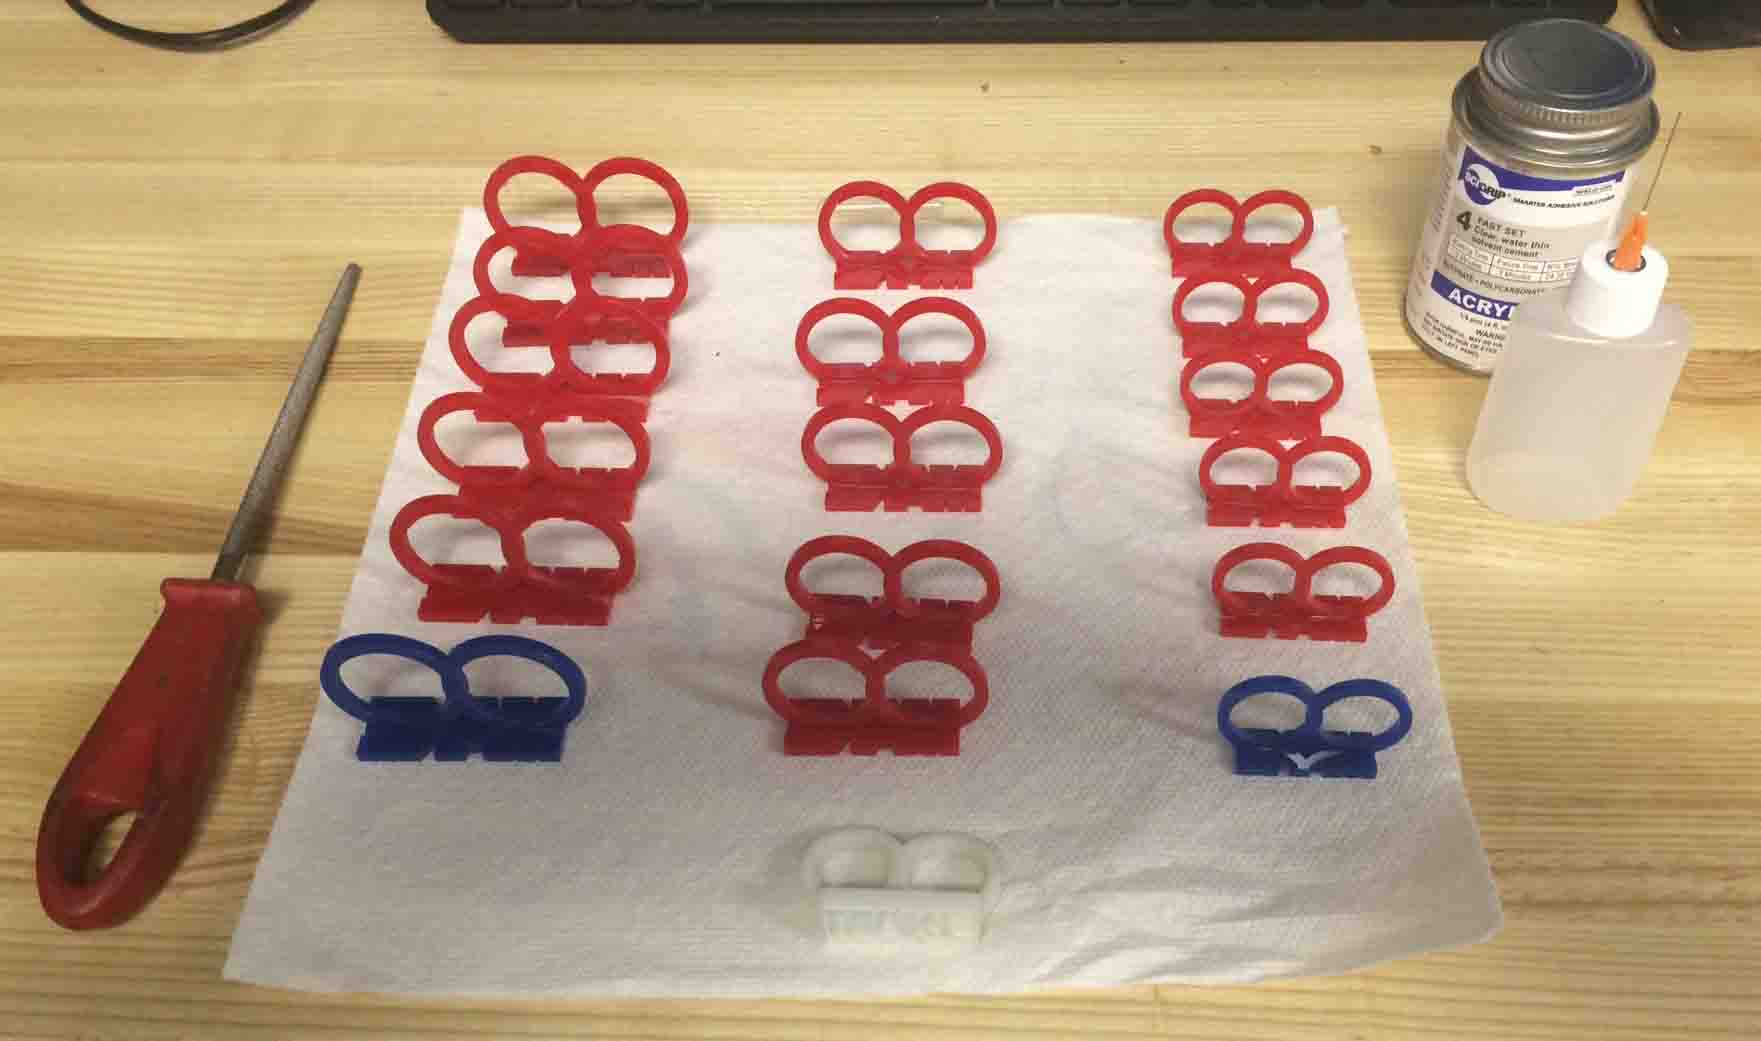
Later that night, one of the male organizers noticed the ring and reaaallllllllly liked it. Thus was born the unisex MAKE ring for ALL the organizers on the team! This was our army of rings ready to serve lonely fingers. We used acrylic weld (thanks, Amy!) to make them stick. Note to self: Next time, use wax paper so the napkin doesn't stick on the ring after any bleeding!
Fun fact: The next day after this production I had a meeting with President Rafael Reif wherein I invited him to the Maker Faire and presented him with one of the rings as a token of his awesomeness. Awesomeness confirmed: He loved it and immediately put it on, made sure it wouldn't hurt his hand when he shakes hands with others, and proceeded to keep talking about our discussion with the ring on. What a gem.