Bonus
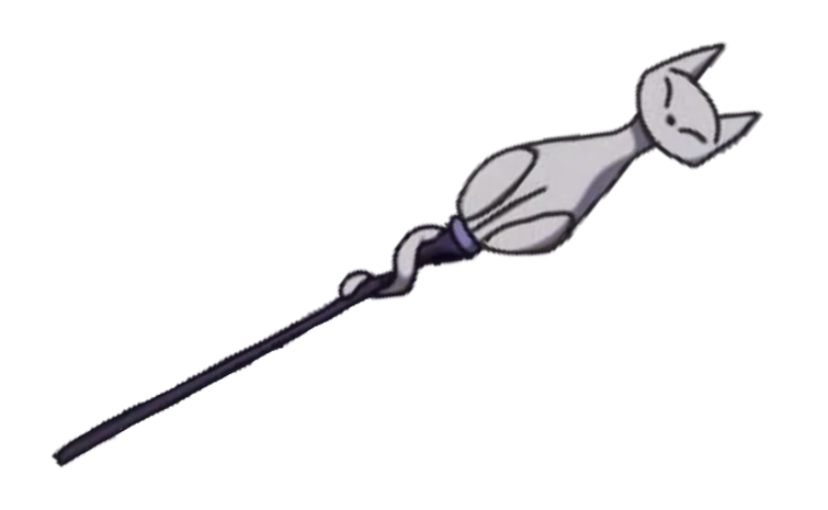
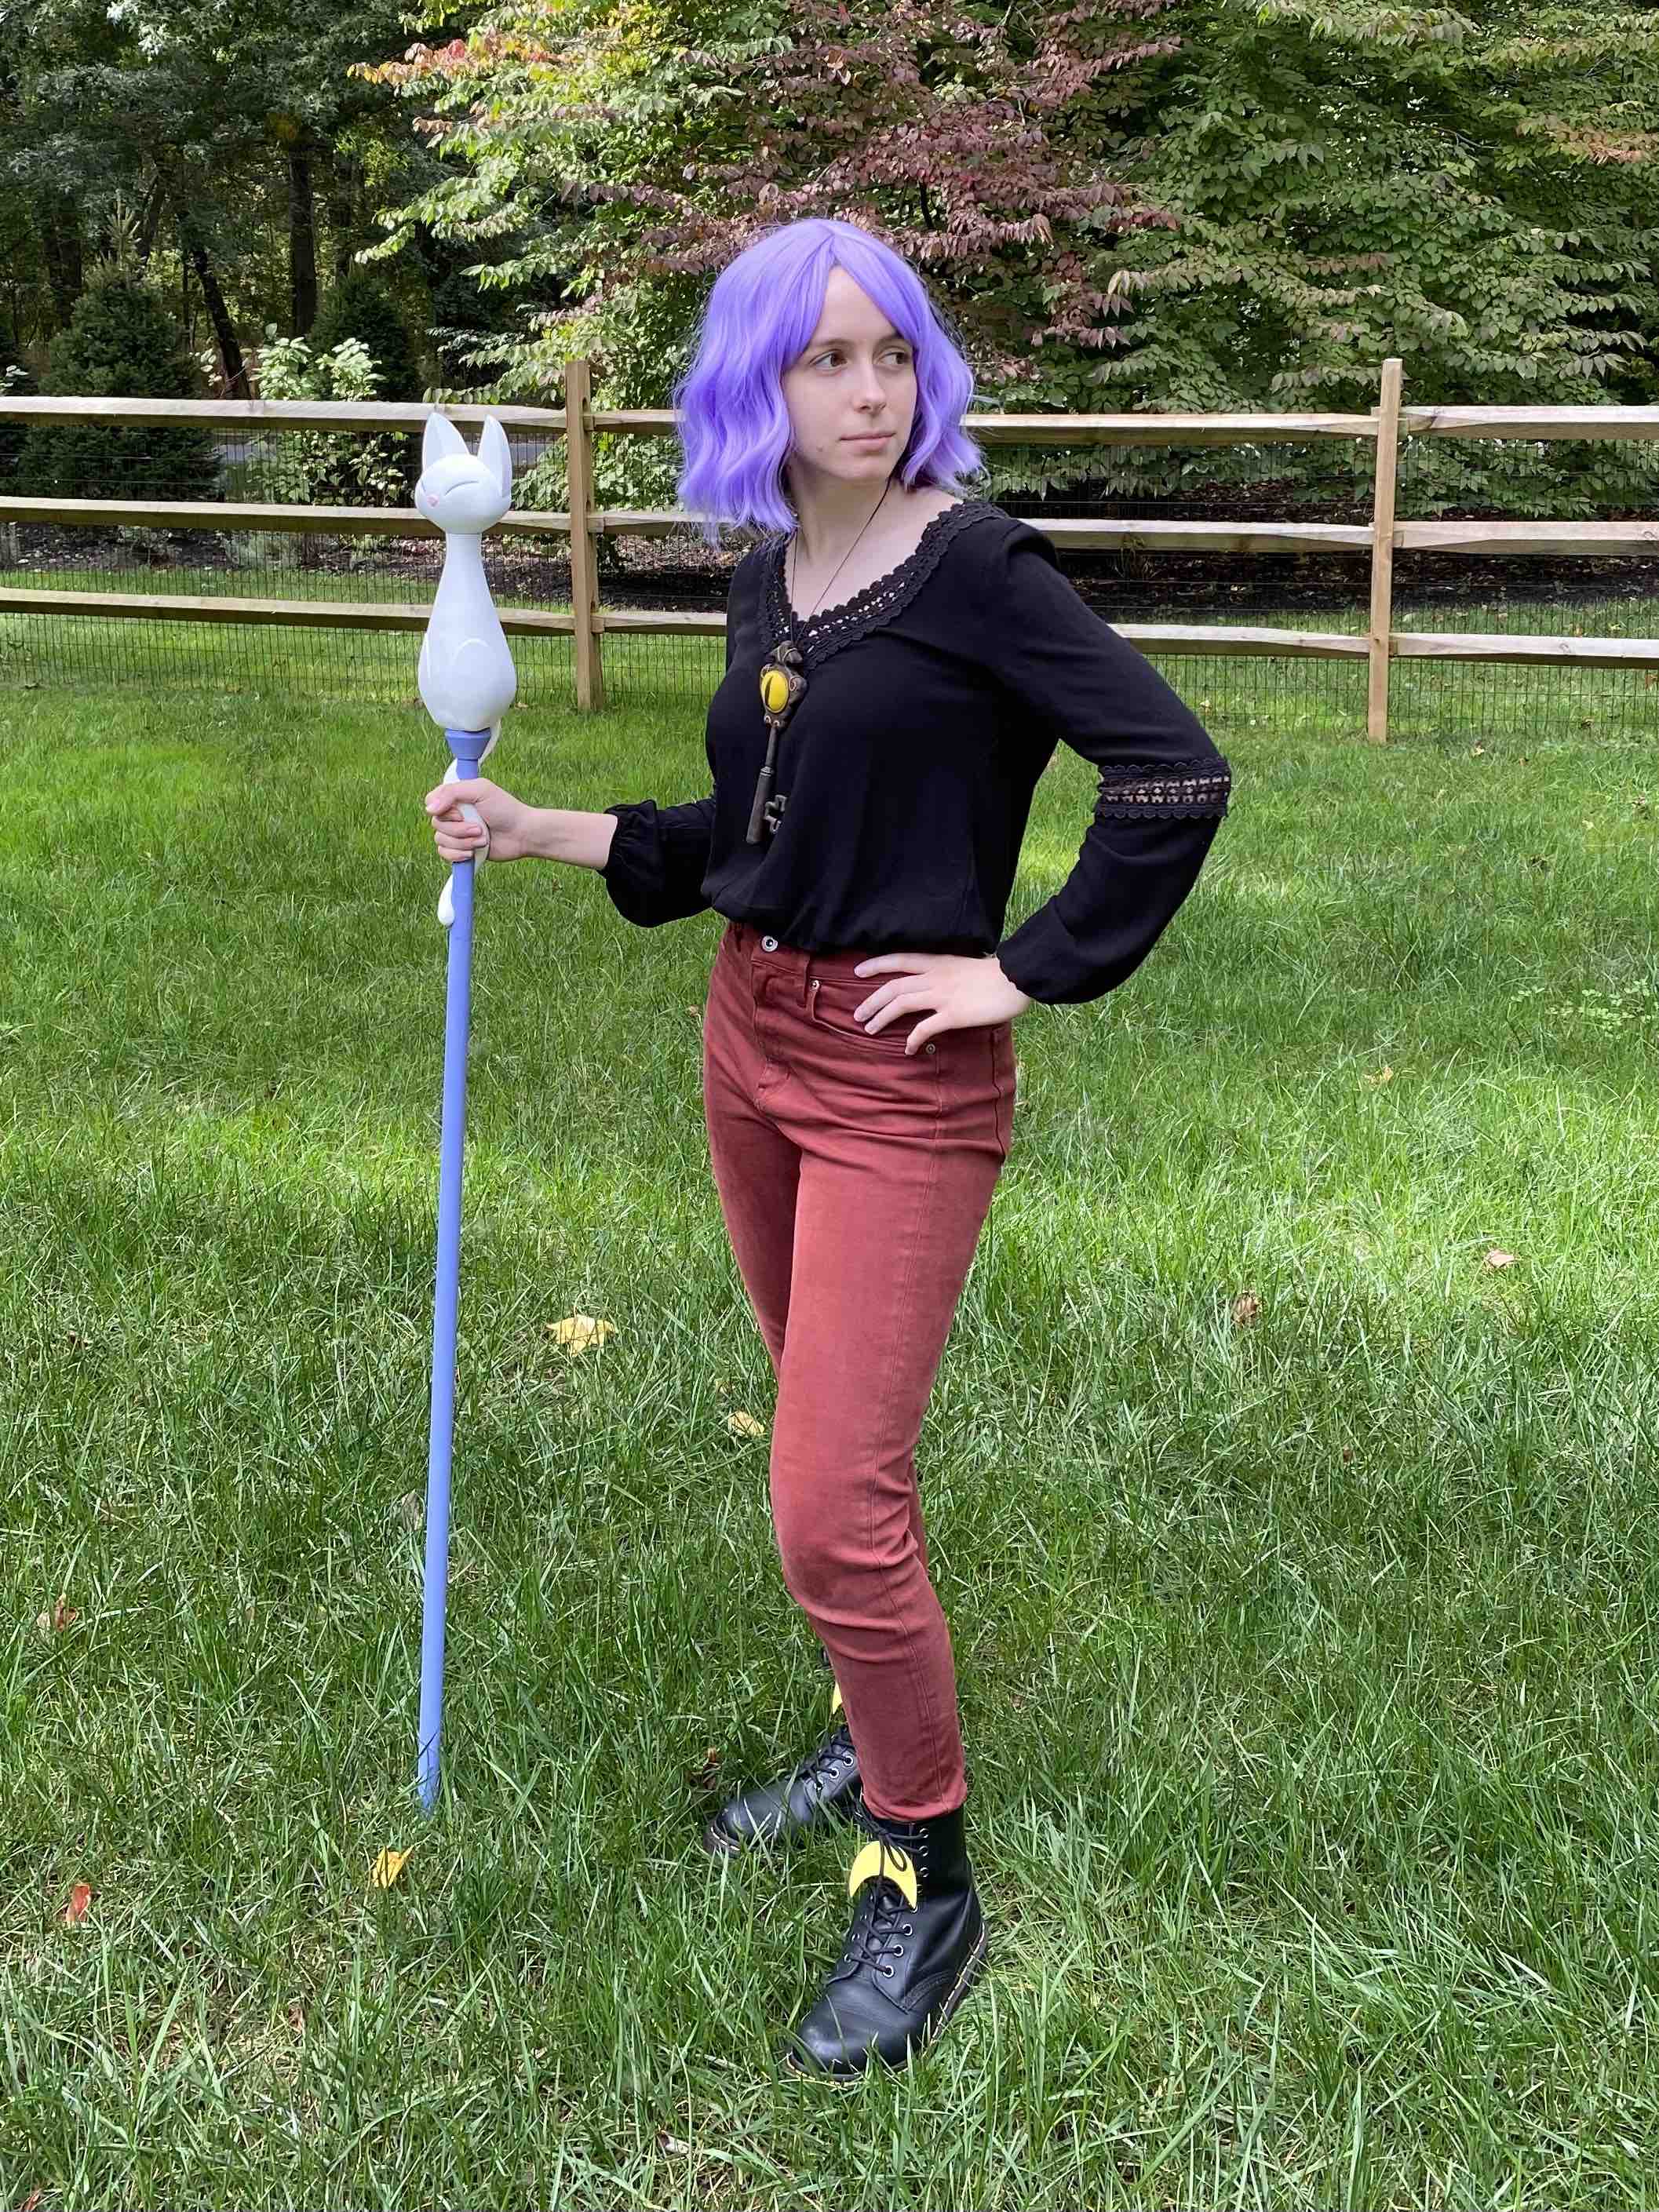
I thought I'd include a personal project of mine that involves 3D printing since I was also working on it during week4. I'm going to NYC Comic Con on the 9th, and the final thing I have to make for my cosplay is a witch's staff! I'm cosplaying as Amity Blight from The Owl House. I have a tube to use for the pole, so I 3D printed the cat.
Head CAD
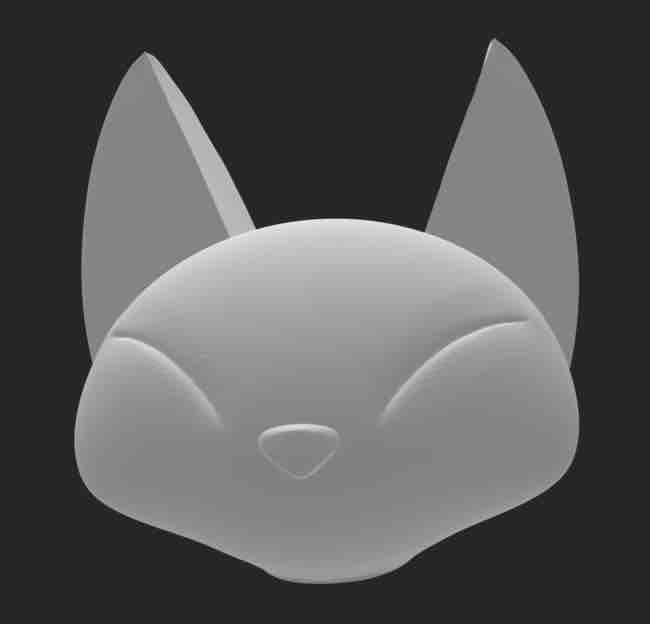
Here's the stl file of the cat's head. I bought the CAD of the cat from Etsy since I didn't have the time/experience to design the cat myself. Working with surfaces to mold the bird pencil holder was finicky enough, so I knew the cat would be too complex to attempt in Fusion; I plan to look into sculpting software in the future so I can make more organic shapes!
Satisfying supports
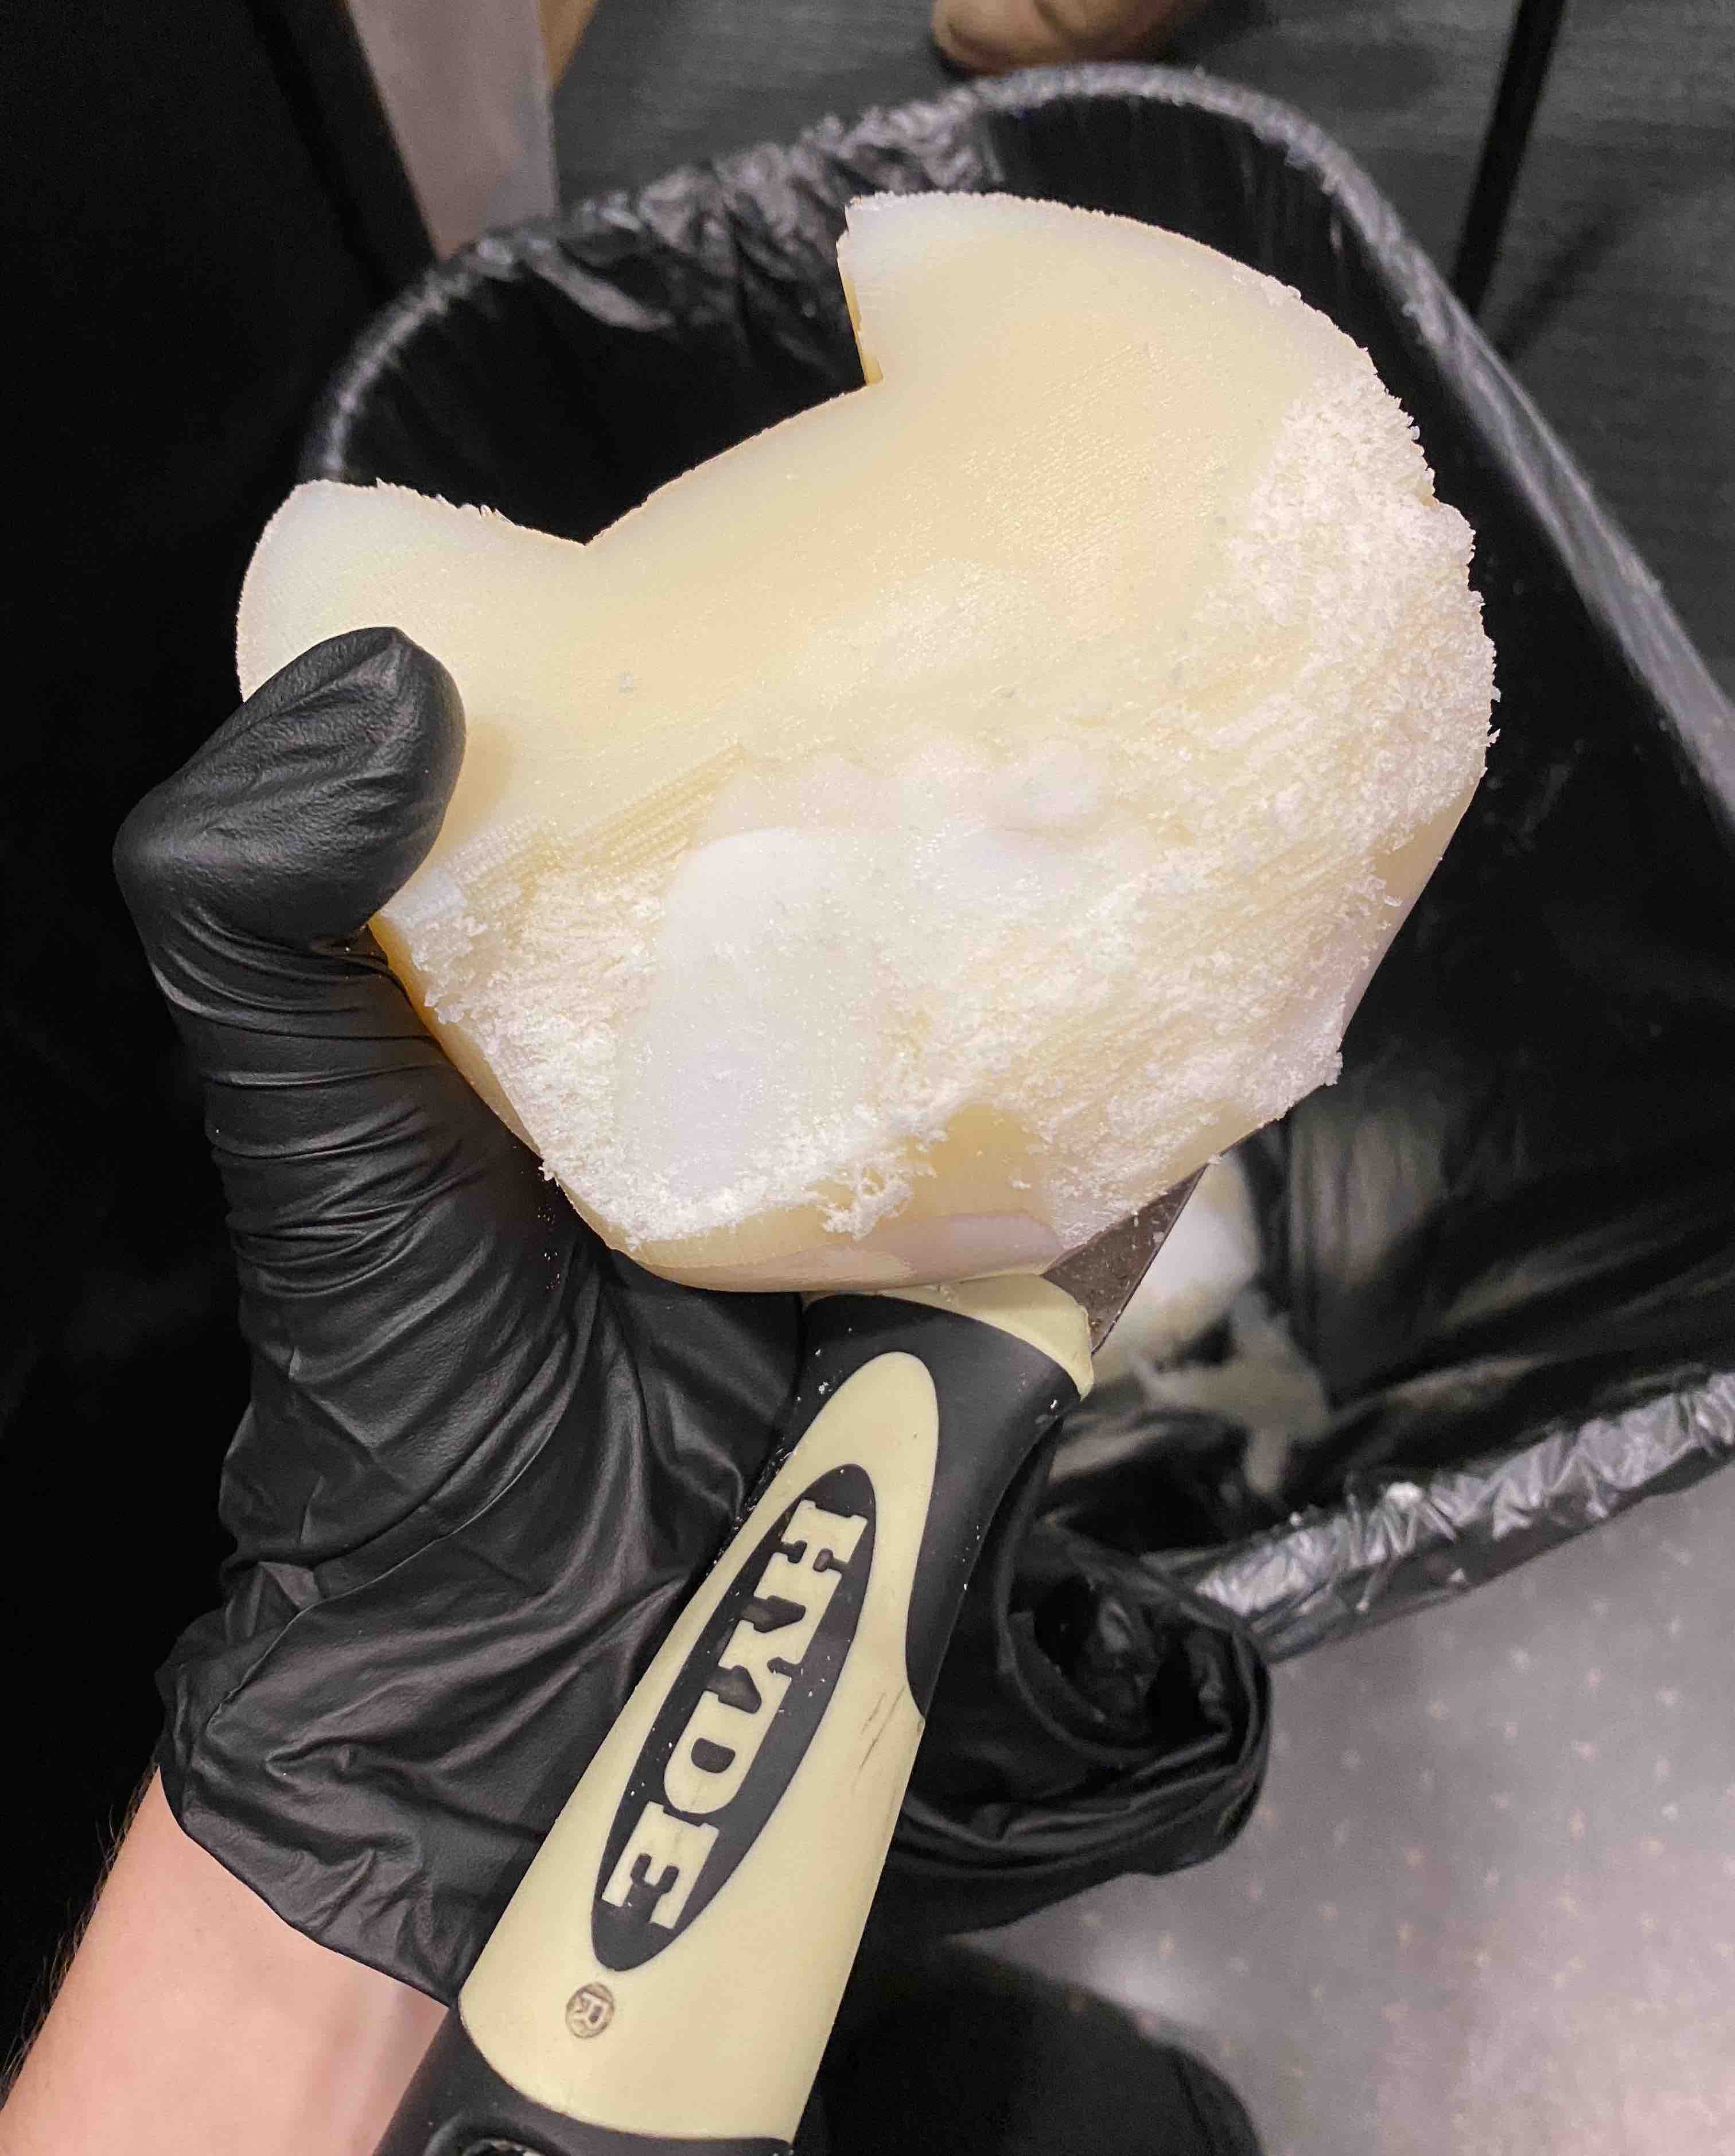
Since my lab needs to print with our Stratasys Objet once a week to keep it in good condition, I was able to print the head on that fancy machine. I adore the supports on the Objet because they're so fun to remove. It makes me think of shaving parm cheese -- very satisfying.
Body
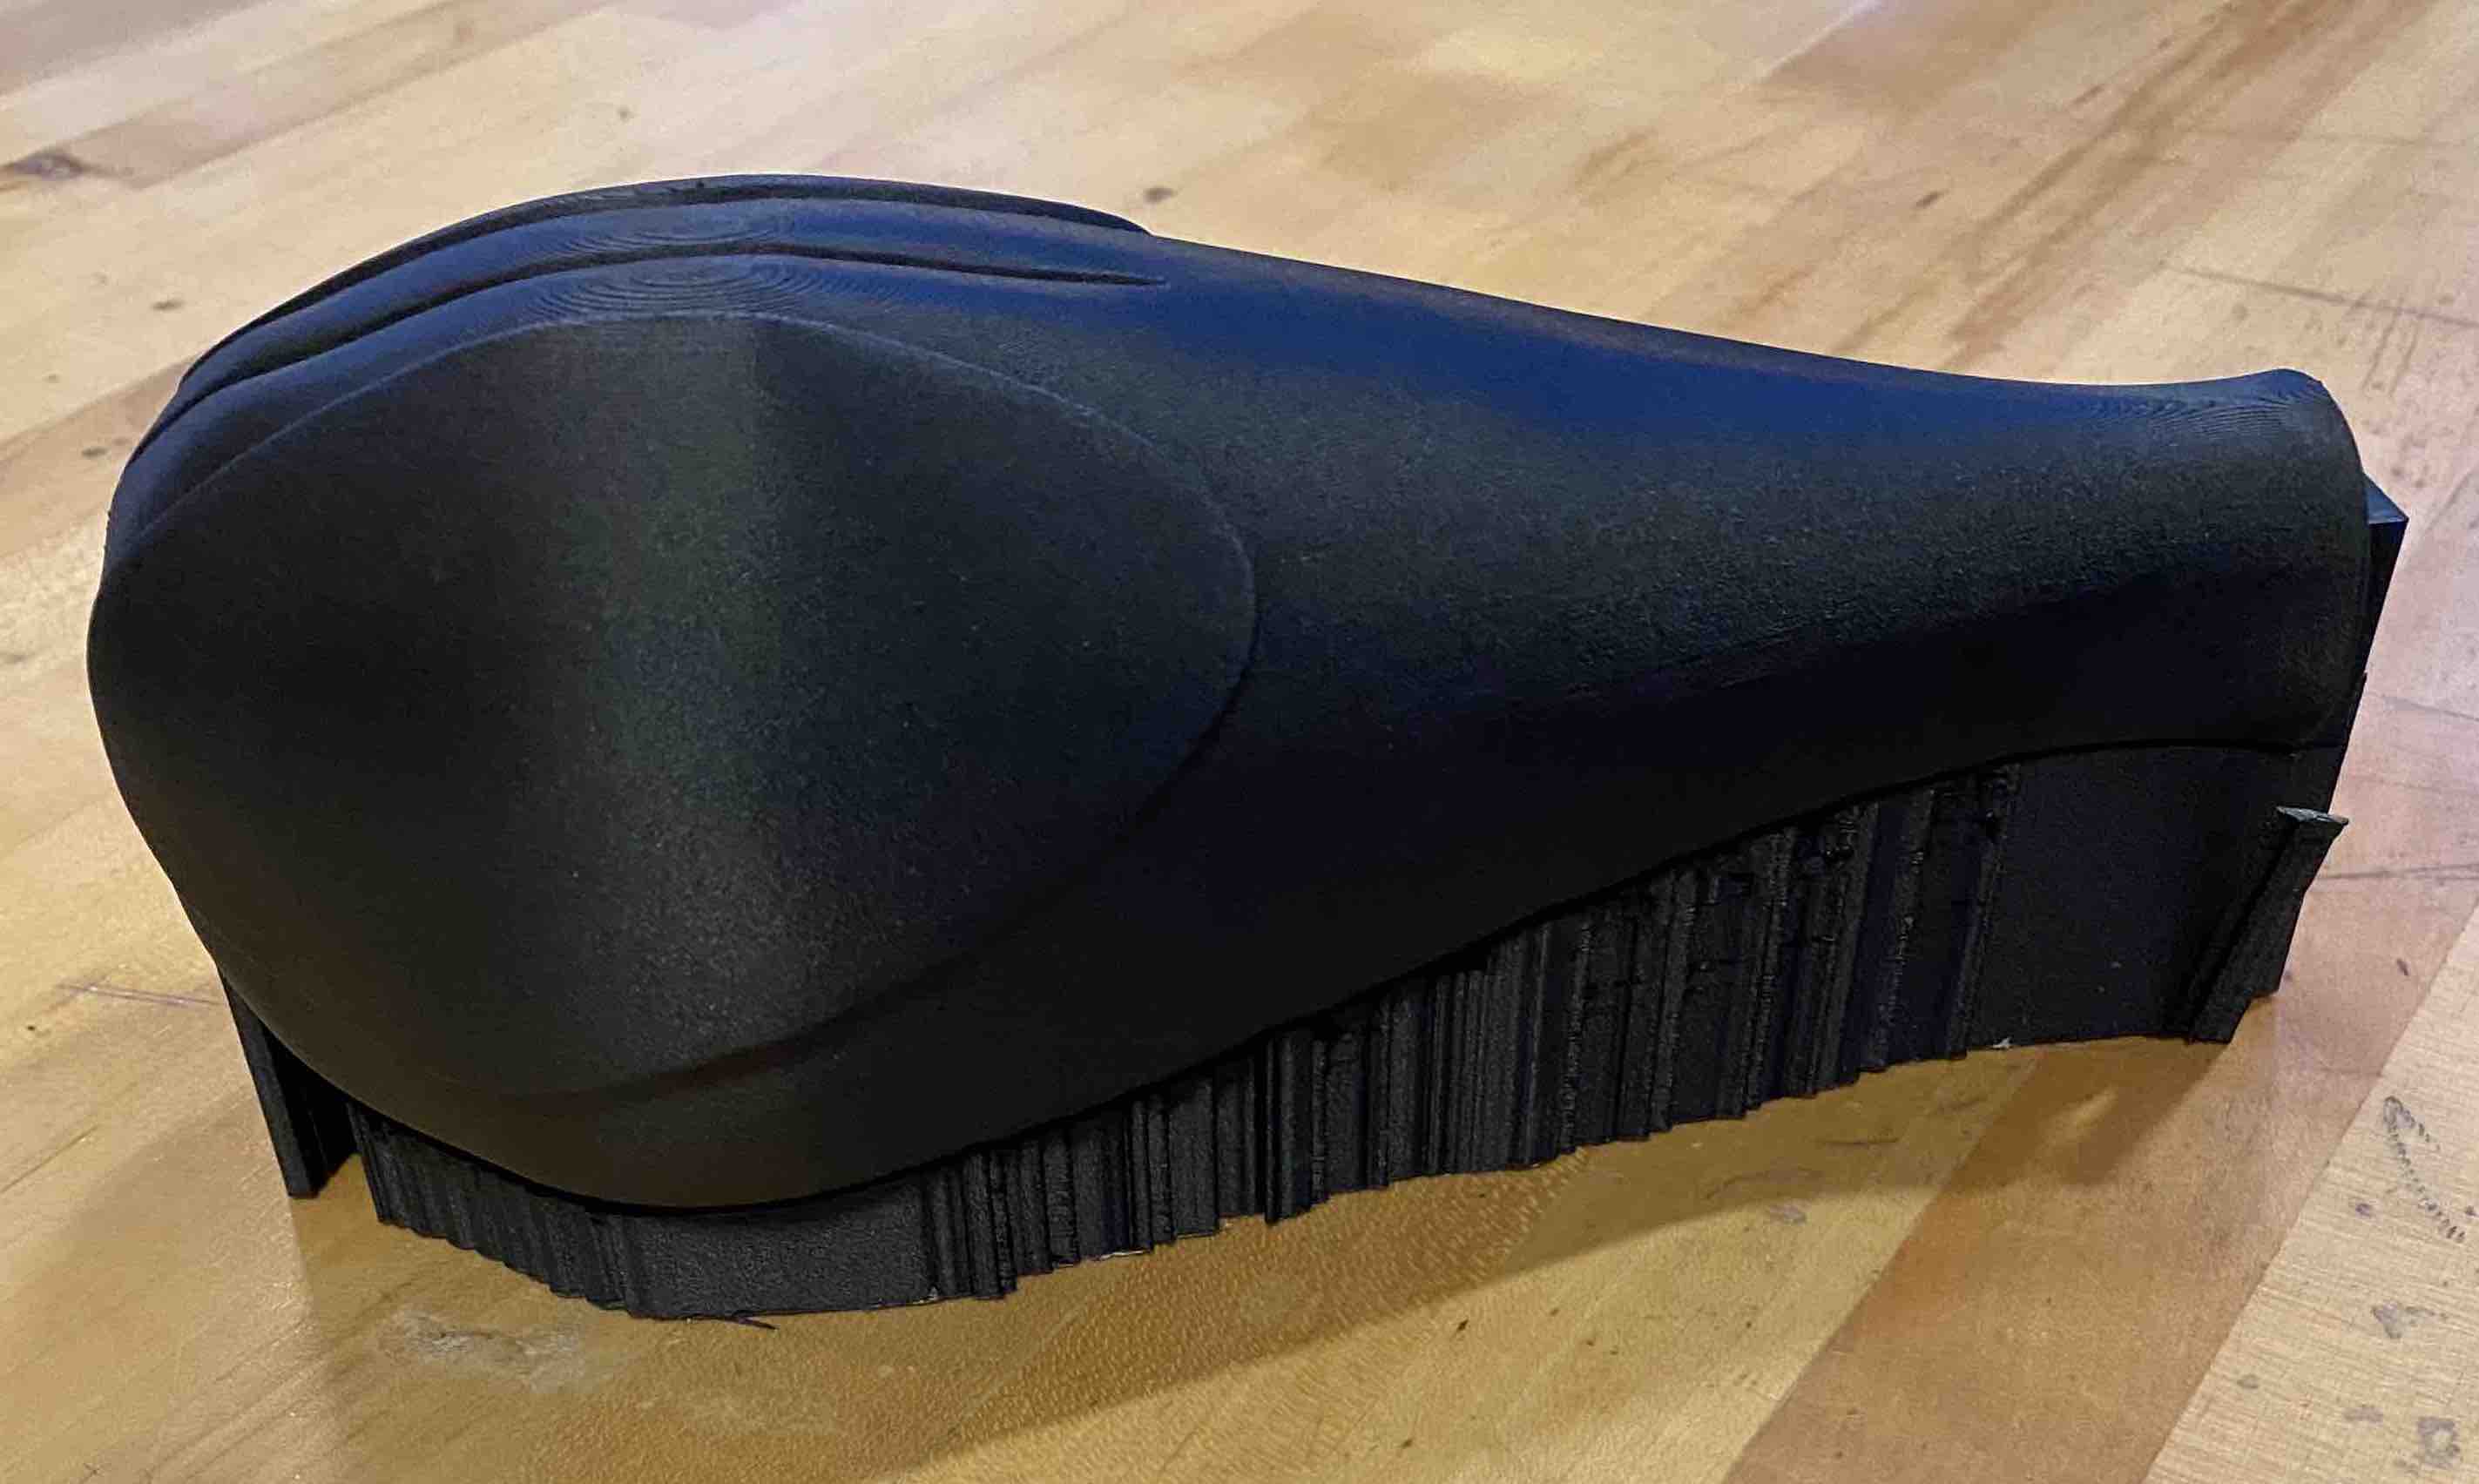
Since we ran out of resin for the Objet, I used our Markforged to print the rest of the cat. Here's the body with the supports still on.
Supports

And here are the removed supports, also super satisfying for the grainy texture and for the fun accordion structure.
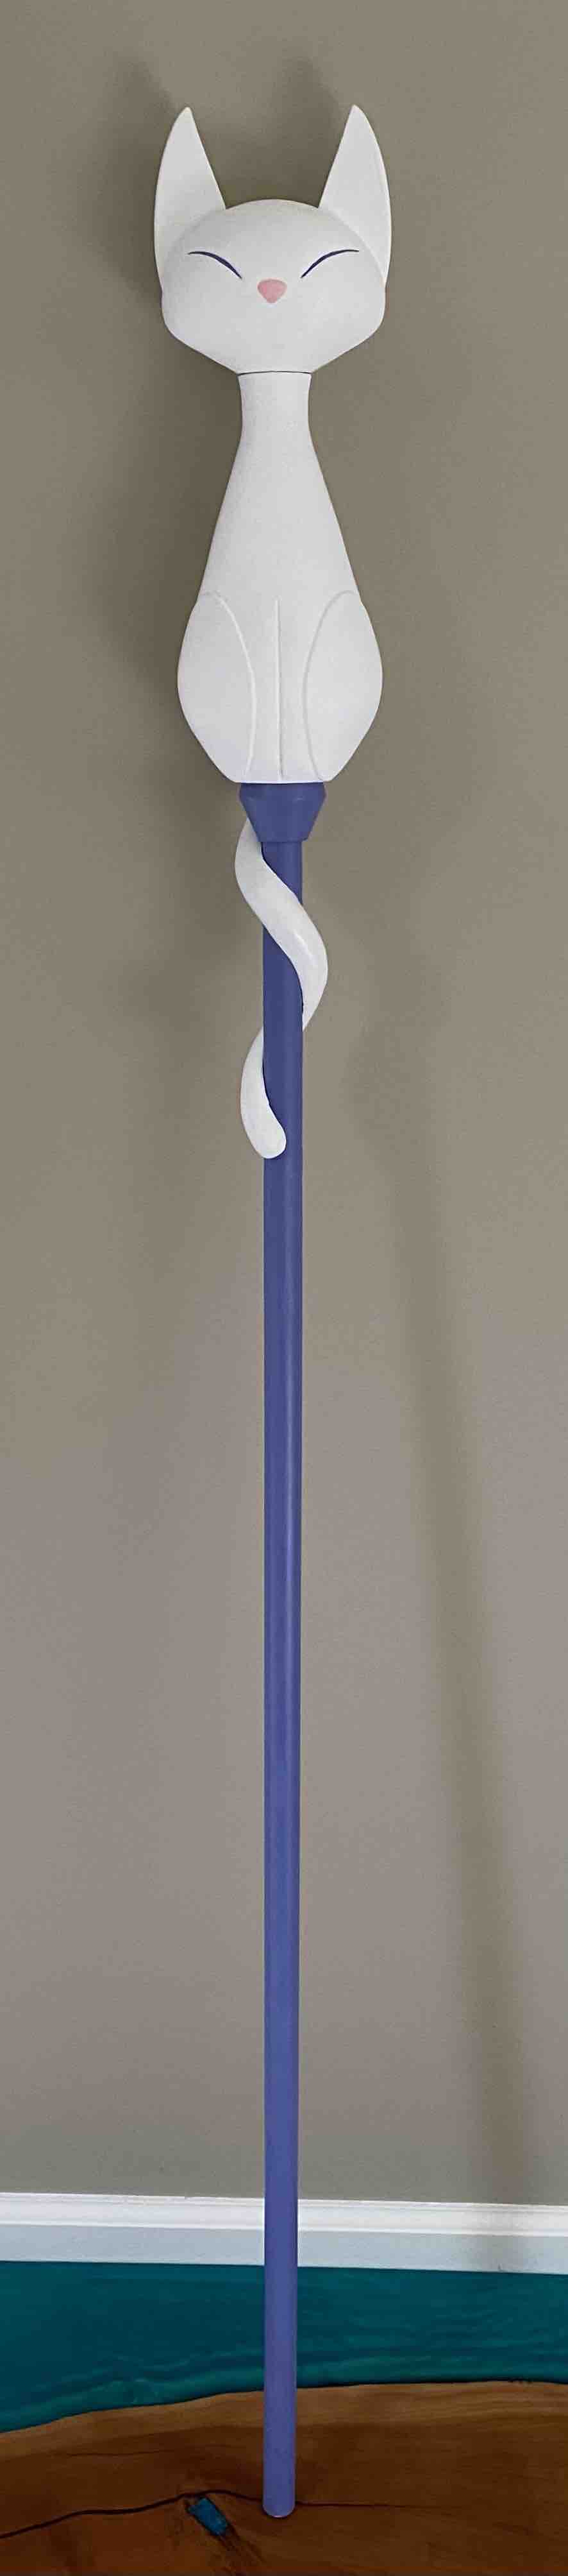
Assembled
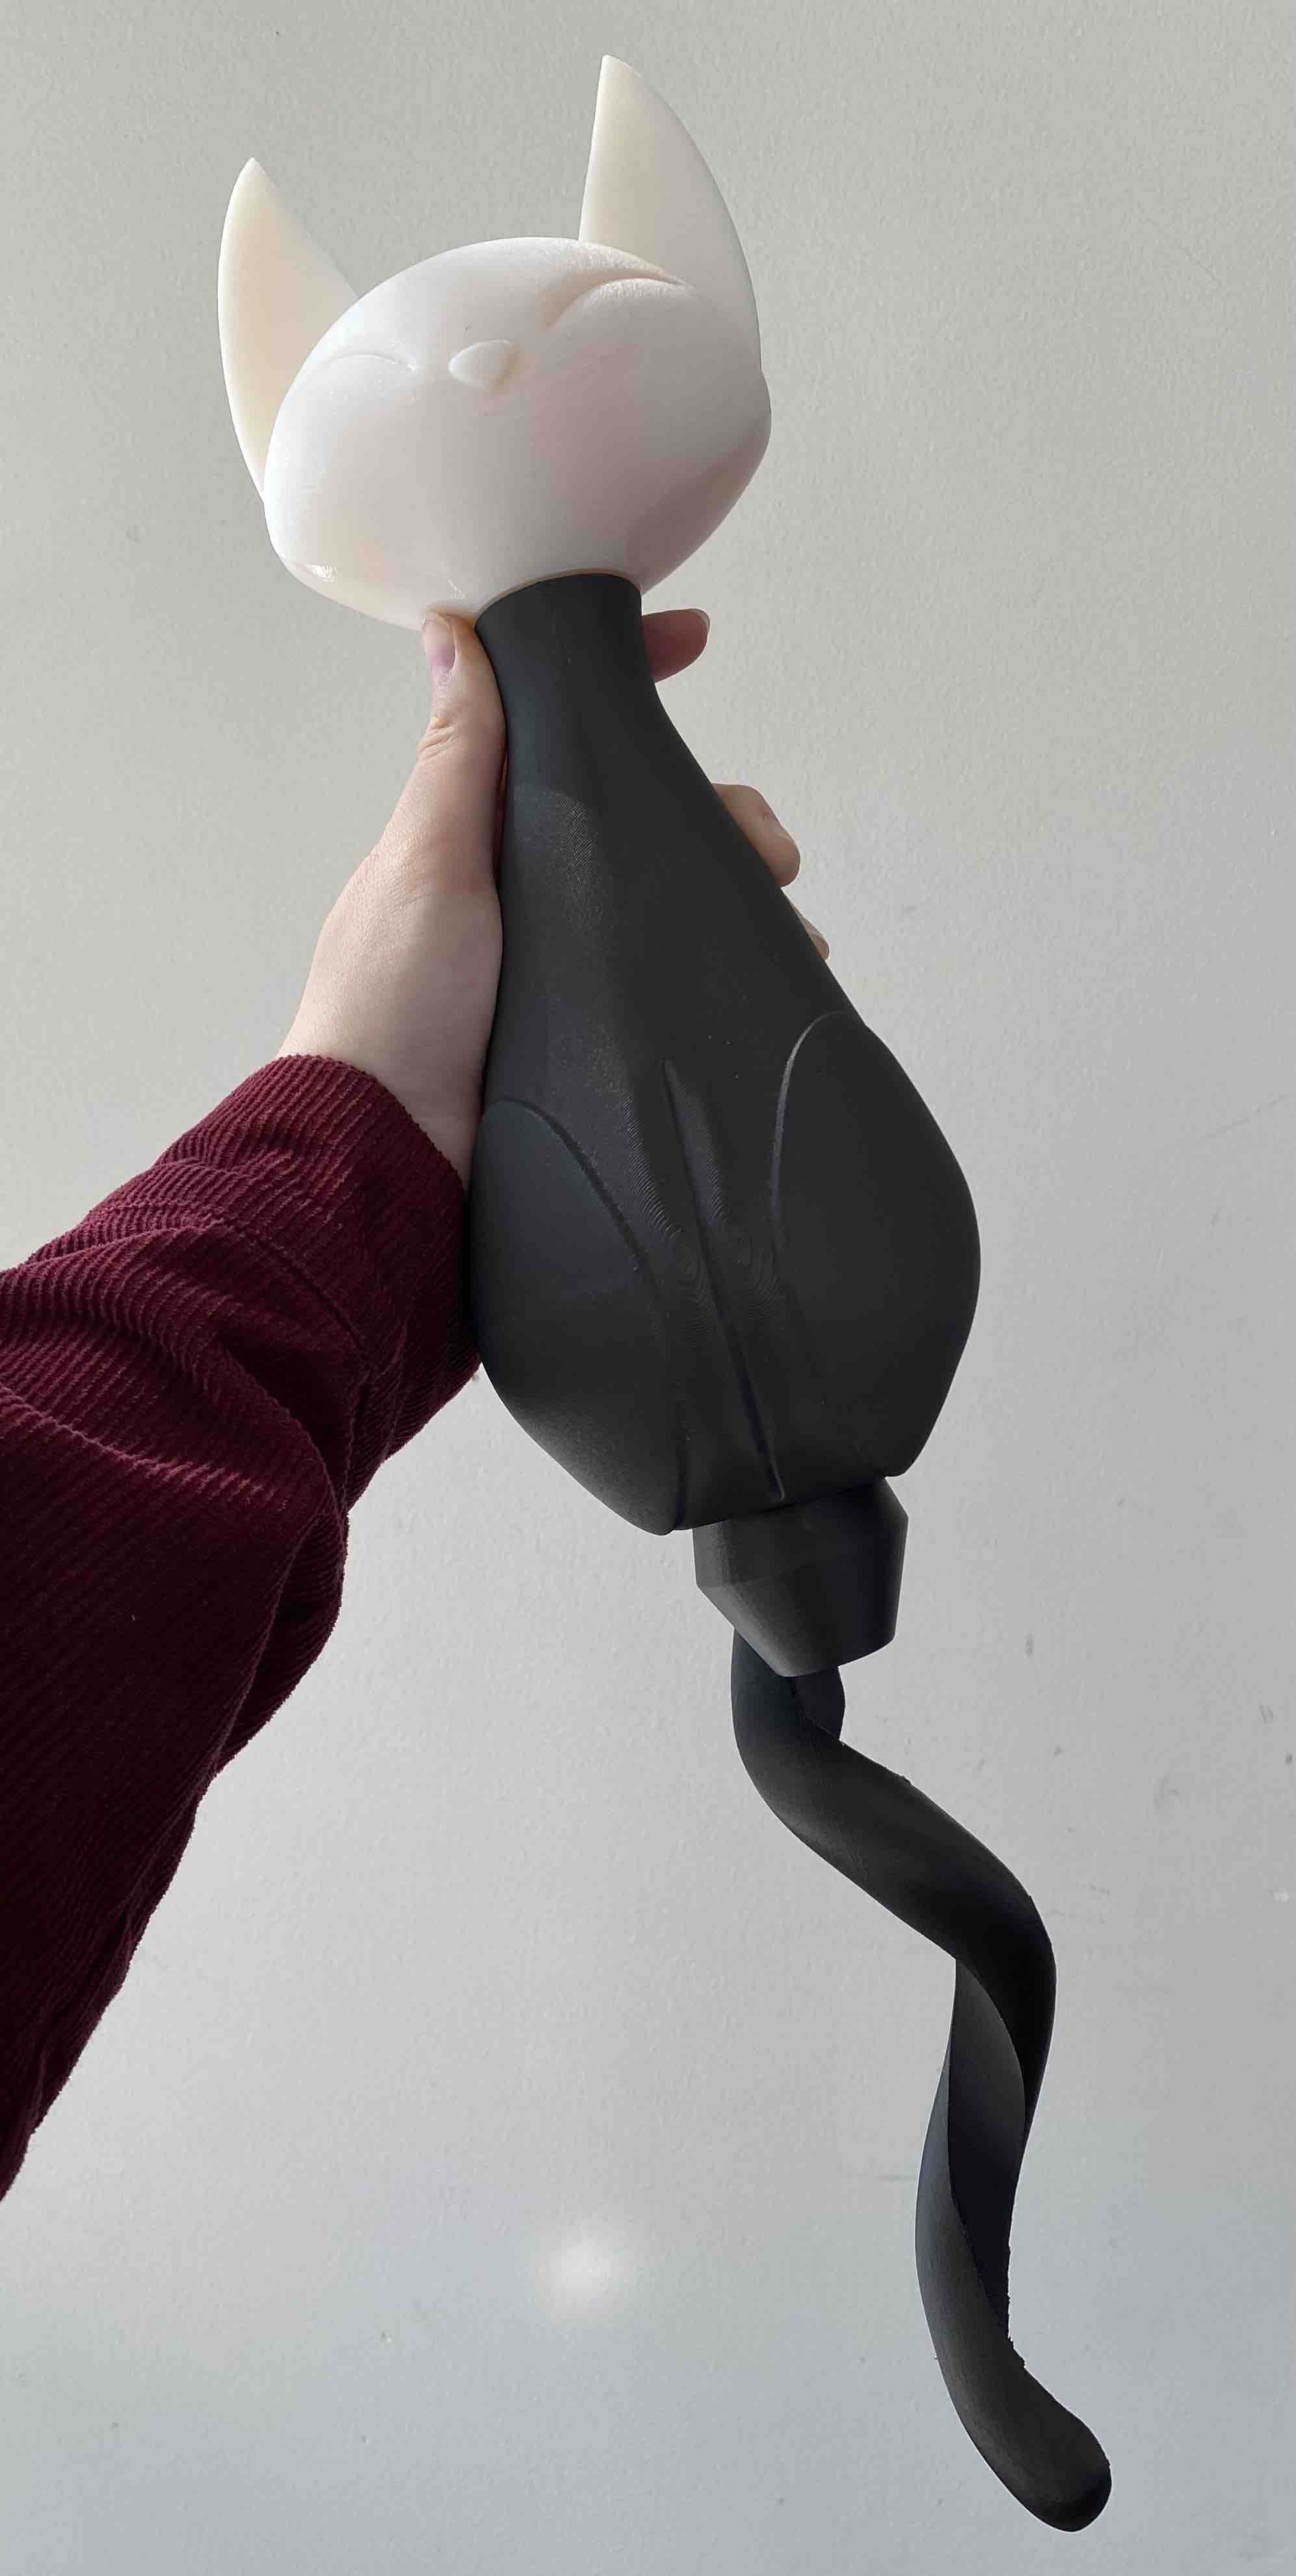
Here's it all together! I wasn't sure if printing on different machines would mess with how the parts fit, but fortunately, the Objet-printed head successfully slotted into to the Markforged-printed body.
Sanding Pt. 1
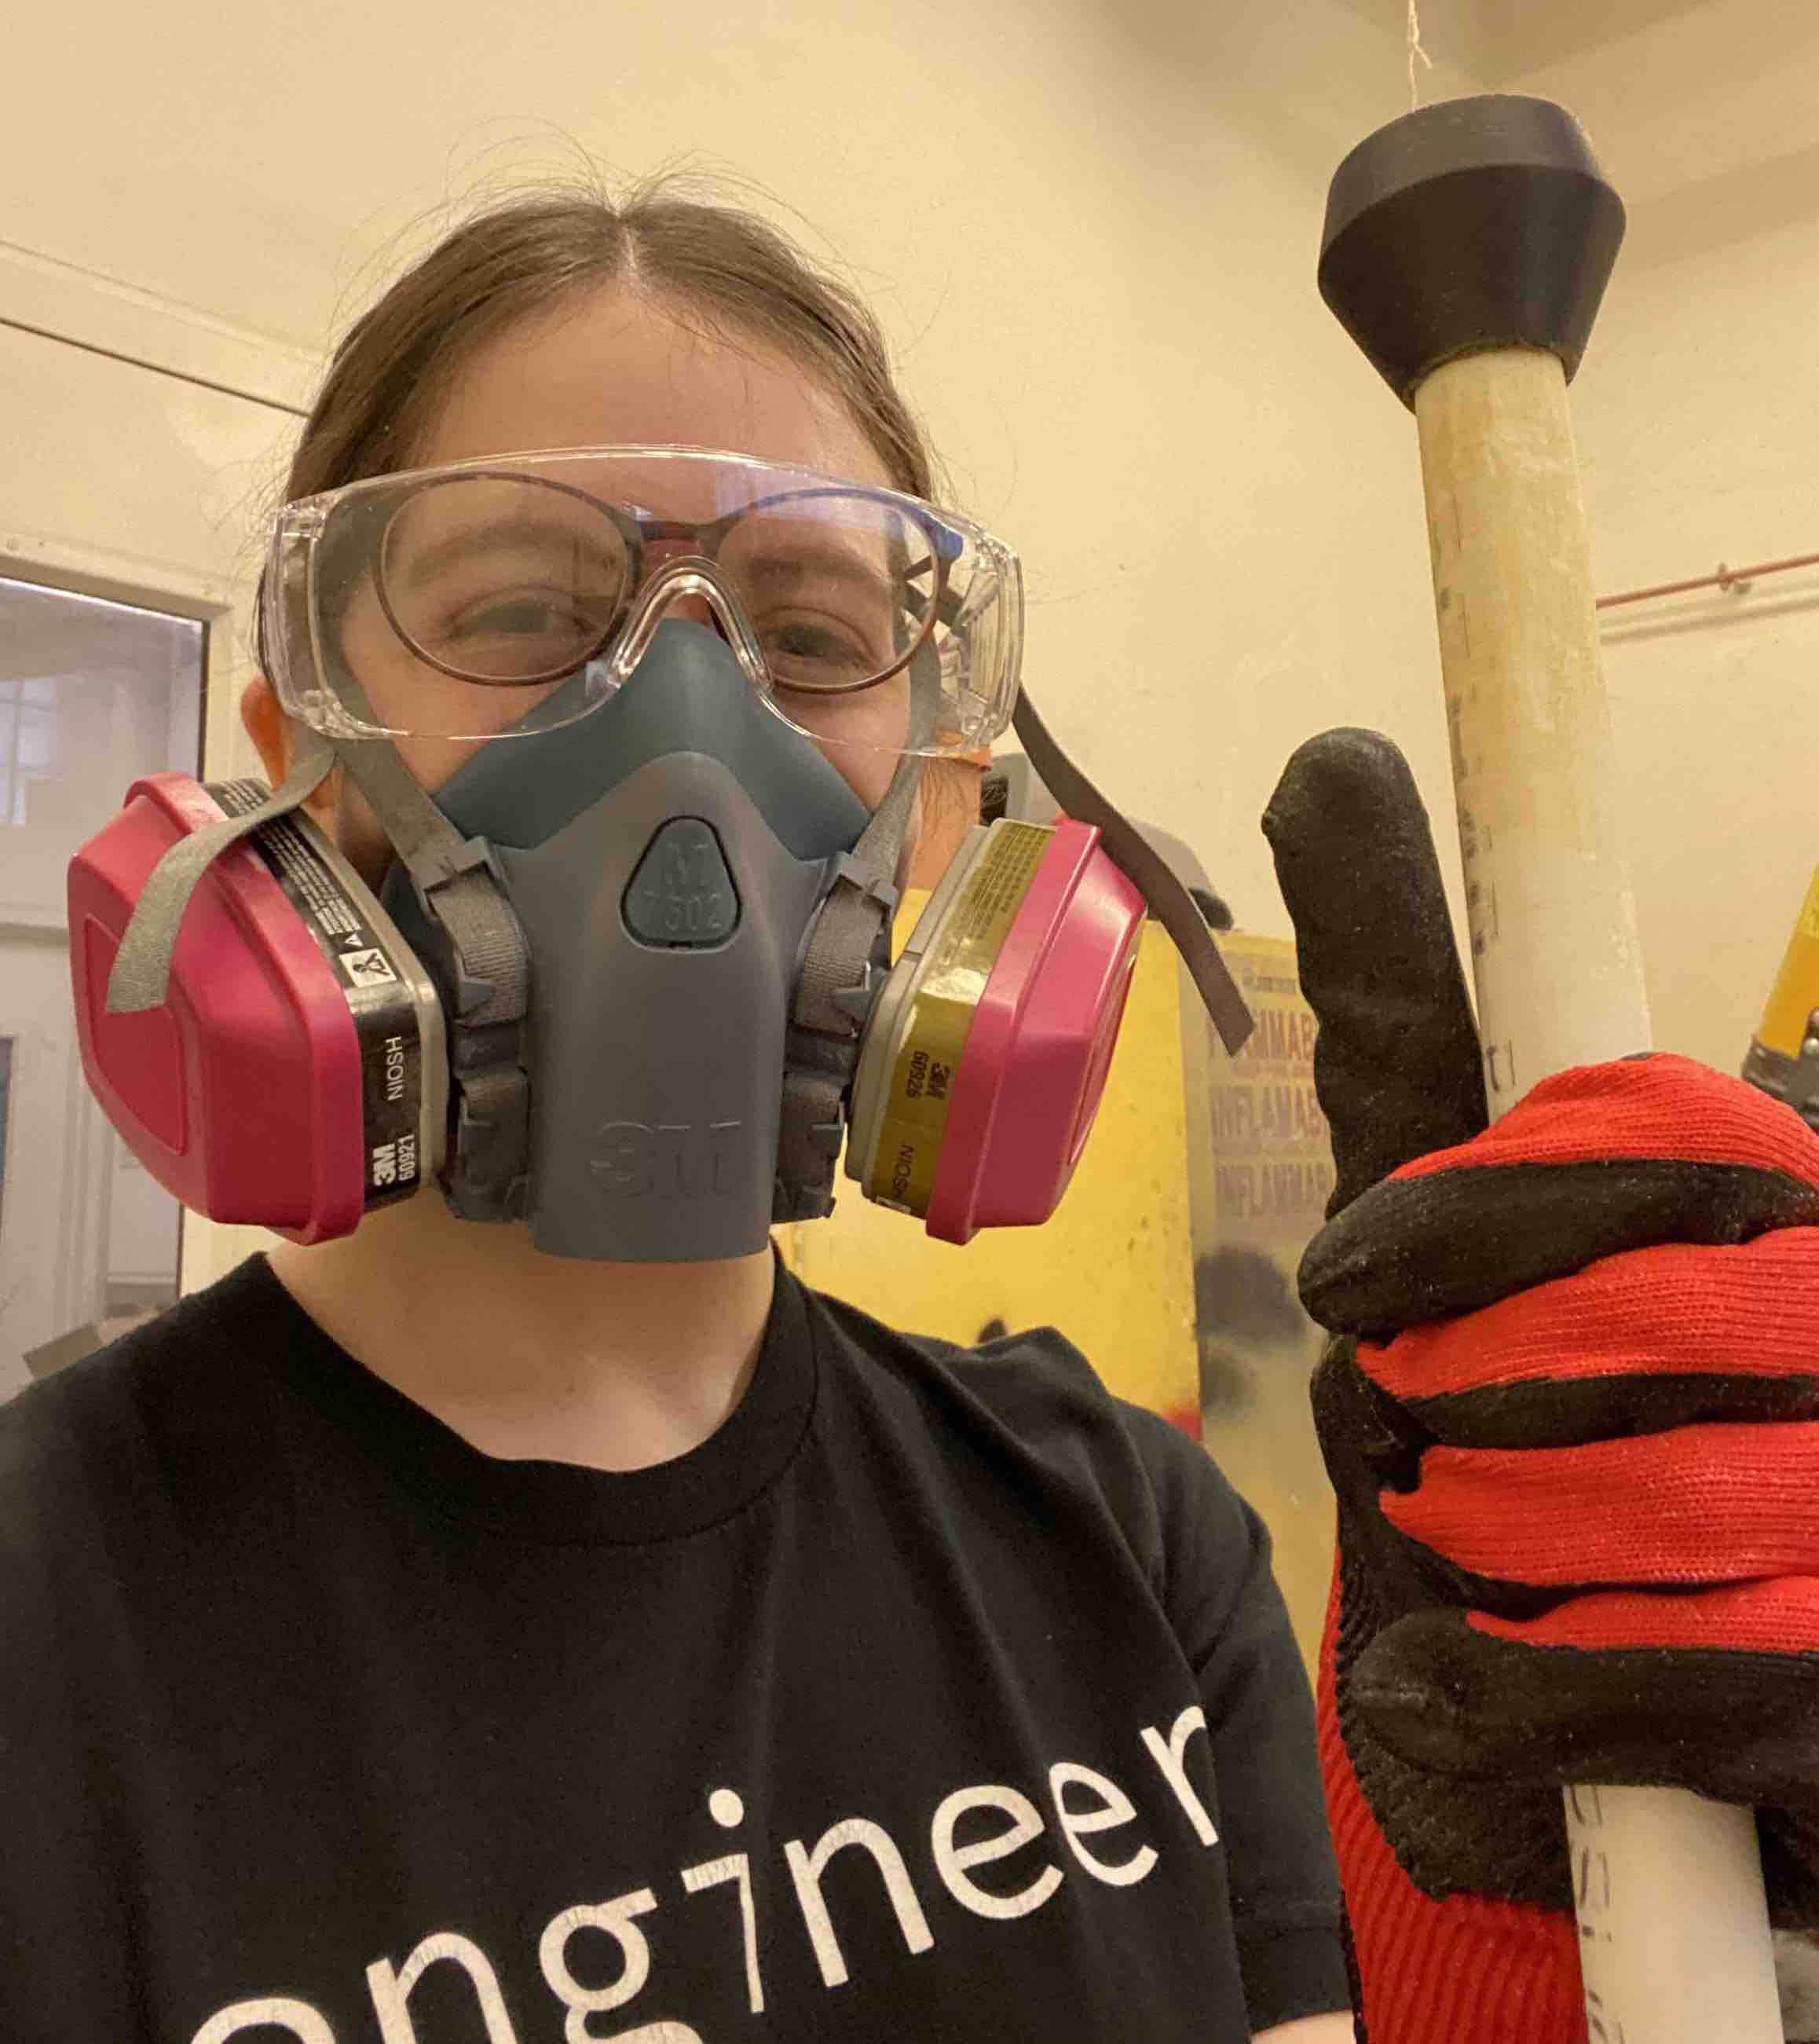
I had to sand down the PVC tube for the staff so that the handle and tail would fit around it. Here I am in the "Death Room" in N51, using a respirator and vent/fan to protect my lungs from the carbon fiber/nylon and PVC dust. I was using my Dremel with a sanding bit since the belt sanders in N51 were broken, so it wasn't very efficient. The bit was too small to cover as much area as I needed, and the onyx filament kept melting onto bits since the piece got very hot.
Sanding Pt. 2
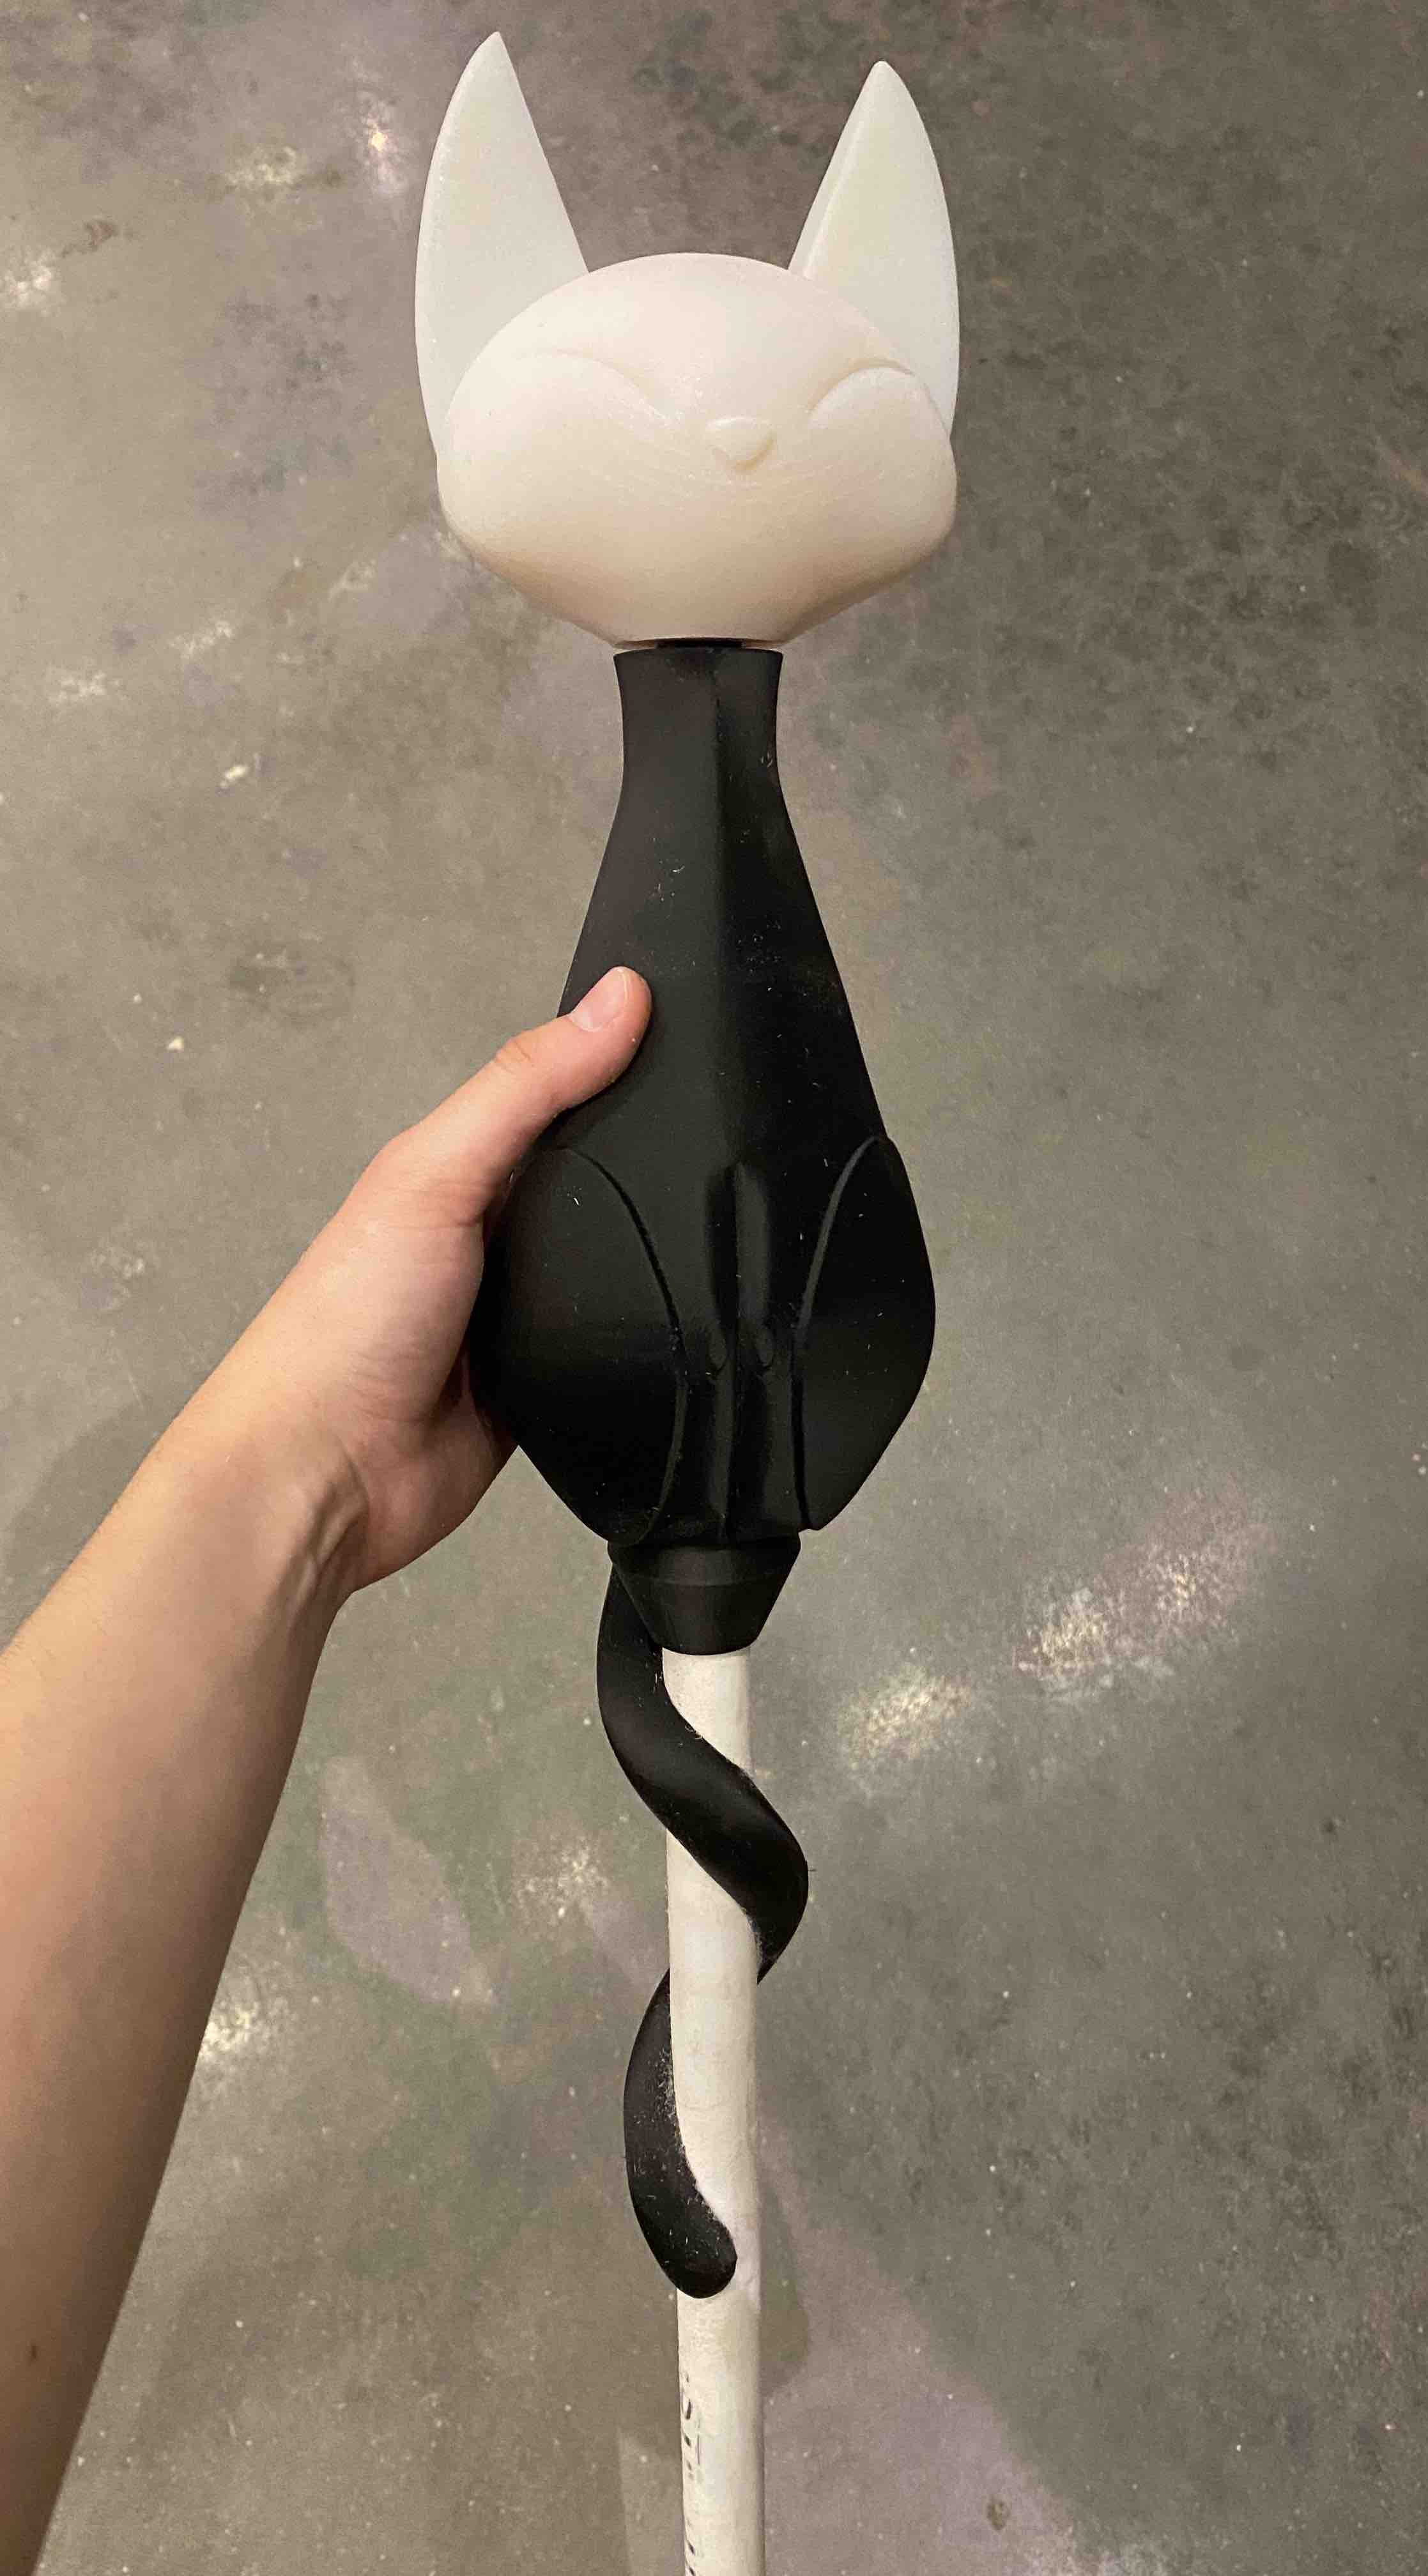
I went to a different shop for belt sanding, and the parts finally fit together! I focused on fit, so I didn't have as much time to make the cat smooth; in the future, I'd do more sanding of the bumpy printed areas, maybe using bondo filler to create a smoother surface, so that the prop looks more polished and less identifyable as 3D printed.
Spraypainting
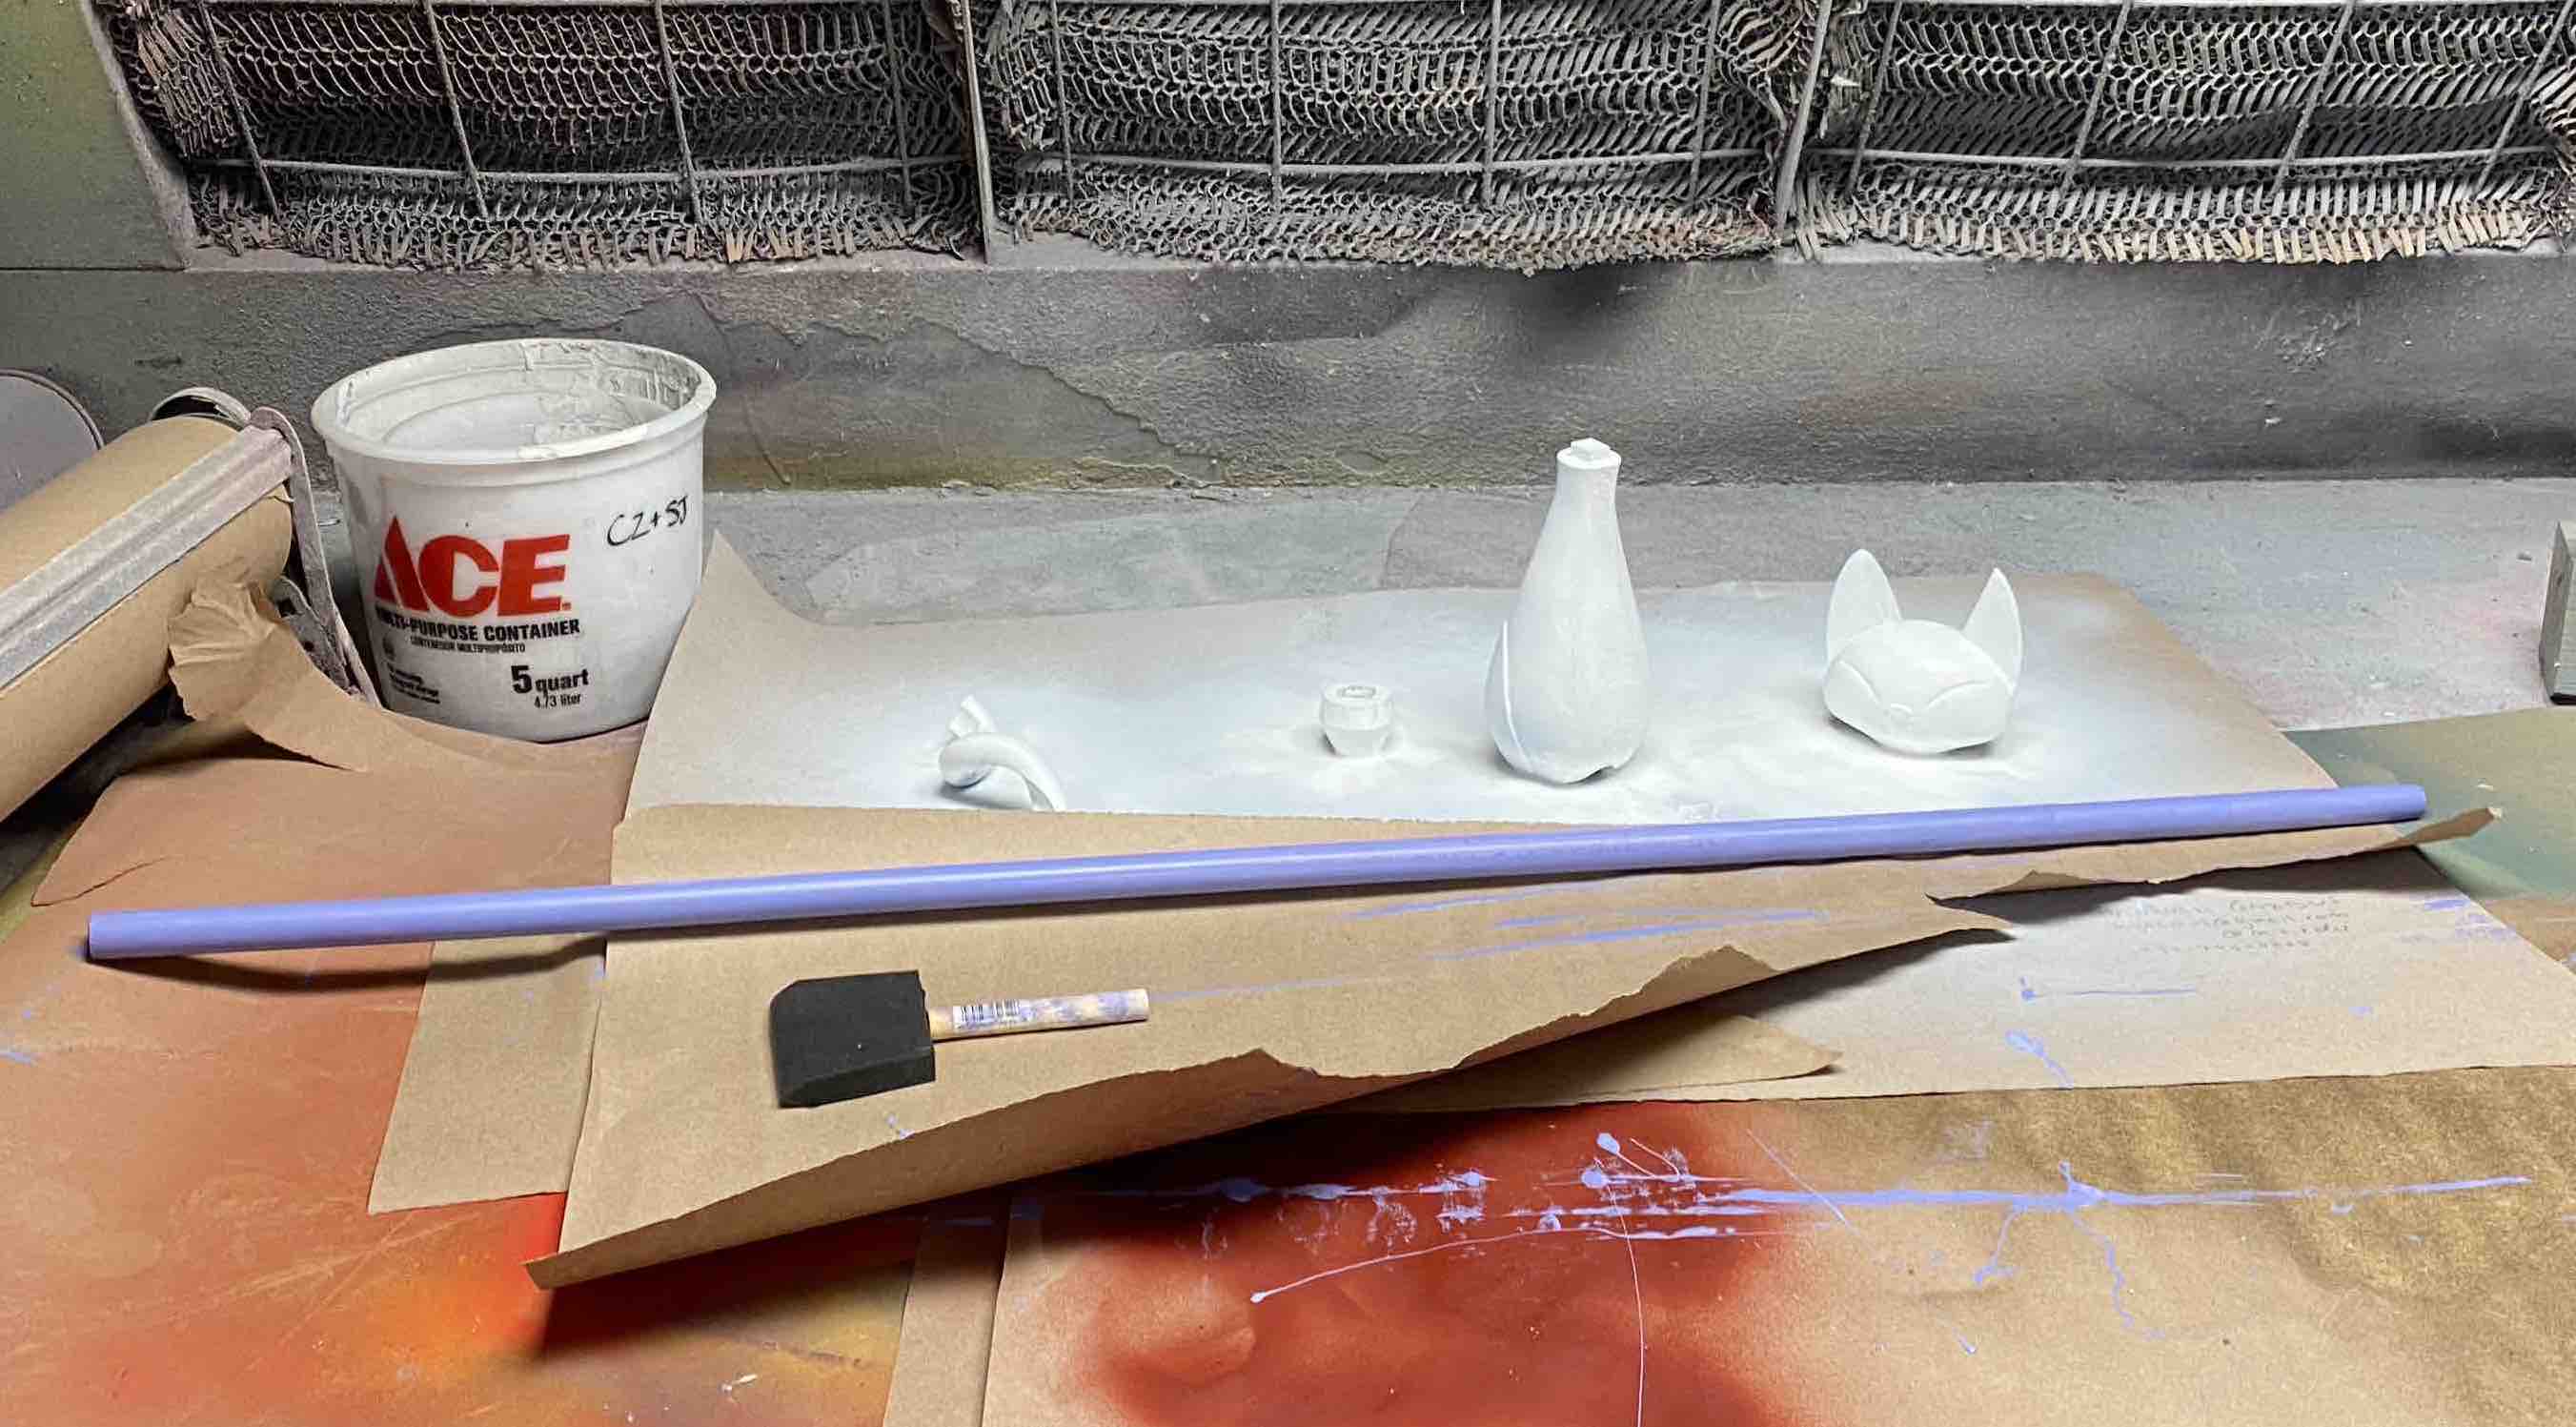
After priming the carbon fiber parts, I spraypainted the cat white and painted the PVC staff purple. Don't worry -- I took this picture from greater than 6 feet from the fume hood! I continually added layers of spraypaint to get an even finish, since I couldn't paint all sides at once, and the spraypaint drips. I'd definitely paint 3D printed parts differently in the future. I imagine the most efficient method would be to fill a bucket with white paint, dip a part inside, then let it dry on a rack (like a cookie cooling rack). Or just use a rack with spraypaint in general so that I can spray the bottom of parts more easily.
Details
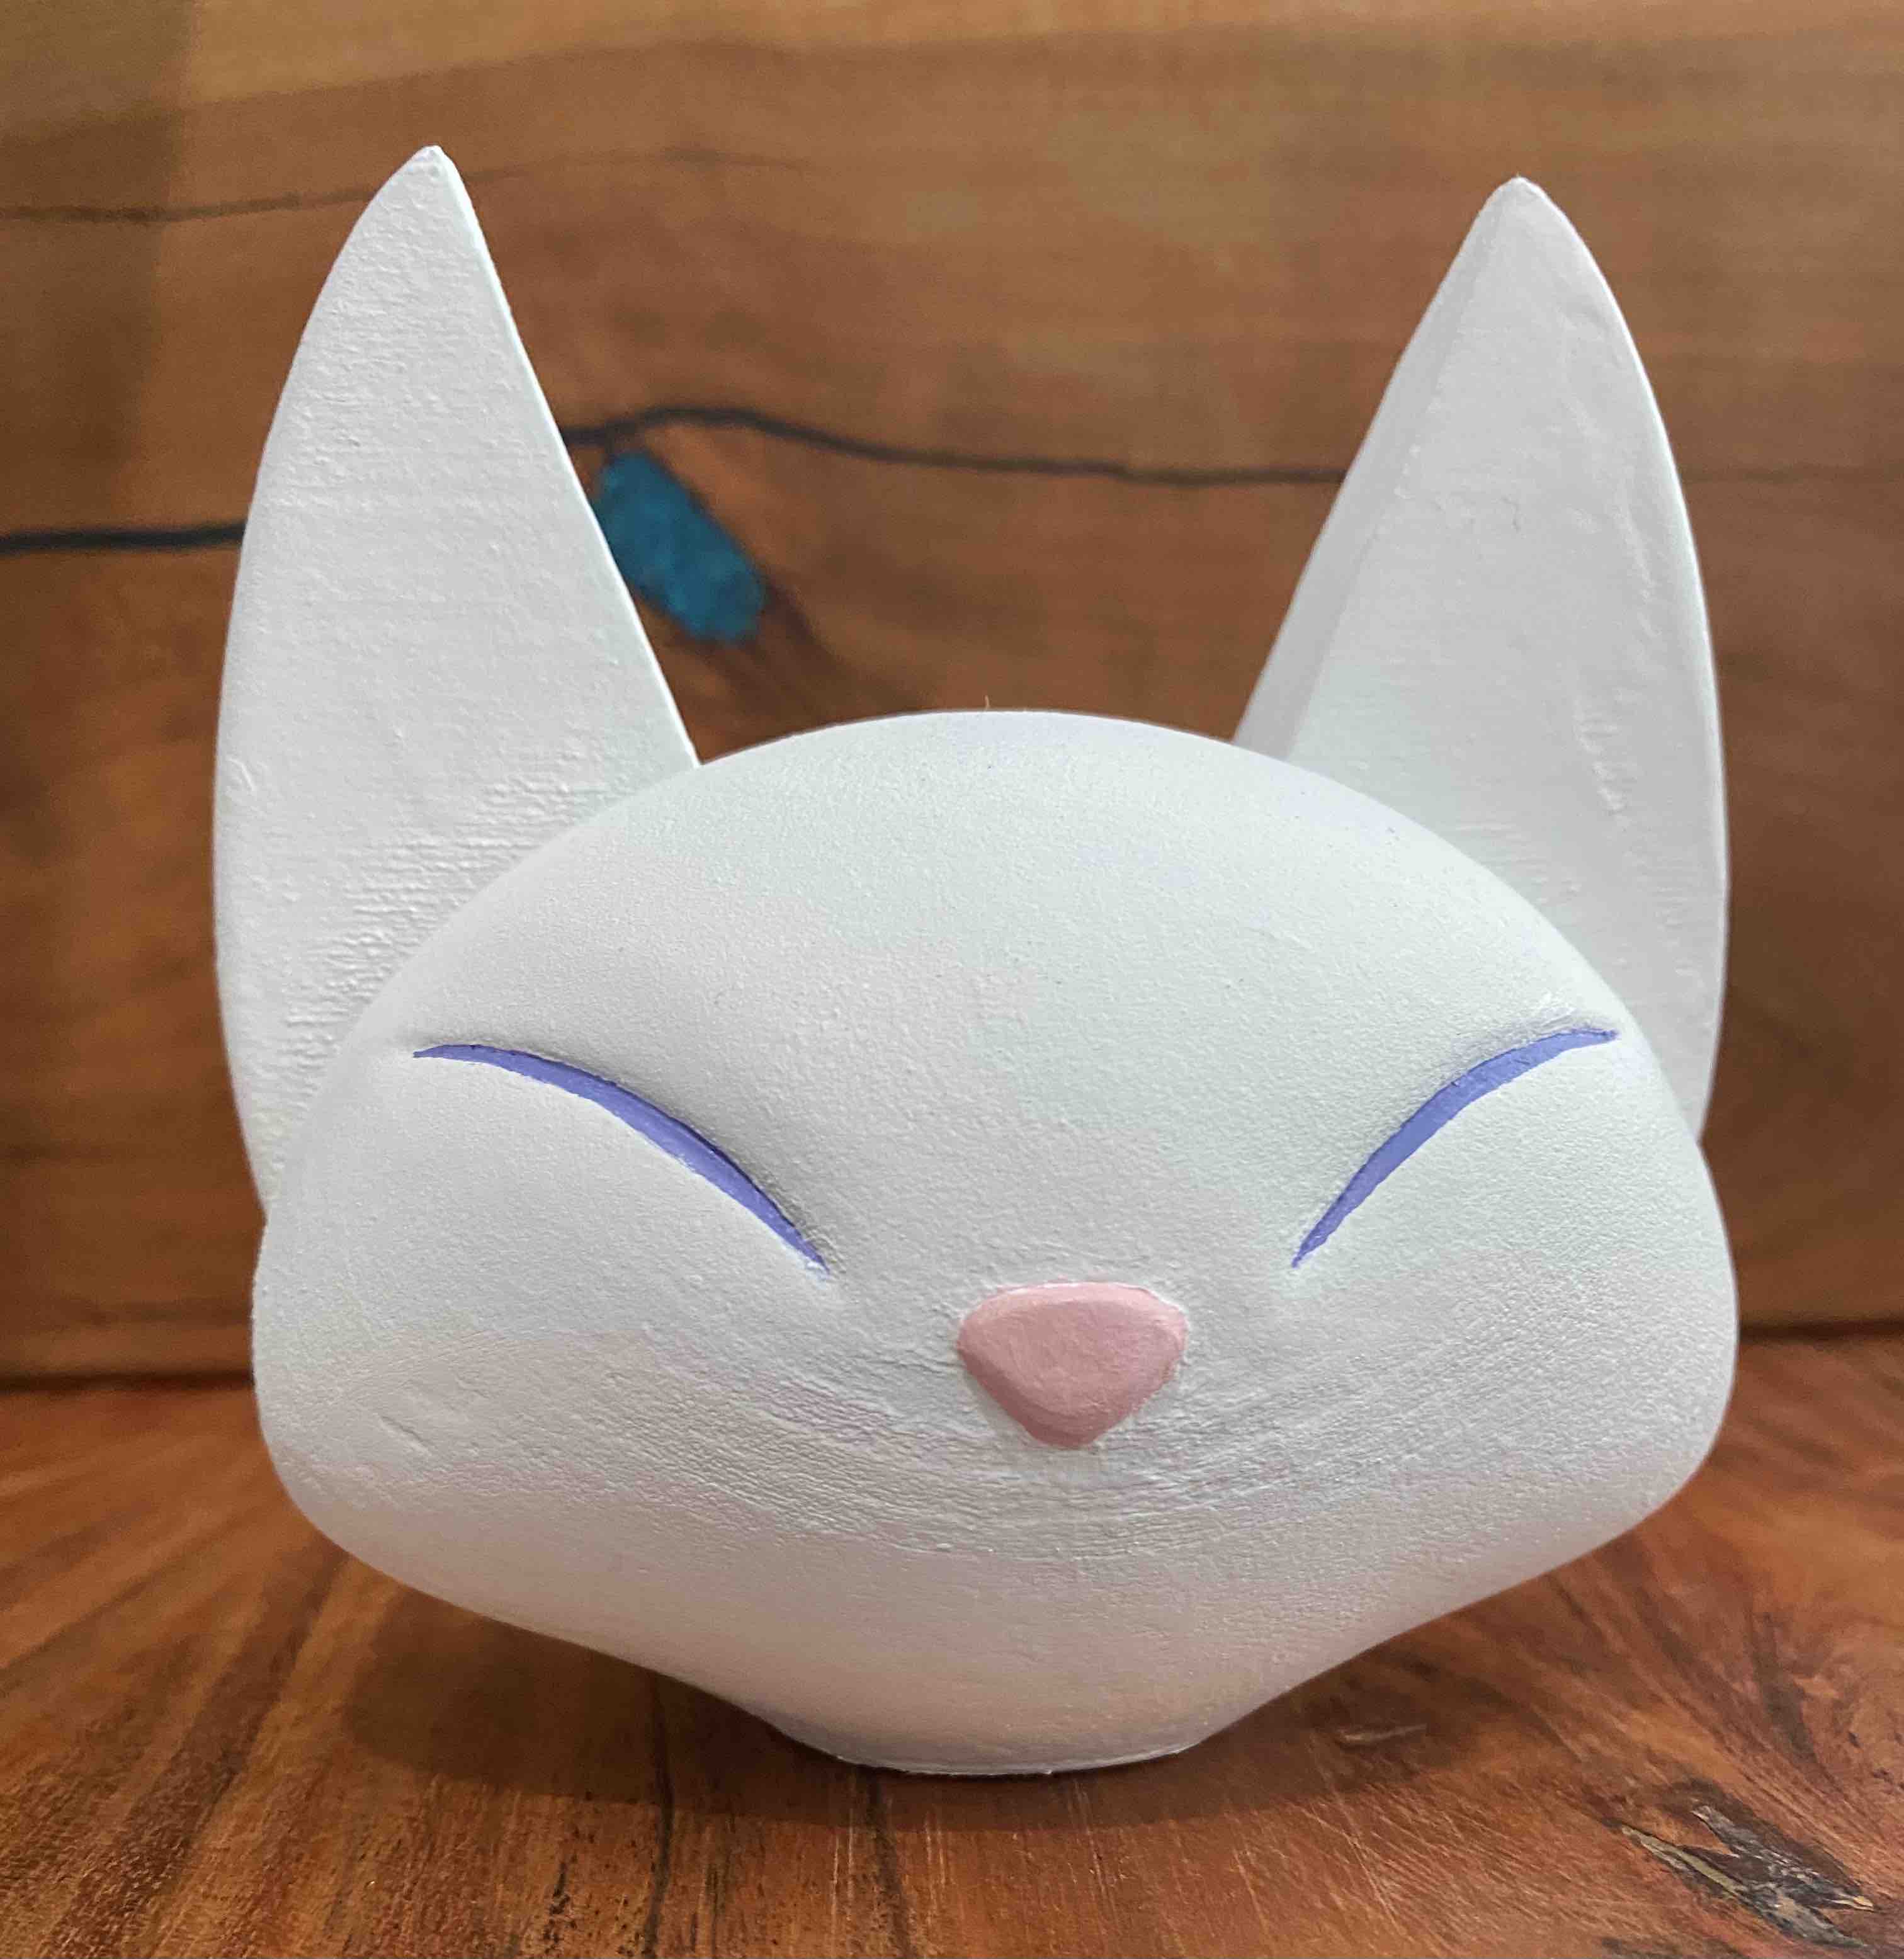
I took the train home on the 8th, and there I added the final details to the staff and touched up rough areas. Here you can see I outlined the eyes and painted the nose with acrylic paint.
Key
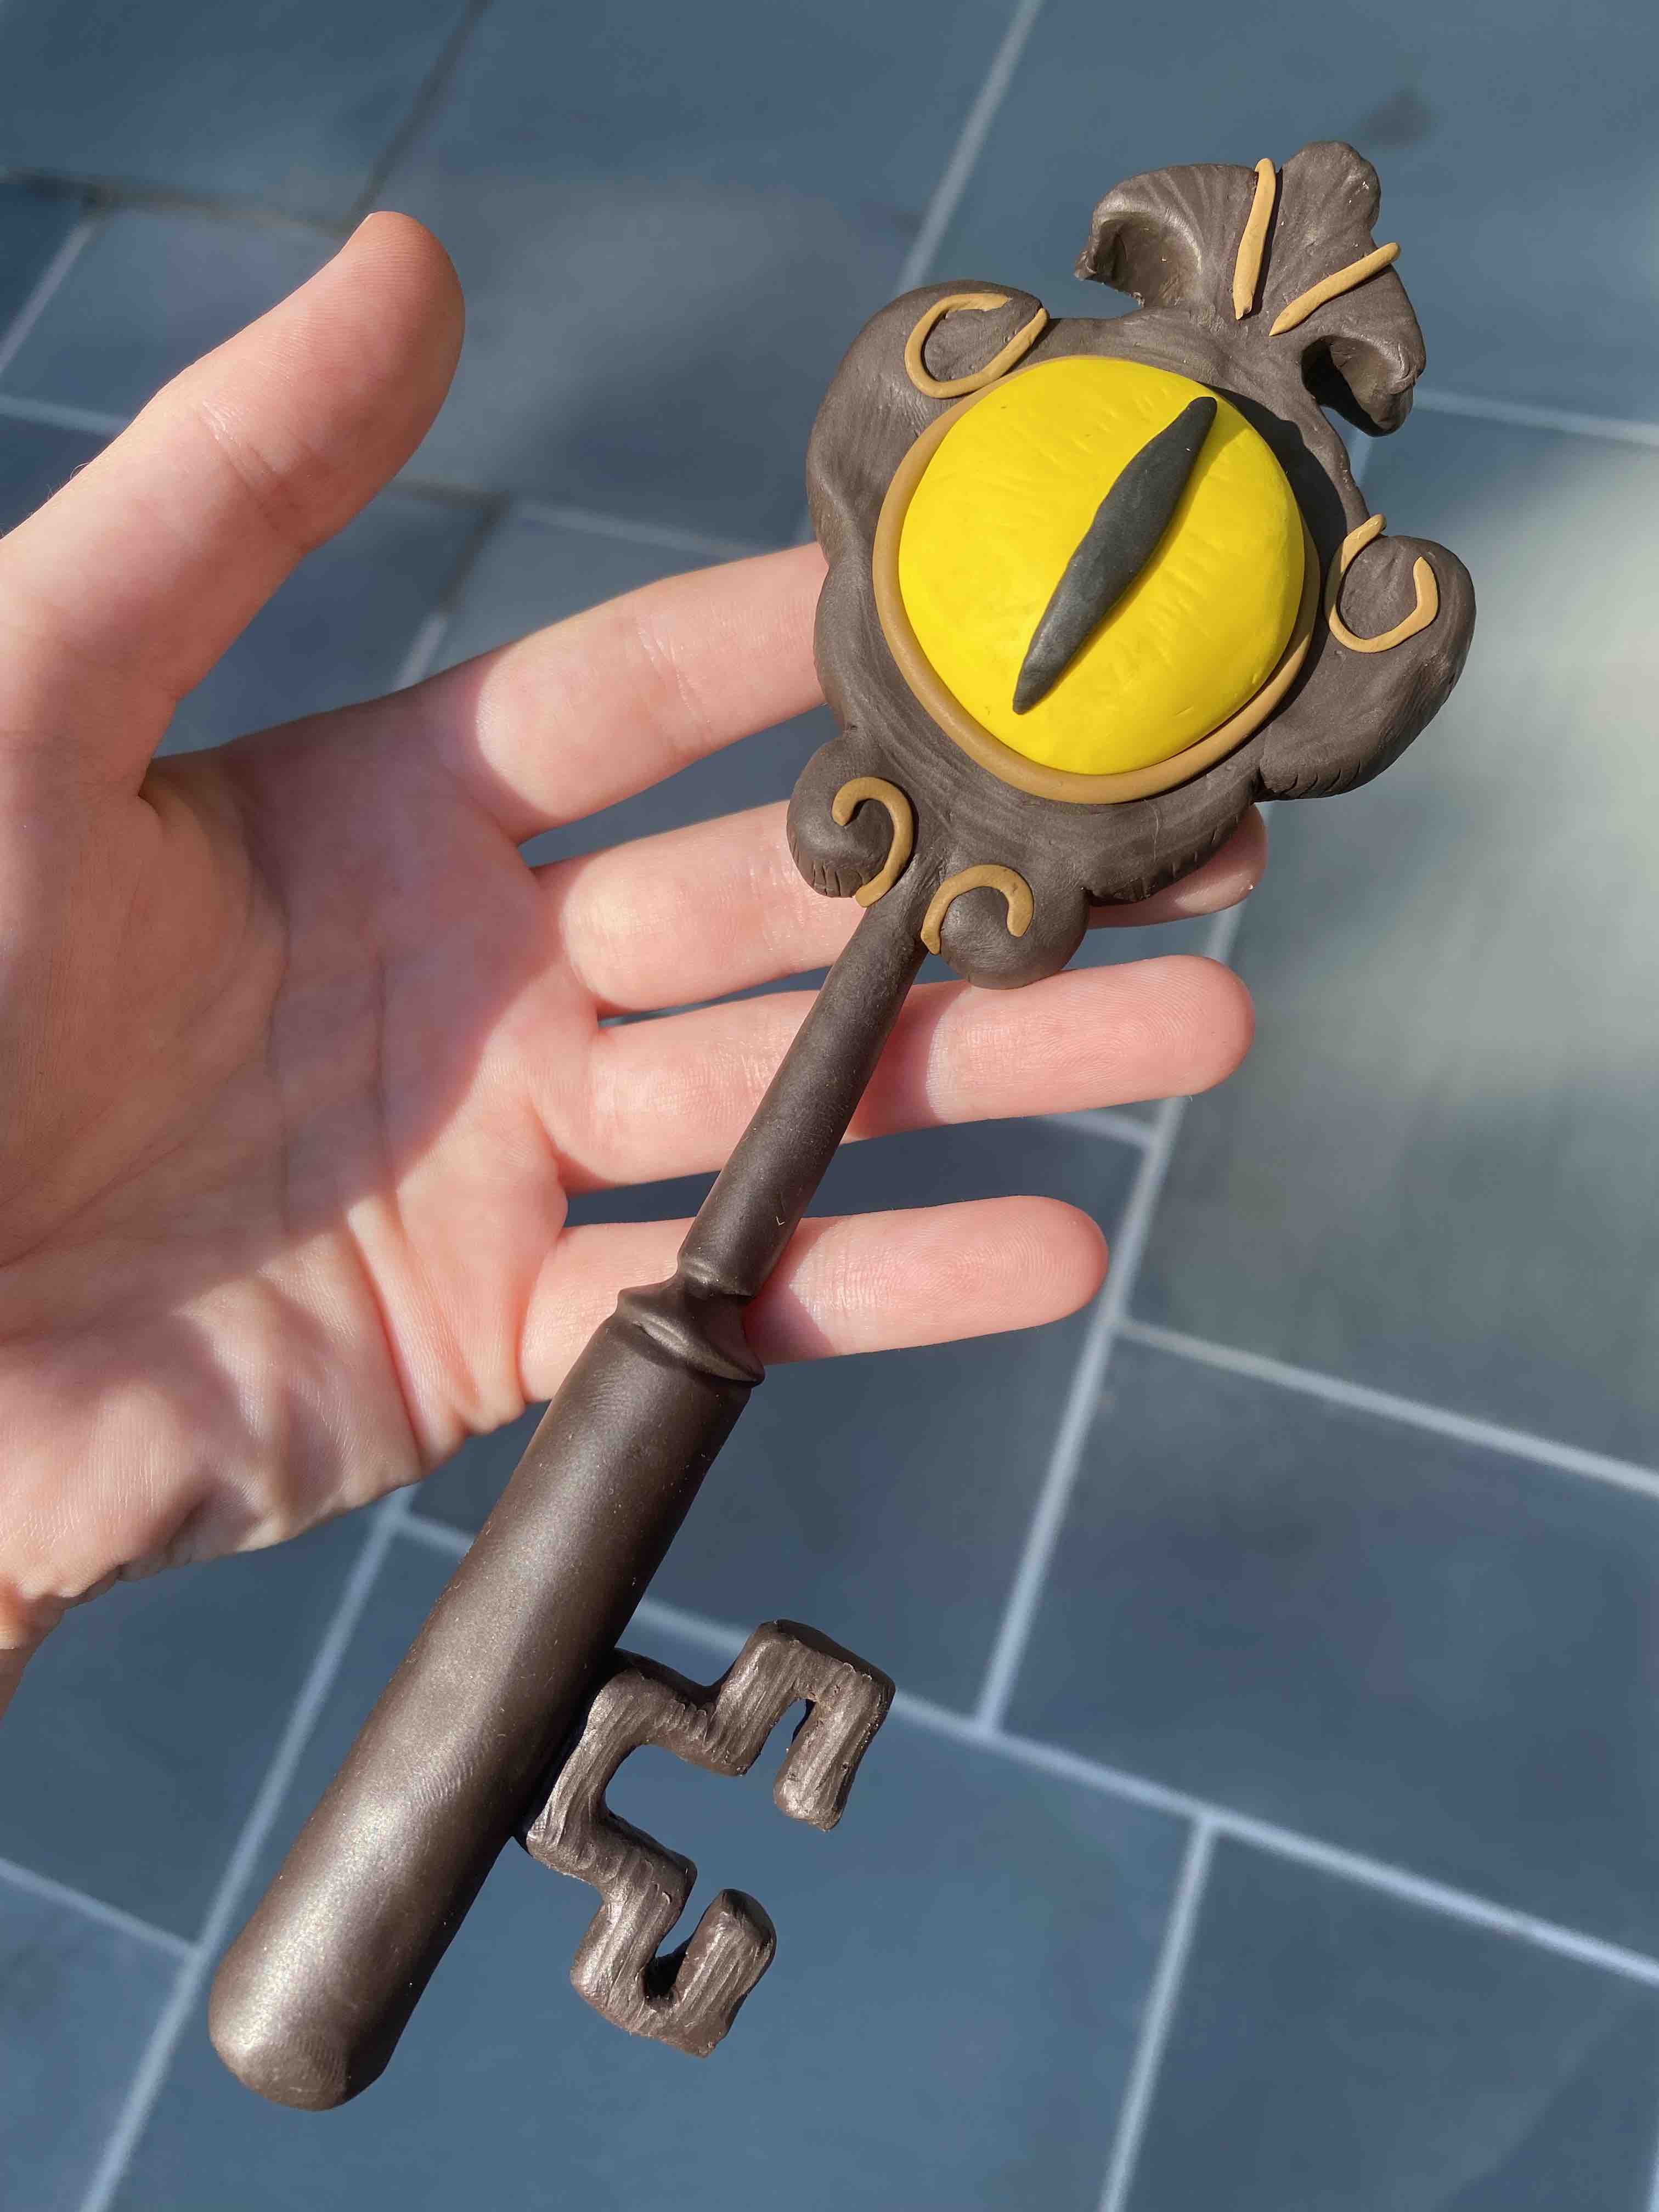
Here's another prop for my cosplay; a key I made from polymer clay! I haven't sculpted with polymer clay since I was a kid, so I didn't have much practice, and the final thing looks rough up close. It was much trickier to sculpt than I thought. The inside is tin foil to eliminate the total amount of clay required and make it lighter.