Designing
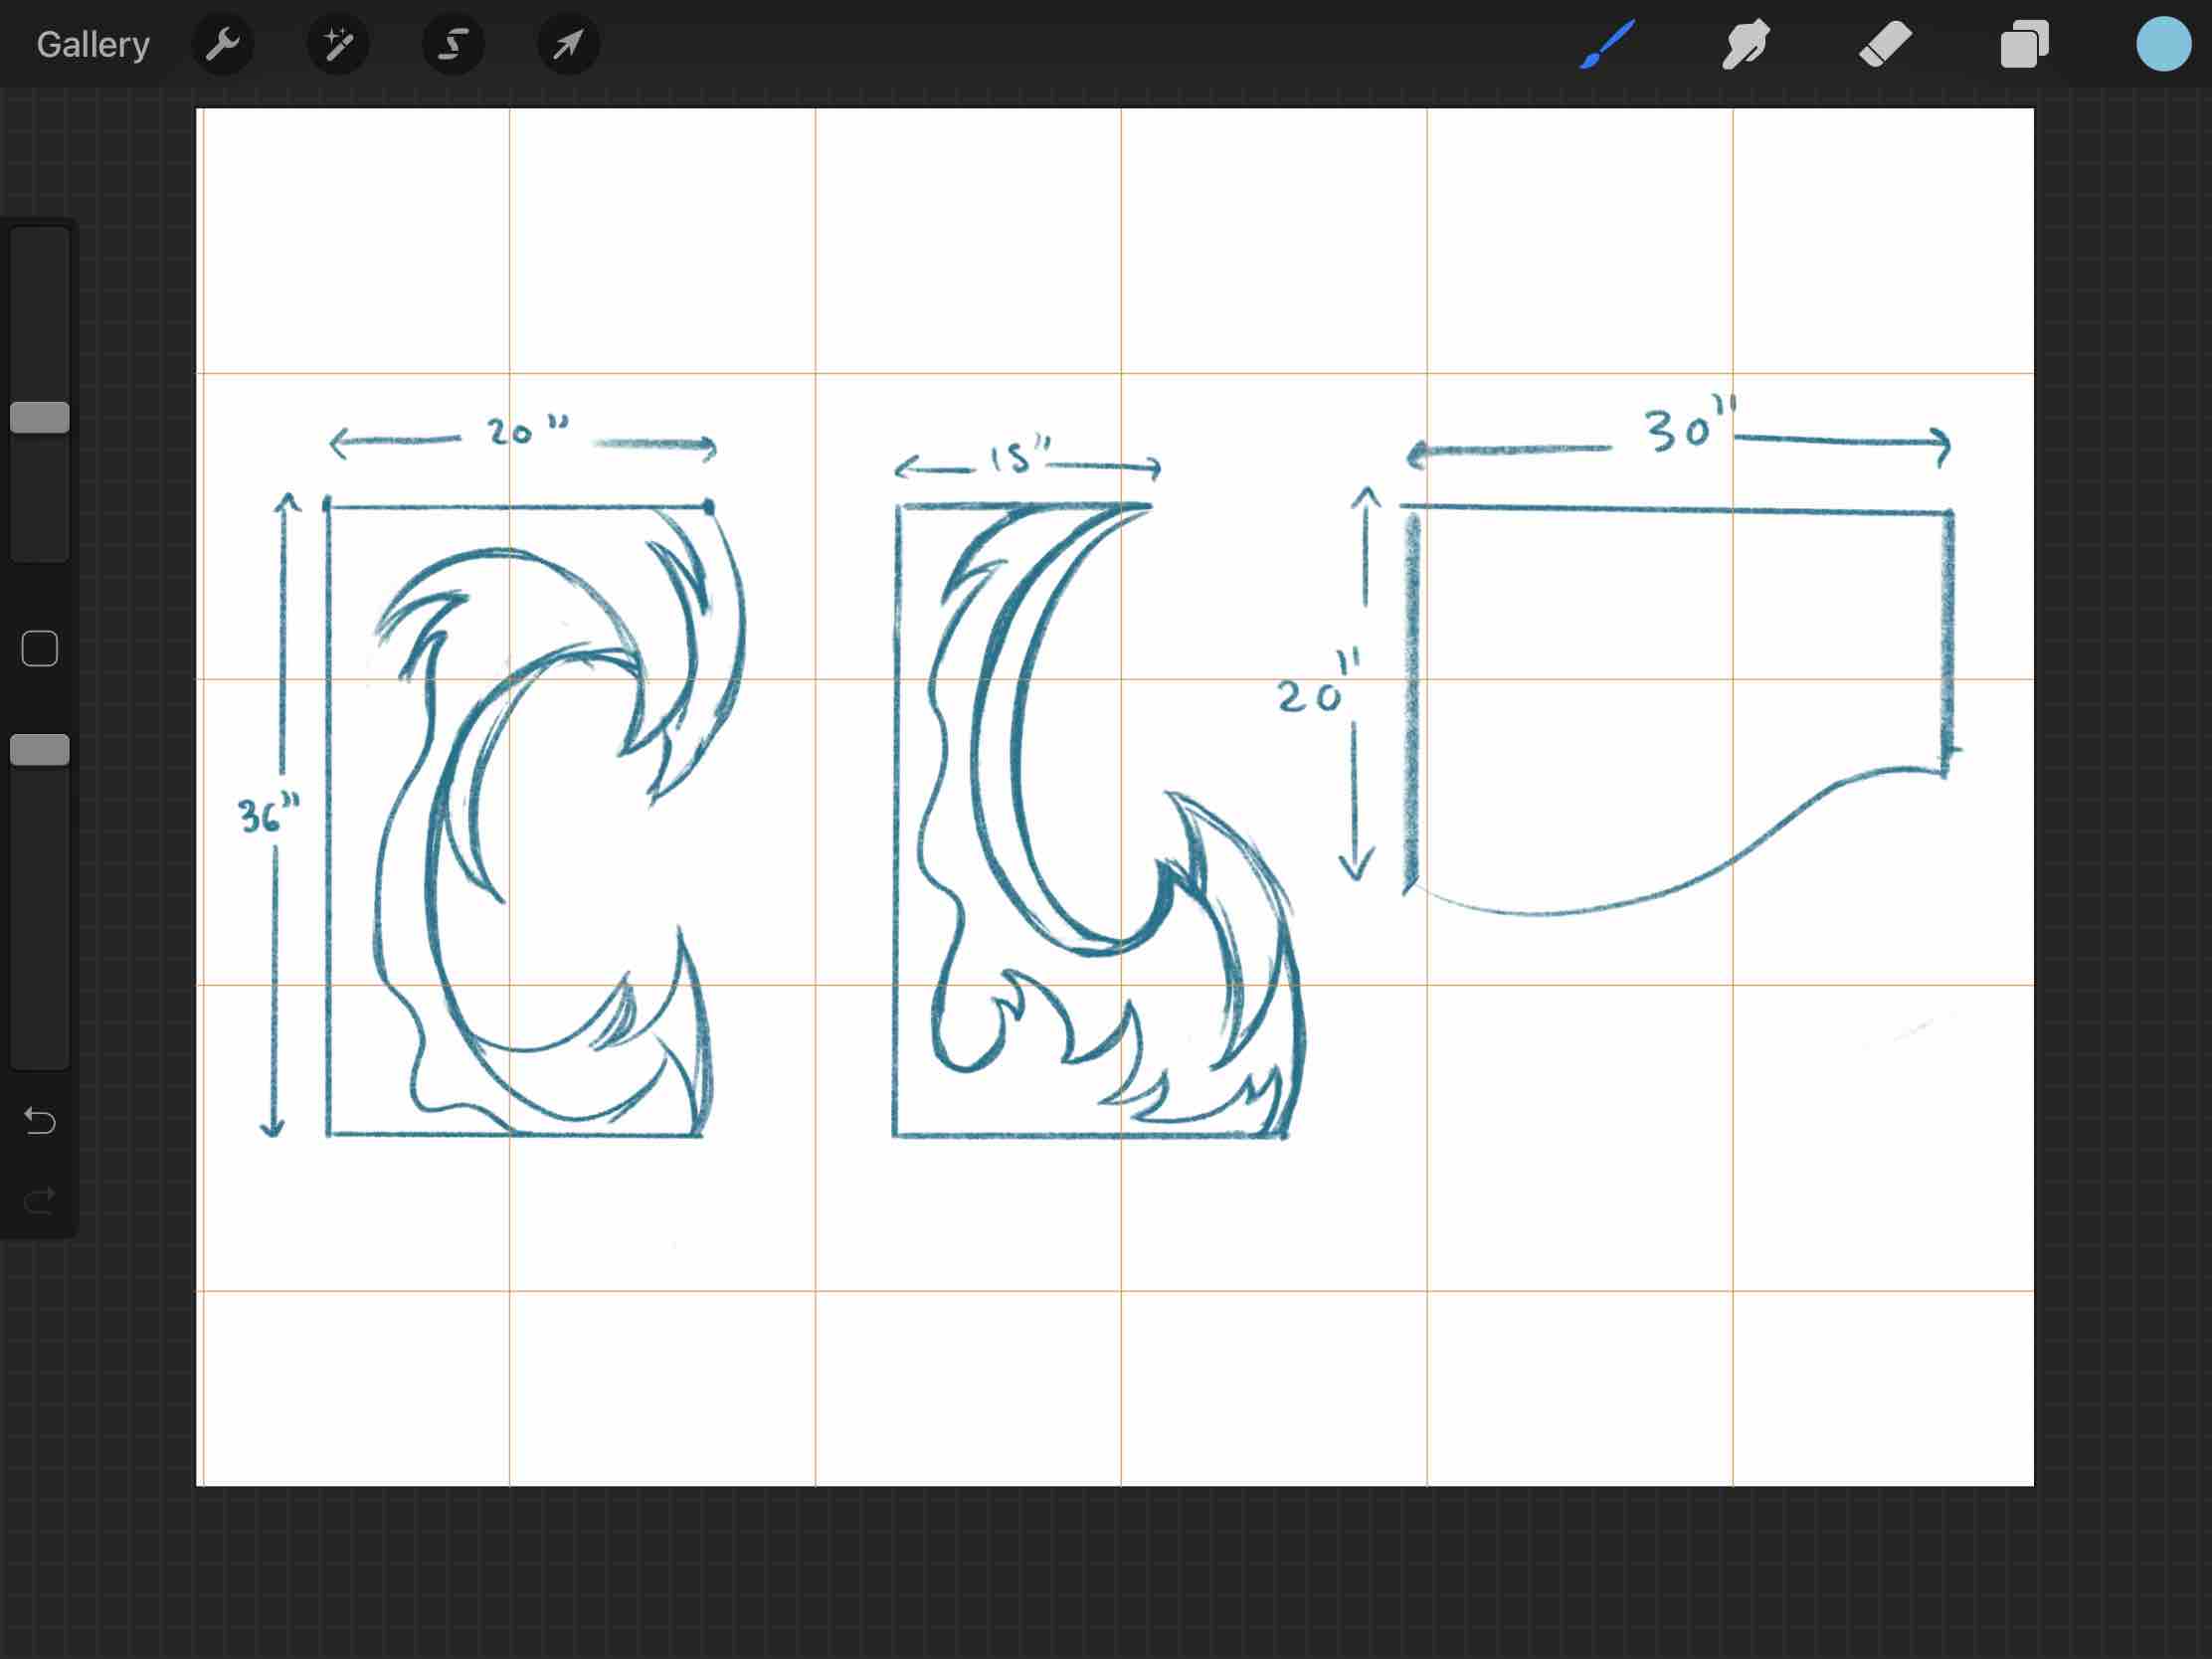
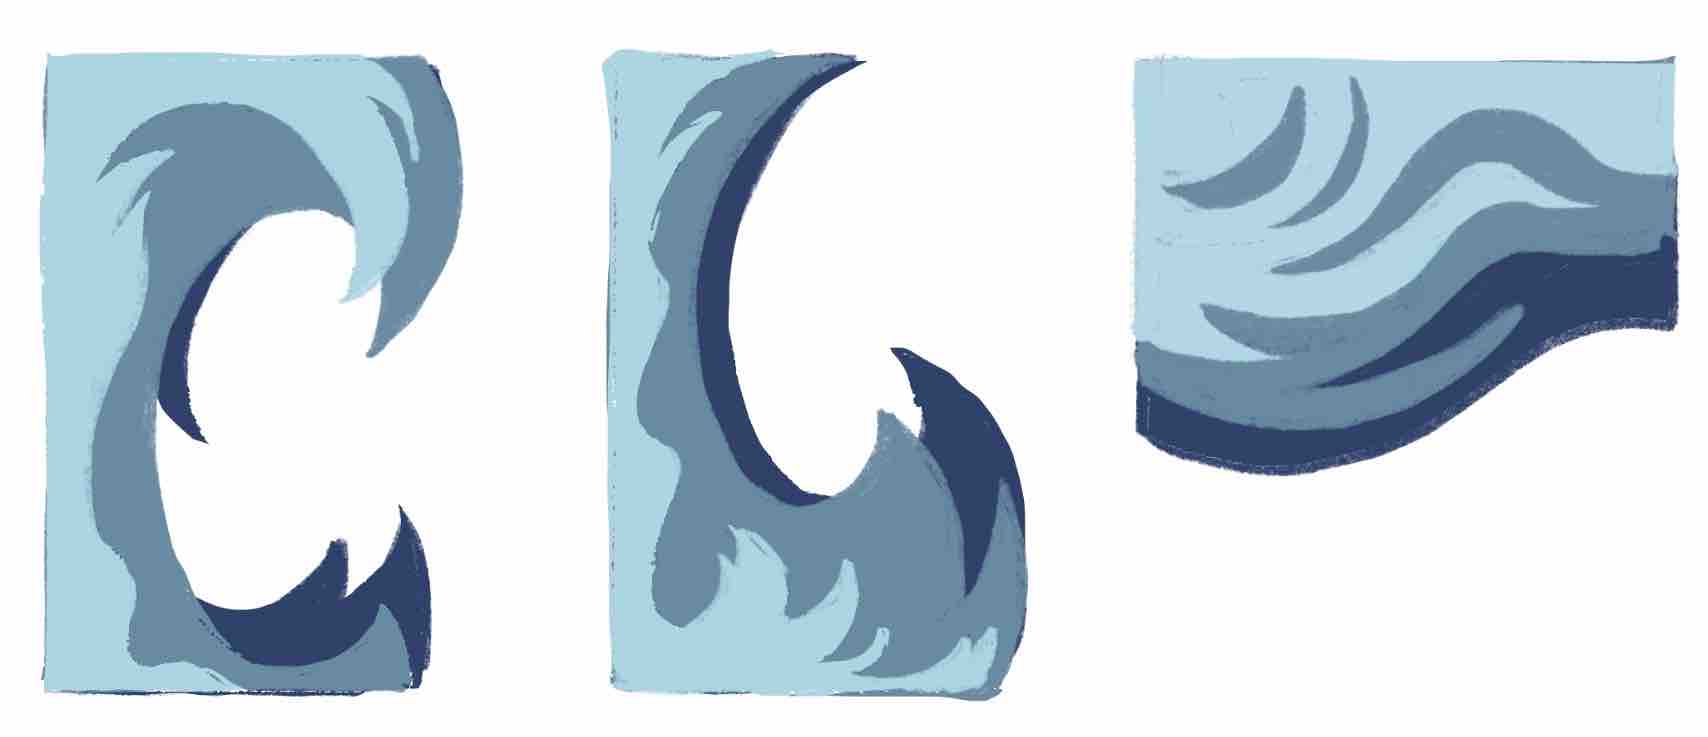
I've been brainstorming what to make for this week for a while, so I jumped right into designing a standing desk made out of waves. I used Procreate on my iPad to sketch the legs and top of the desk at a somewhat accurate scale to what I had in mind for dimensions. Then, I colored the pieces -- I plan to paint the layered legs and tabletop pieces in a gradient of blues.
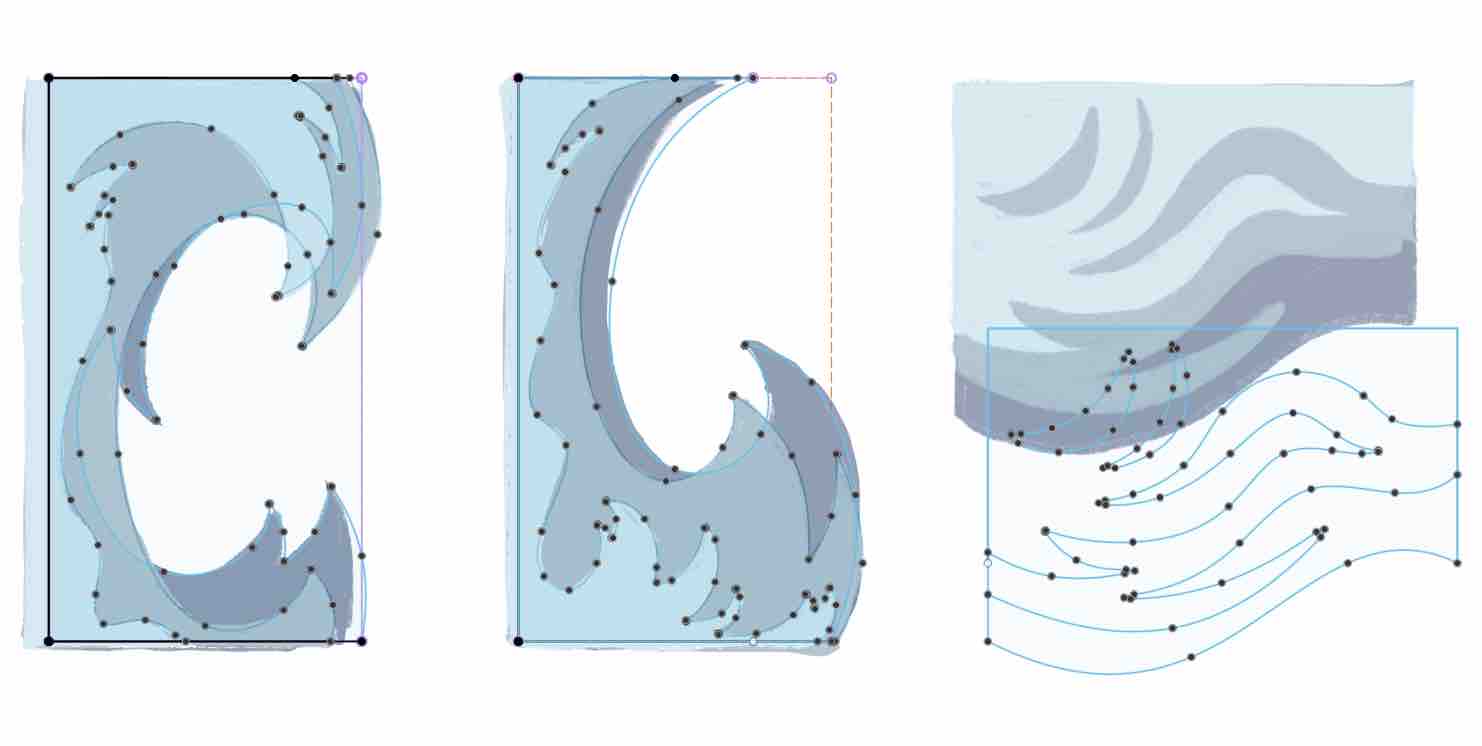
Splining
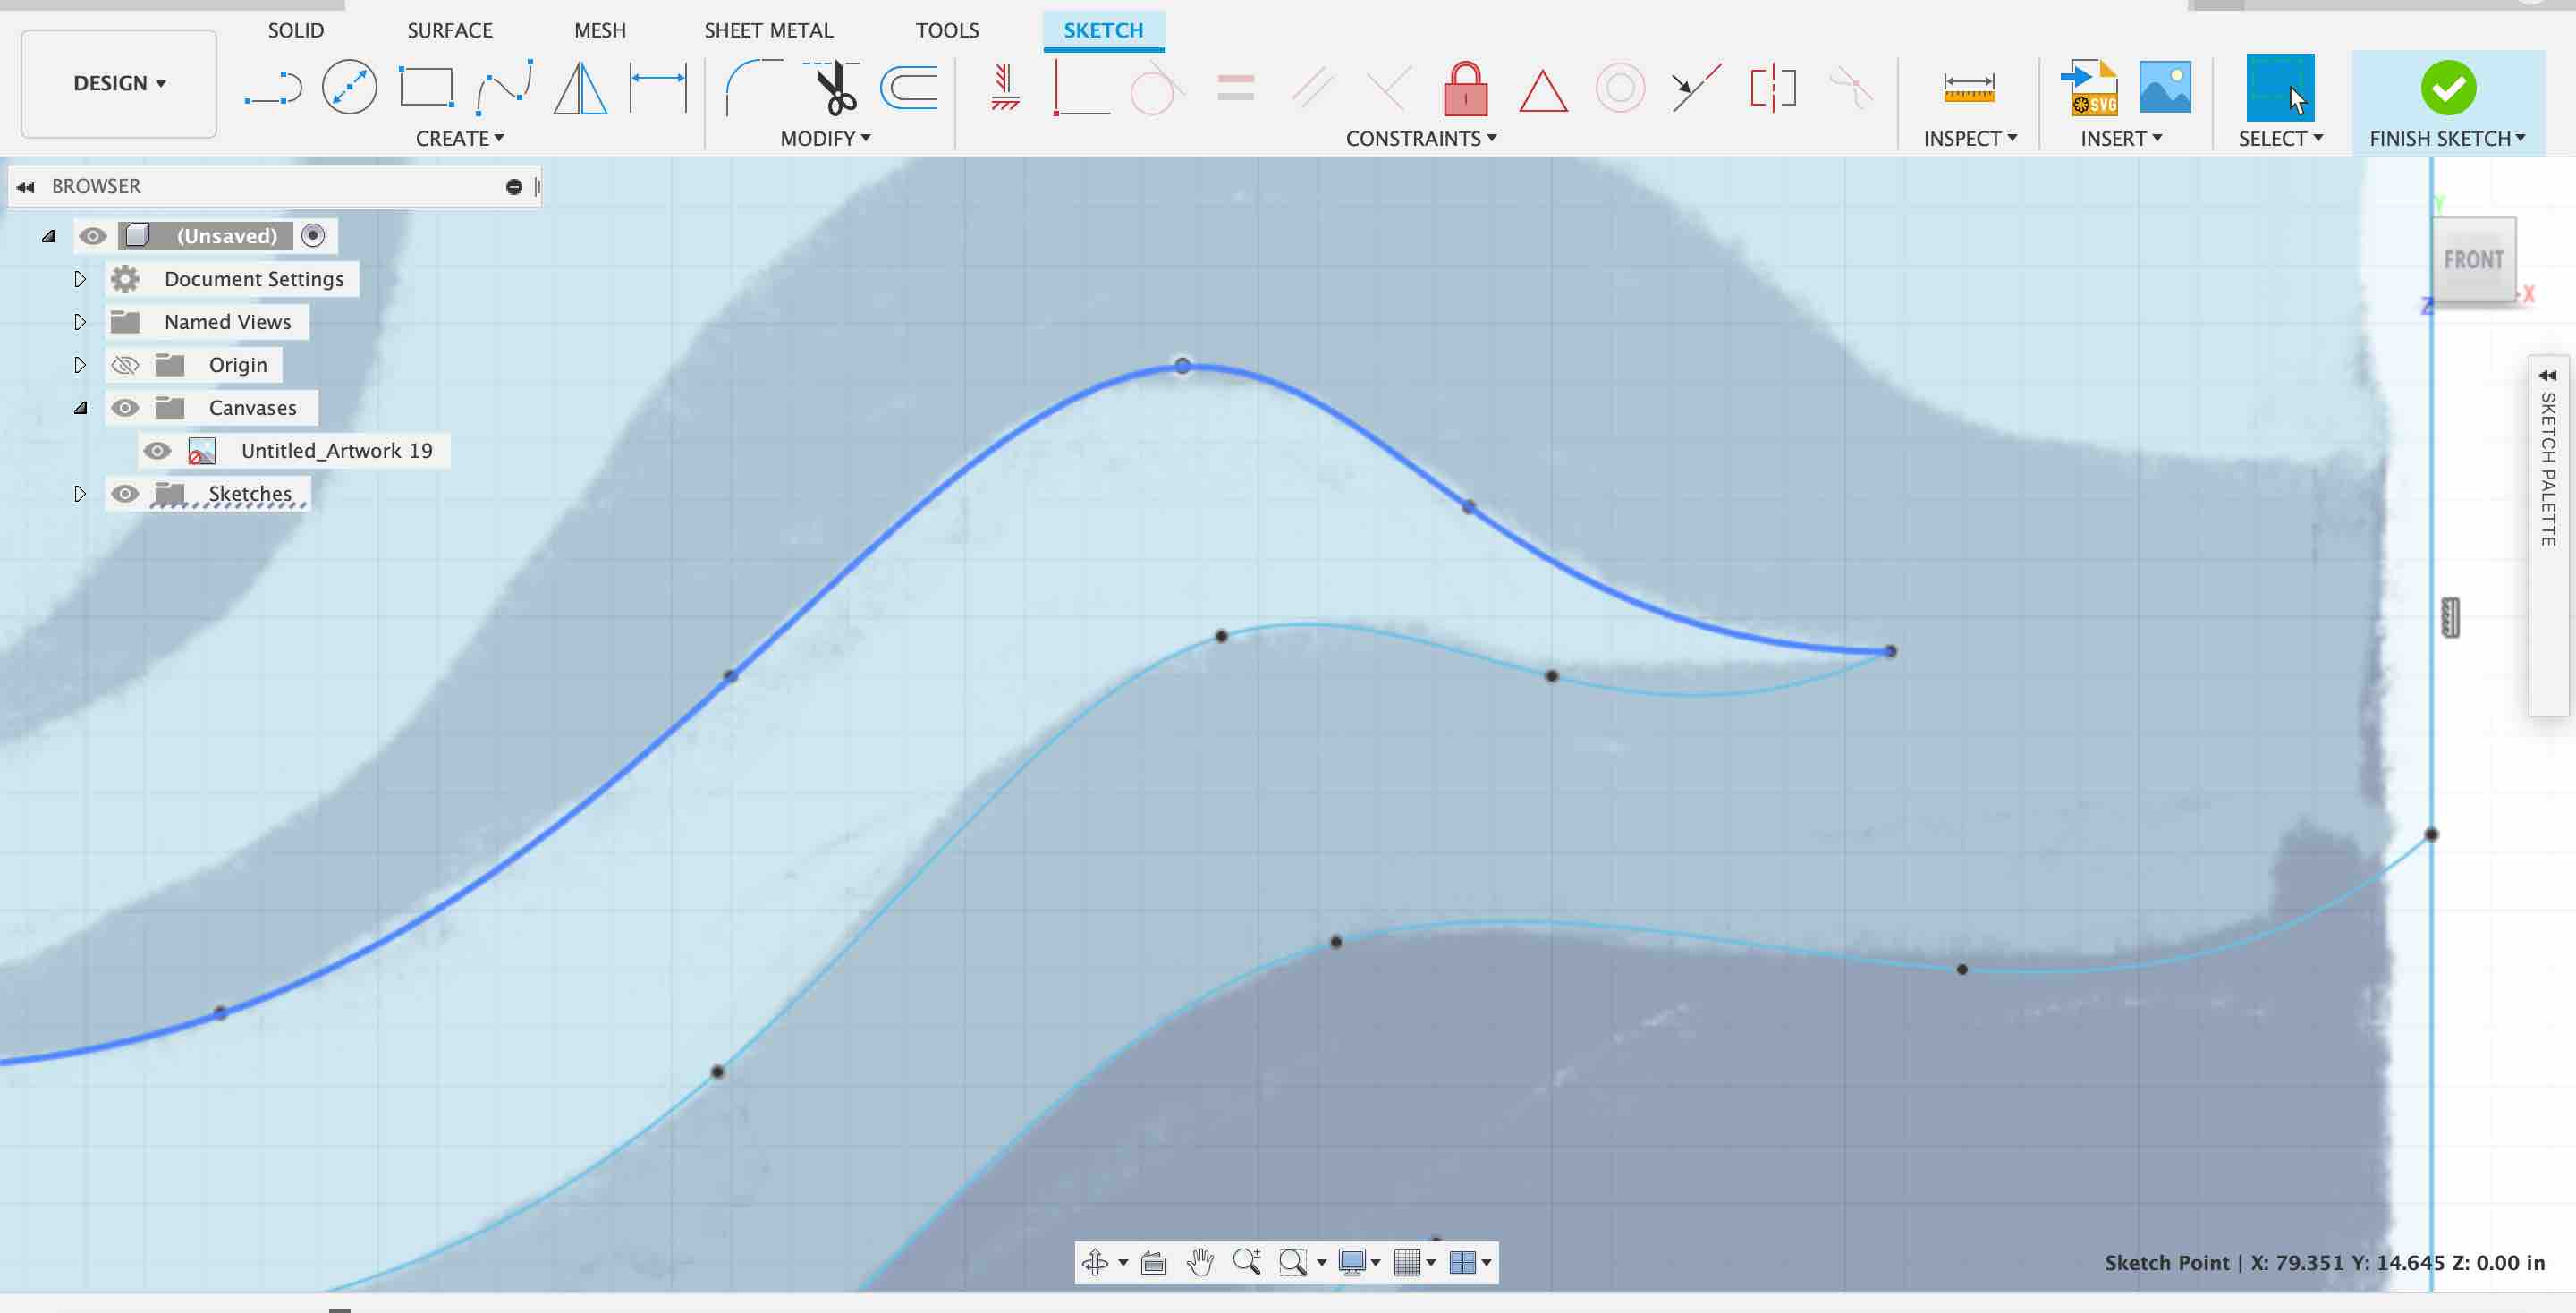
I opened up Fusion, imported my sketch, and began tracing using the spline tool.
Here's how the final design turned out:
Model
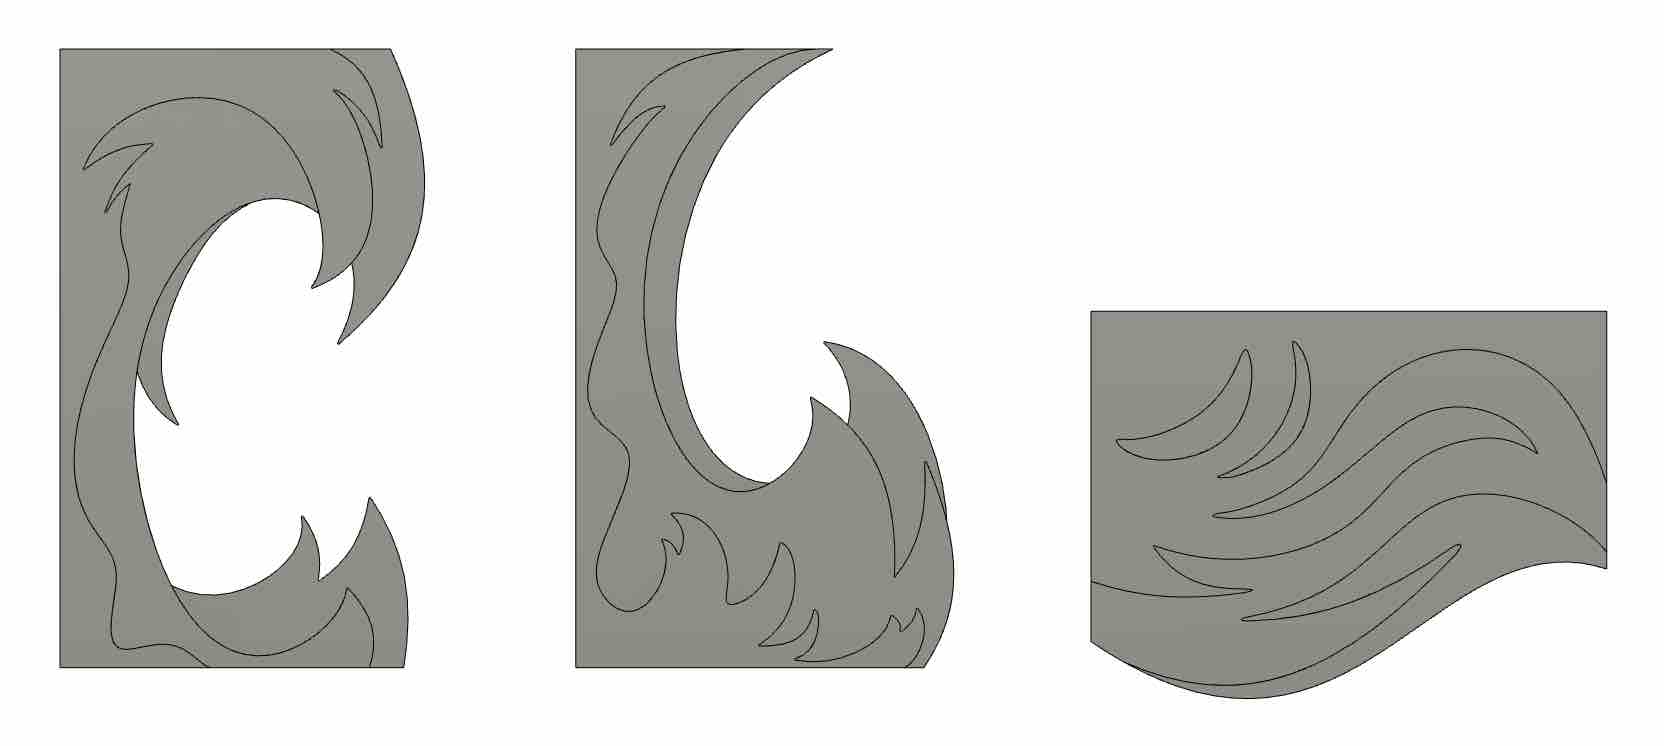
I extruded each of the sketches so I could get an idea of what the final product would look like in 3 dimensions.
Arranging for cutting
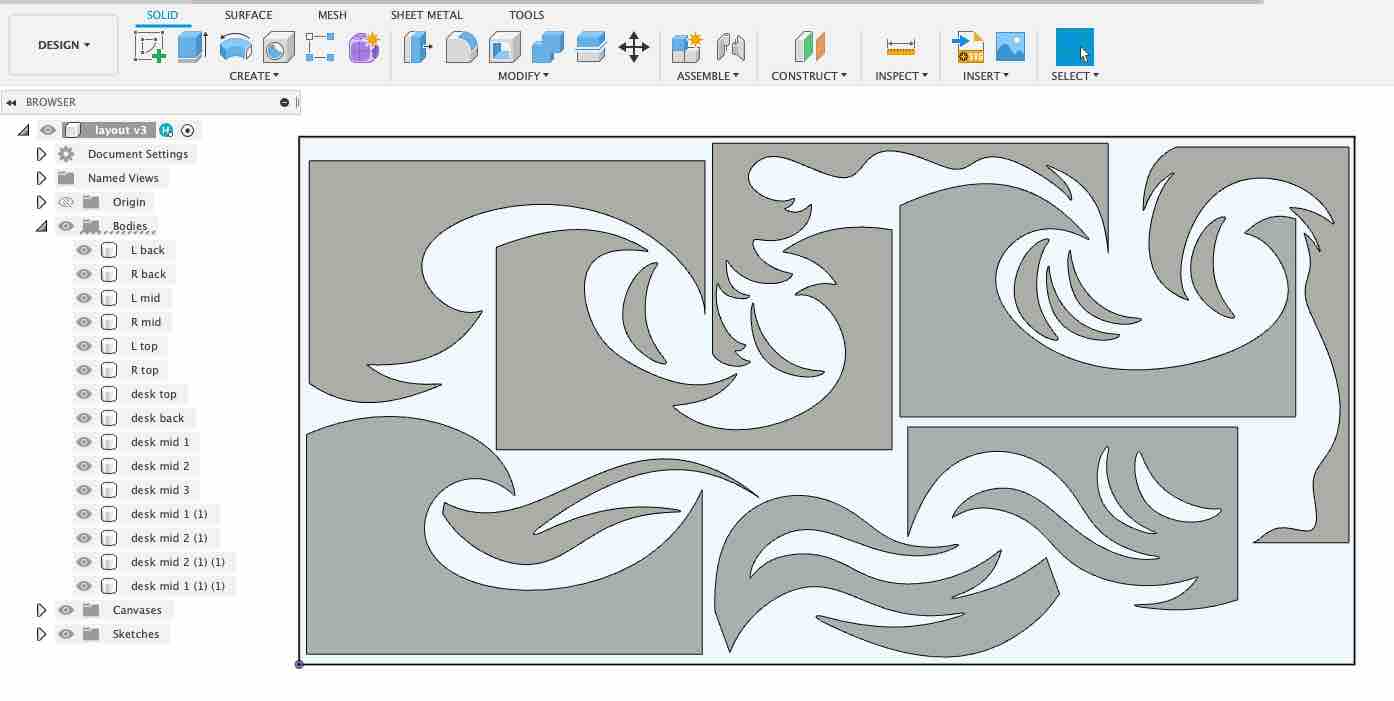
Next, I sketched a 4x8' bed so I could tetris my pieces to fit for cutting. Before moving things around, I didn't think they would fit at all, but somehow, I got it to work. It was actually kind of fun to do, a little puzzle. I decided to make many of the banana shaped wave slices just in case I messed up on a few of them. This wound up coming in handy later, since I was able to choose from a bunch of sanded pieces which ones fit the best in the tabletop.
Onto cutting: taking precautions
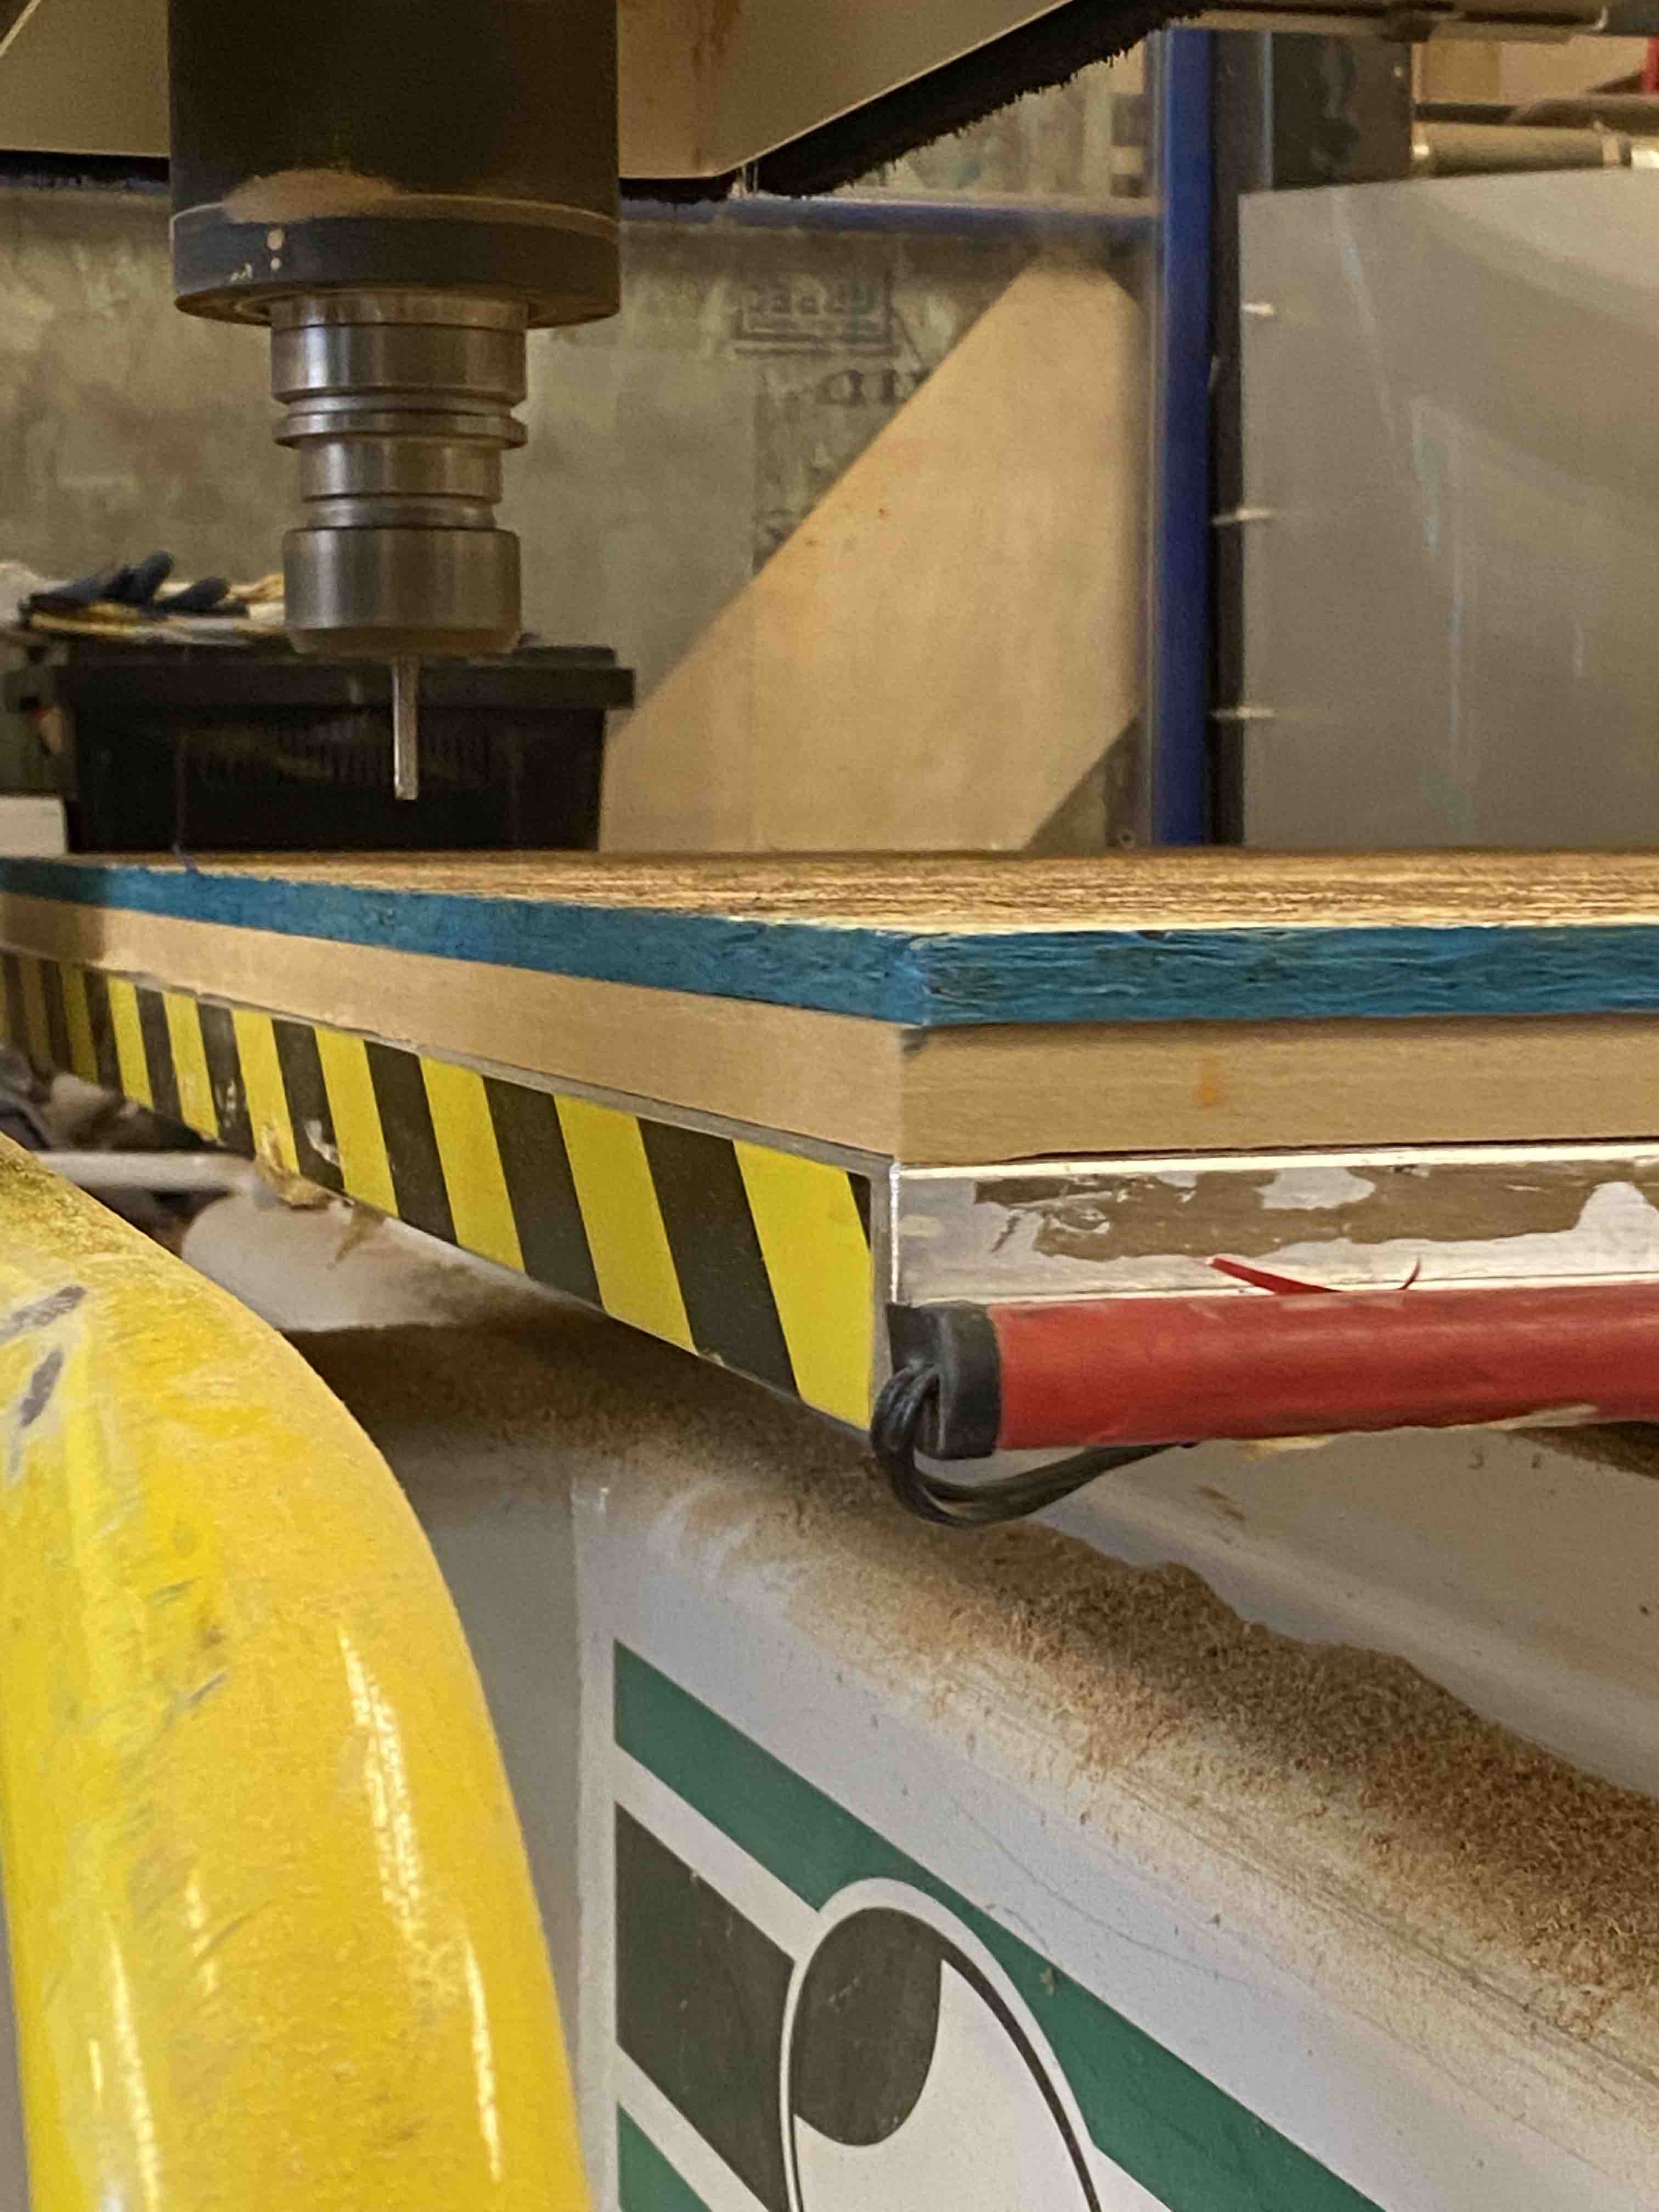
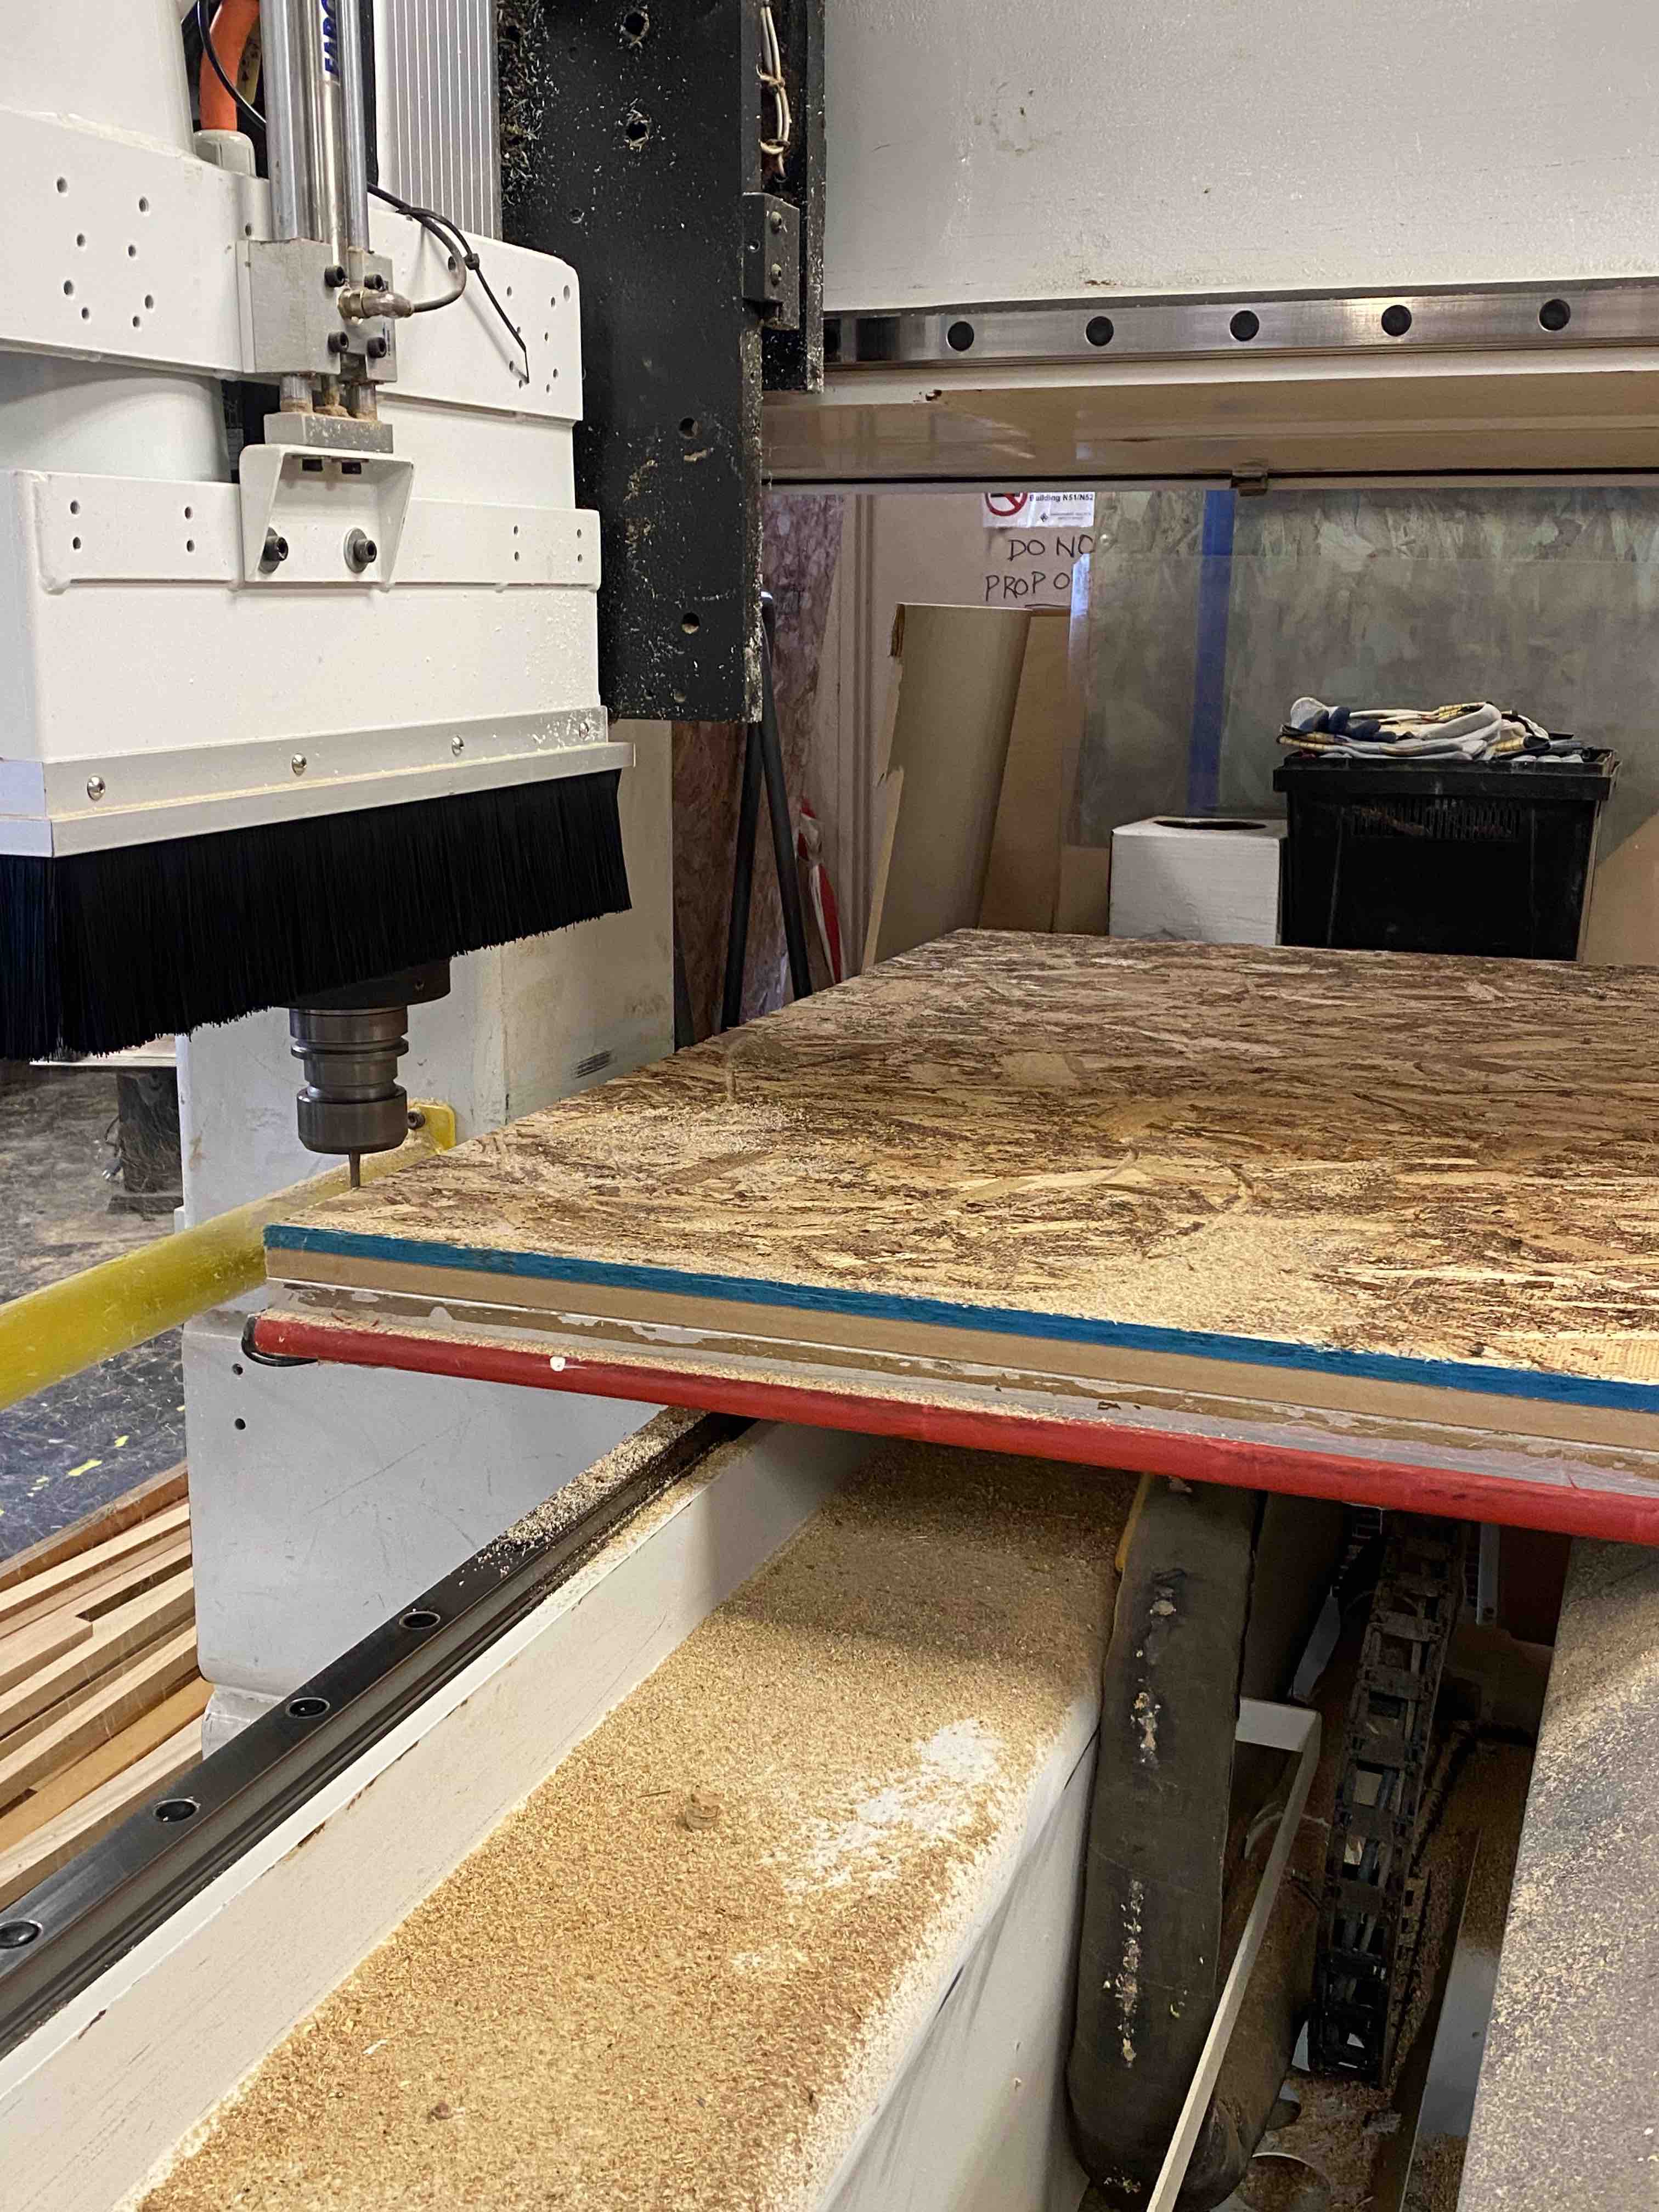
Calvin helped me set up the CAM, and we sent the gcode to the Onsrud. First, we ran the machine with the endmill higher than the OSB just to ensure the toolpaths were oriented correctly. Then, we ran the actual operation, using the "brushes up" command to see the endmill as it cut to make sure everything was all right.
Cutting complete
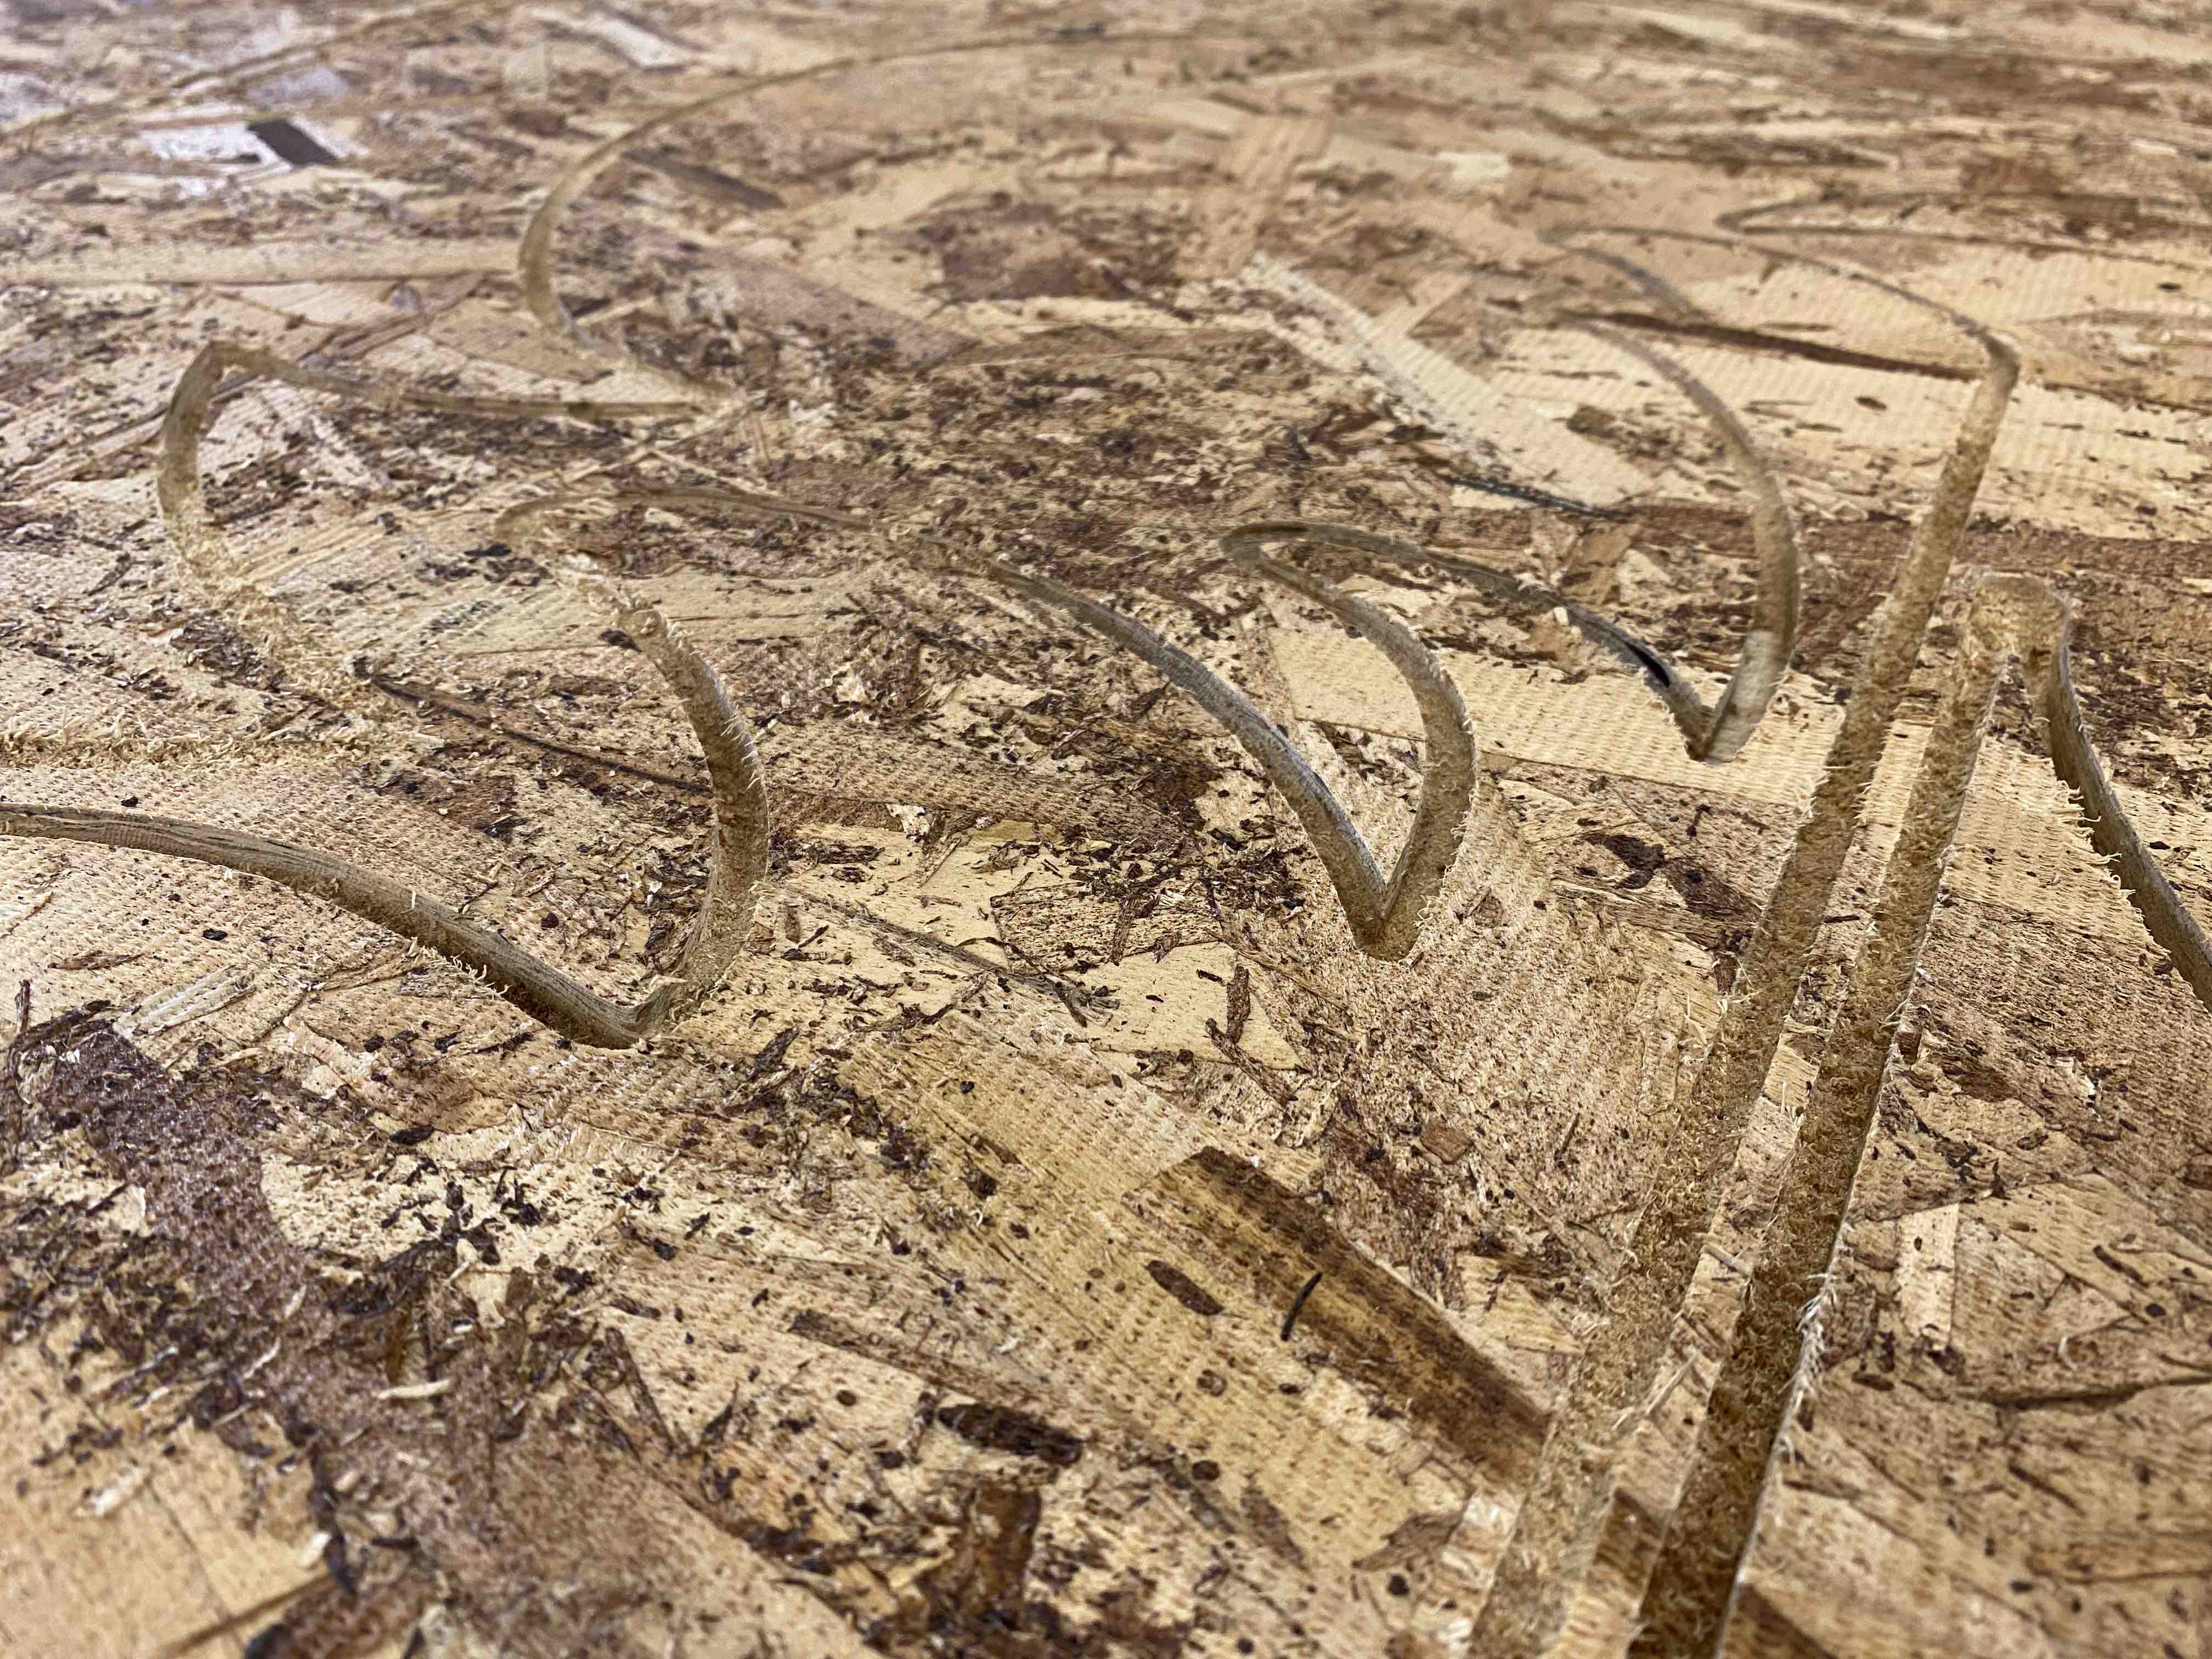
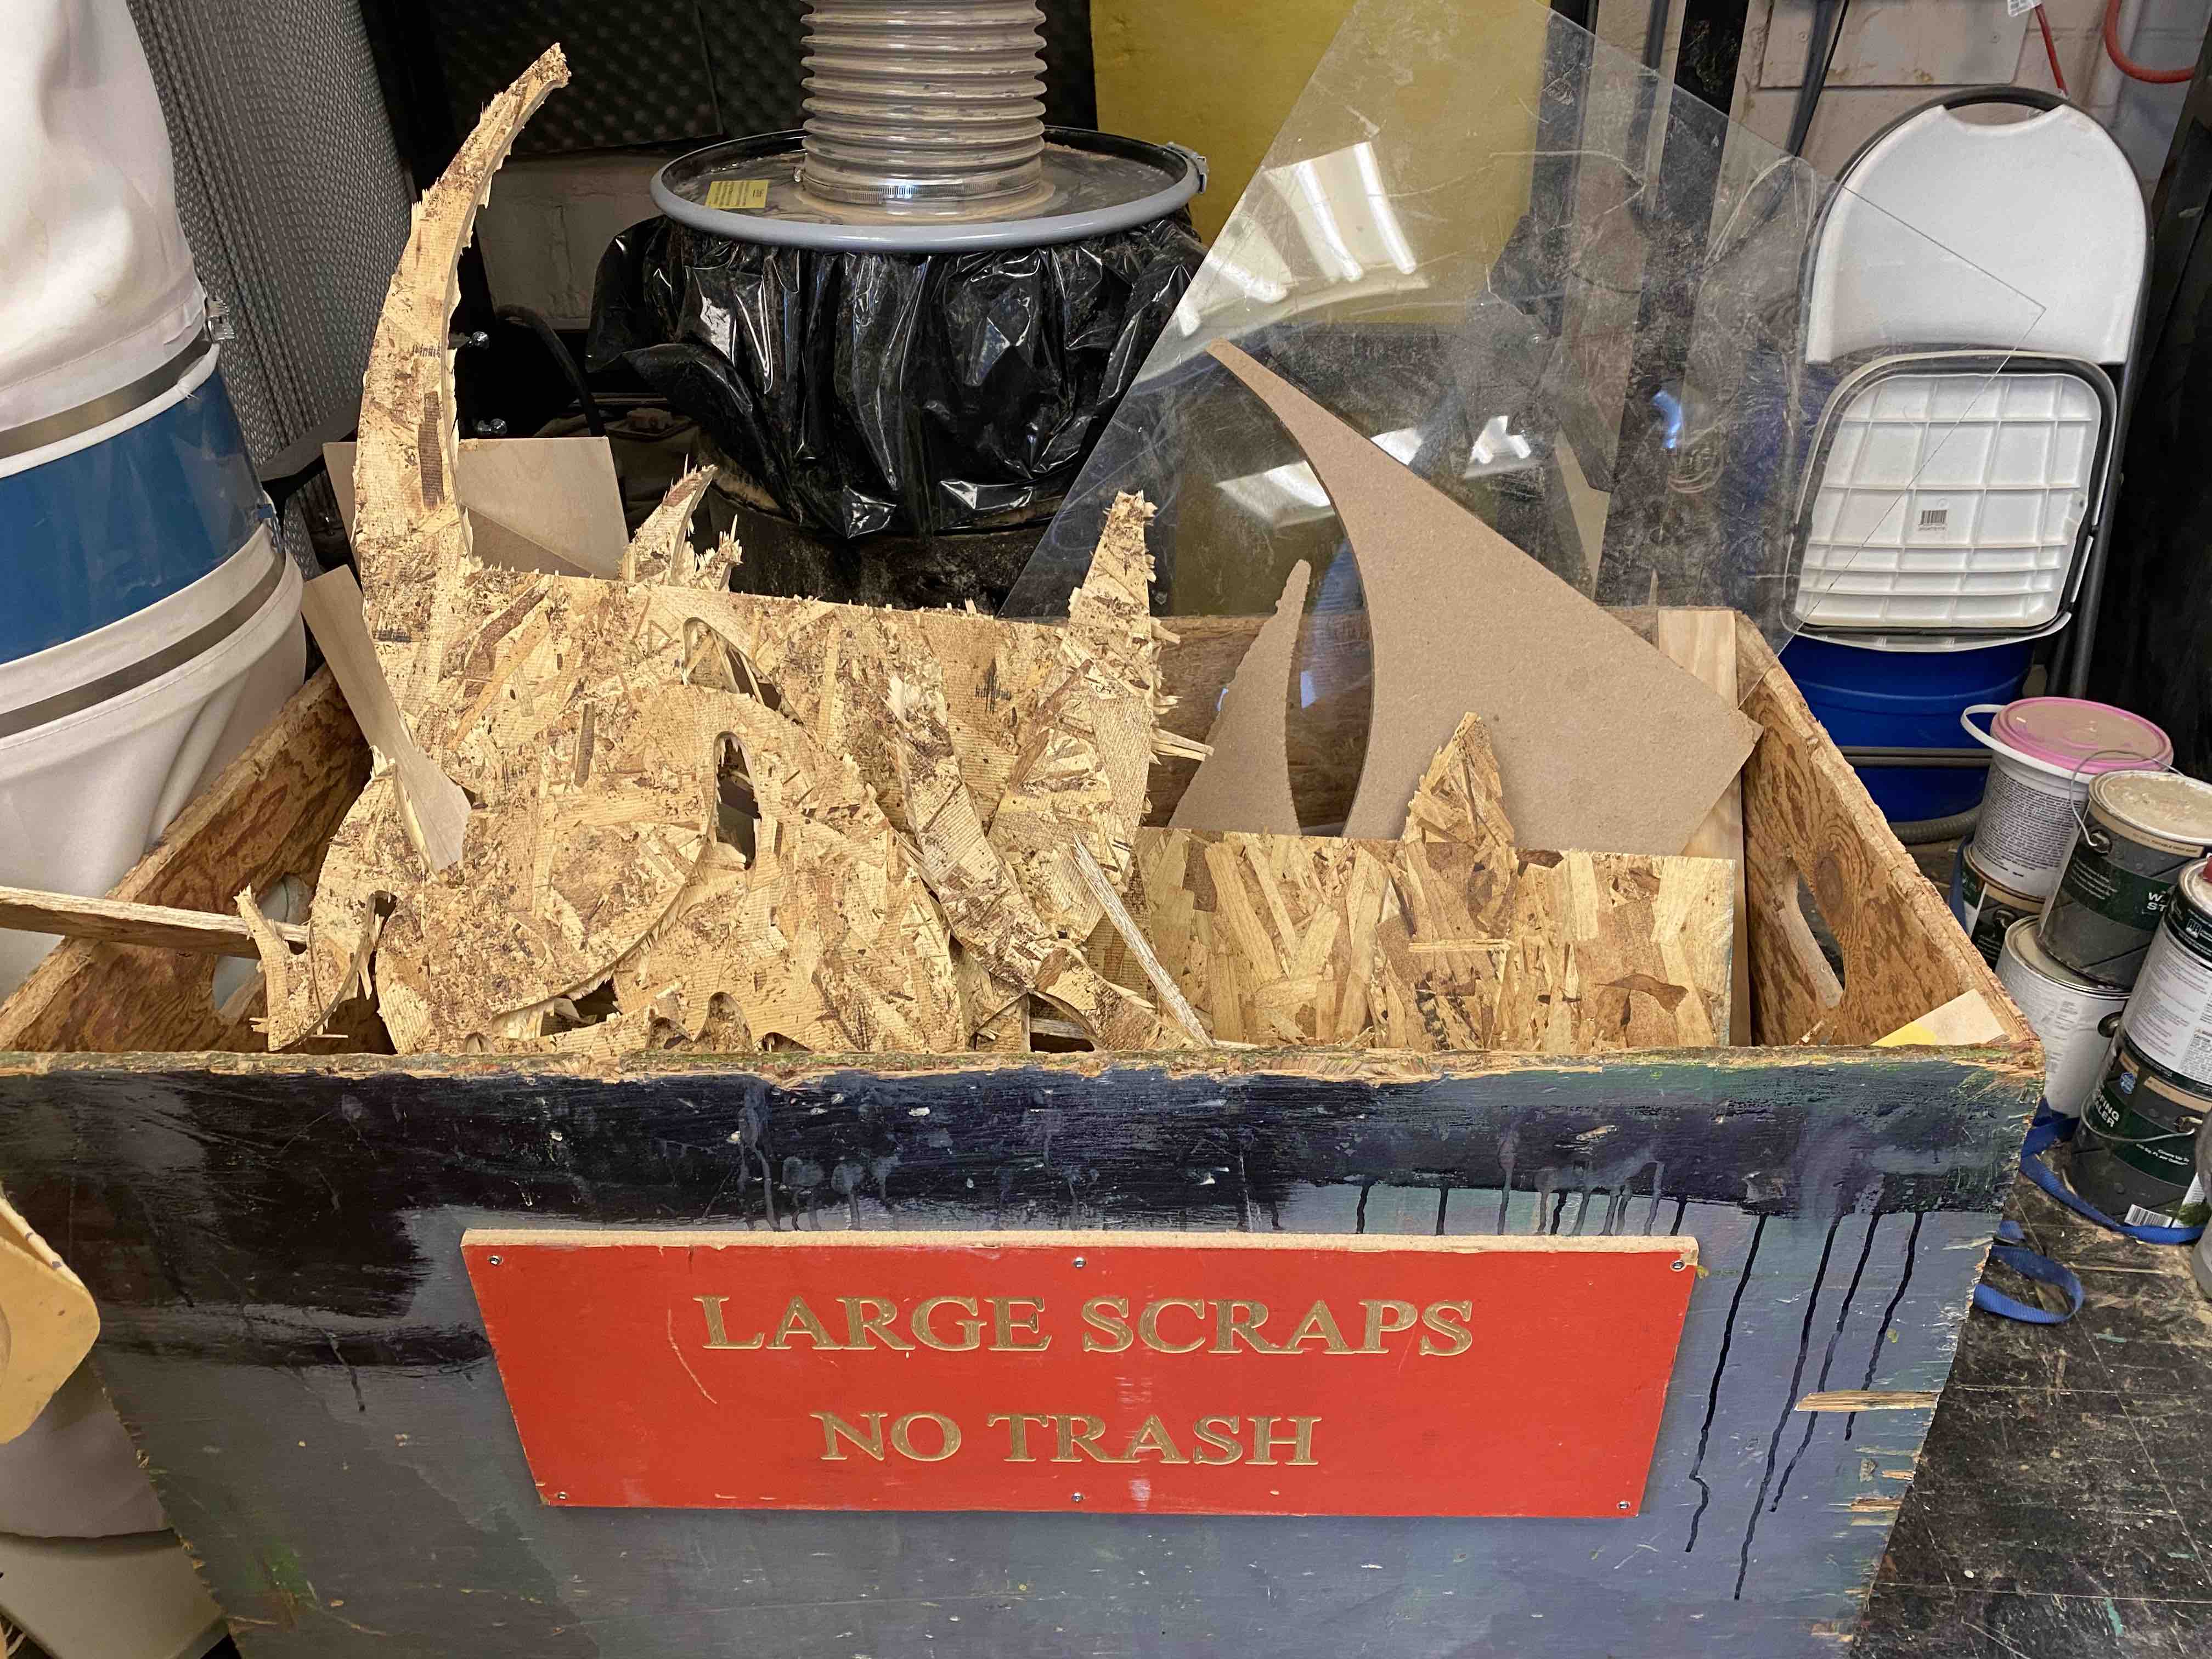
The operation took about 12 minutes to run, and after, I got to tear the pieces out from the sheet of OSB. This produced a ton of scrap.
Refining
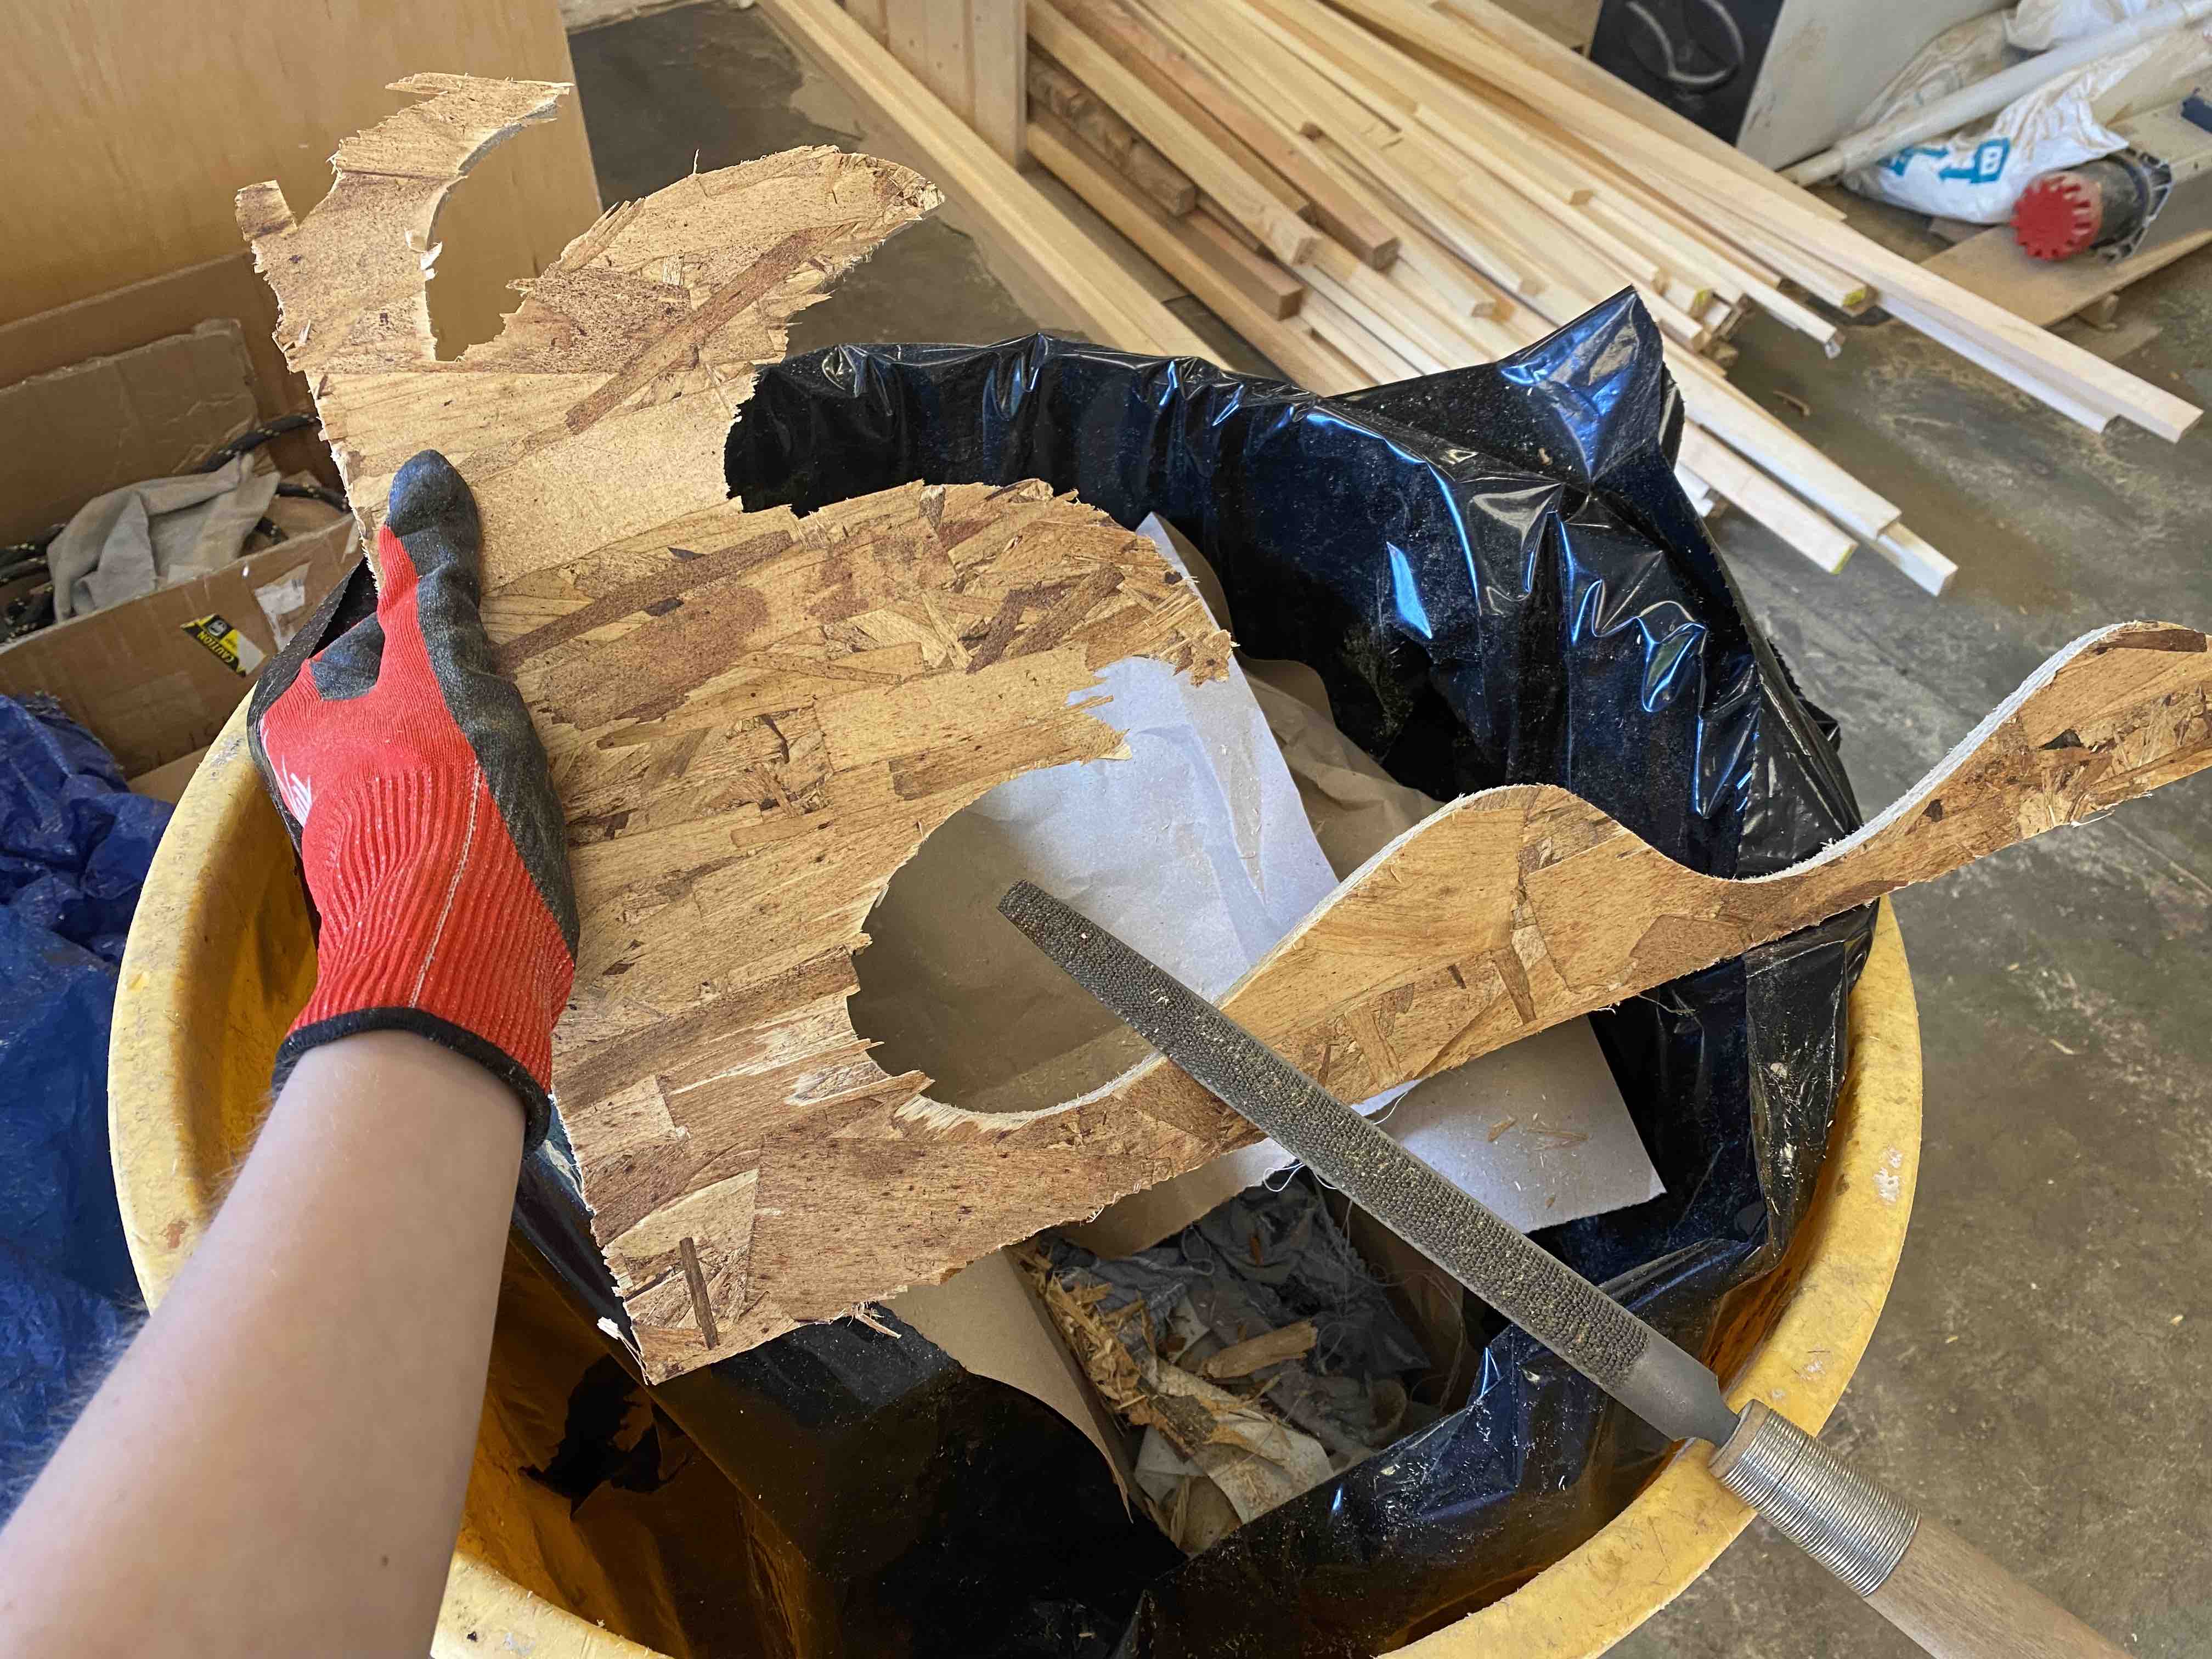
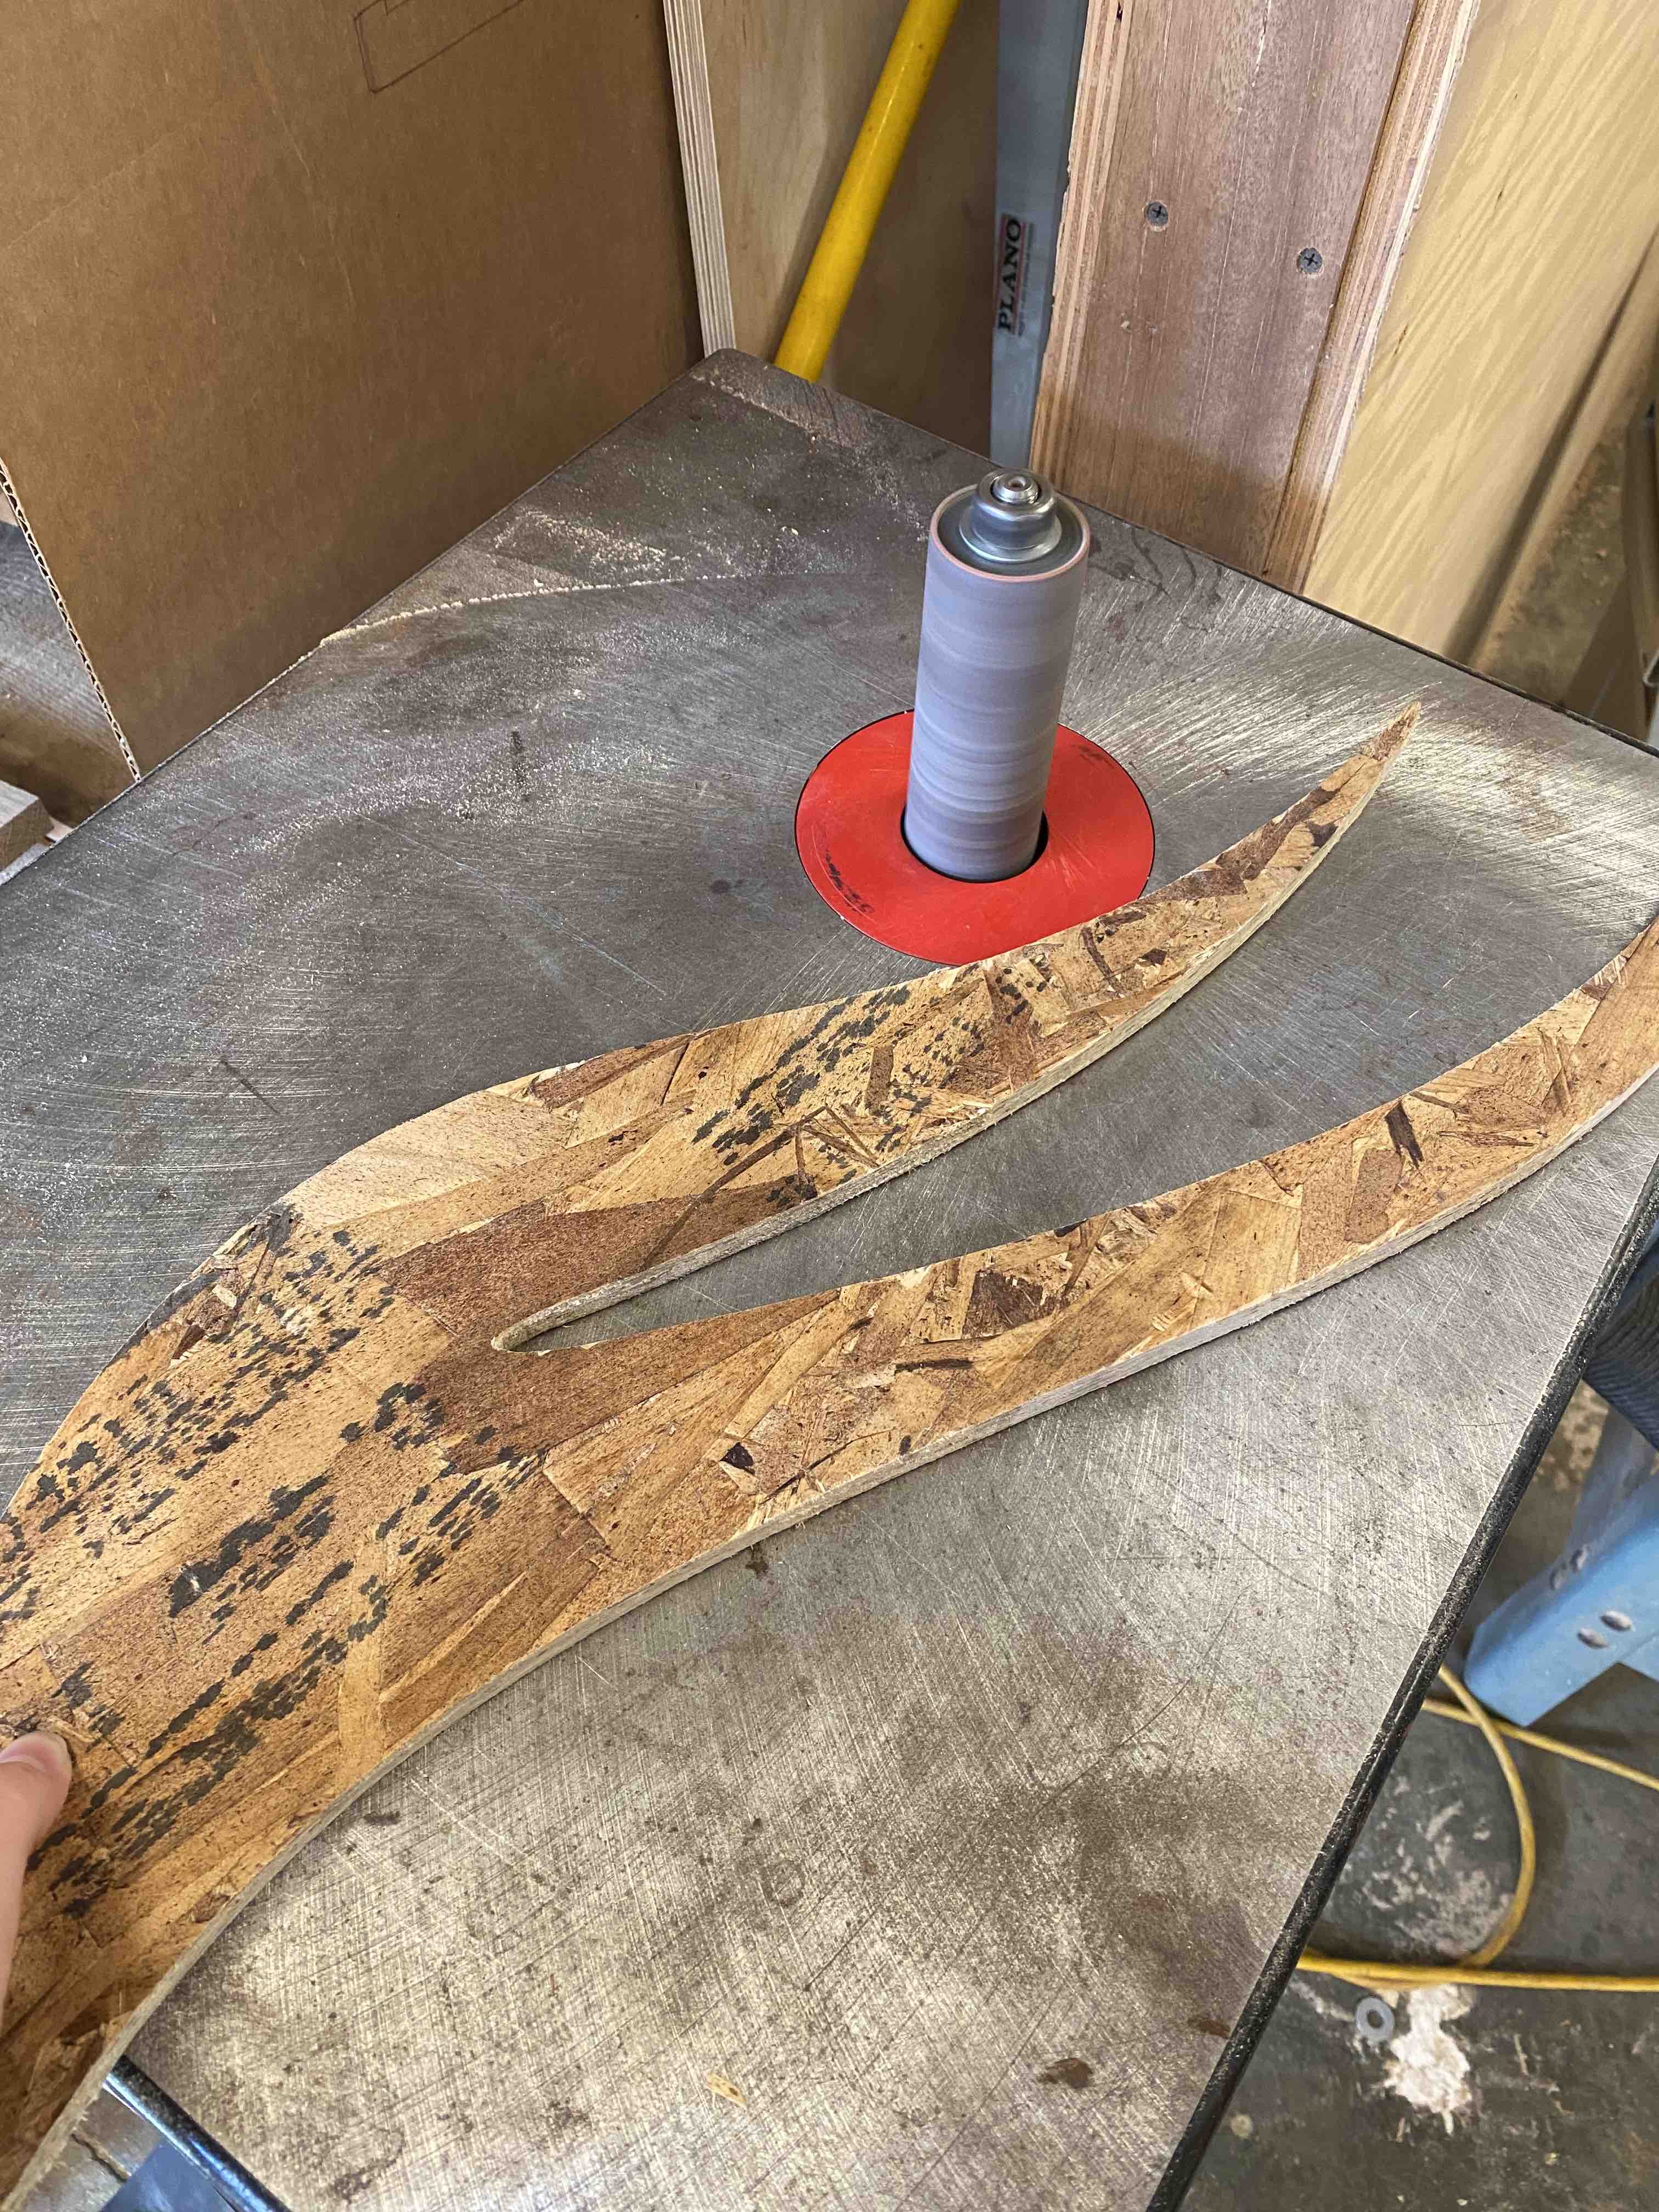
All my pieces had some funky "onion skin" on the back, so I spent an hour or so cleaning up the edges. First, I used a rasp to cut away the skin; this was pretty efficient, but didn't remove everything and left the edges rough still. To smoothen the edges/sides, I used a belt sander and spindle sander on all my pieces, then ran sandpaper quickly over everything.
Slotting
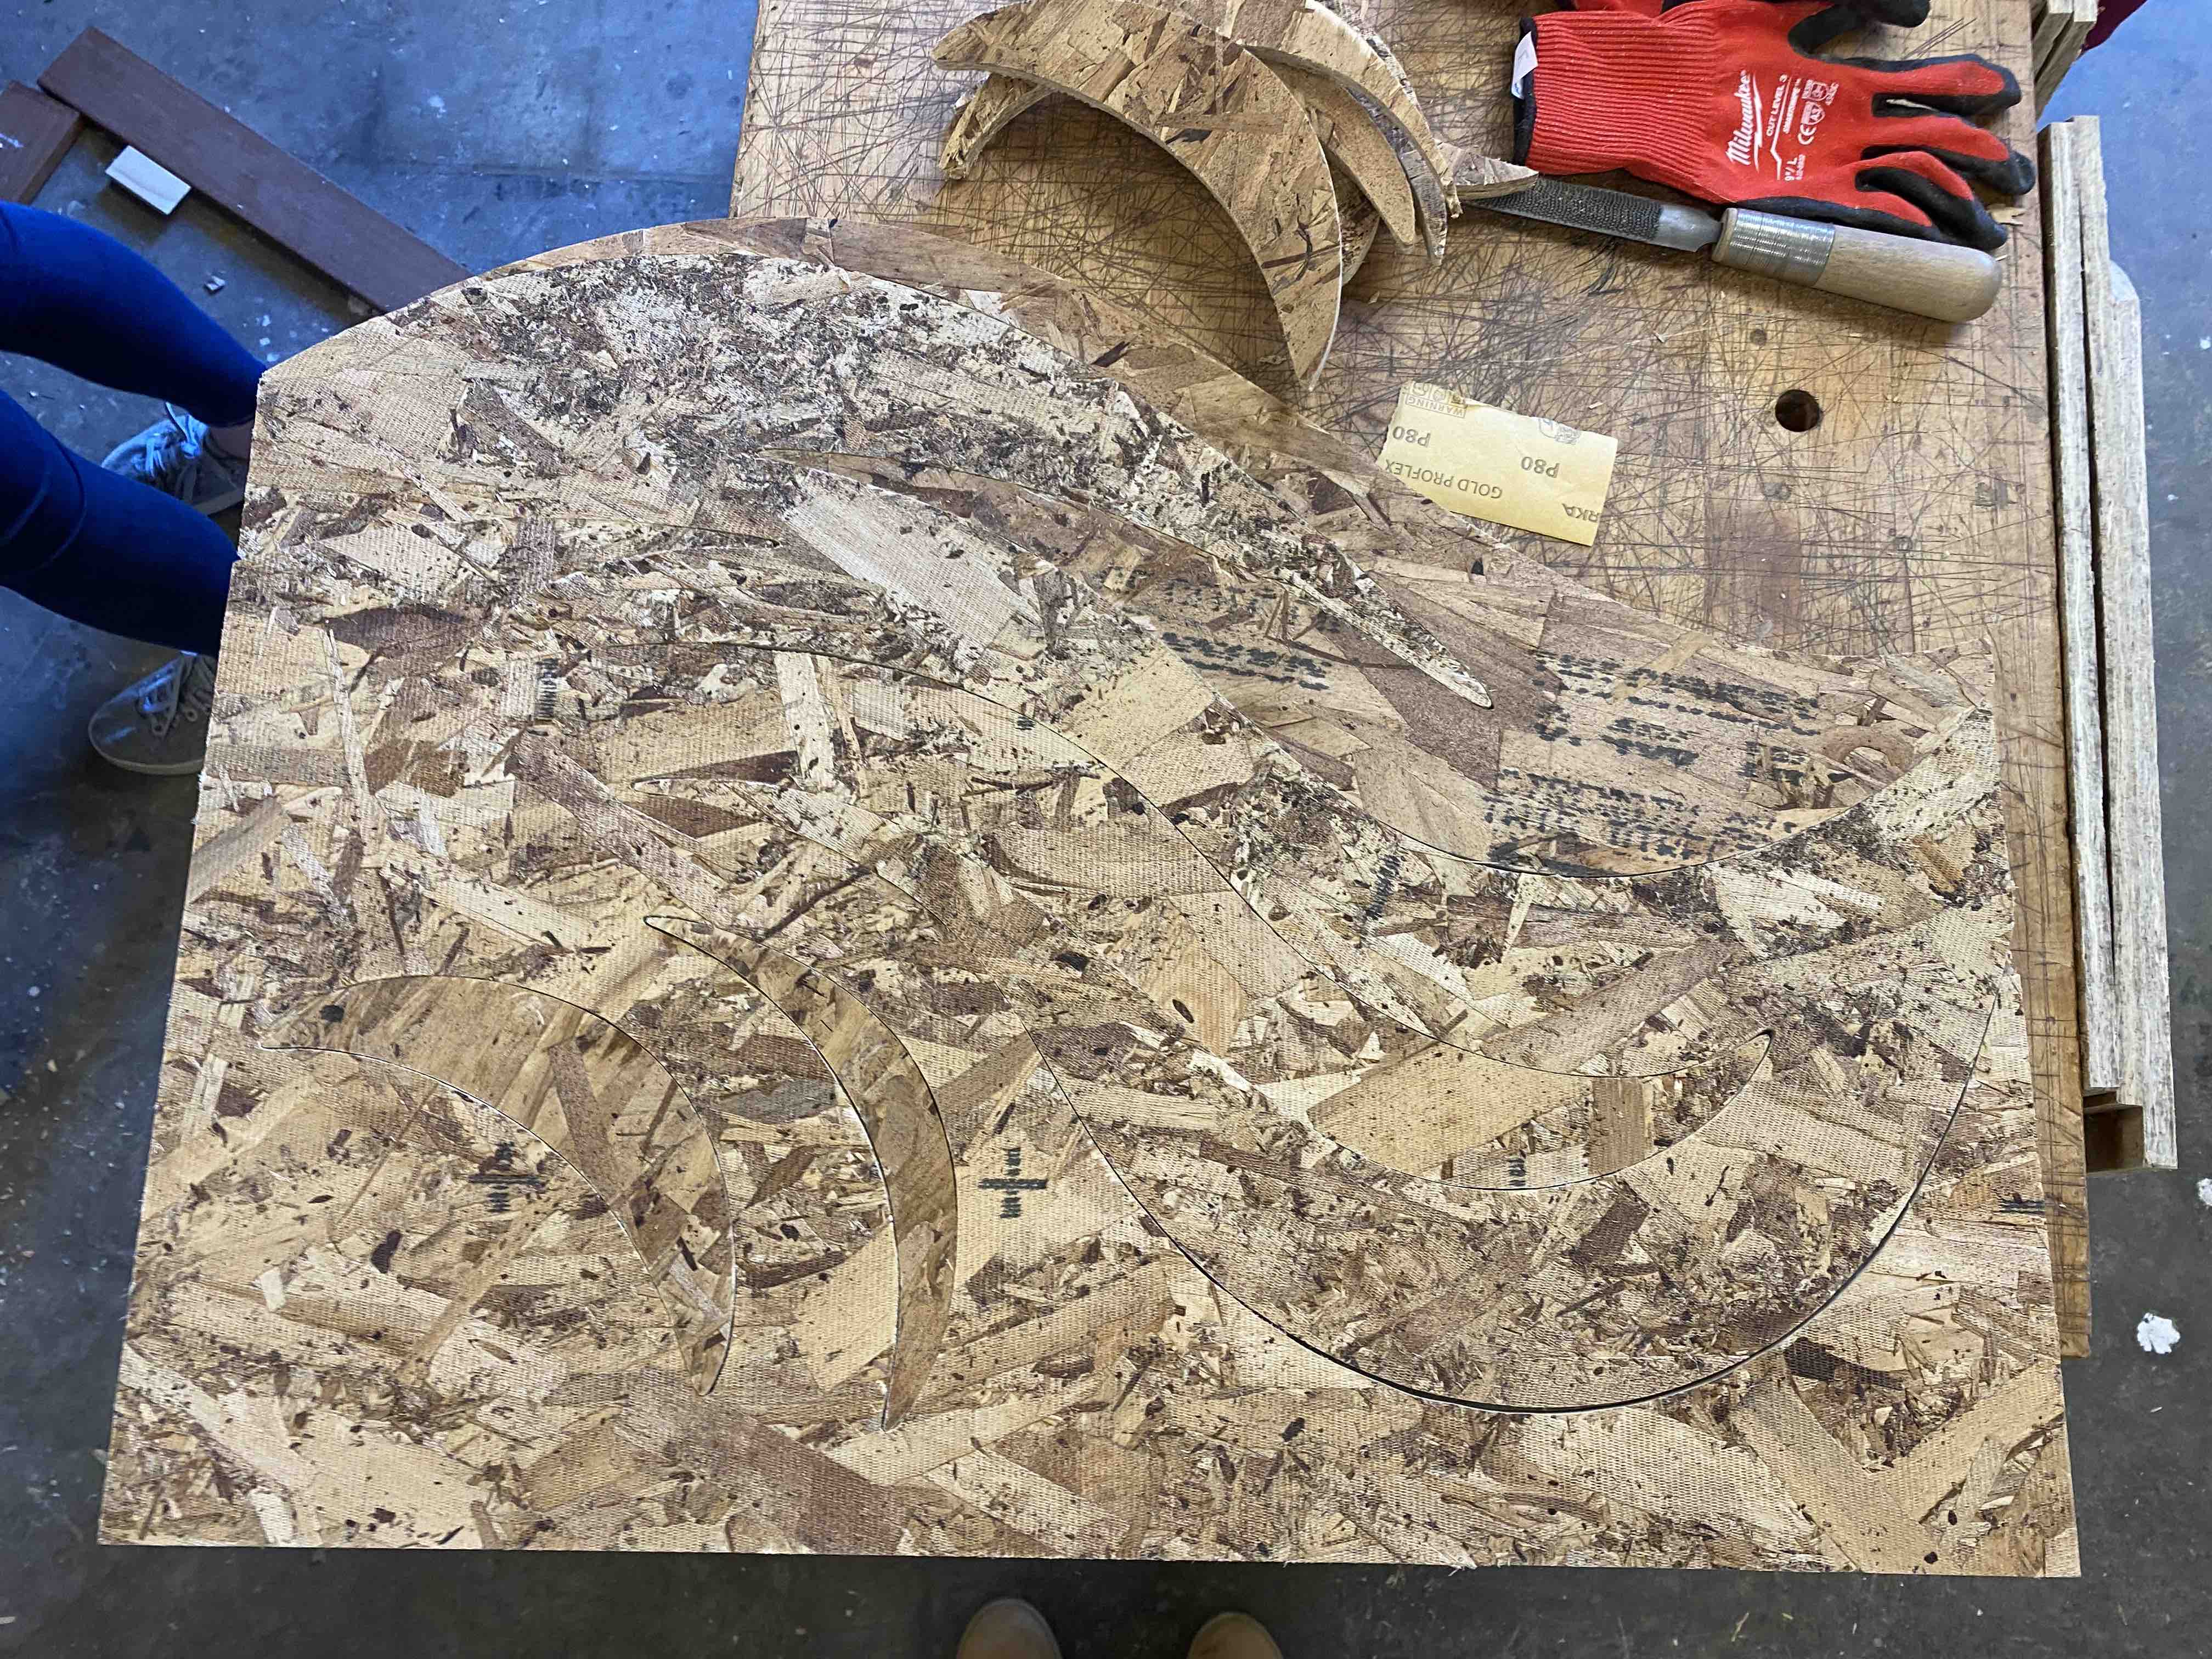
Sanding was crucial for my puzzle-pieced tabletop. I had to work a while to get the individual pieces to slot together nicely.
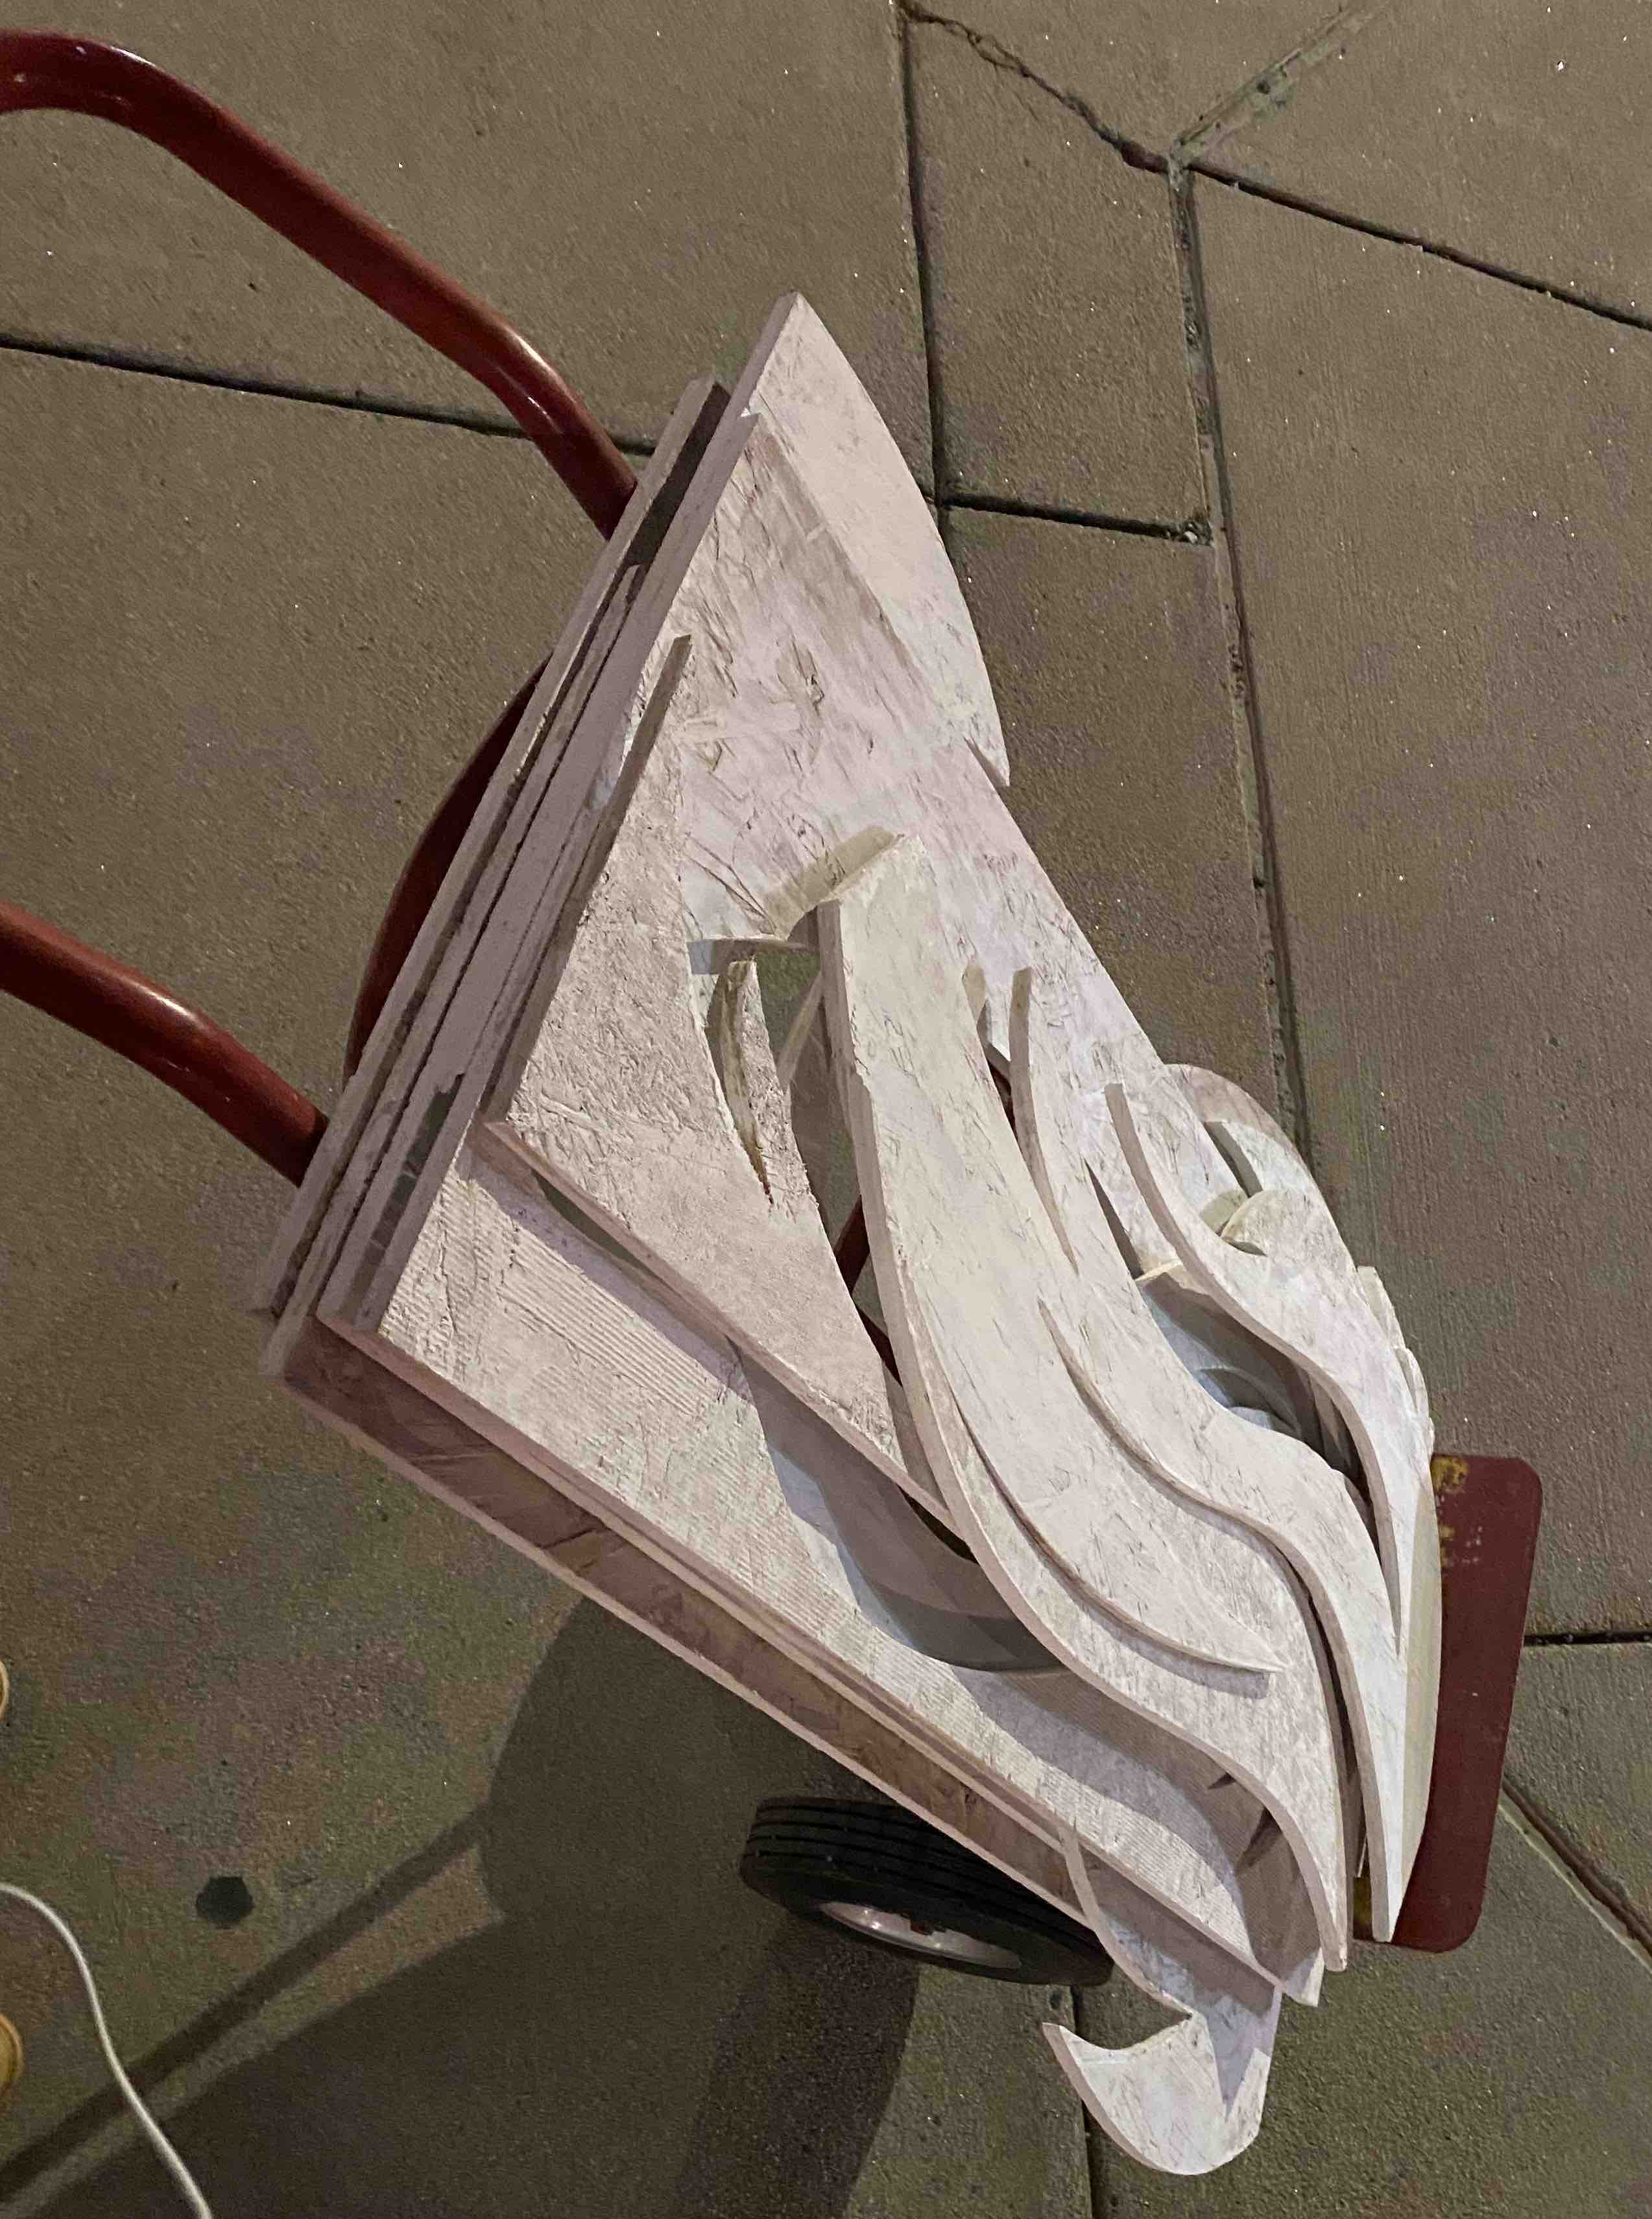
Lookin' good
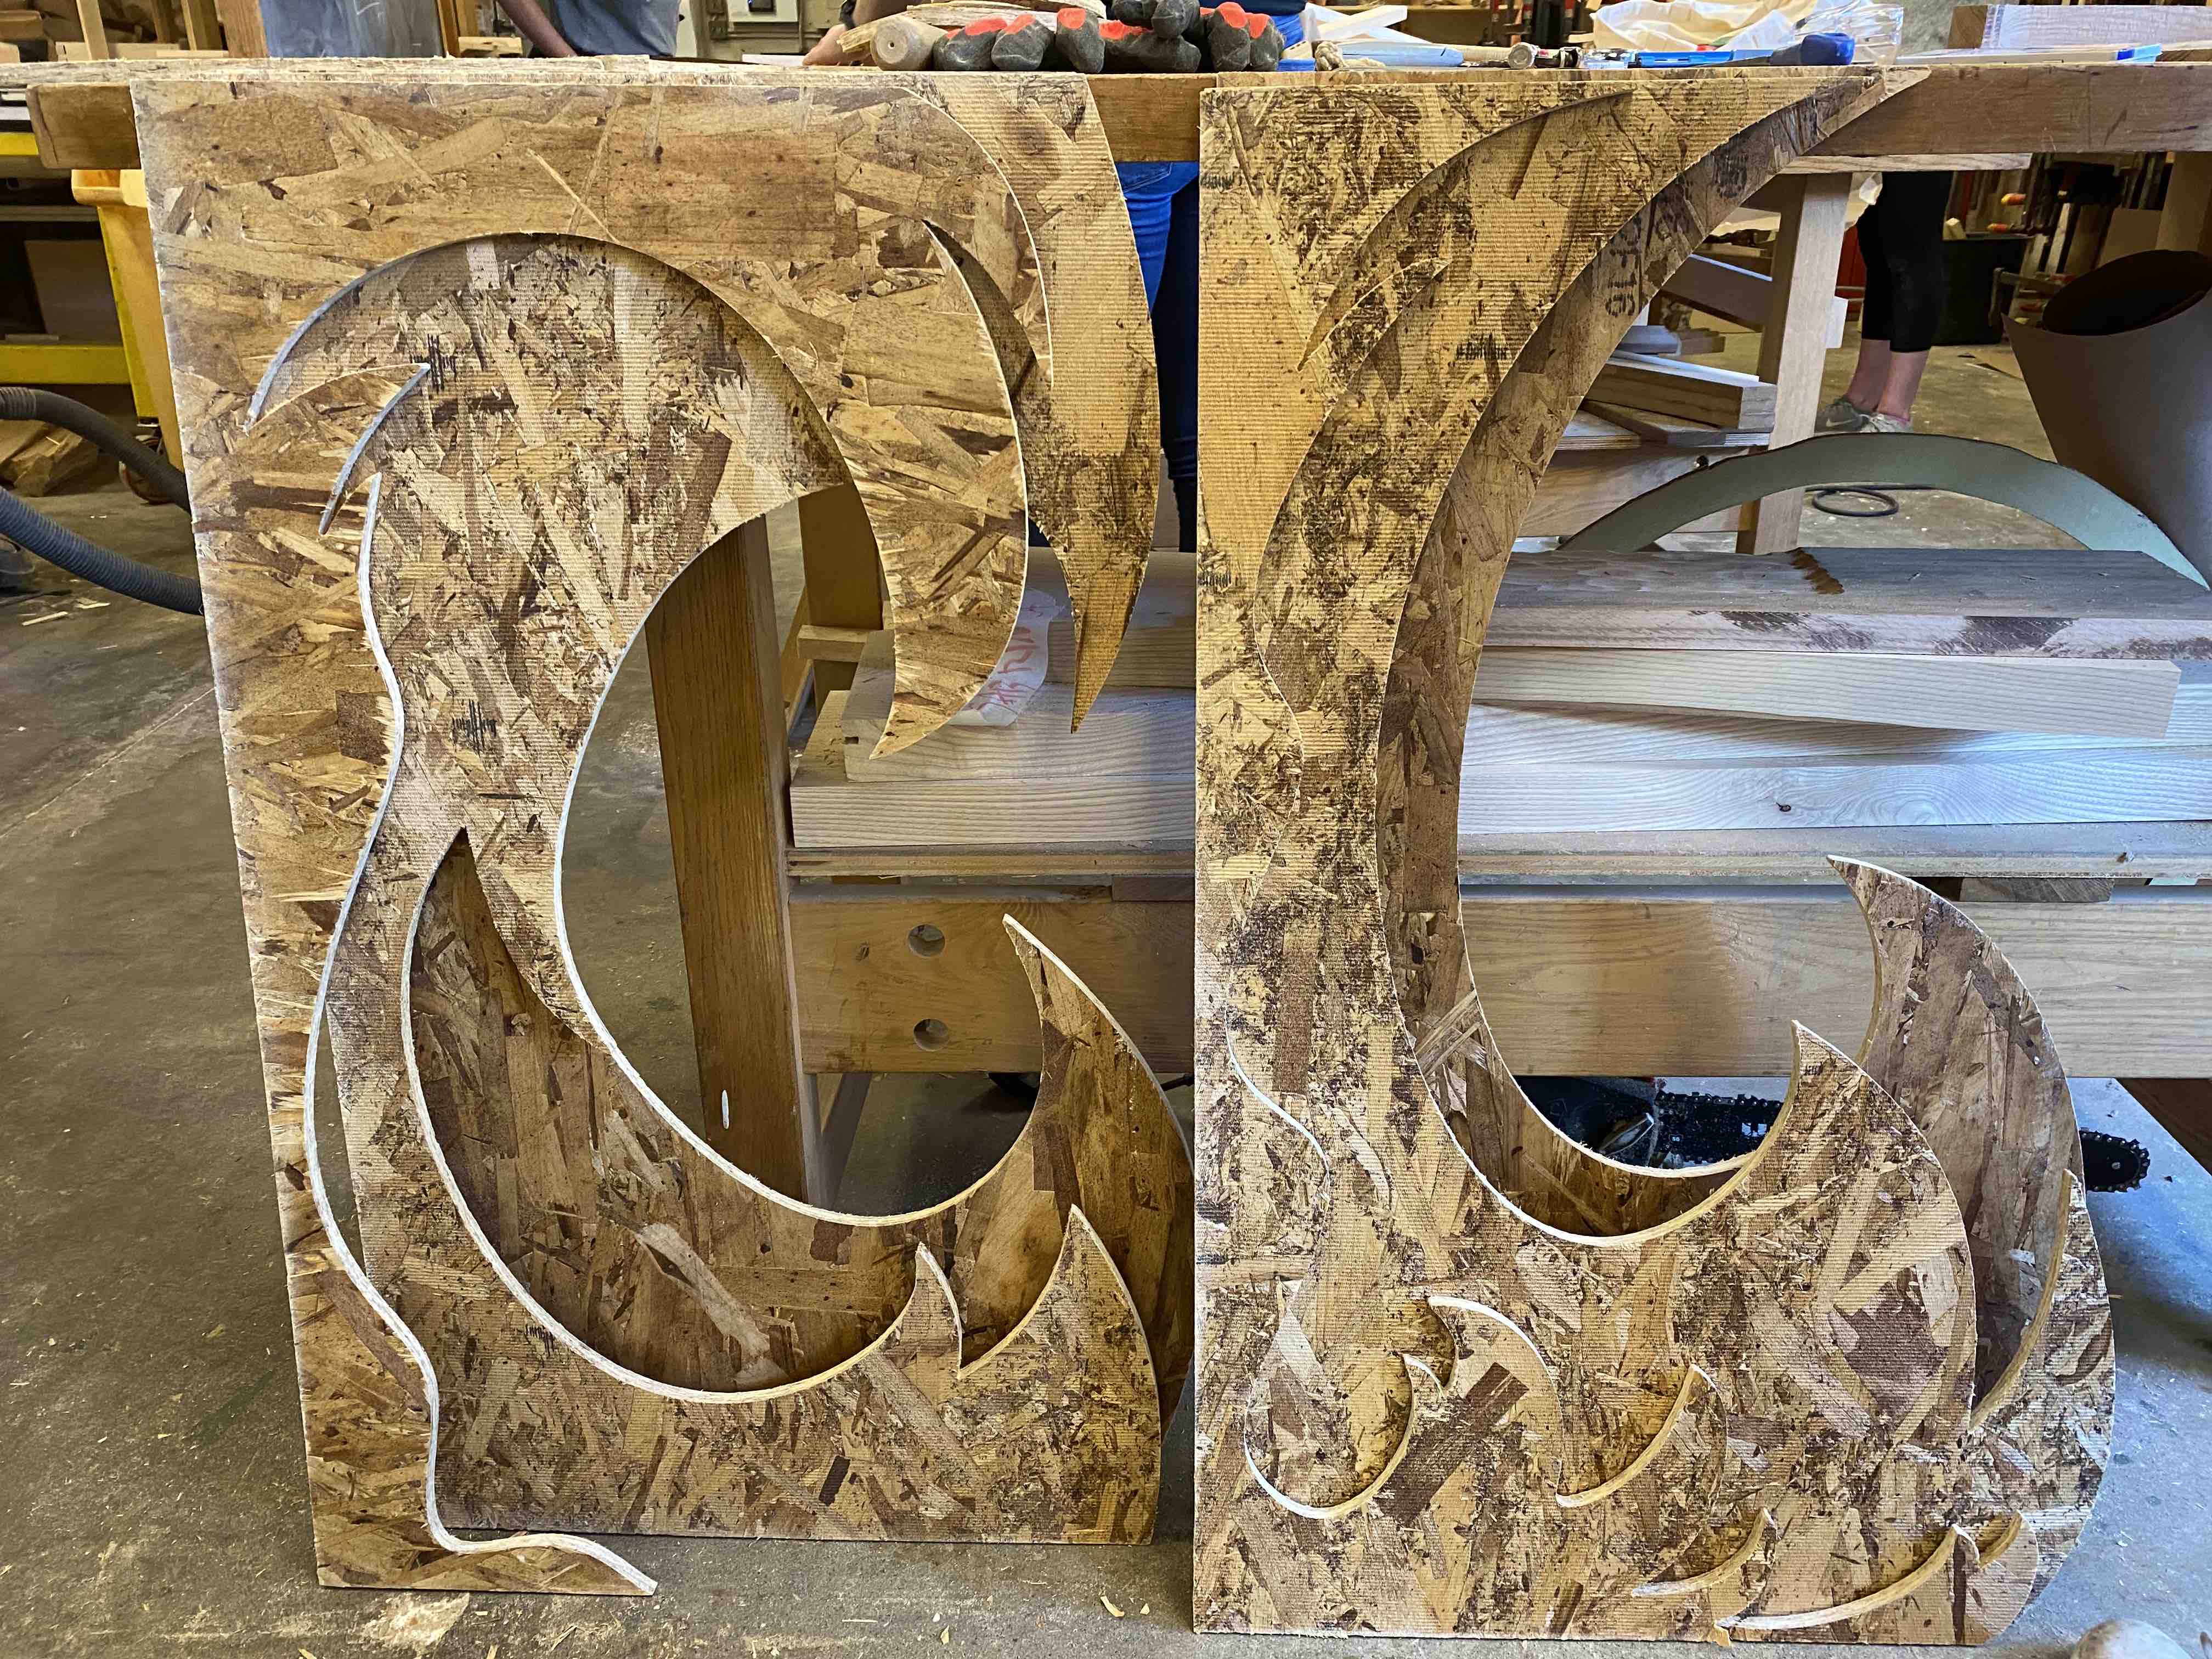
When I was done making everything crisp and smooth, I lined up the pieces to get a sense of how they would look when assembled.
Preview
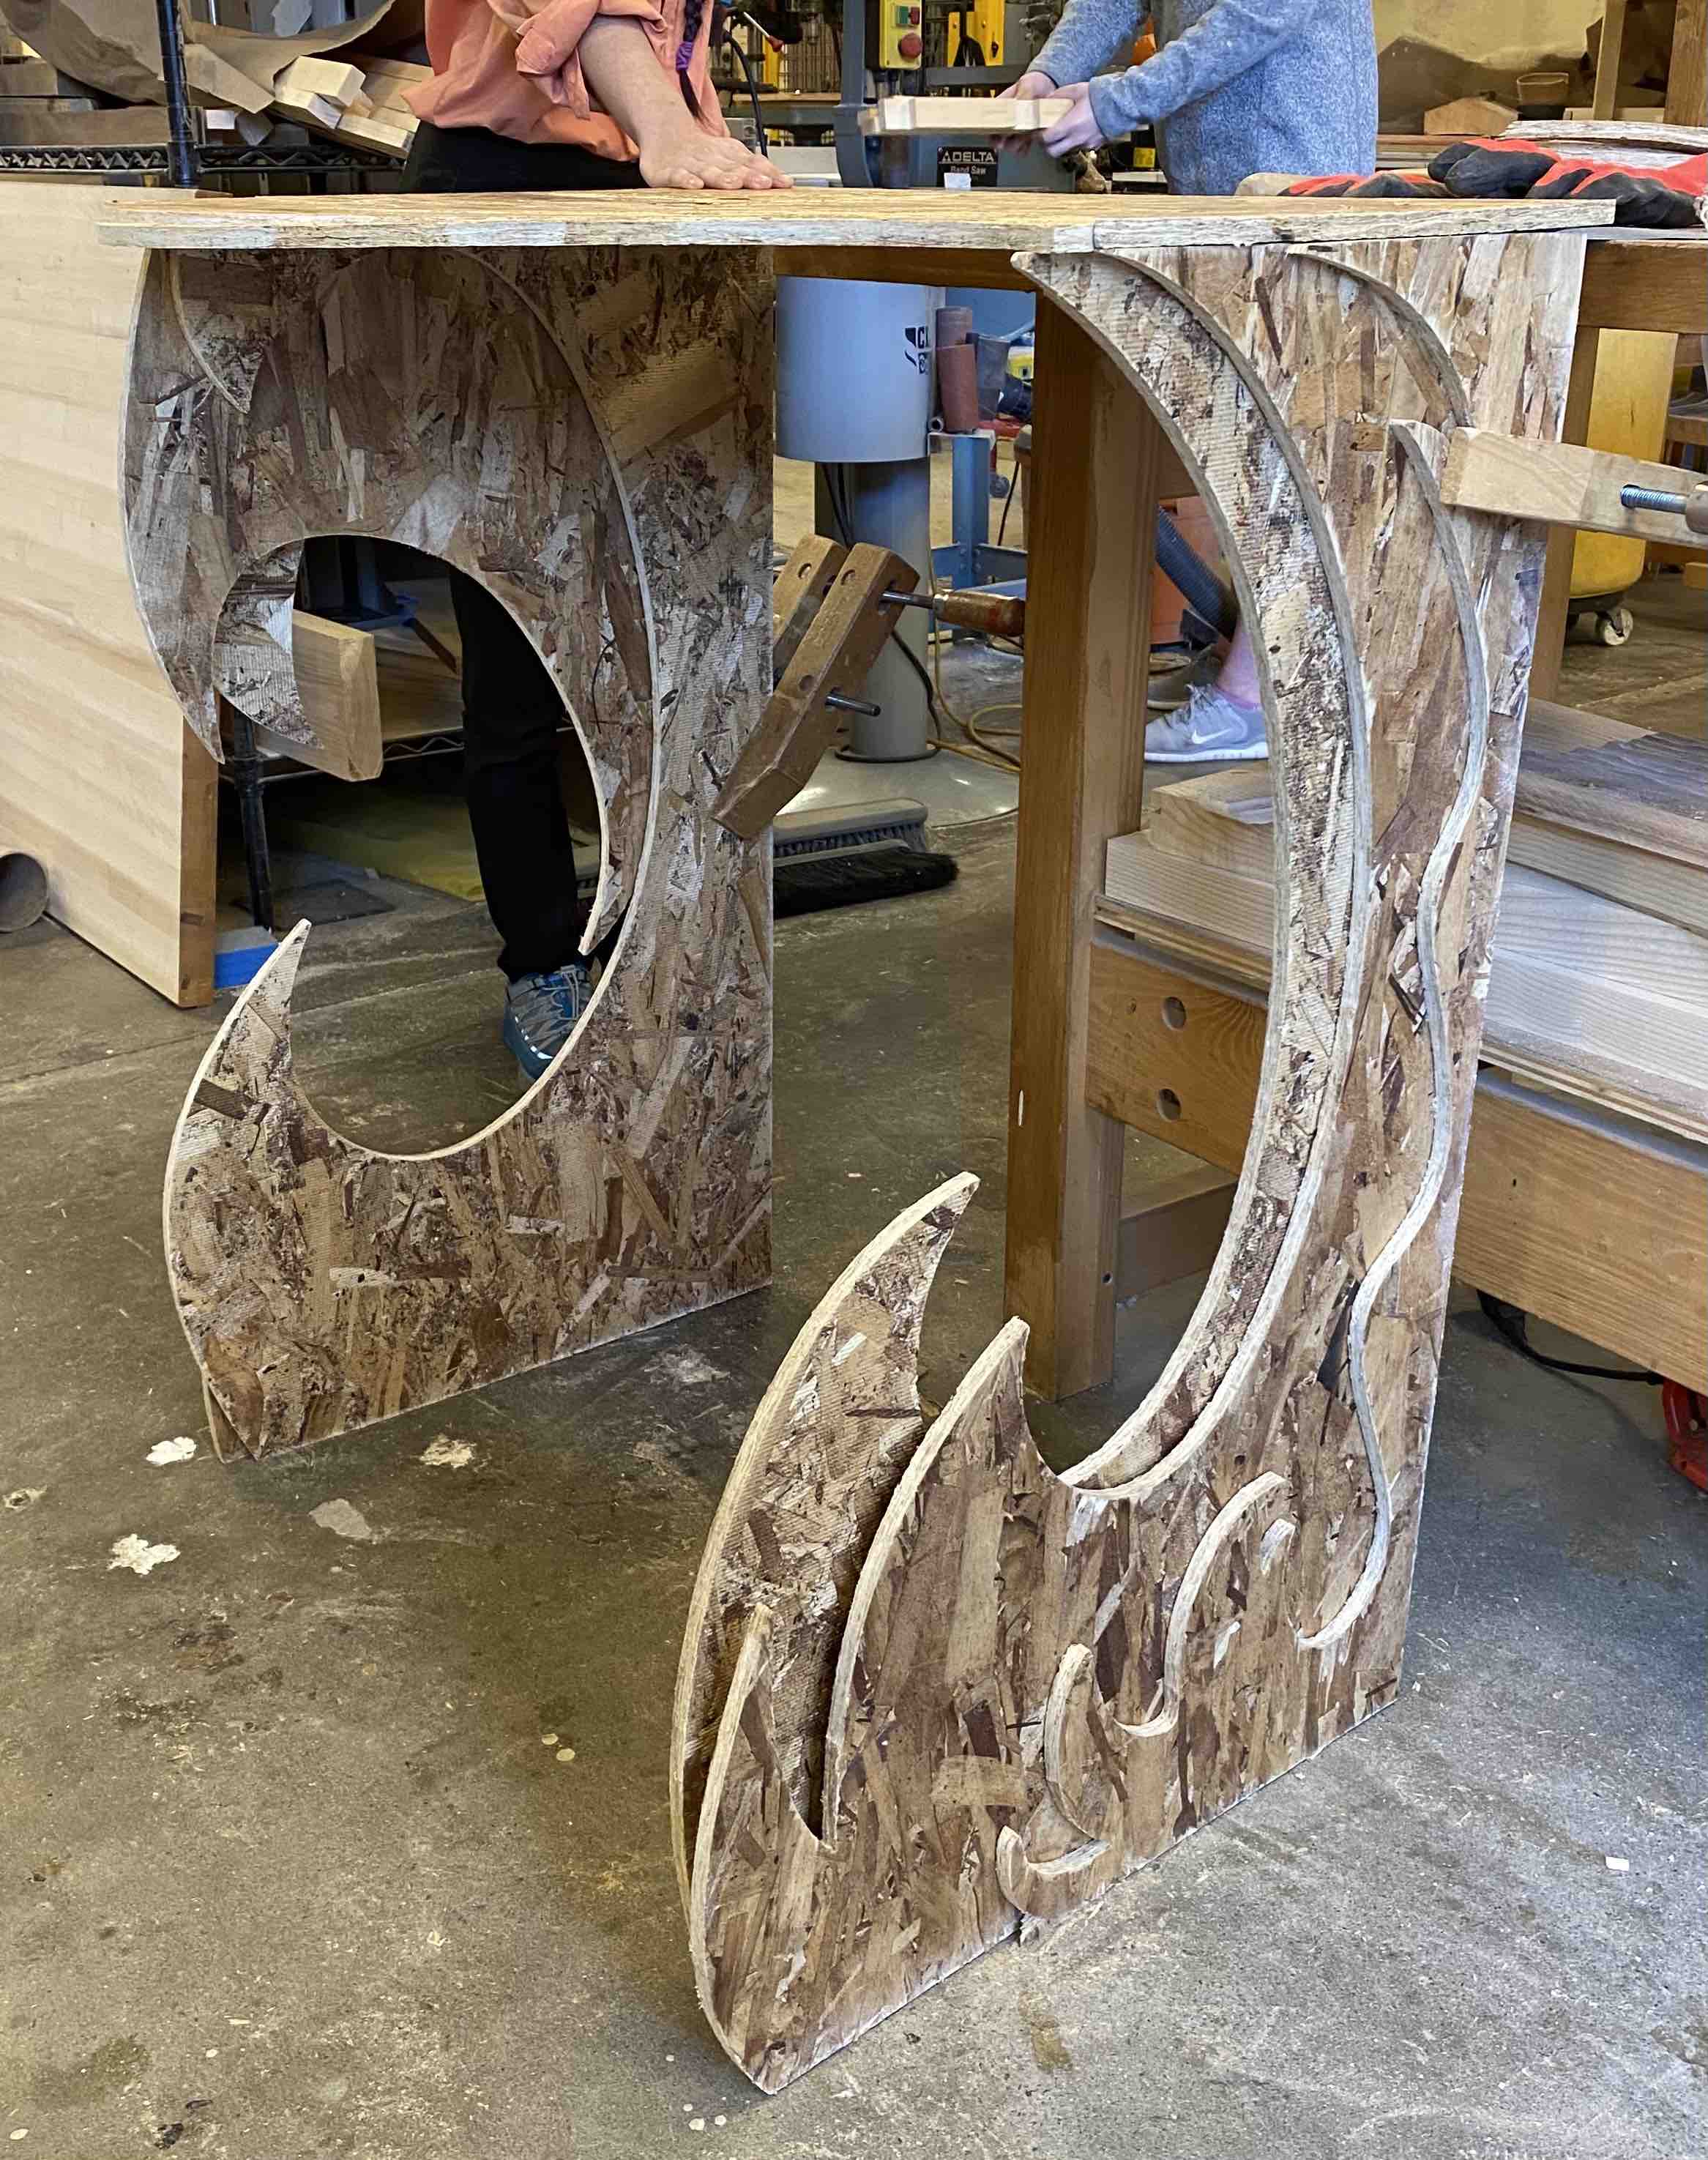
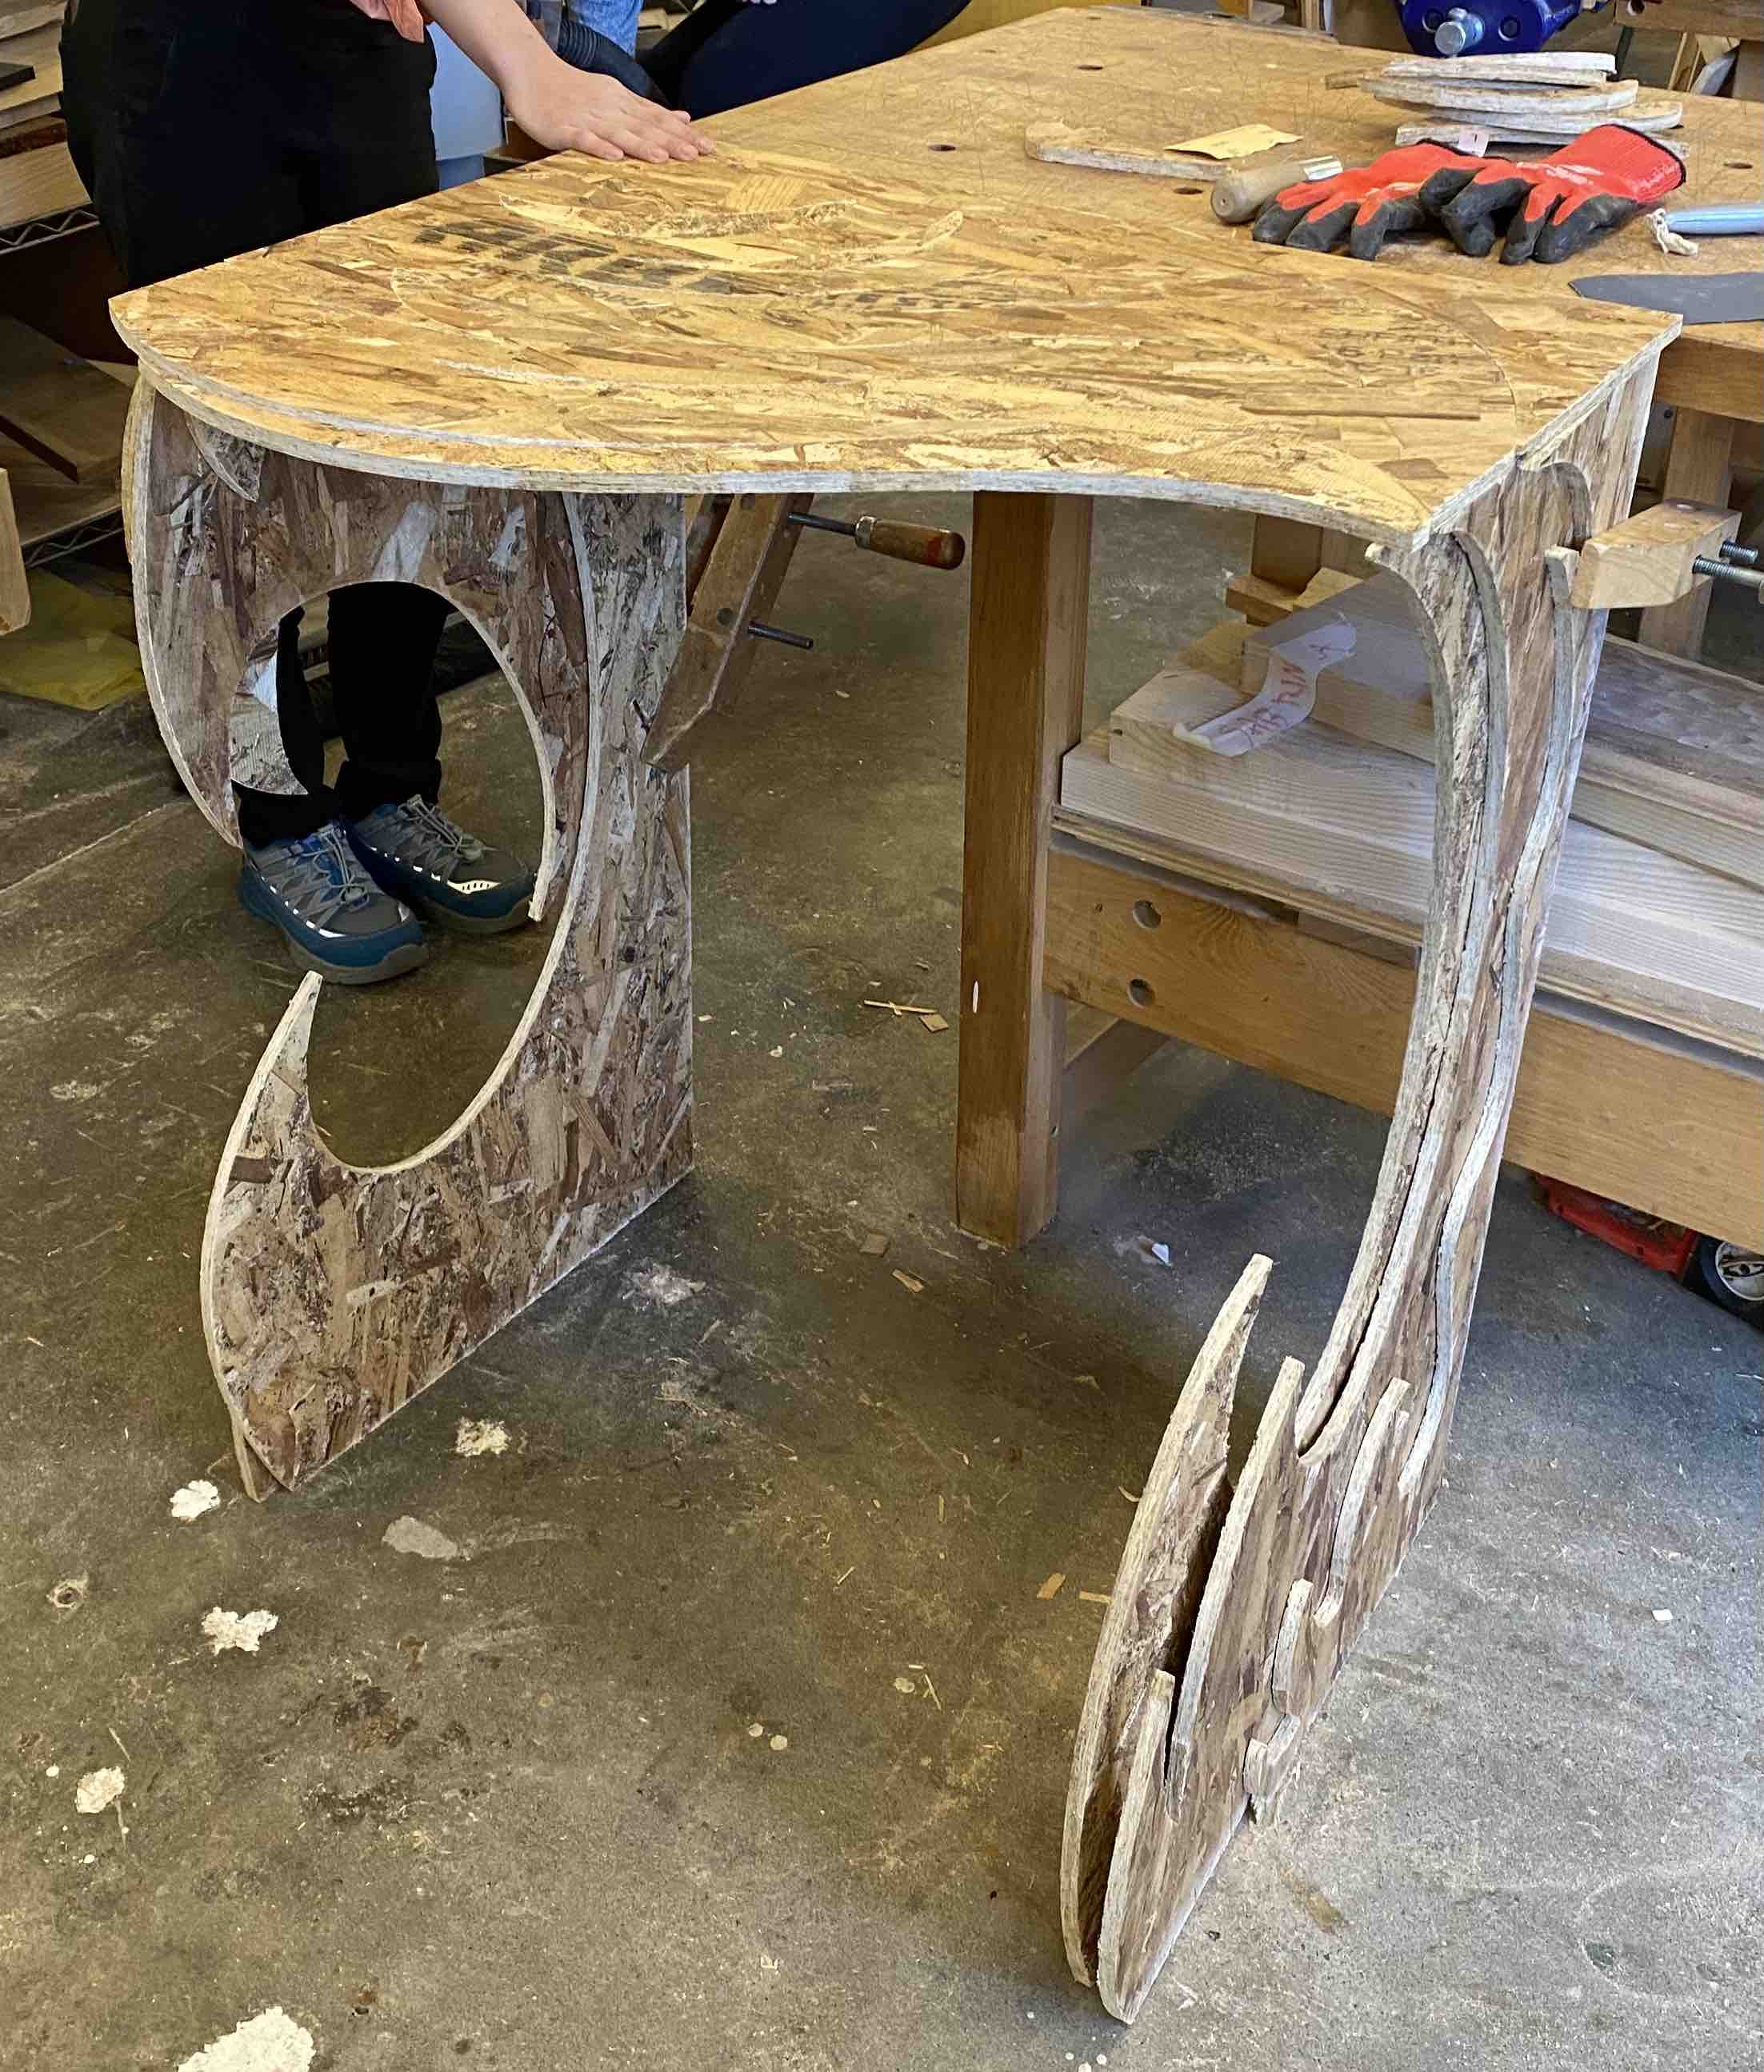
Here I clamped everything together to see what the final piece would look like! I technically could have assembled/fastened it all together, but I still had painting to do. I tried looking for blue paint in the archshops, but couldn't find any. Luckily, my parents are visiting this weekend and will bring up blue paint that I had bought for another project.