Testing printer design rules

Here are the tests my section printed on the Arch Shop's Sindoh printers. Here's what we learned:
Supports, overhang: we printed this file with and without supports to compare. Without supports, the bottom of the
overhang is pretty noodly, but with supports (the accordion-shaped piece next to it), it turns out very crisp, even if there's a
few nubs to remove.
Supports, clearance: the only rings that didn't detach from the beam were the ones with
0.2 mm and 0.1 mm clearance. The 0.3 mm detached, but isn't so smooth to move along the beam. So, I recommend using clearance
of 0.4 mm or higher for similar prints.
Unsupported angles: the angles start getting rough at 40 degrees, and 10 degrees has an uneven surface
hinting at noodles. 0 degrees is full on noodles. Recommendation: Don't make prints with less than 20 degrees, but if you do, use
supports.
Unsupported overhang: all were very noodly, with the edges getting sharper the further they protruded,
though at 1 mm it wasn't as noticable since there was only one vertical filament stack protruding. Overall, don't use 0 degrees unless
supported.
Unsupported bridging: very great! No noodles, though the bottom started to bow around 12 mm, but it's not
that noticable.
Wall thickness: couldn't produce walls thinner than 0.5 mm, or gaps thinner than 0.2 mm.
Dimensions: the interior was 9.8 mm x 9.8 mm instead of 10x10, and the outside was 19.9 mm x 19.9 mm instead
of 20x20. Make sure you account for tolerances when designing parts.
Anisotropy: the part is probably weaker pulling perpendicular to the grain as opposed to laterally, so keep that in
mind if your parts require axial loading or beam bending.
Surface finish: very nice finish overall, but concave is smoother than convex, which is rough at the top.
Complex test part: very crisp and a good summary of the results from the other tests.
Now onto my personal project
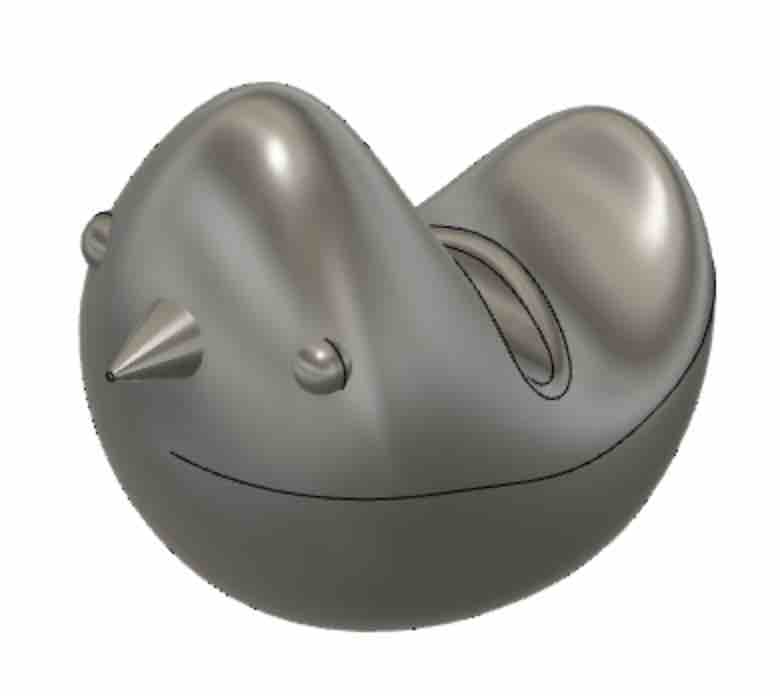
In Fusion360, I CADed a little bird designed to hold my Apple Pencil. I haven't worked with surfaces often, so this helped me get a little more experience molding shapes.
Printing process
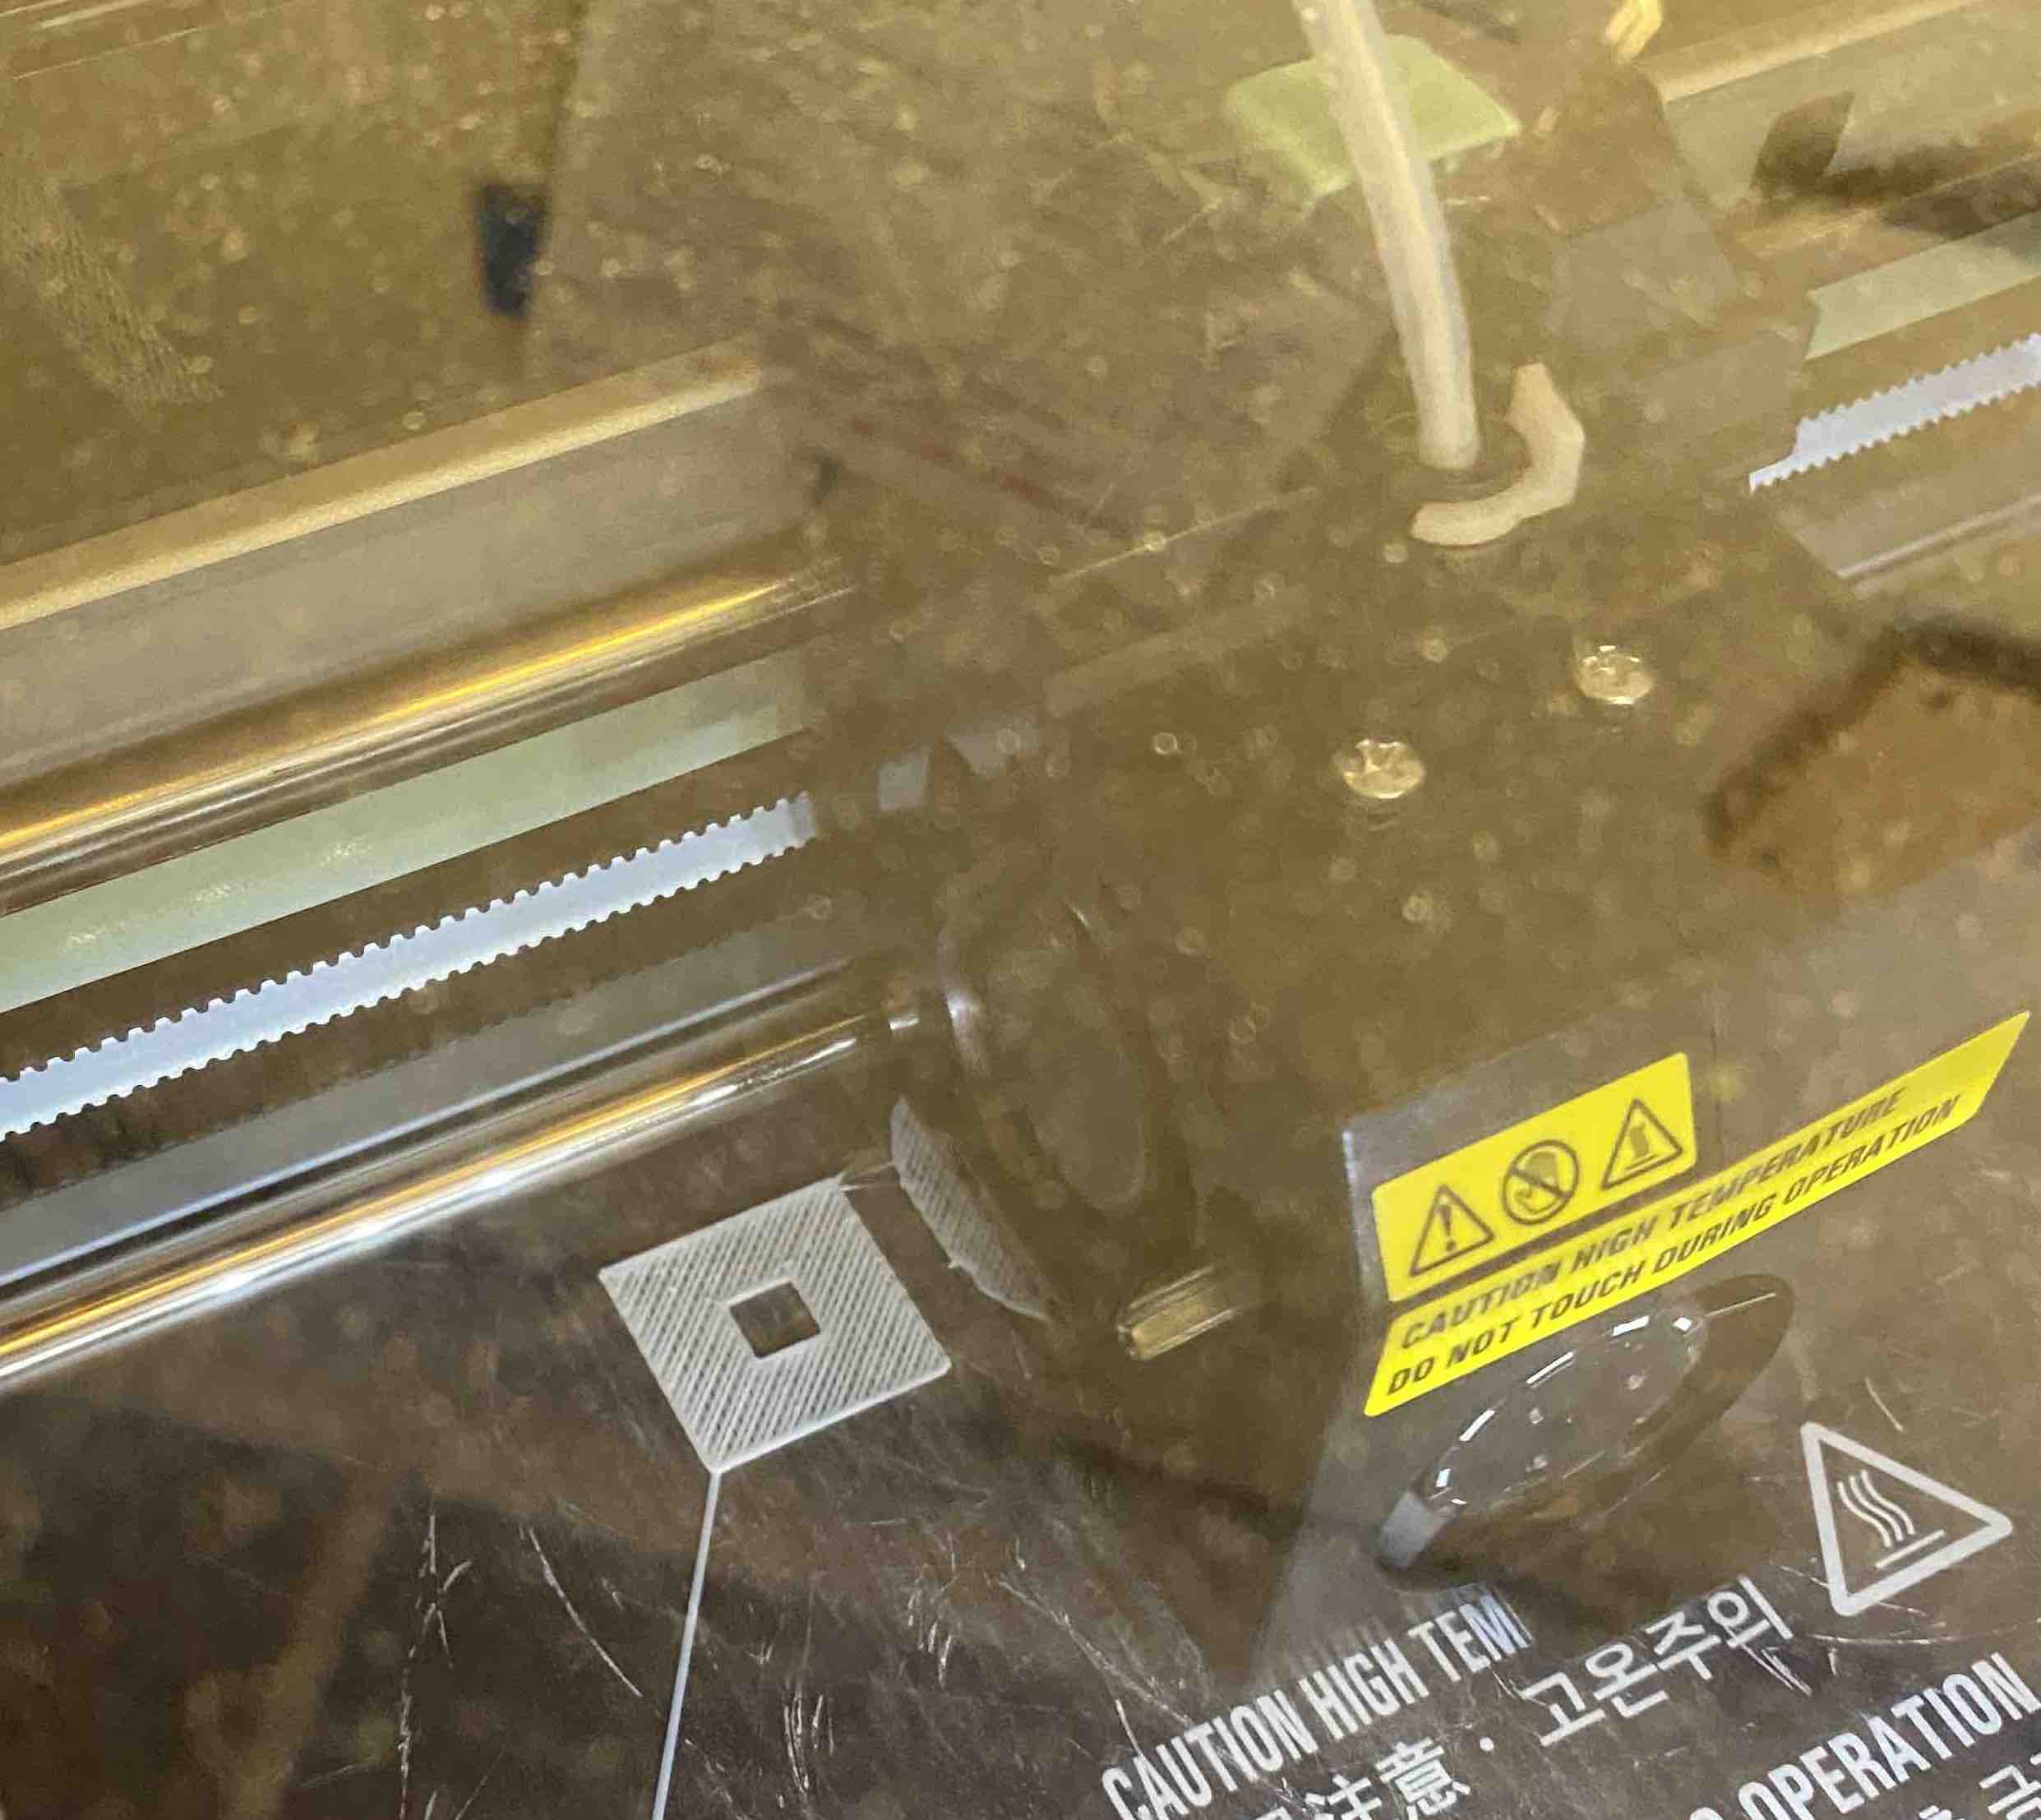
Here you can see the printer laying down the raft for the bird and for the Dimensions test print, which I decided to make simultaneously for efficiency's sake.
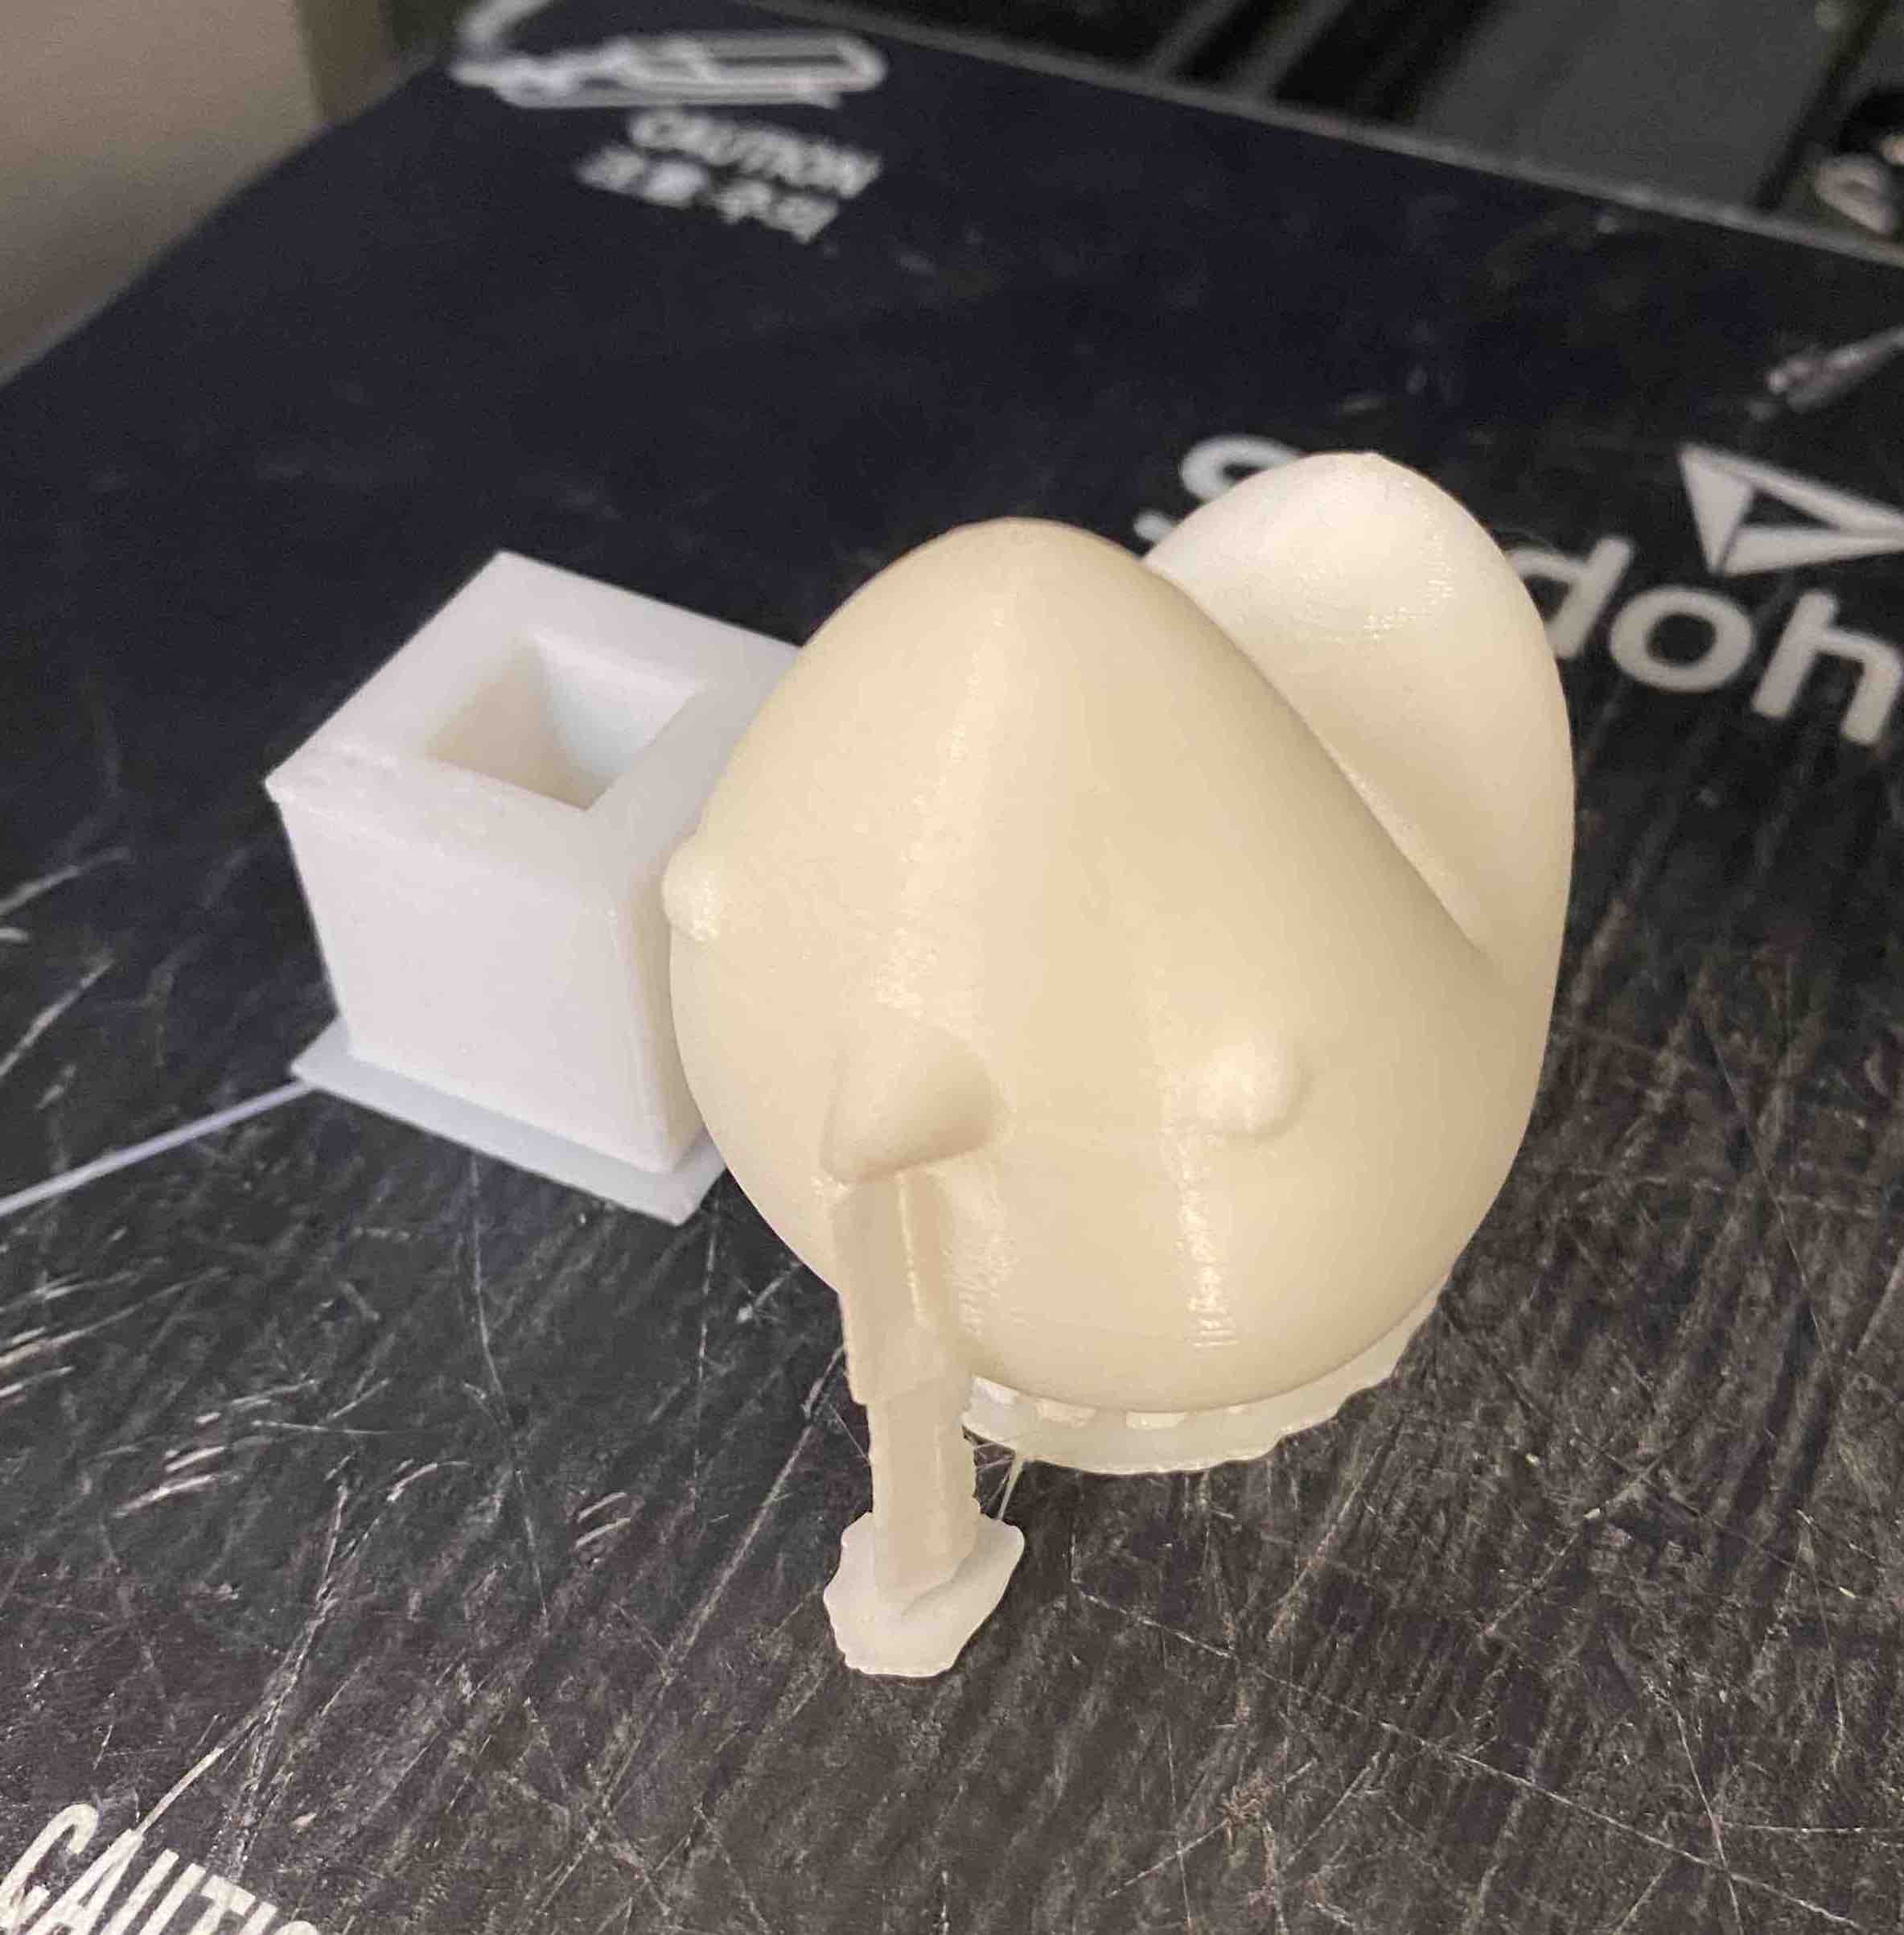
Hehe little boy
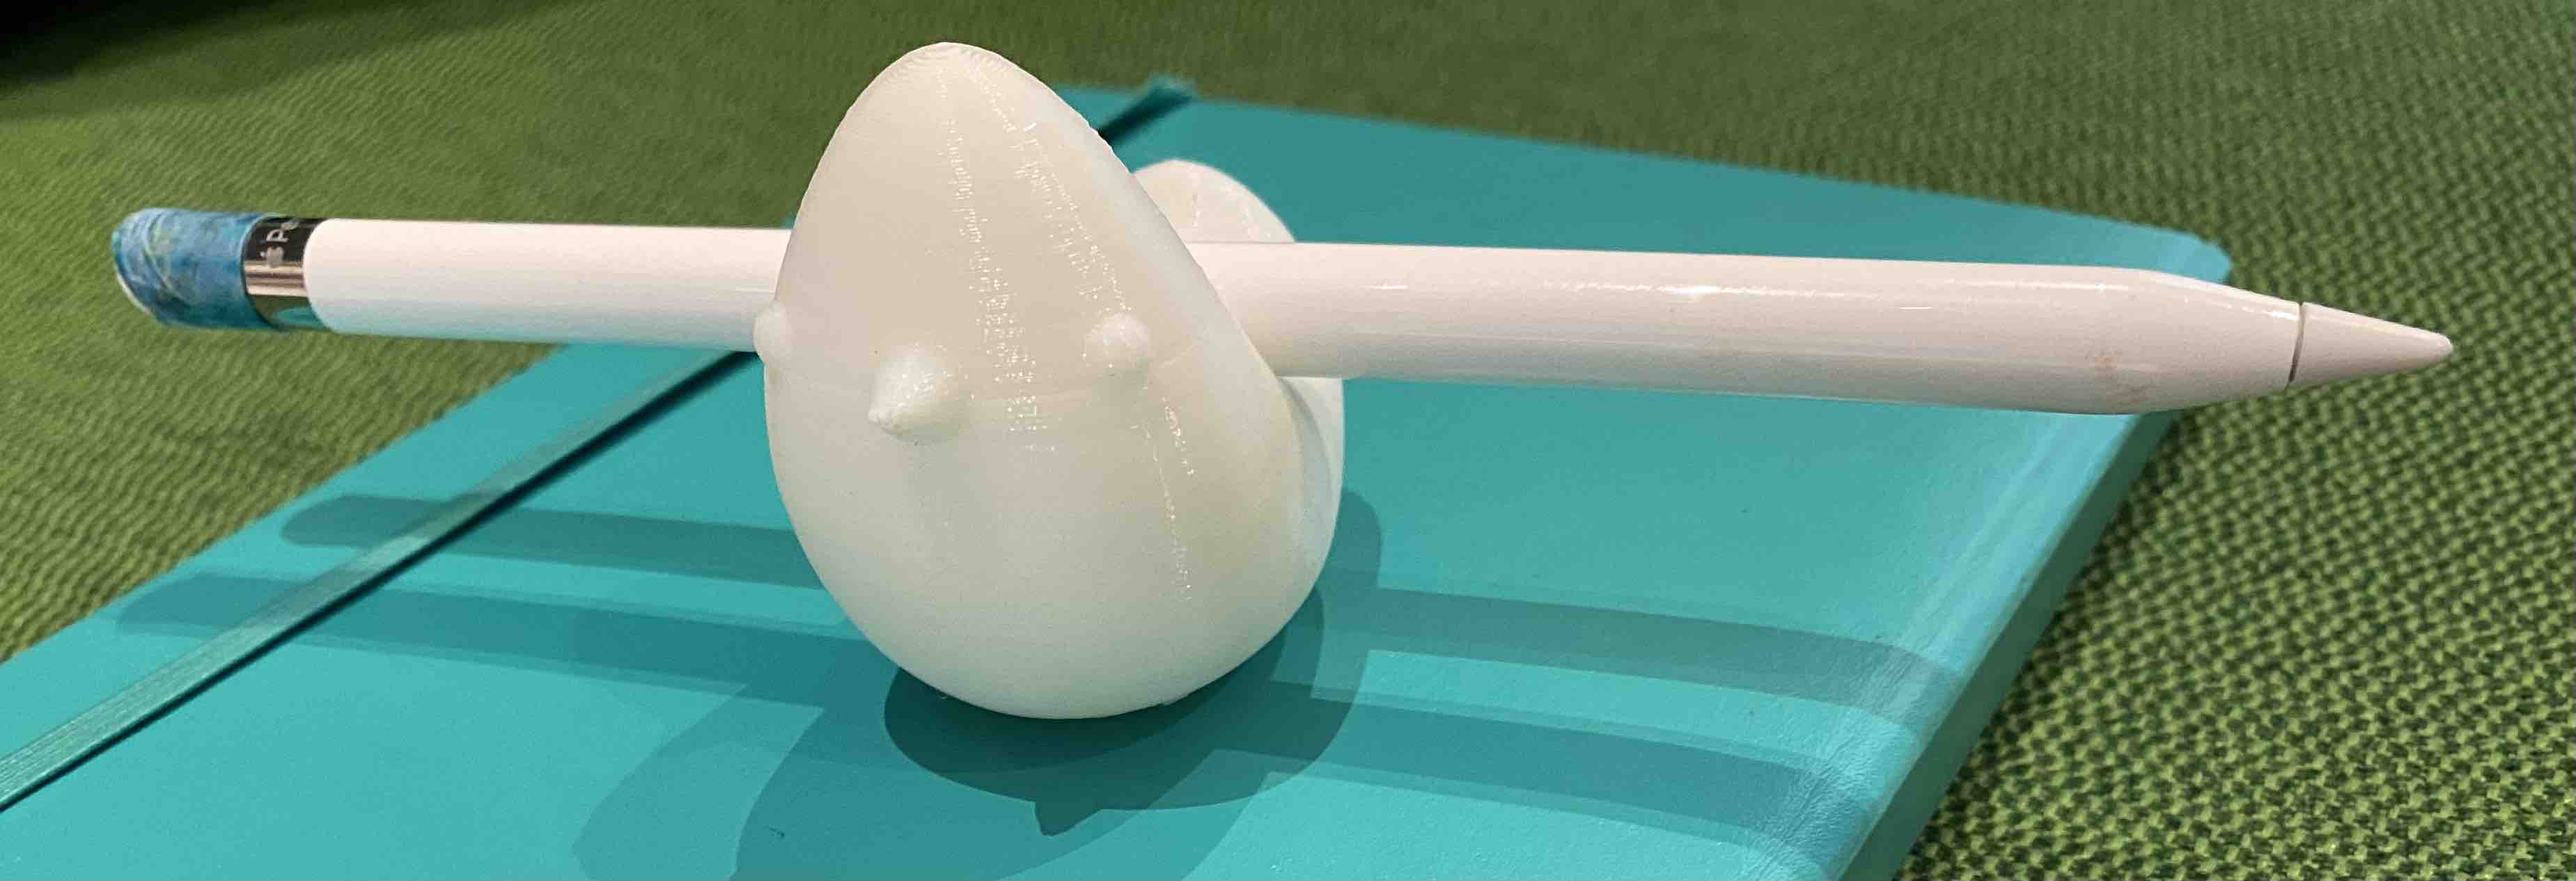
And here he is all done! The supports made his beak a little nubbly, so I'd be more careful removing them in future prints.
Onto scanning
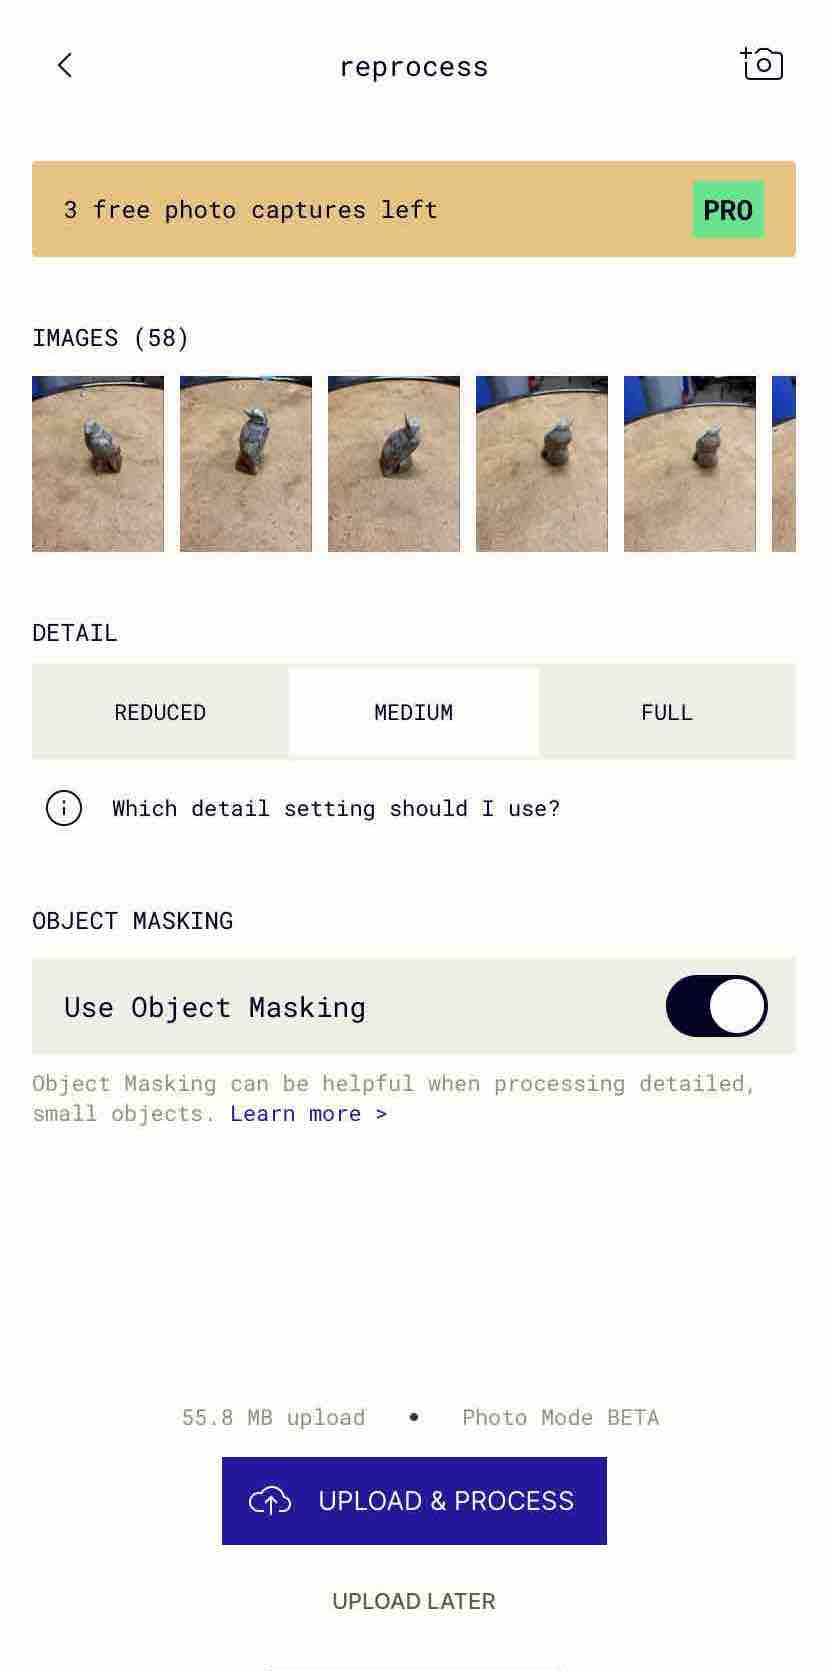
For the scanning challenge, I used the app PolyCam to create a model from a series of photographs. This is a pic of the interface -- I scanned a little sculpture of a wren. The first scan I did worked well with 15ish pictures taken, capturing the full form of the bird, but was blurry in places; for the second and final scan, I took over 50 pictures, with the bird on a rotating stool to help me keep the camera steady while I turned it to capture all angles.