Testing Parameters

My team and I cut squares with varying speed/power/frequency to get a feel for the machine and figure out which parameters would yield the ideal cut.
Parameter Chart
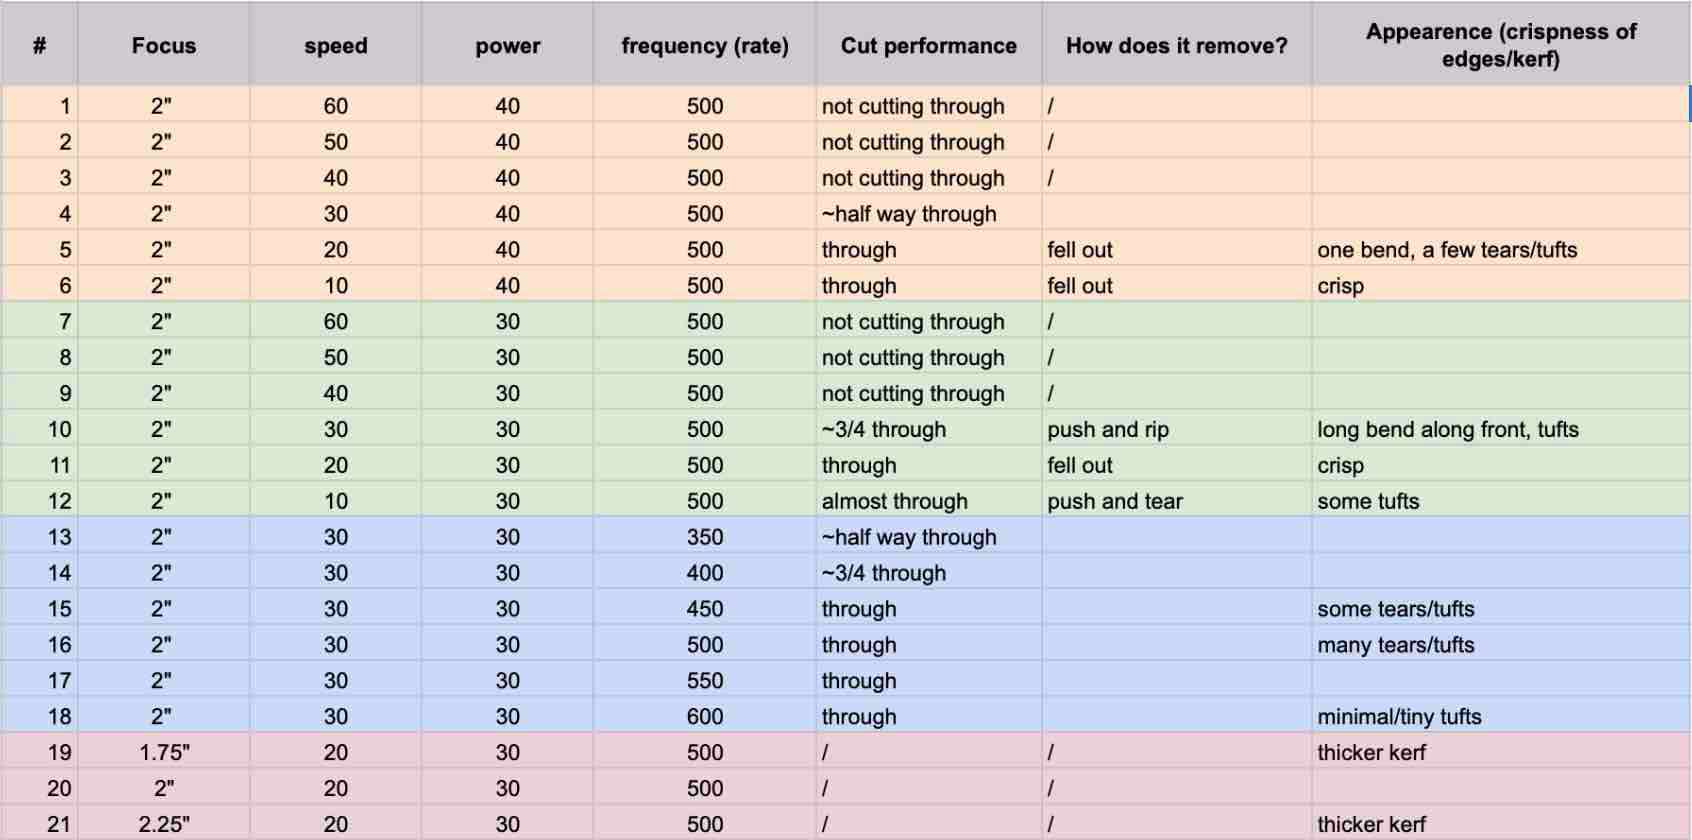
We recorded our parameter tests by collaborating on a Google Sheet. We determined that the lower the speed, the higher the power, and the higher the frequency created the best cuts.
Focus Test

Next, we tried different focuses. The difference in border thickness of the three squares is due to the "curve" of the laser. We determined that 2" was ideal.
Thickness Test
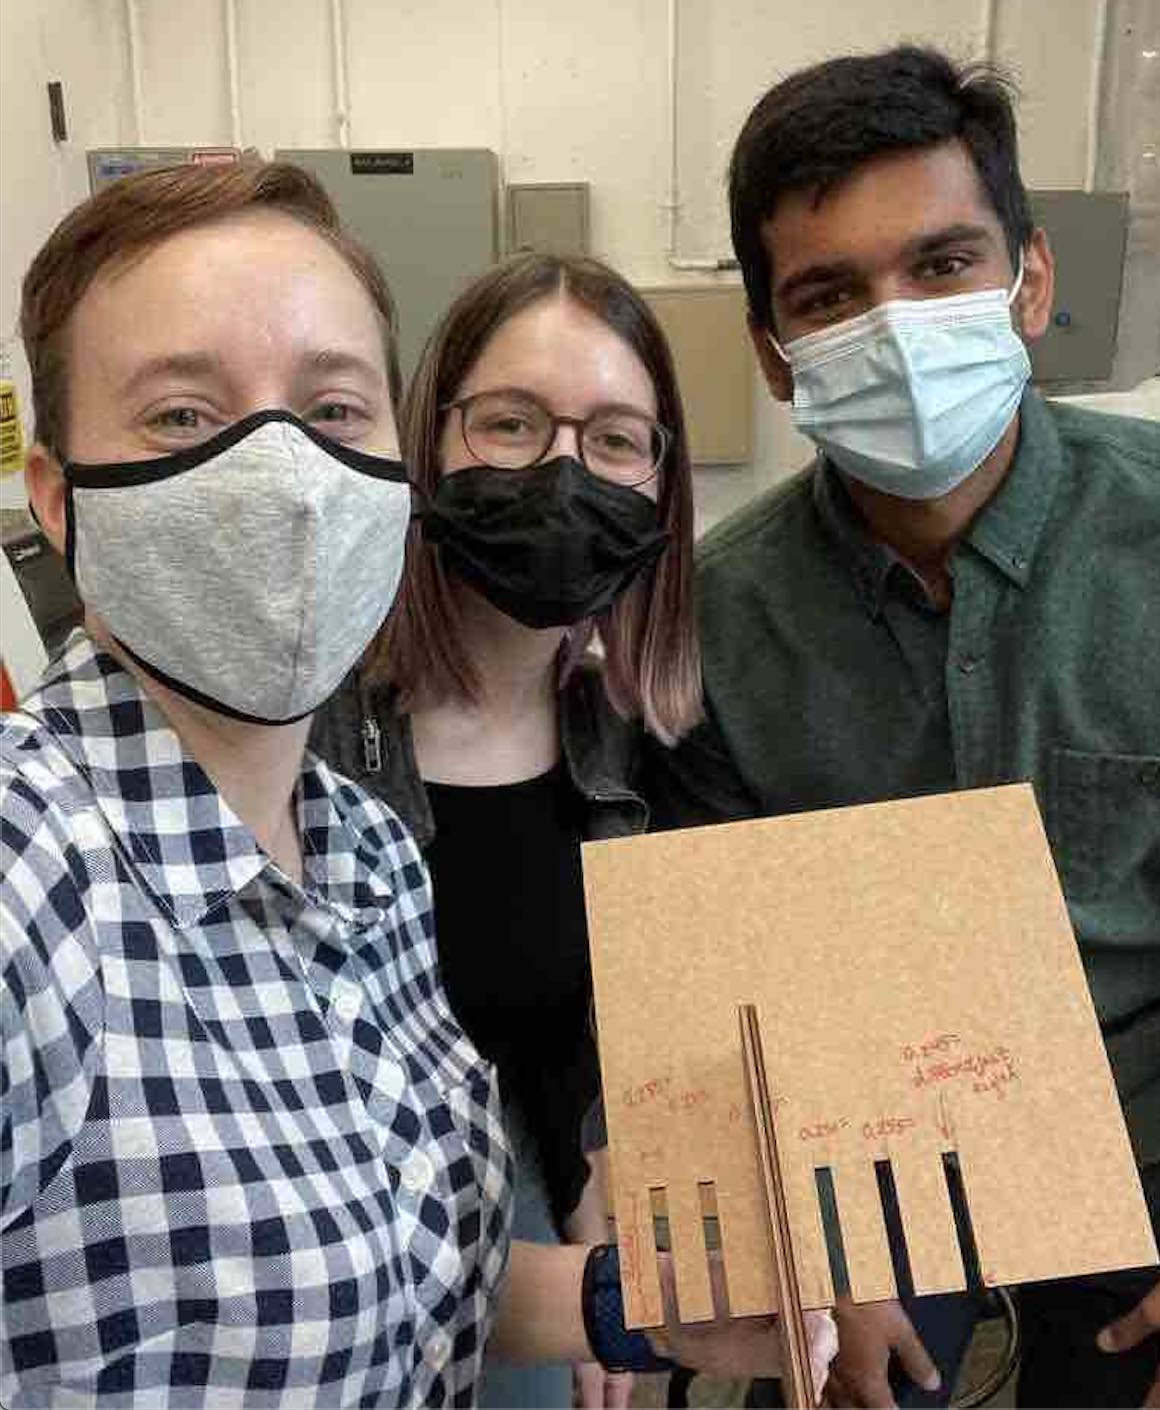
Holding up our next test: slots to determine the best fit for connectors aka cardboard thickness test.
Onto the Project!
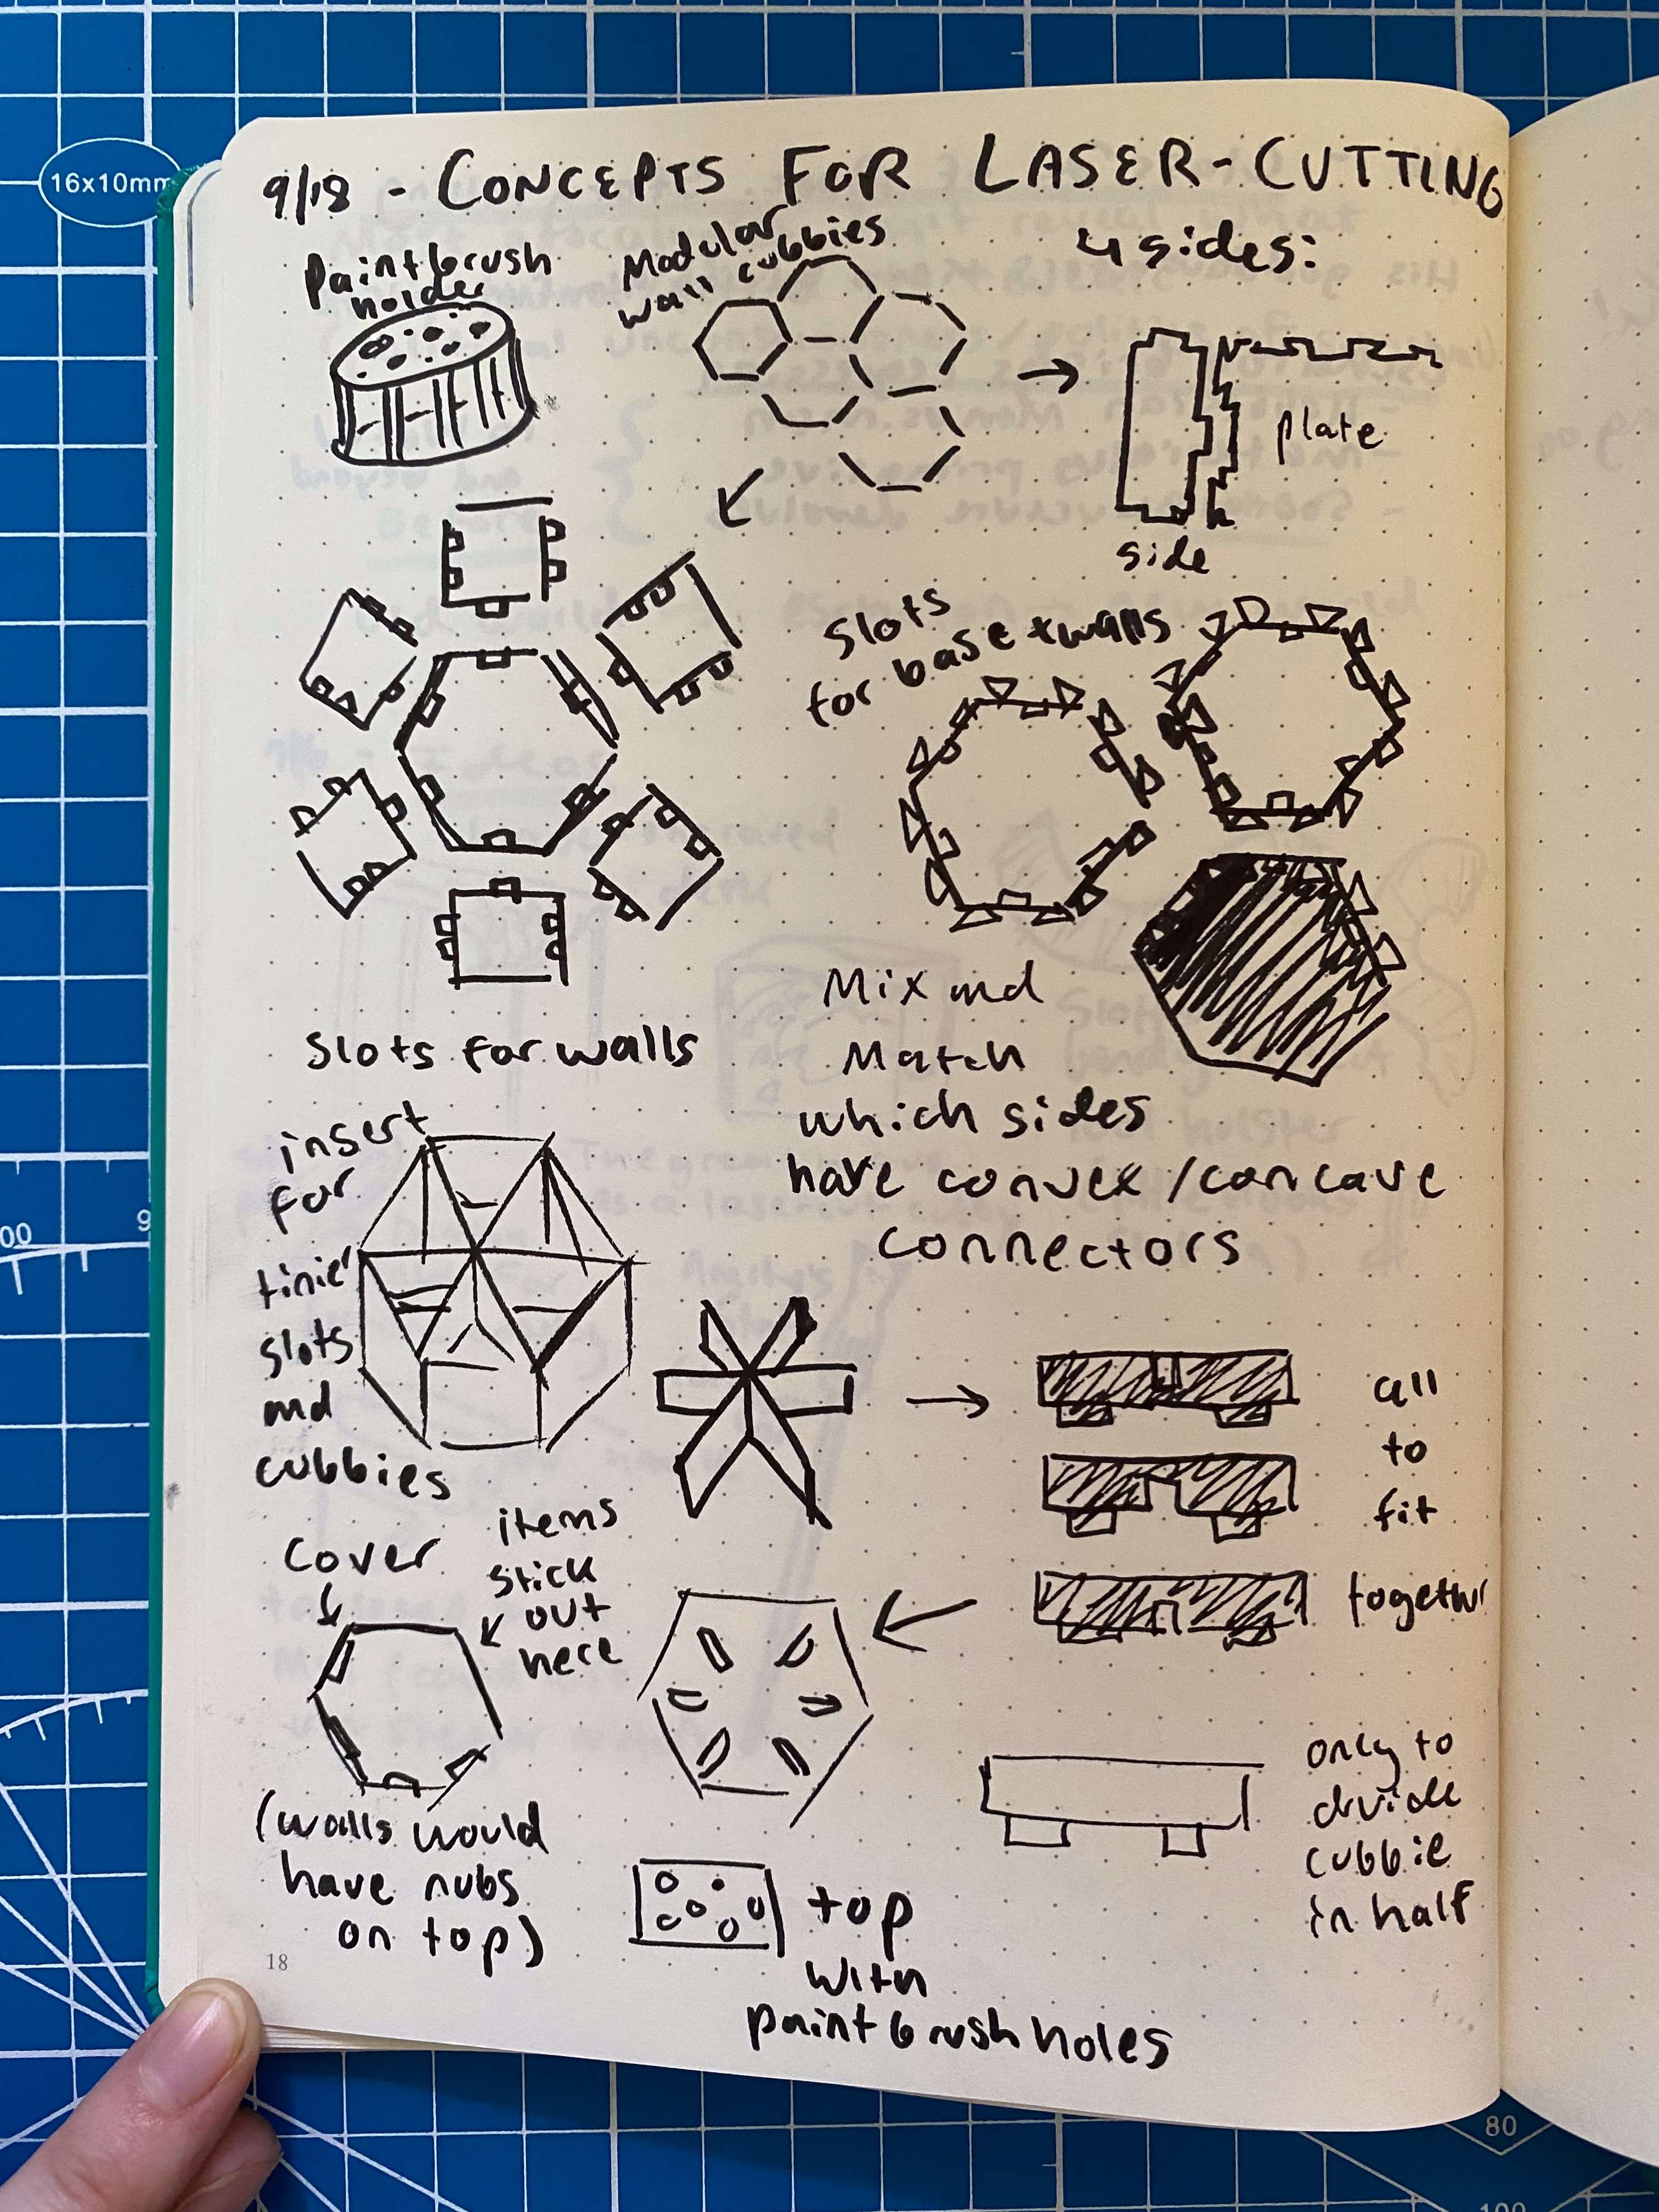
I started my design process by sketching my ideas in my bullet journal. This helped me conceptualize what was in my head and provided a reference for what to CAD.
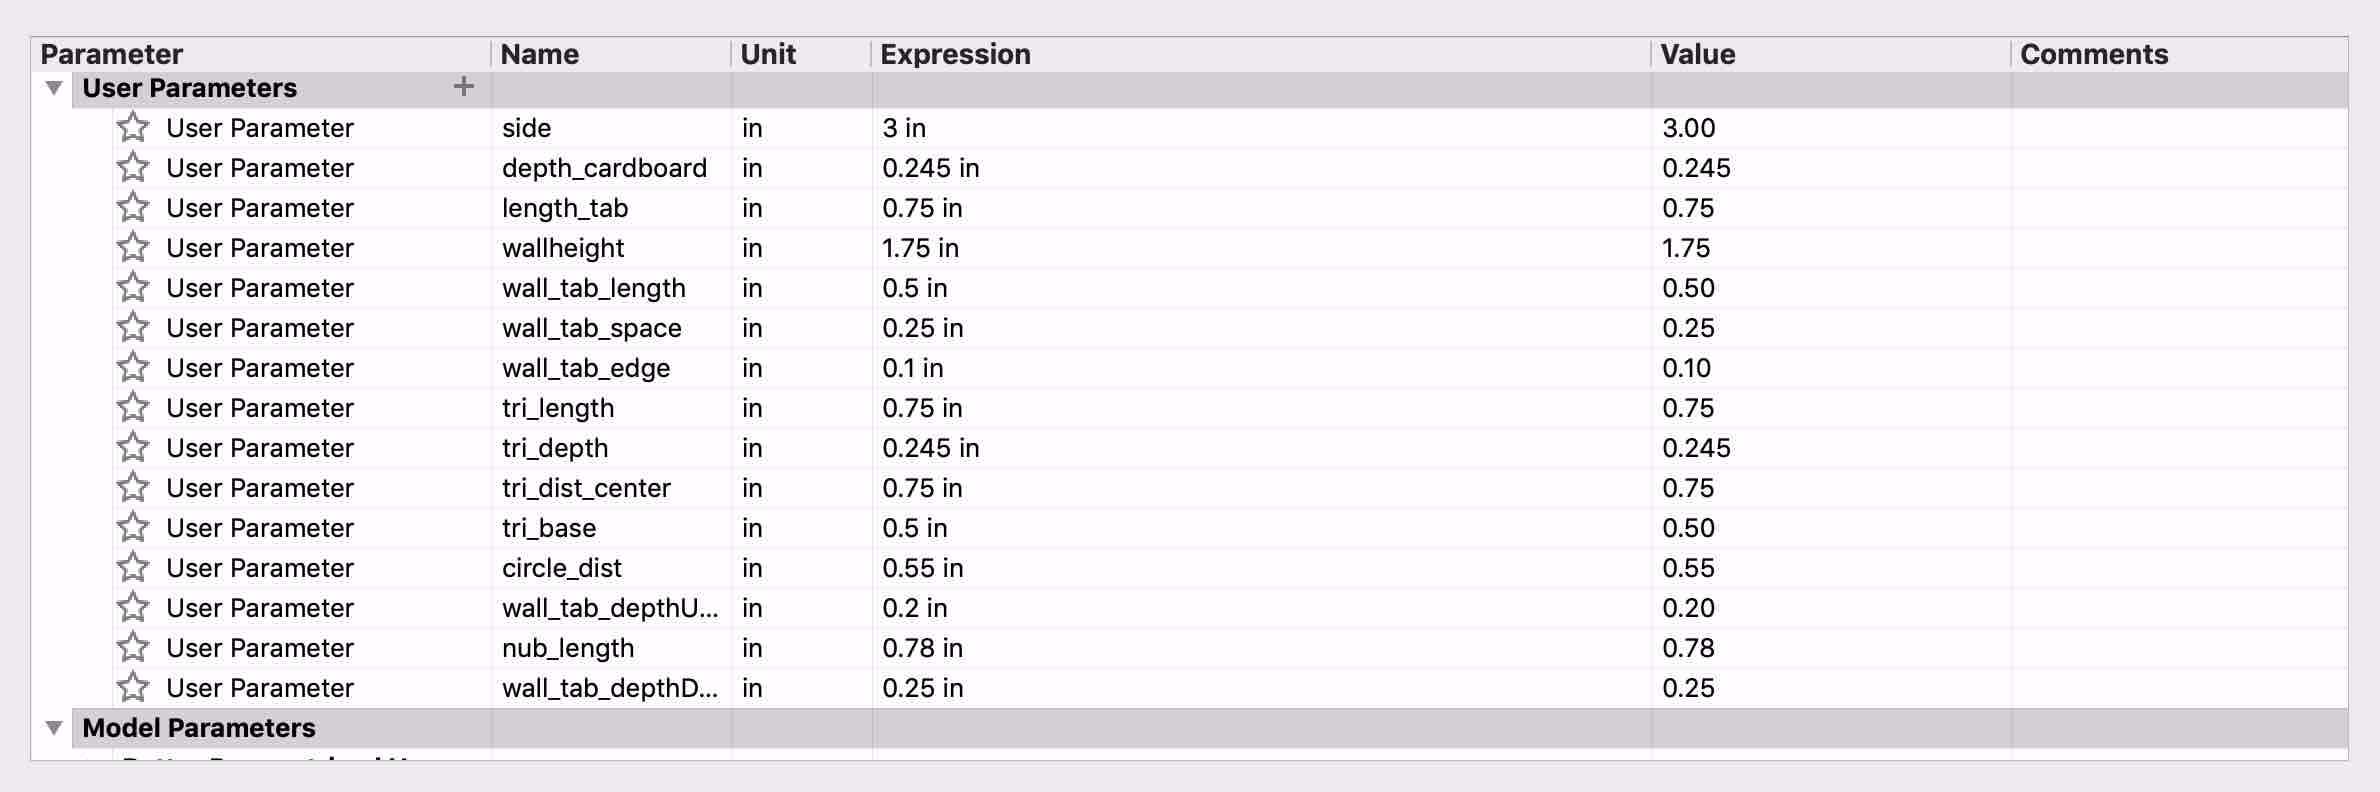
Parameter Error
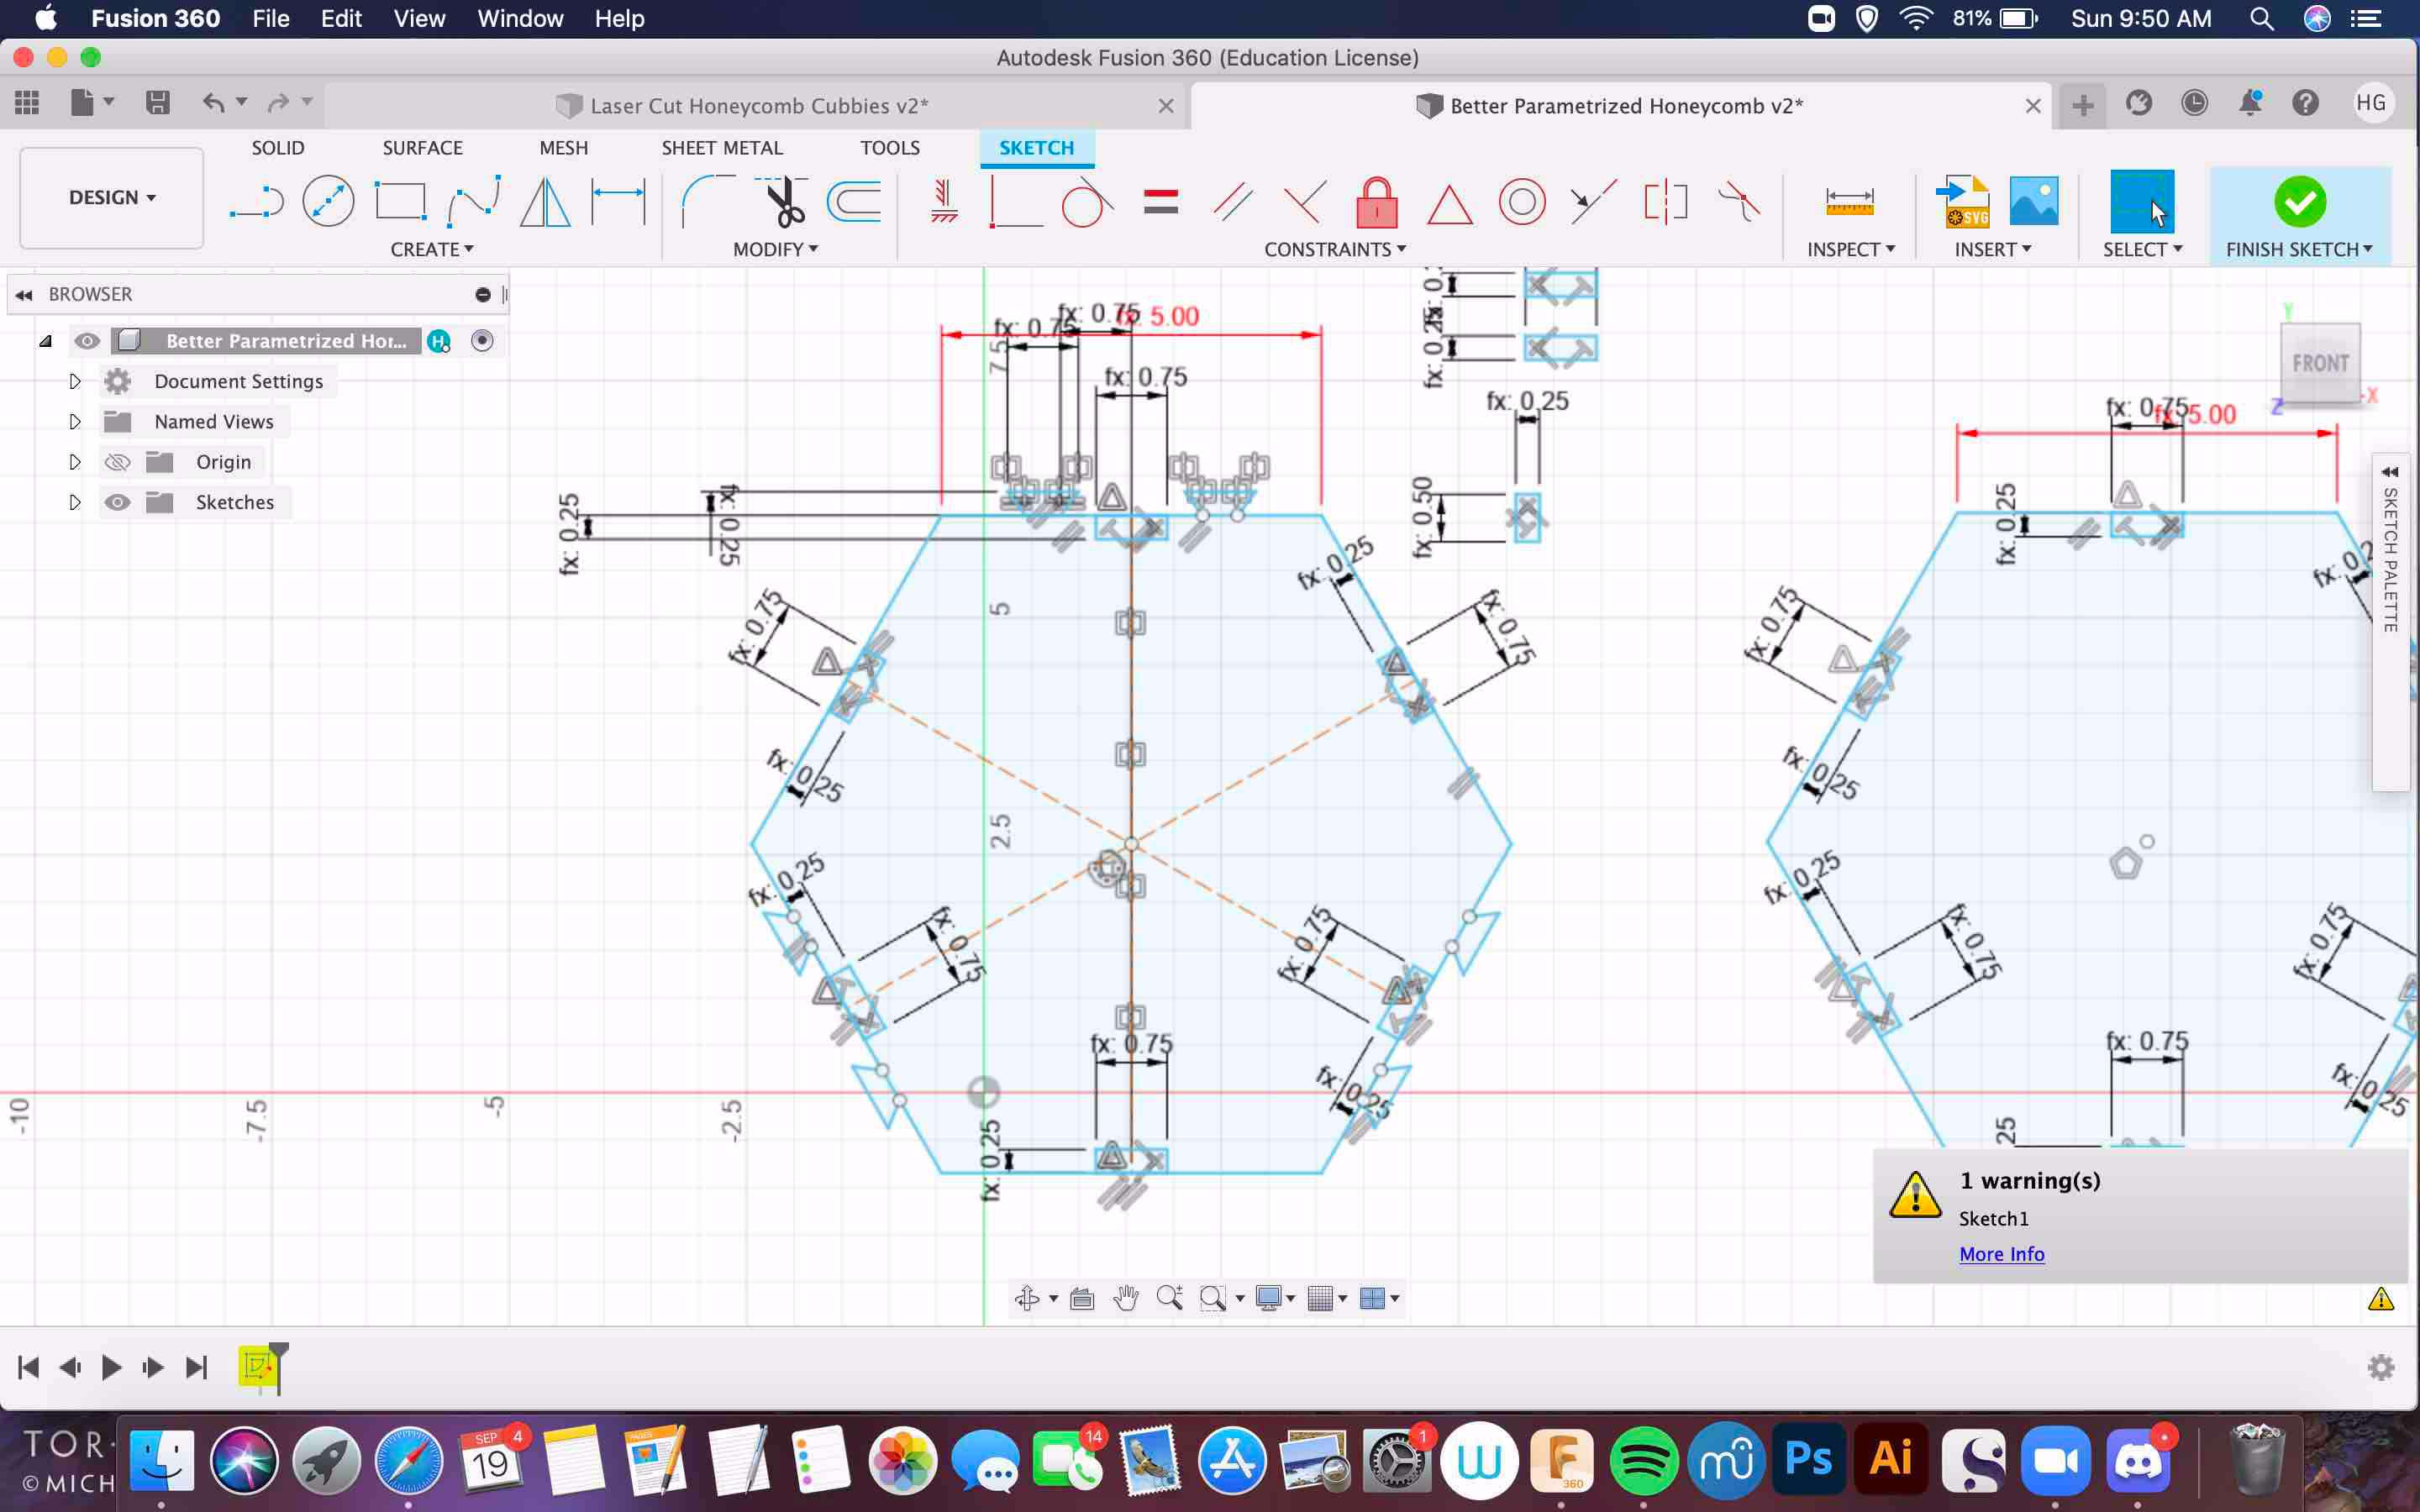
As I sketched my design, I continually got an error where I couldn't change the size of the baseplates due to the constraints interfering with the sidelength parameter. This took much iterating to correct, but...
Solution
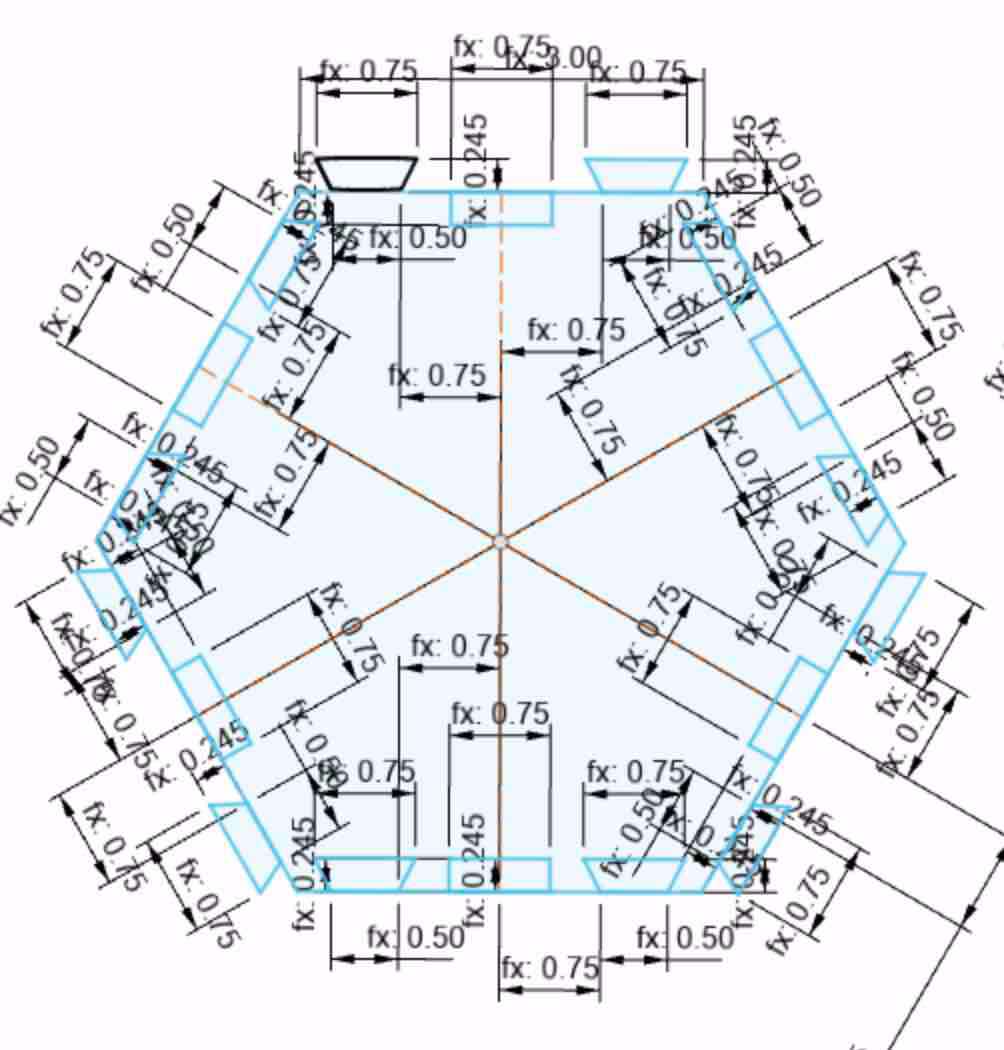
...once I changed the trapezoid tabs to separate polygons to add to the baseplate instead of lines coming from the baseplate, I was able to reduce the number of parameters I had to deal with, and Fusion let me scale the designs again.
Oops
I converted my Fusion file to a dxf and imported it into Rhino -- but Rhino wouldn't let me edit the sketch, as it assumed all lines (including previously hidden construction lines) were one object. I tried cutting anyway, and the laser cutter chopped-up my baseplate along the construction lines.
Iterating
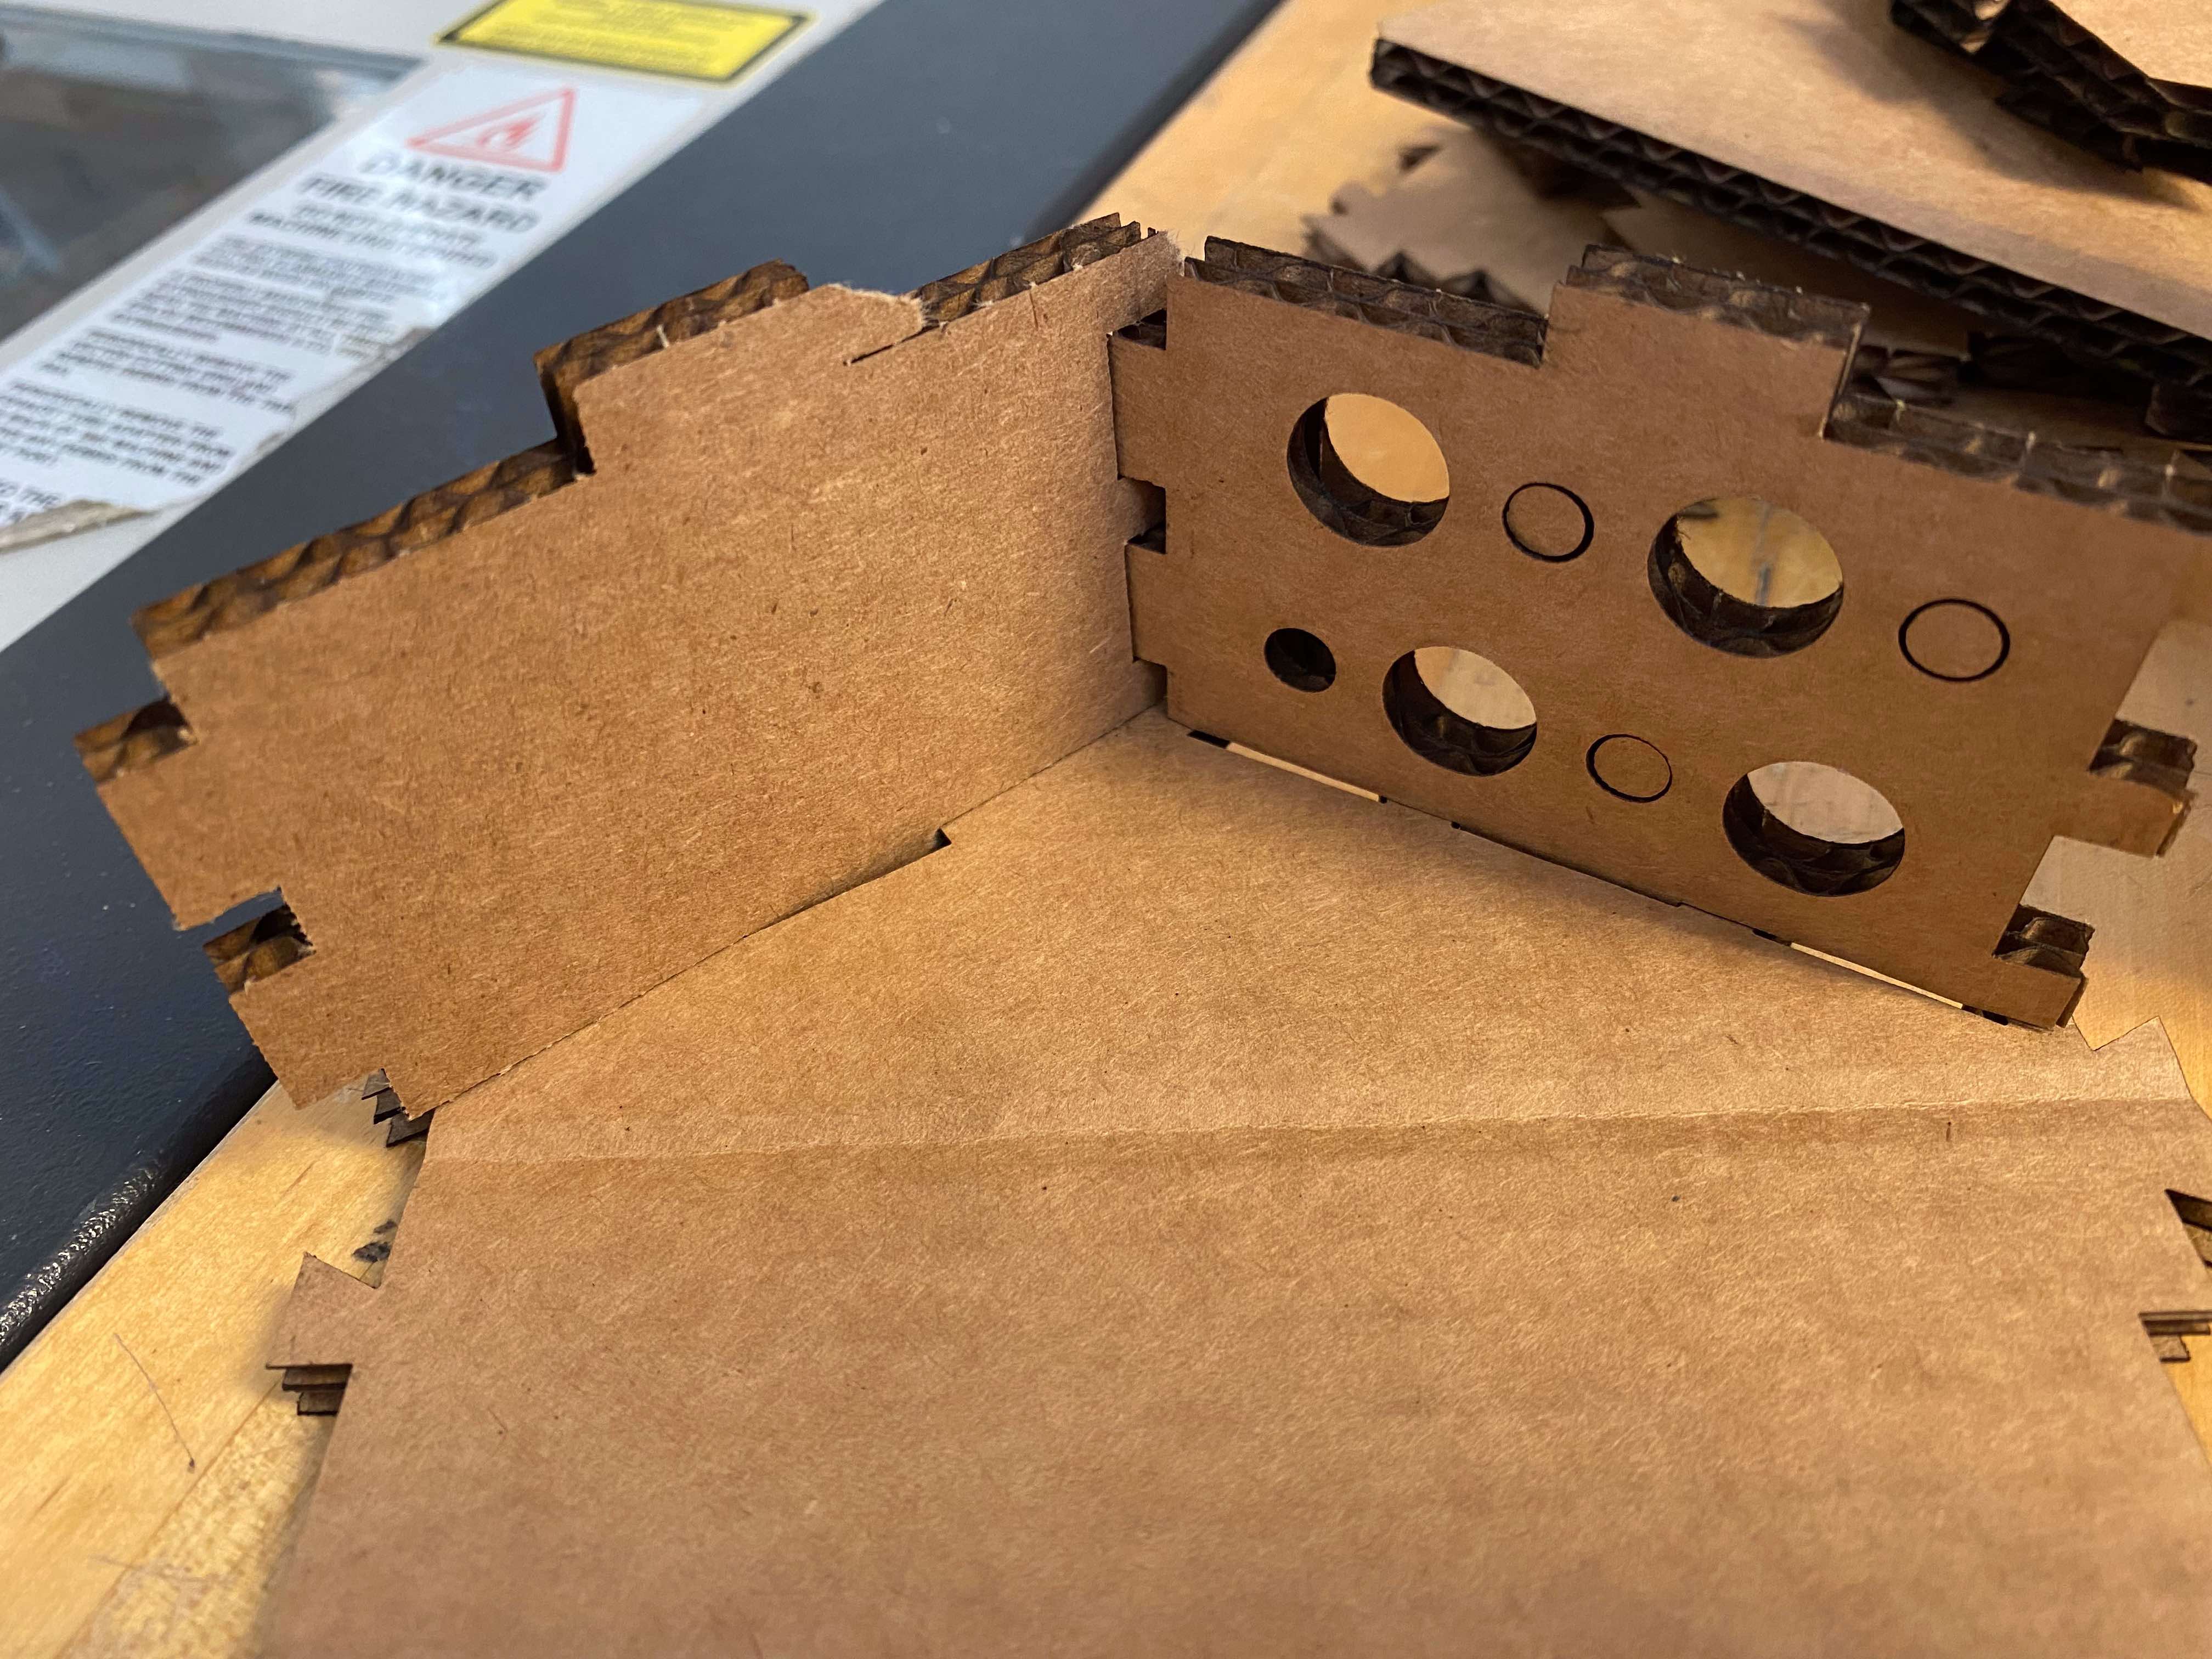
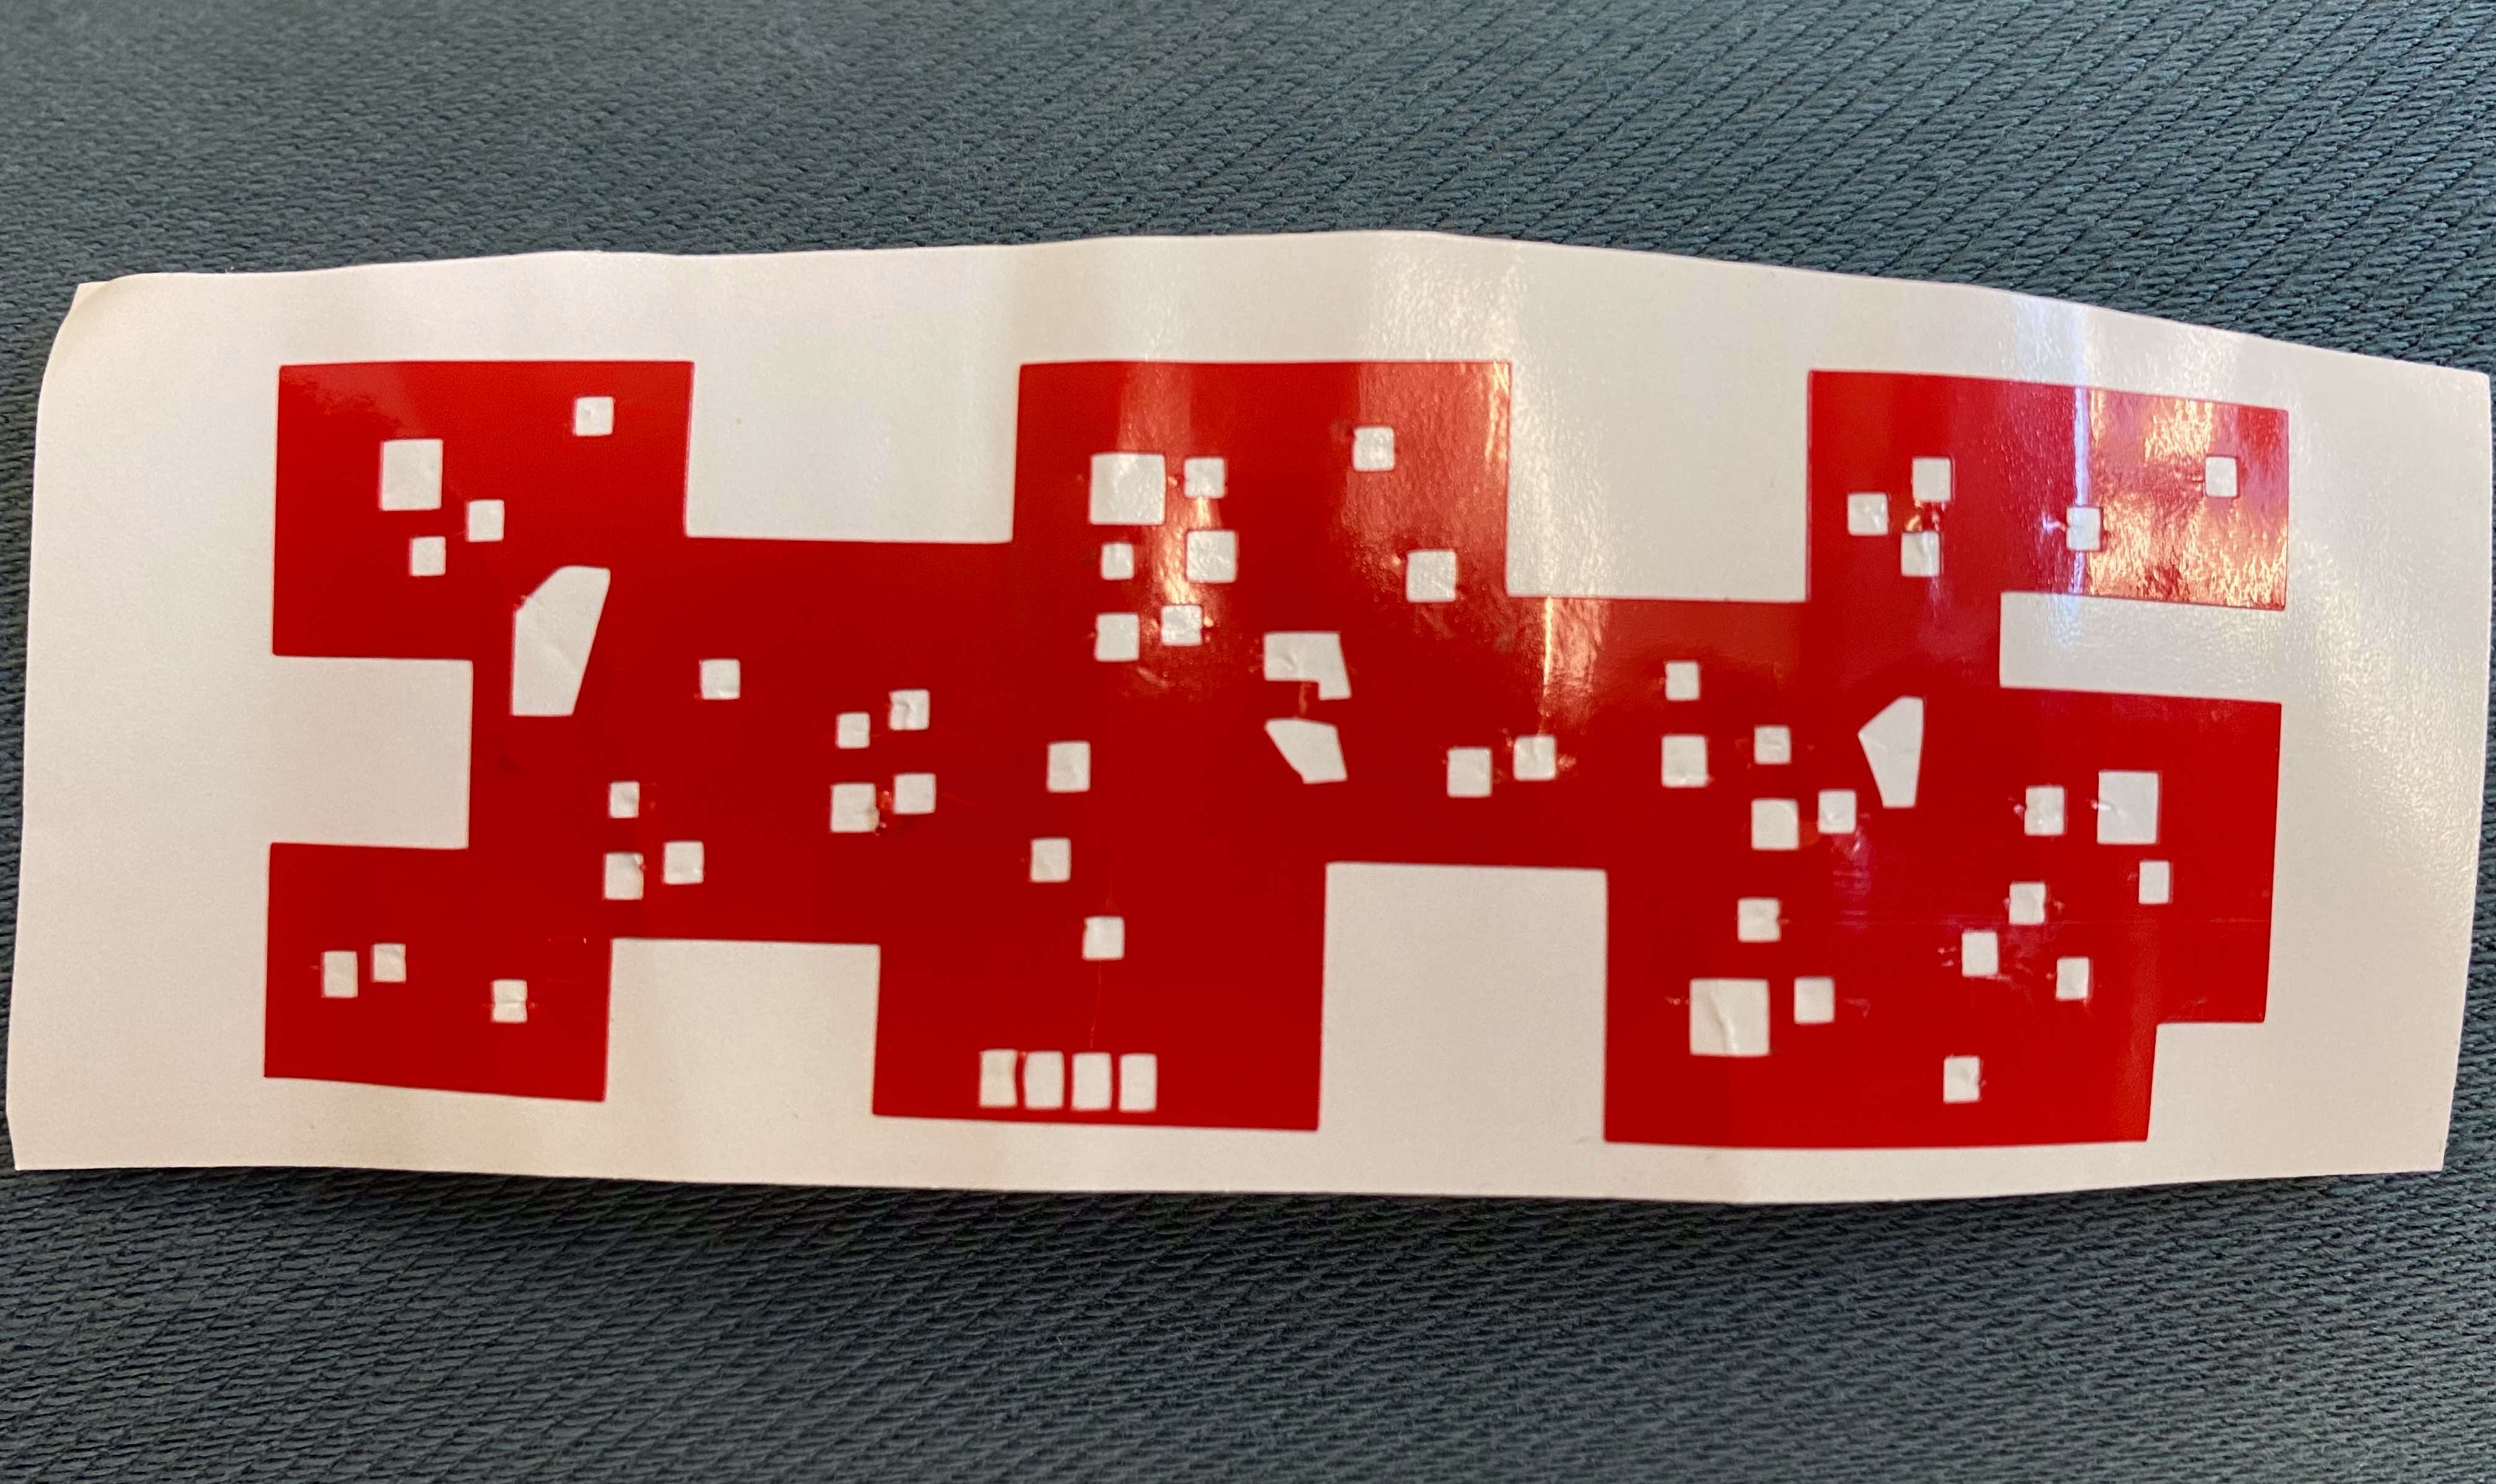
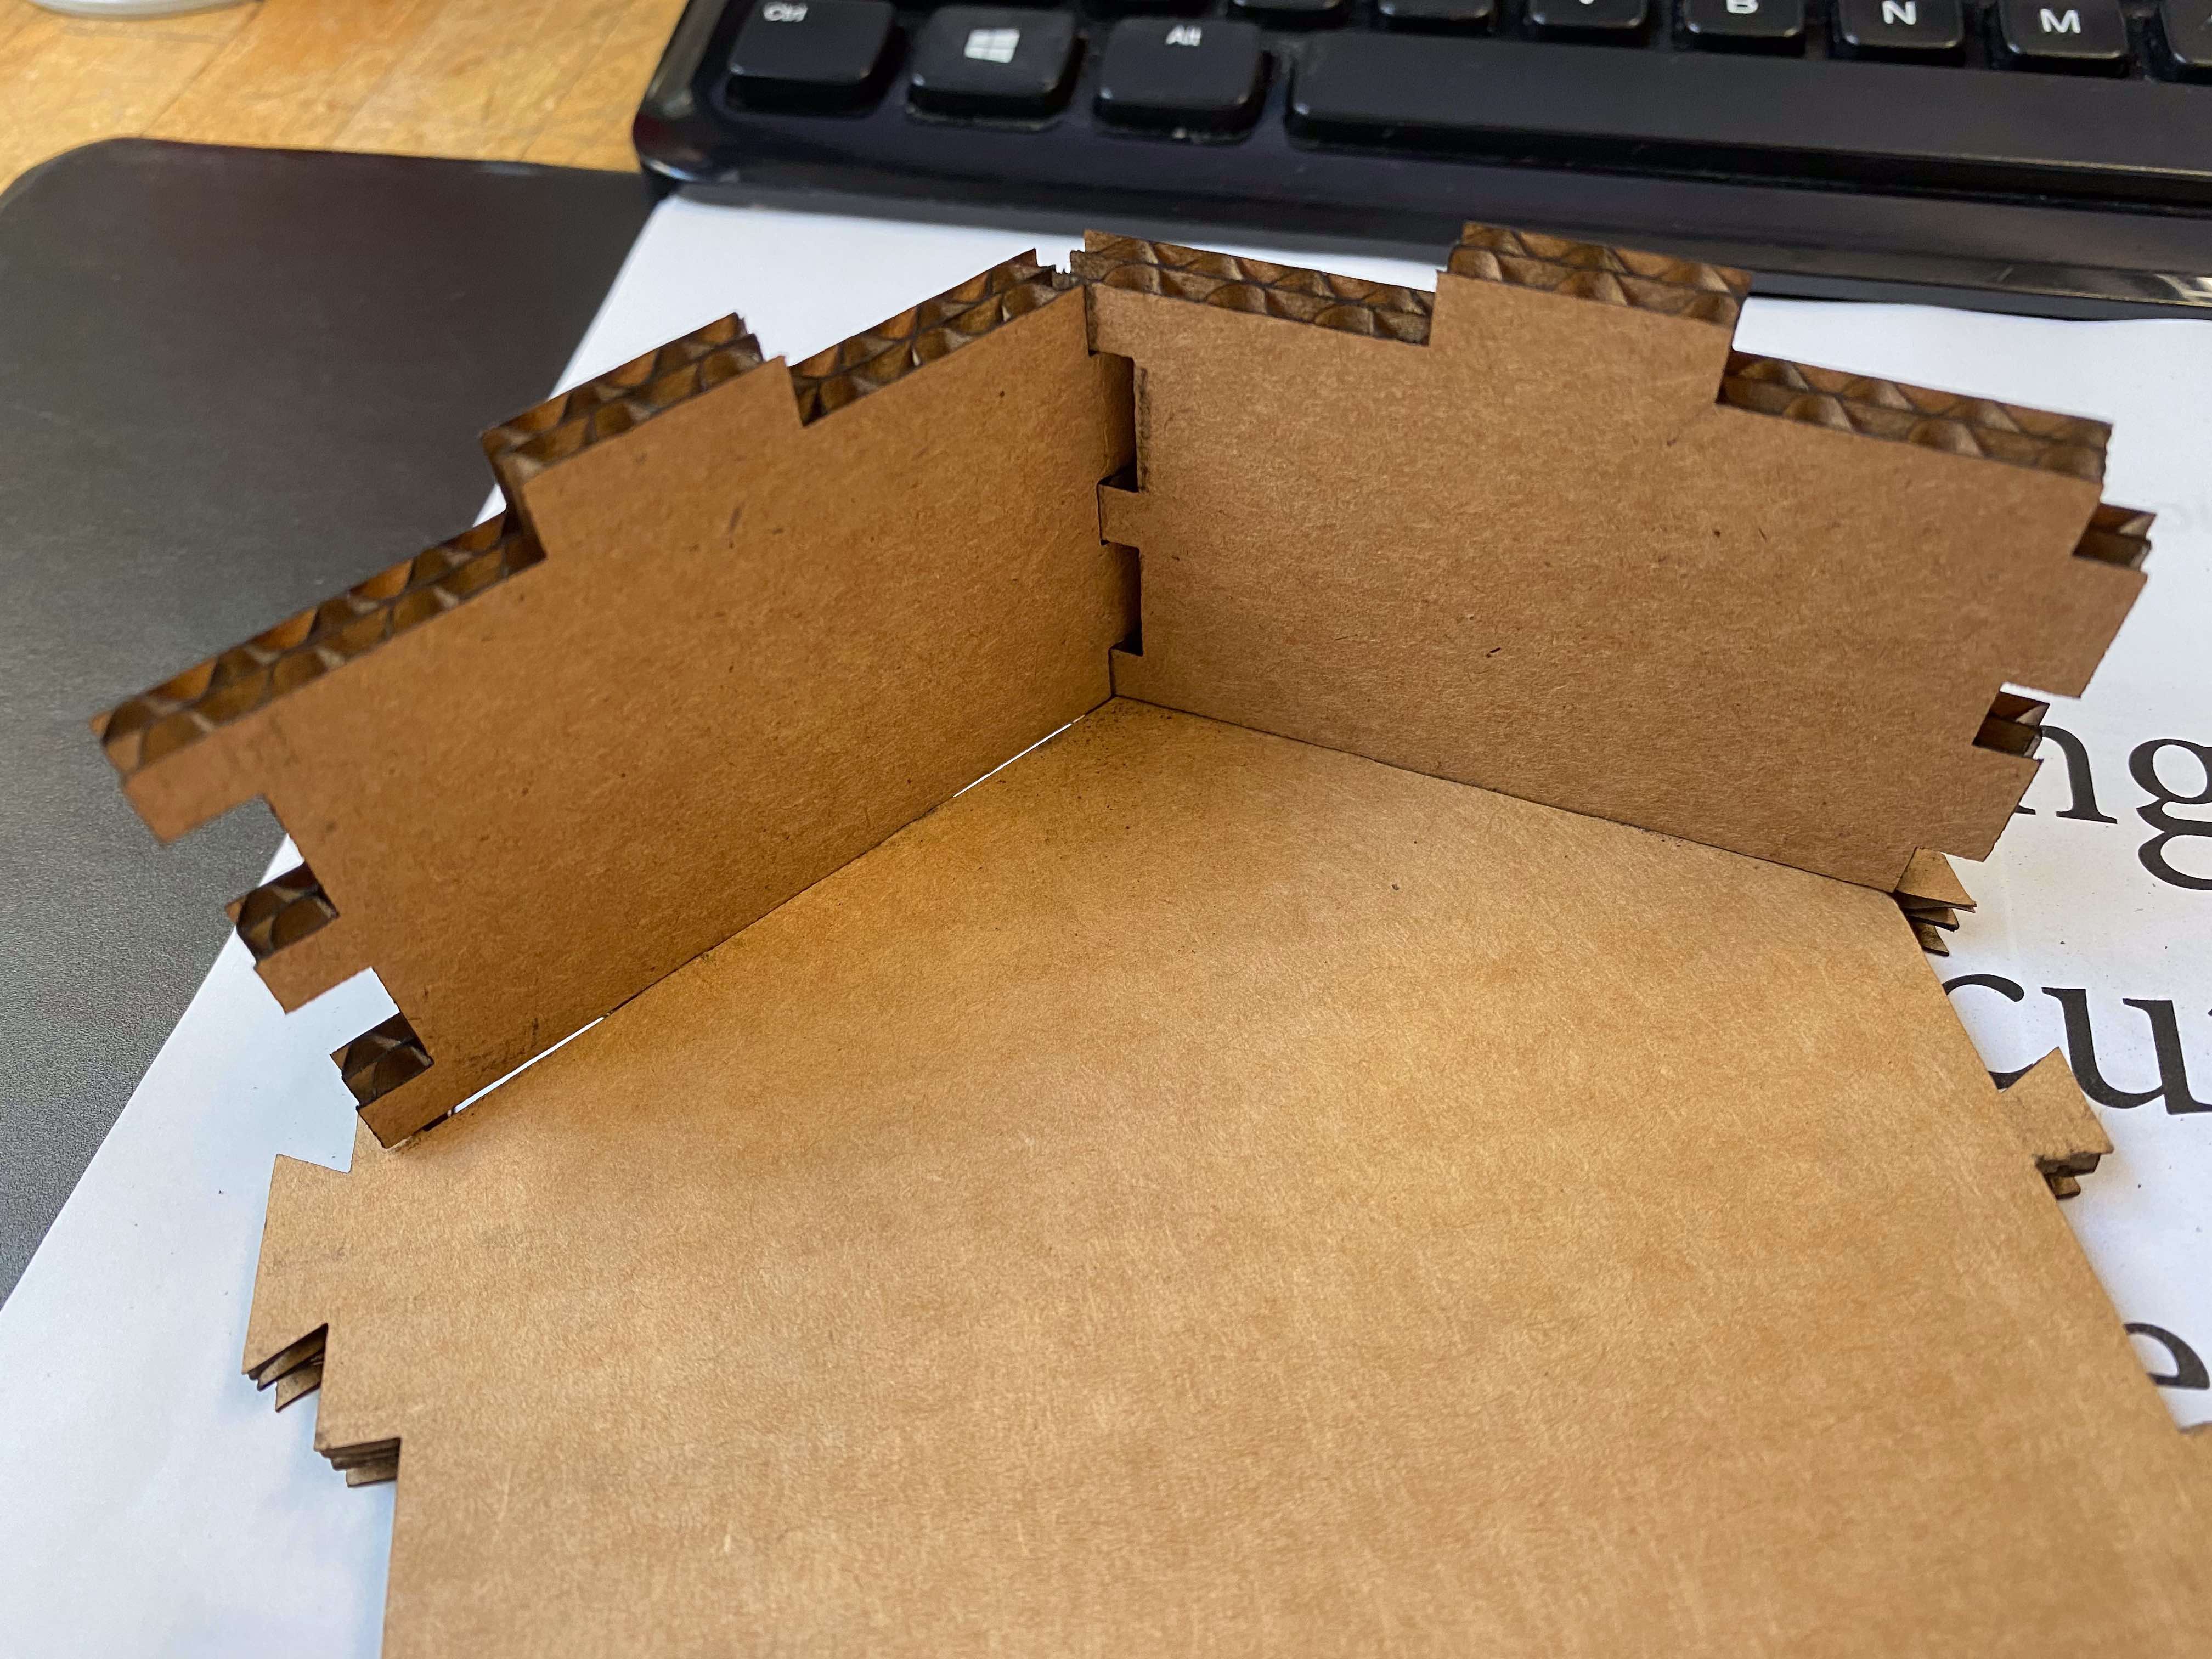
Over five hours of iterating, I made many changes to my Fusion sketch, many emails of files from my computer to the laser cutter computer, and many attempts at assembling pieces. For instance, after finding the right fit for the walls to slot into the baseplates, I now had to figure out how to make the walls fit together. I didn't account for how they would overlap, as seen in this image.
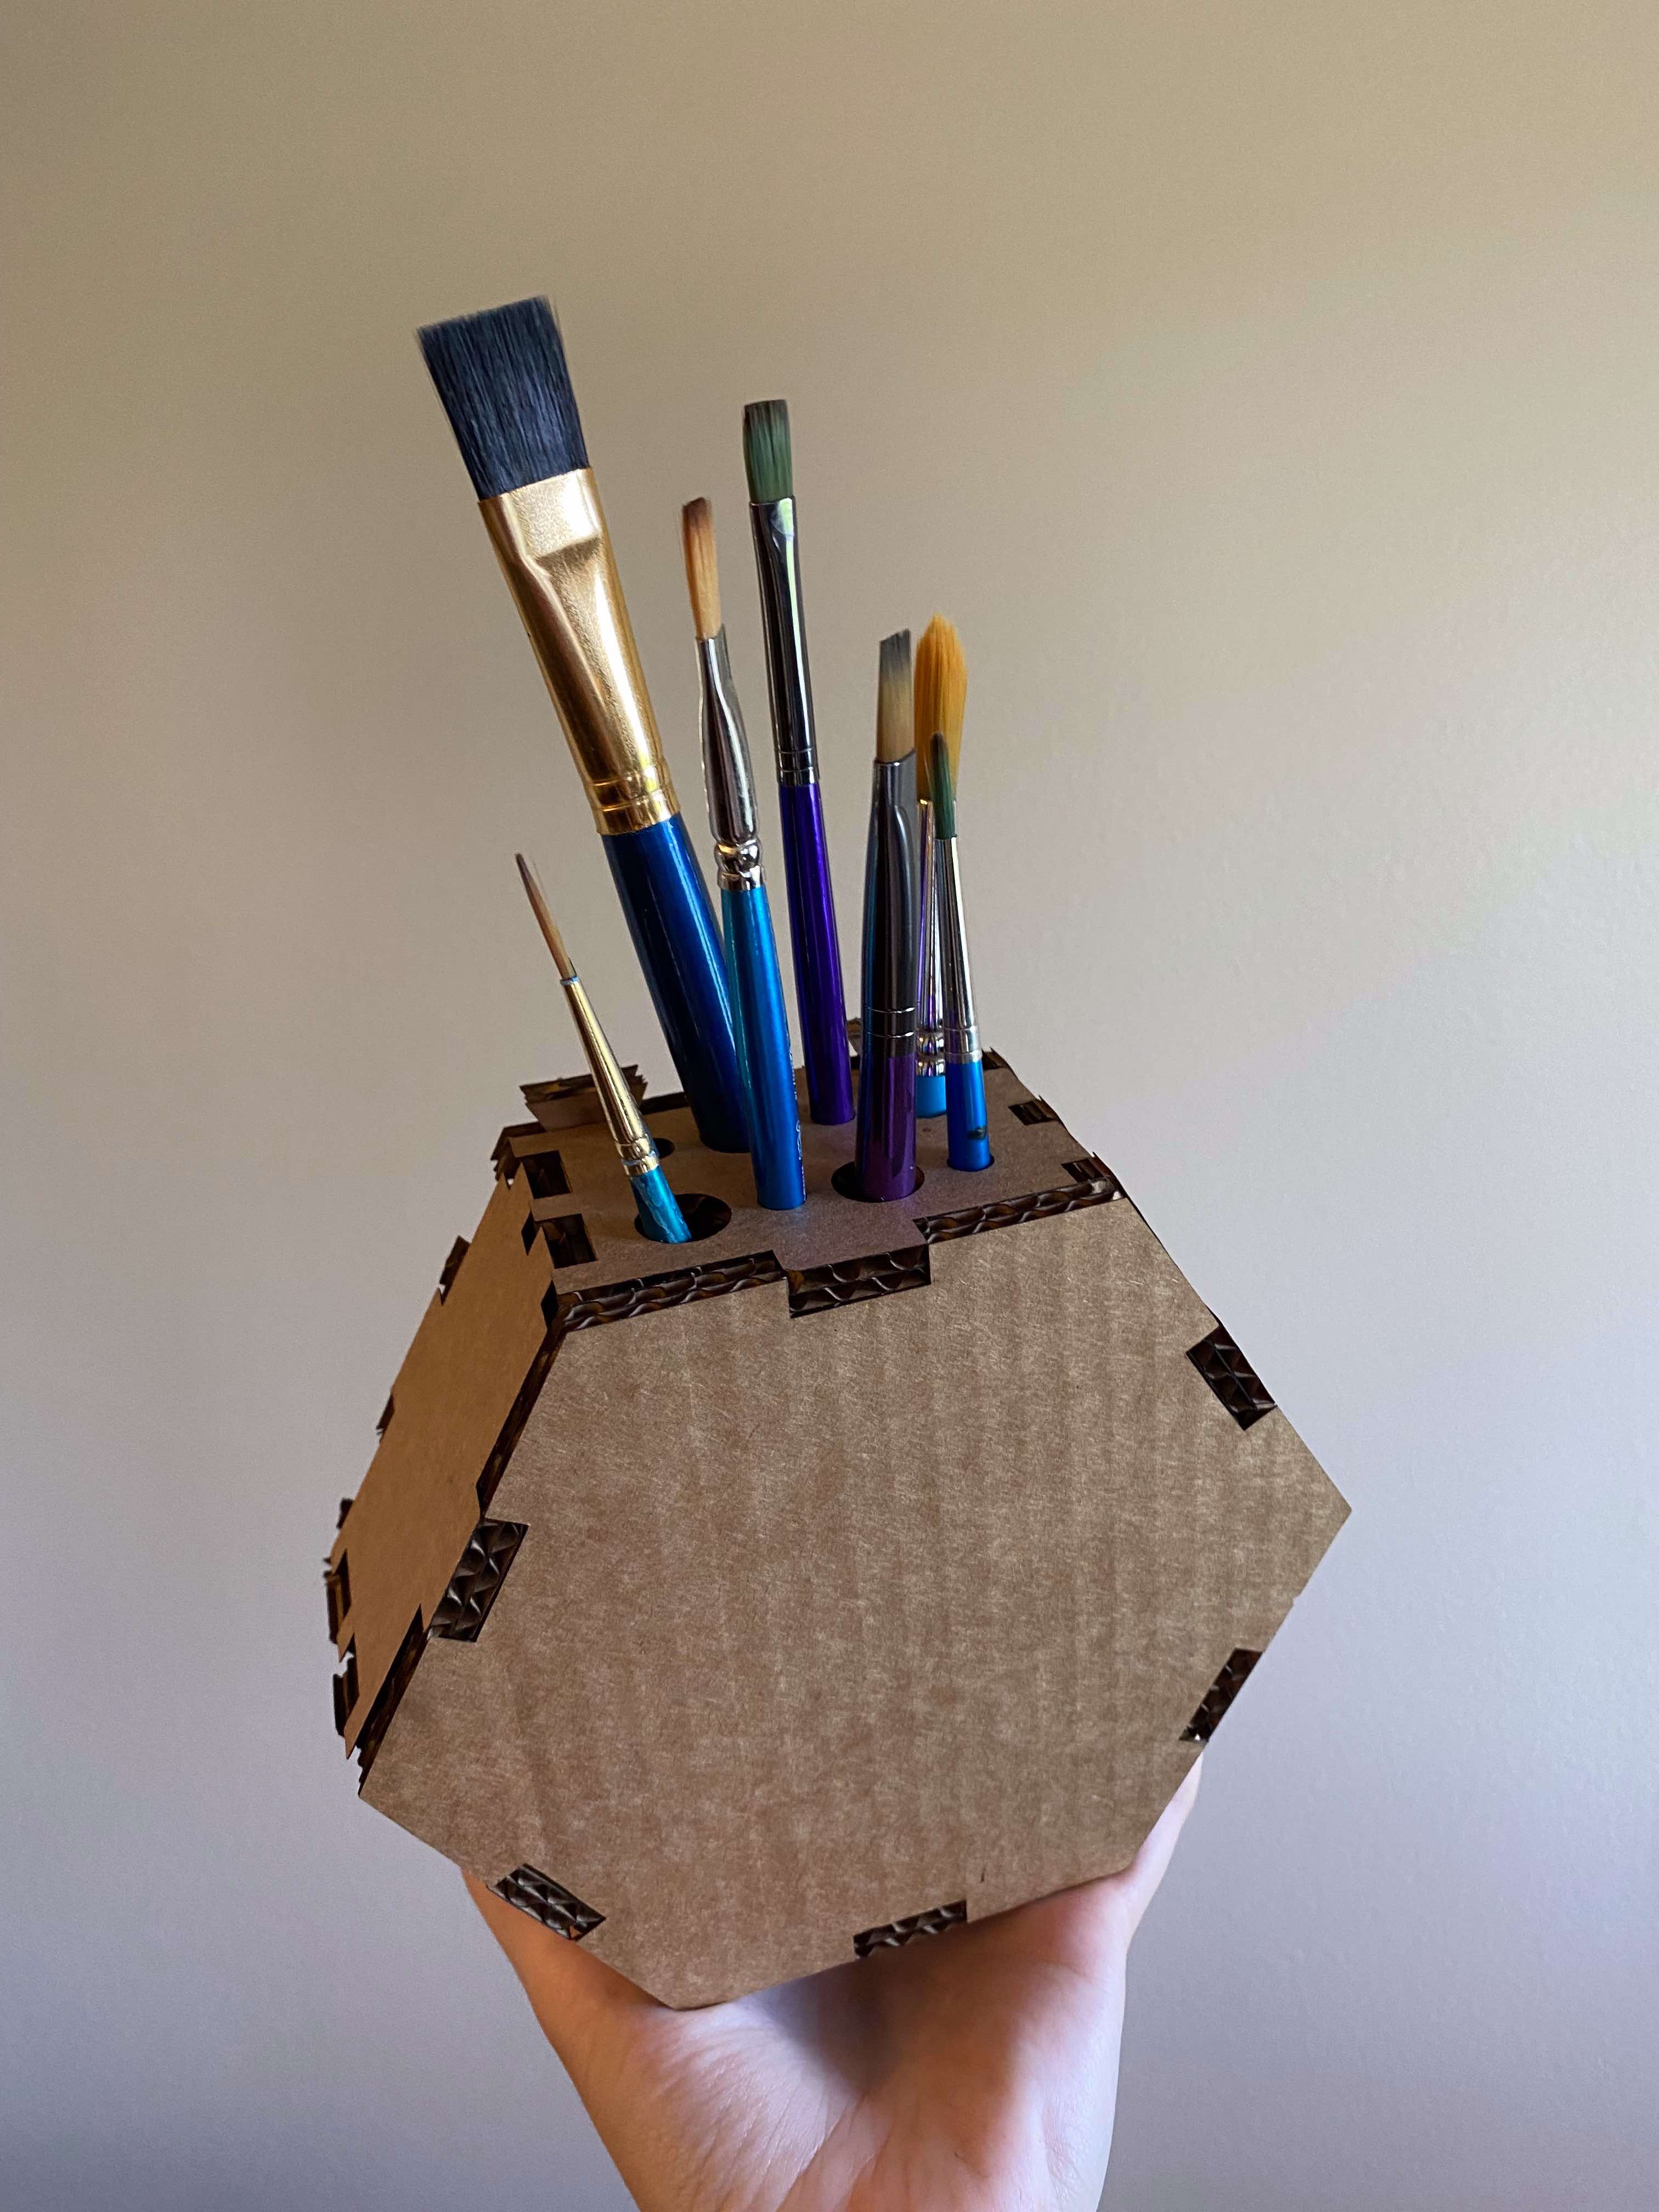
Glamour Shot
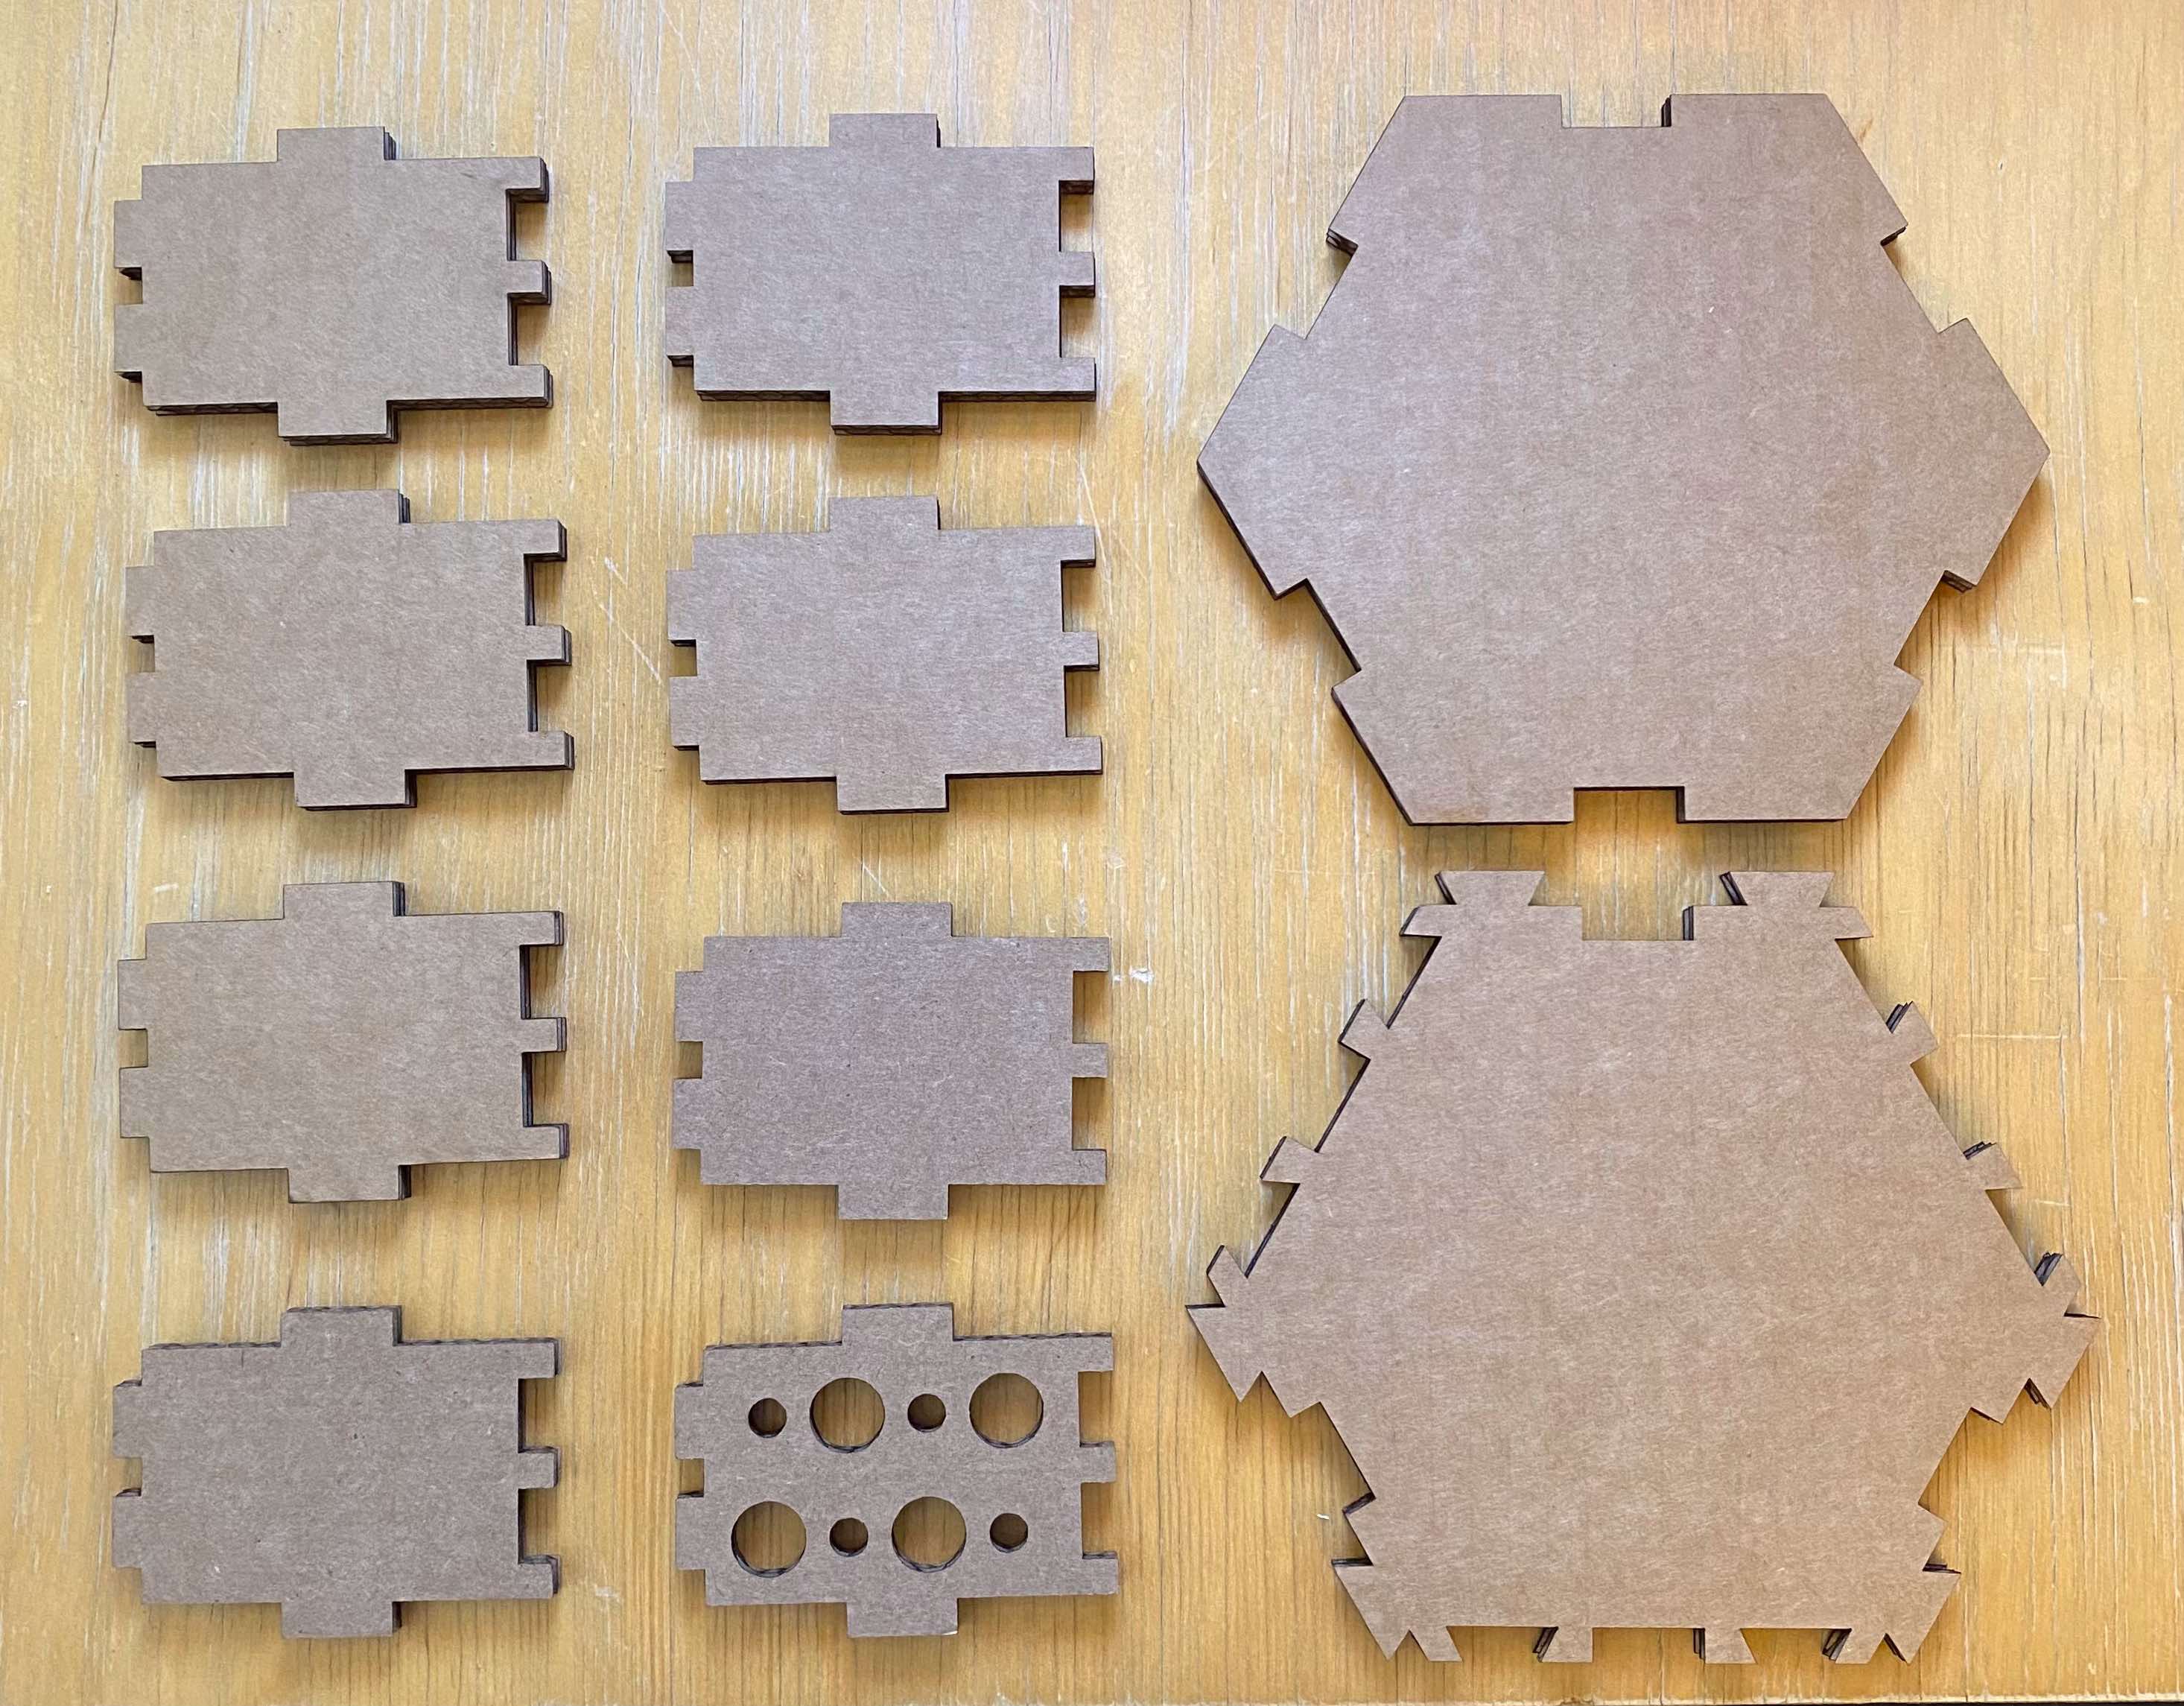
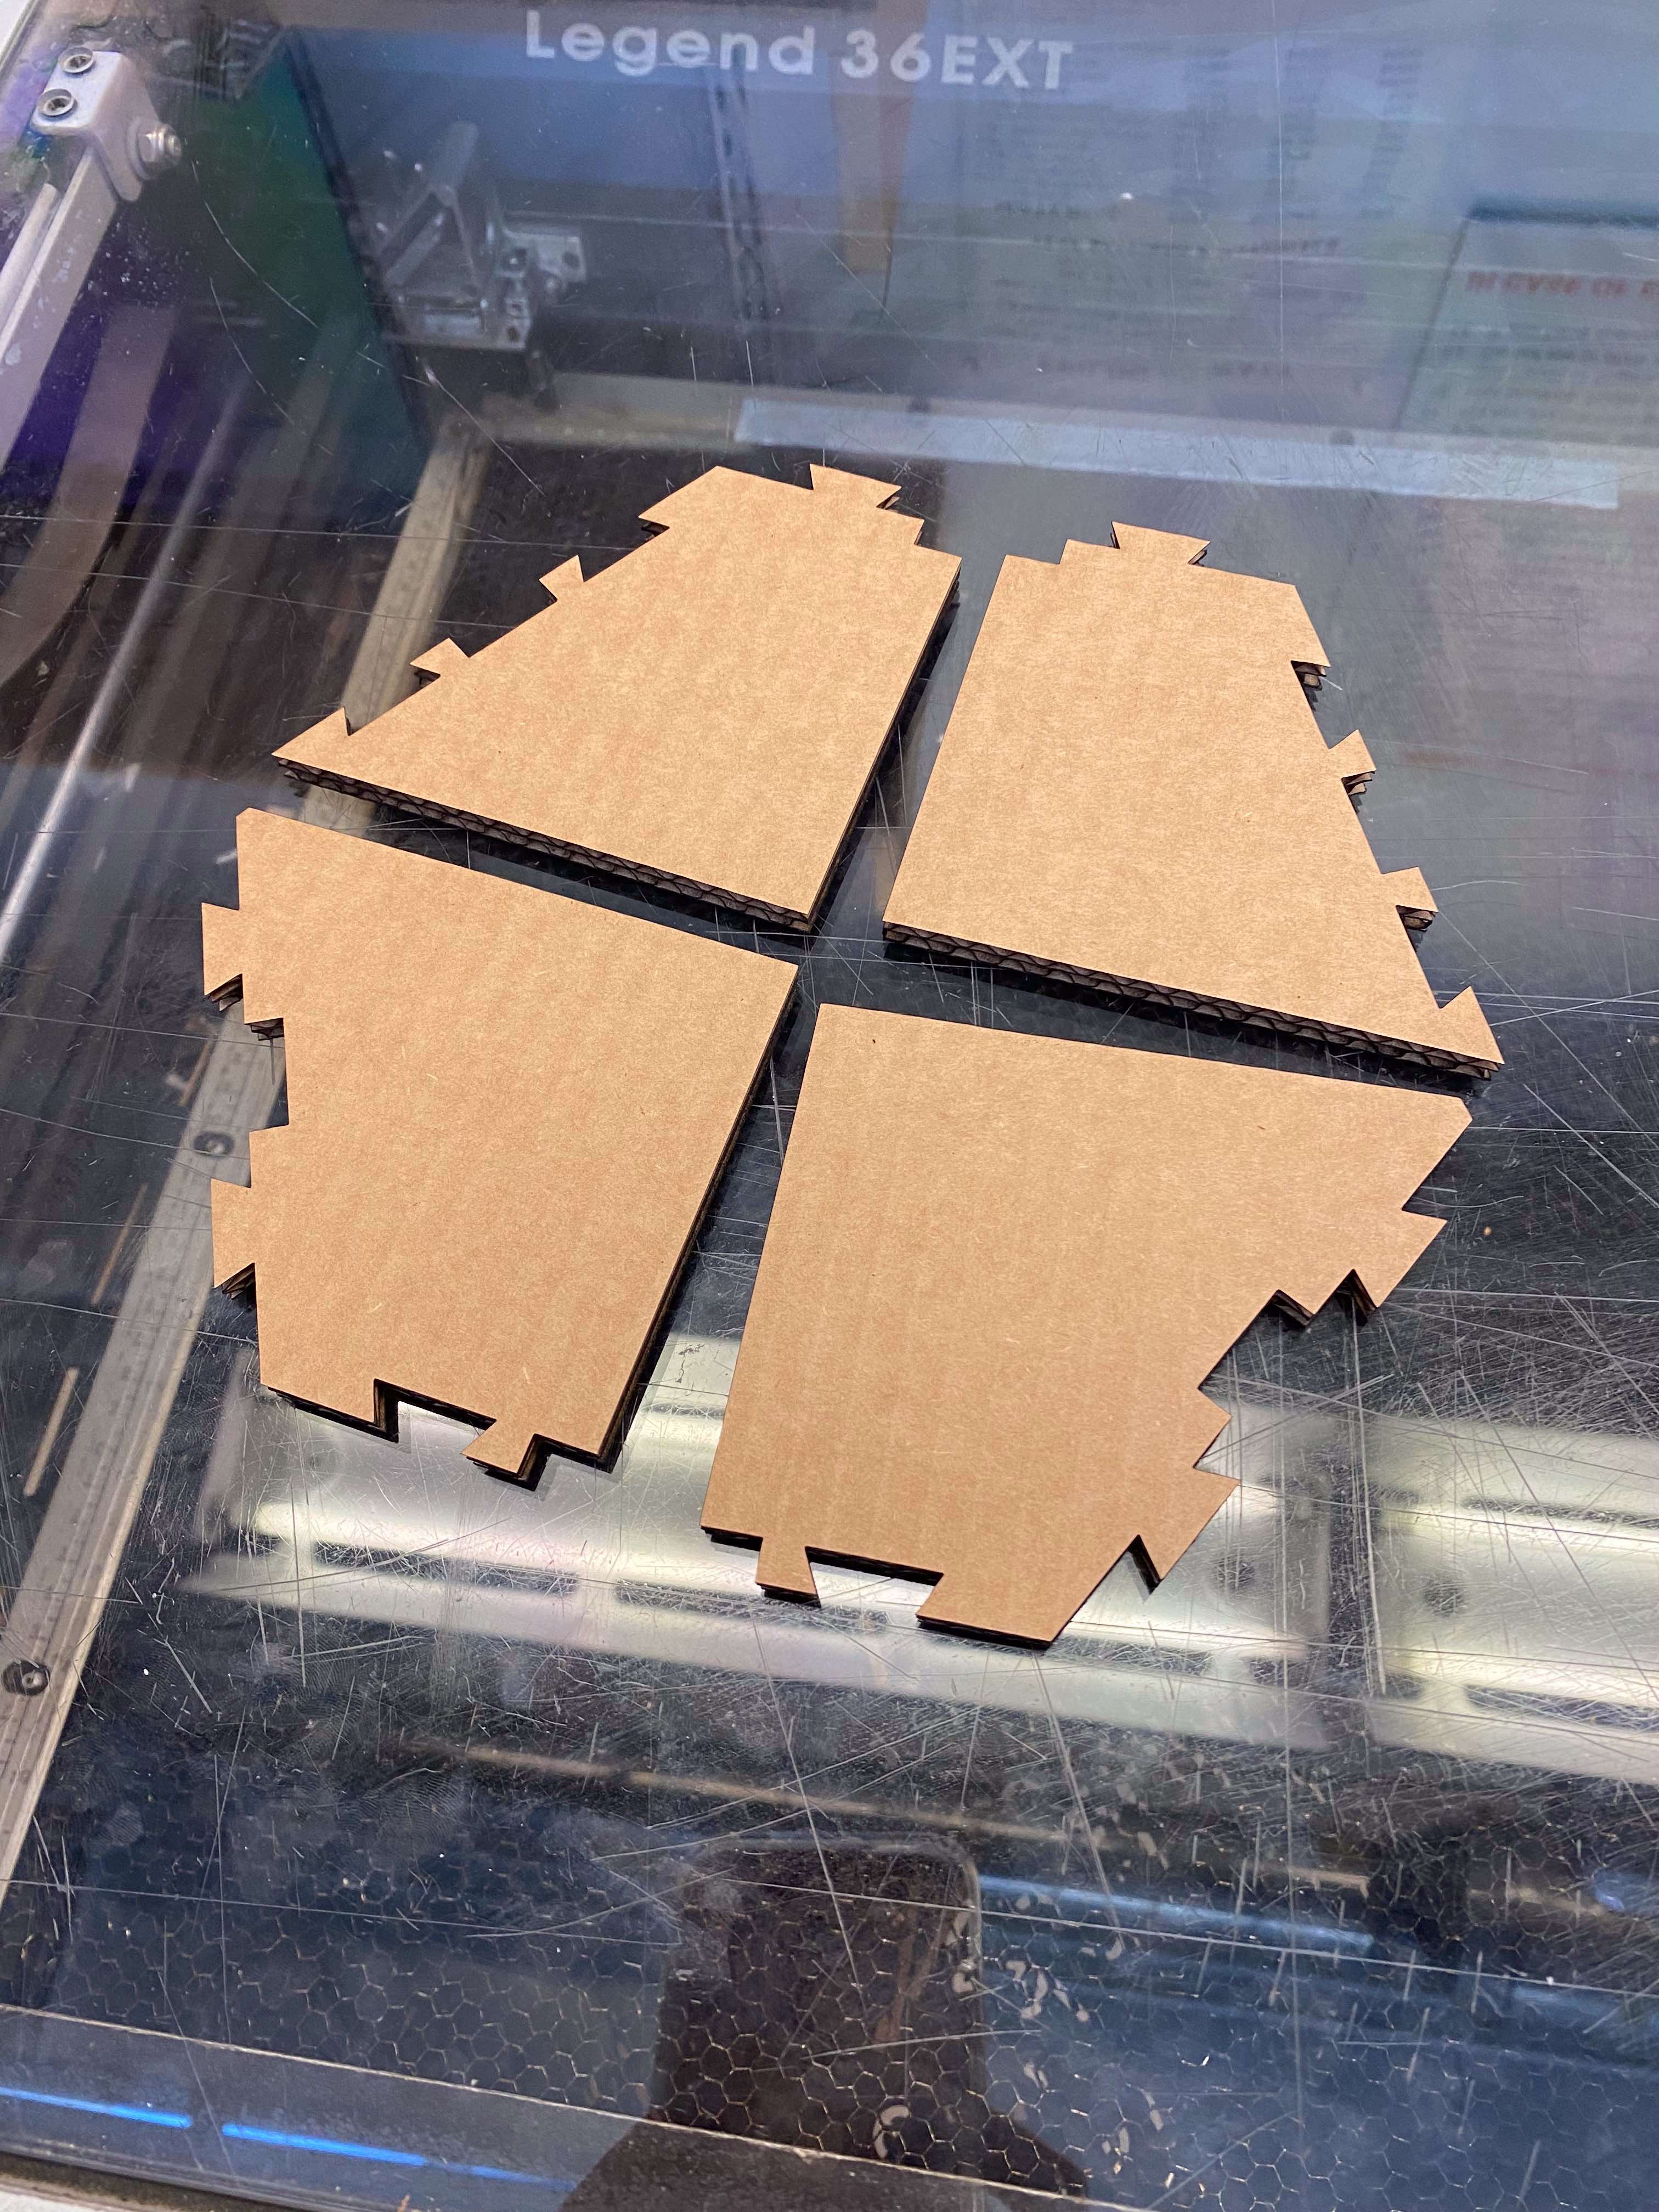
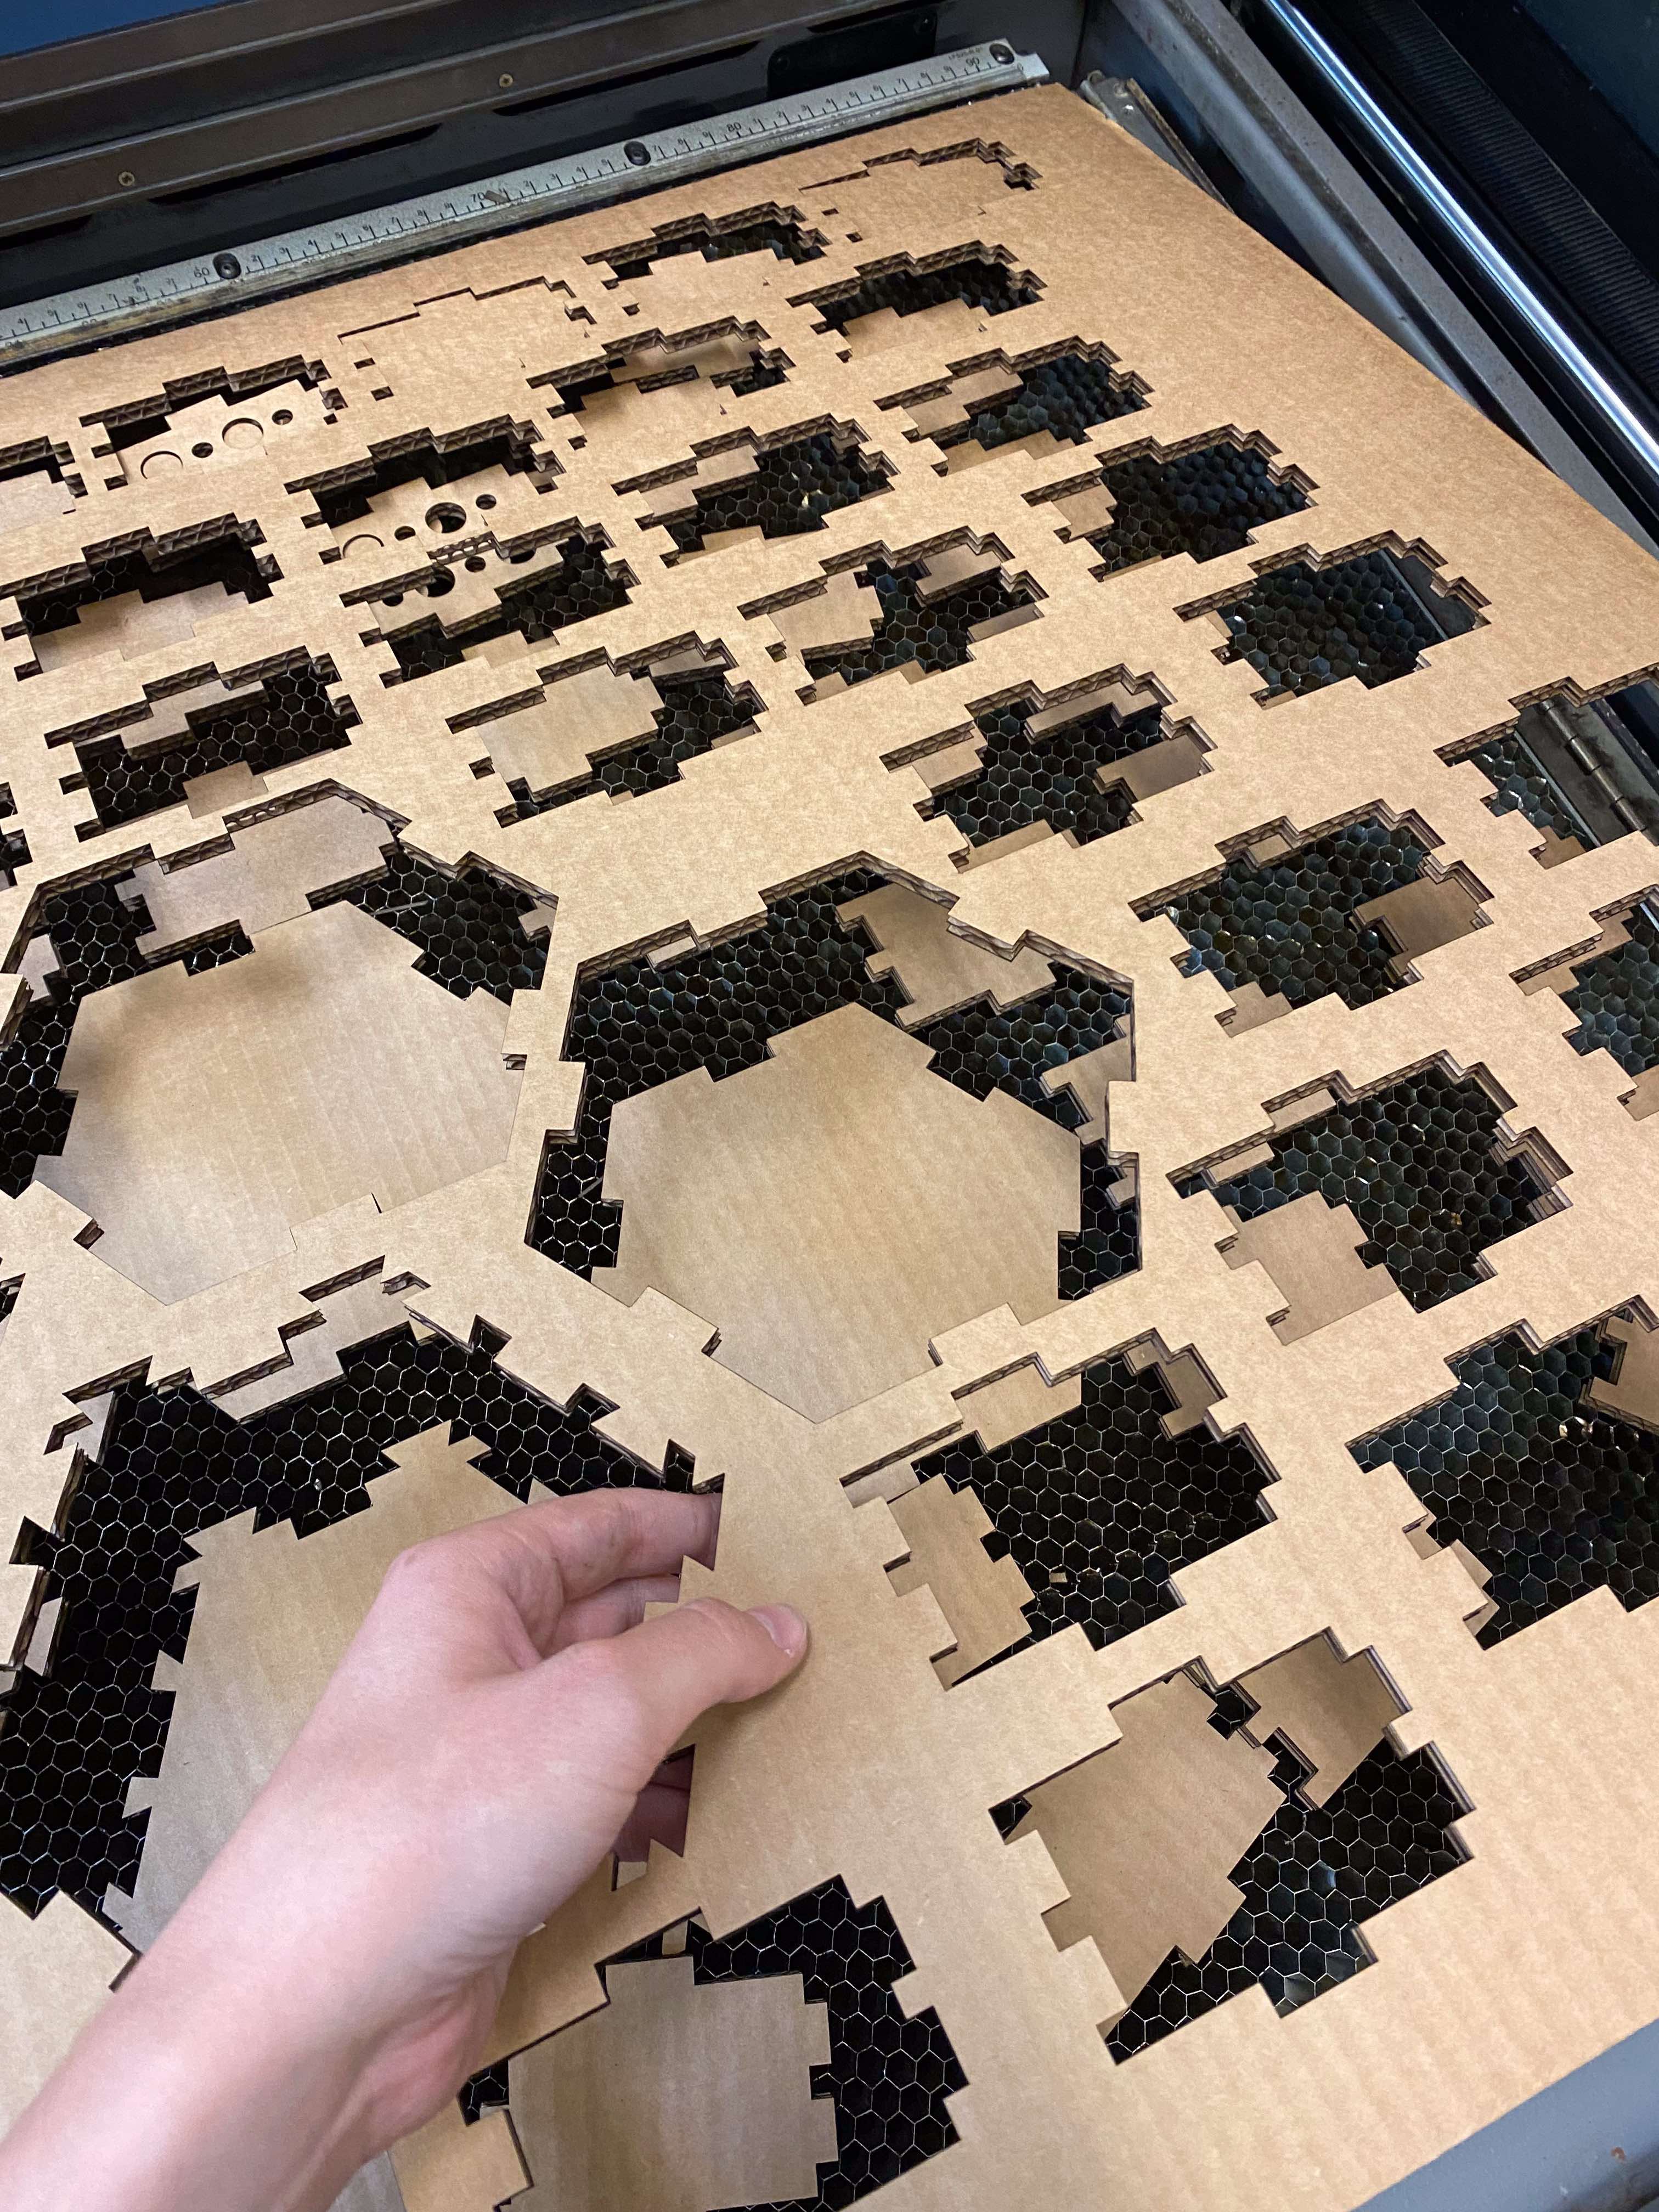
In total, I made 42 wall pieces (including the ones with holes), 7 baseplates, and 3 covers.
Assembly
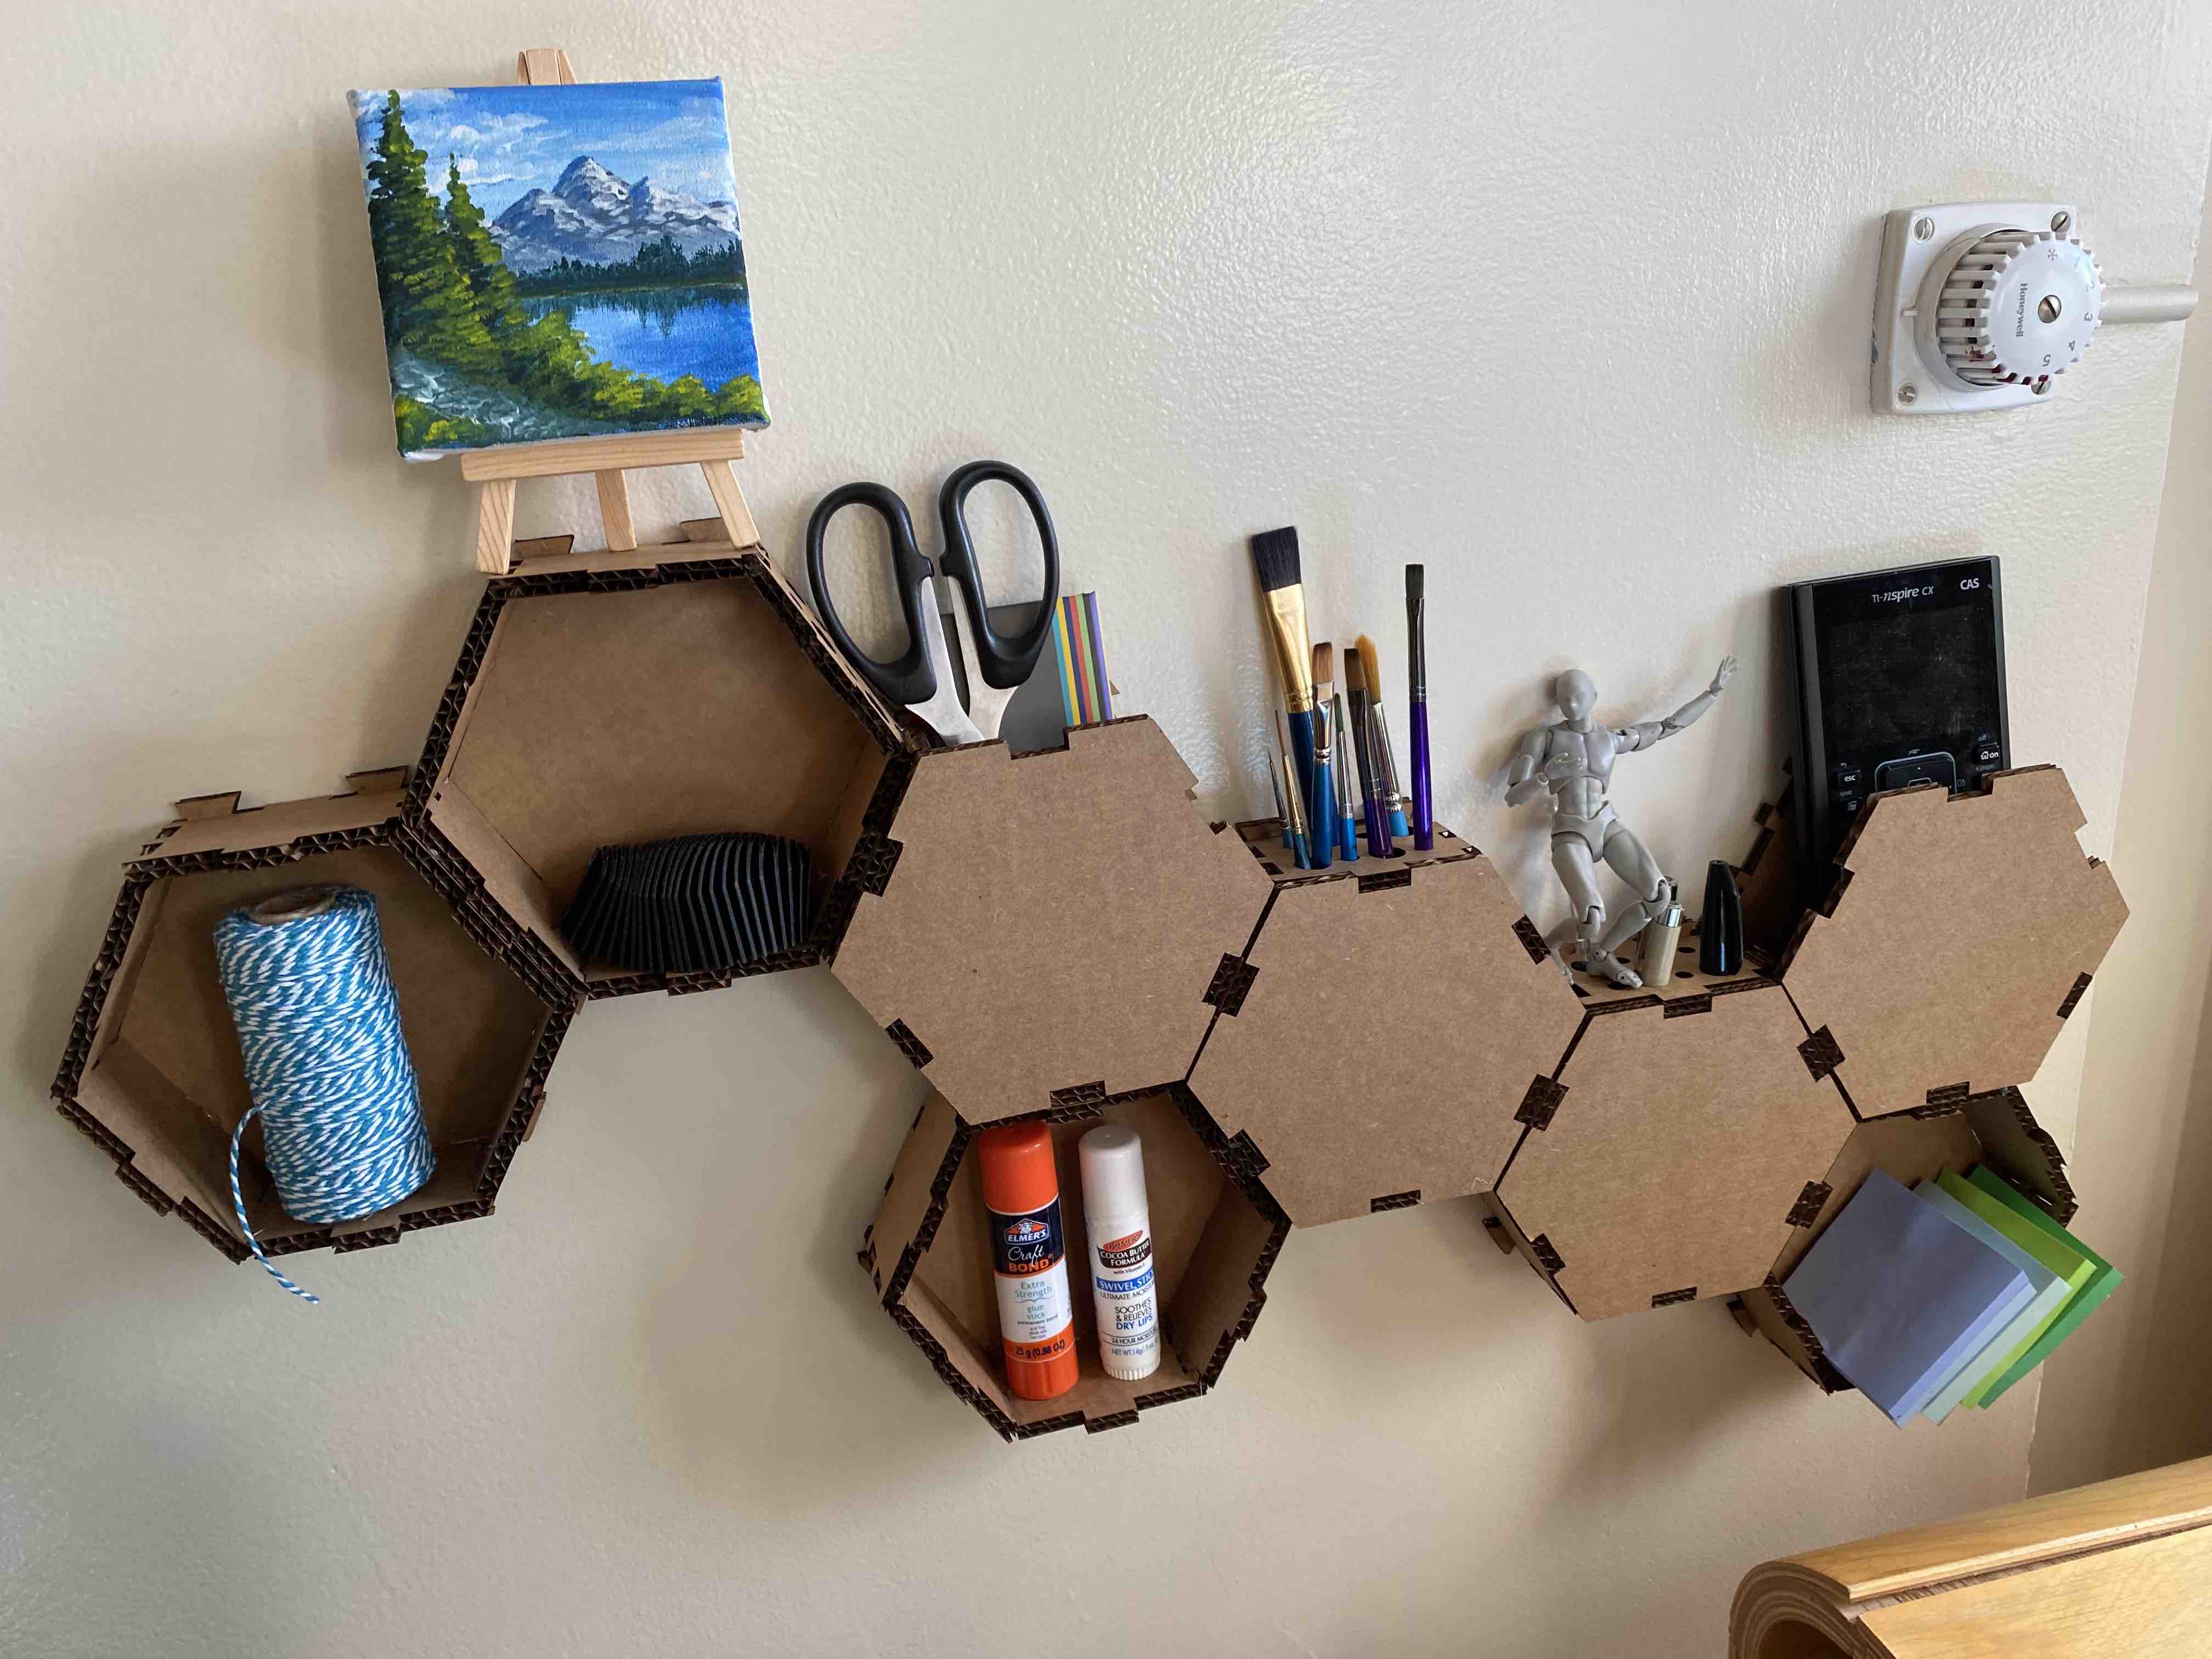
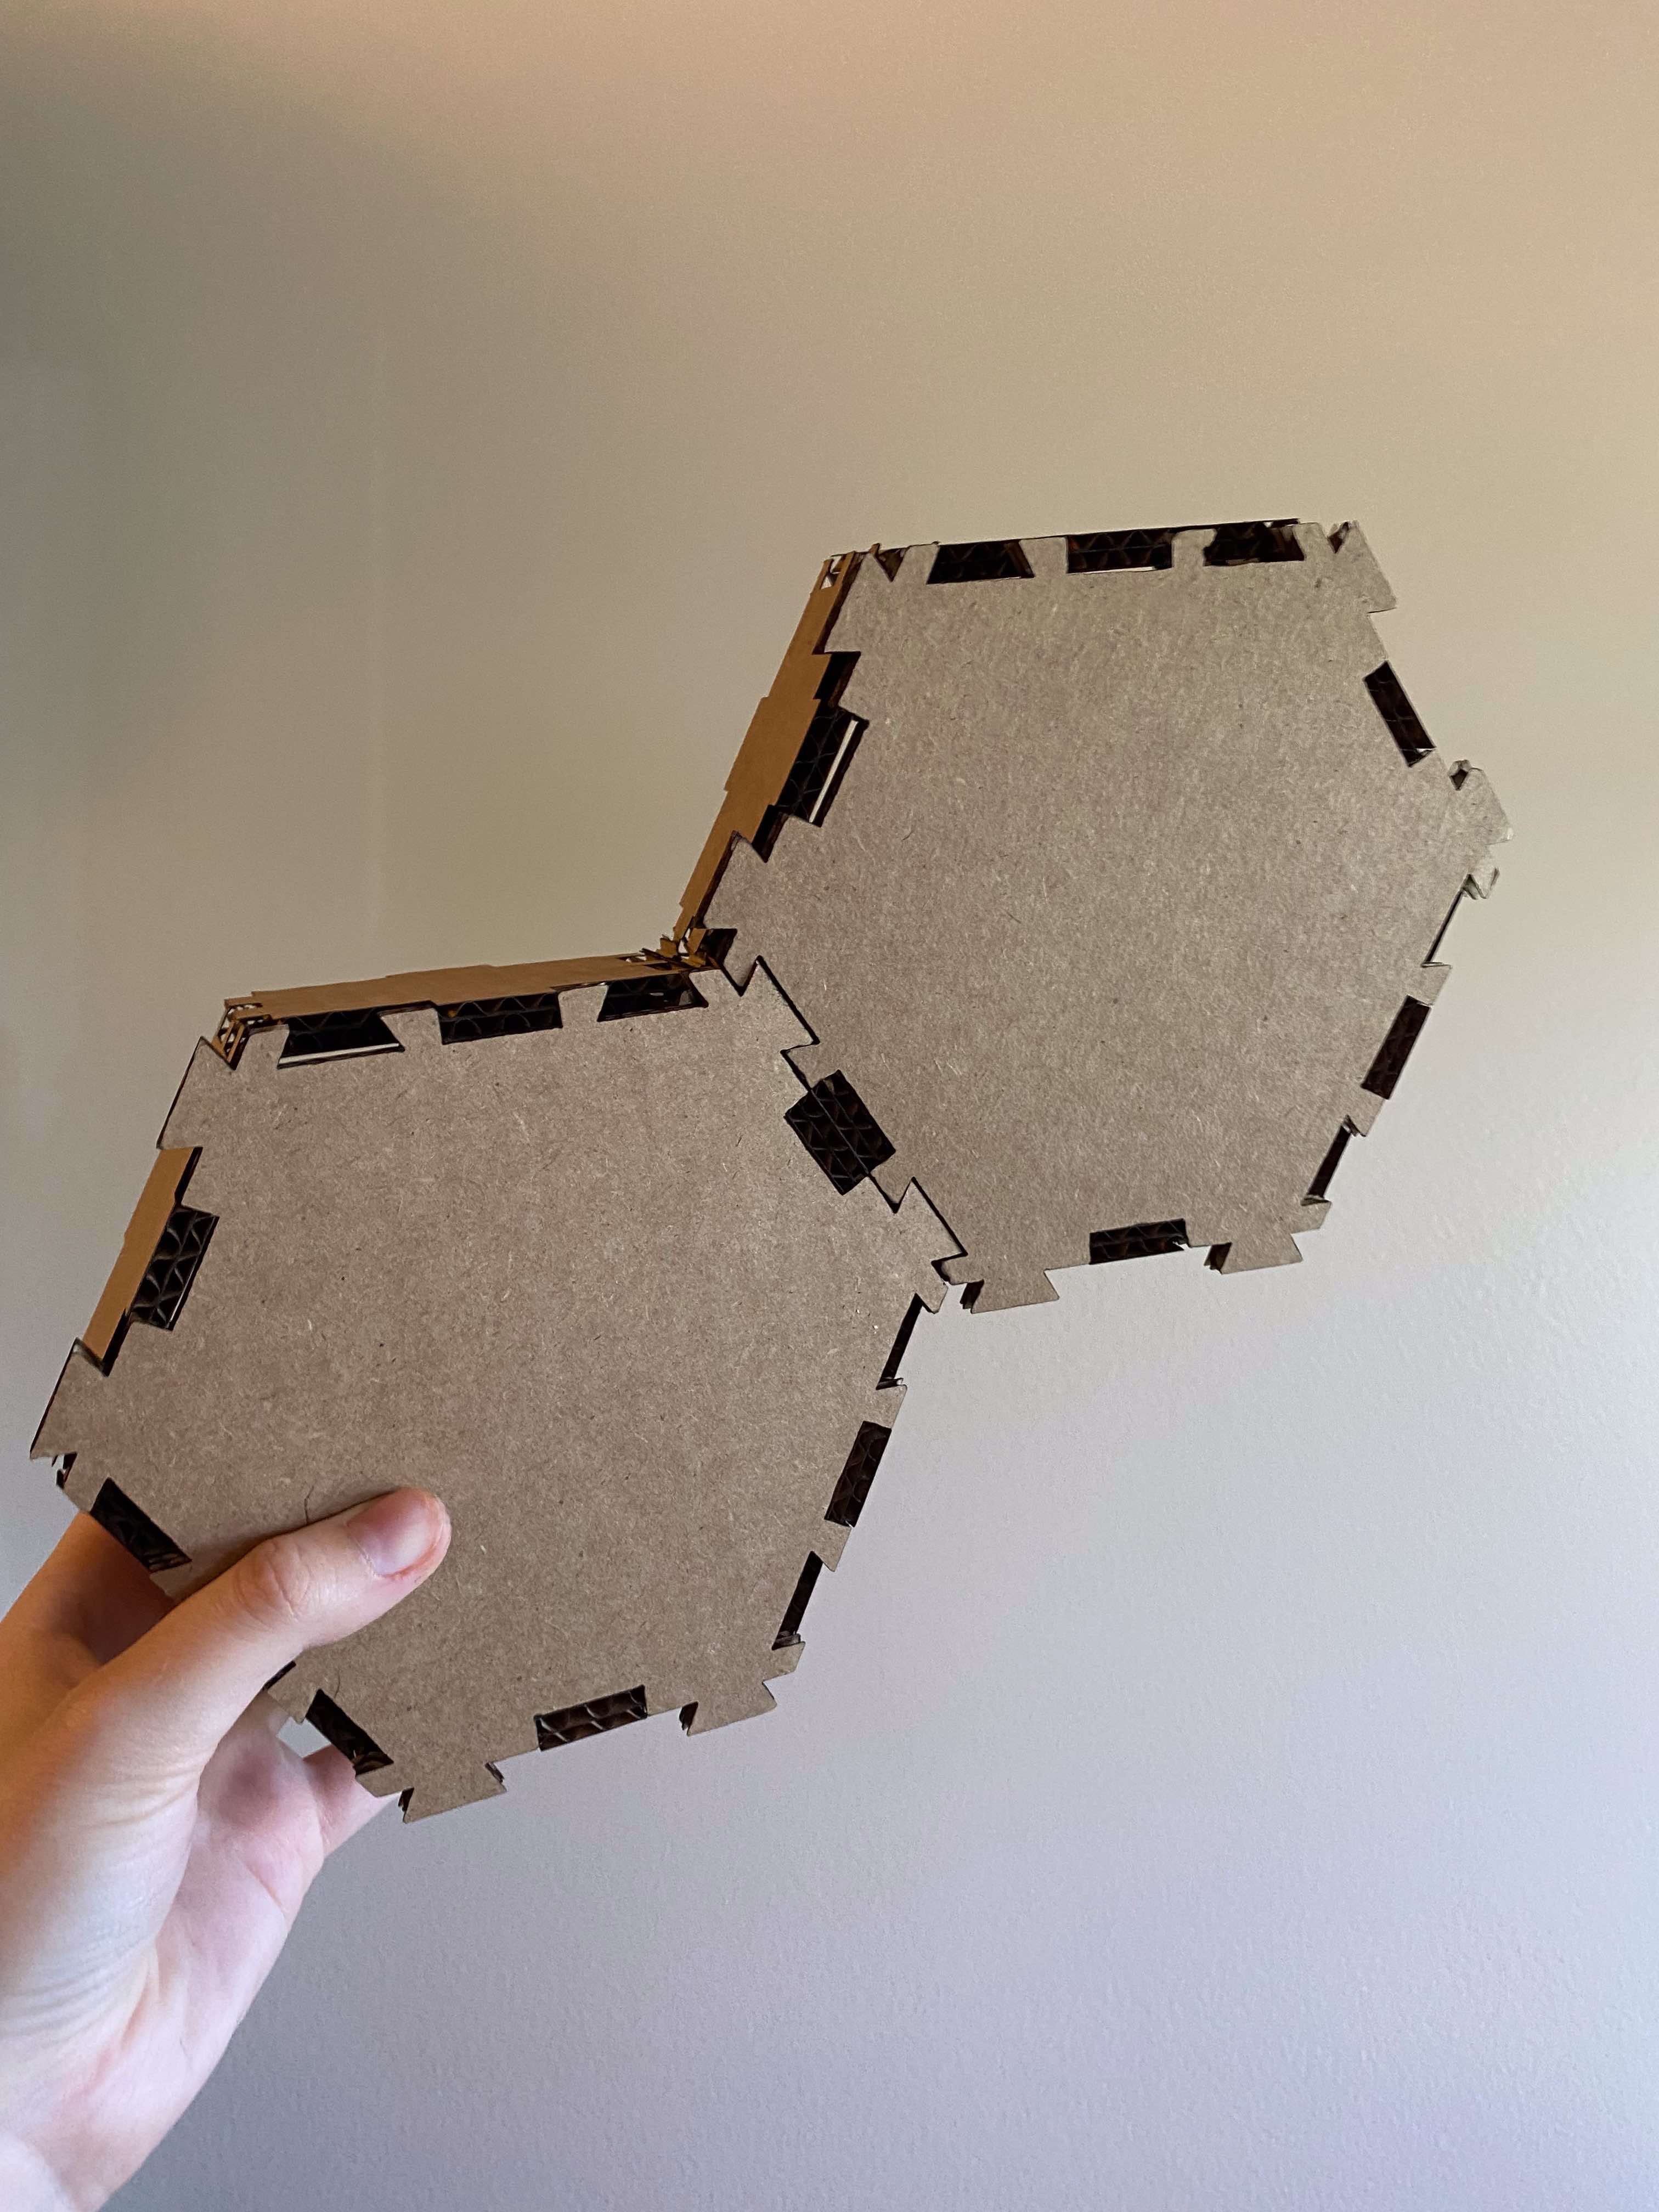
Here's how the cubbies fit together! I used Command strips to affix the assembly to my wall, but only after hot-glueing everything together. Without glue, the cubbies would fall apart, especially if you tried to place anything in them. Next time I make a similar laser-cut project, I will consider using joints that involve brackets -- like disks that slot perpendicular to the walls -- to hold separate pieces together