New board
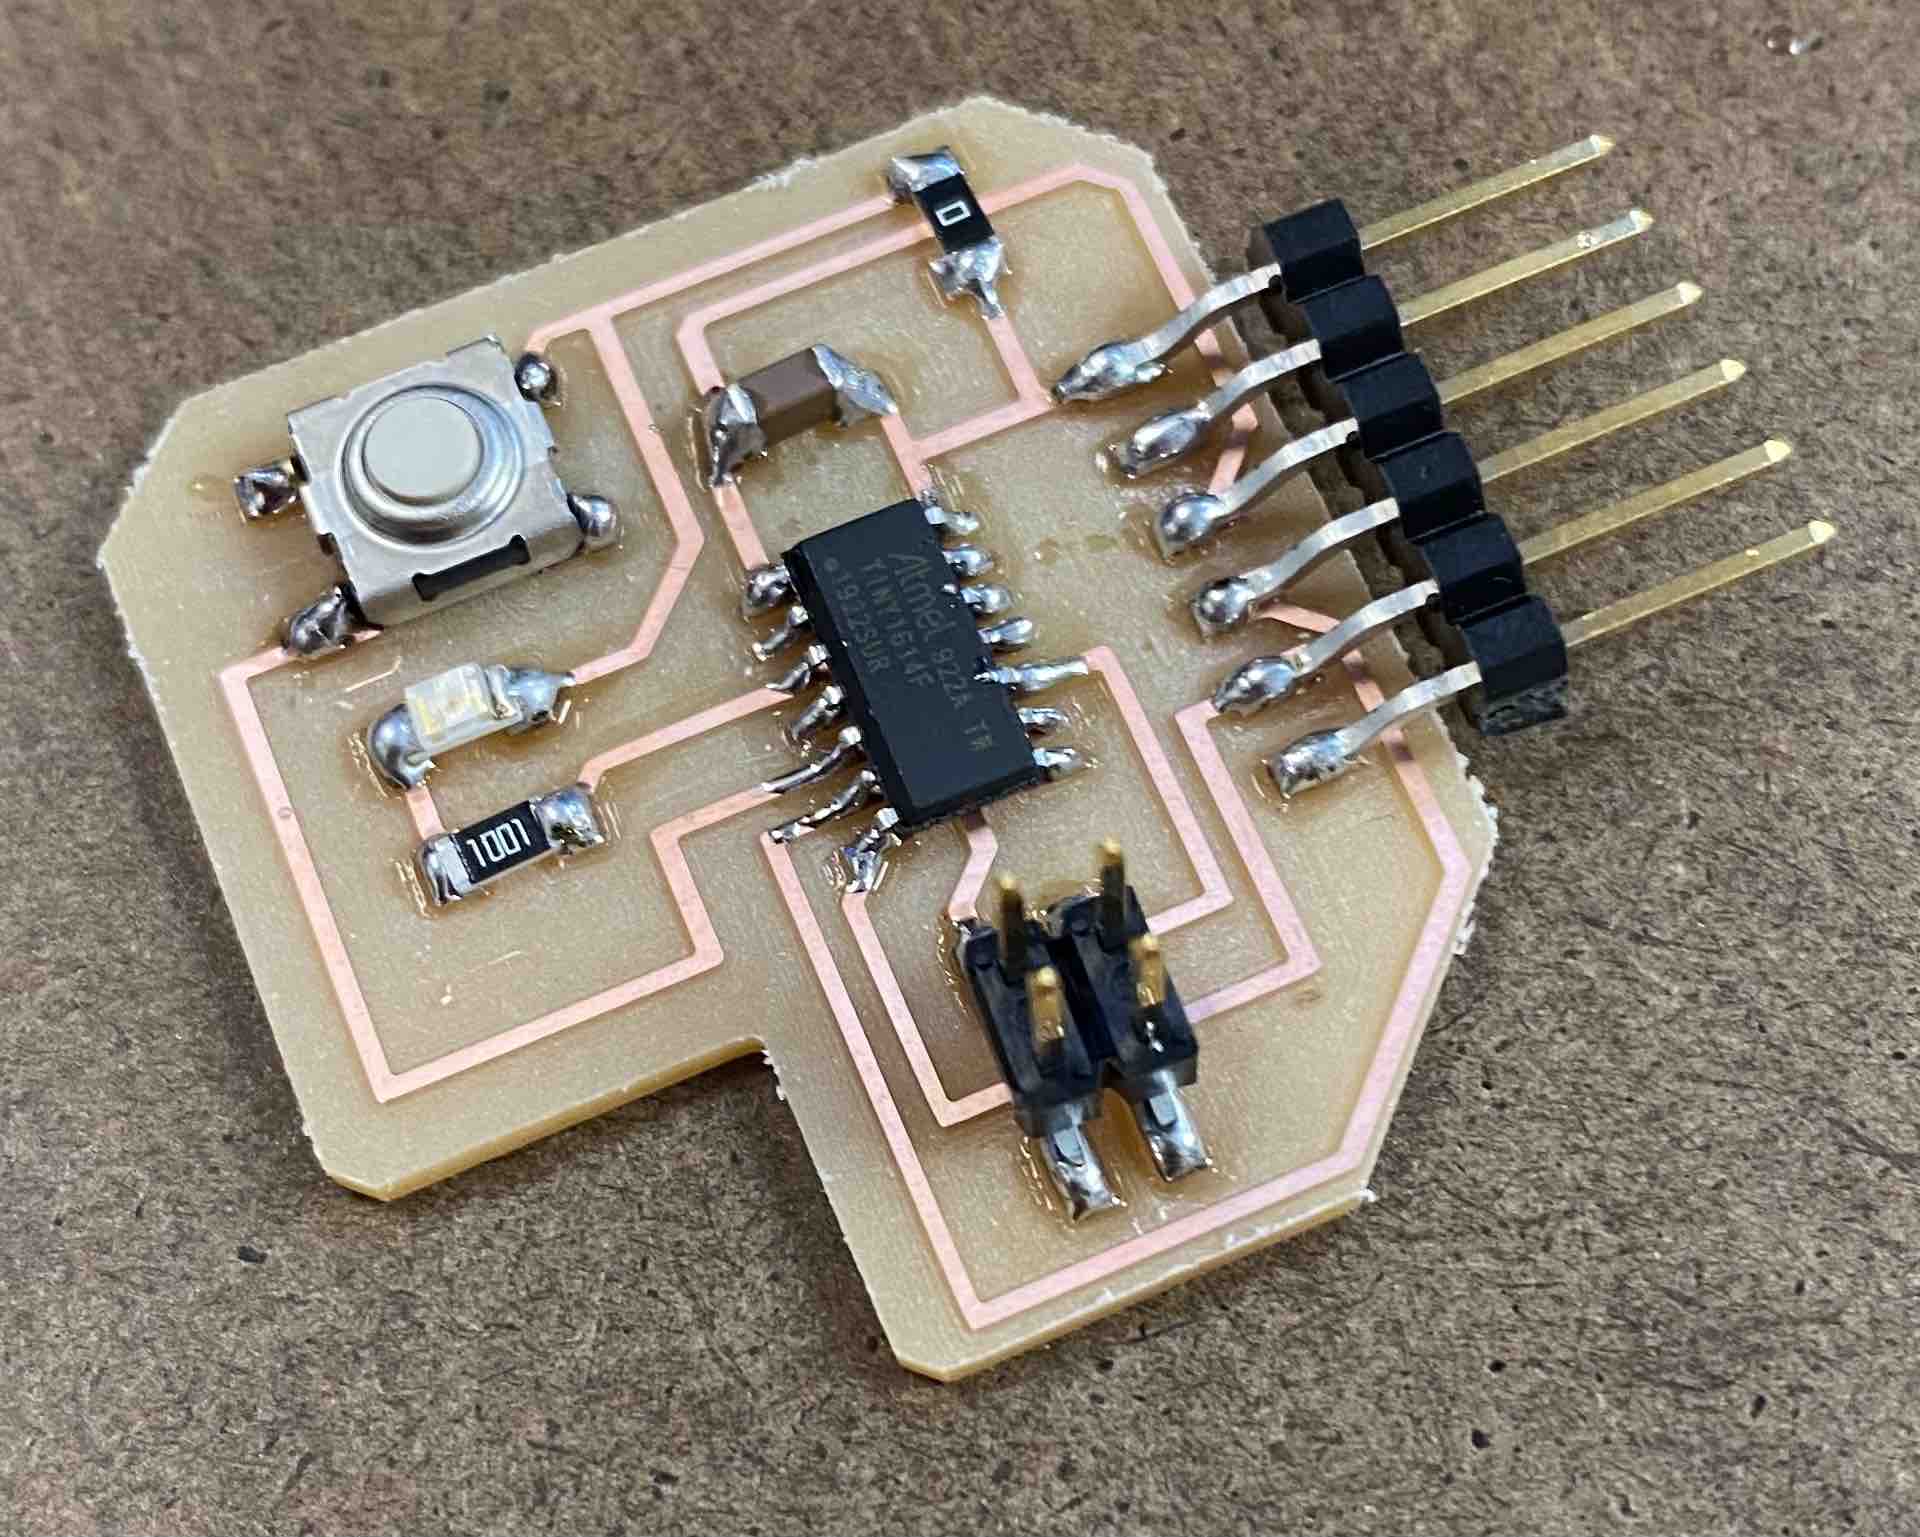
When I made my first ATTINY board in week 5, I hadn't soldered it the best; I decided to make a new board so that I'd be using one that was crisp and more reliable. Here it is!
Does it work?
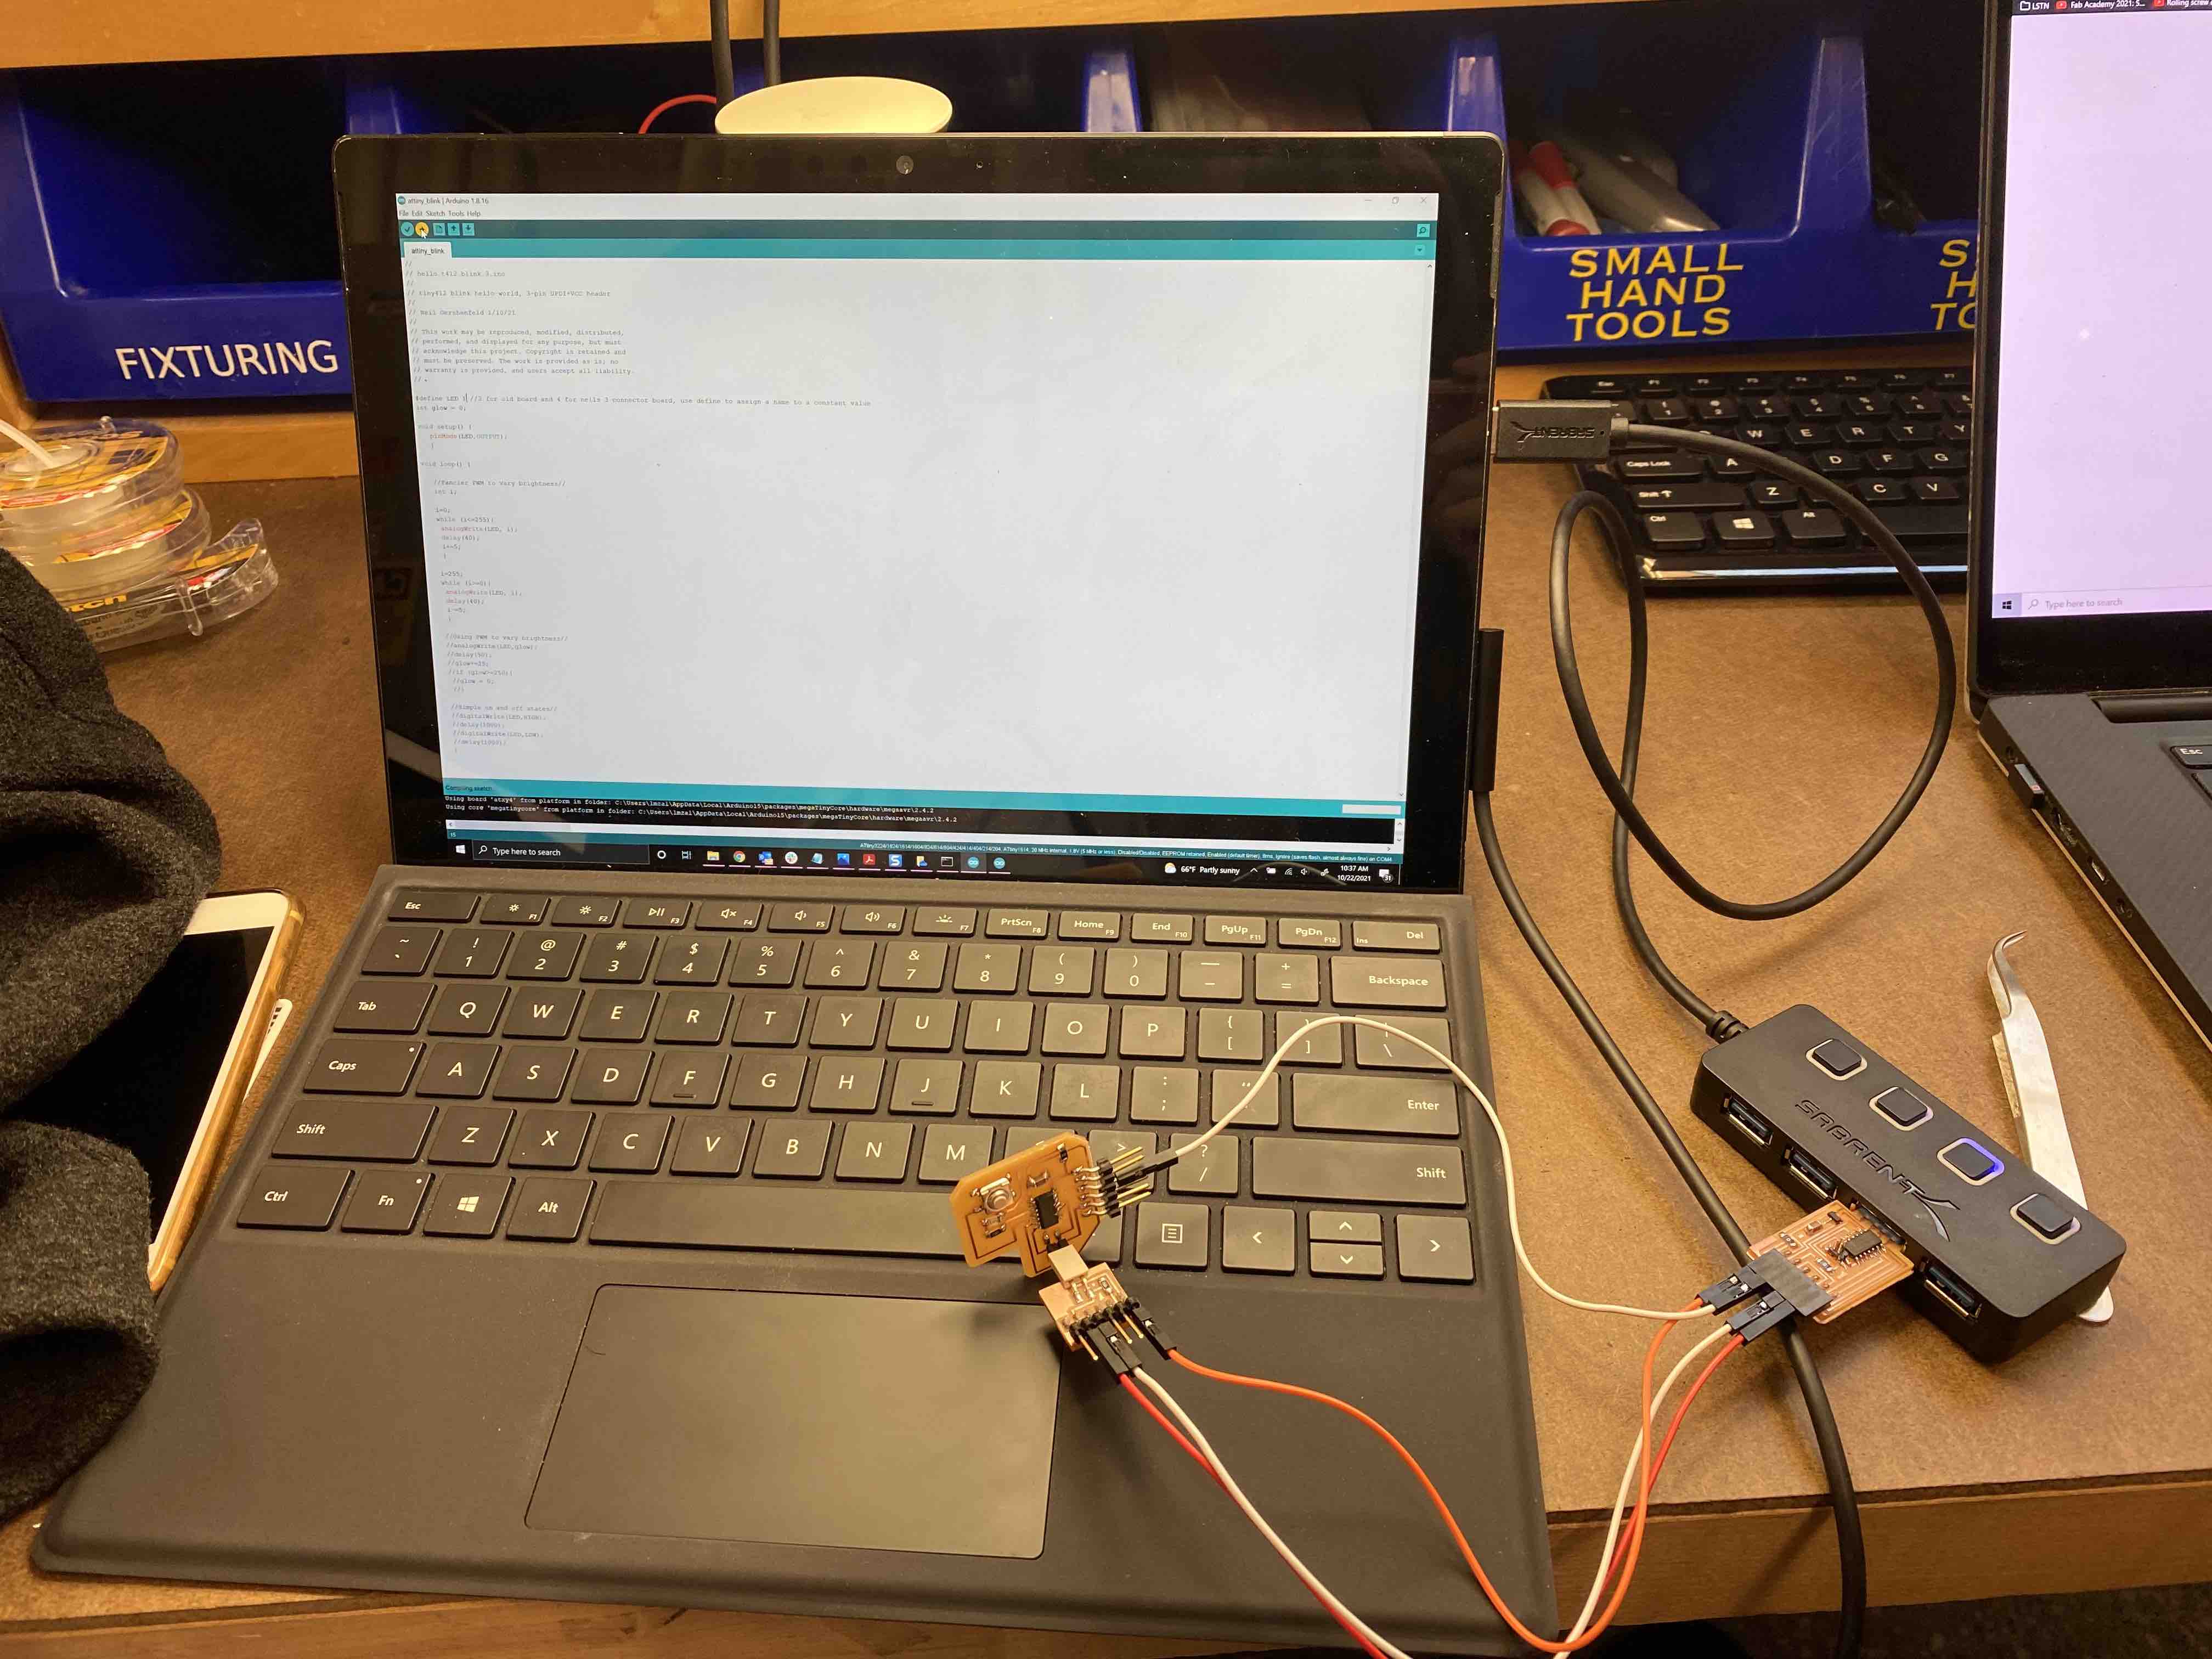
Laura helped me check to see if the board works! This required a funky setup since I didn't realize that my headers weren't optimized to plug directly into a D11C. Thankfully, the LED on the board turned on, signifying that it worked; in the following electronics weeks, I'm going to design, mill, and solder a D11C instead of sticking with the ATTINY to make everything more streamlined.
Programming
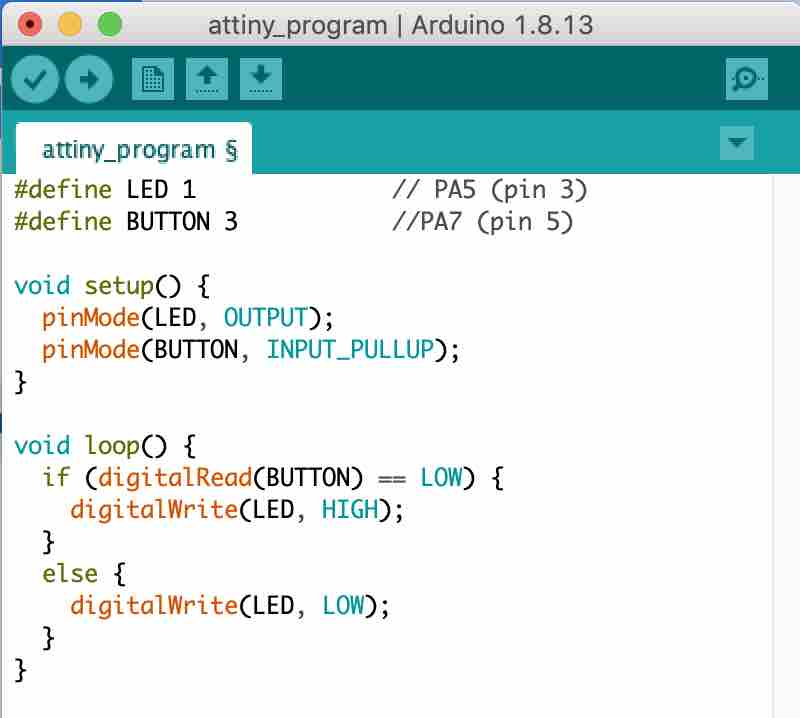
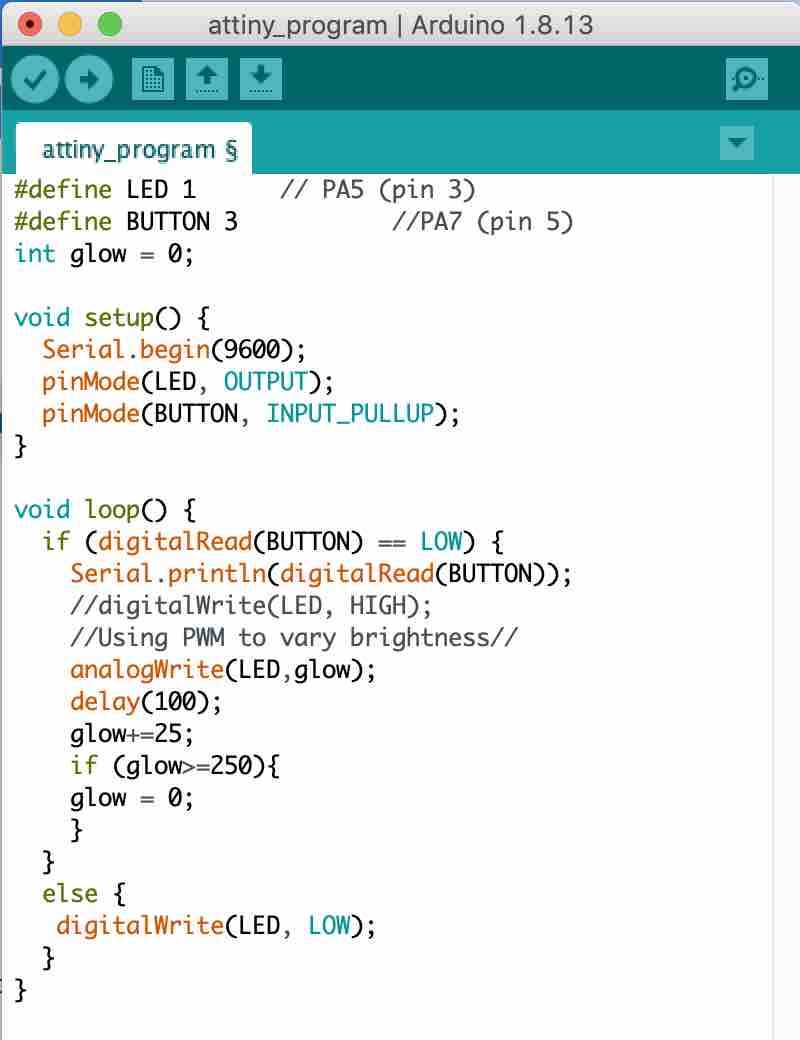
This is the final version of the code that turns on the LED when the button is pressed. With the first version of the code, the
LED flickered even when the button wasn't pressed. To solve this, I changed INPUT to INPUT_PULLUP to account for the ATTINY's
built-in pullup resistor, which eliminates noise.
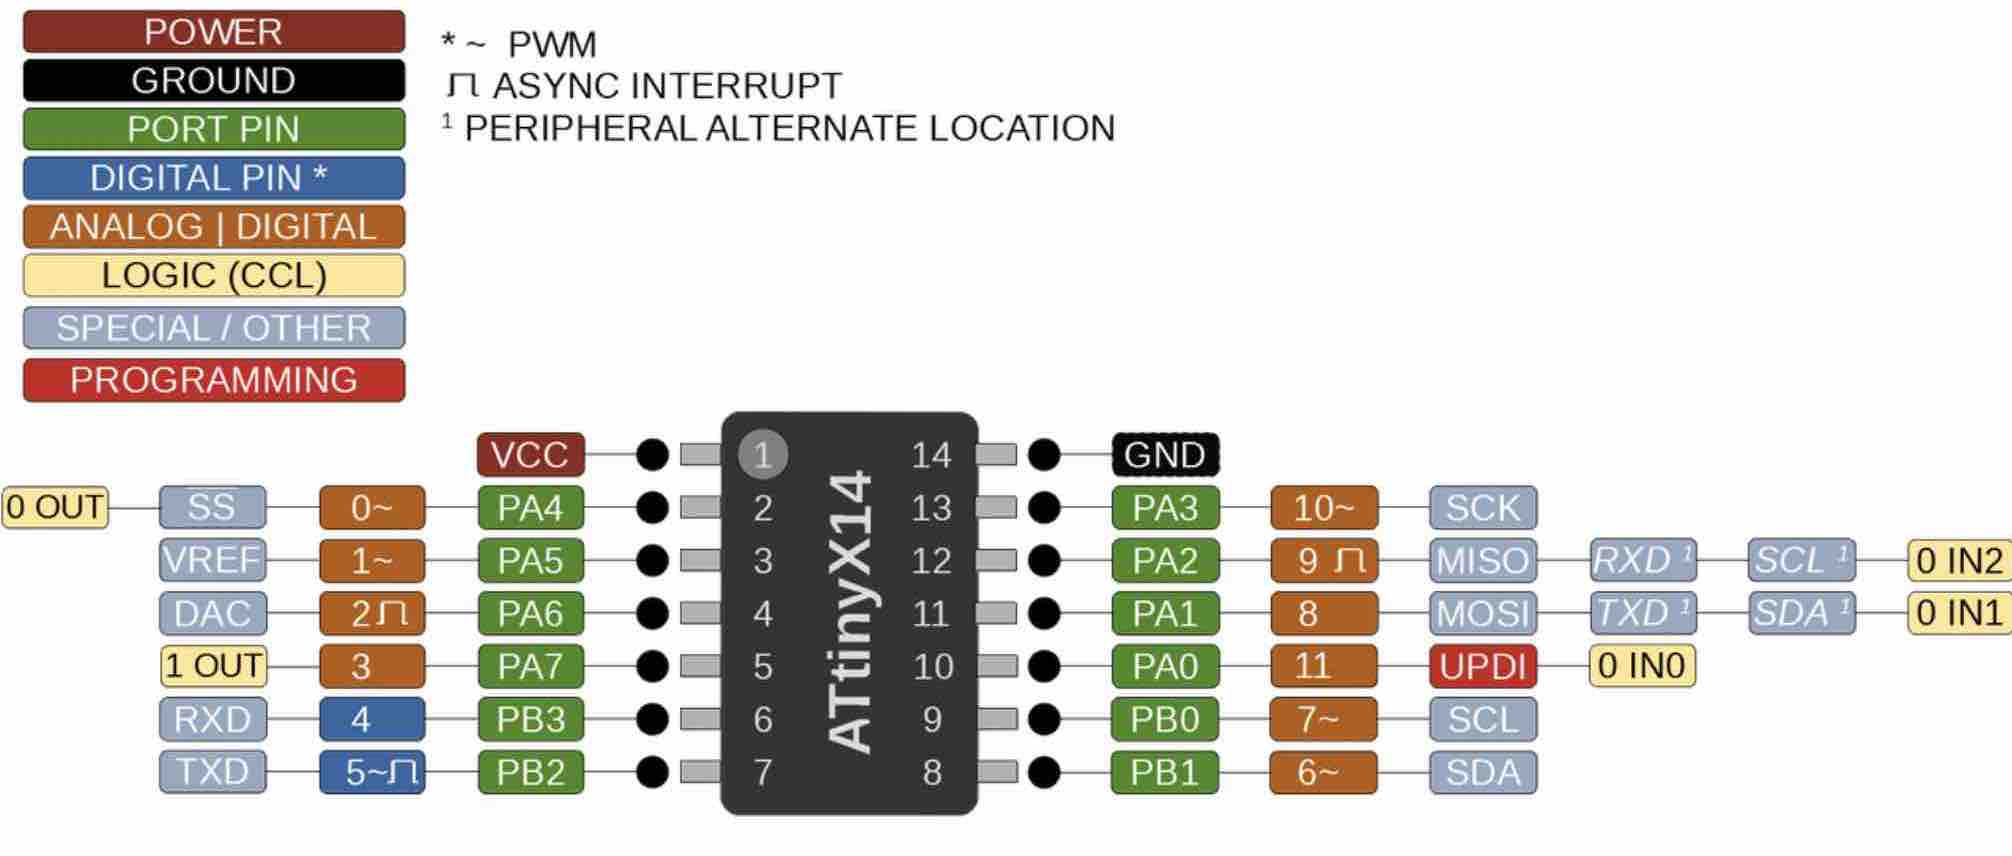
Figuring out how to read the ATTINY1614 to Arduino mapping was crucial for success. This map helped me when
defining my LED and BUTTON.
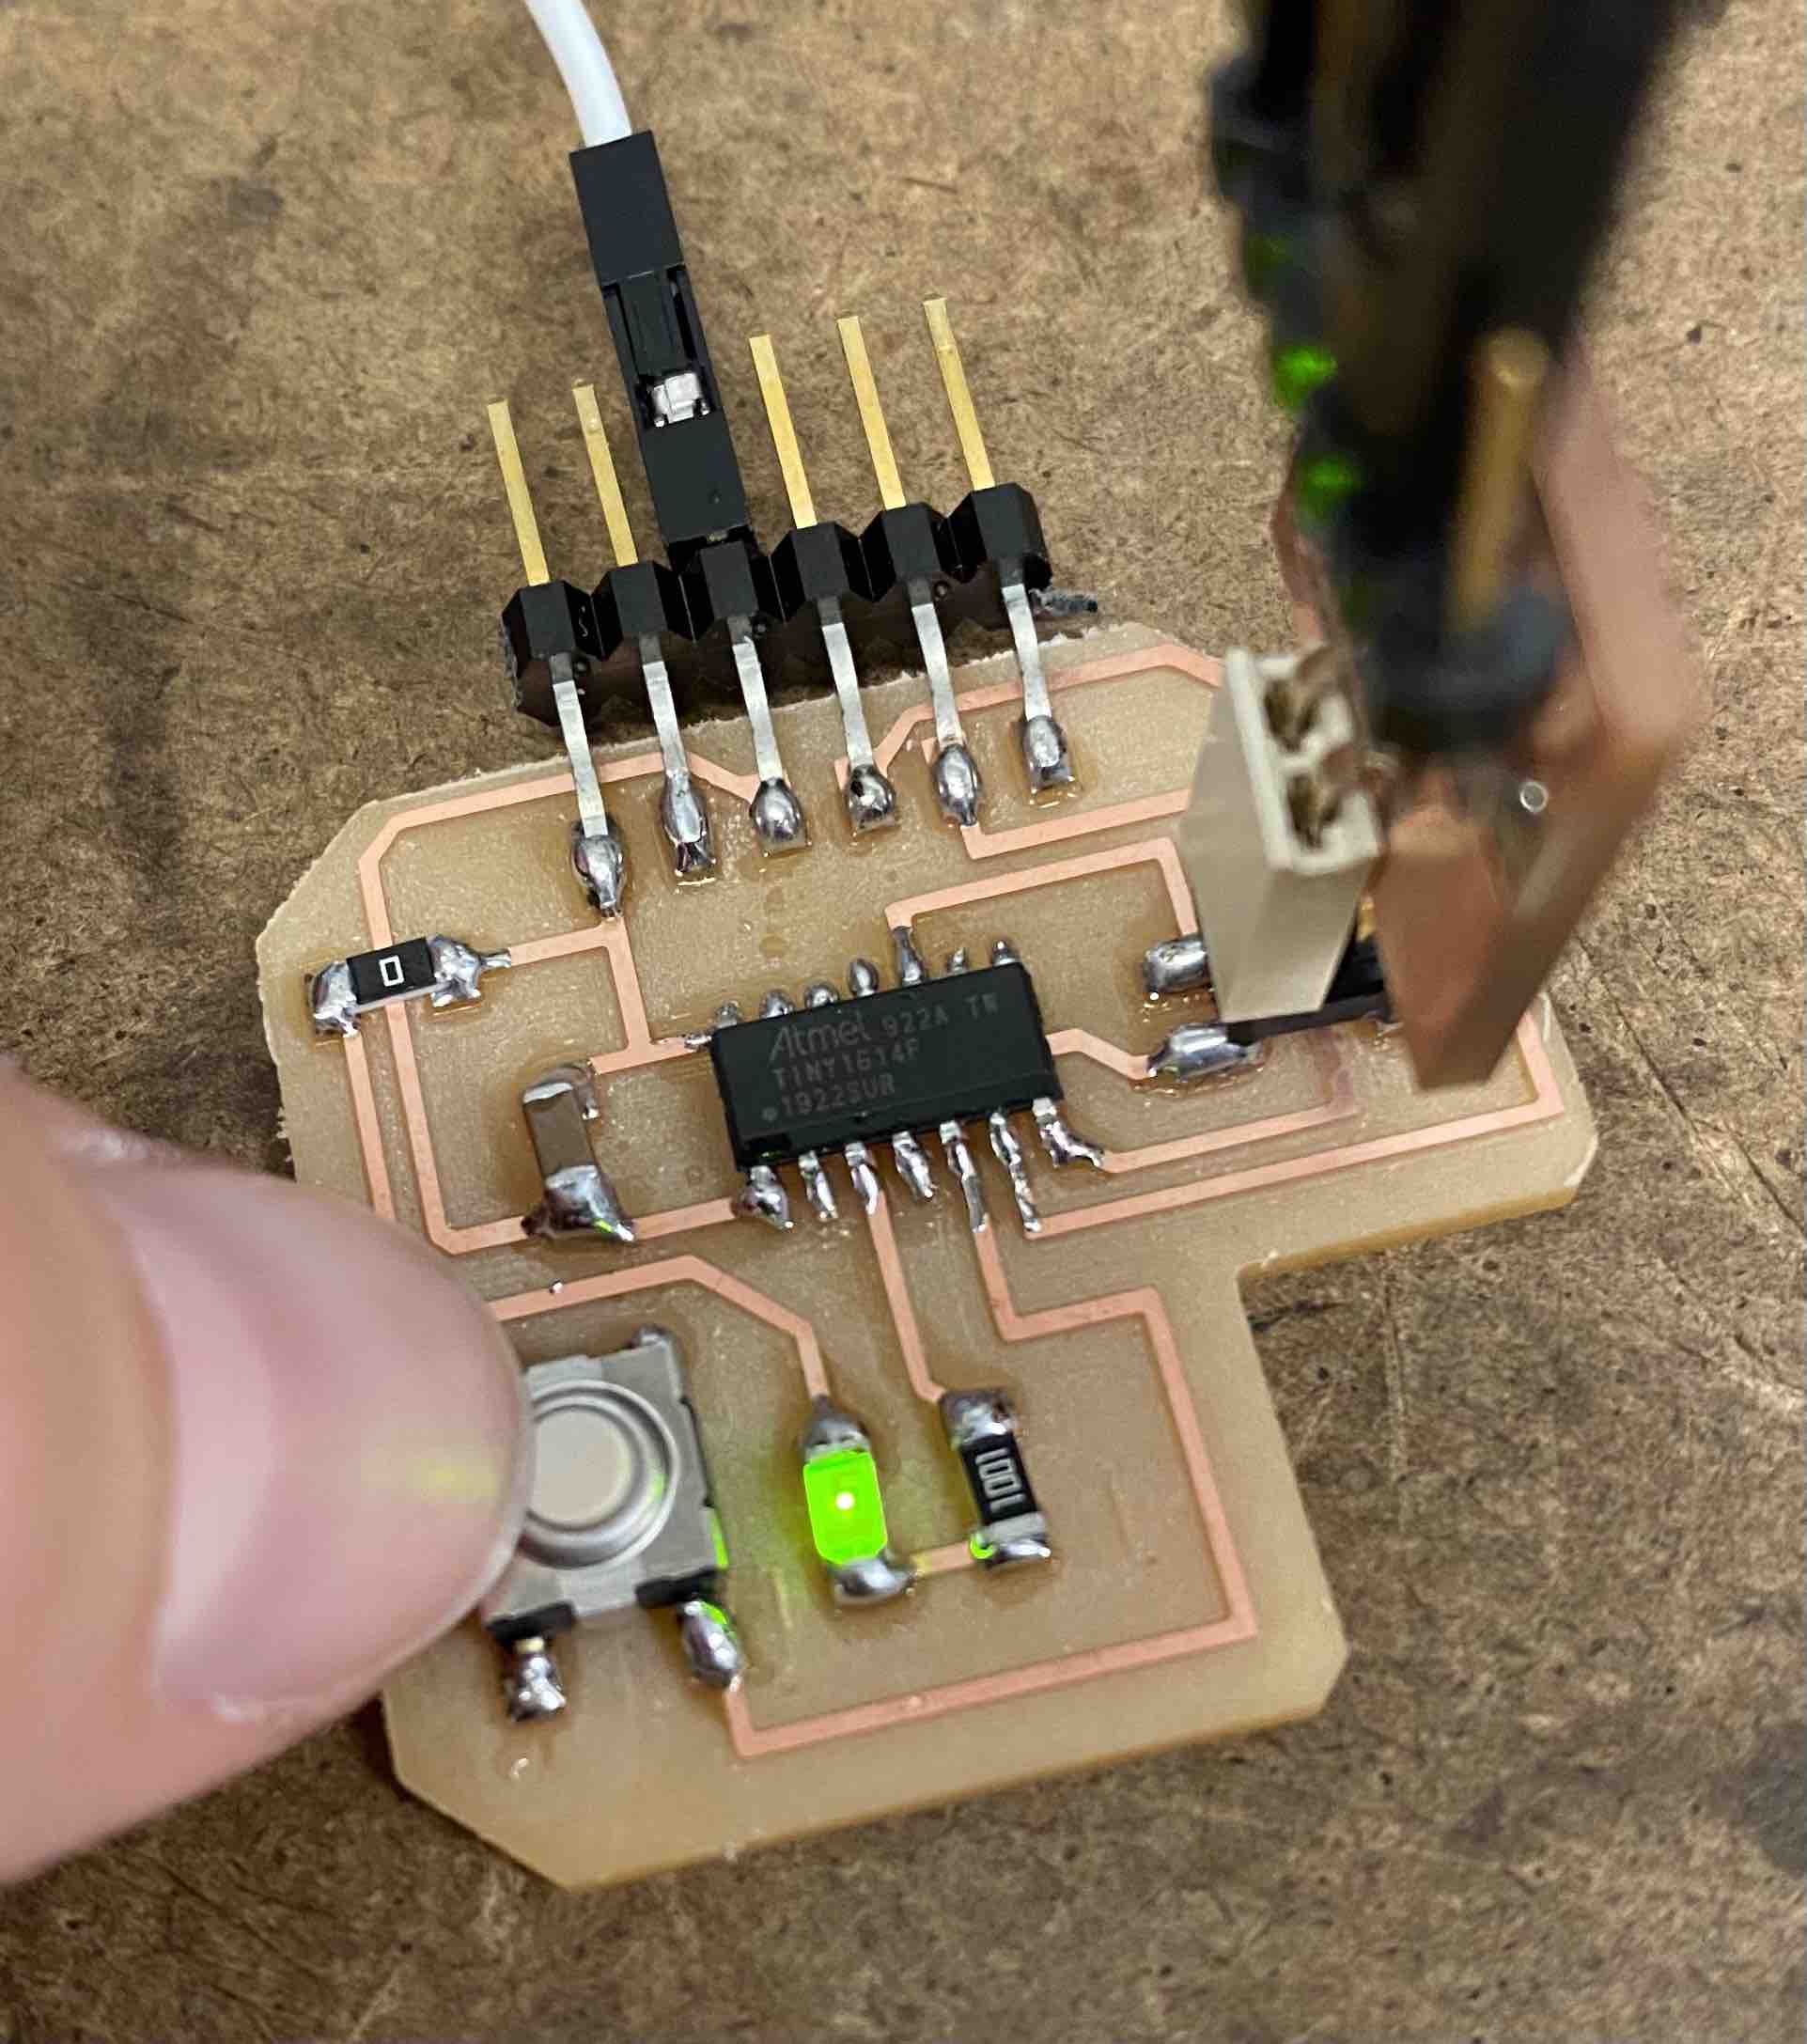
And here's the program at work; I'm pressing down on the button, which turns on the LED.