Programming and Group Project
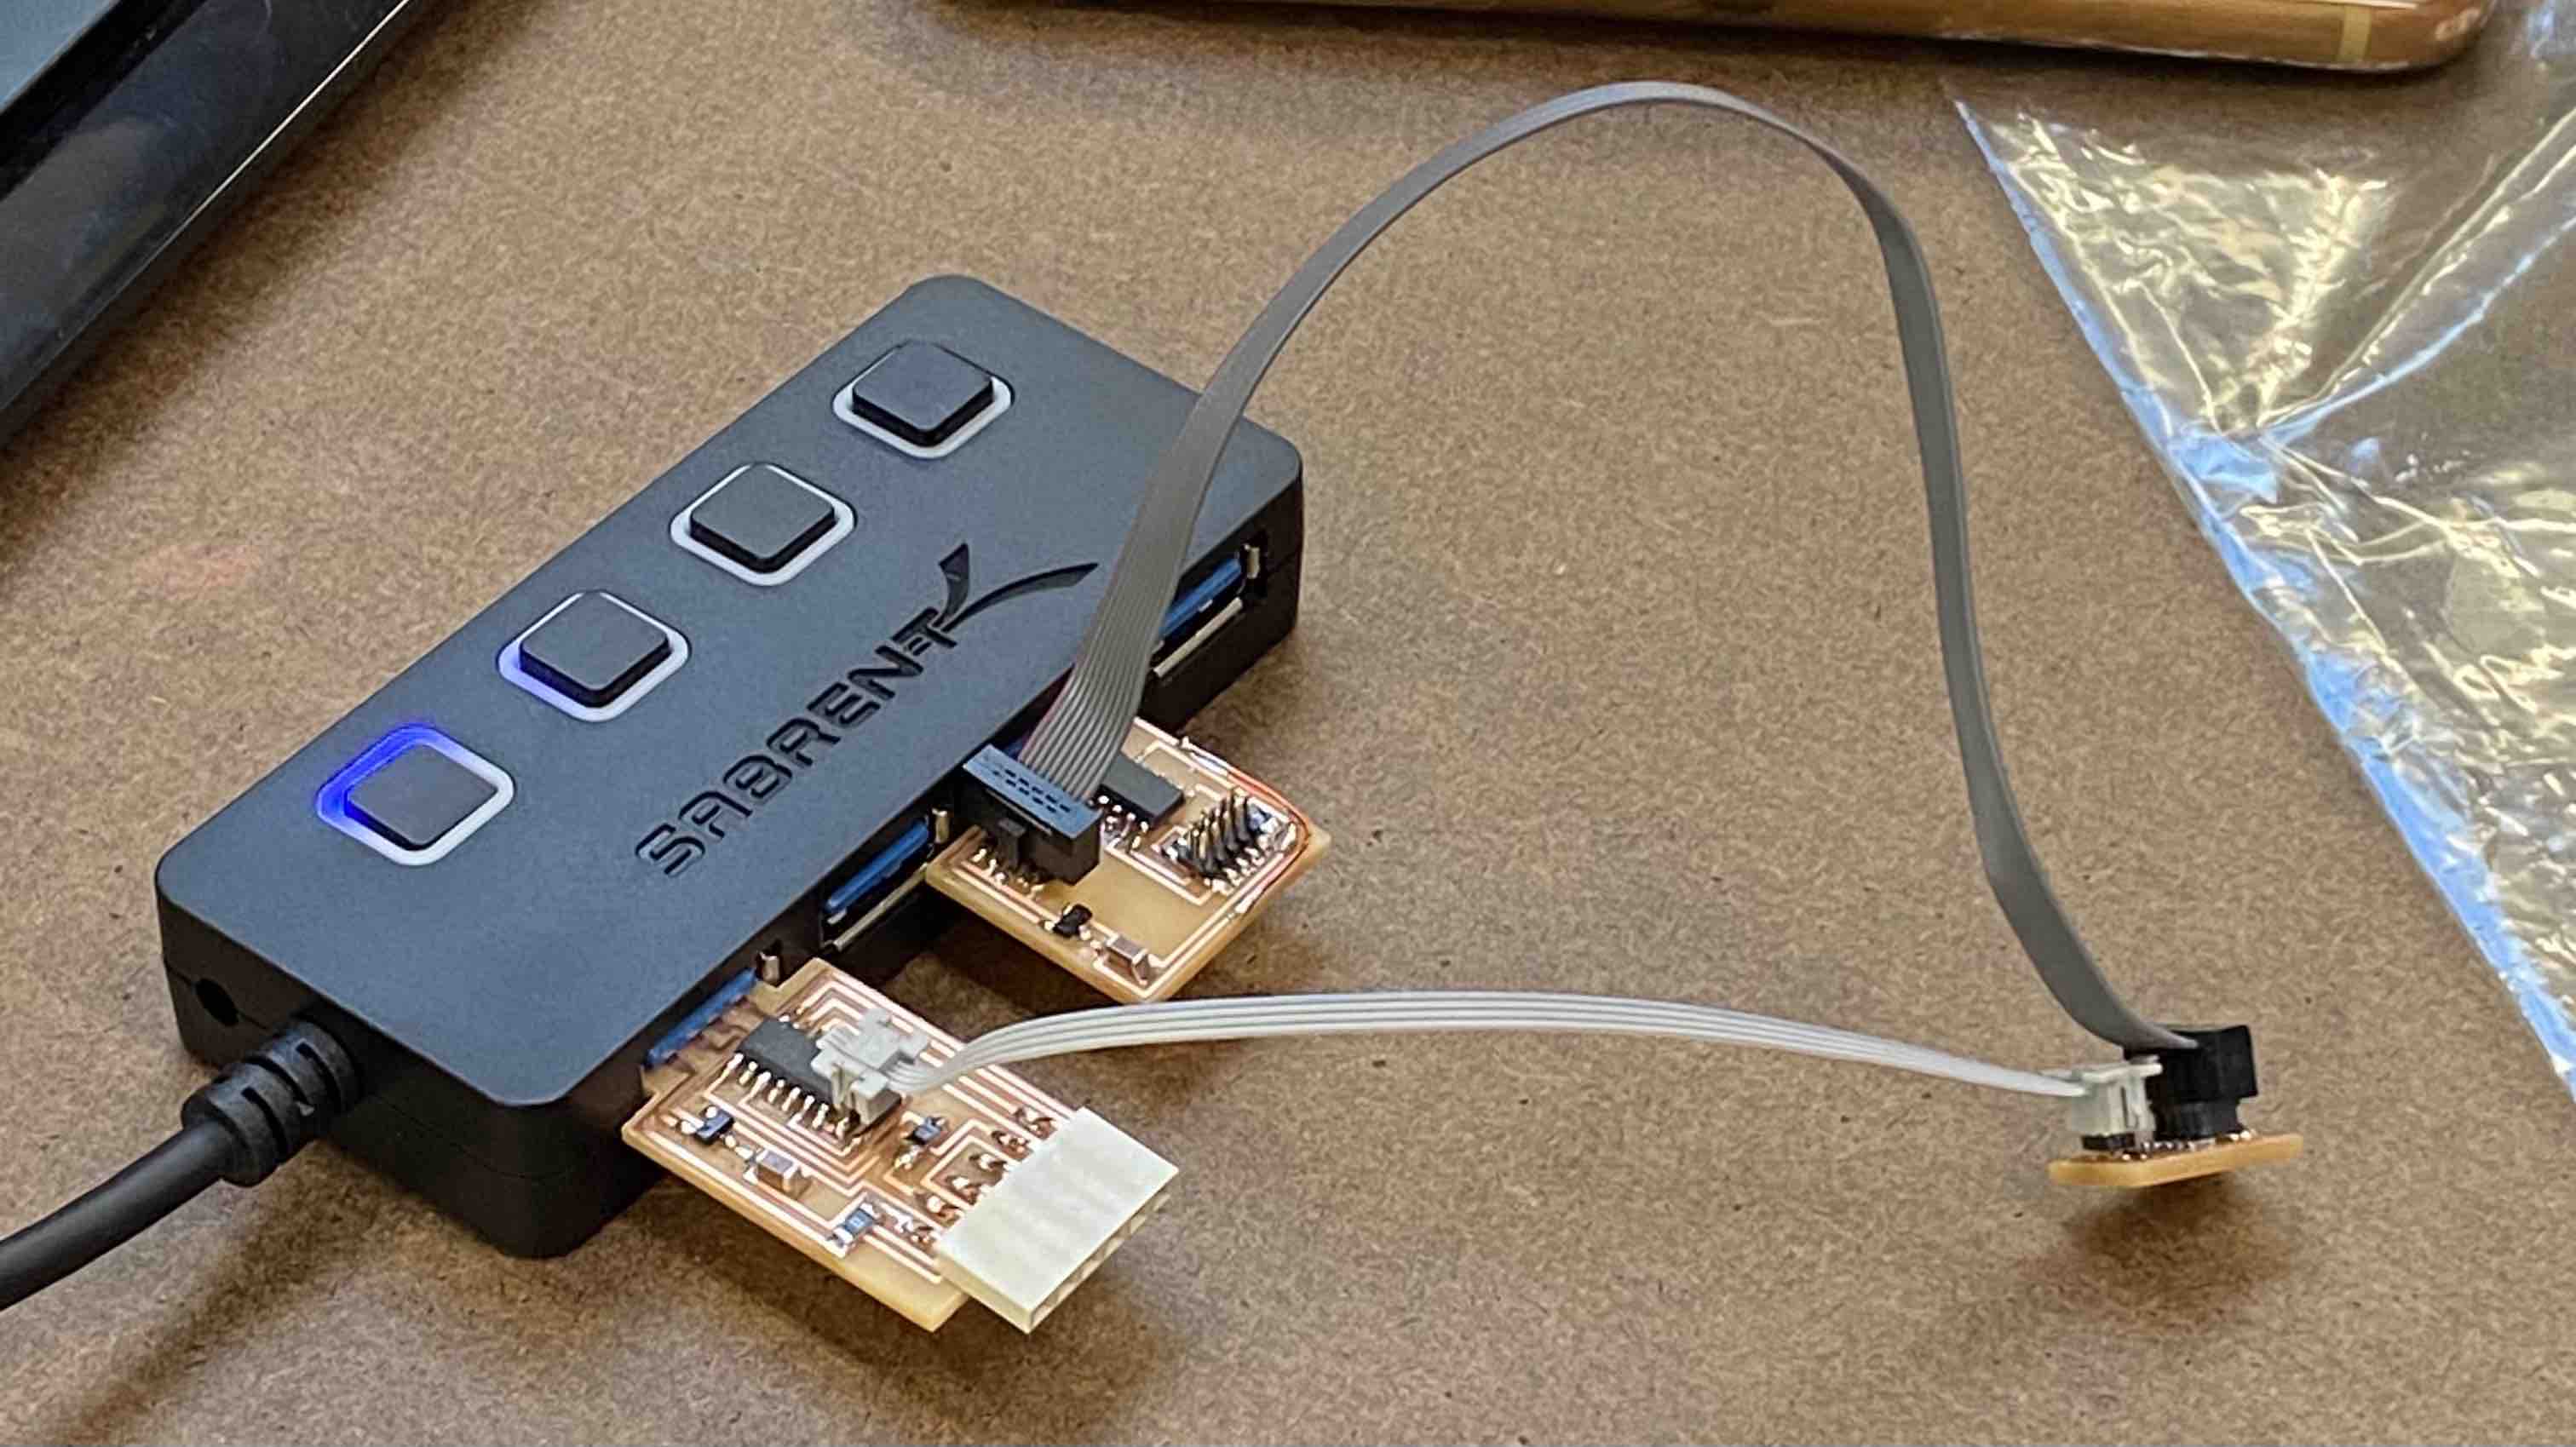
The first thing we did was programming my D11C board that I made in Week 3. Here it is connected through the 4 pin header to
the 4 to 10 pin adapter, which is connected to the 10 pin D11C board, which is connected to the Atmel-ICE.
After this, we met as a group with Jake, who showed us how to use the oscilloscope and its probes to test the voltage of a board.
Now to design a new board
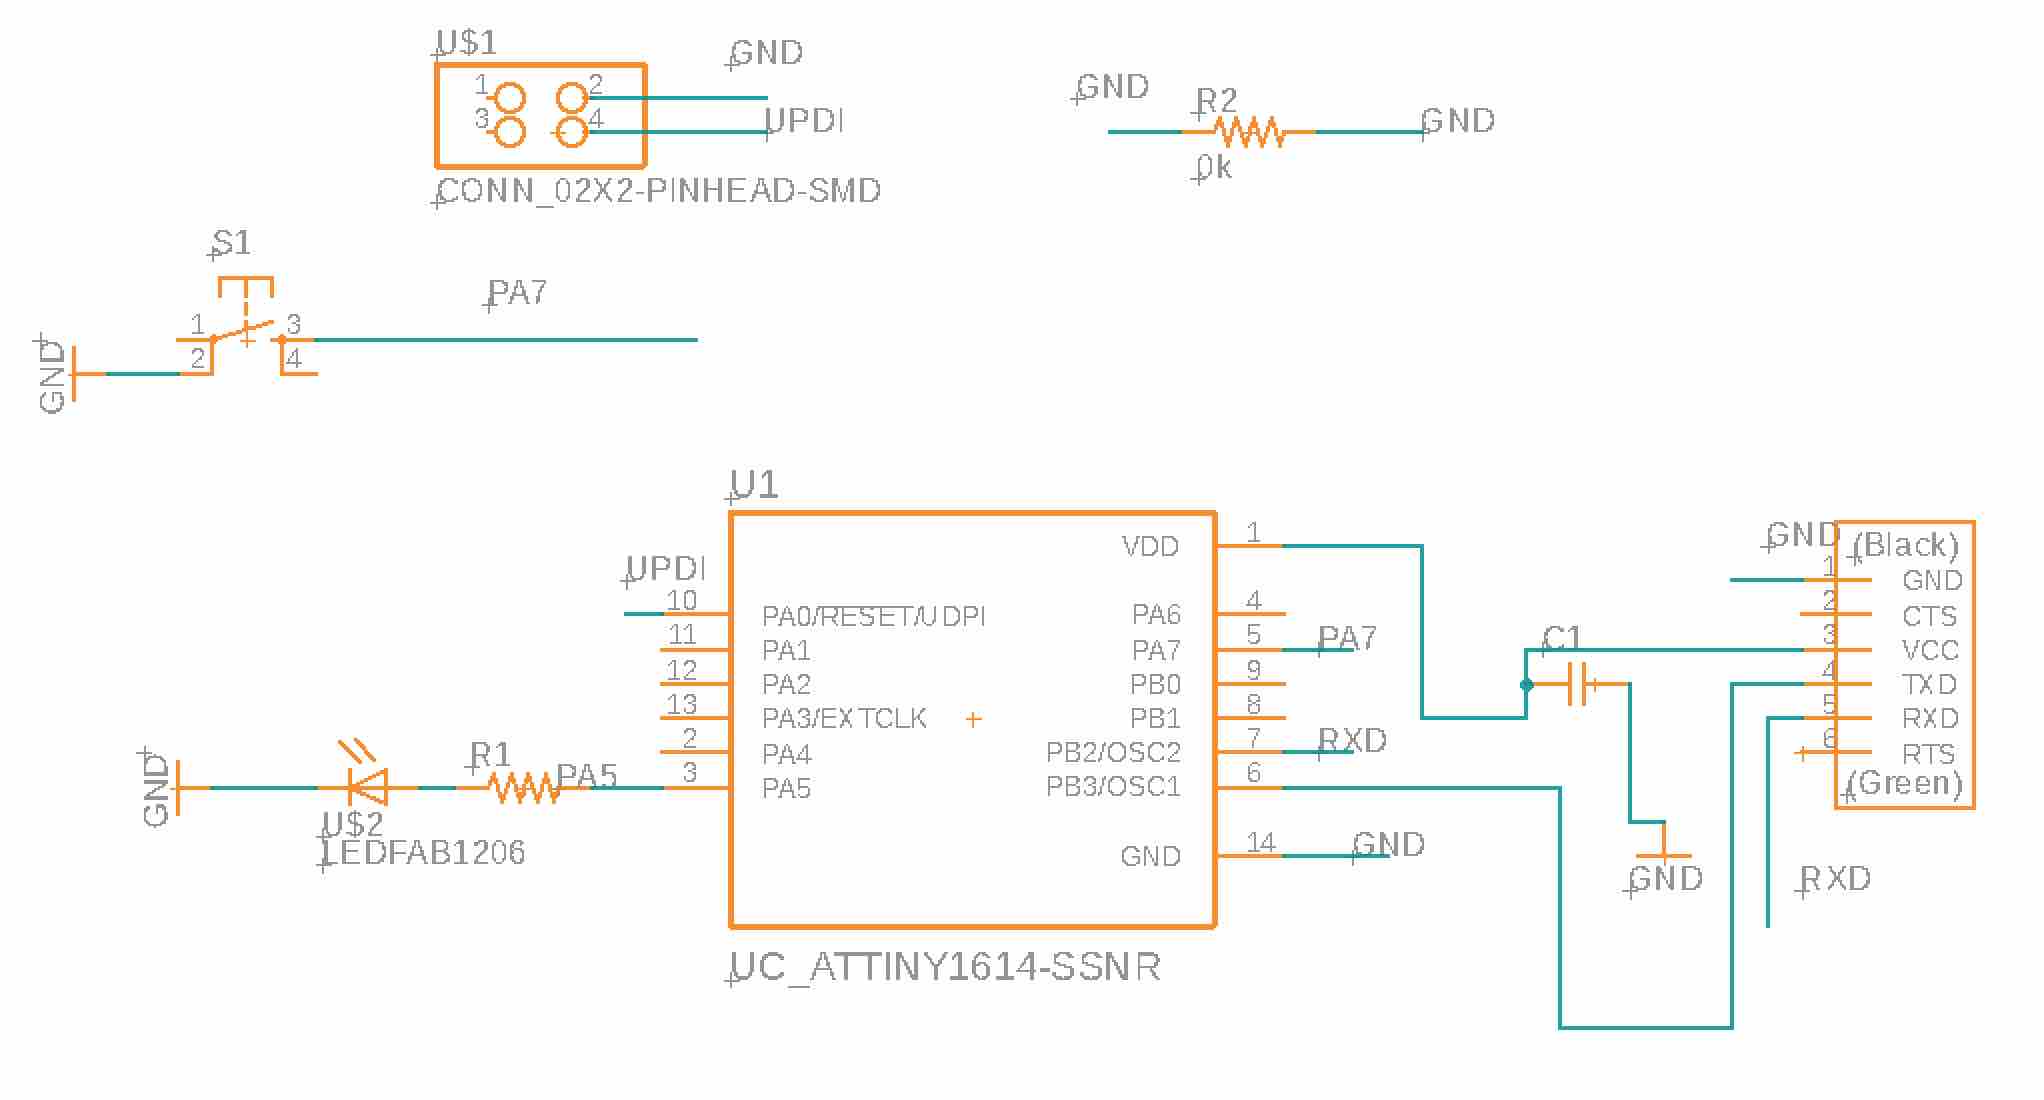
I opened up Fusion on my computer and went right into playing with Eagle, trying to learn how to make a schematic through practice. My original plan was making the ATTINY 1614, but then folks said that the ATSAMD21E would be better for future weeks. I continually referenced the images for the completed ATSAMD21E board, but I didn't really know what I was doing (hence the messyness of the board) and was advised by Jake to take a look at the Eagle tutorial.
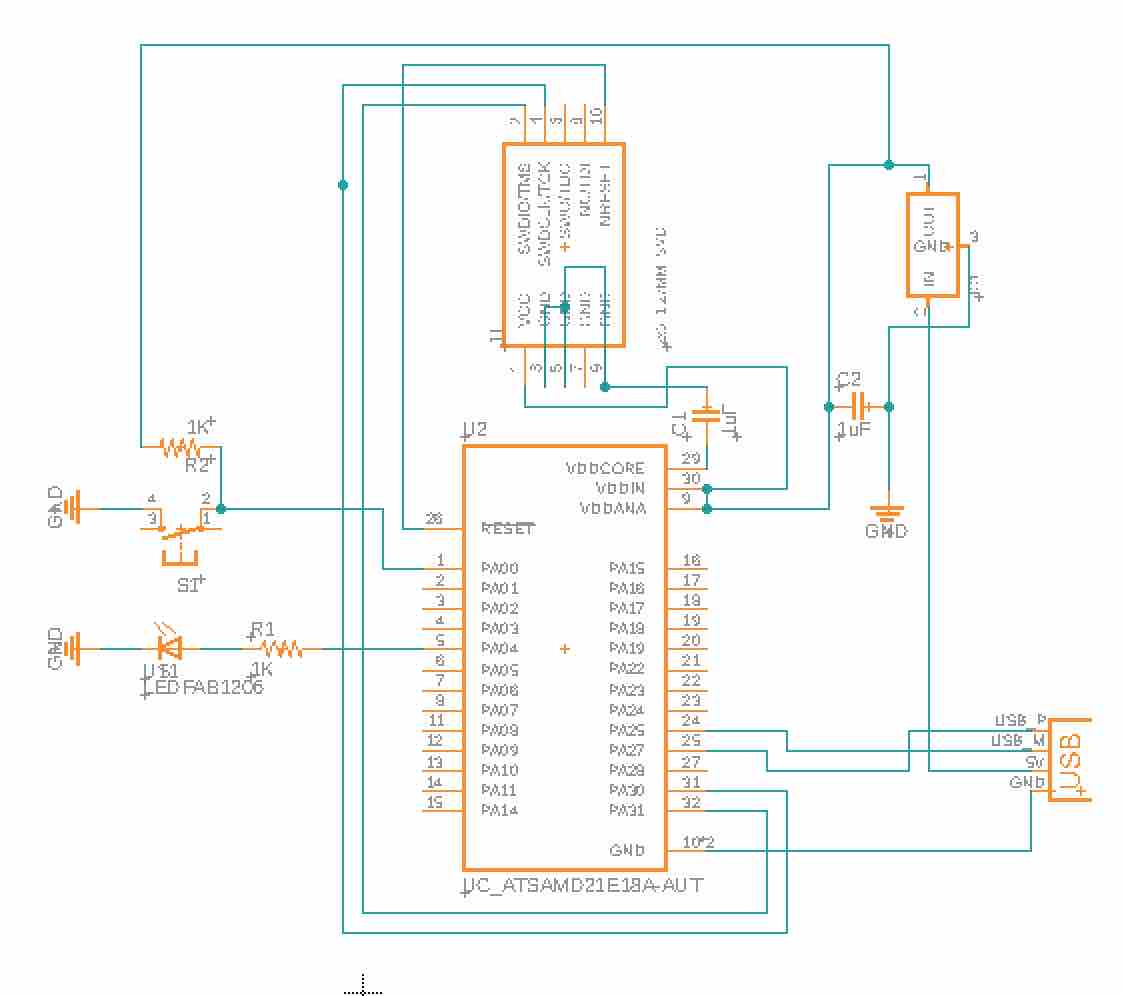
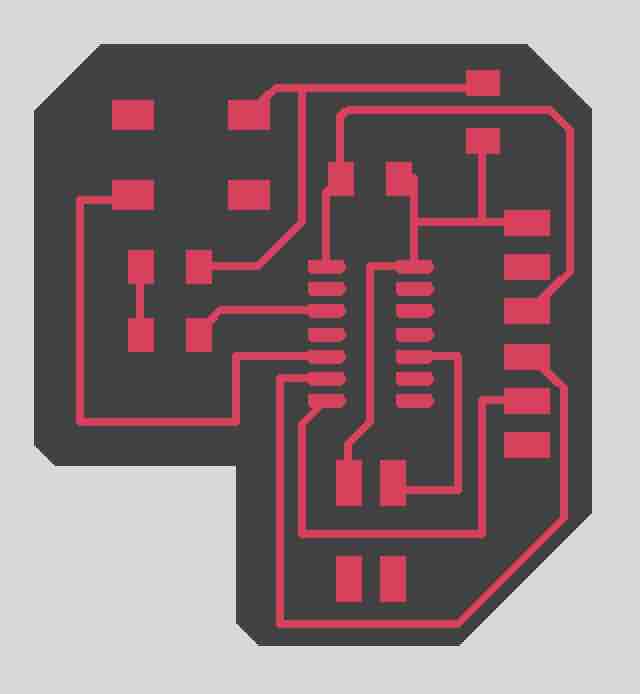
Cleaner schematic

This is the schematic I created while following along with the Eagle tutorial, which was super, super helpful. I wouldn't have known how to use the name or value commands, which were super efficient, without it, and now I feel way more confident using Eagle.
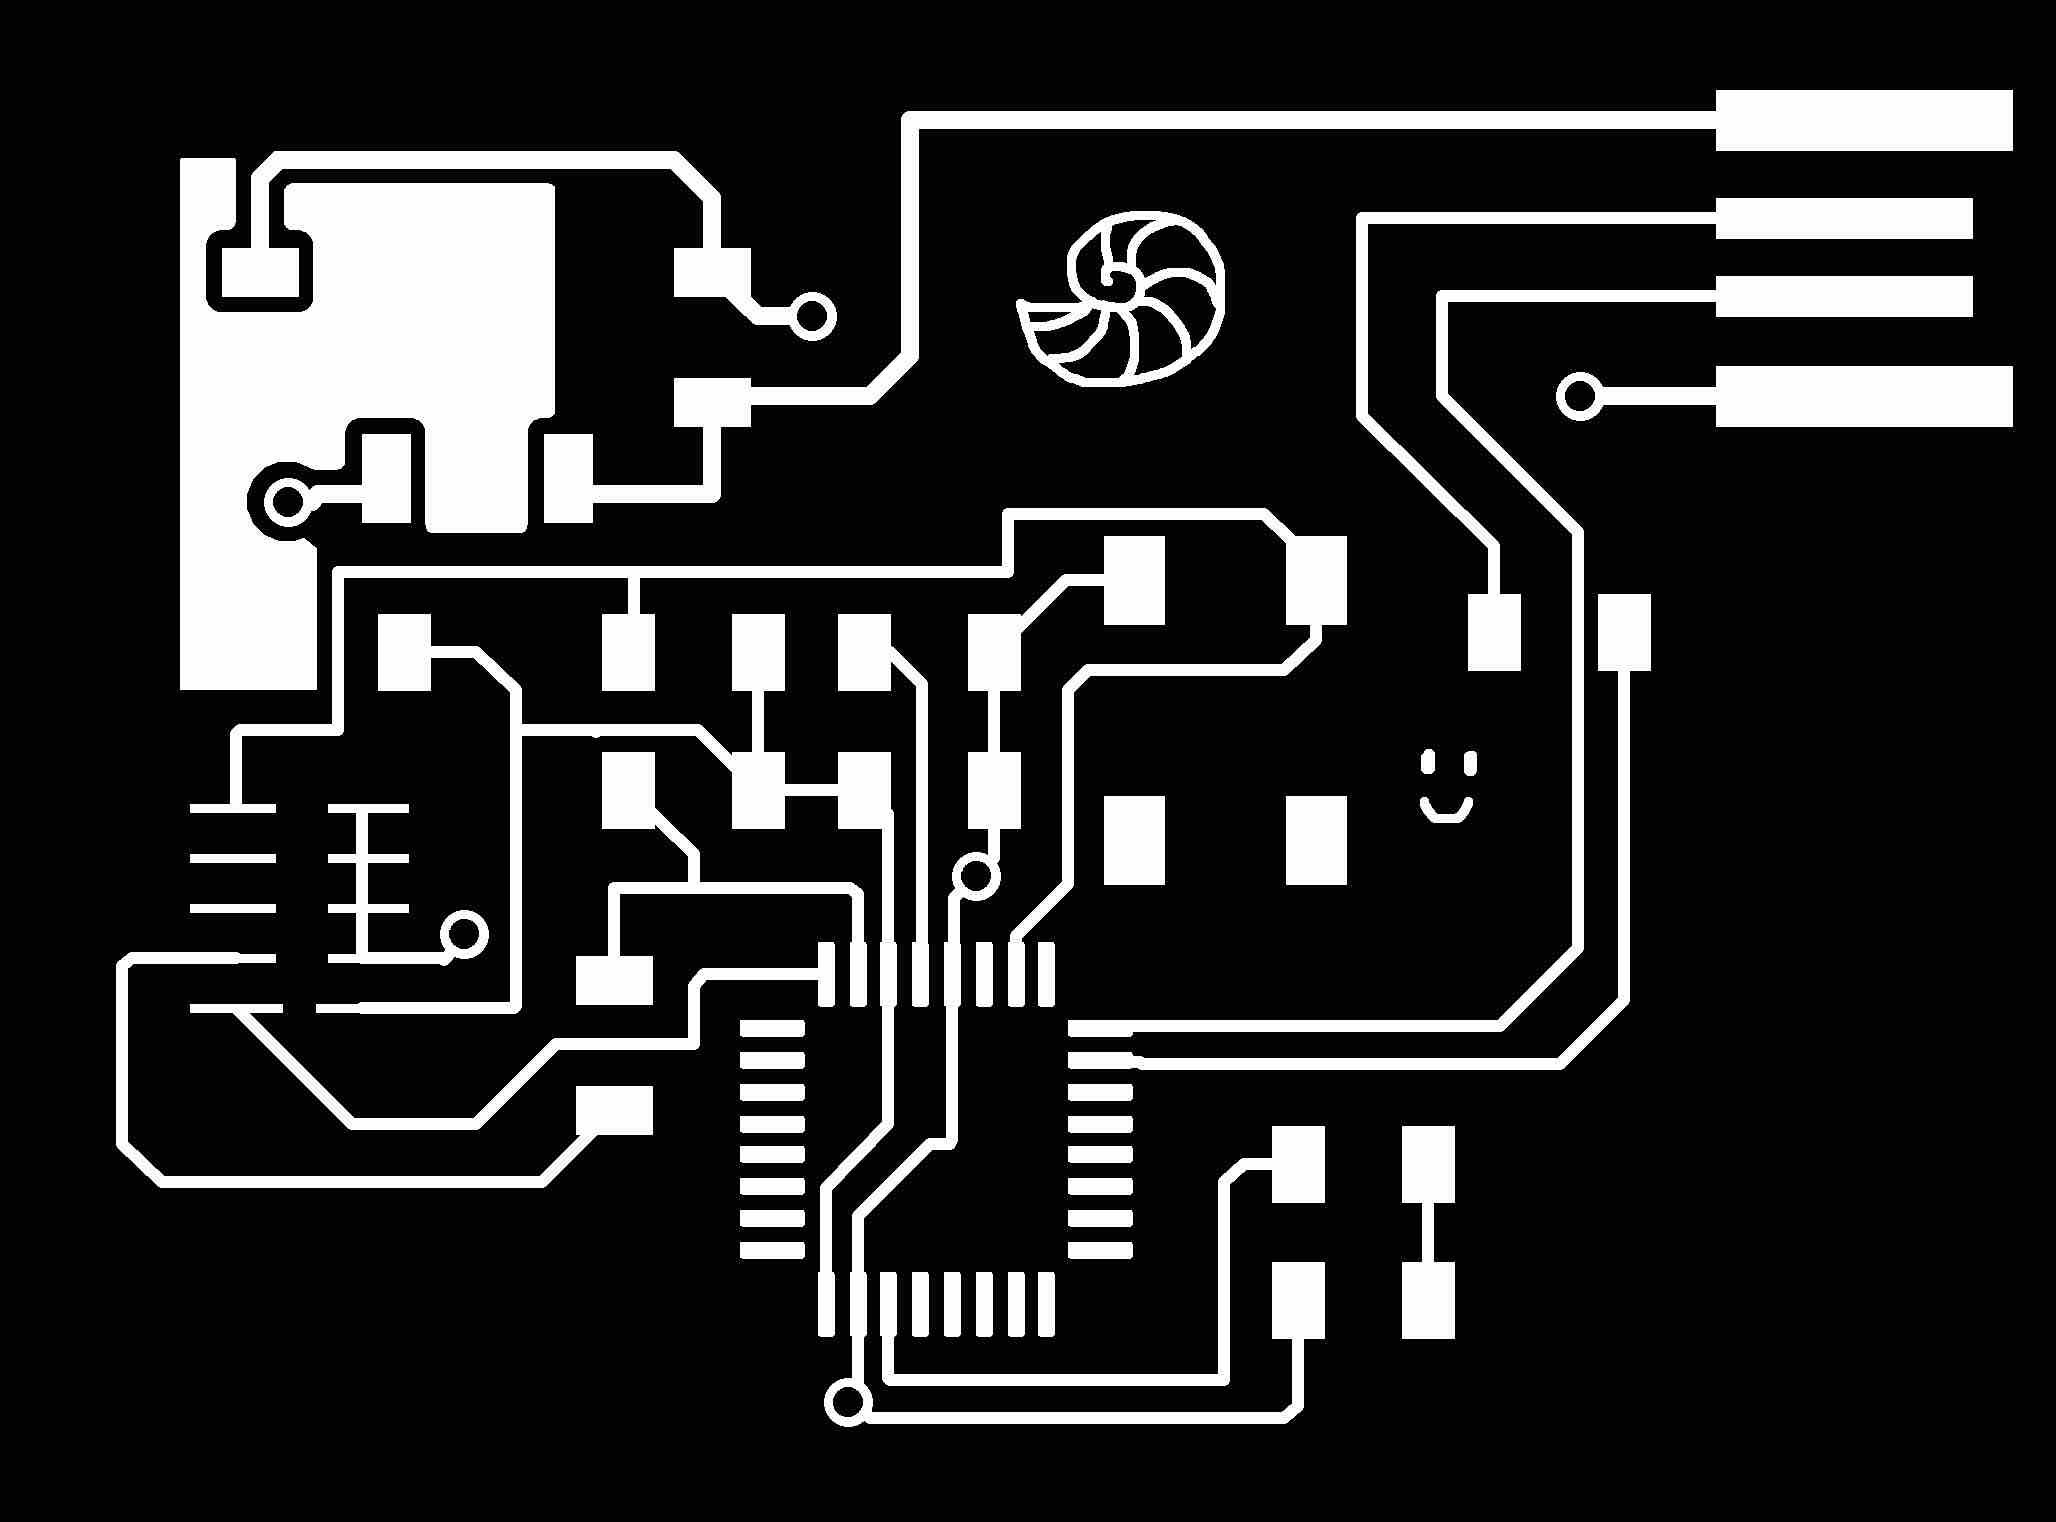
PCB design
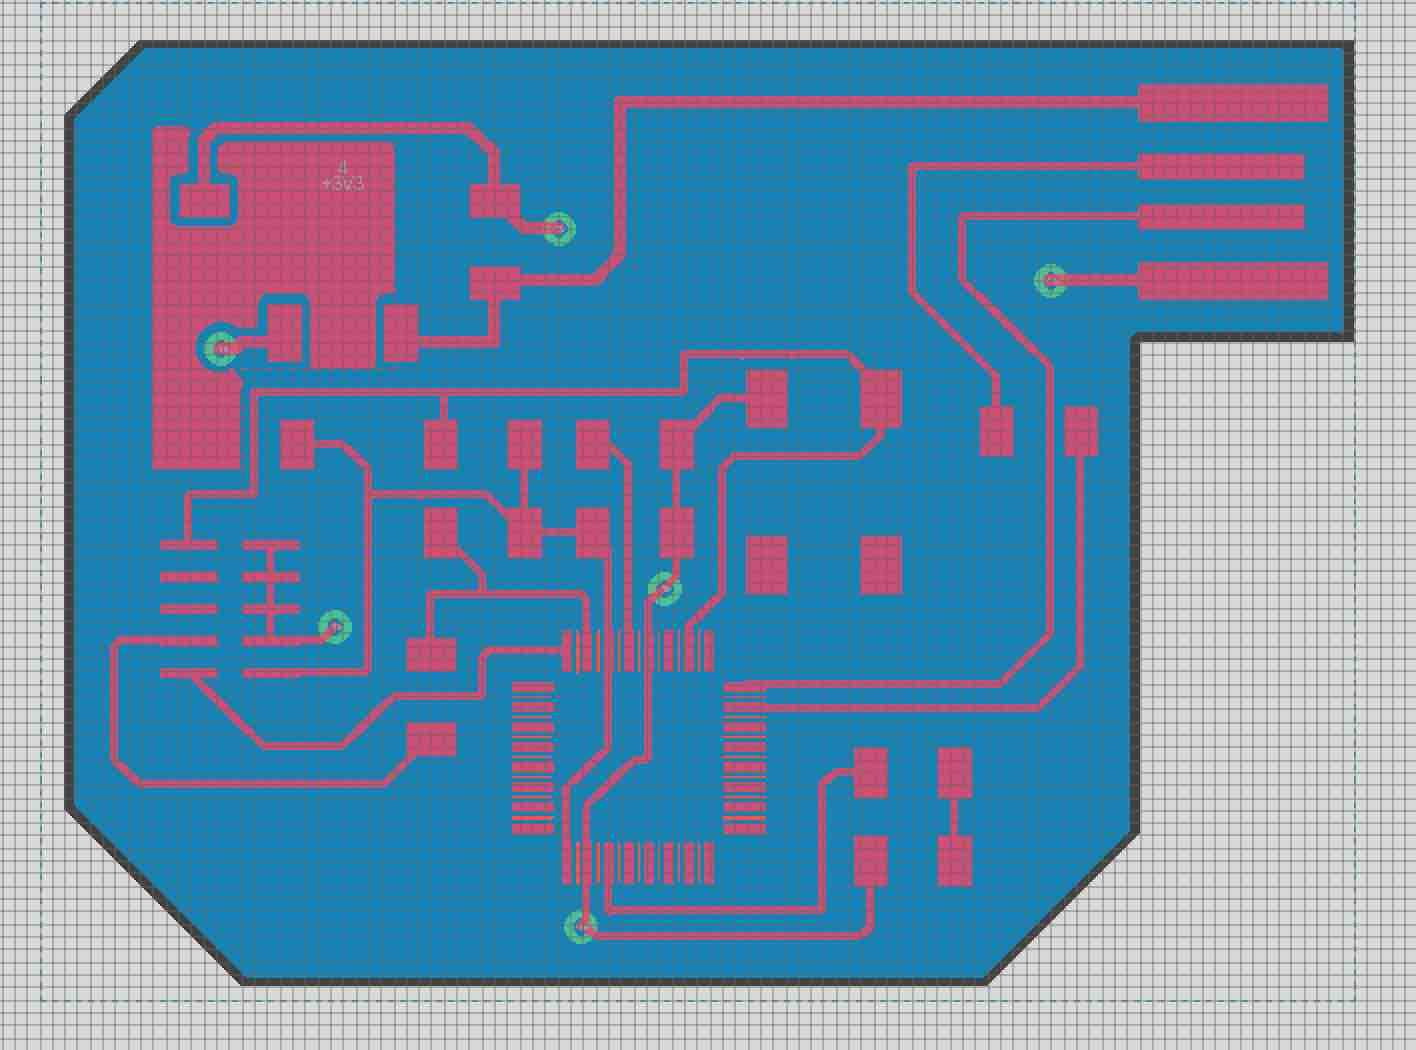
And here's the PCB design for the above schematic -- I tweaked it a bit from the version in the tutorial since the footprint pads for my 10 pin header were a bit bigger. I also put the USB on a different side to ensure the rest of the board wouldn't prevent it from inserting into the USB port.
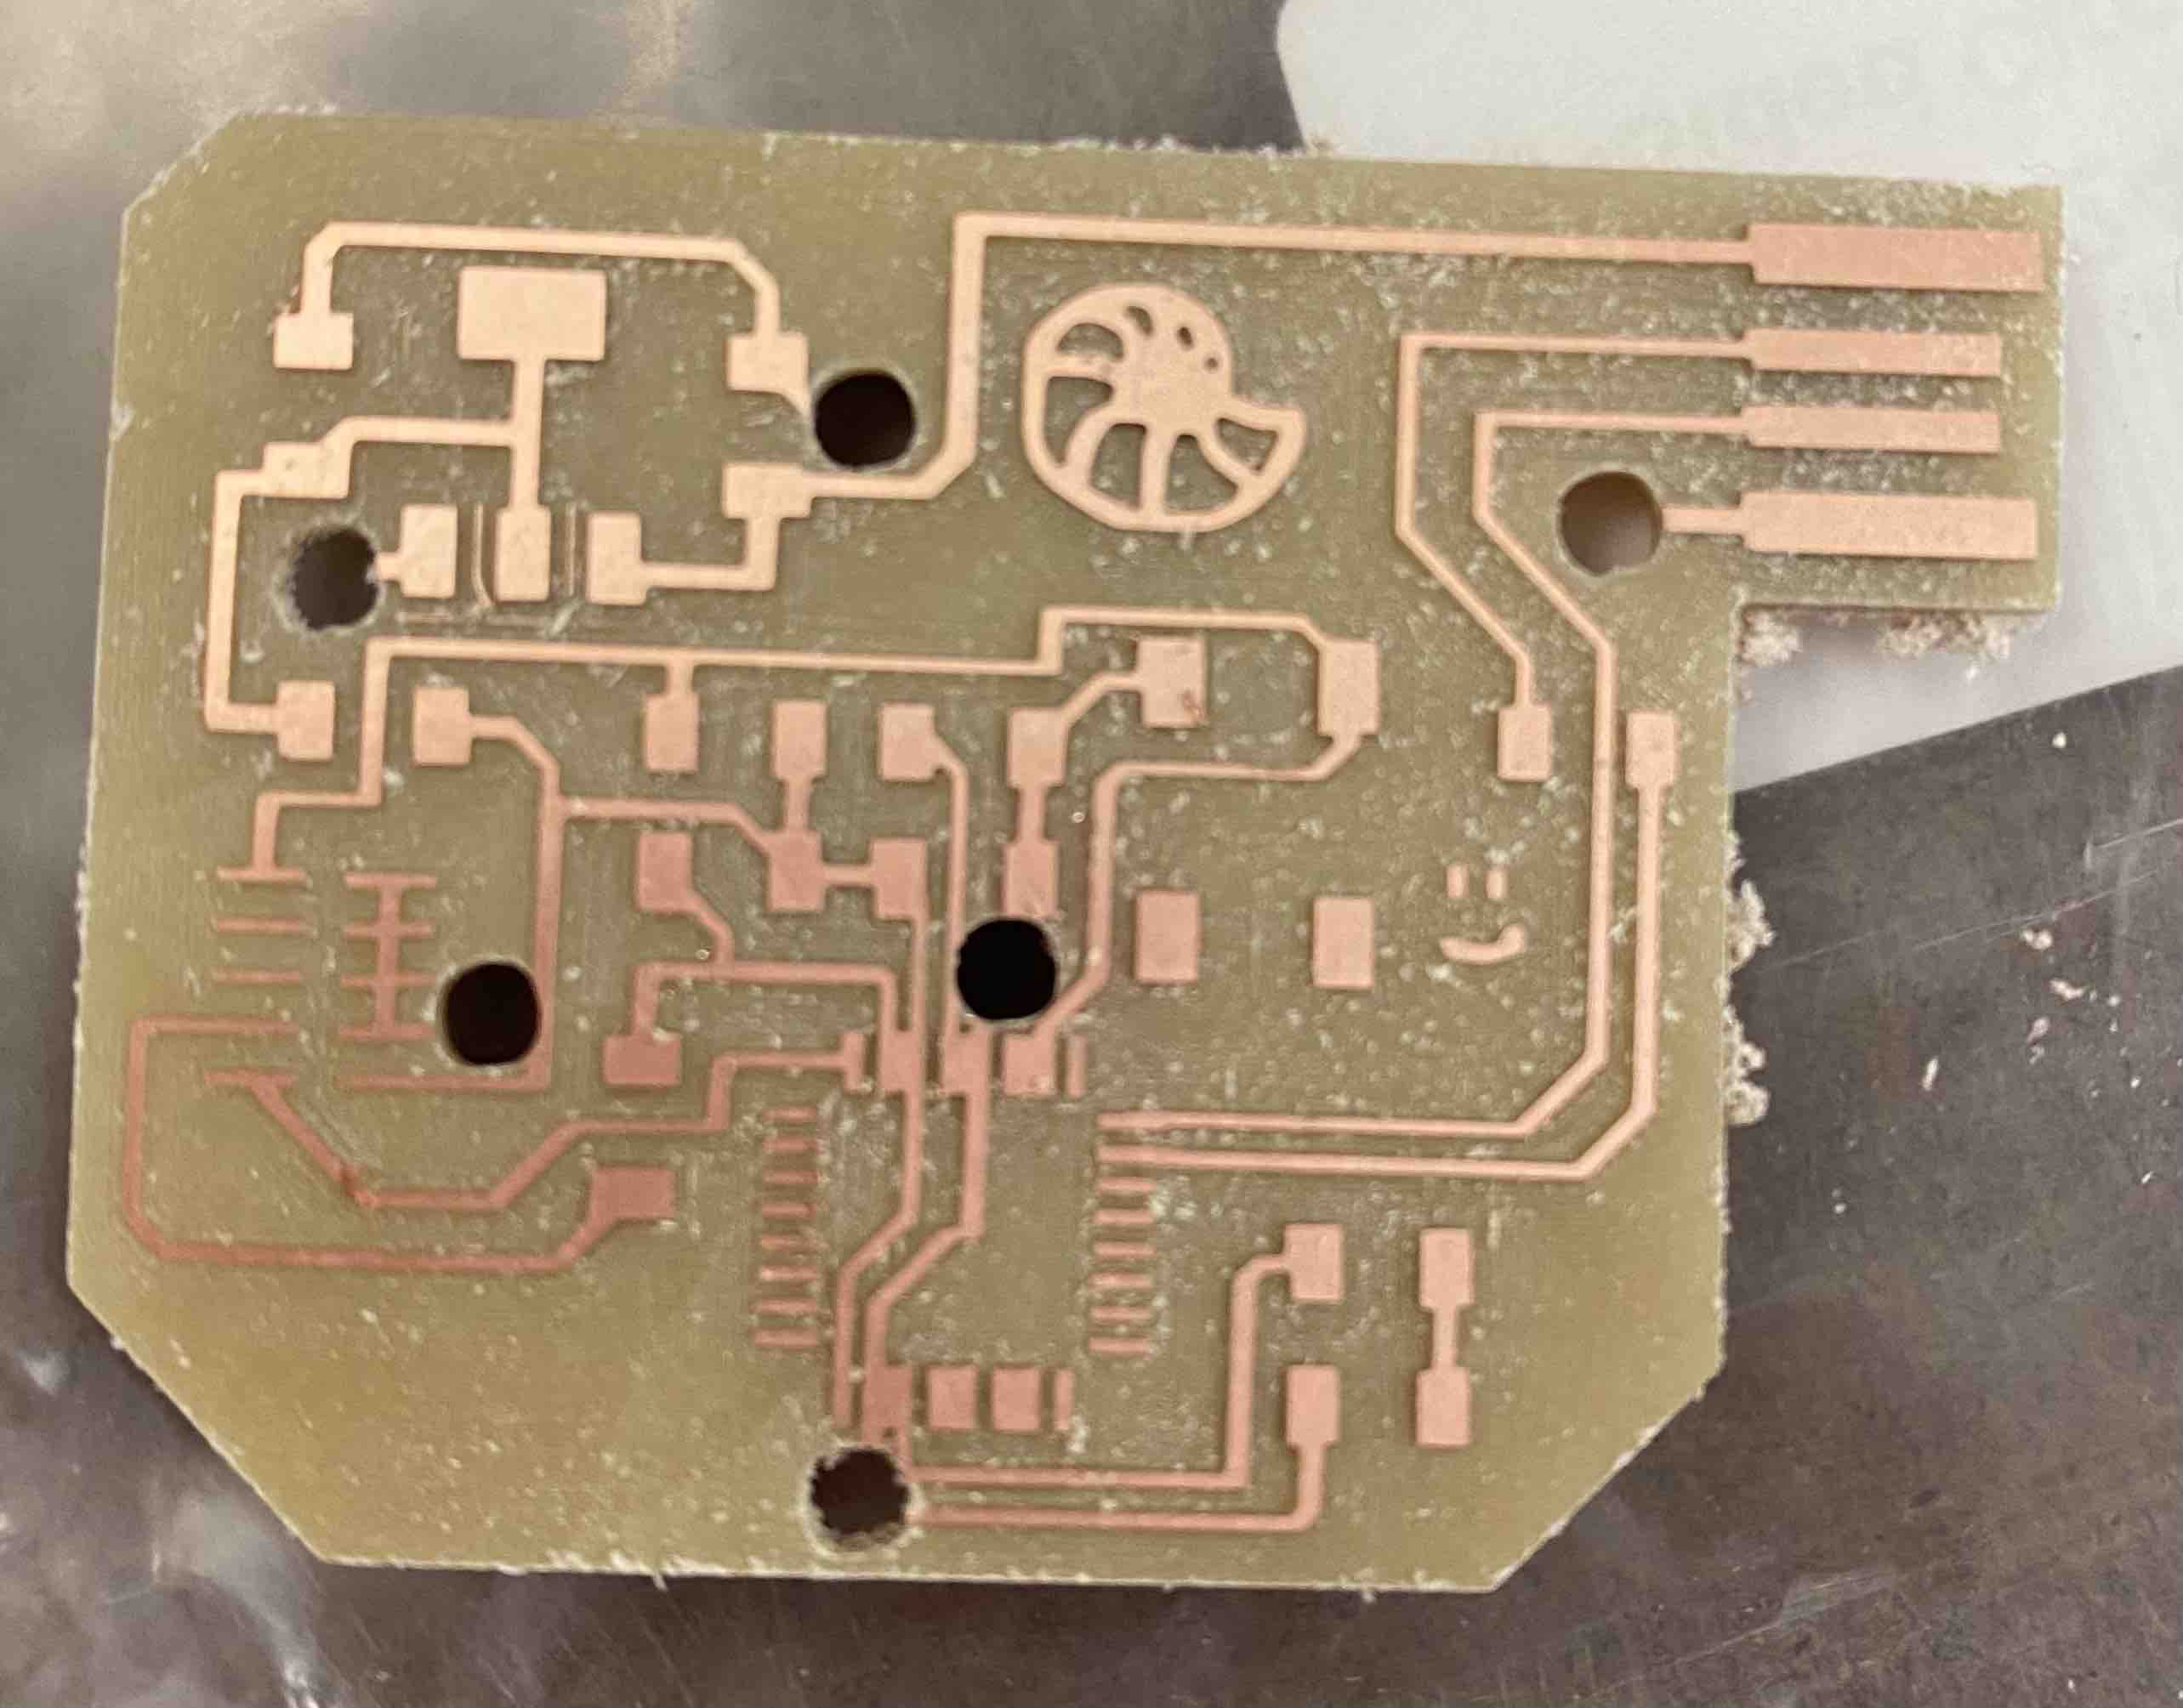
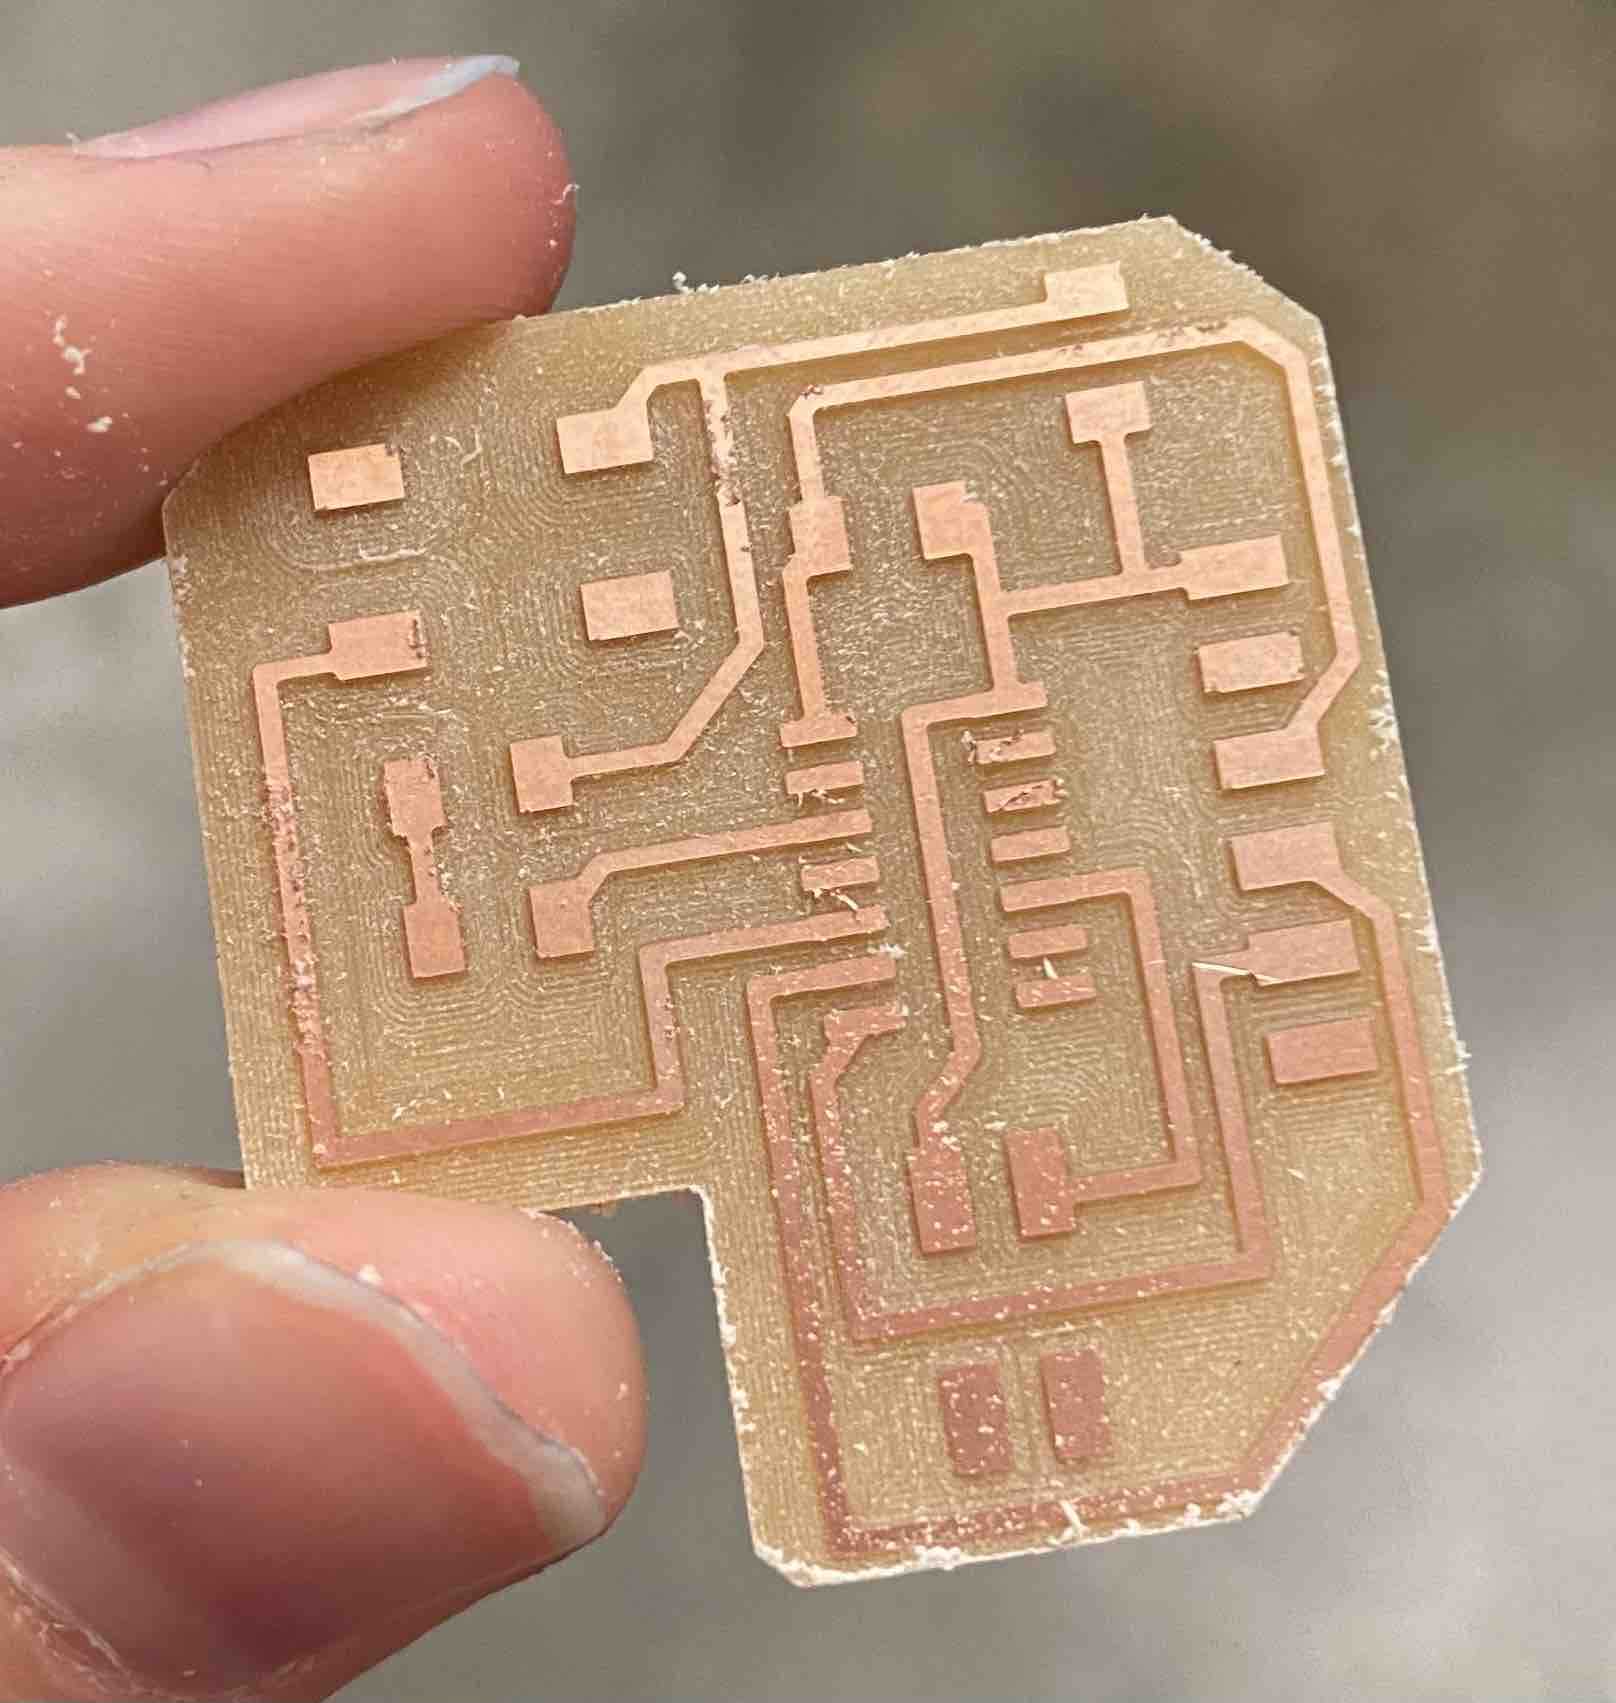
Cleaning up the images
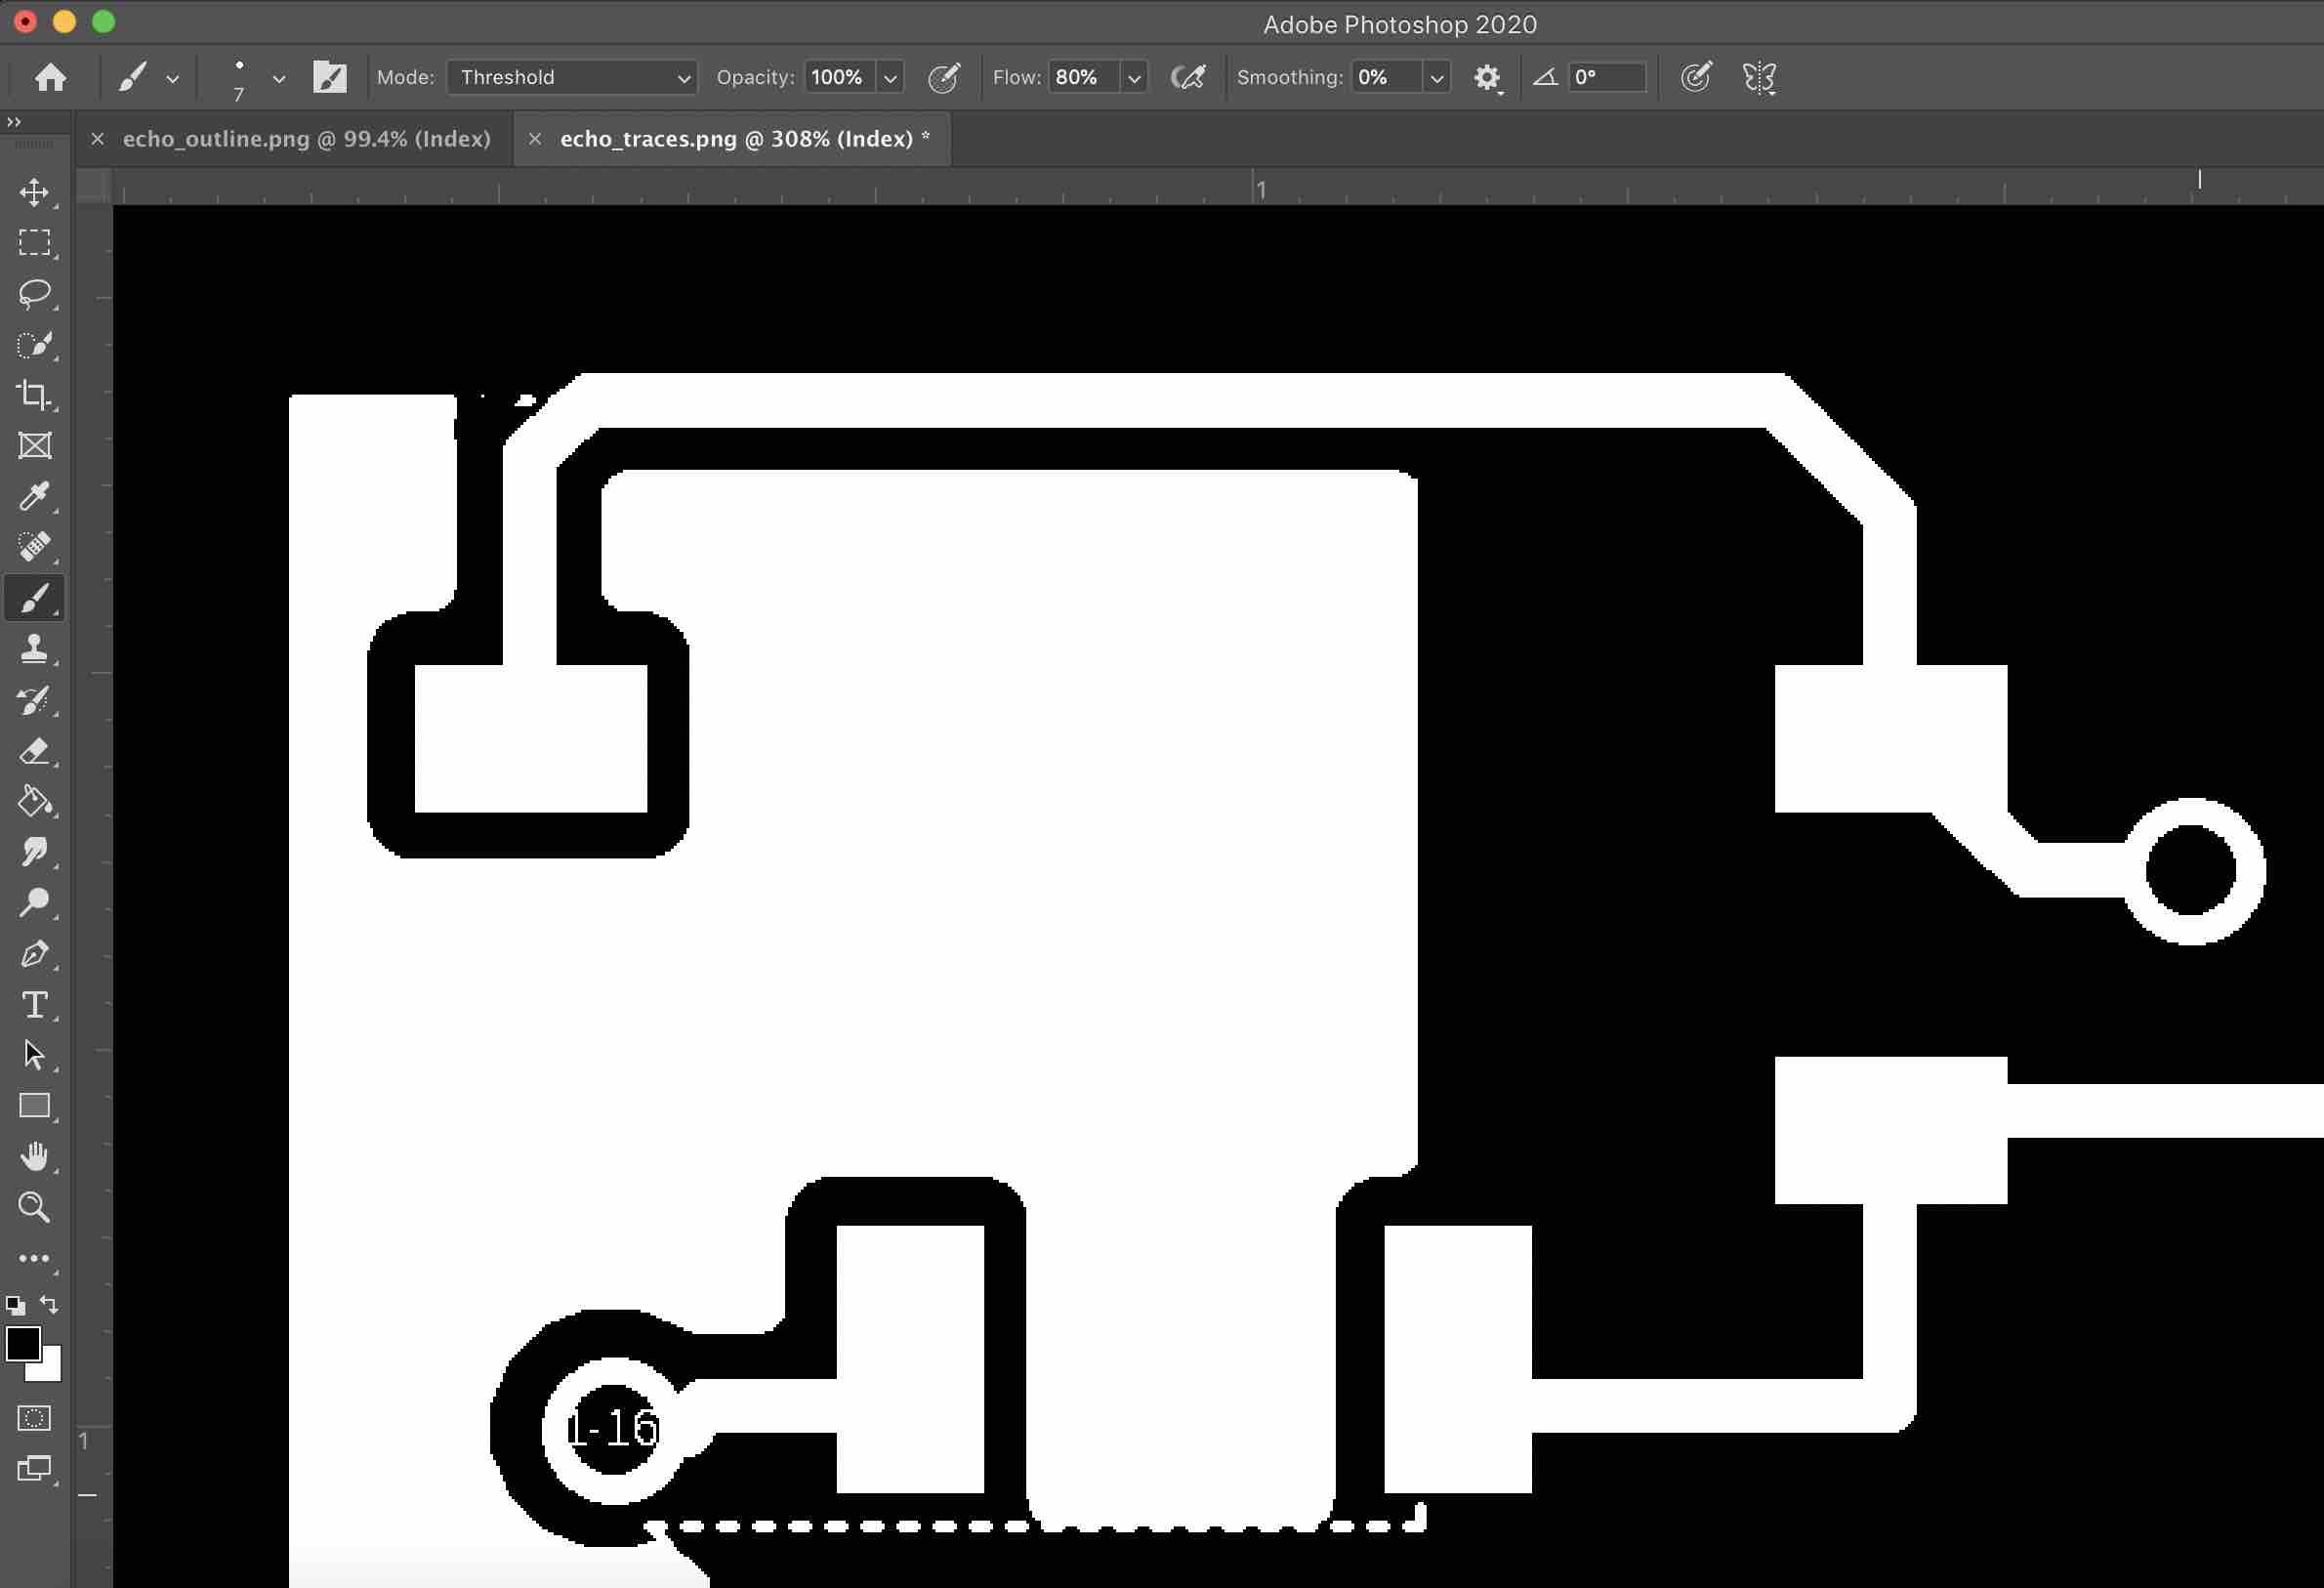
Neither I nor the TAs could figure out how to remove the weird labels from the vias or the dotted lines on my exported files, so I cleaned up my images in Photoshop using the brush and rectangle tools. I was planning to make my board into a fun shape, but didn't have enough time this week (I was at Comic Con this weekend and also have to study for a Thermo midterm on the same date PCB is due). Fortunately, I was still able to add some personalization and ~pizzazz~ Using Photoshop by drawing a smiley and a nautilus shell.

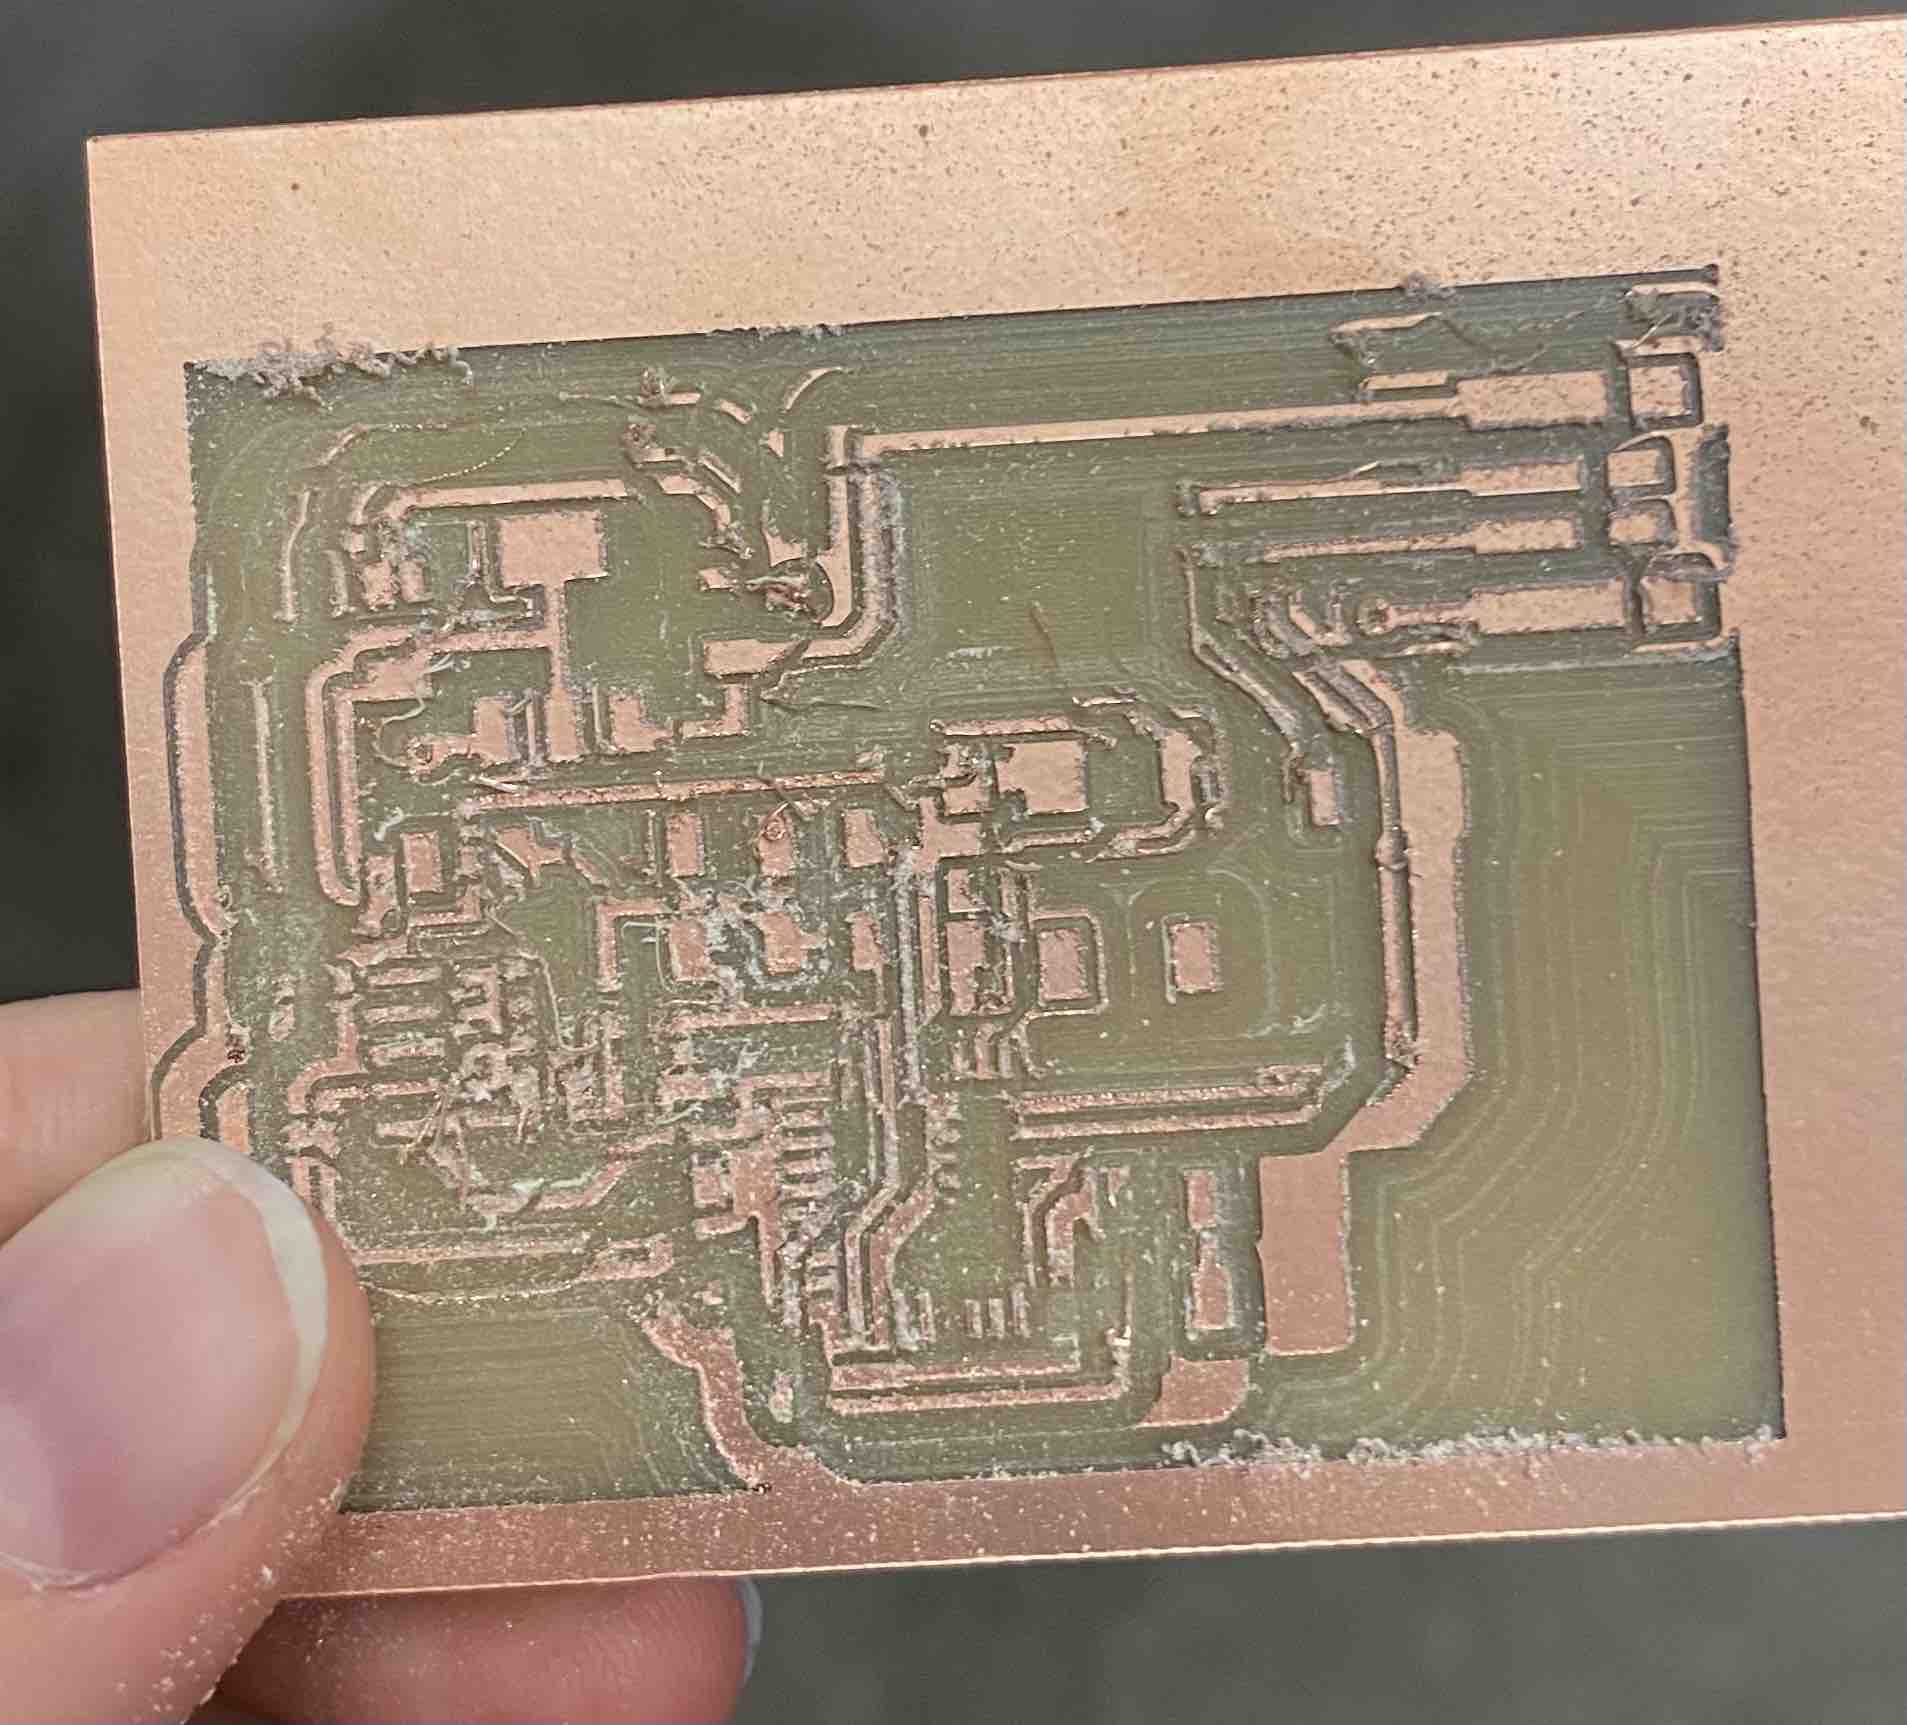
Milling
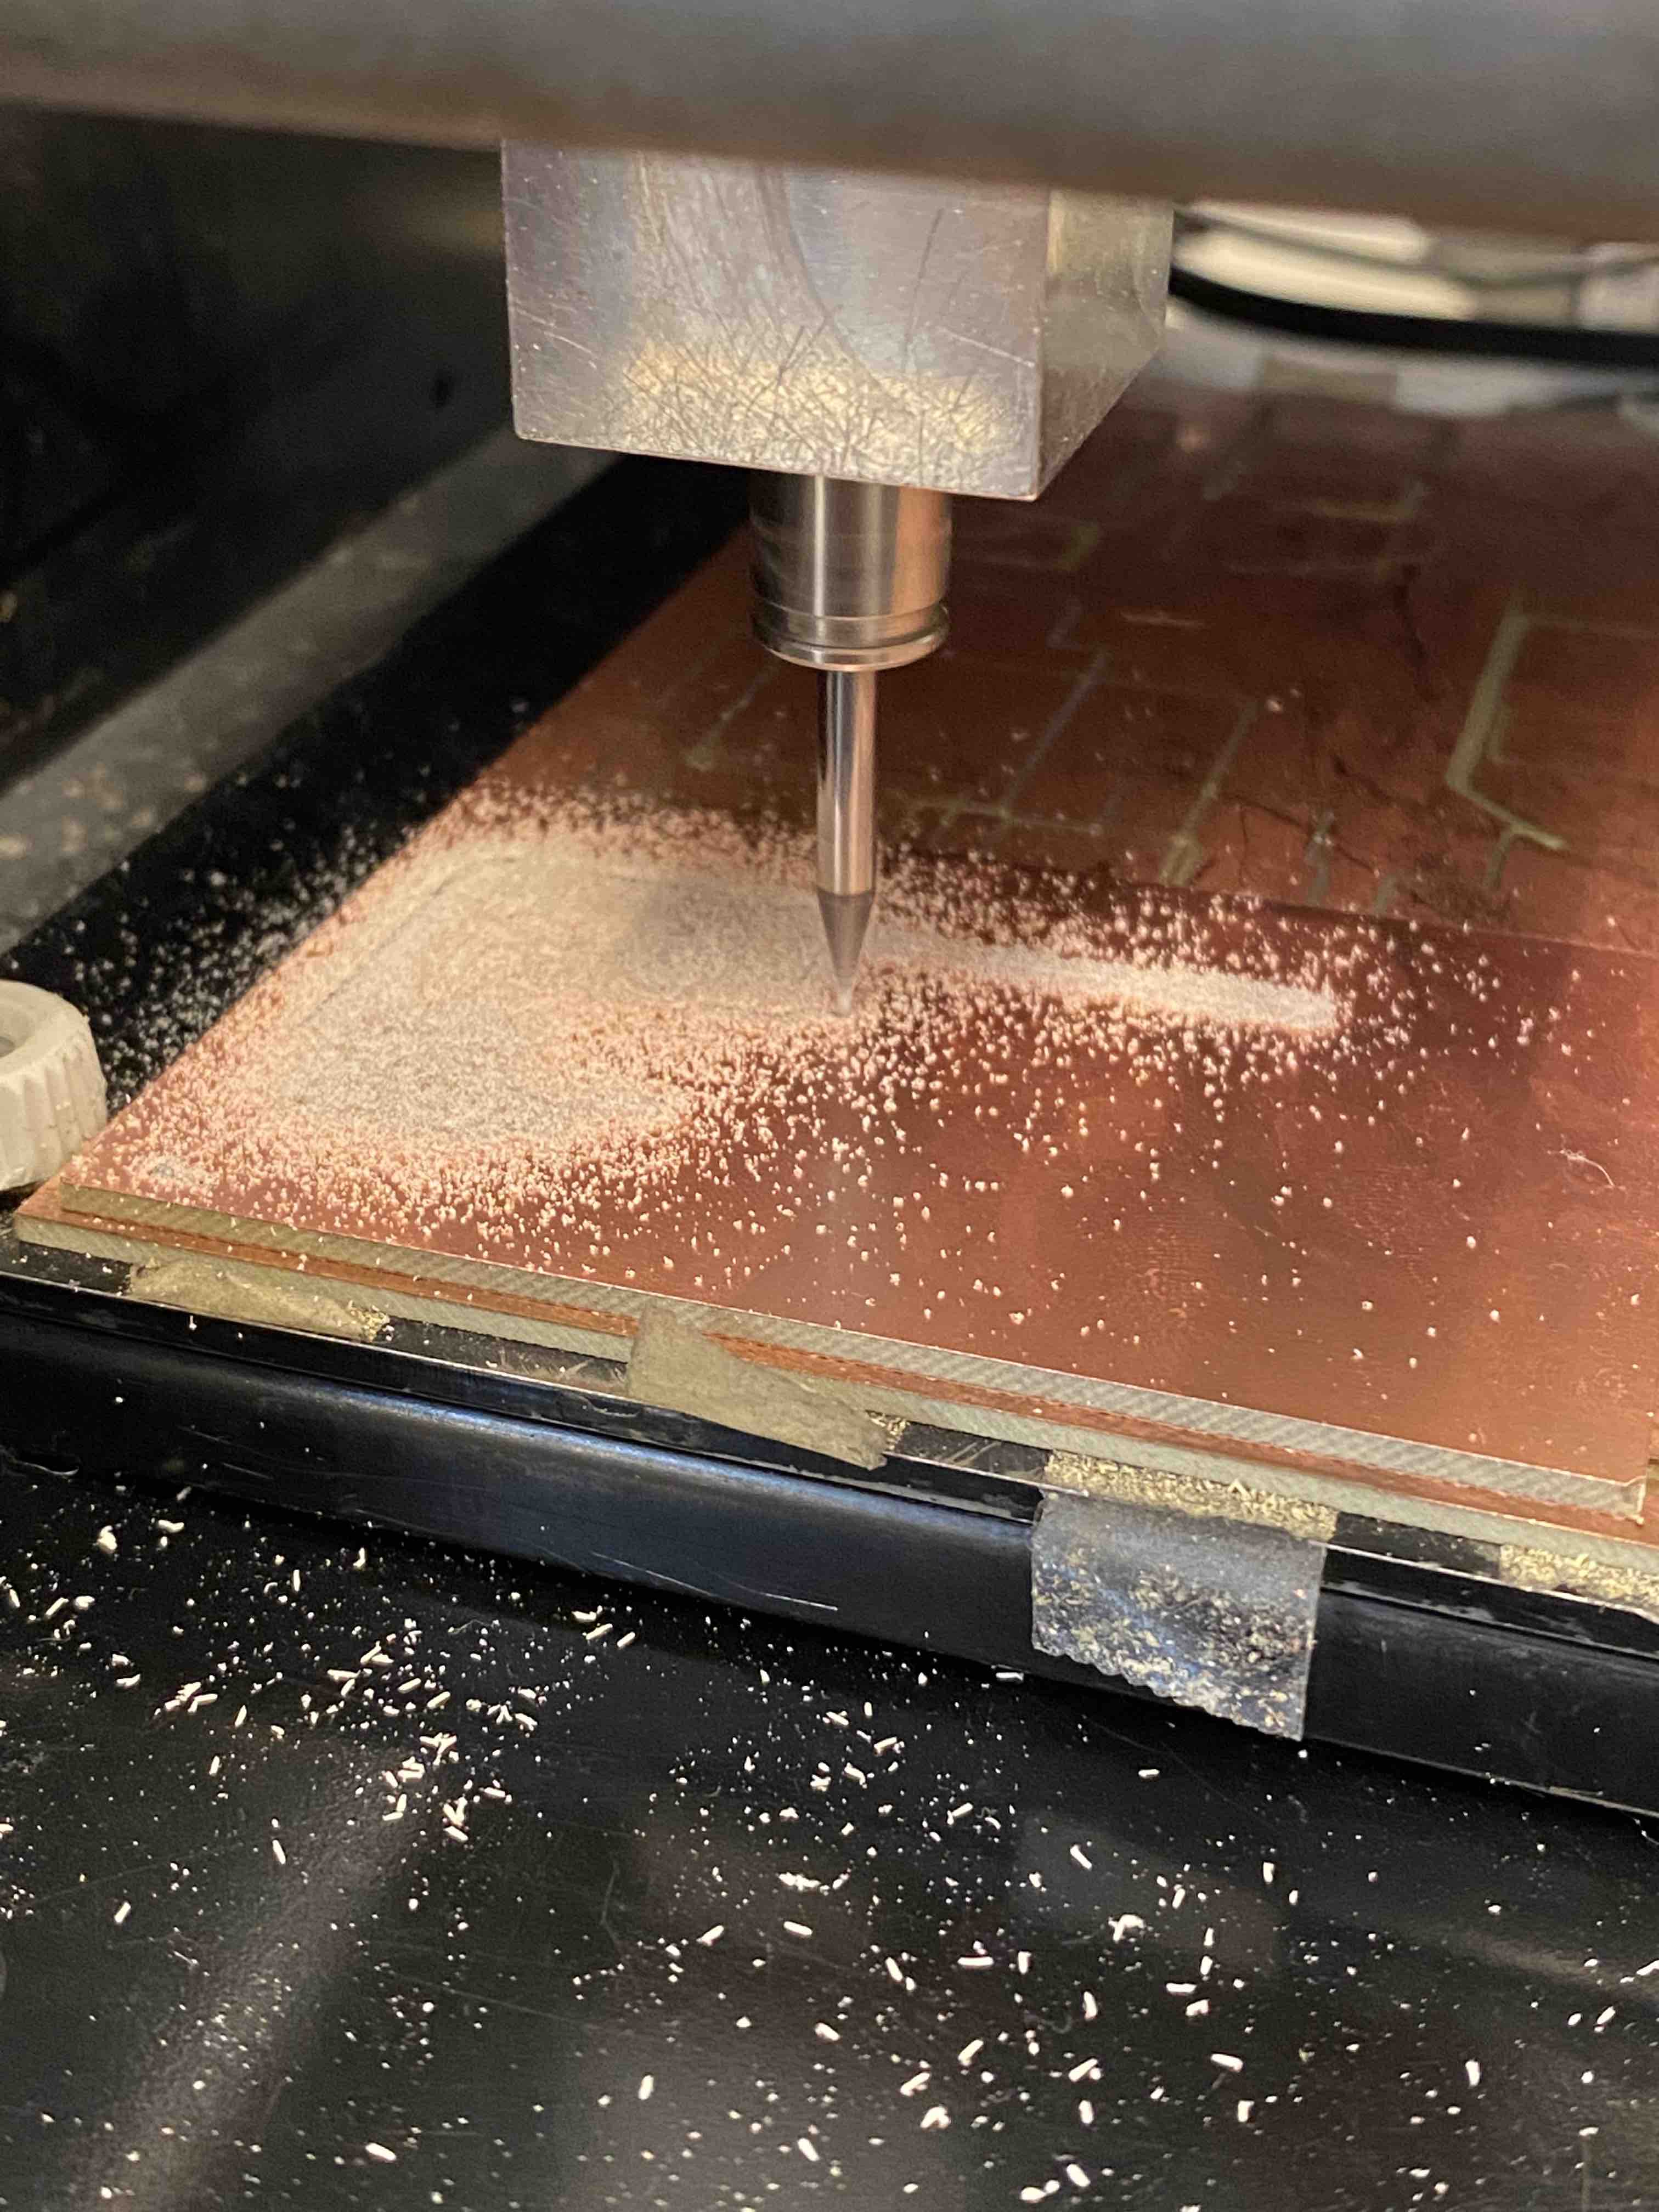
Here are the traces being milled by the Roland MDX-20. Having learned from my past experiences, I made sure that the tape on the bottom was flat and the board was snug in place.
Regrets
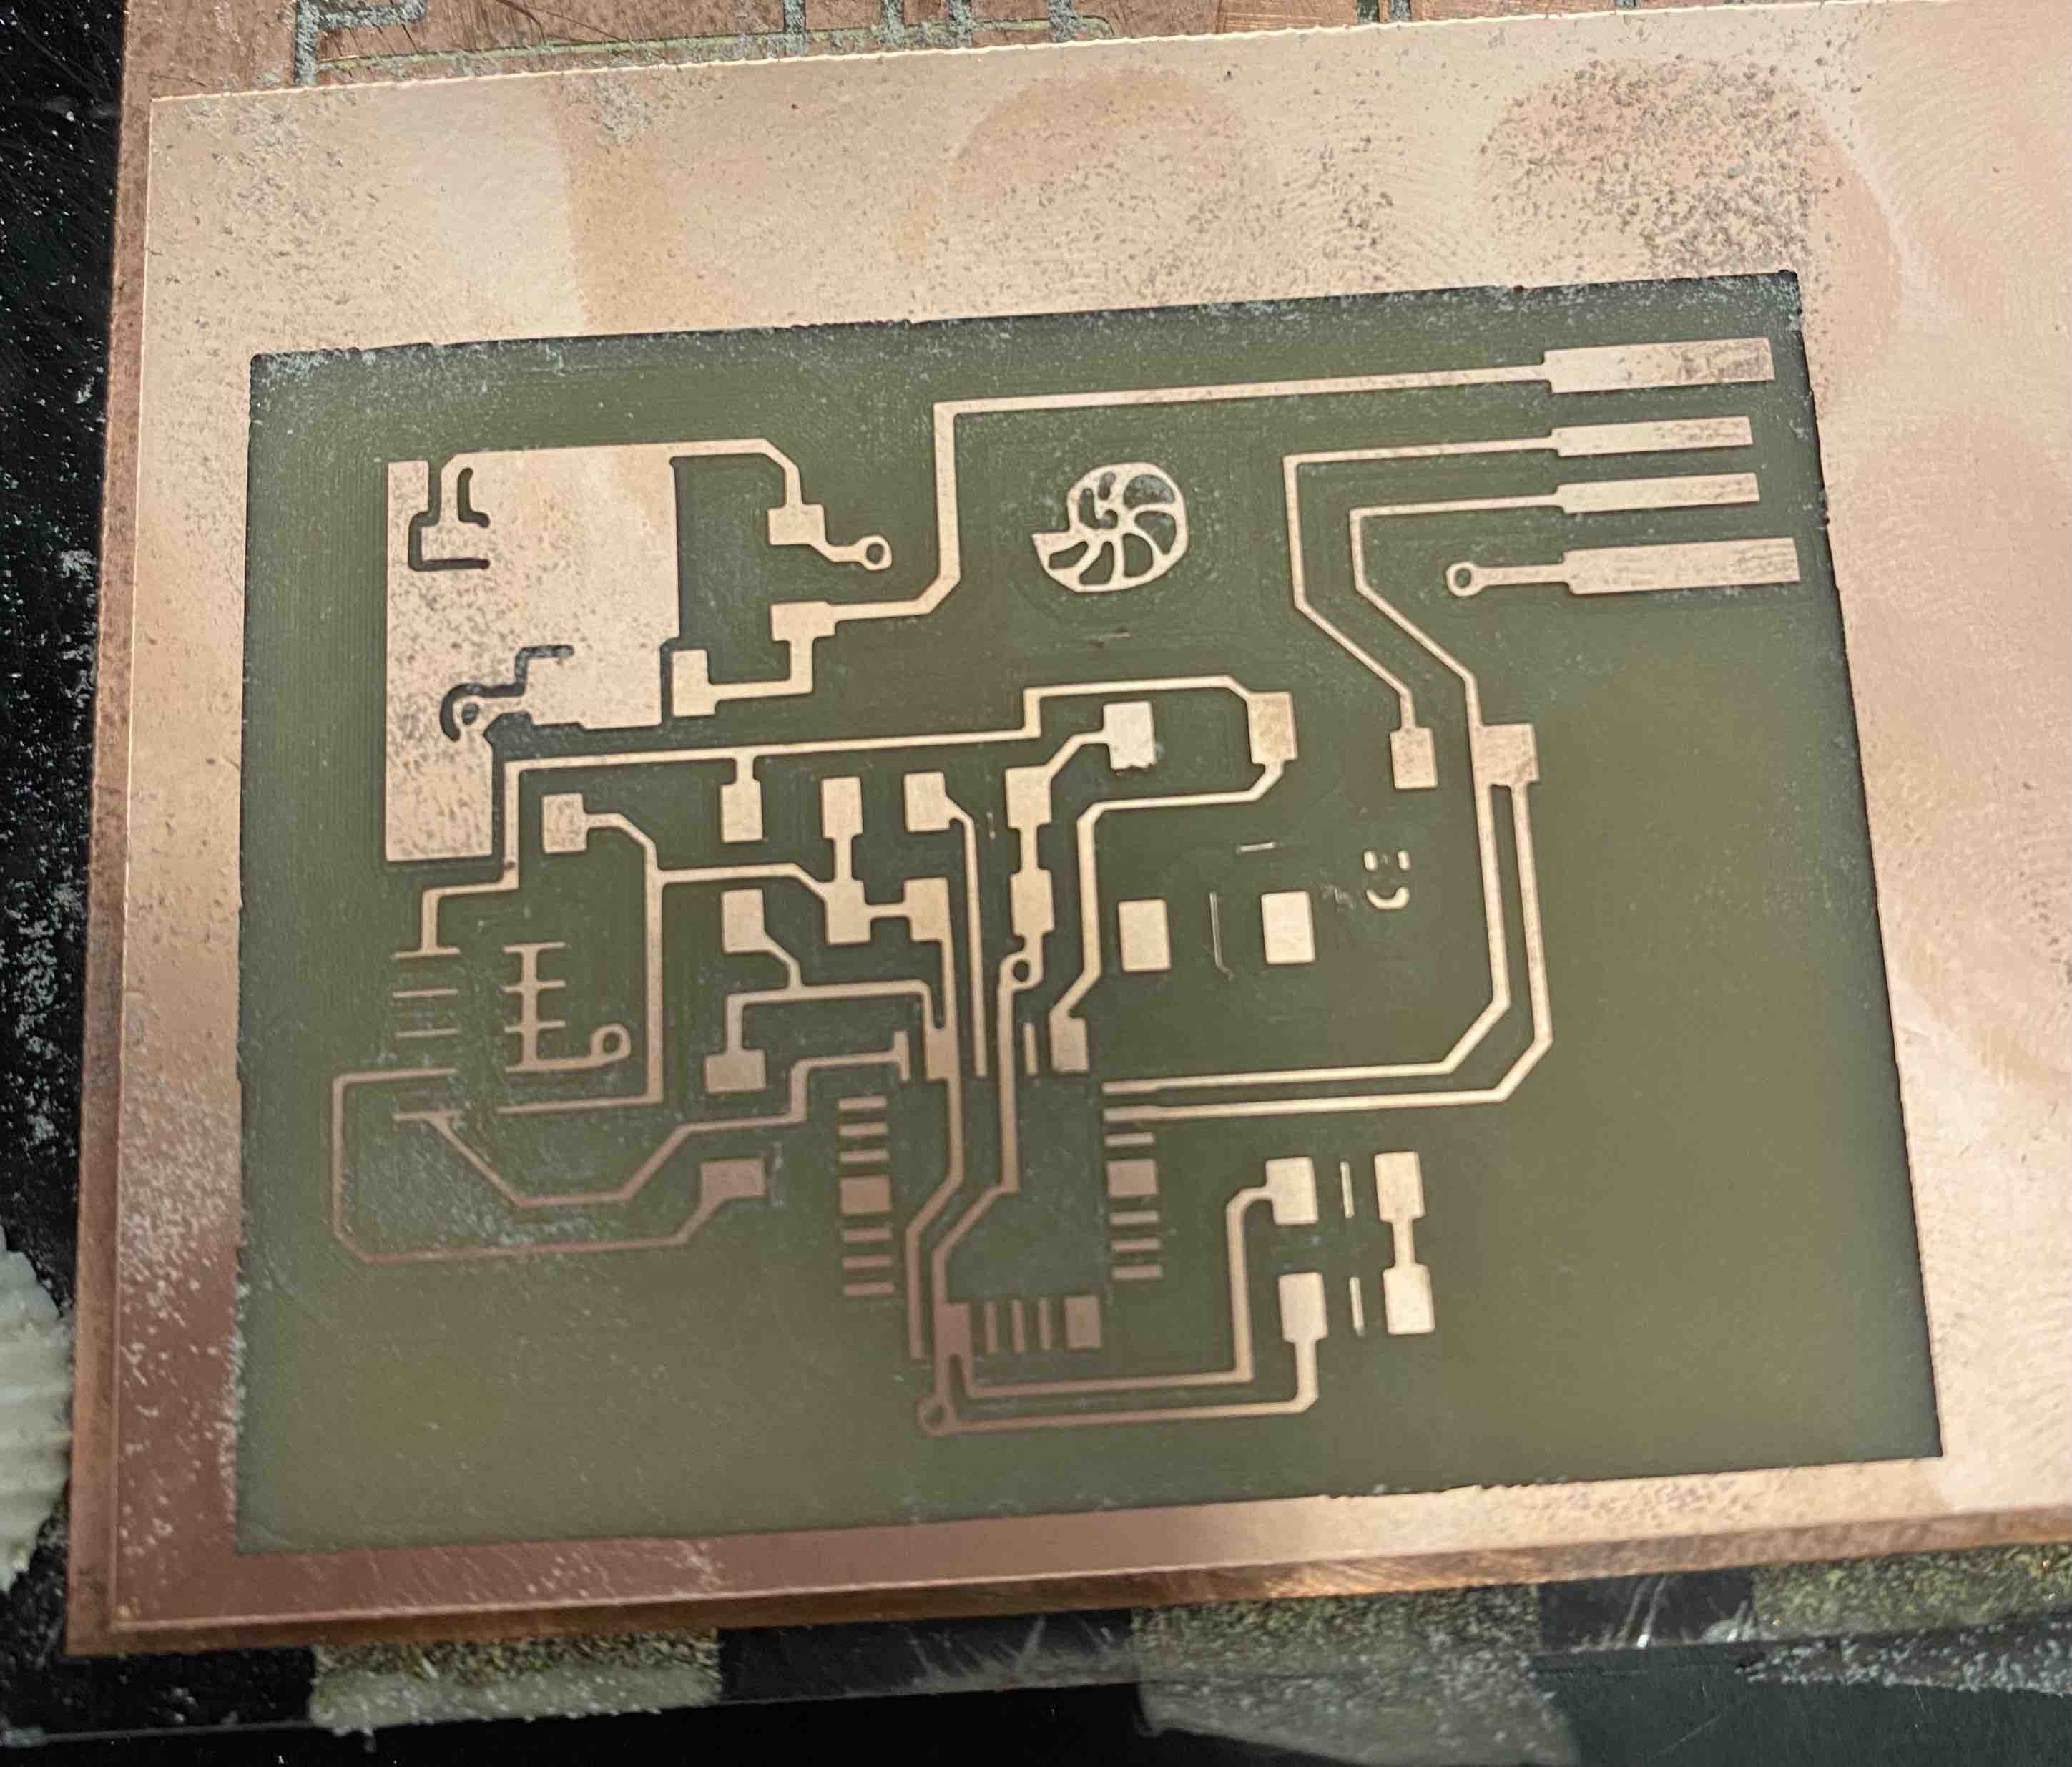
I took this off the machine thinking that the board was ruined due to the traces having clumped together in places; I didn't know until later that I could've fixed them using an xacto knife. If only I had known and just milled the outline and vias, I could've saved 8 hours of work...
Alas alas
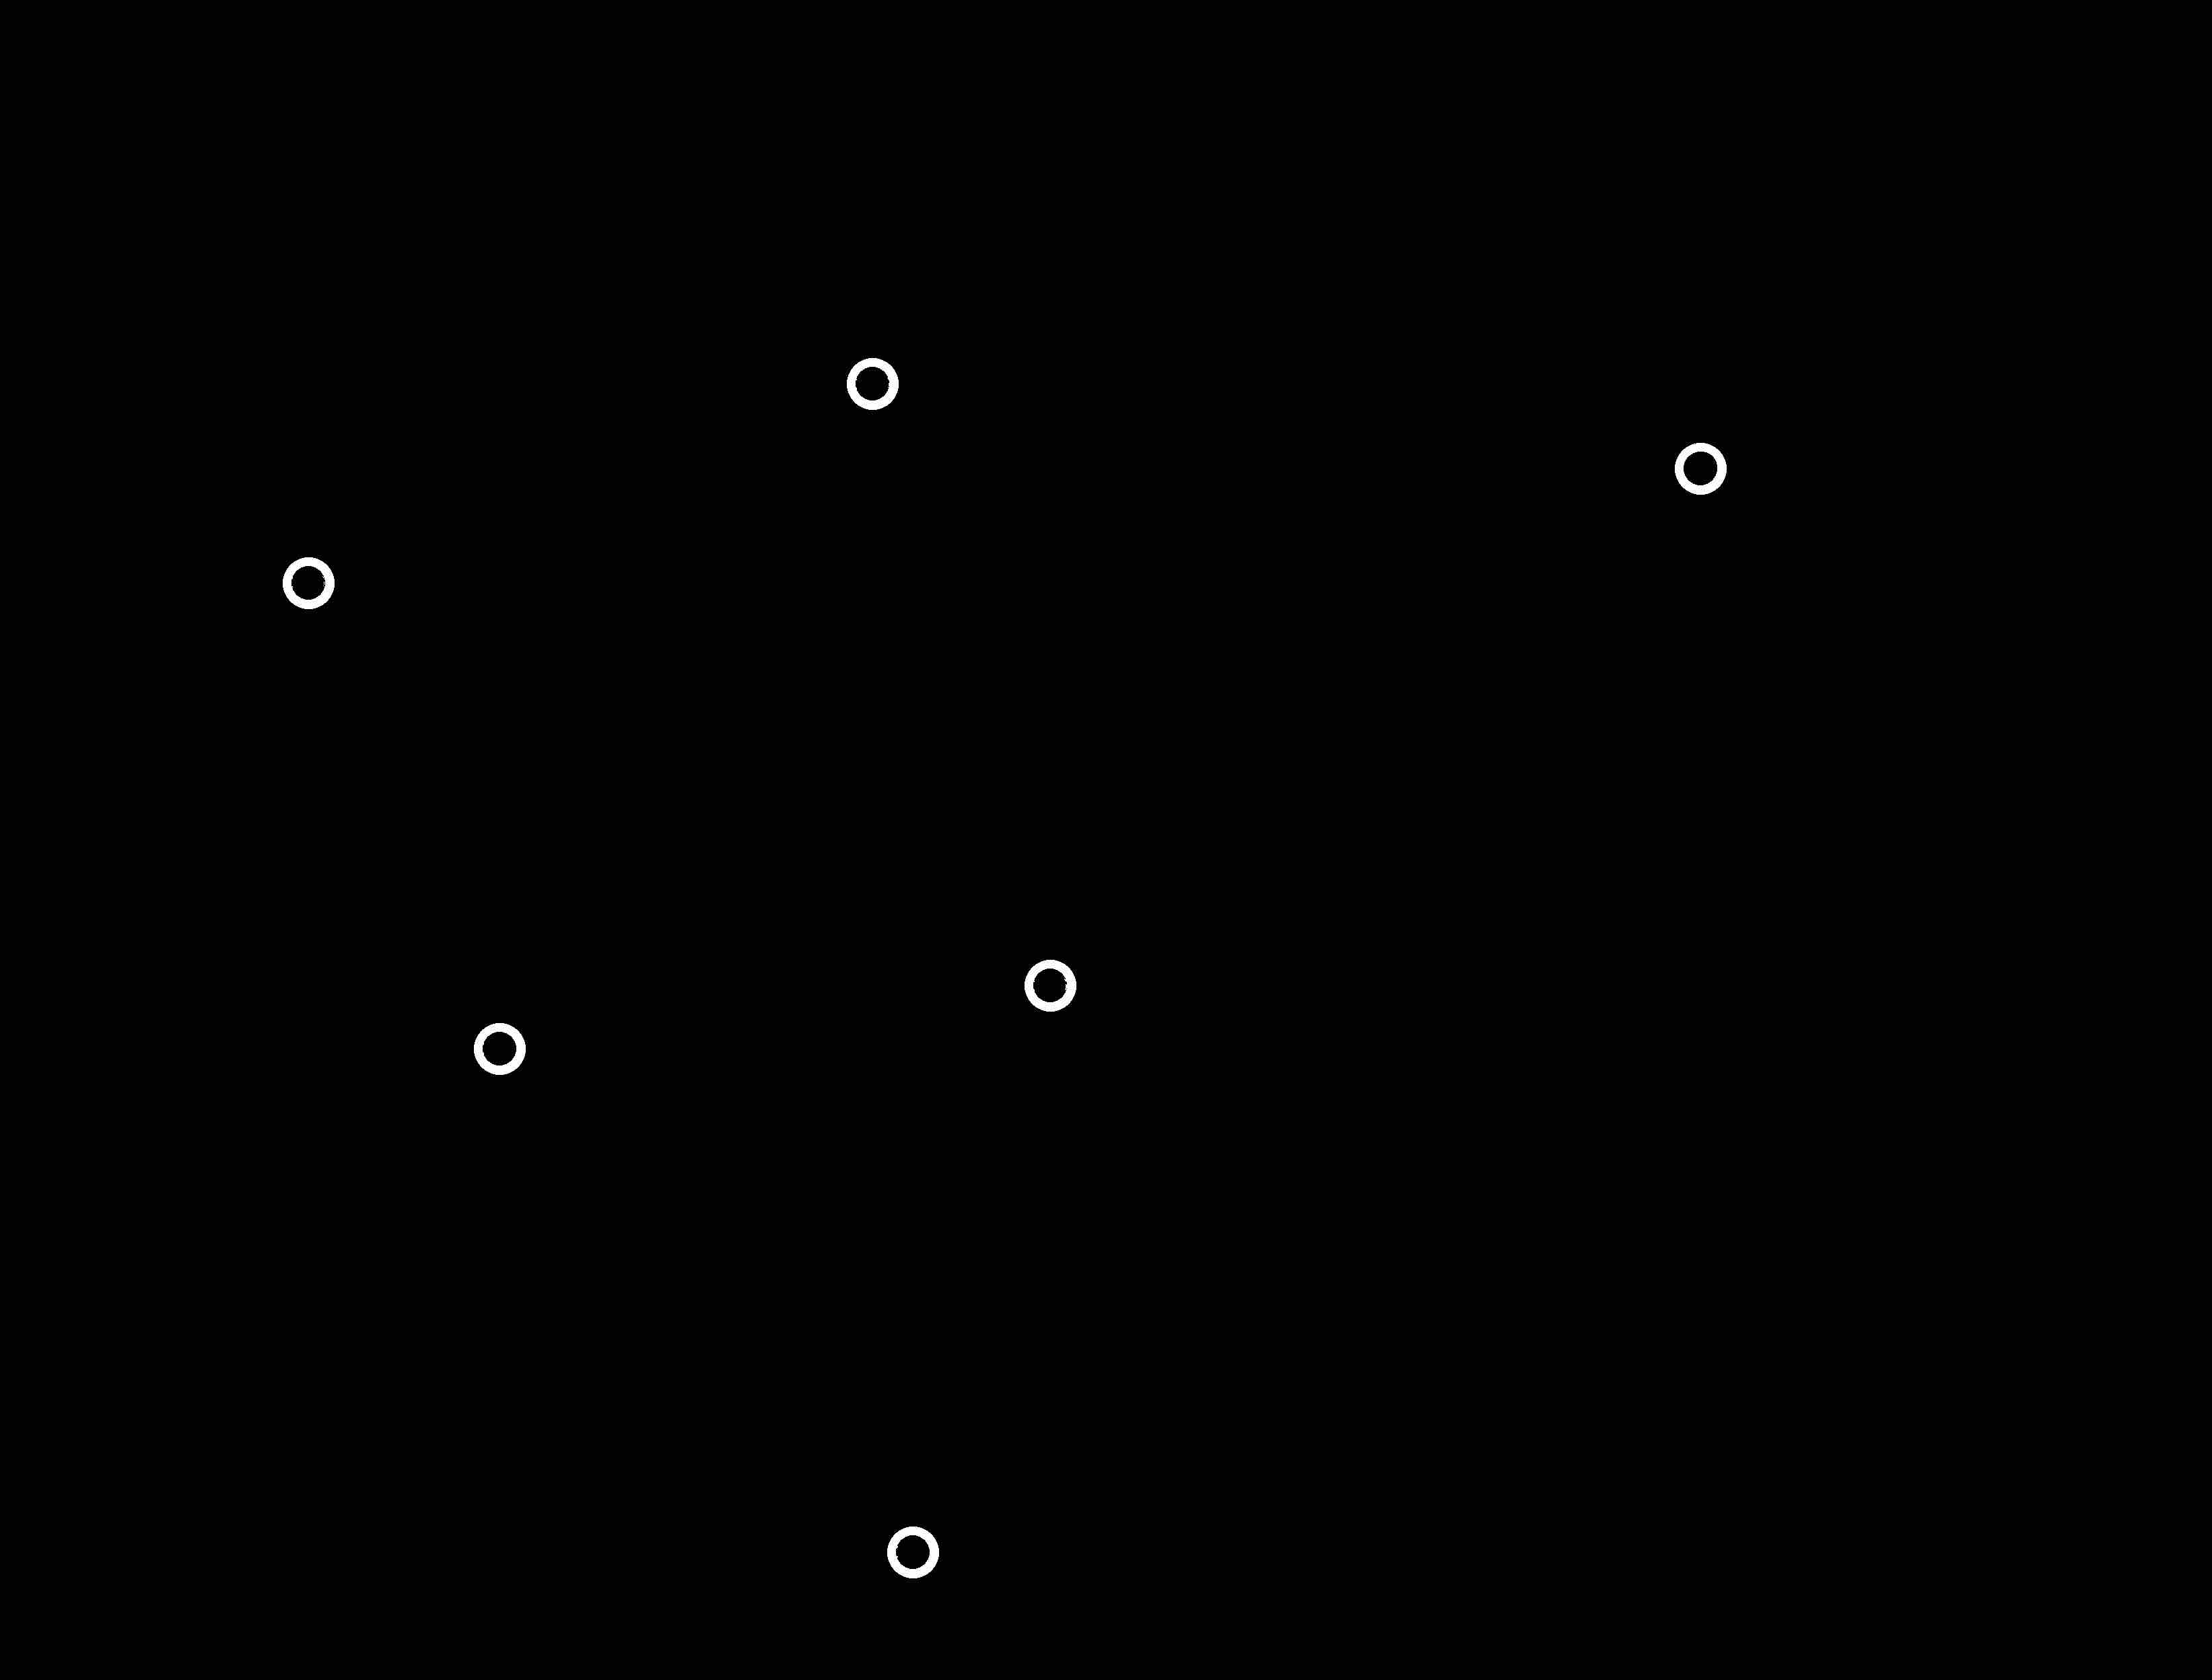
The traces on this one were fine, but when the machine cut the outline, it didn't cut the vias. I cut an online on top of this using a file that only had vias, which resulted in holes that were too big since the bit cut out the interior and the exterior of the via rings in the pic above.
Starting Over
At this point, it was around 9 PM on Tuesday, and I realized things would go a lot faster if I had just done an ATTINY as I originally wanted to. Hence the new designs...
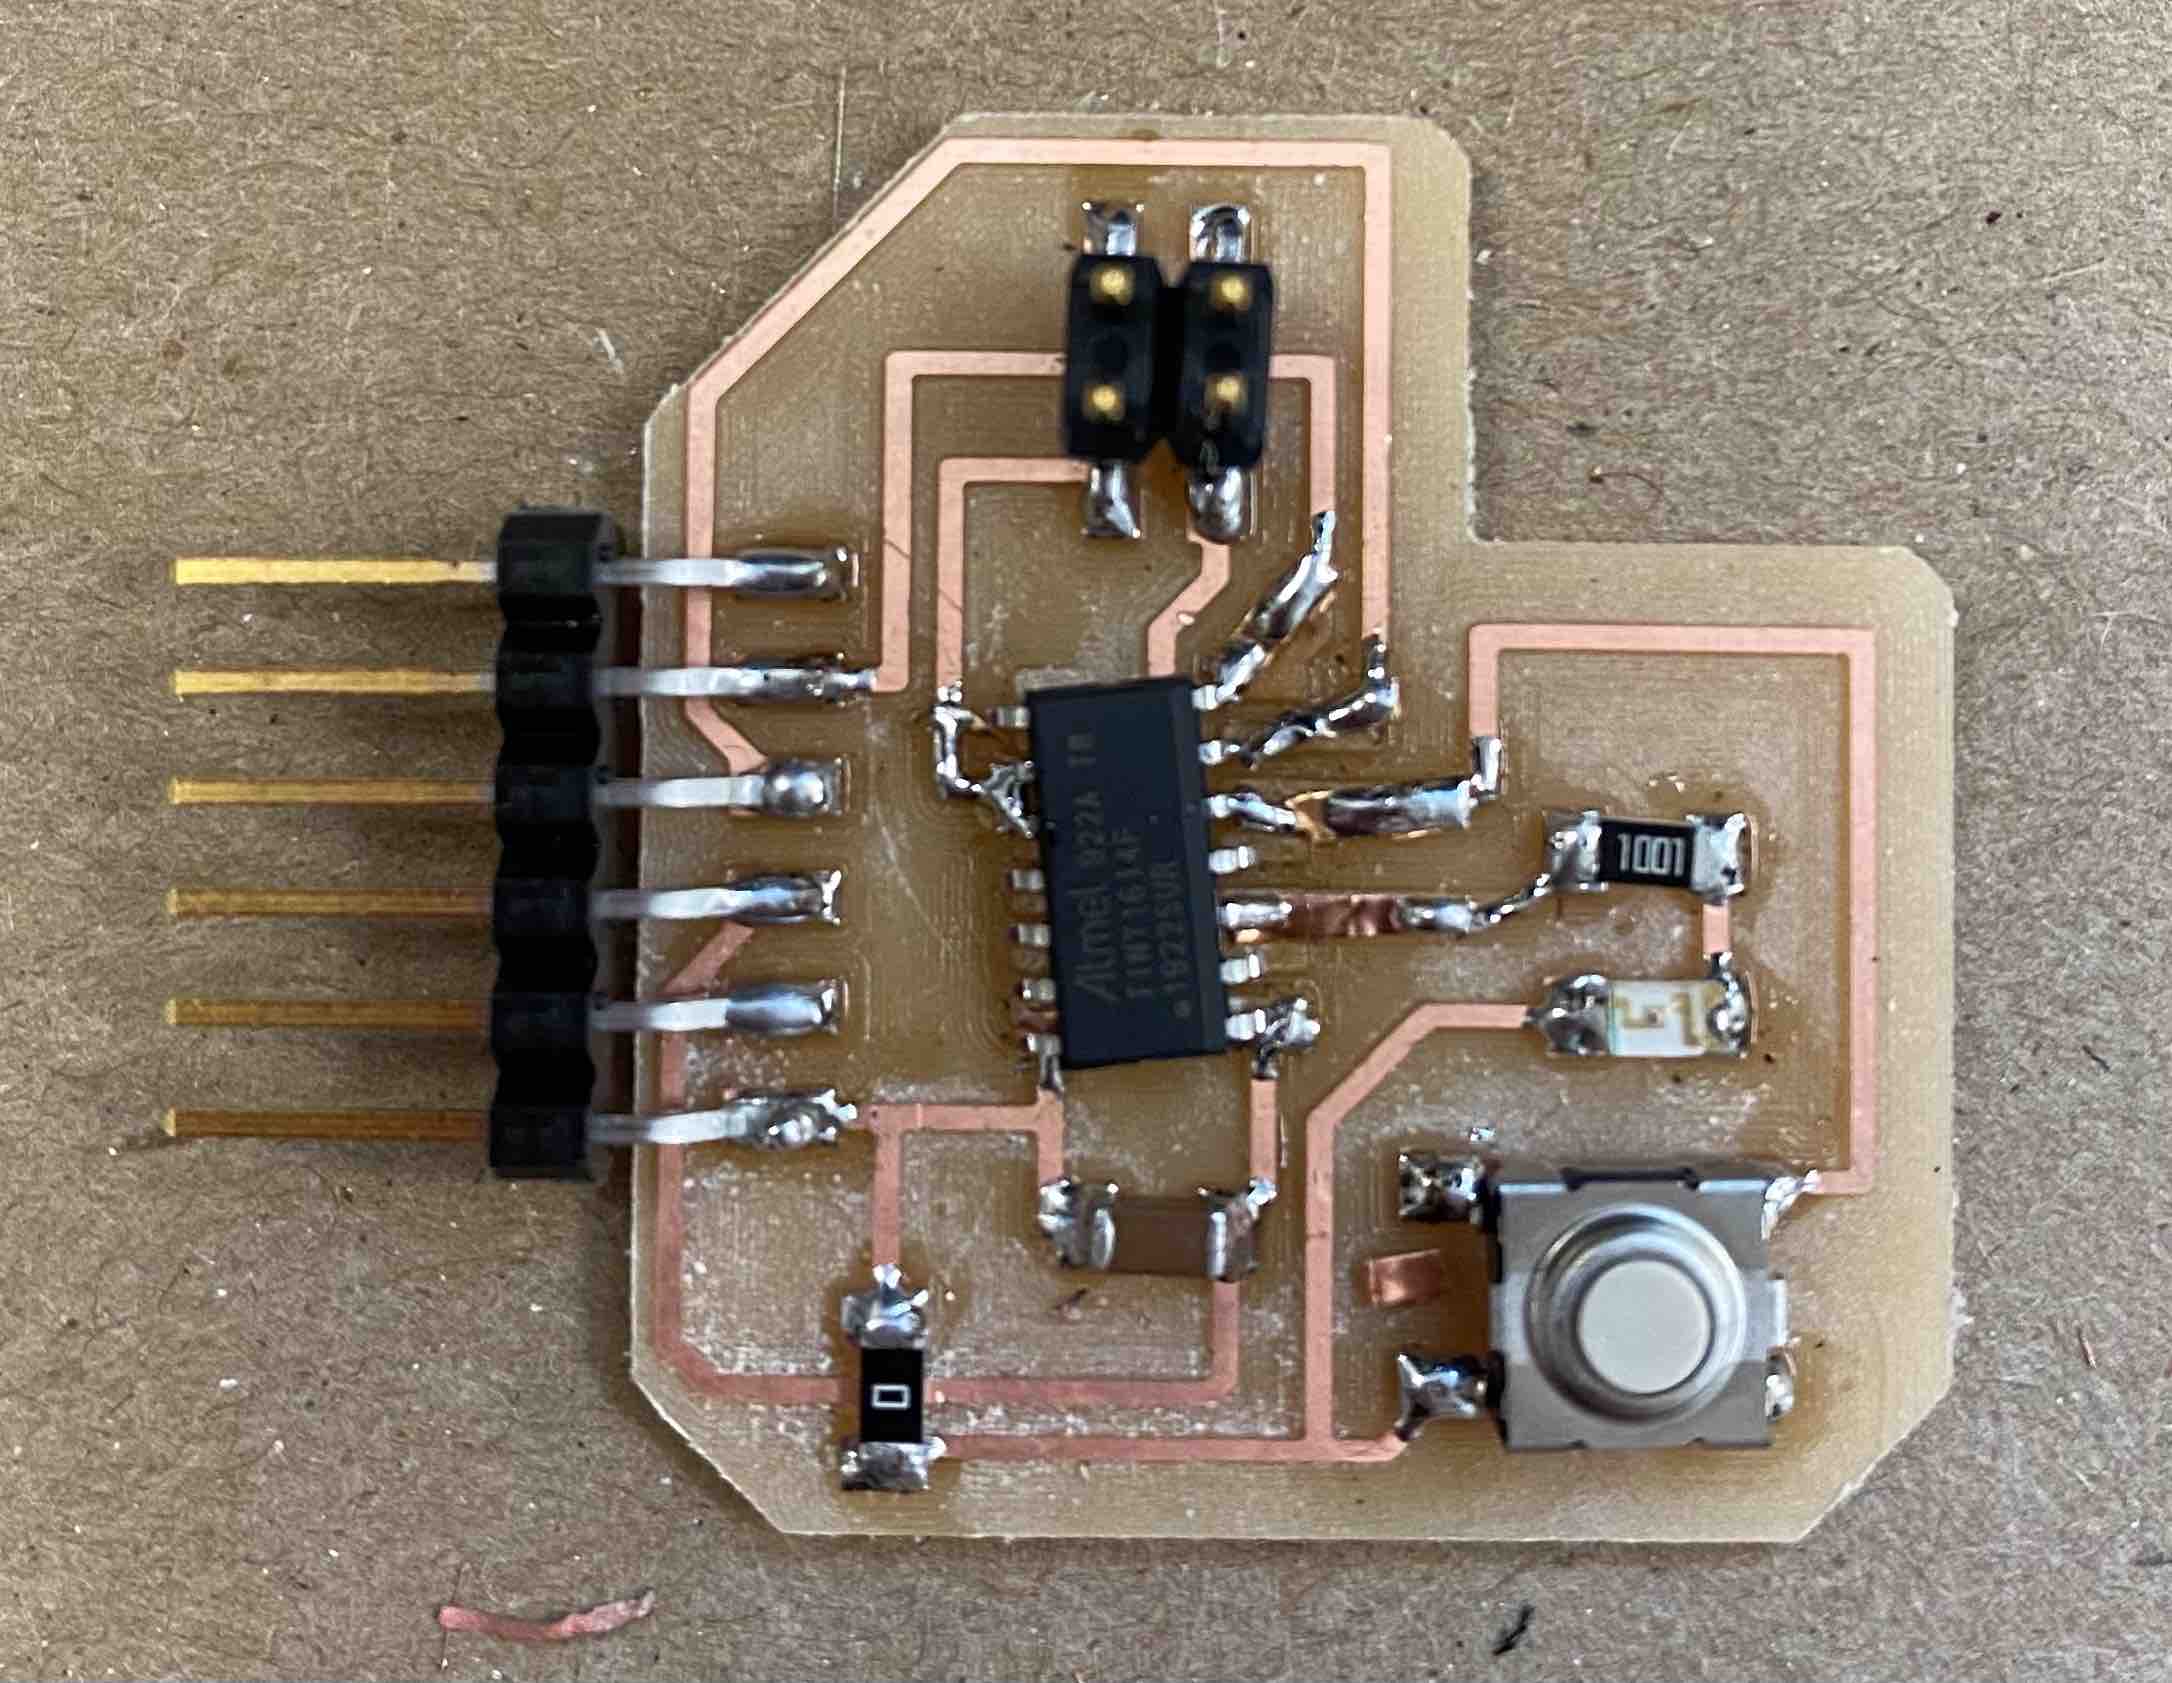
Yike
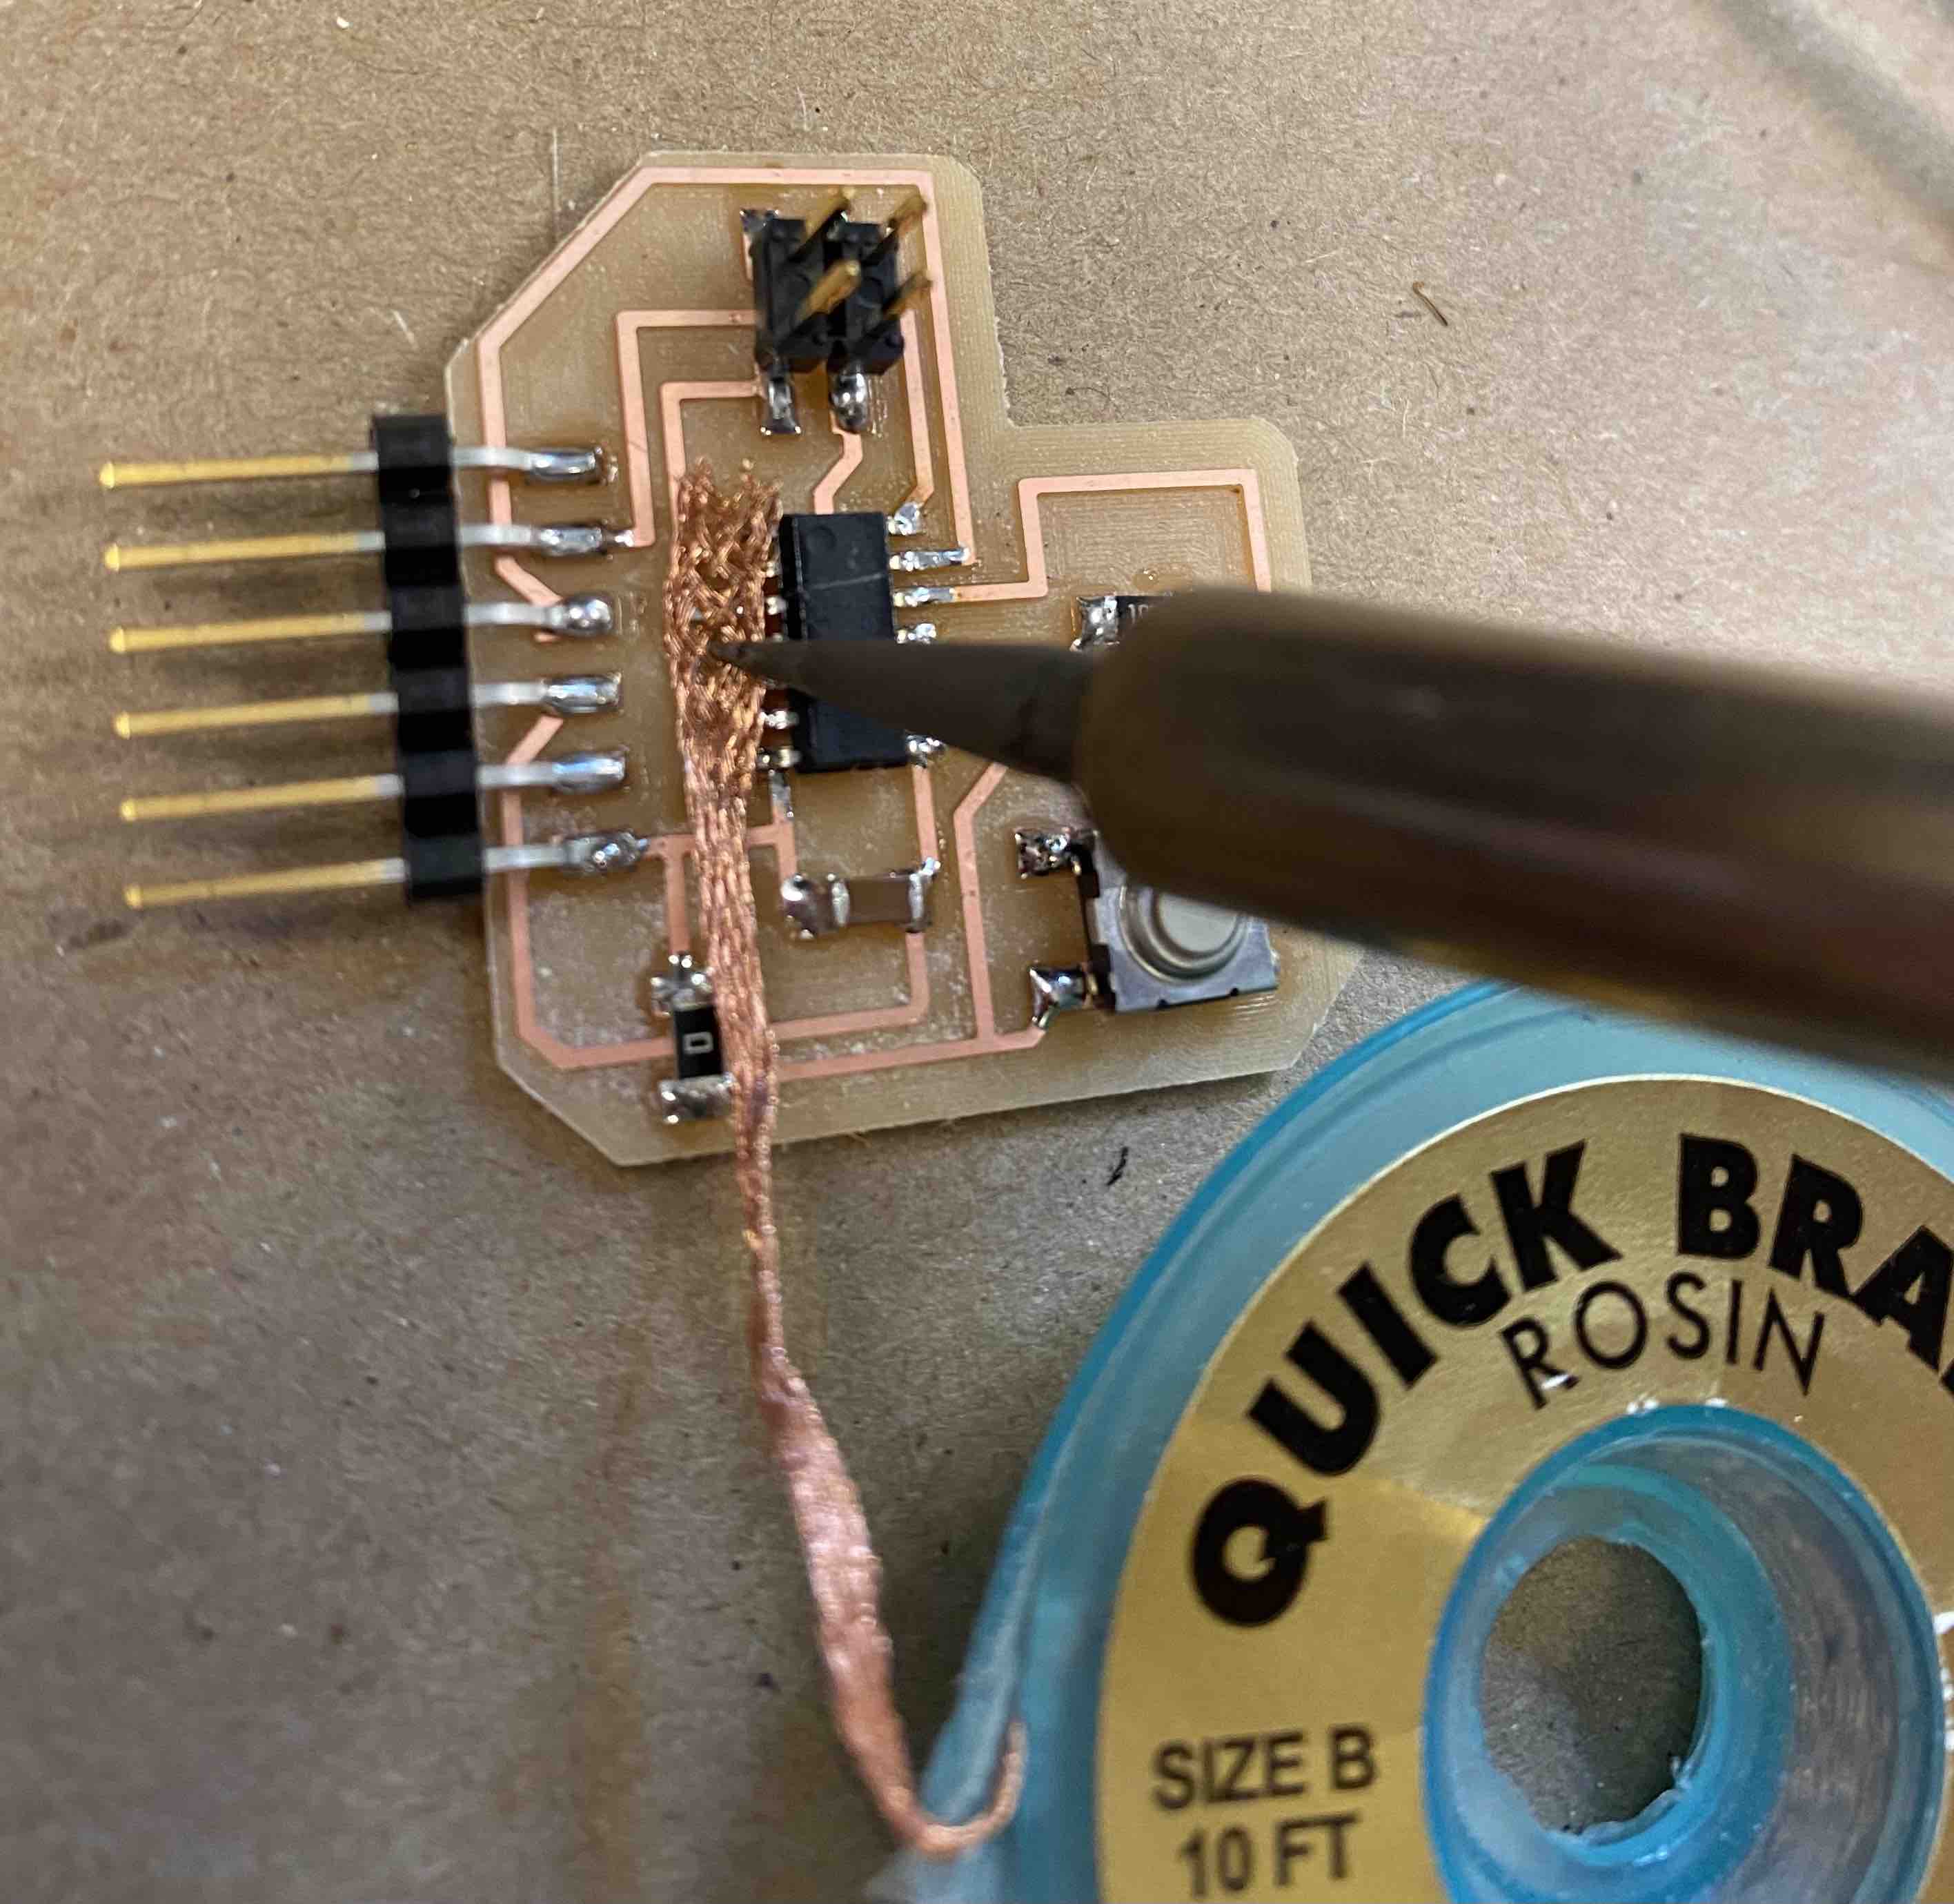
Yup, I messed up the solder. I carefully referenced the image of the ATTINY to make sure I had the correct side facing away from me, while also forgetting to make sure I had the correct side of the board facing away from me. The chip was therefore flipped, so I used rosin braid to remove as much solder as I could. To do this, I needed a lot of patience.
Oops
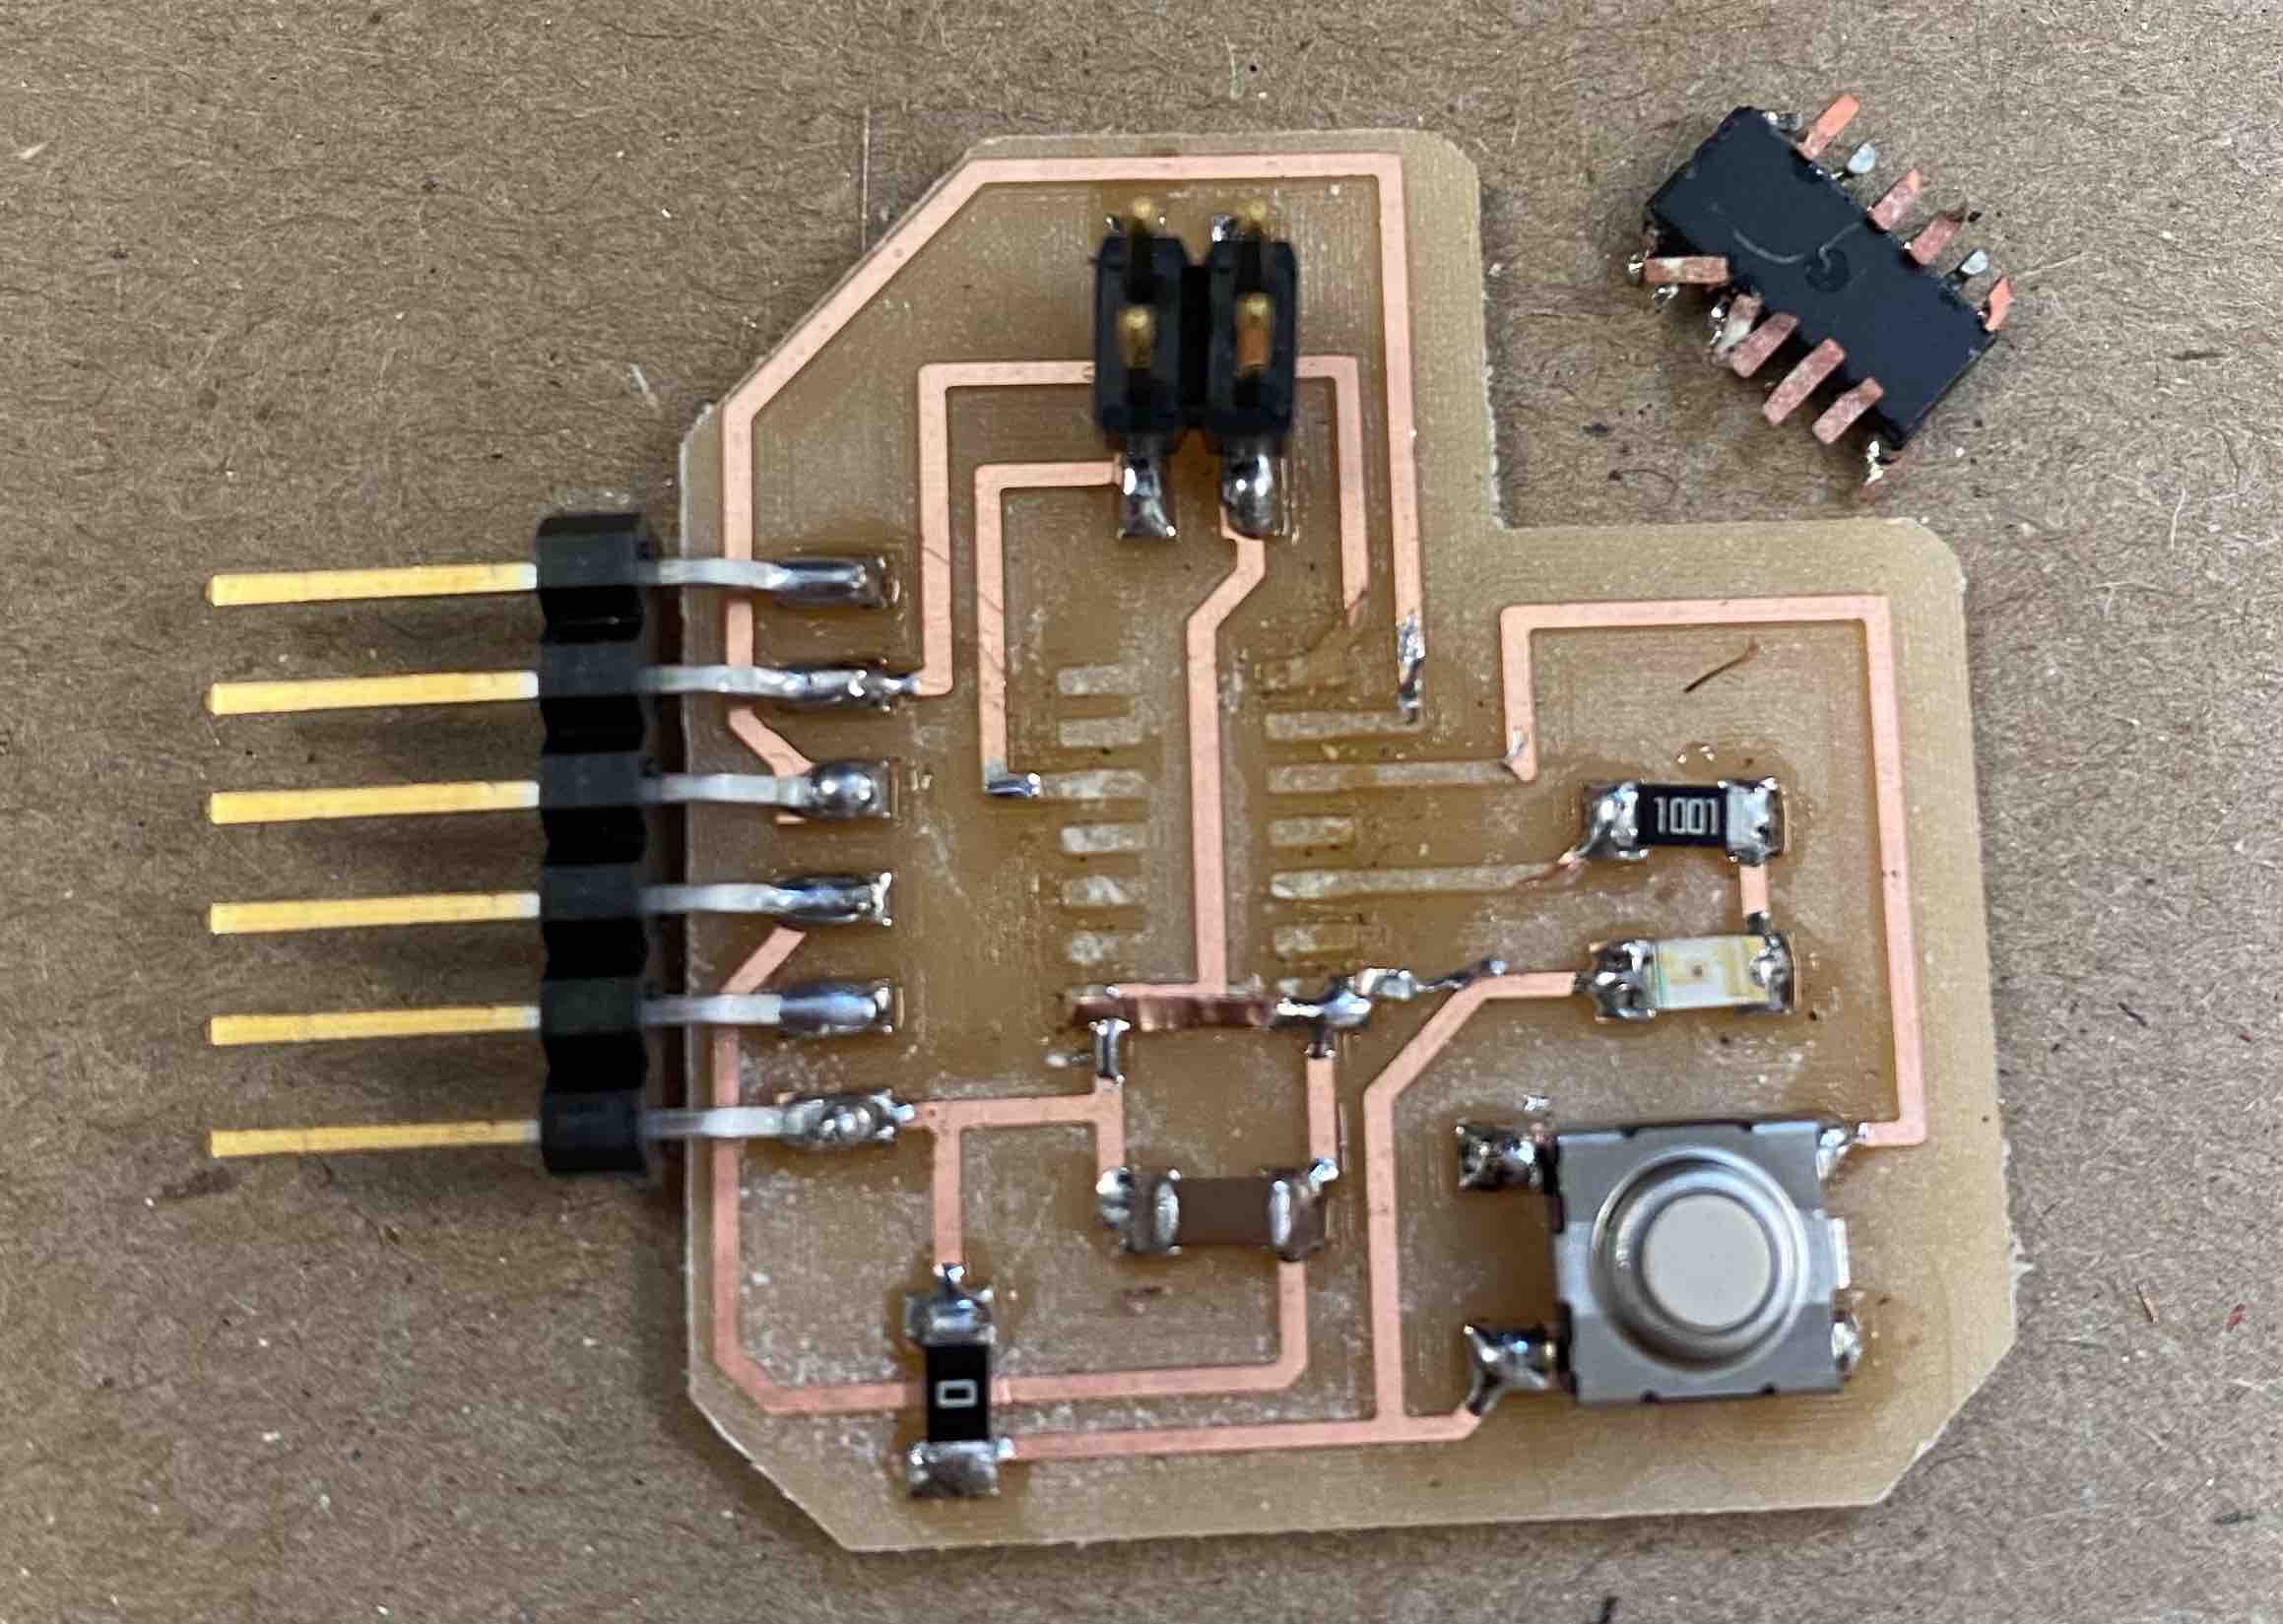
So, I didn't actually have that much patience, so I wound up ripping the ATTINY off the board once I had removed as much solder as I could.