Computer-Controlled Machining
CNC michining, large scale design
01 Group Assignment
//
Characterize the large scale milling machine
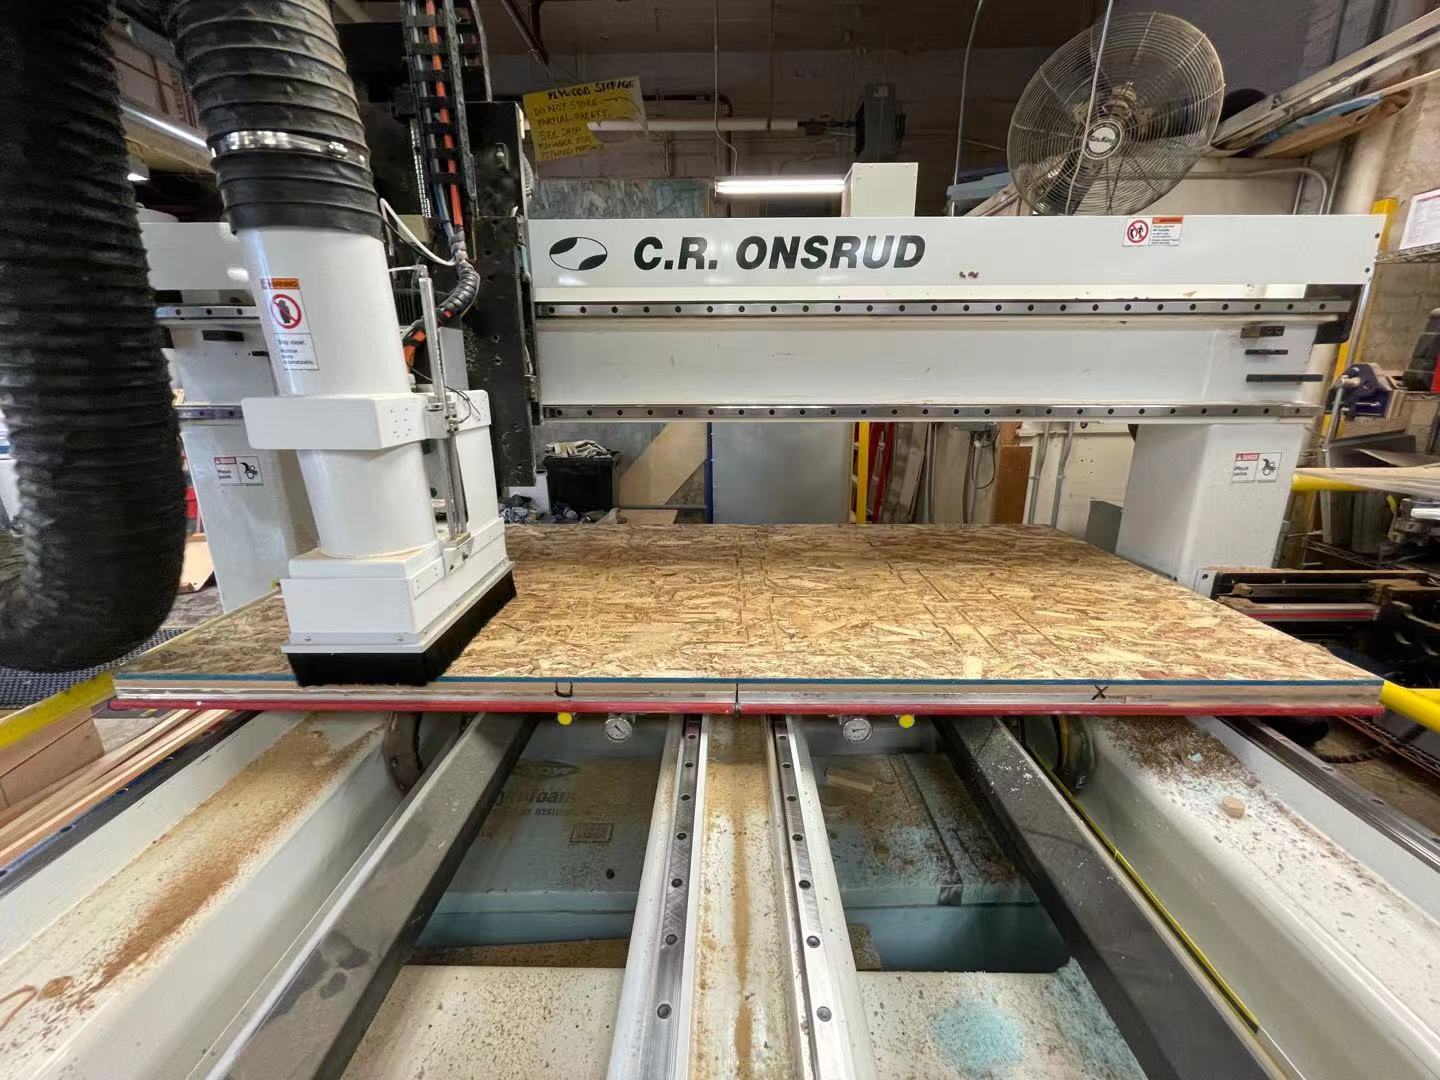
Our section uses the Onsrud CNC milling machine at the architecture woodshop. We cut out similar shape from the laser cutting week to check the runout and best fit.
We cut out slits ranging from 0.6 inches down to 0.3 inches to see which ones will fit best together. It turnes out that the 0.5in-0.5in fits the best, which is about the thickness of the OSB board.
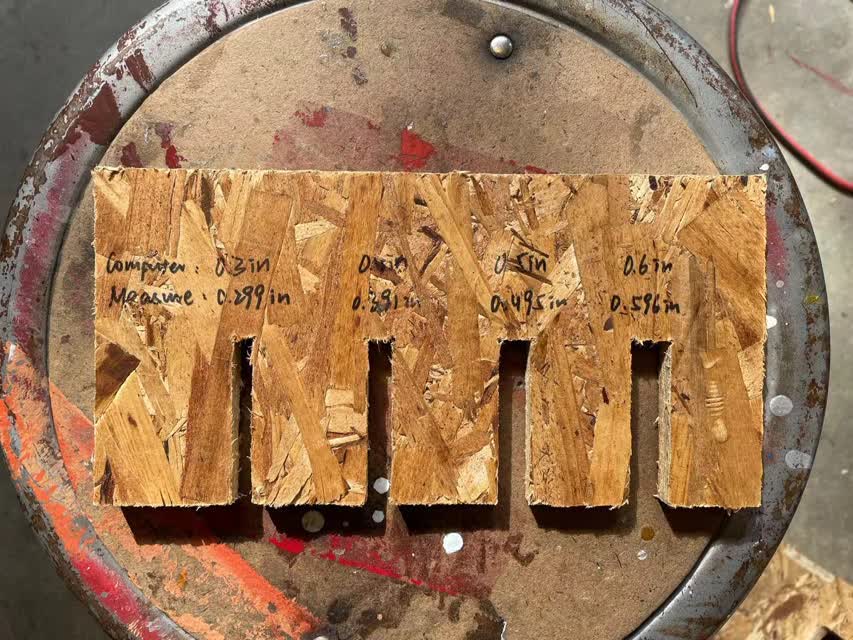
We also took the measurement after we made it to see the difference between the programmed width and the actual width of the slits. Turns out the slits are all ~0.003in smaller than the programmed width.
02 Individual Assignment
//
Make something big
For this assignment, I decided to make bedside table. I started with make the model in Rhino. The dimension of the cabinet is about 15in*13in*45in.
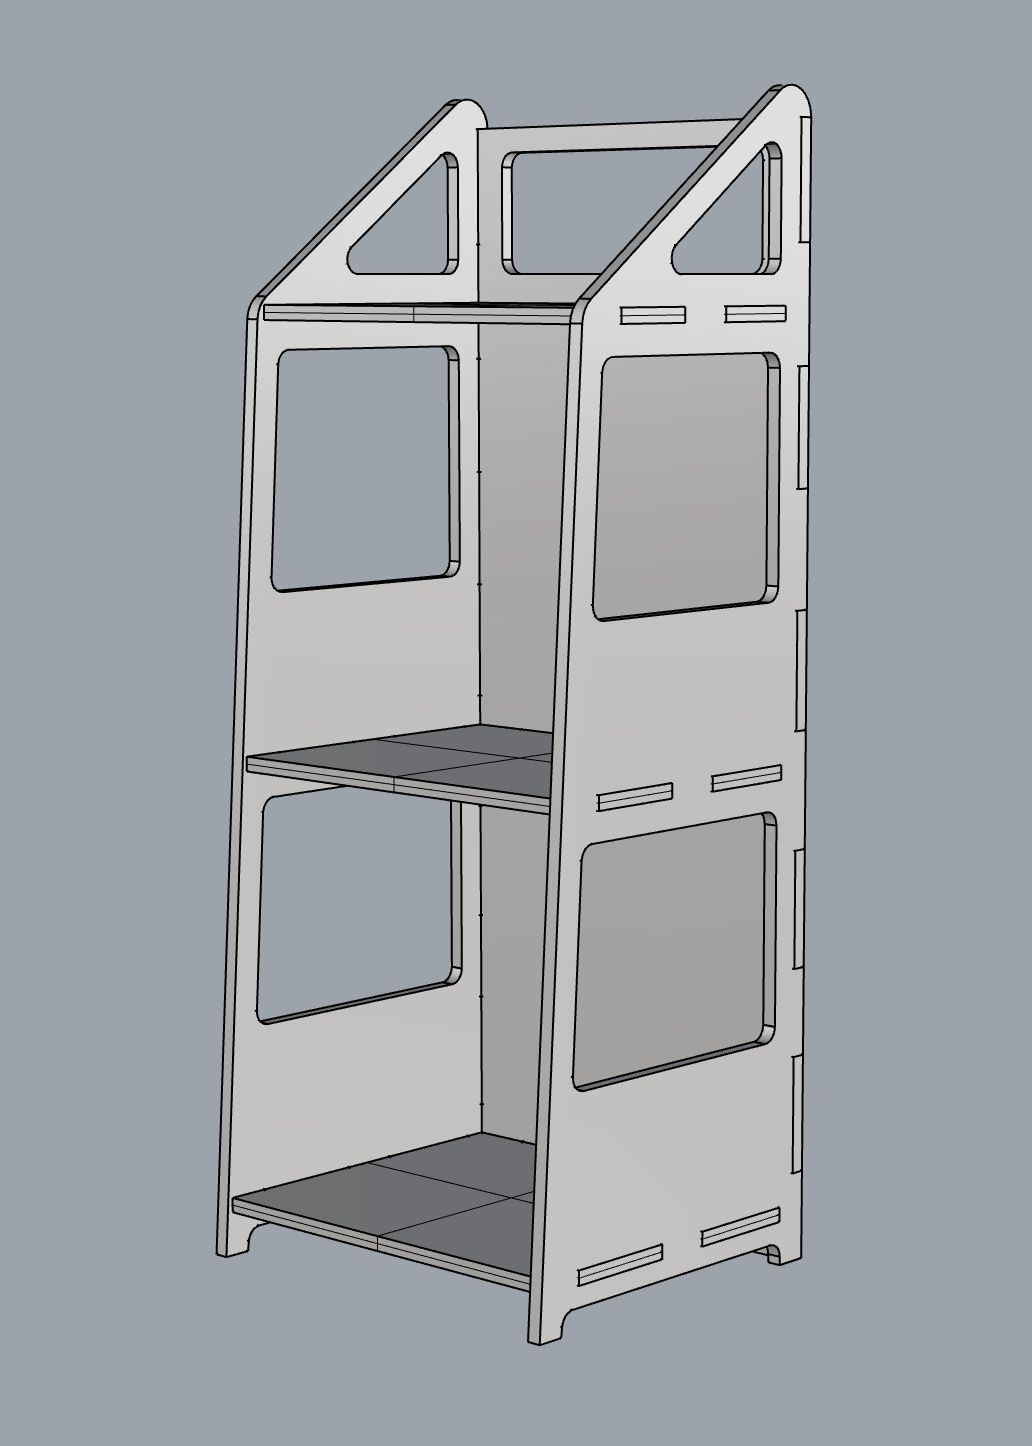
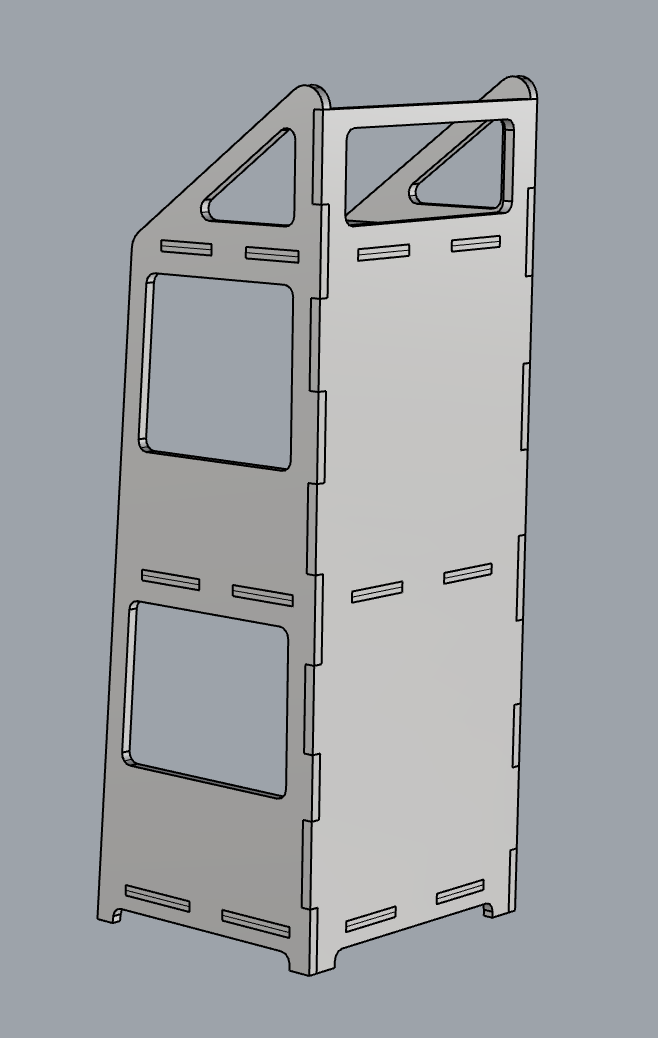
The joint techniques that I used in my model is mortise and tenon. I set all of the slits with a contraint of 0.5in for the height to make sure that they fit in together. The reason why I didn't include any kerfing is because when we set up the machine, the rounter bit will mill on the outer side of the outline, and at the inner edge of the mortises, which means that the mortises will be just a little bit bigger than the tenons, making them fit tightly and perfectly.
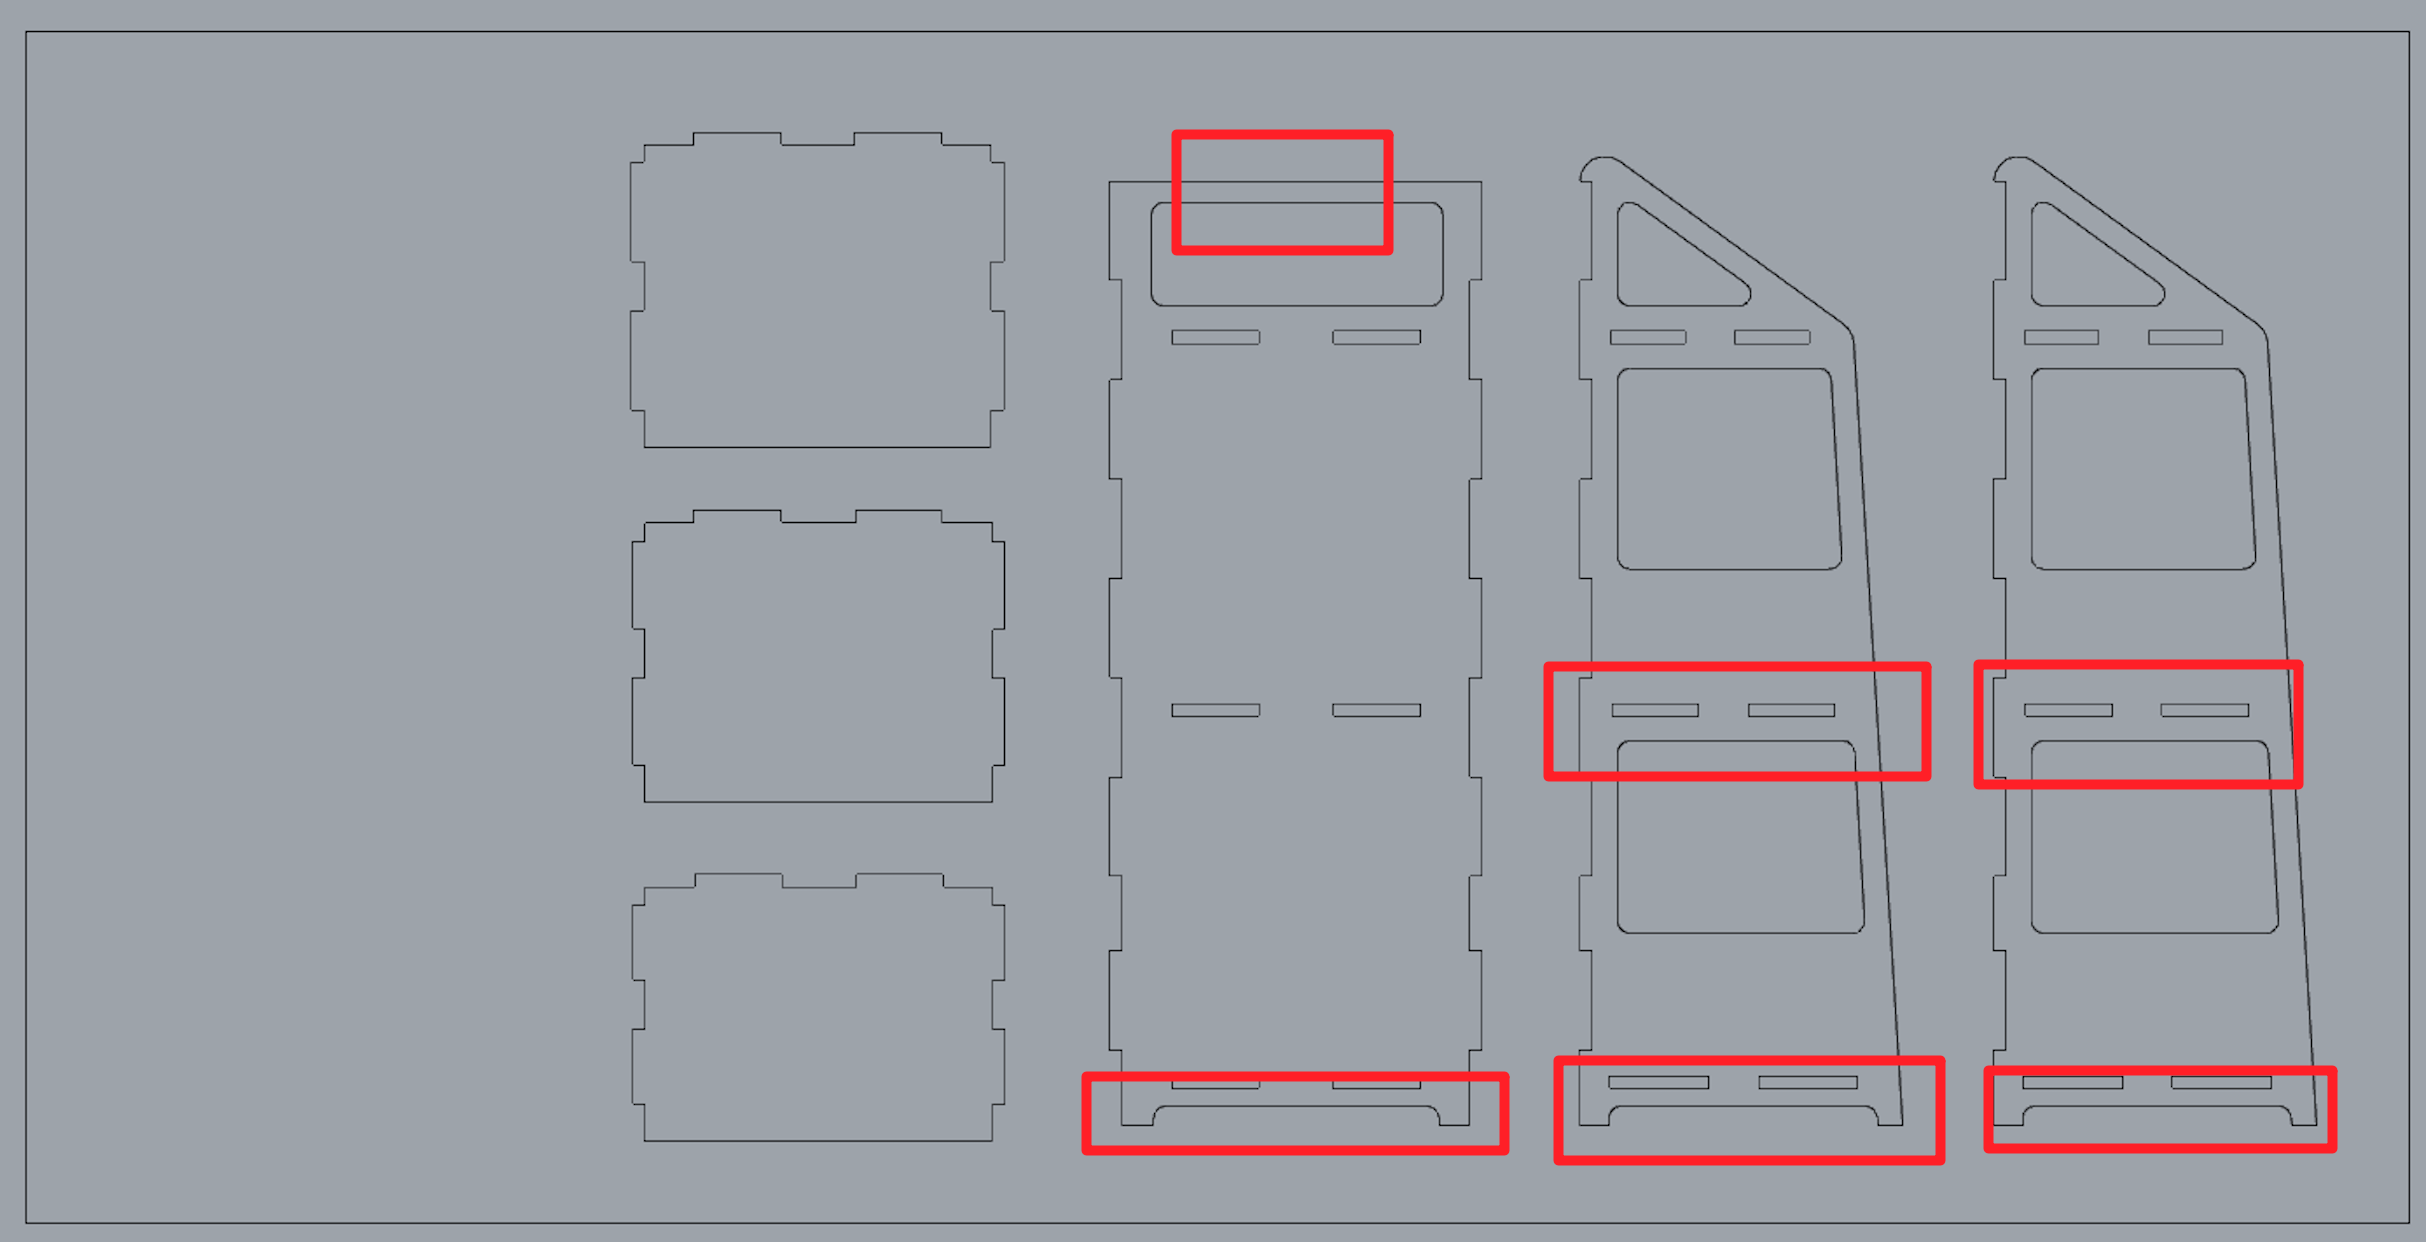
I laid the pieces out on a 4' by 8' rectangle in rhino. Chris reminded me that I can't have mortises that are too close to a edge, because OSB is a very crisp material. It will break off easily. So I changed all of the positioning of the wholes to make sure they are at least 1in away from the edges.
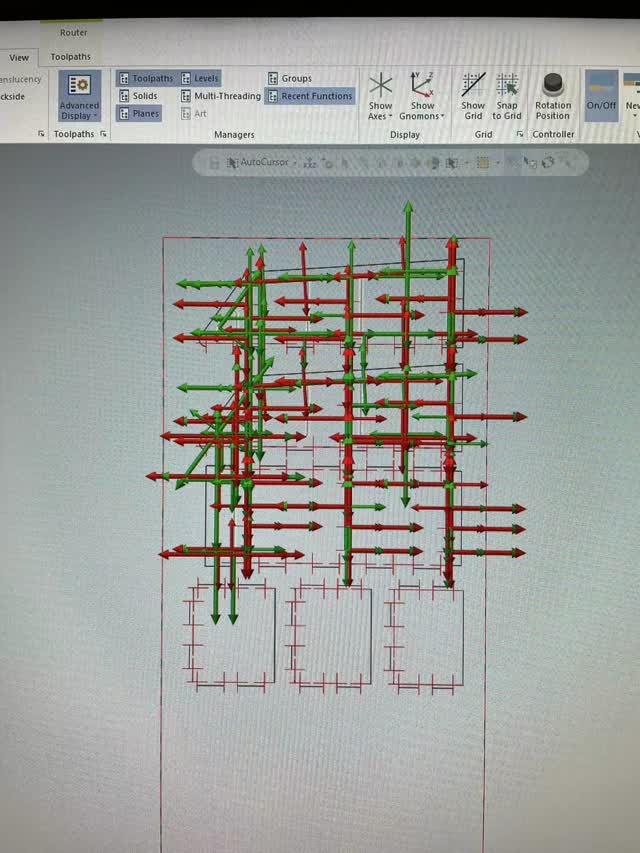
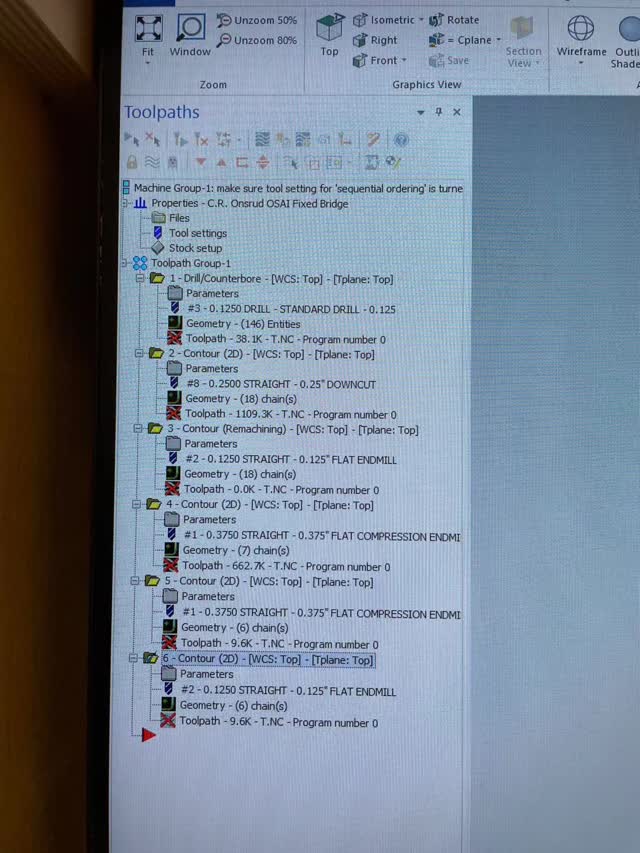
Chris also helped me set up the file in master cam. It is a very complex process. To sum it all, we need to program the toolpath for different parts of the cuts(outline, tenons, and bigger wholes). One thing to keep in mind before exporting file from rhino to master cam is that put different lines in different layer. Because you are going to be needing different sizes of router bits for different part. For example, we need a dot for all of the inner corners because we will need a 0.125in drill to dill down wholes at those corners to give a clean cut.
The milling process took about half an hour, and the machine was very loud. Eventually the peices came out nicely.
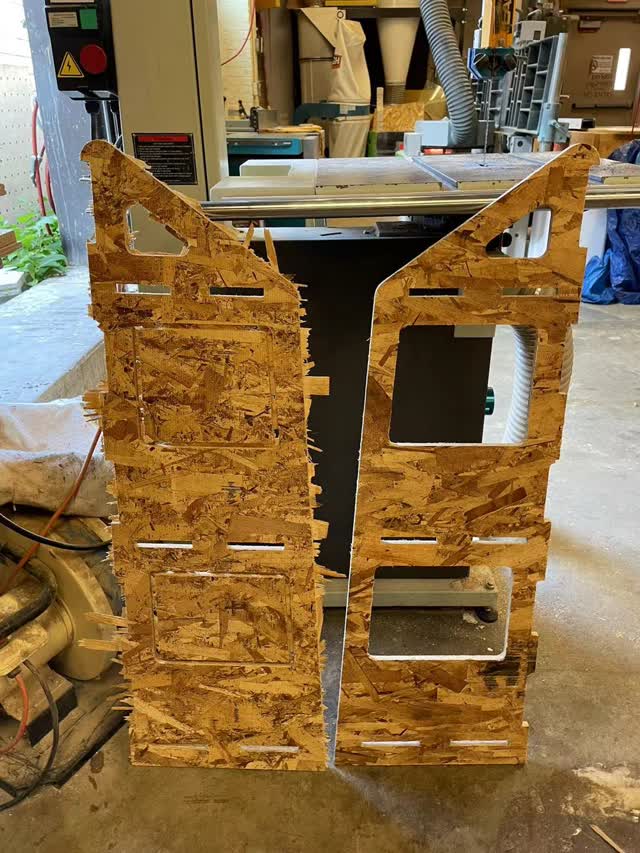
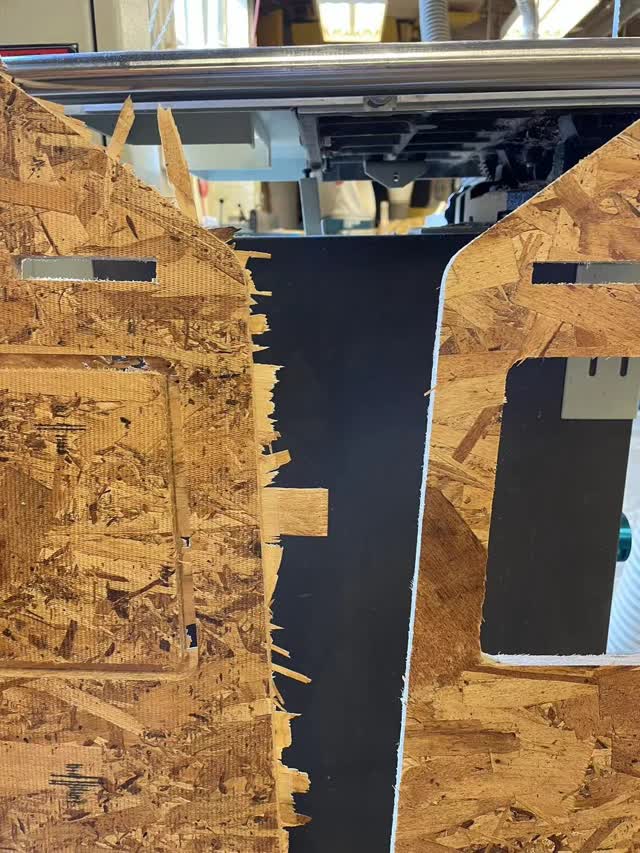
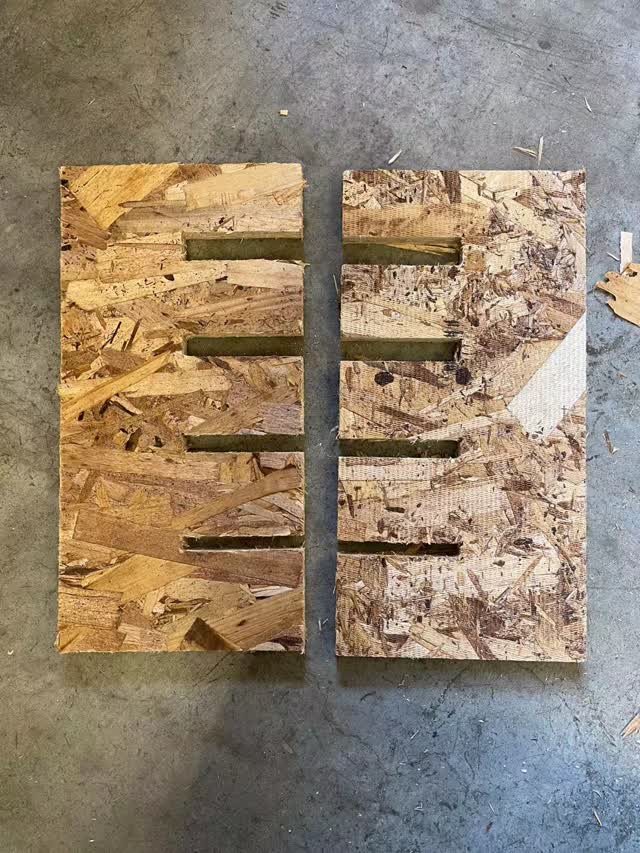
The left board is what it looks like when it first came out. The edges looked terrible so I used a filing tool to clean up those edges. It didn't took very long to clean those up.
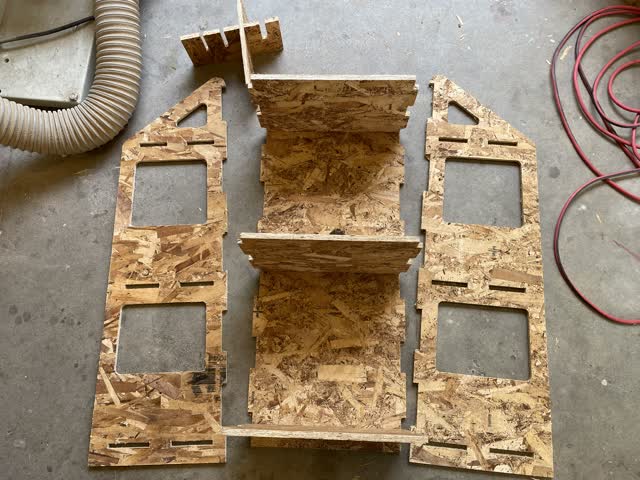
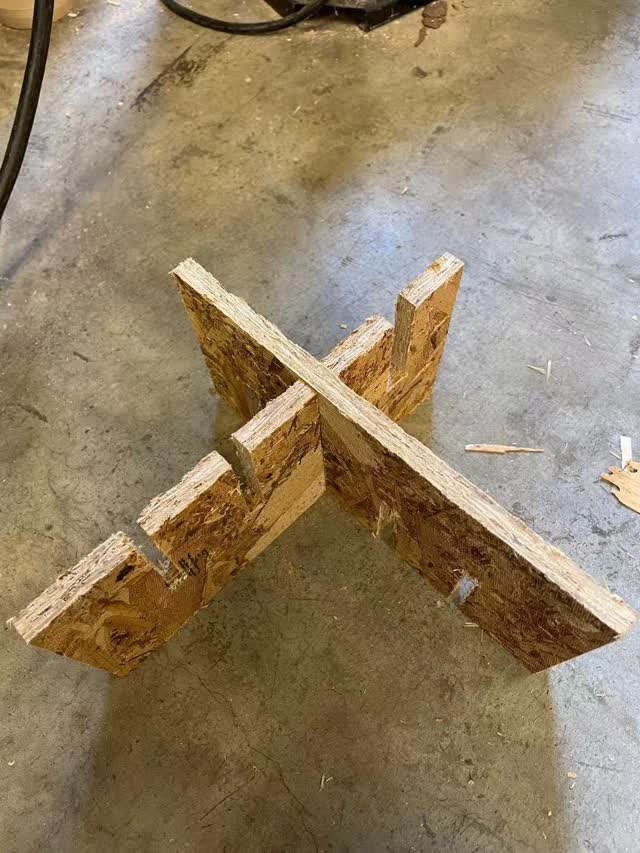
After filed everything, I started the assembling process. The mortise and tenon joints actually fits perfectly. I used a hammer to secure the joints.
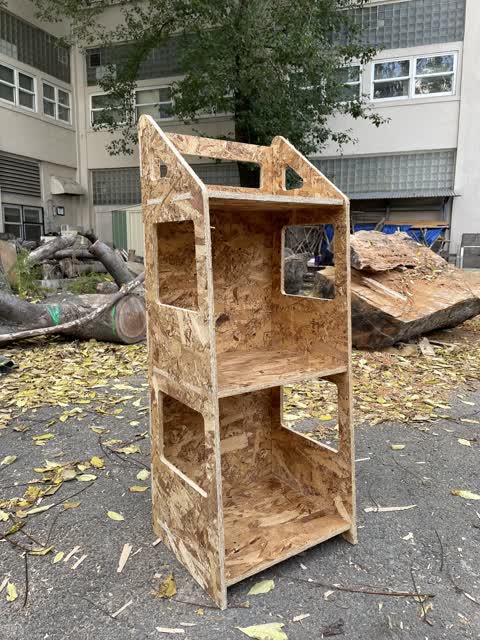
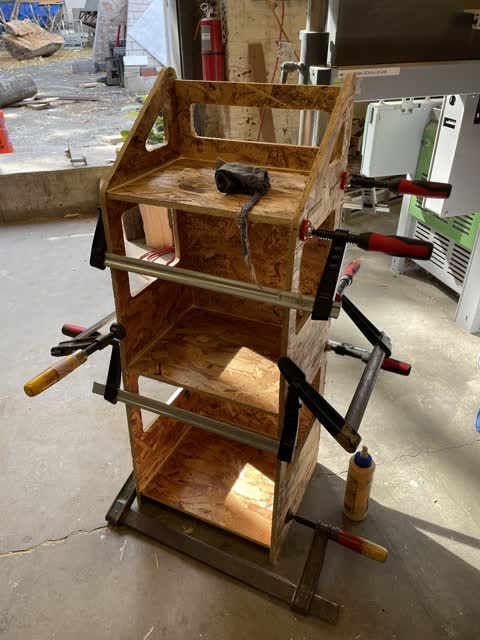
The final Result! Turns out I didn't need to use any glue for the cabinet. However, I still applied a little around each of the corners because I will be placing some heavy duty books on top.
03 Conclusion of the Week
//
Gained skills
Onsrud milling machine, large scale design, OSB board materiality knowledge
Thoughts and lessons learned
Overall, everything went very smooth this week. The only struggle point is learning the master cam software. There are a lot of steps and settings to follow. Some little things to keep in mind: 1. Wear protections! You have to wear goggles and ear protections around the big machine. The peices are likely to fly around and will harm your eyes if you don't wear them. 2. Check the design constraints before sending to the machine, that is, check if there are wholes too close to the edge and if all the of joints are set up correctly.