Molding and Casting
Experiment with molding, casting, and 3-axis milling
01 Group Assignment
//
Review safety data sheet, make and compare test casts
As a group, each of us did some different test casts. A detailed description can be found in this link:
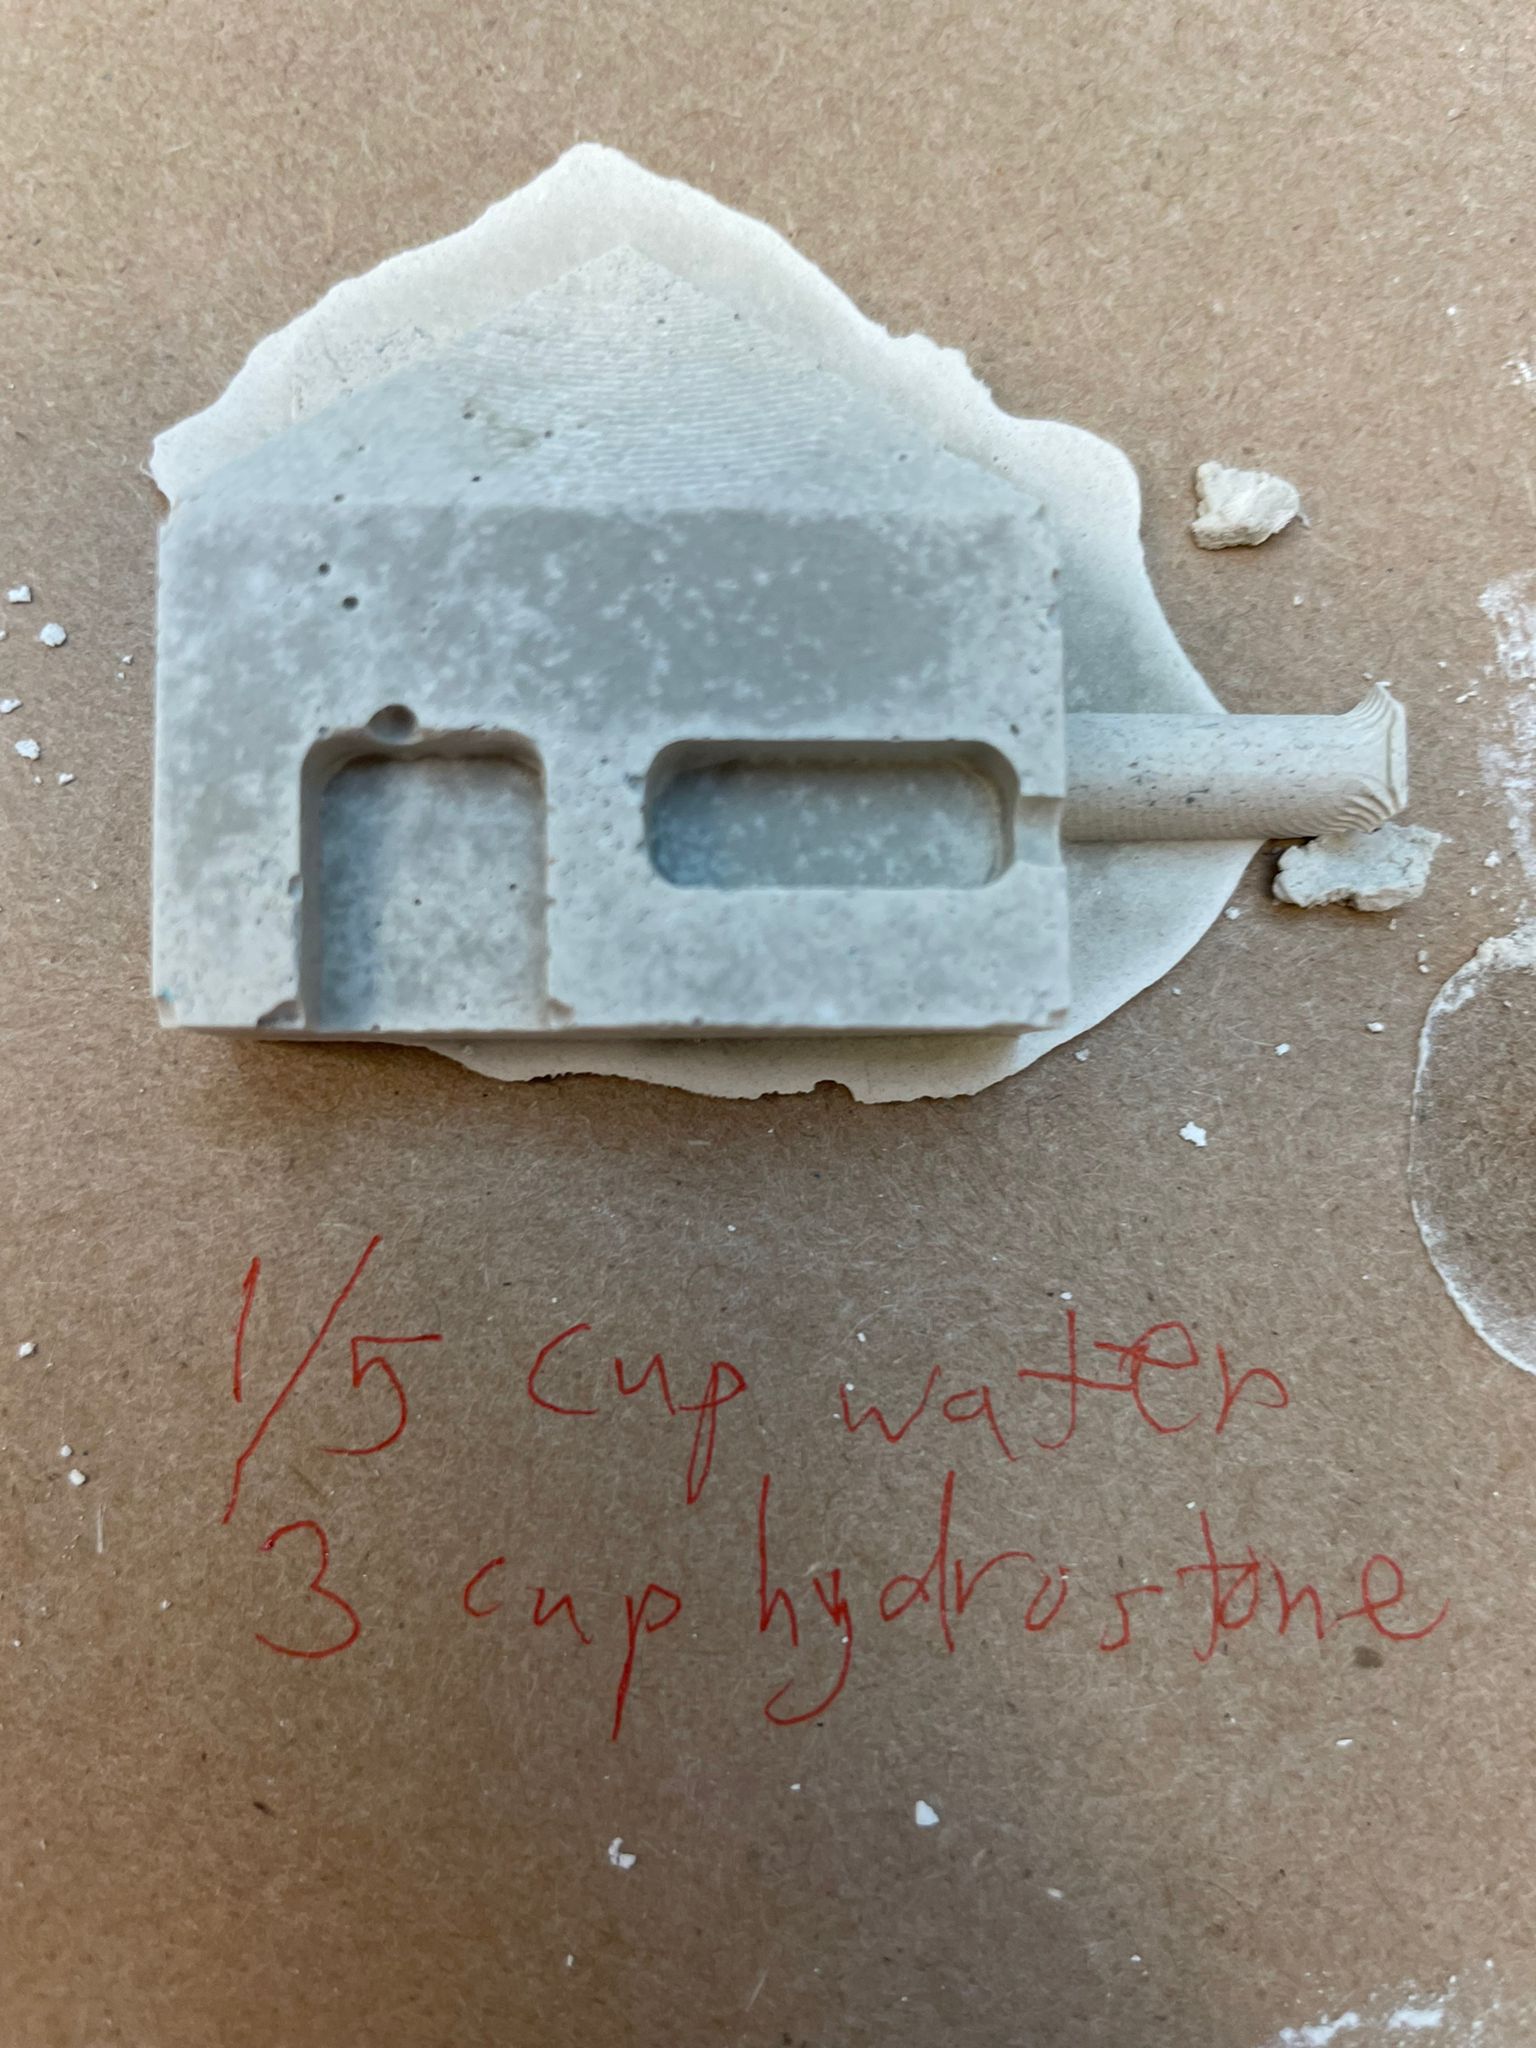
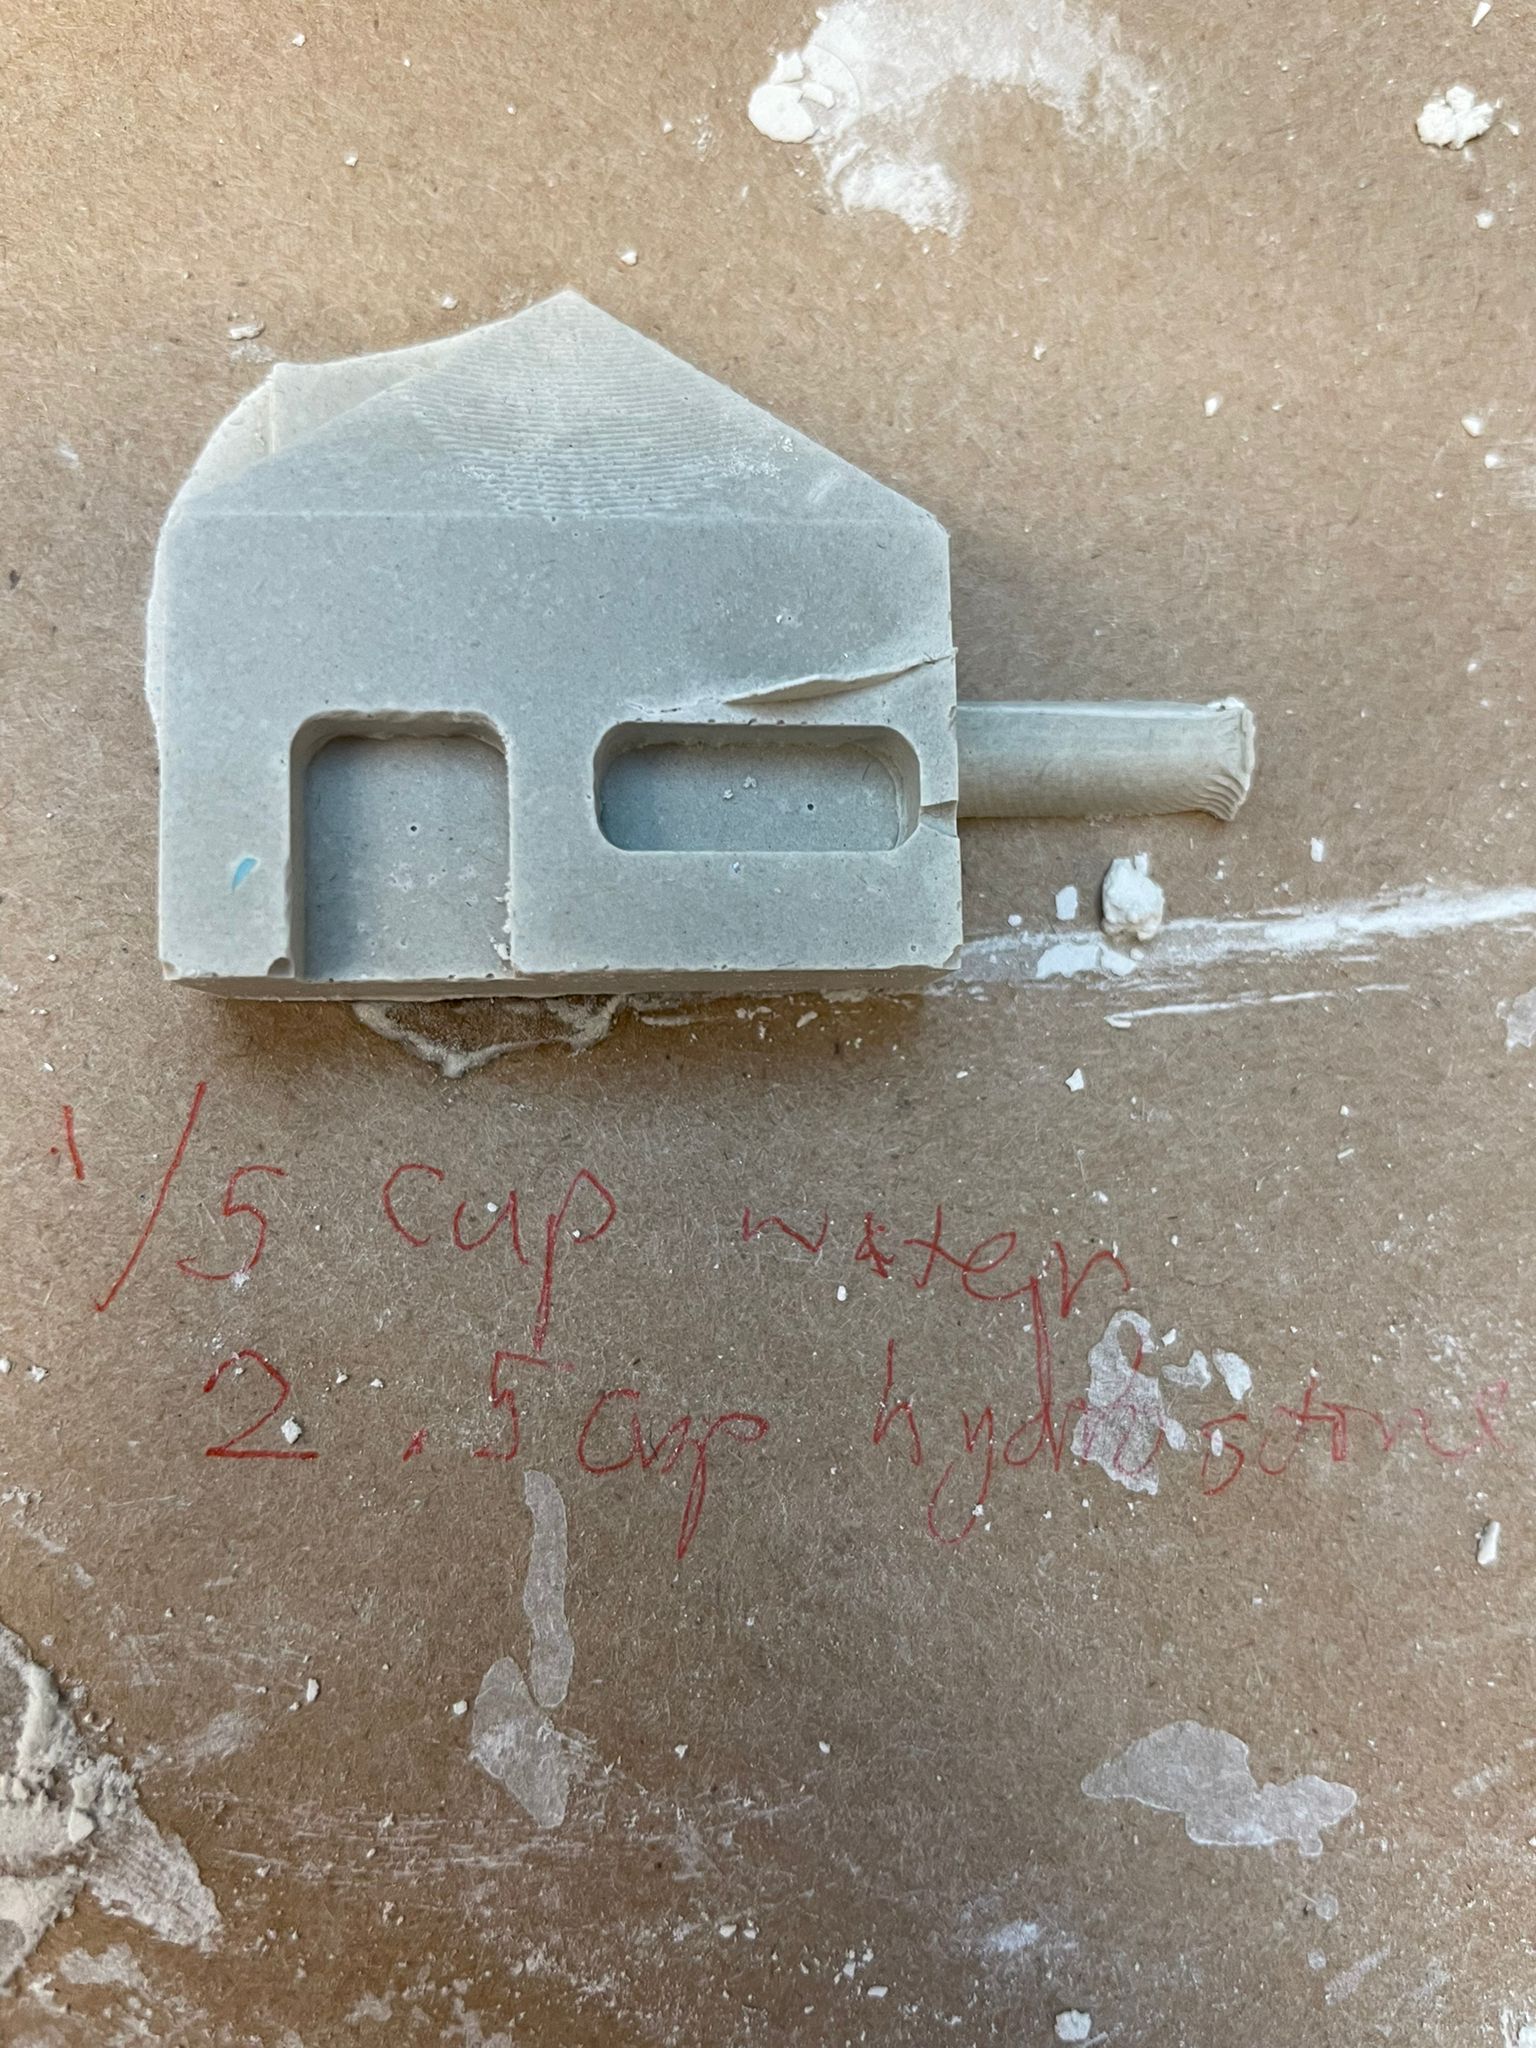

Our groupmate Bo, Kim, and Demircan was experimenting casting with different ratios of water and cement. It looks like the cast with more water took longer to heal.
02 Individual Assignment
//
Design a mold
For this week, I decided to make a frame corner for my pixel art frame. This was the perfect opportunity to make a mold for my final project since I don't need a large peice.
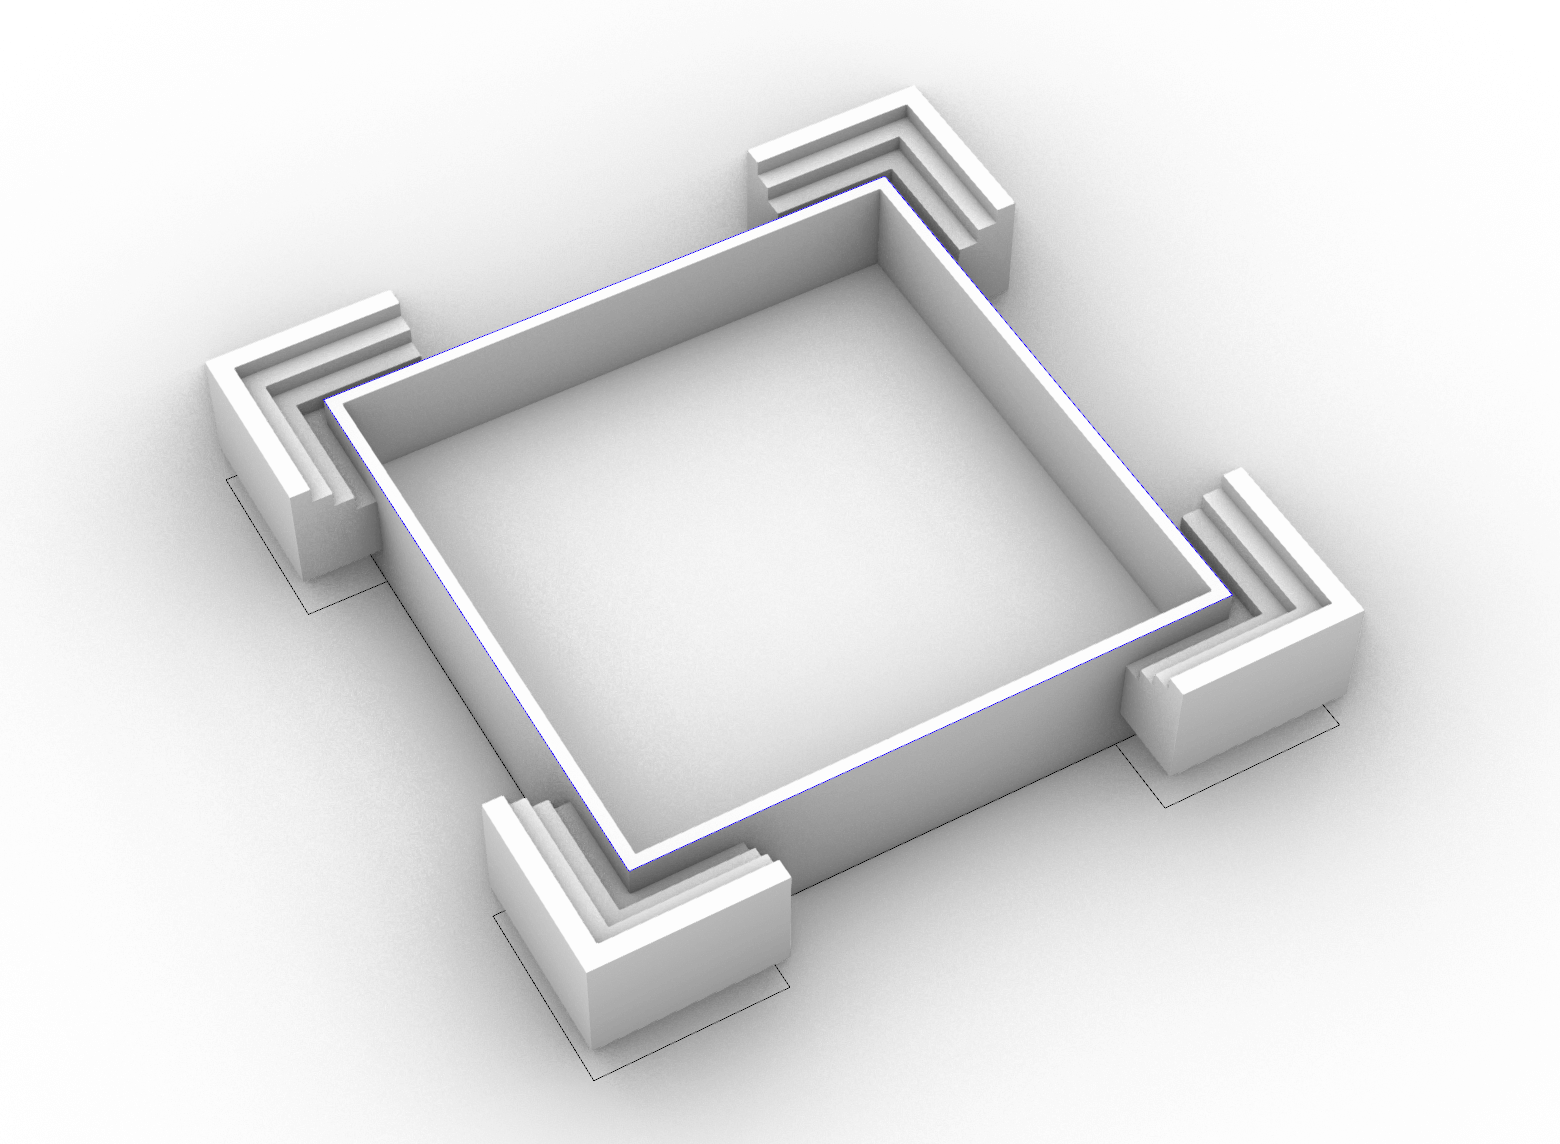
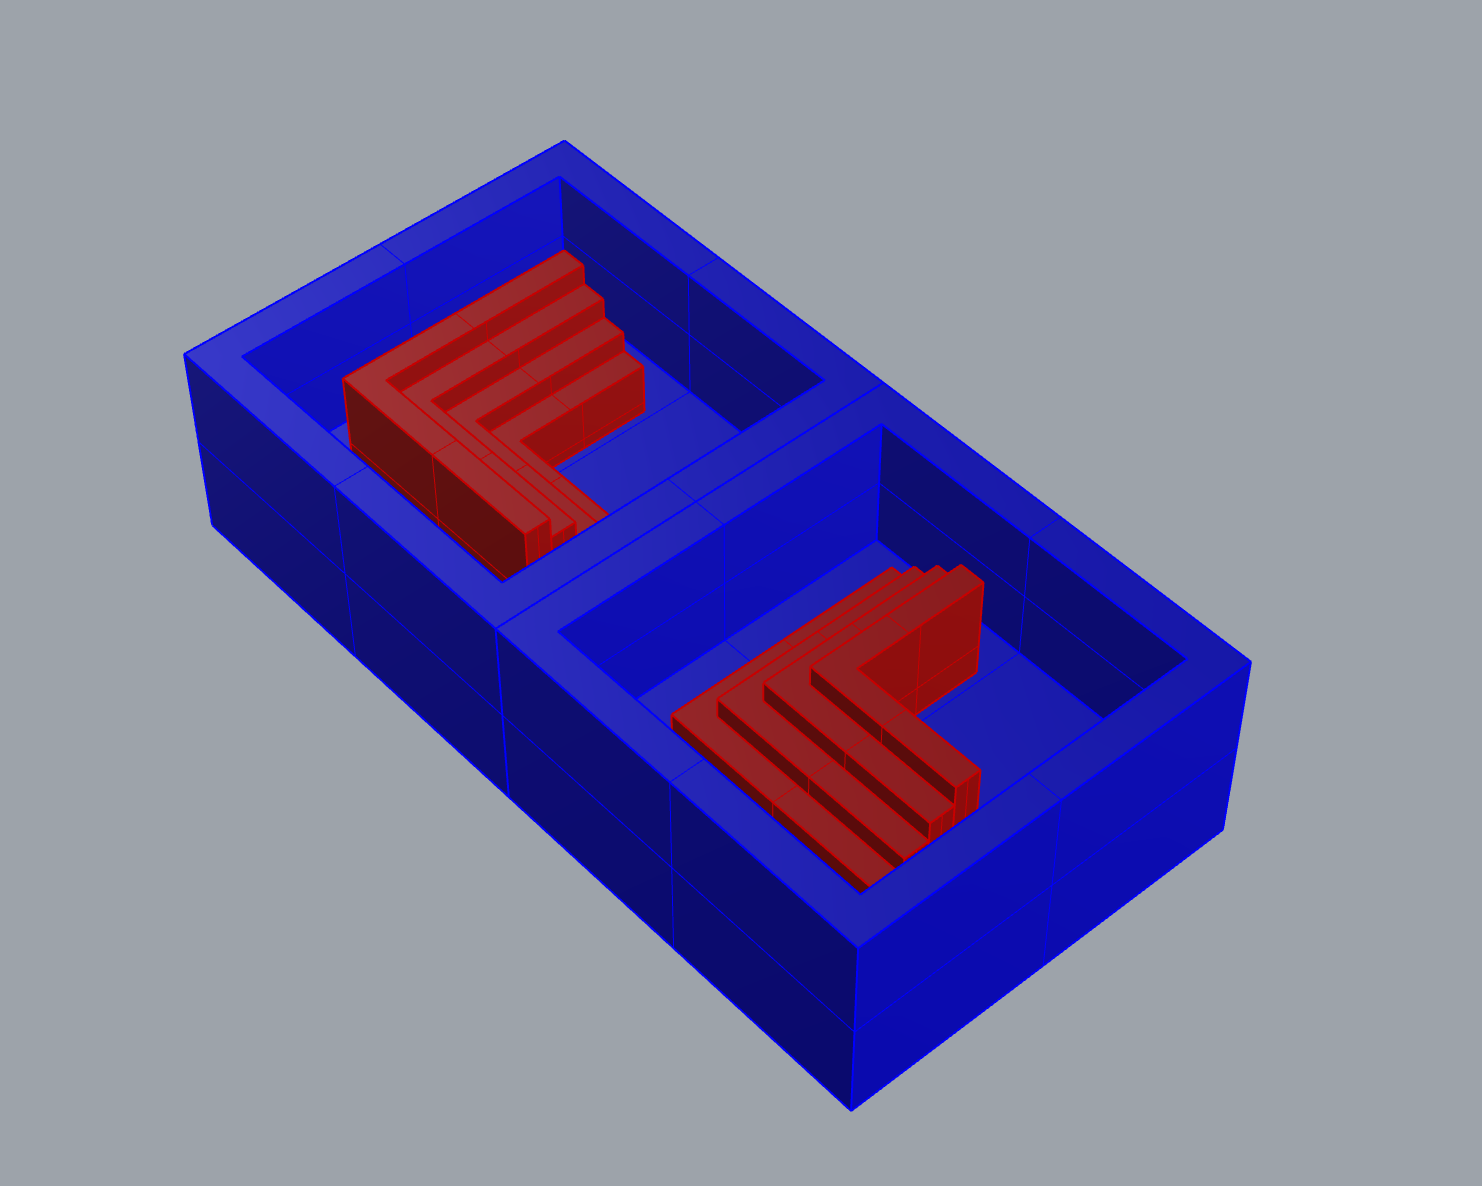
This is what I wish the frame look like for the final project. I want the shape to be relatively simple and geometric, so I chose to do a stepdown design. In also modeled a step up corner just to compare how they would turn out differently.
//
Mill the mold
I used the prototrek in N51 to mill my mold. The process was relatively complex because we are using master cam to set up the toolpath. However, having the experience in working with Onsrud, I felt better understanding in setting up the prototrek. Chris and Zain helped me with setting up the file and we did a roughing tool and a finishing tool.
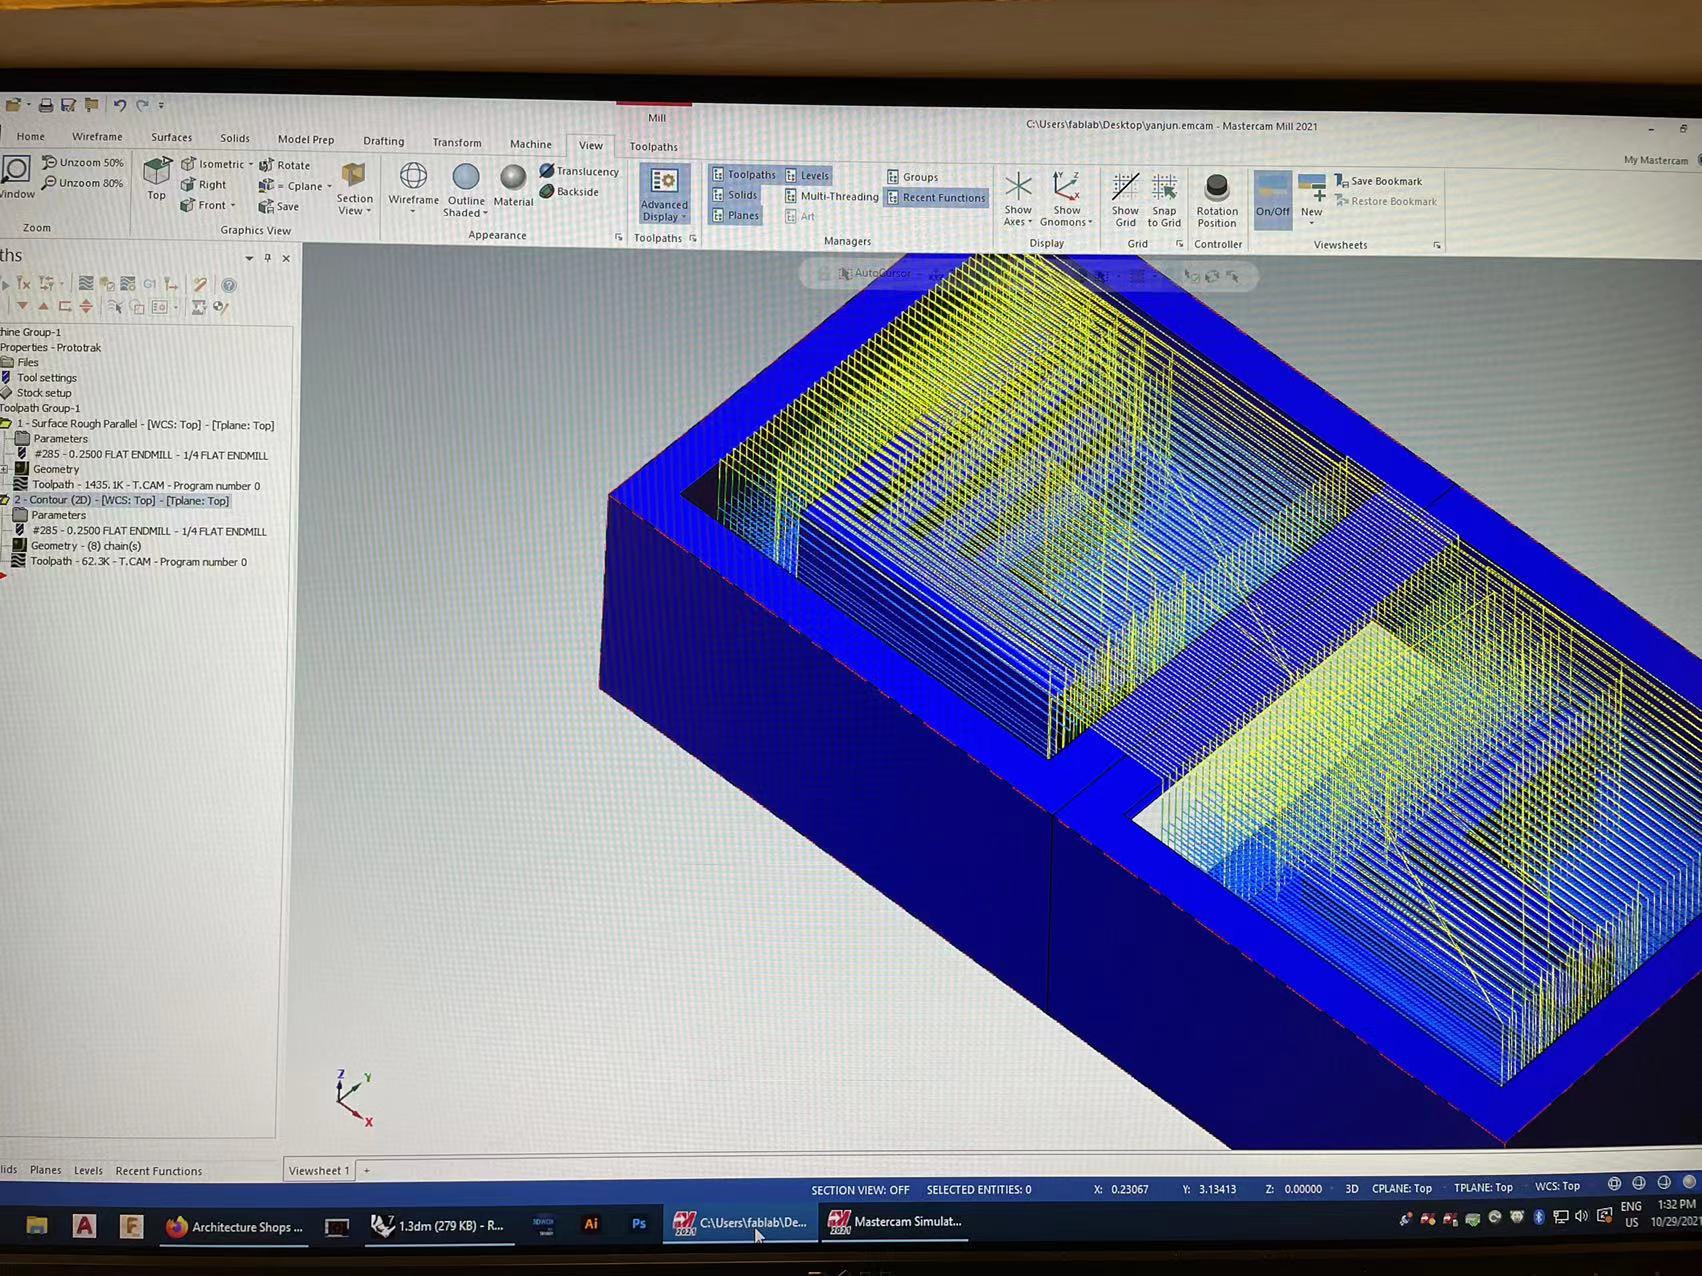
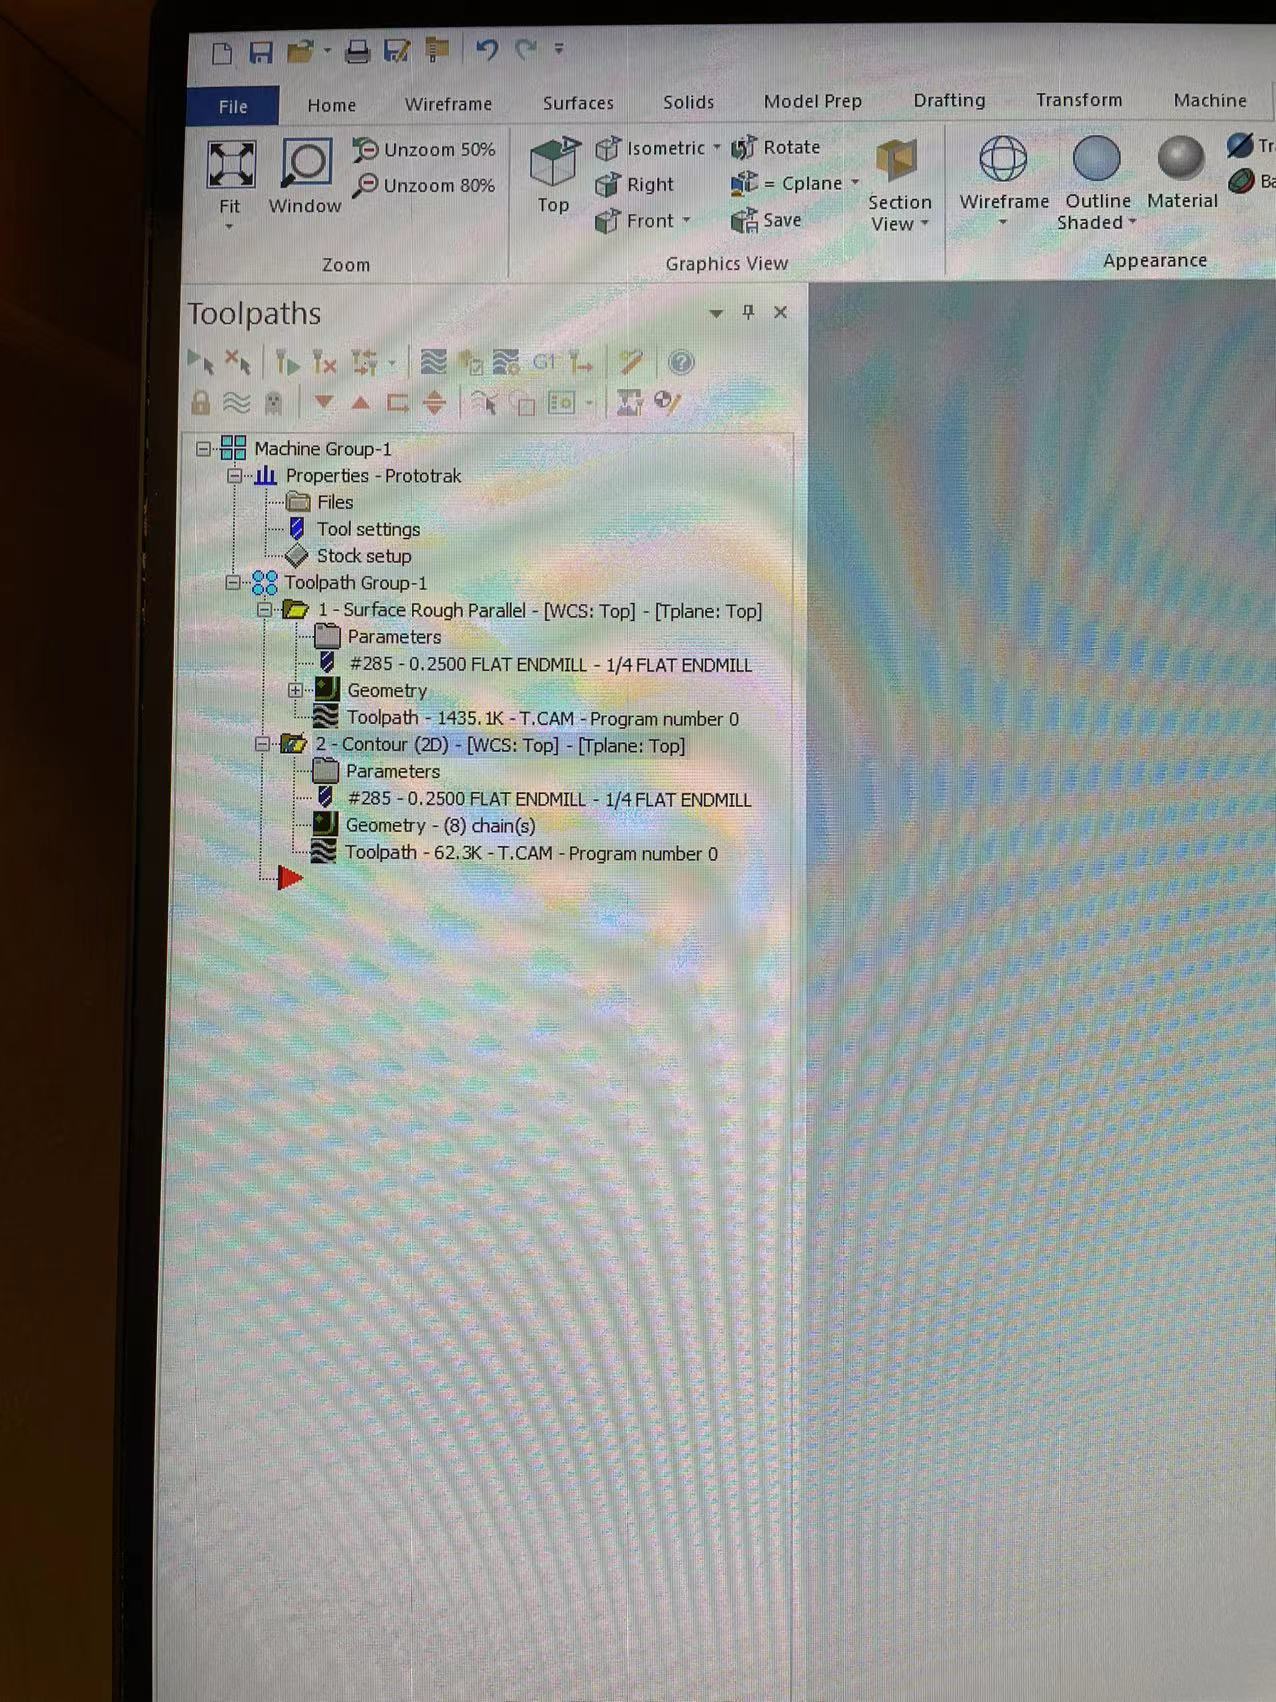
The problem we encountered was that the mechine set up in mastercam has two prototreks, which are named prototrek and generic prototrek. We set all of the setting to the wrong machine, and generic prototrek should be the one. But that was a easy fix. I always found that the demonstration on master cam very helpful because it allow us to precheck what might be wrong during the milling process.
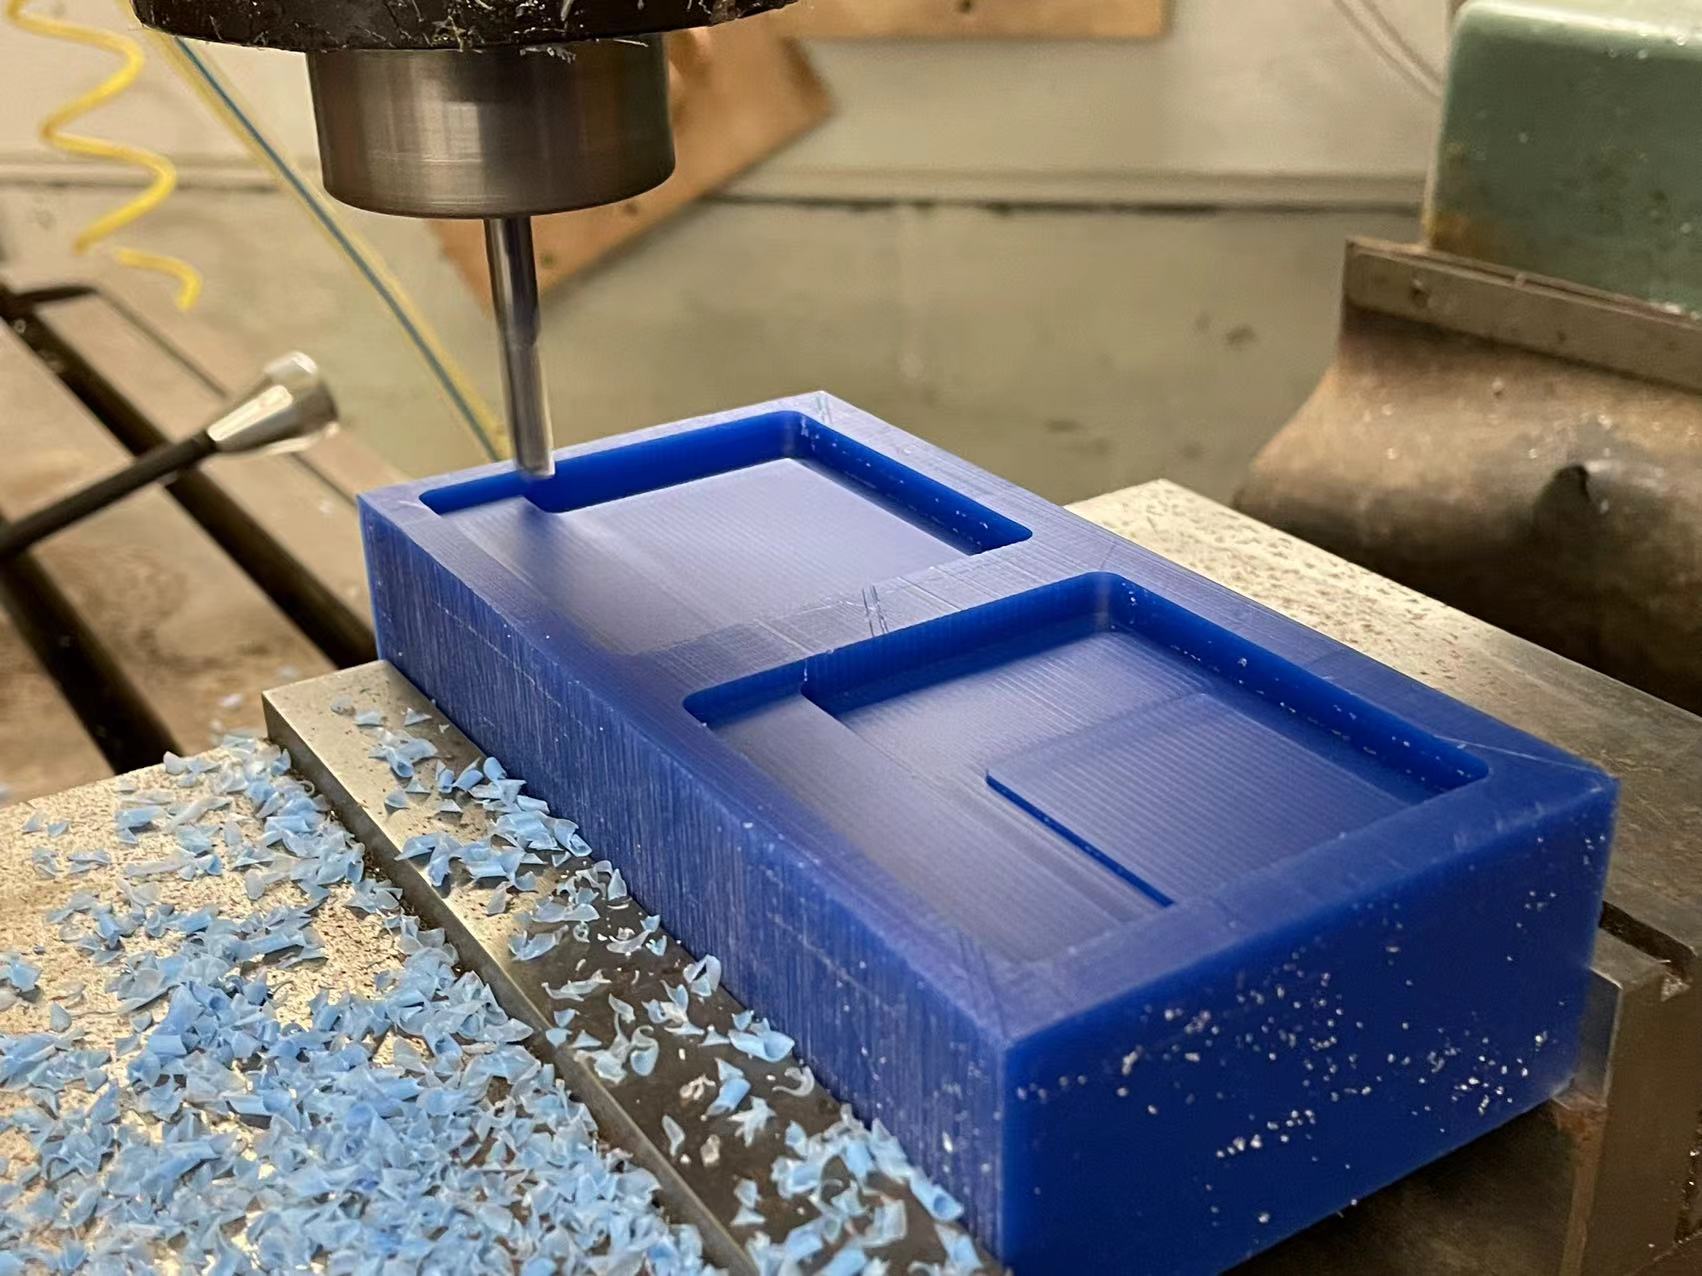
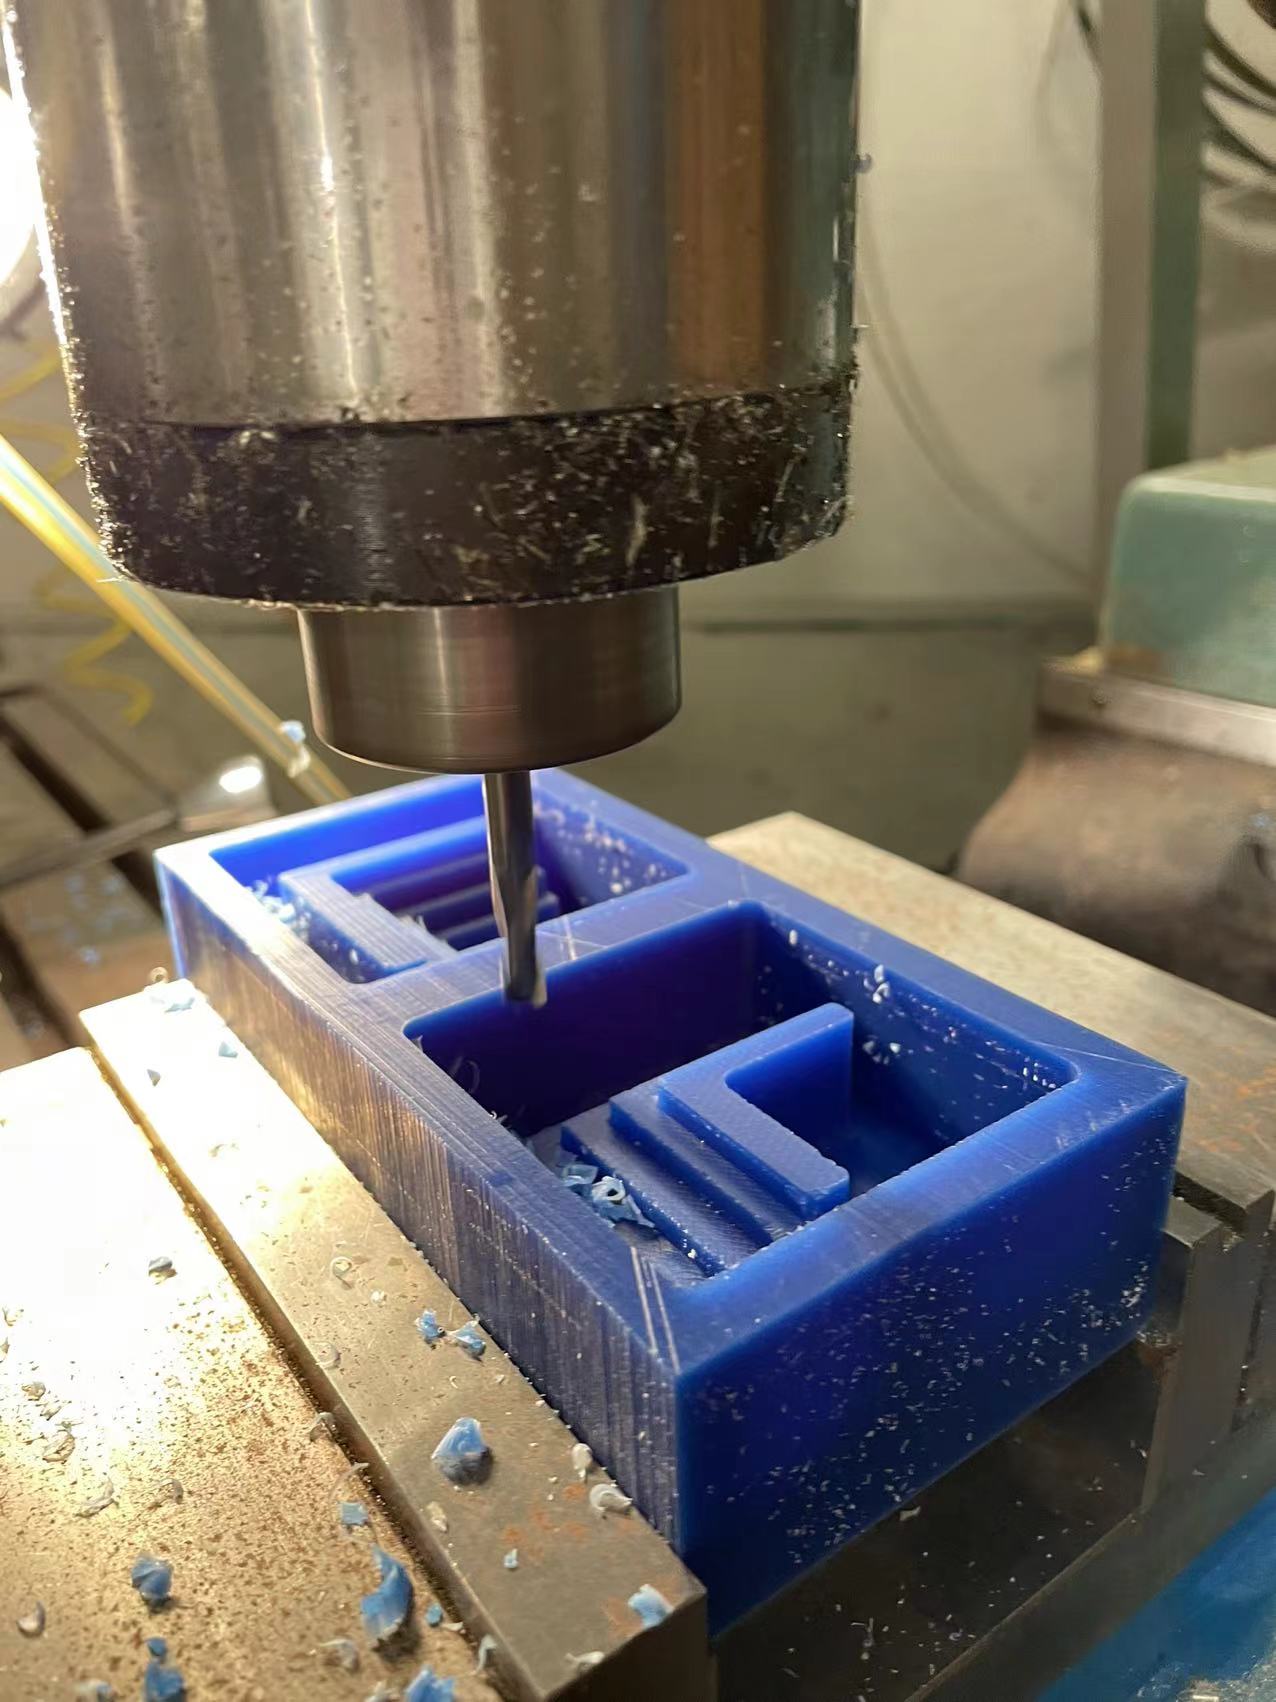
This is the milling process. It is crucial to make sure the mold is tightly clamped down so that it won't move around. The process took way longer than I expected. I think next time if we wanna do it, we are going to increase the speed even more.
//
Make the mold and casts
After finishing up the wax mold, I also printed out a 3D printing mold to compare the accuracy between these two materials.
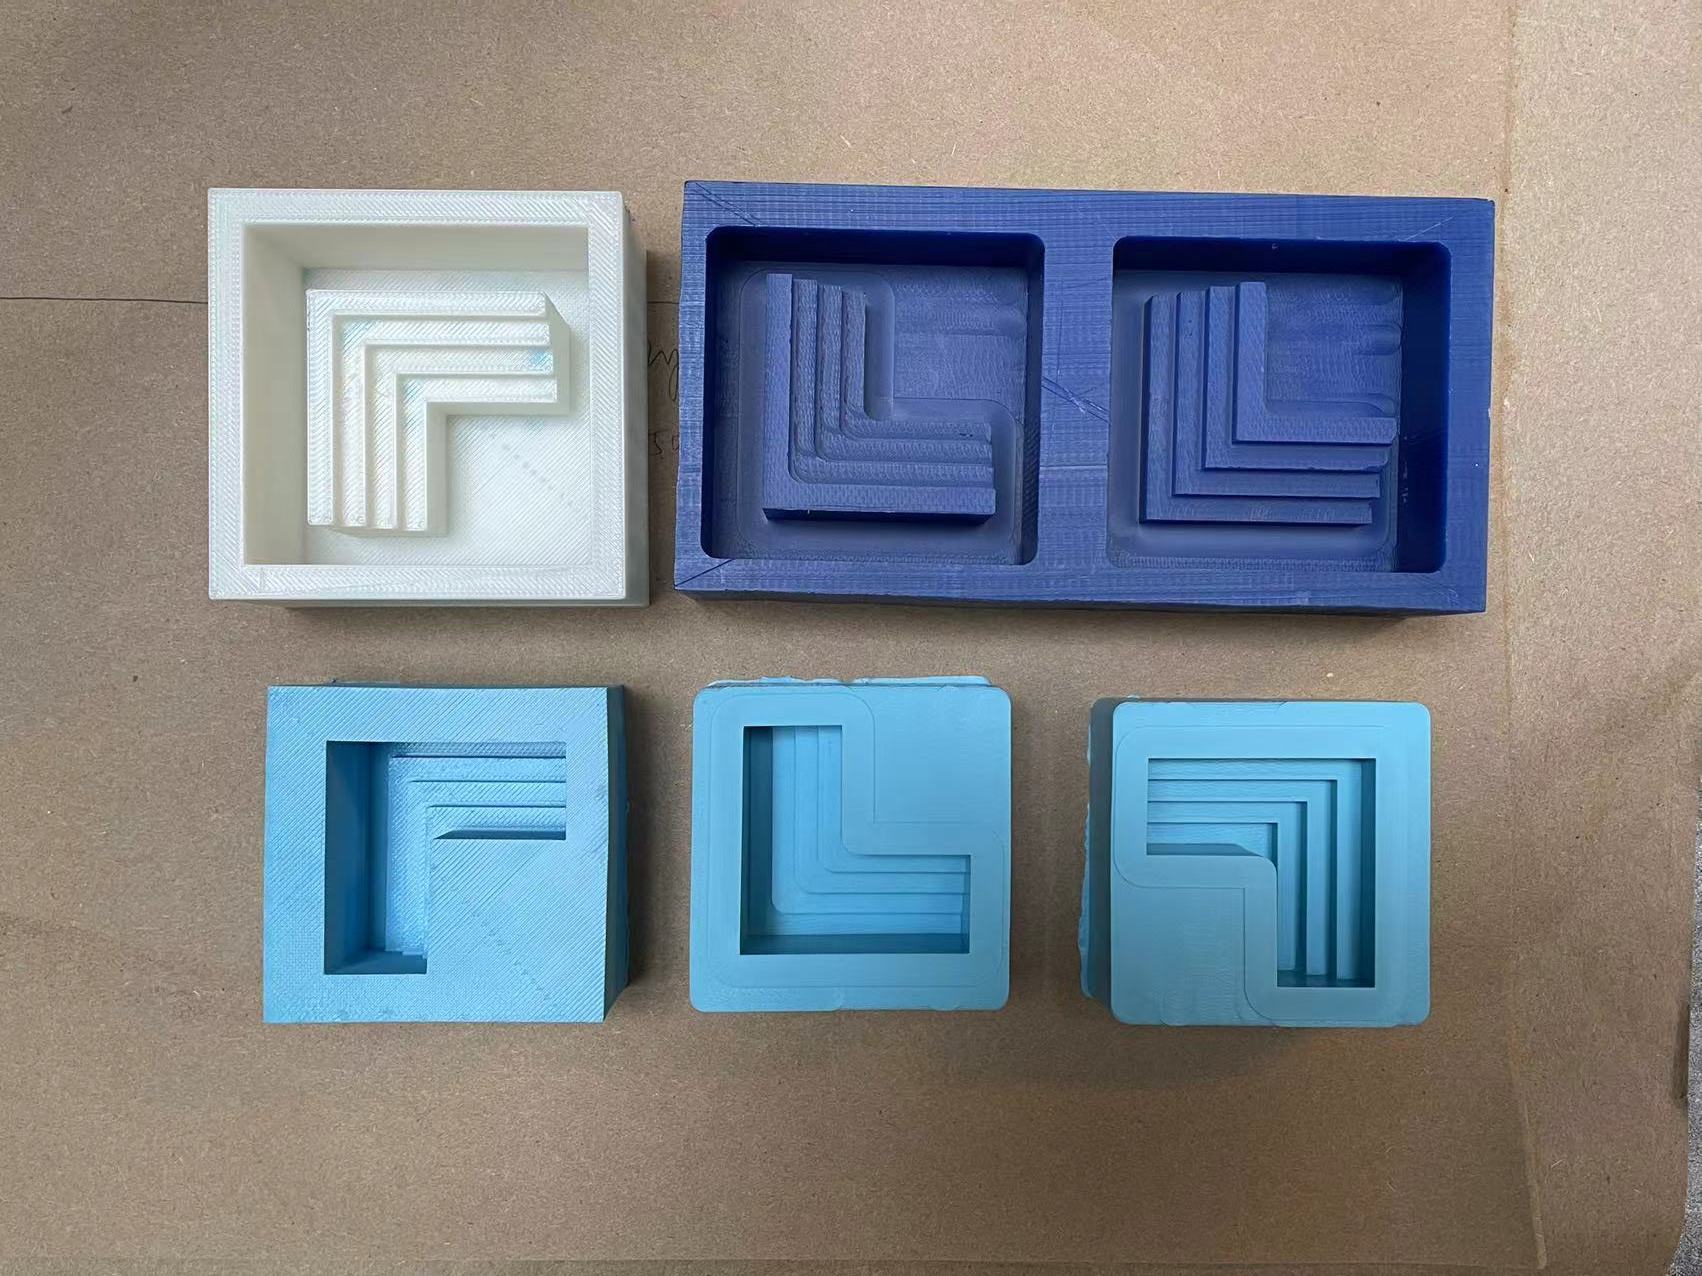
This is how they turned out! I followed the oomoo directions and mized part A and part B with 1:1 ratio. The rubber took about 90mins to heal. It was a little bit sticky at first, but after I washed it with water, the stickness went away.

The next step is to make the cast. I mixed much water with too little amount of cement, so it took very long to heal. It's suppose to heal in 15min but it took me about 1hour. You can see from the picture how they are very watery when I poured them into the mold, and that is not a good texture. I think the correct texture should be smoothie like mixture.
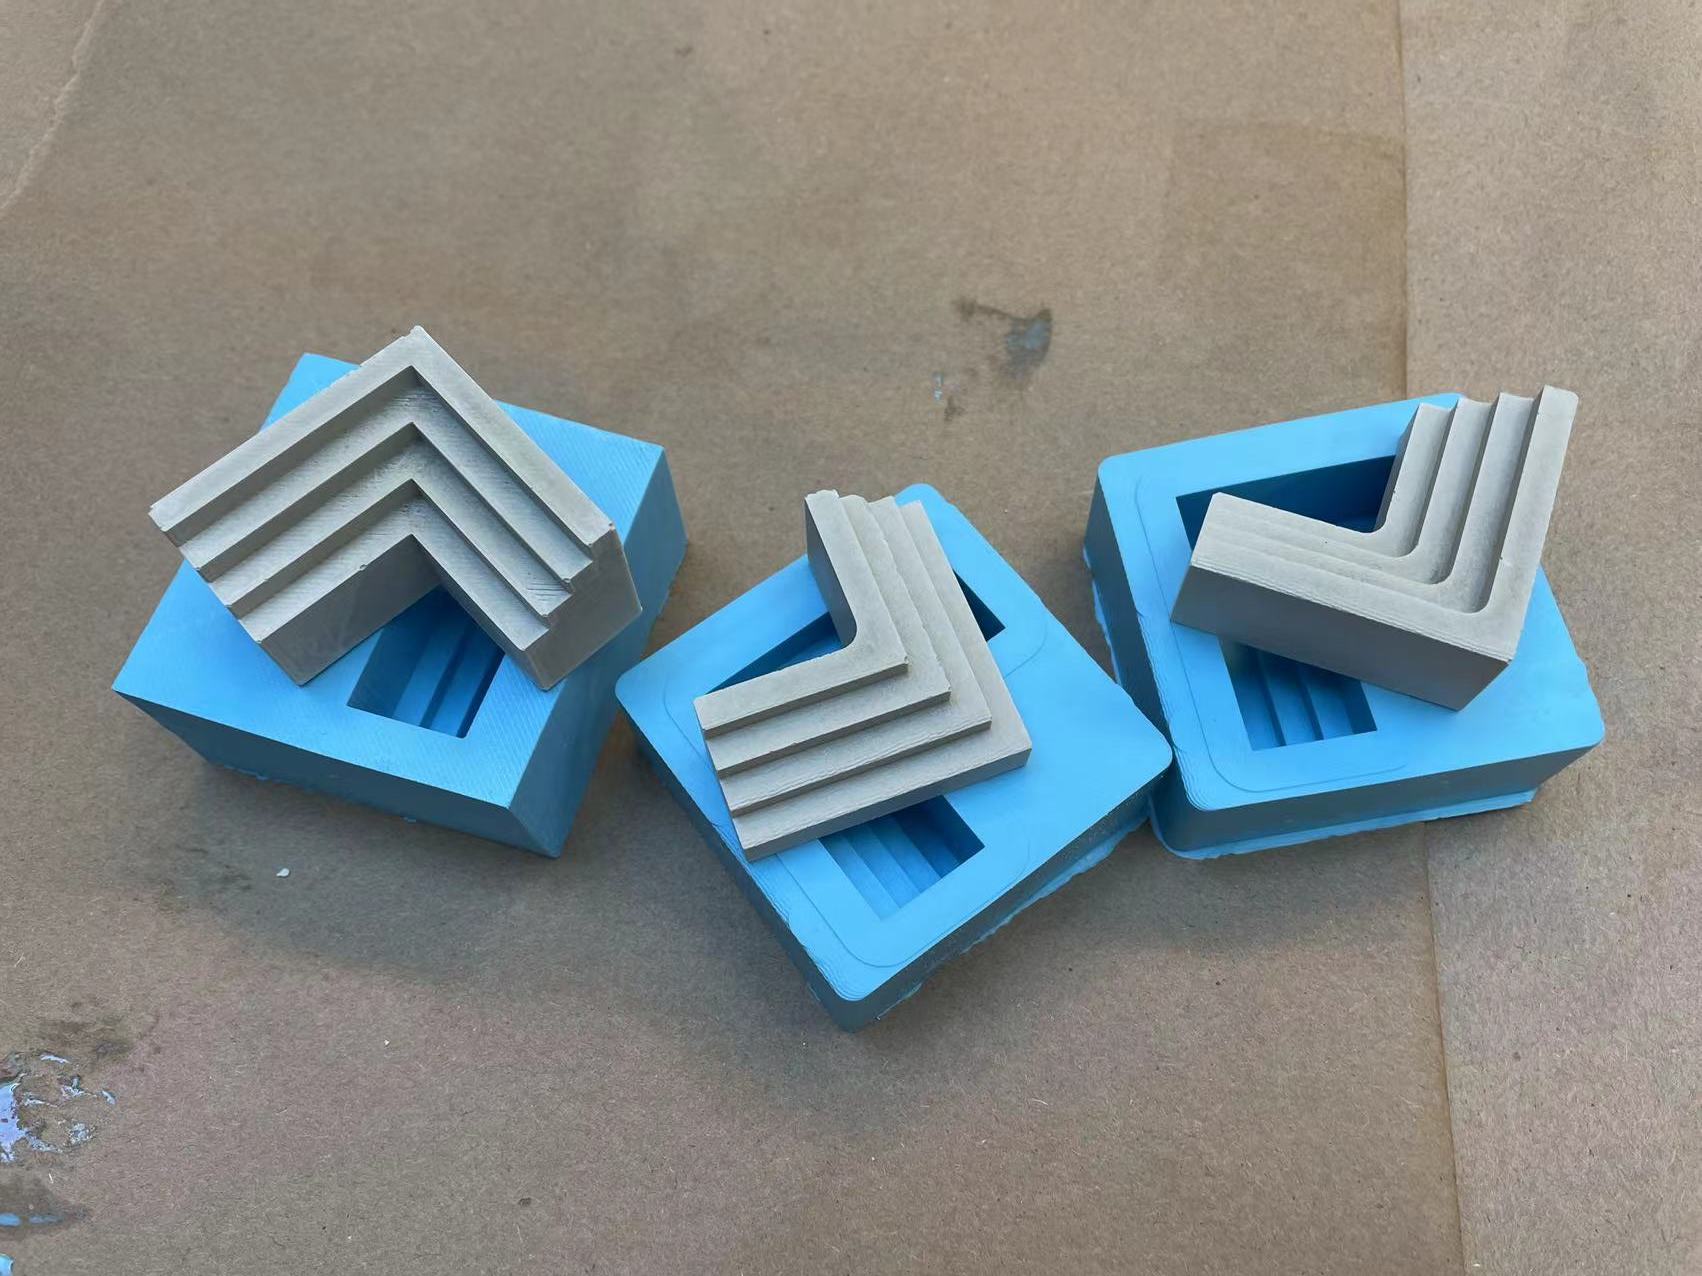
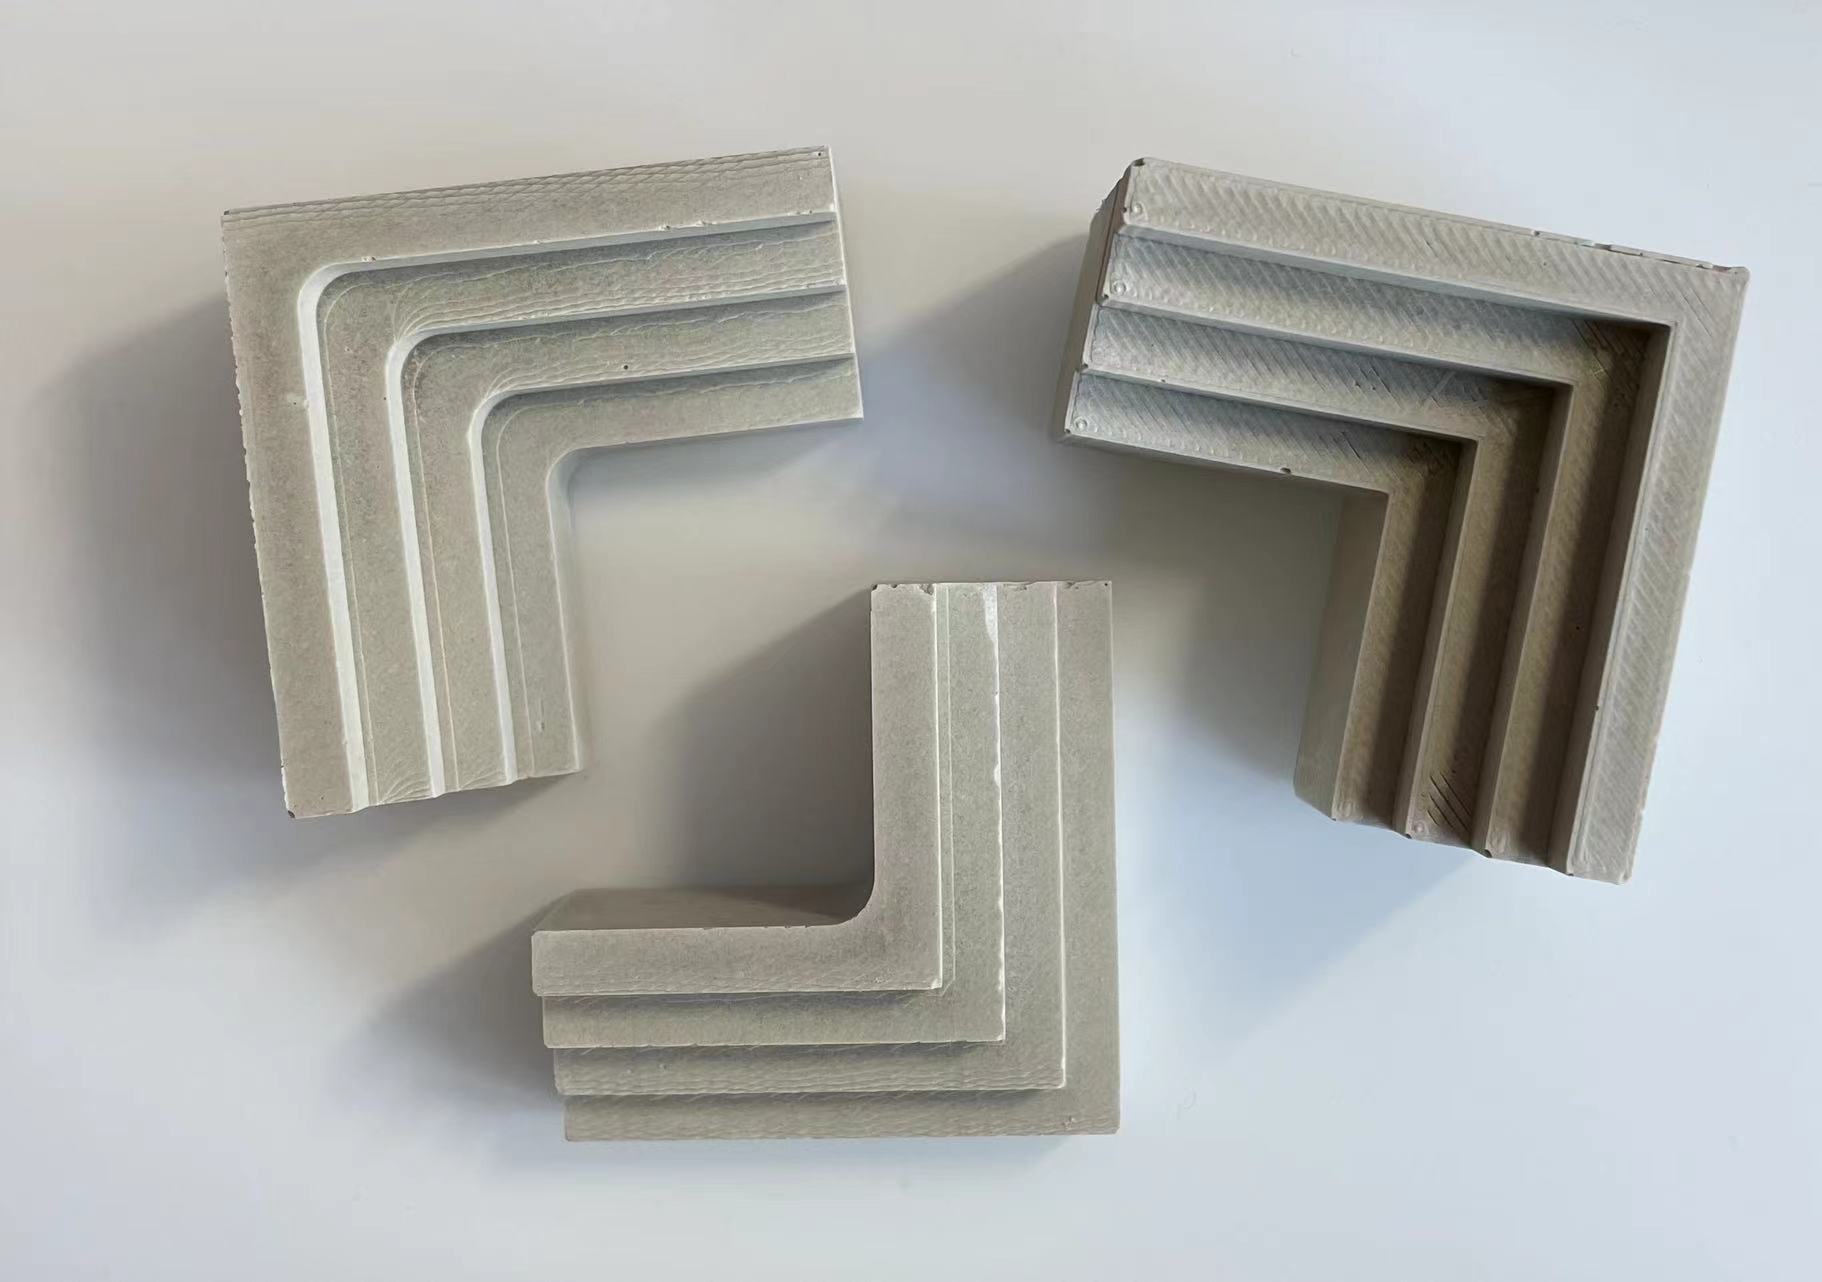
After a long time of waiting, the cast came out perfectly! The texture was very smooth and there were not bubbles on the edges. The result from the 3D printed mold was not as good as the milled one because all of the grains from layers showed up on the surfaces of the cast.
03 Conclusion of the Week
//
Gained skills
Prototrek 3D milling, design and make molds and casts, more familarity with mastercam
Thoughts and lessons learned
This week was a very interesting week to me, I really like how much freedom we can do with molding and casting. It is almost like do a sculpture expect that we are doing machine sculptures.
I learned a lot of lessons this week, and here are a few that I think would be beneficial to know before the casting proces:
1. Comfirm the feasibility of the design because the router bit can't go very deep.
2. Really make sure to shake the mold after pouring oomoo and cement in there to keep away all the bubble. It is very enjoyable to watch all the bubbled comming out of the liquid.
3. Don't add to much water when mixing with cement. Try to keep a thick smoothie mixture.