Project 10: Computer-Crontrolled Machining.
This week I used the shapeoko cnc machine to build a bow rack from 4x4' oriented strand board (OSB).
Let's Start with the Group Project
The group project was to probe input devices for digital and analog signals.
Making the Bow Rack
I started by looking into some bow rak designs, and ended up taking my inspiration from https://treelineproducts.com/product/variable-bow-rack/. They sell these things at a steep price ~$150/bow.
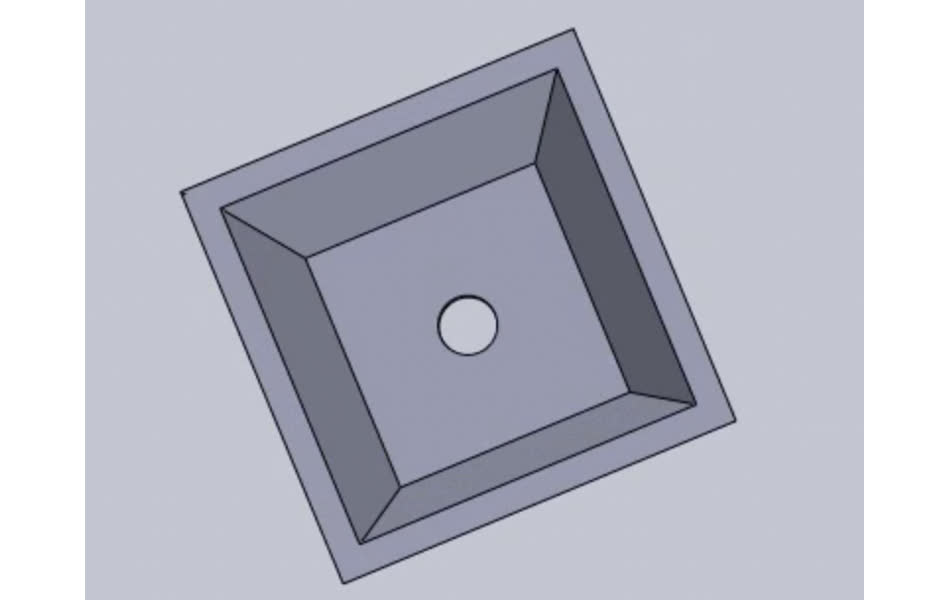
I started with trusty solidworks. I designed each part and made my assembly. I took care to fillet edges and dog-bone interior corners. I wasn't sure what size mills we had access to, so I made my smallest features able to be milled by anything under 0.1" diameter.
After designing all of my components, I saved each of them as .dxf files.
I downloaded Carbide Create to establish the tool paths necessary for the milling operations. I followed these work instructions https://docs.google.com/document/d/1-Jx1gESWgBOmprxID7w4DOHviPNoWO9WnWQh1wt-OZ0/edit?tab=t.0, and Joe assisted me when I got stuck.
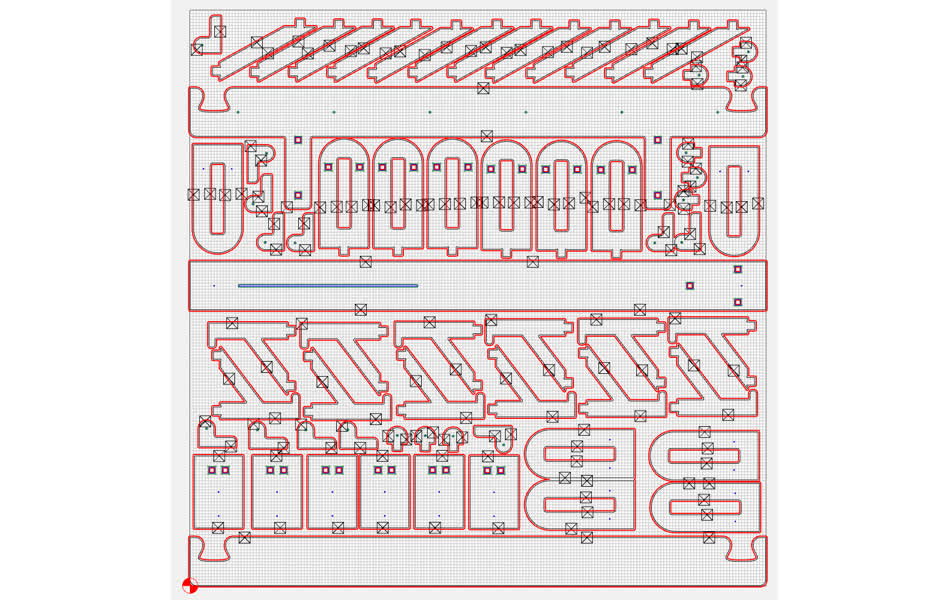
I organized all of my components onto the 48x48" sheet in the Carbide Create Interface.
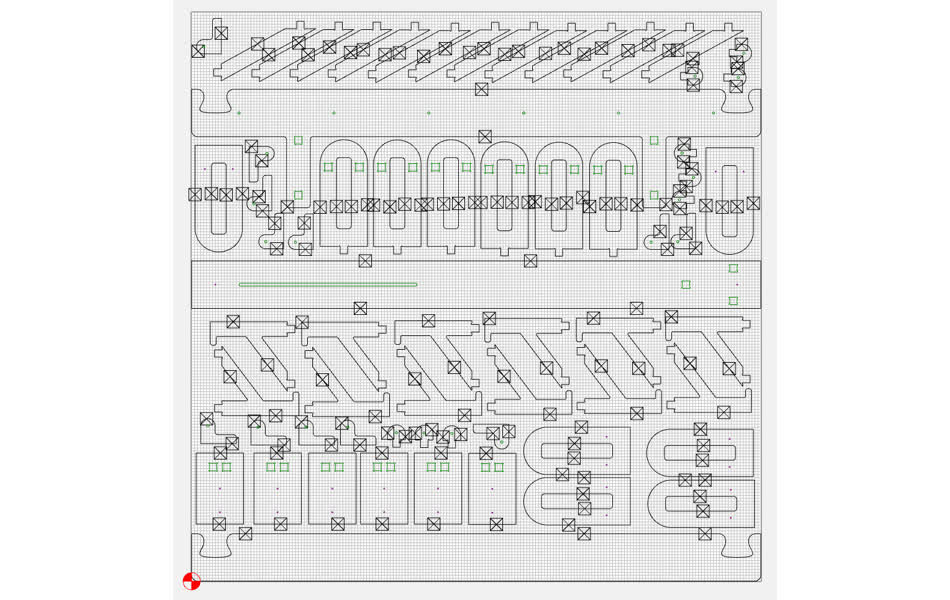
Some of my components were very small, as mentioned before, so I had to use different mills, which required different toolpaths. I did the bulk of the cutting with a 0.25" bit, but also used 1/8 and 1/16" bits for higher resolution operations. I made three layers, each comprised of the feature intended for the given drill bit size. I then generated toolpaths for each layer.
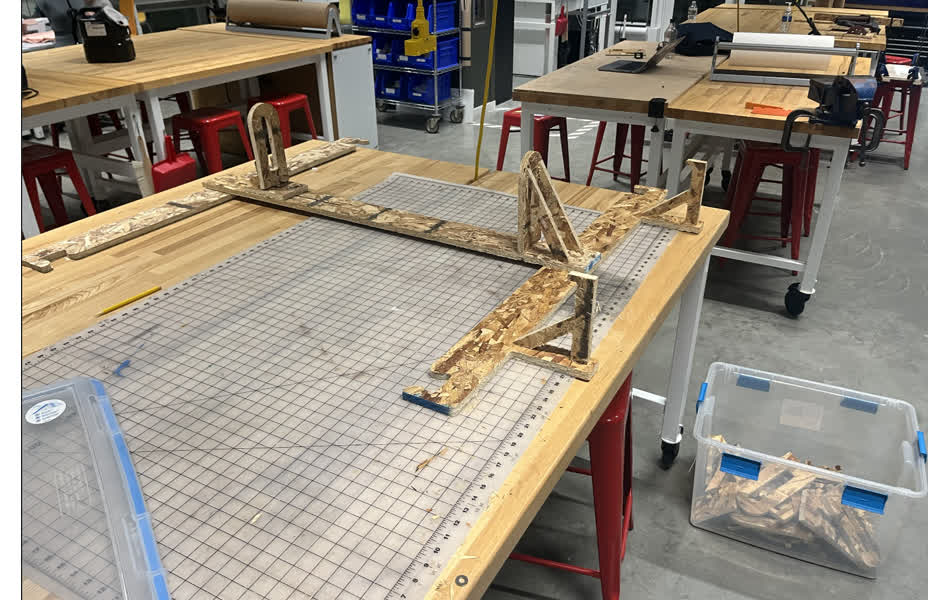
We set the origin, used screws to fix our OSD board in place, and ran the job on the Shapeoko. It took four and a half hours and two tool changes.

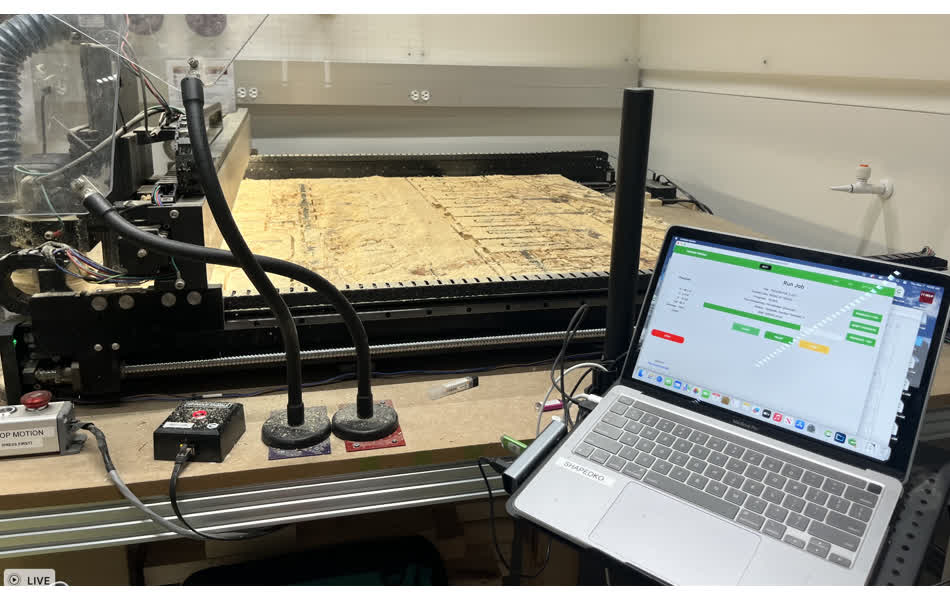
We ran into a few problems. The vacuum boot kept getting clogged, so there was a significant sawdust buildup on top of the board.
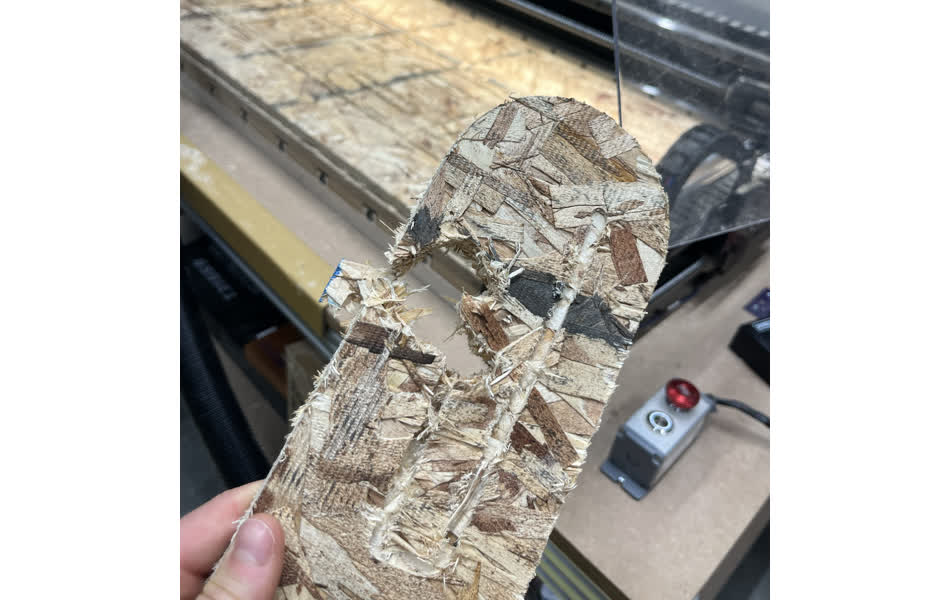
Some of the tabs broke, especially on smaller pieces that I had laid out right next to eachother.
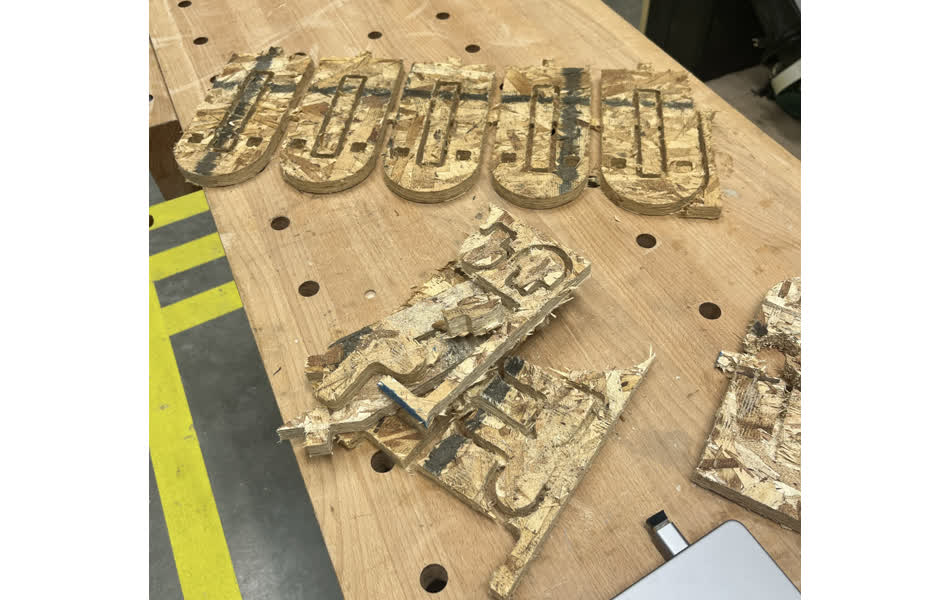
This happened to one of my components with a center slot, and it completely butchered the part. Thankfully I had extras.
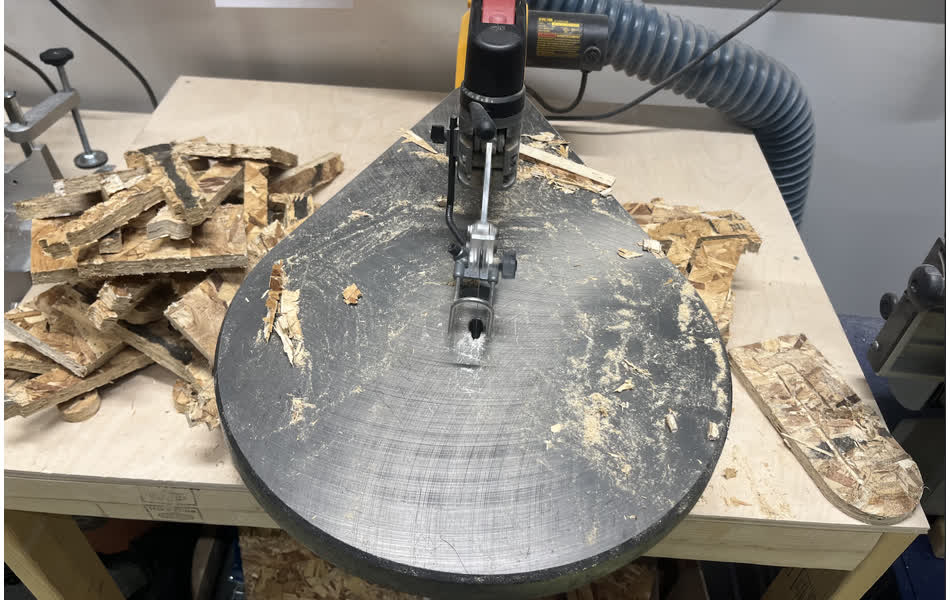
I then used a scroll saw to remove any remaining tabs and smooth out the edges. I had to separate two parts that were too close for the 1/4" bit to cut.
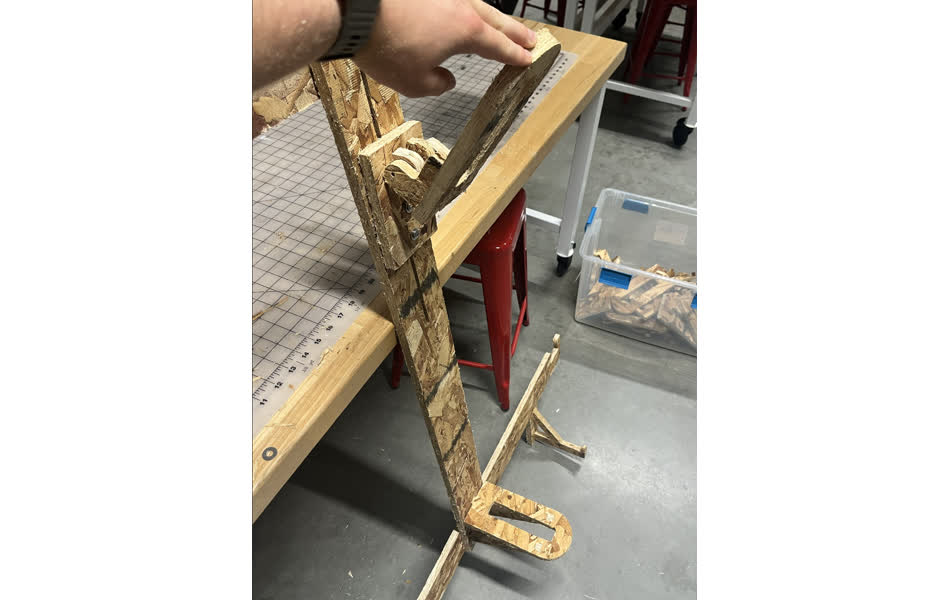
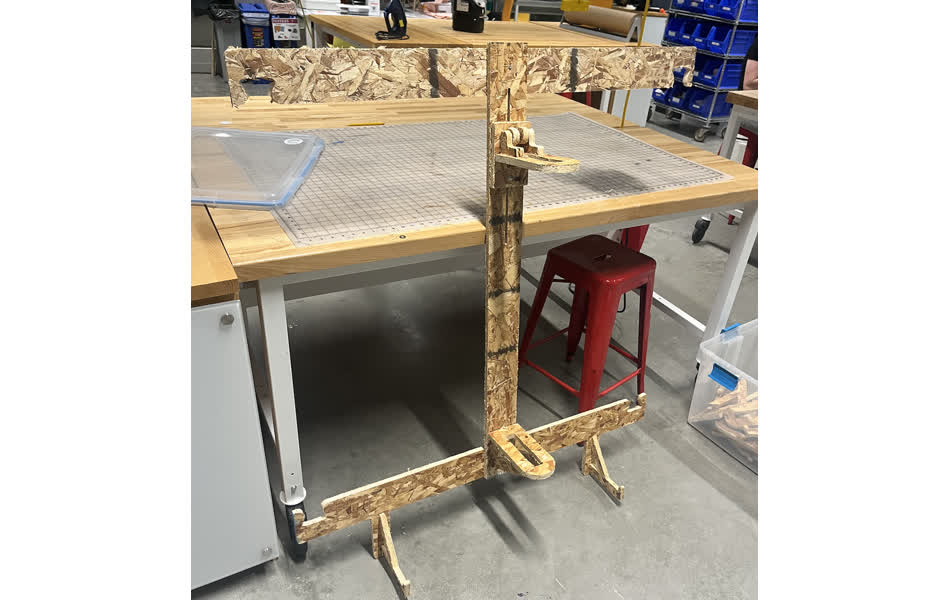
I finally assembled my bow hanger.
I was especially proud of the sliding top cam holster to accomodate different sized axle to axle bows.

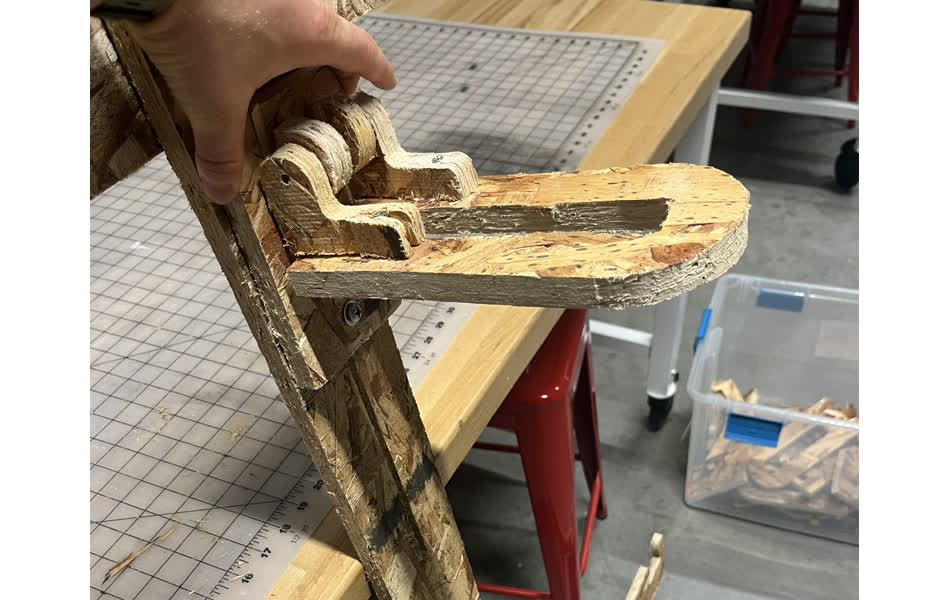
And the quick release hinge. Althought it was no surpise that they OSB hinge didn't work very well and broke after a few rough uses .
It was generally a success. I want to add multiple more uprights so that I can hang four or five bows at once. But I'm not convinced it would hold that much weight (35-45 lbs)
Heres's all my files for this week Week 10 Files