Project 5: Electronics Design
This week was all about electronics design through the use of EDA software. This is all new for me, so it took a lot of time for me to familiarize myself with the basics. I did the most basic version of the group project on my own, since I was out of town for the weekend. I then designed a board that will help me with my final project.
Let's Start with the Group Project
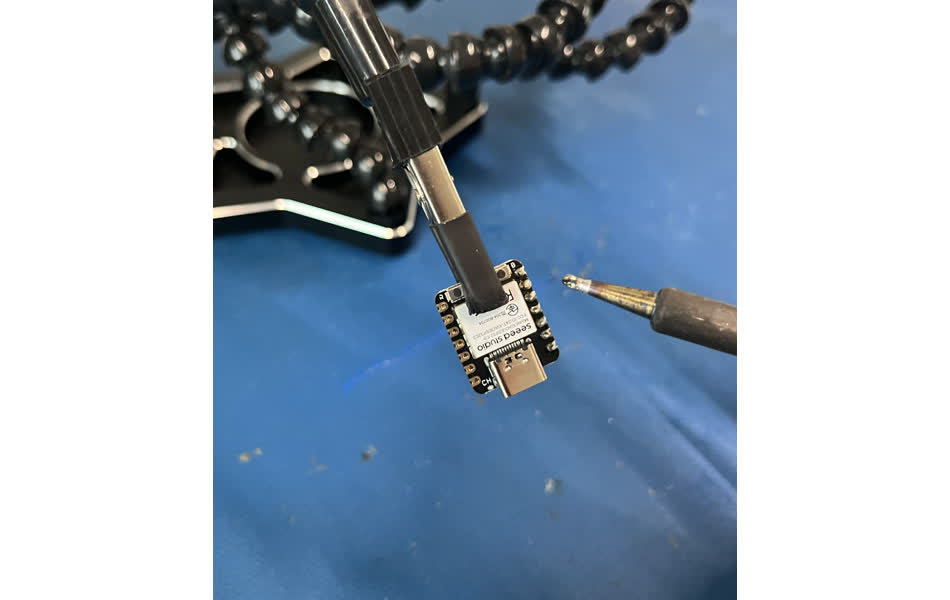
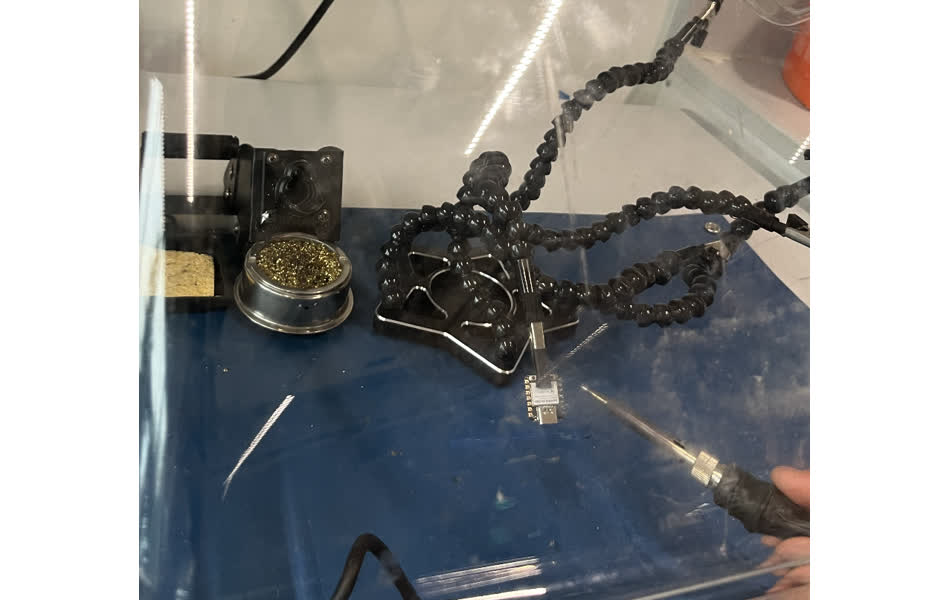
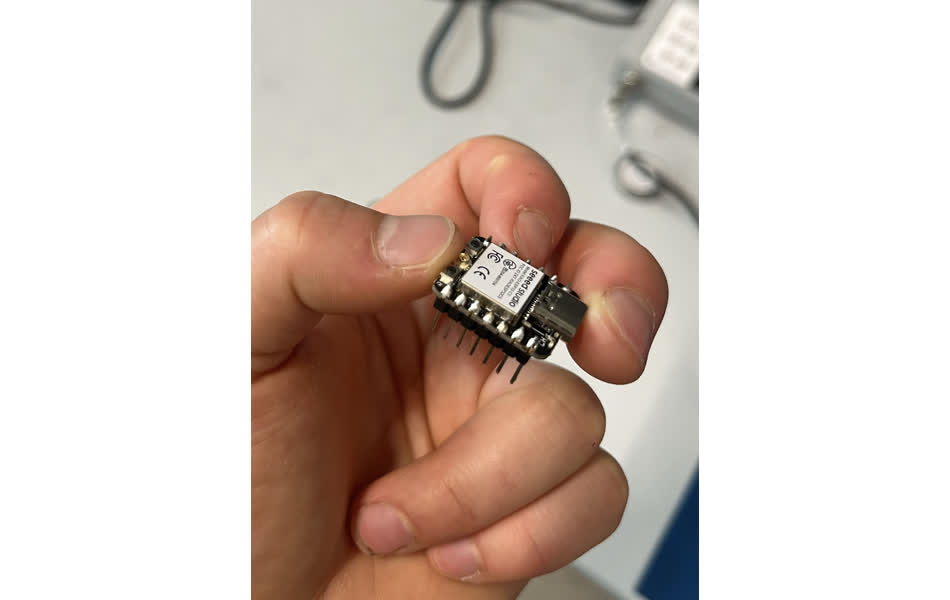
I used a Xiao ESP32c3 to blink an LED. I started by soldering the male headers to the microcontroller so it could be integrated with a breadboard.
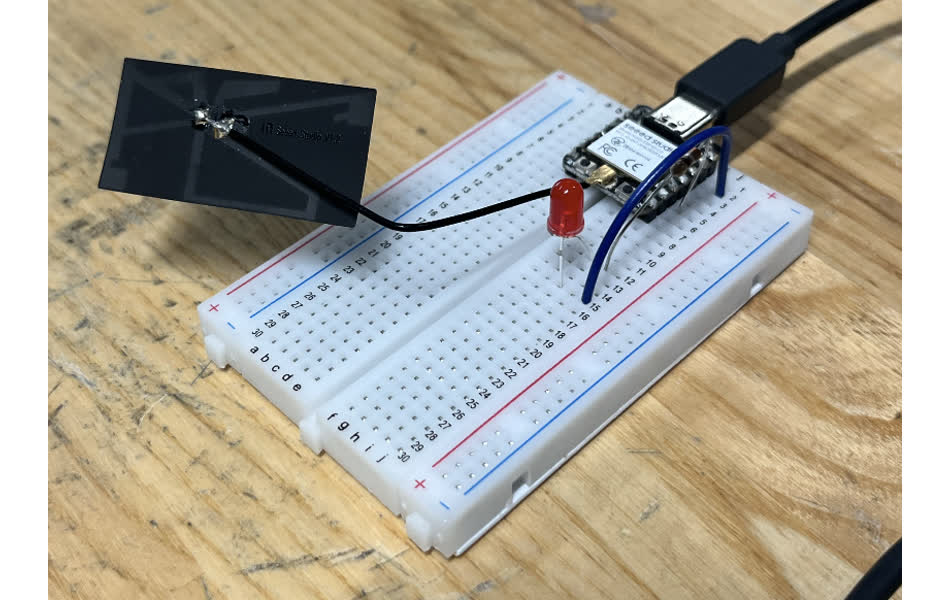
Then I assembled all of my components onto the breadboard. I used a 280 Ohm resistor.
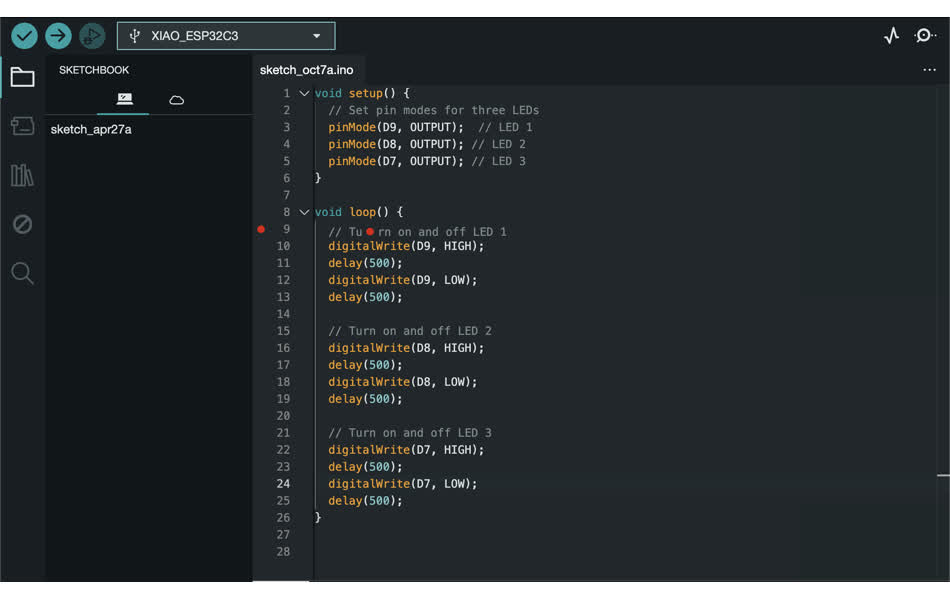
After downloading the ESP32 drivers and libraries in arduino, I wrote the following script.
Here's how it turned out when compiling my code:
PCB Design Using KiCAD
I wanted to spend this week designing something that I could use for my final project. For my final project, I'll need to perform modal (vibration) analysis with high sensitivity (400-2000 Hz). I'm interested in testing whether IMUs have sufficient sensitivity for this application.
I purchased a STMicroelectronics IIS3DWBTR IMU because it is a low cost ($19.80), high sensitivity (26.7 kHz sample rate) option. I wanted to design a breakout board for this. I ran into a lot of problems with poor documentation on the IMU. I went to office hours, and Jake suggested using a more popular IMU that was supported by the course: an ADXL 343.
I started by downloading the https://gitlab.fabcloud.org/pub/libraries/electronics library
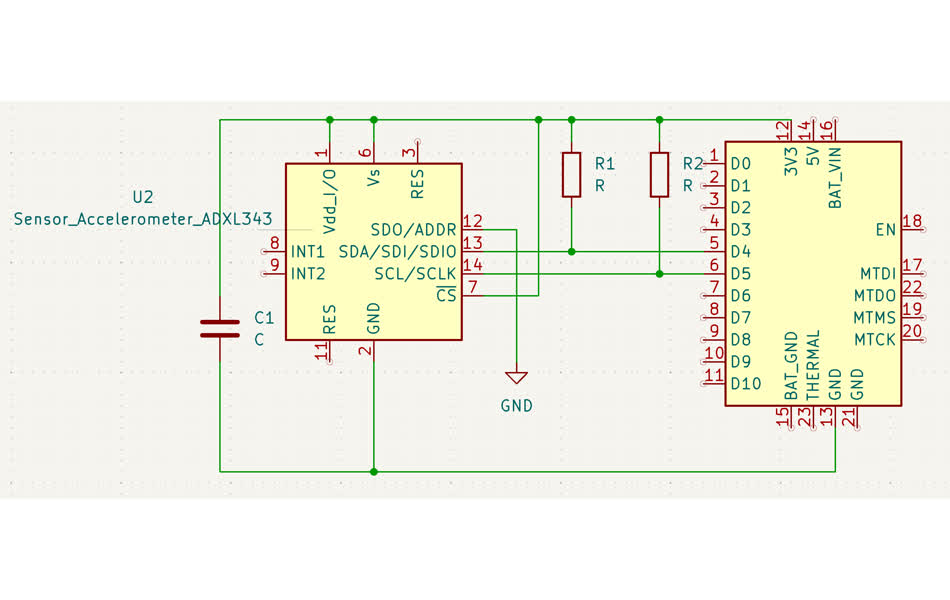
I used a Xiao Seeed ESP32C3 as my microcontroller, and I made the following schematic in KiCAD
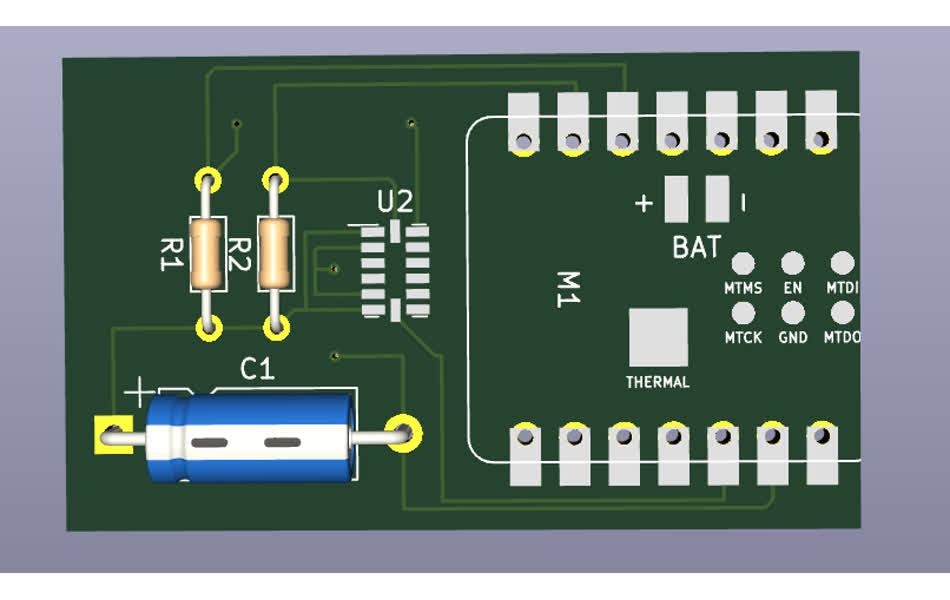
I then organized the components in the following layout.
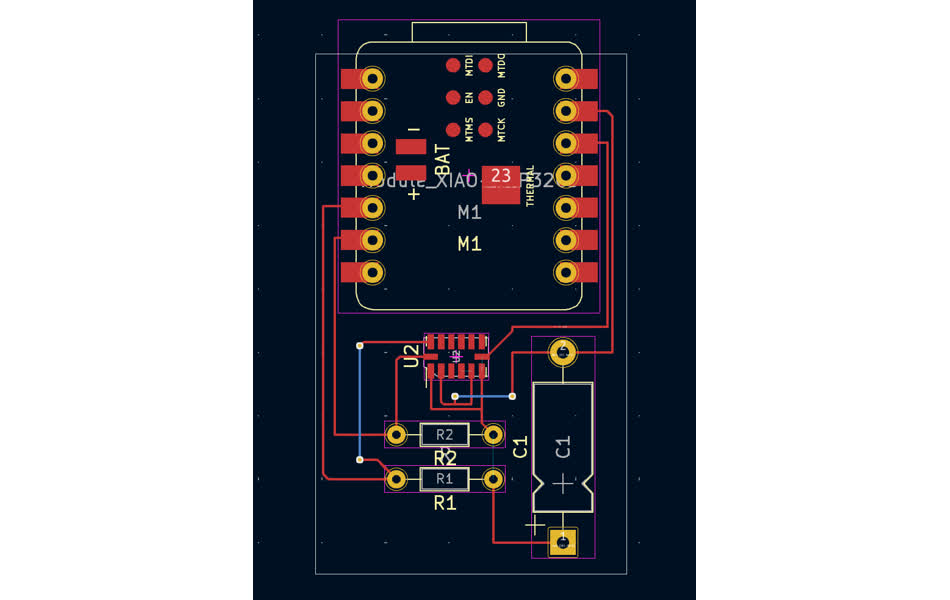
Here's the final PCB layout. I'm not sure how to evaluate whether it'll actually work, sooo.... thats a problem for next week