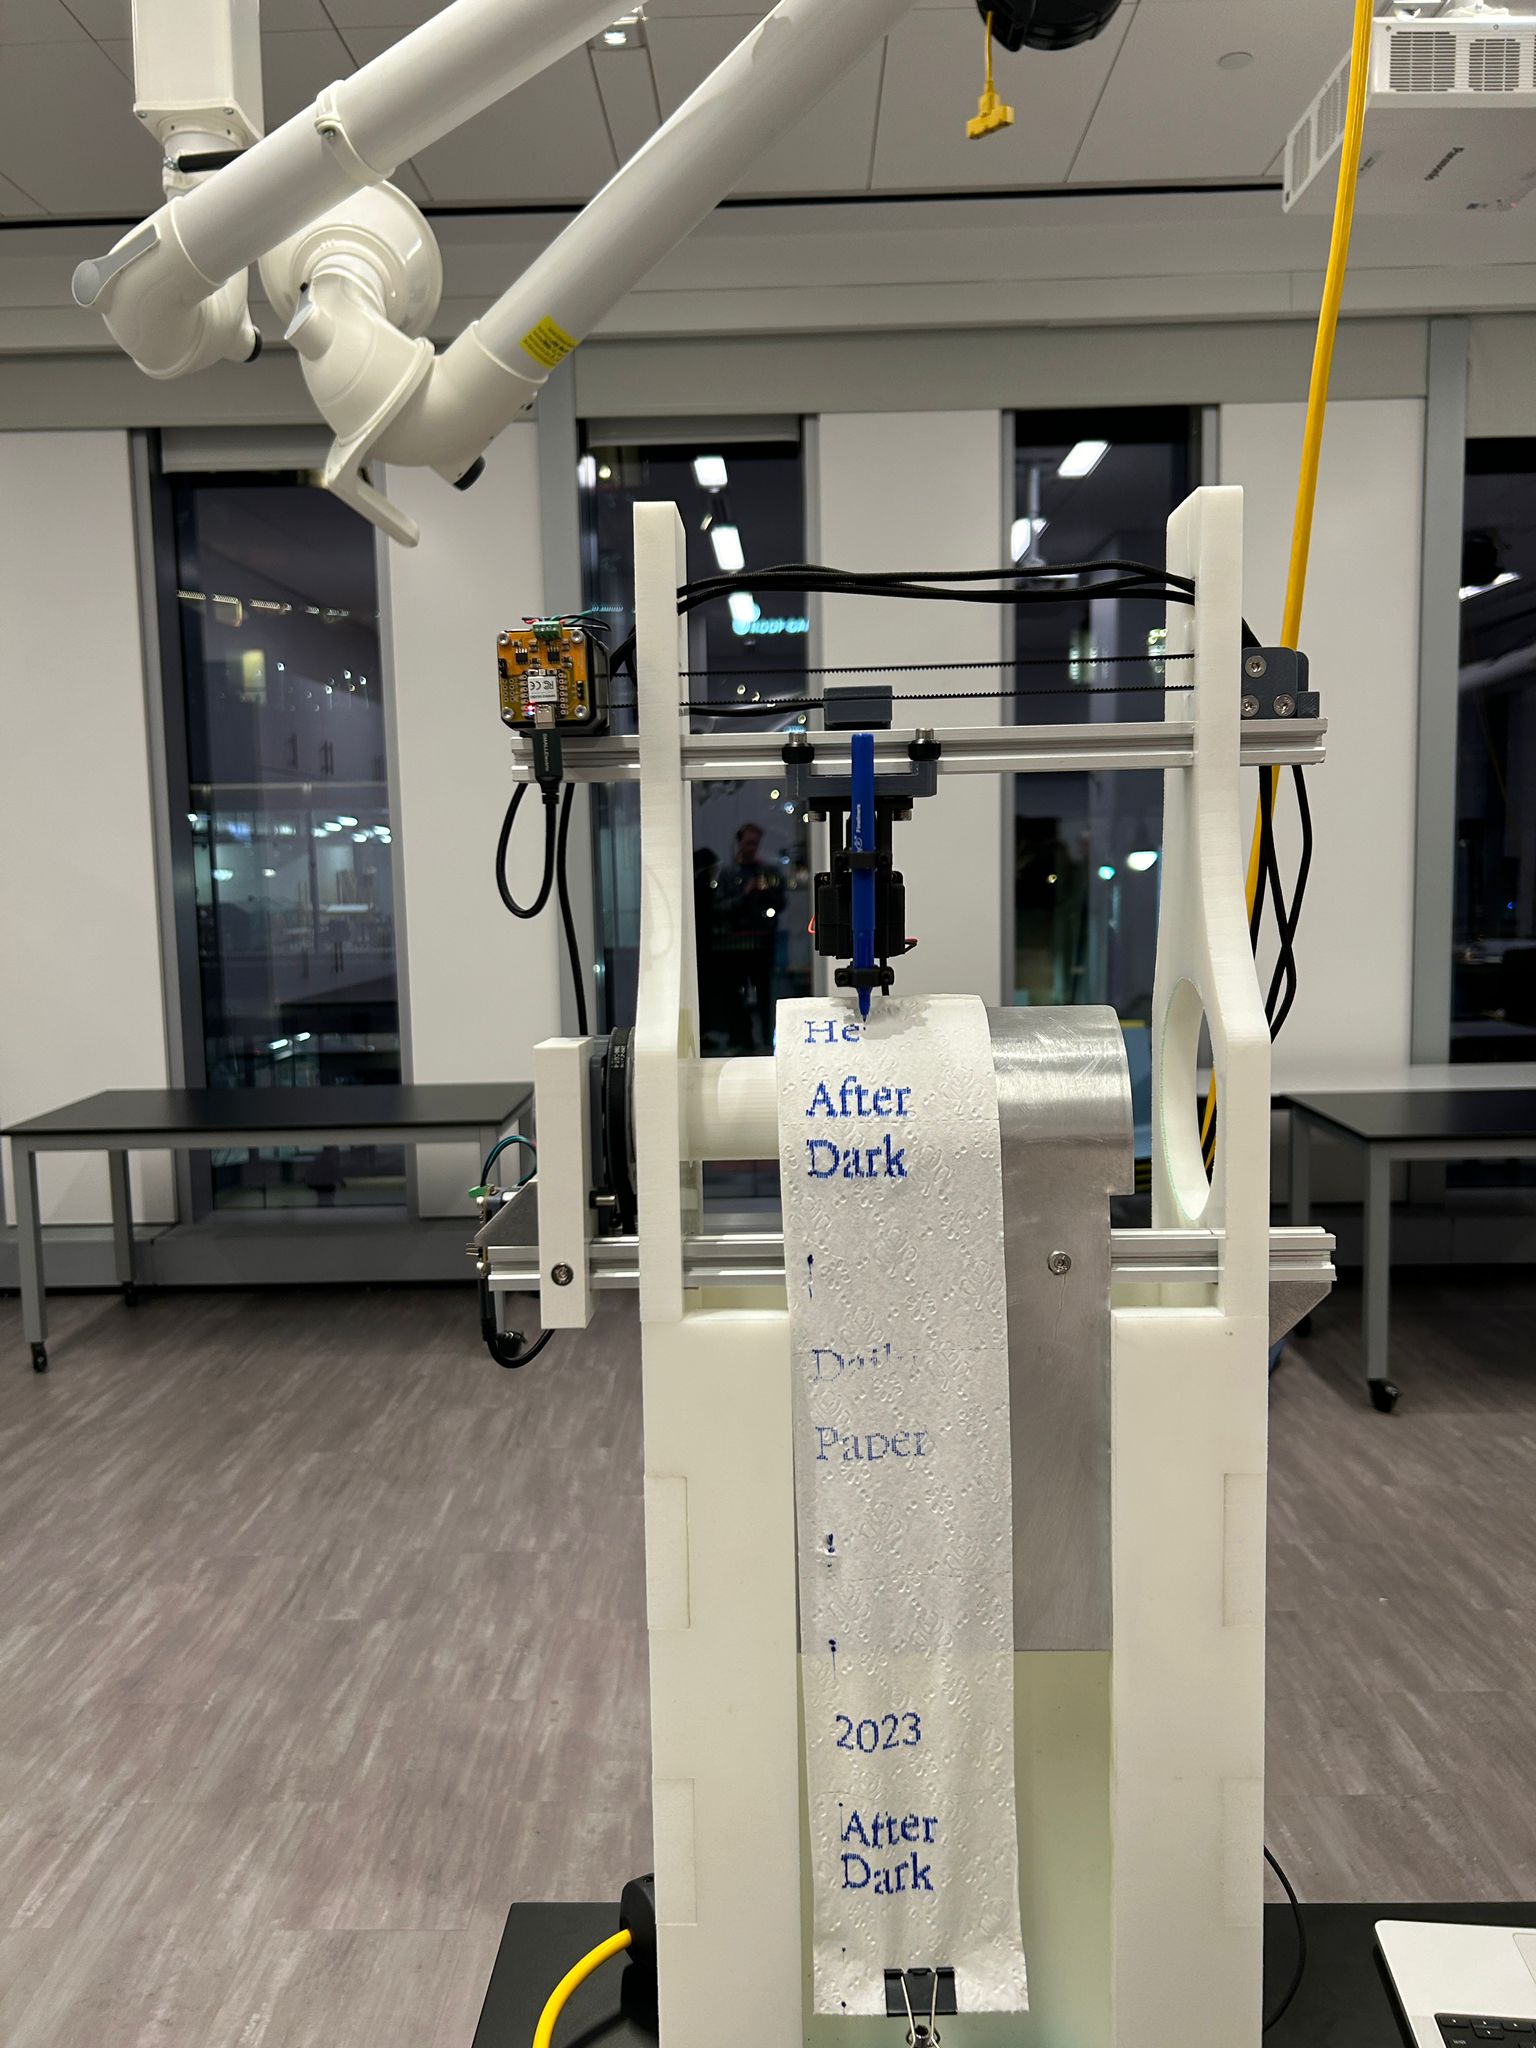
#10 Daily Paper
this week we had a poll in between a couple of different ideas for the machine week. the final two contenders where a toilet paper plotter and a self stabilizing inverted pendulum.
after presenting the ideas in the machine week's recitation our poll was inconclusive since both ideas had 6 votes each, but niel, quentin, and jake seemed to be more interested
in the toilet paper plotter, since it contained more physical machine parts that needed to be developed opposed to the pendulum that seemed to be more a software issue than an actual
design problem.
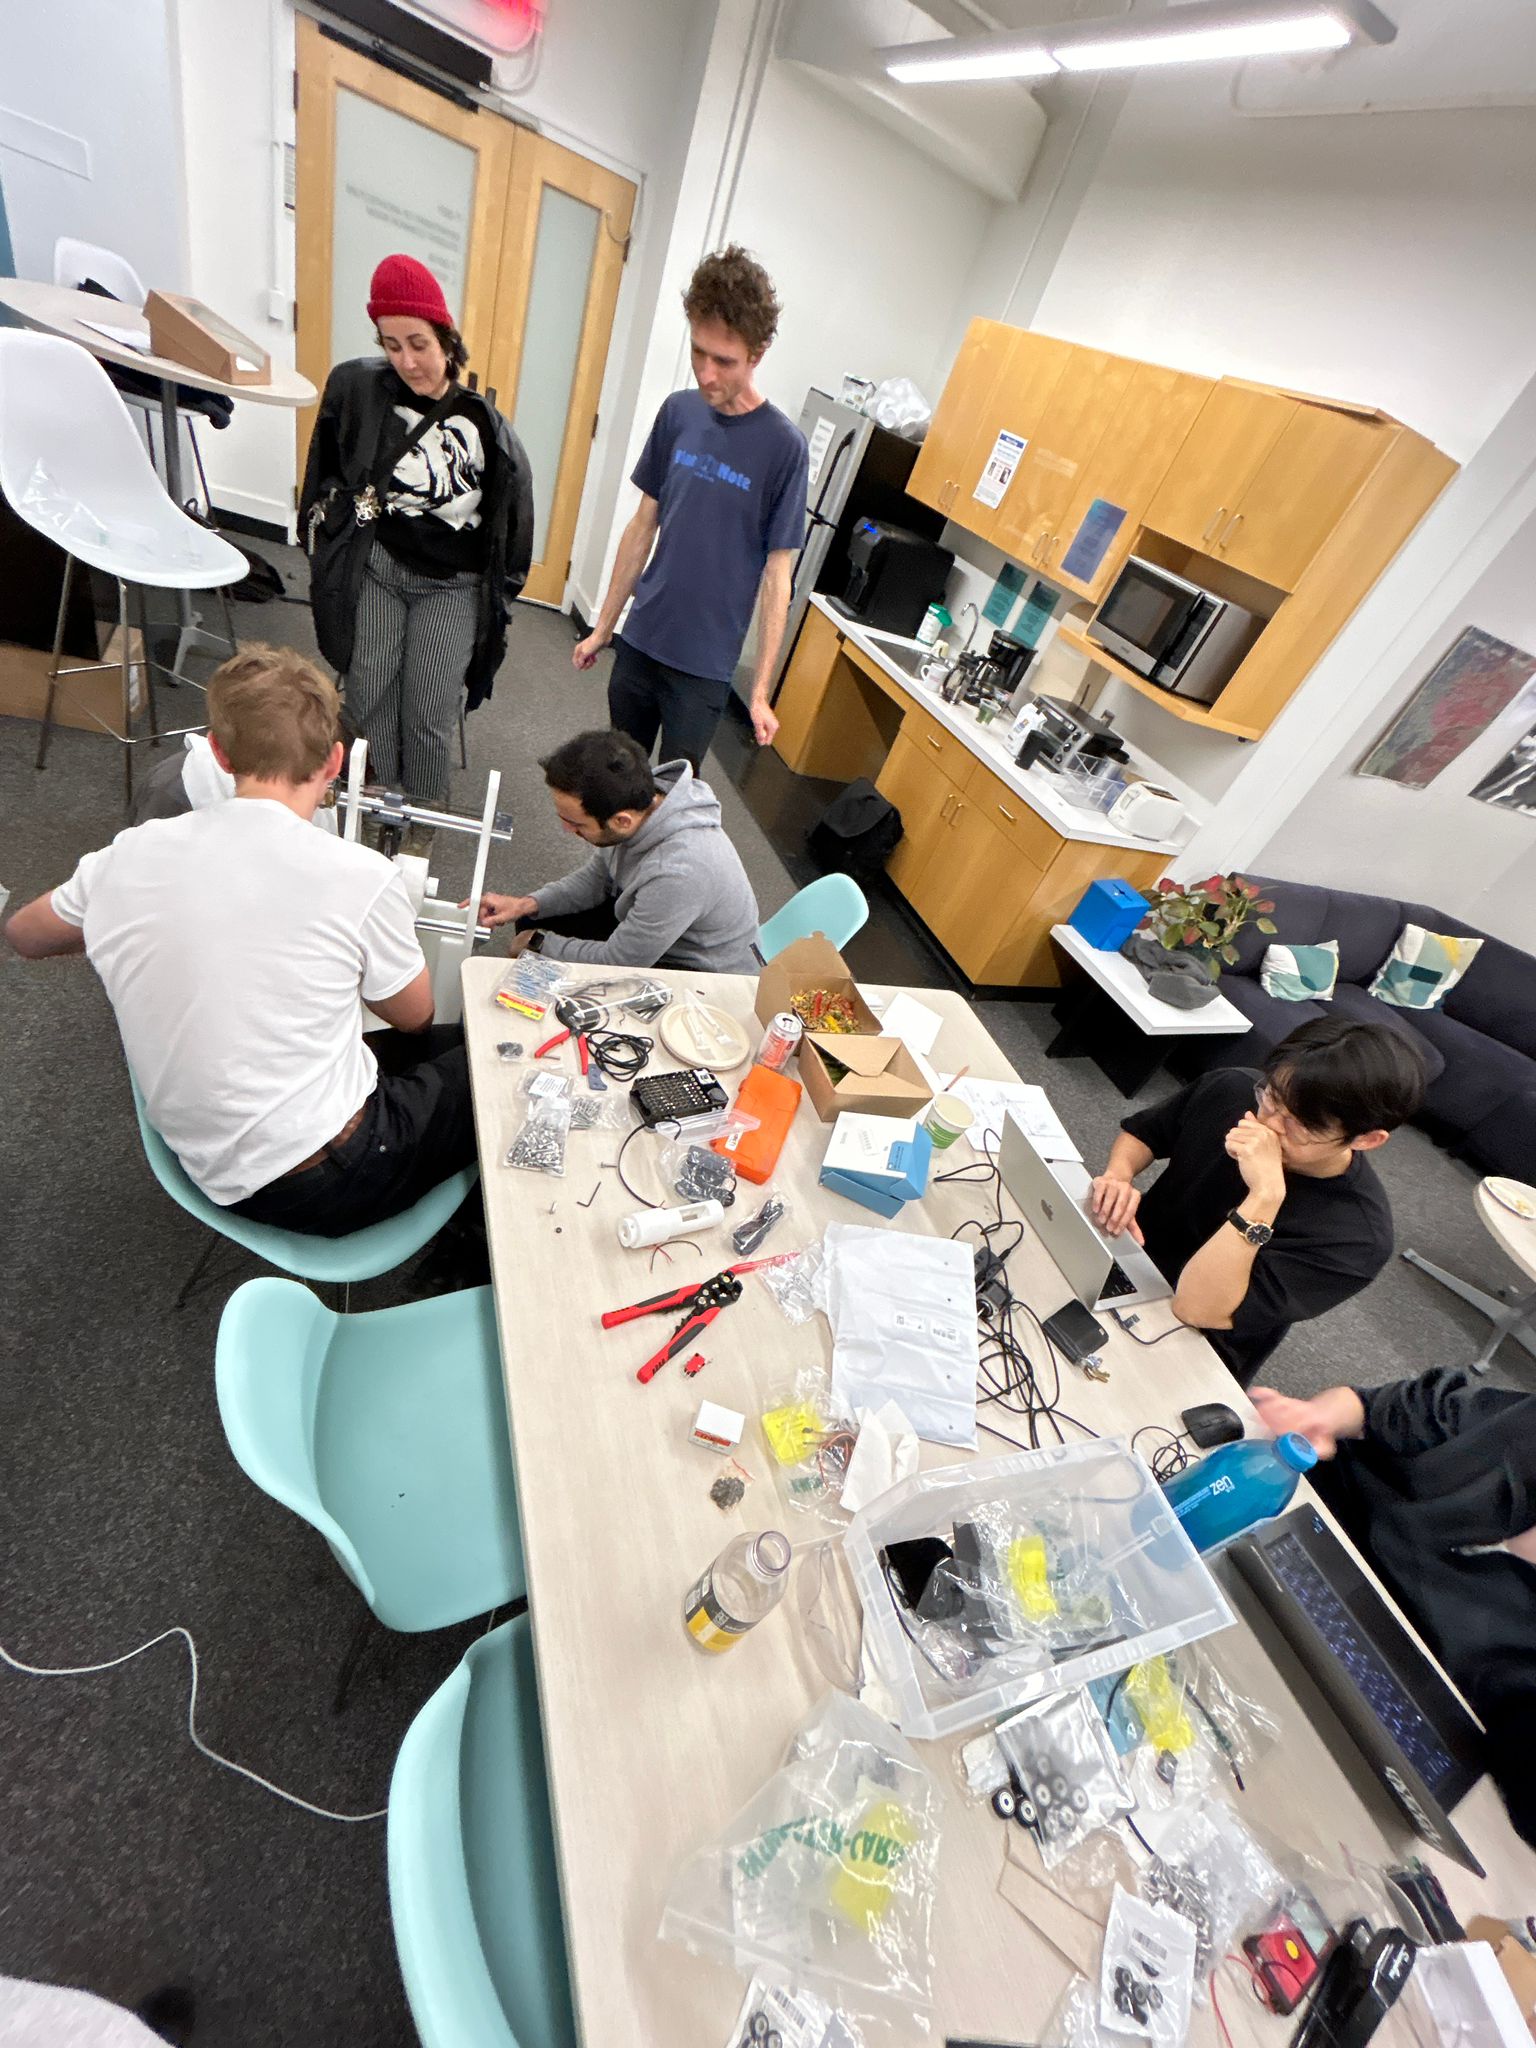
we met on saturday as a group, decided how the actual machine should work and split up the work accordingly. some people were working on the machine code, some where trying to get the new york times headlines for each day,
to be printed on the machine, others tried to find ways in which the font times new roman could be printed, another group was in charge of the actual toilet paper roll holder, some were working on the stand and implementation of all the different groups design work into one fusion and rhino model,
and two groups were working on the actuation of the print head for the machine.
on one side there was Niklas and Danny trying to hack a inkjet print cartridge to print and on the other side there
was Alex and i working on a pen actuator.
in this documentation I will show my work on the printer. the larger documentation is in the readme of the toilet paper plotter.
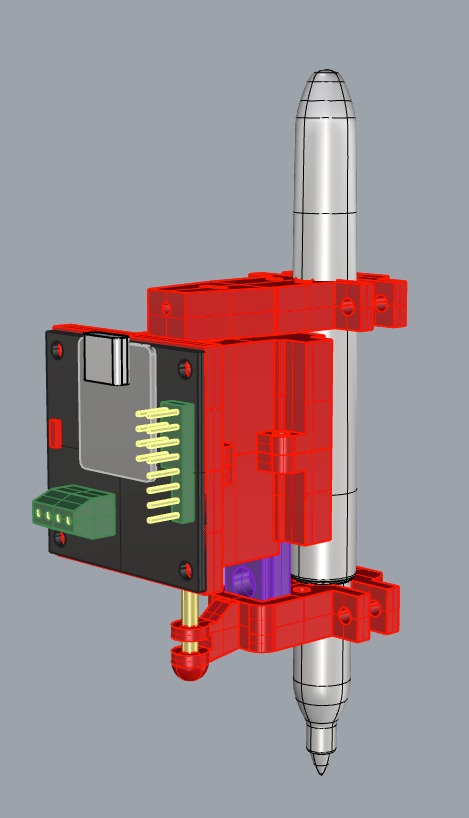
to start i want to share the actual 3d model of the linear actuator we have used:
Final Actuator Housing for Daily Paper - Rhino
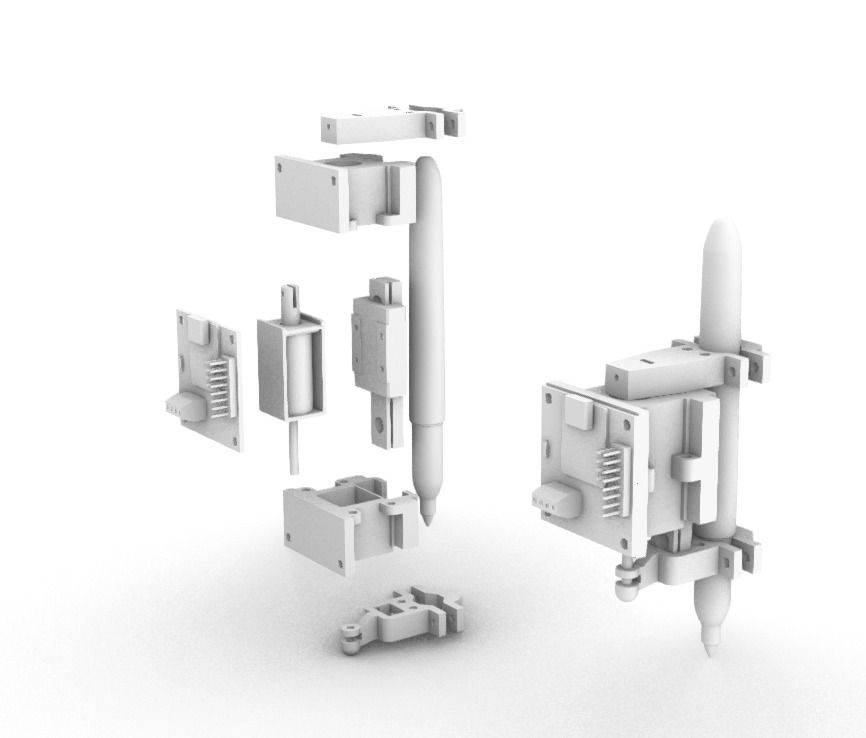
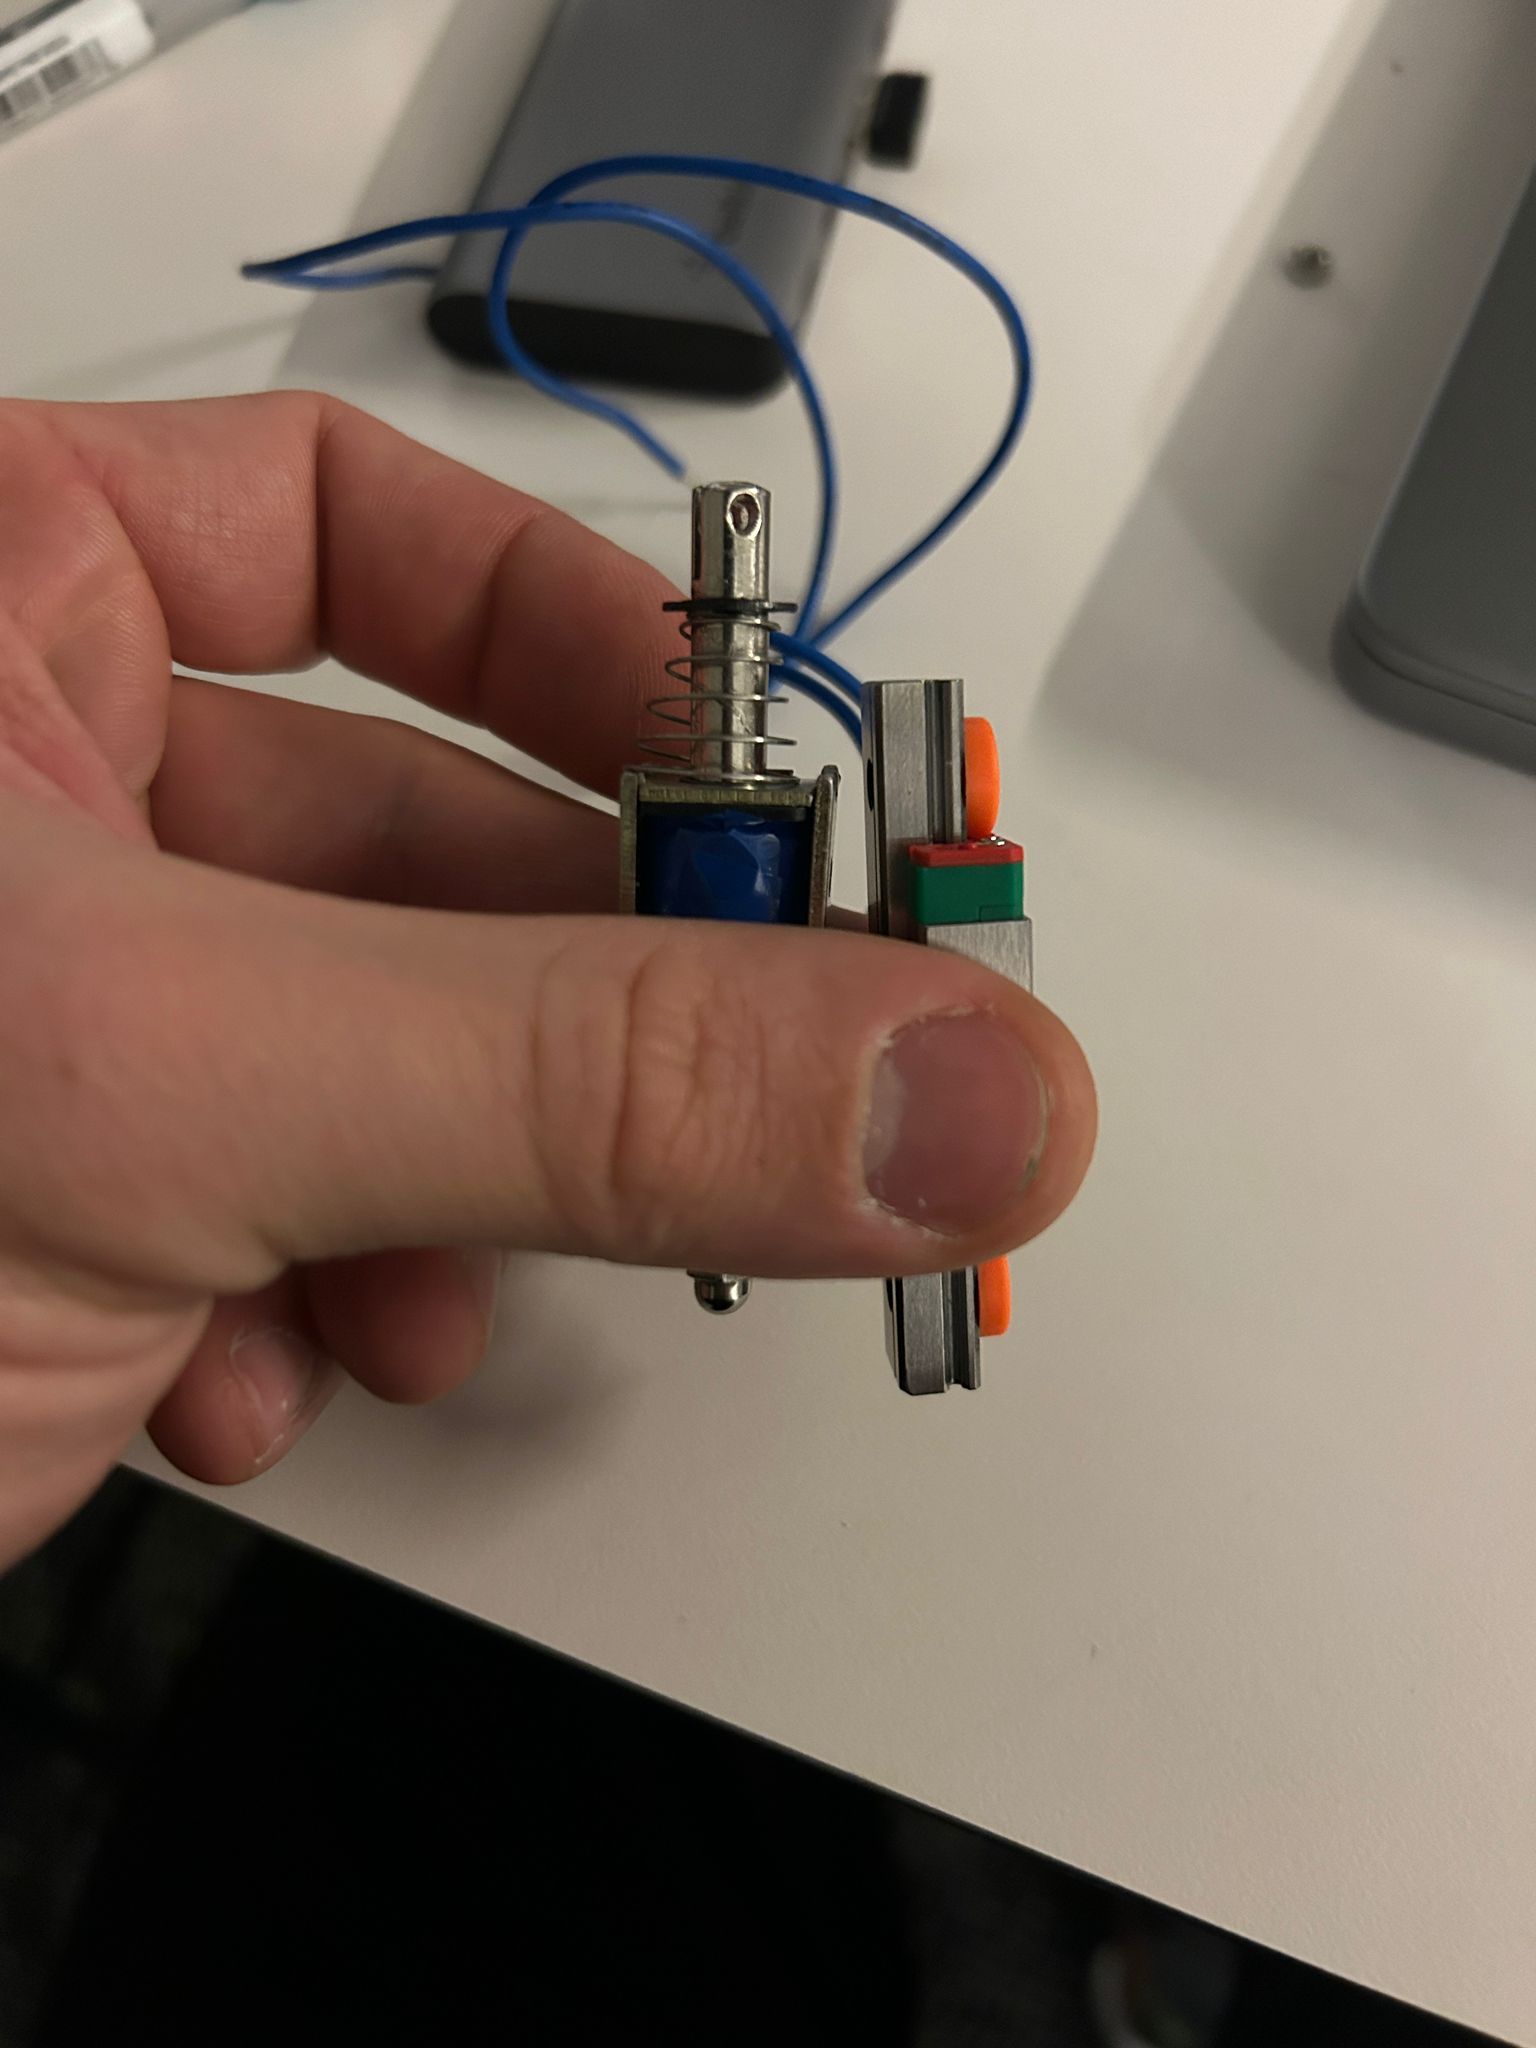
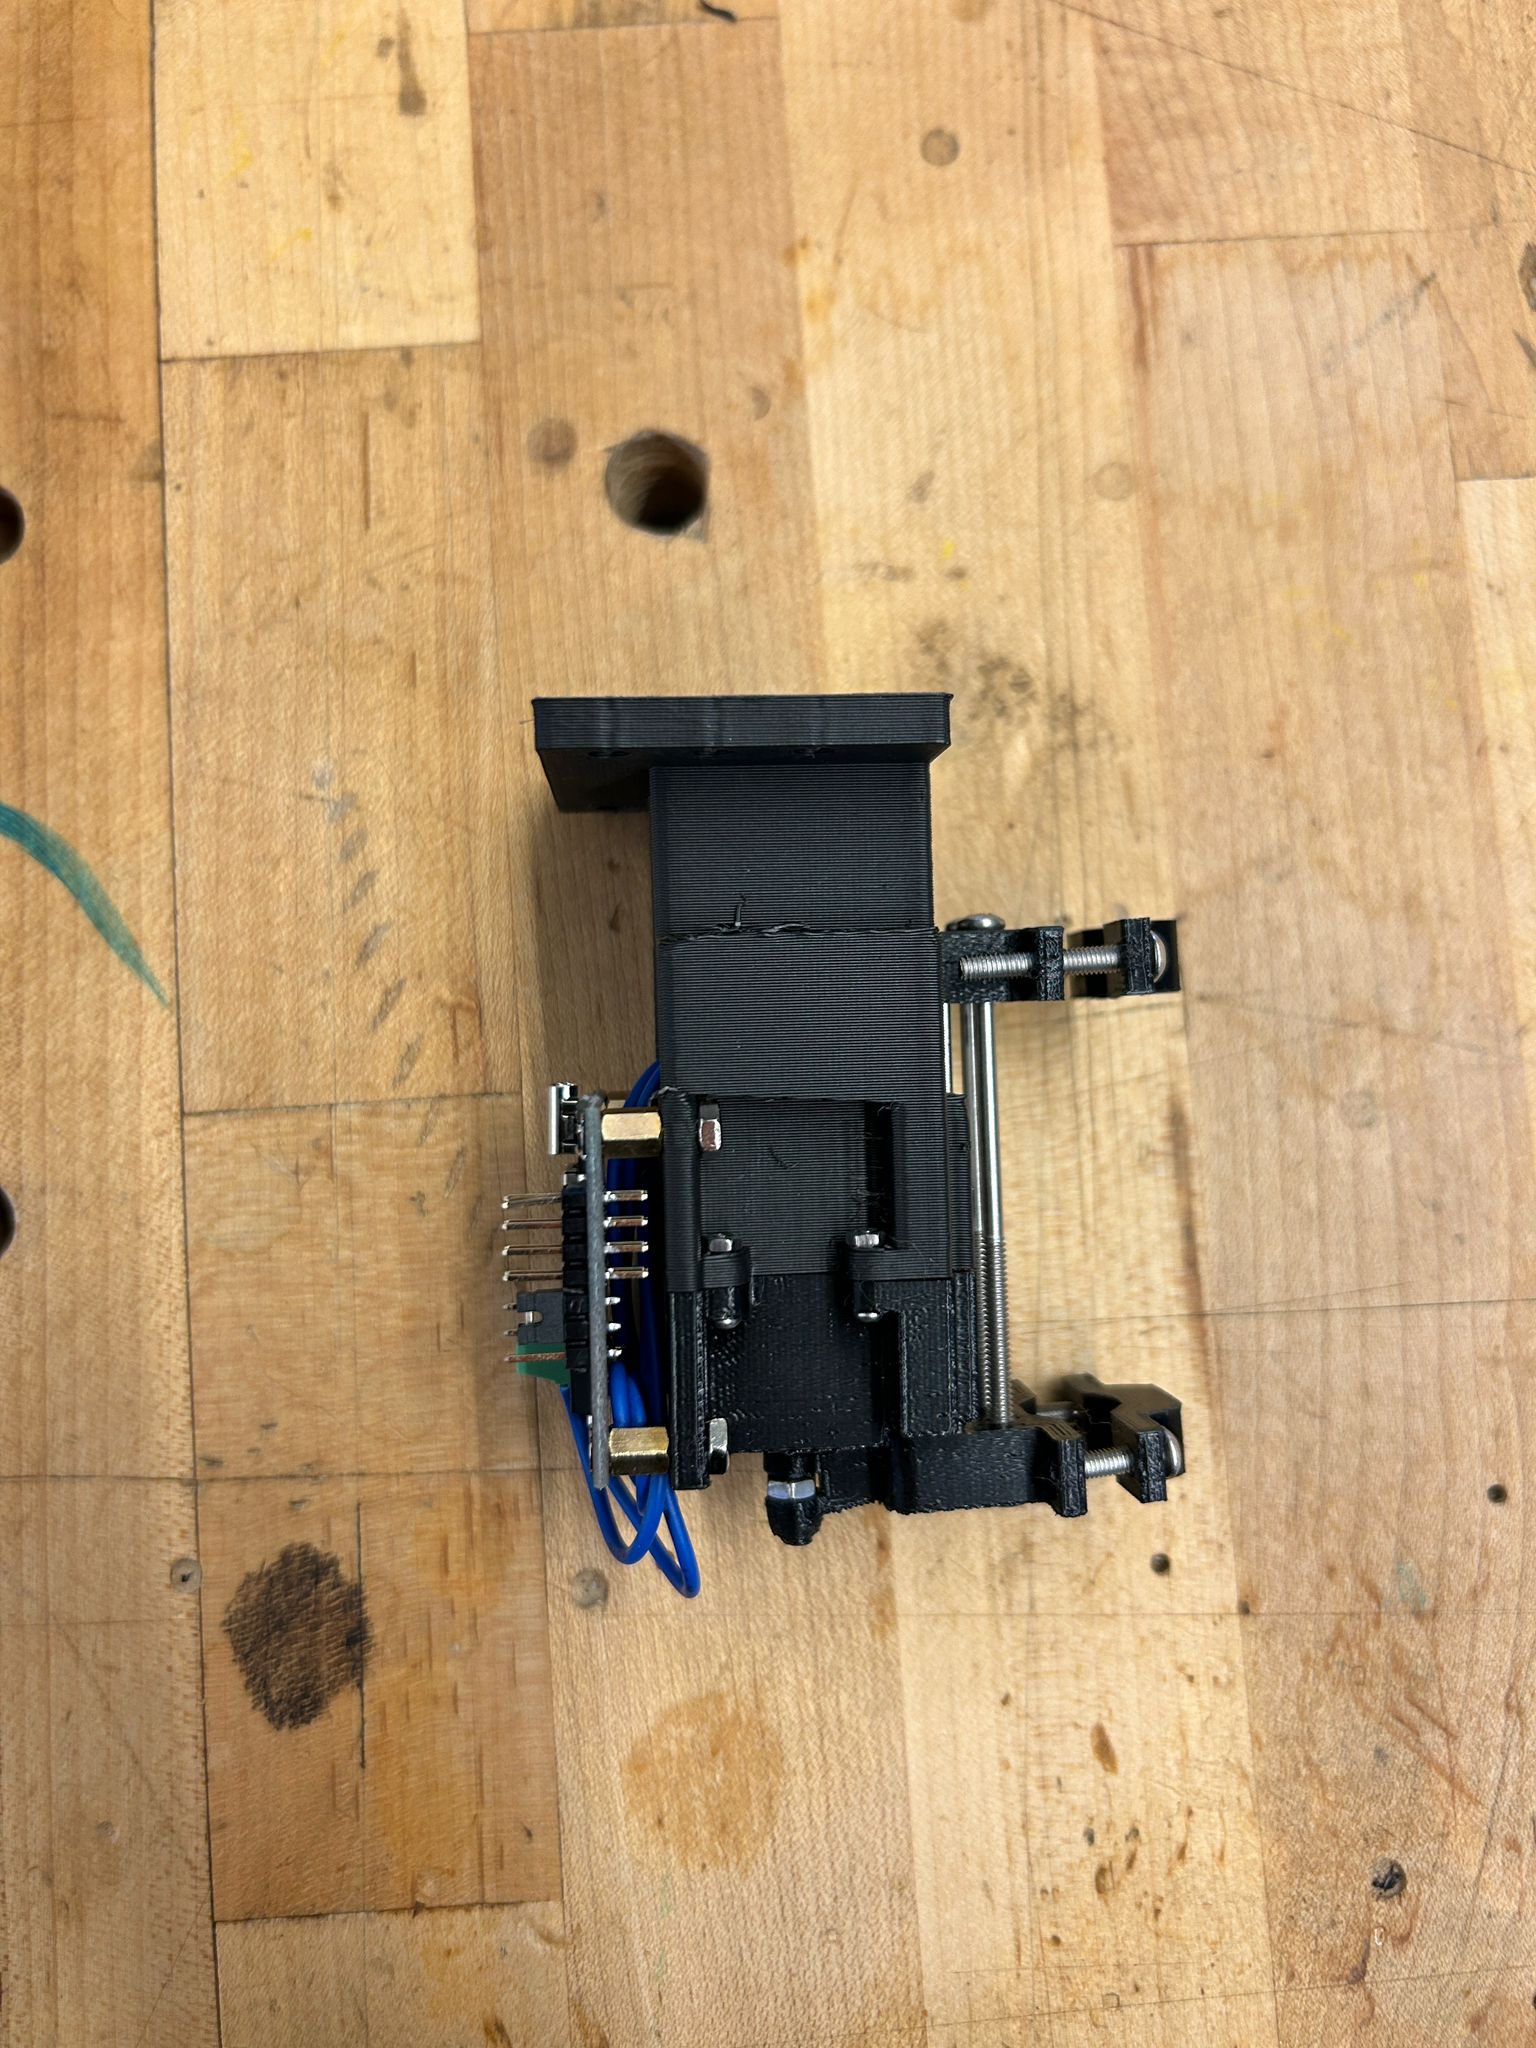
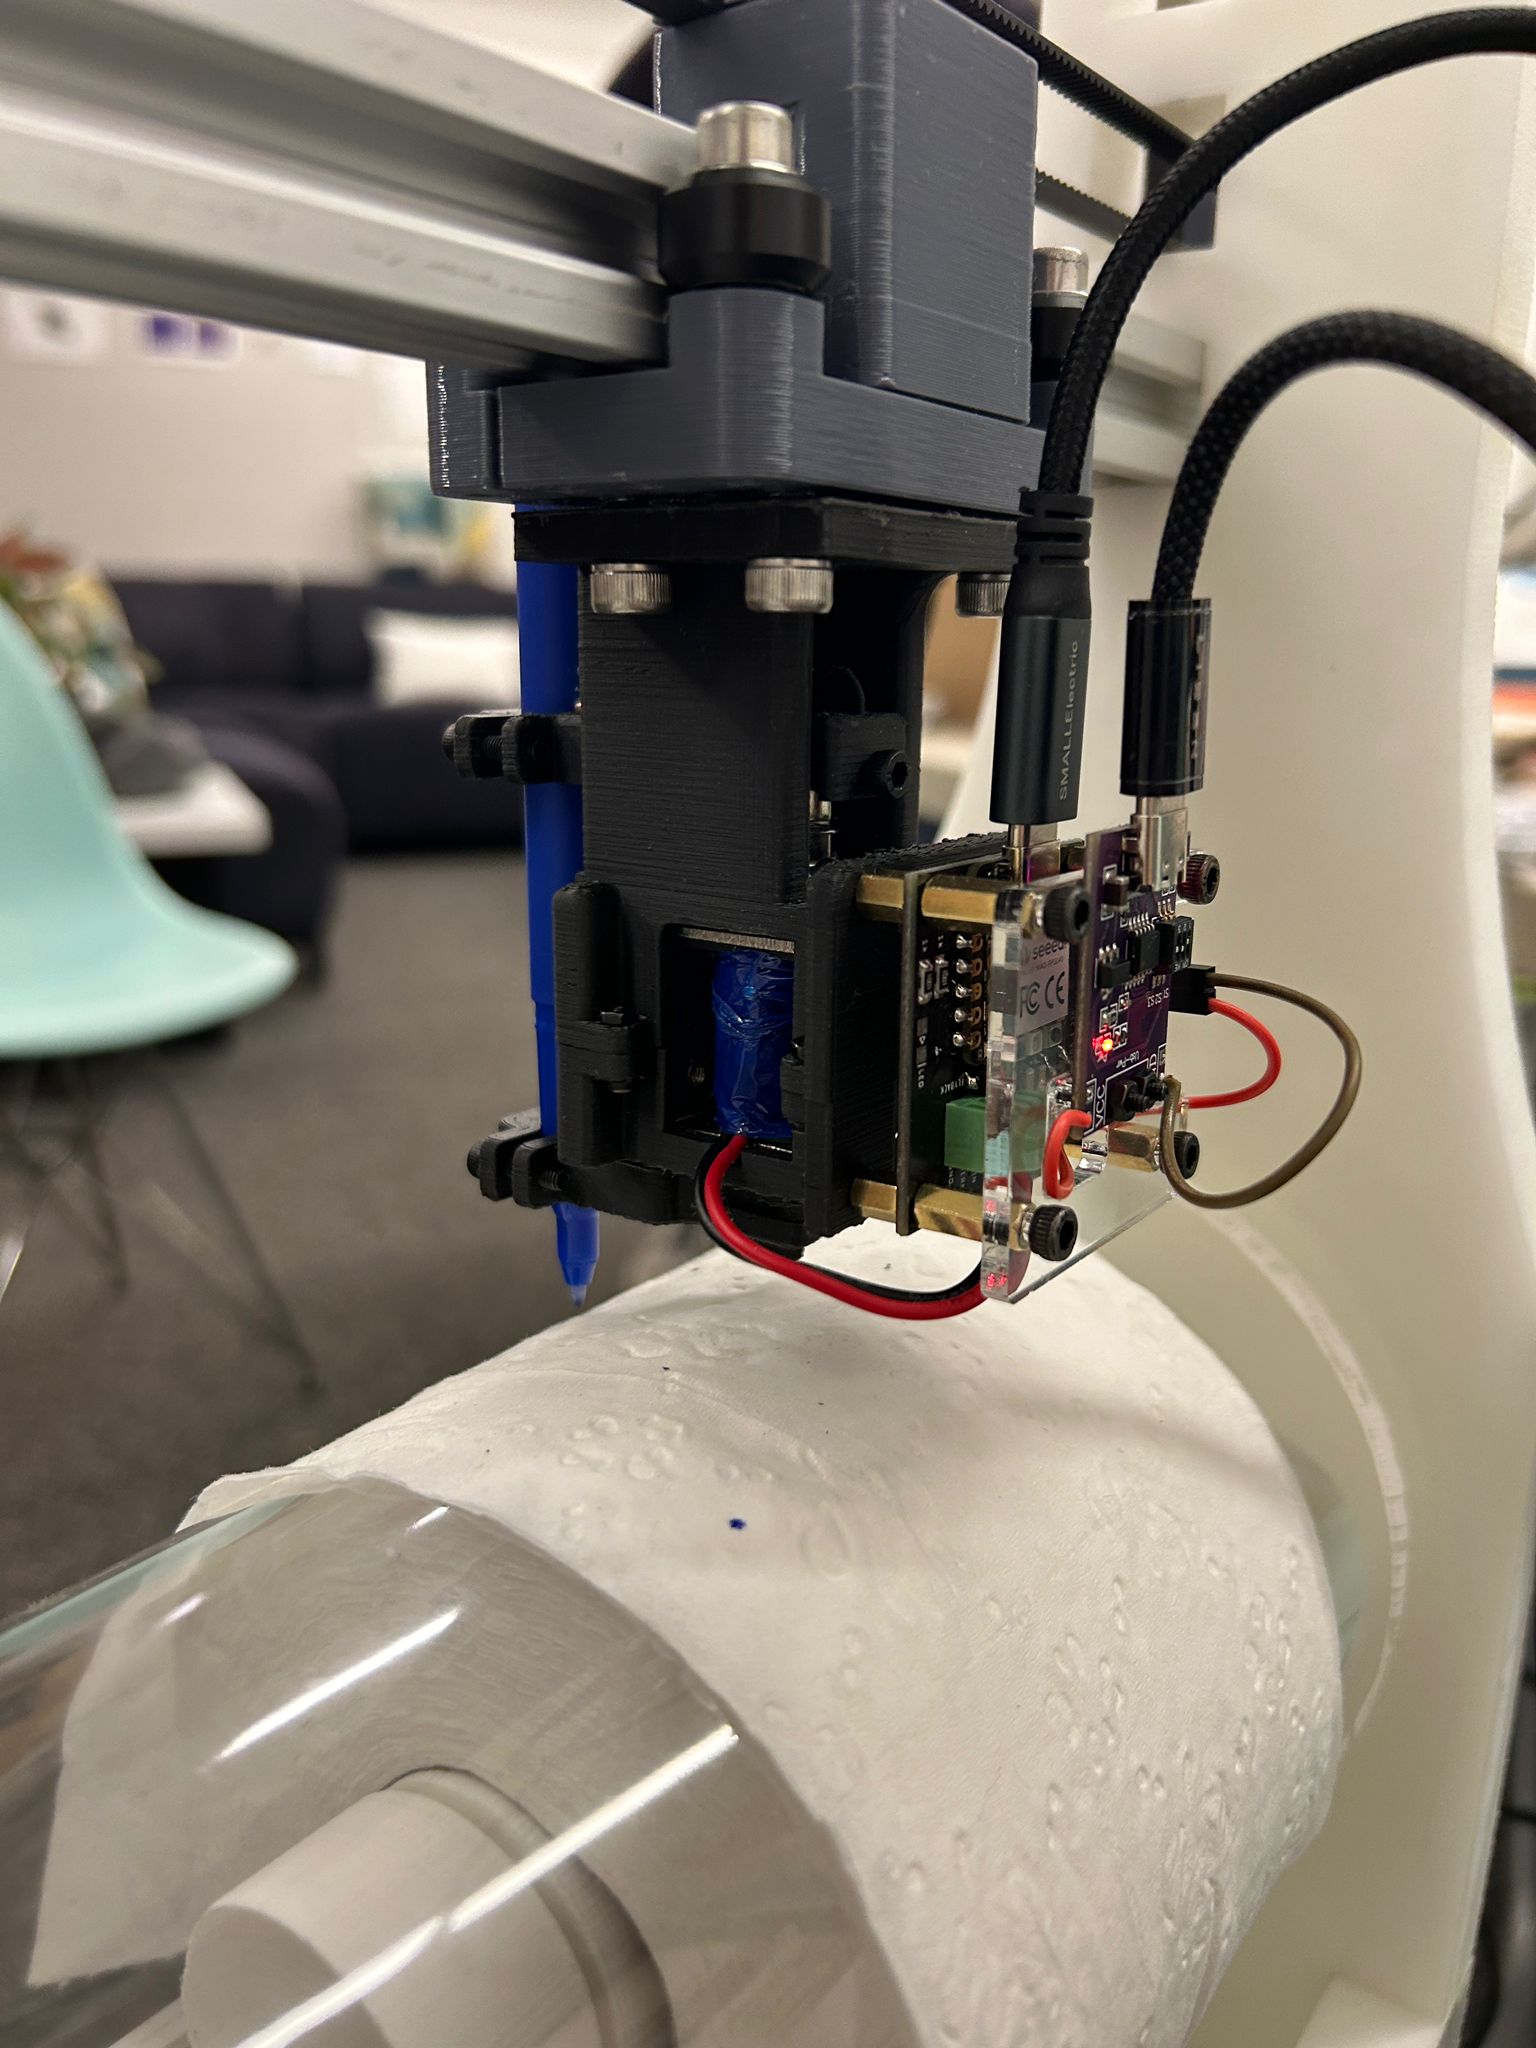
this actuator works by combining a simple clamp for a pen, with a linear rail sliding on metal spheres (like a bearring) and is actuated via solenoid.
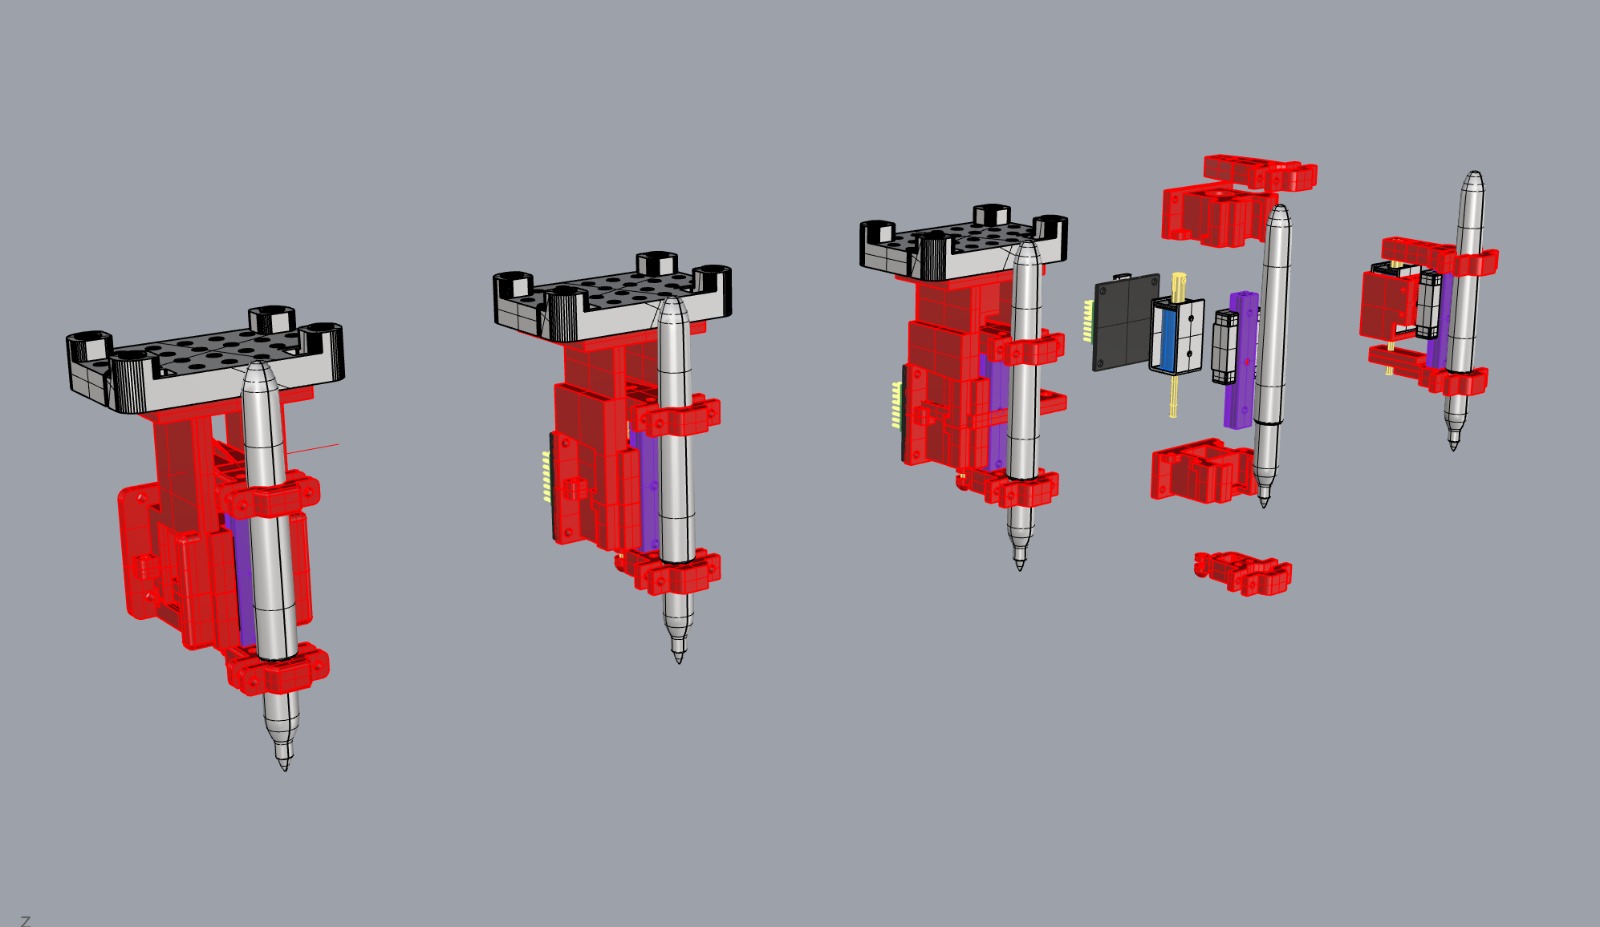
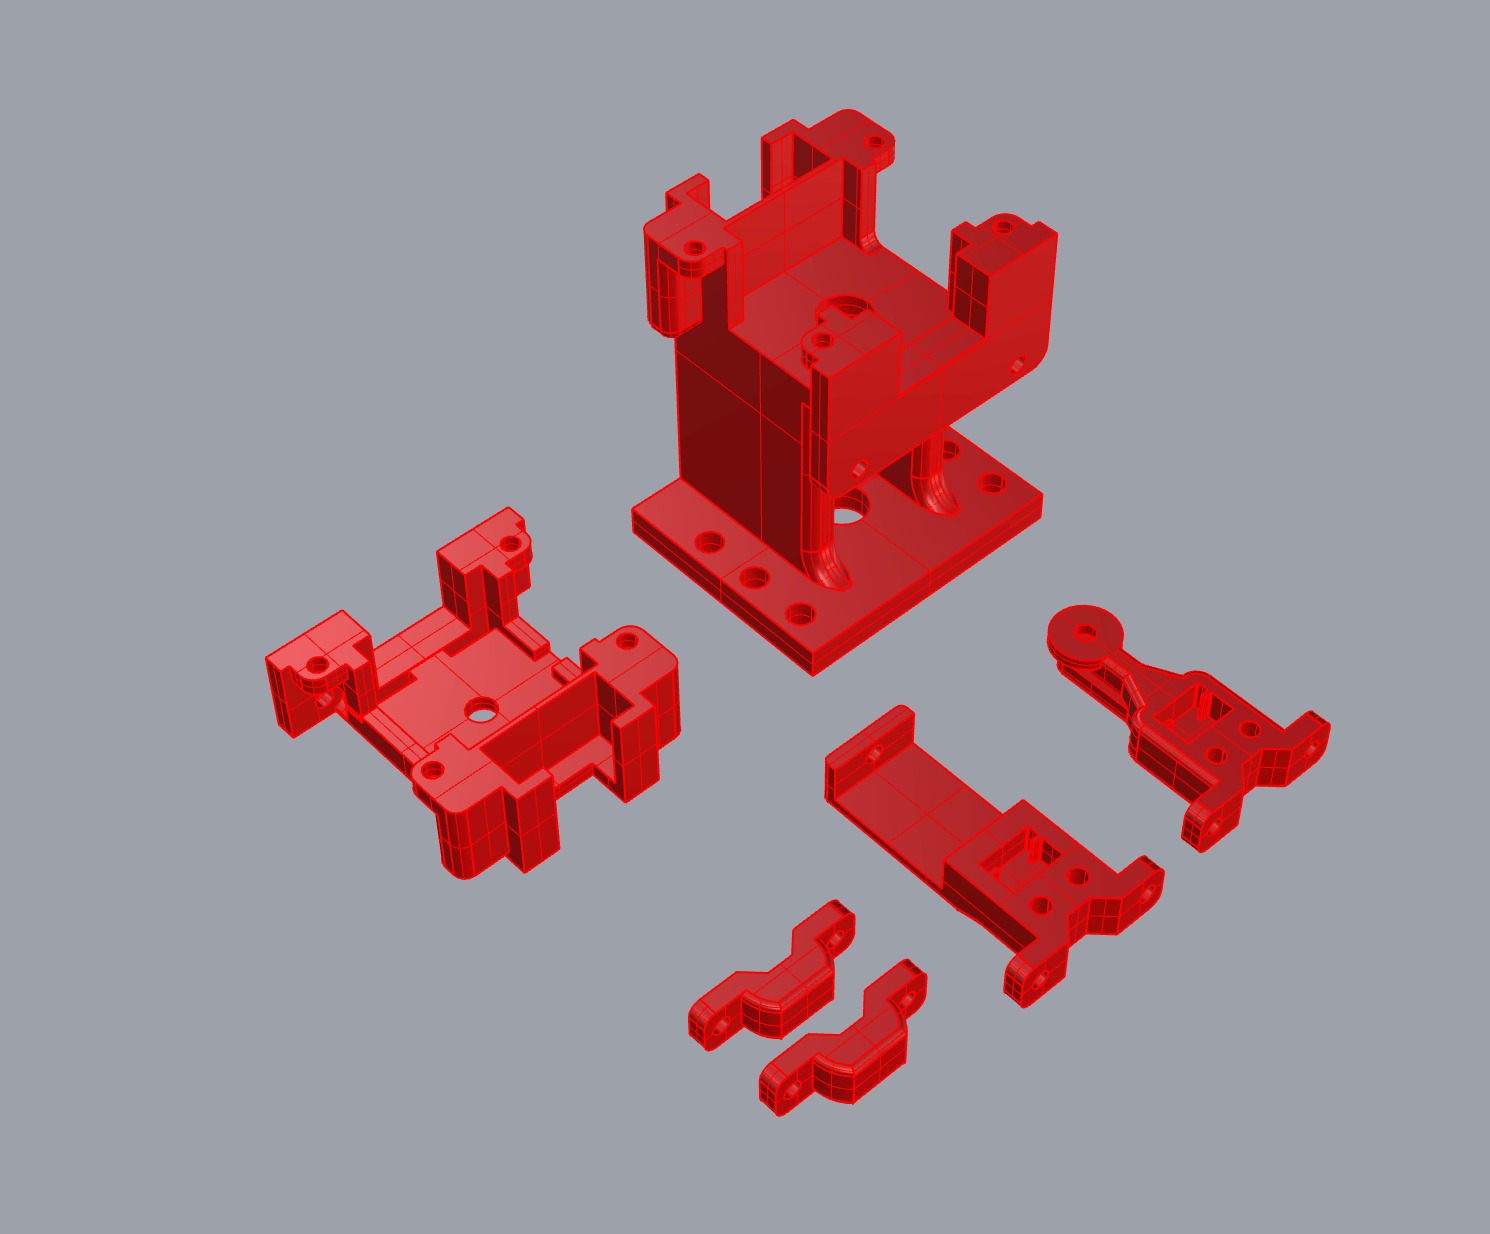
the first iteration was done by measuring all the individual components we intended to use and bringing them together in a rhino model. while some measurments are available online for many of the parts we wanted to use, i found that it is a lot more reliable and accurate to actually measure all the components with a digital caliper and measure it from that. this way you can account for small inconsistancies that the ideal dimensions would not cover.
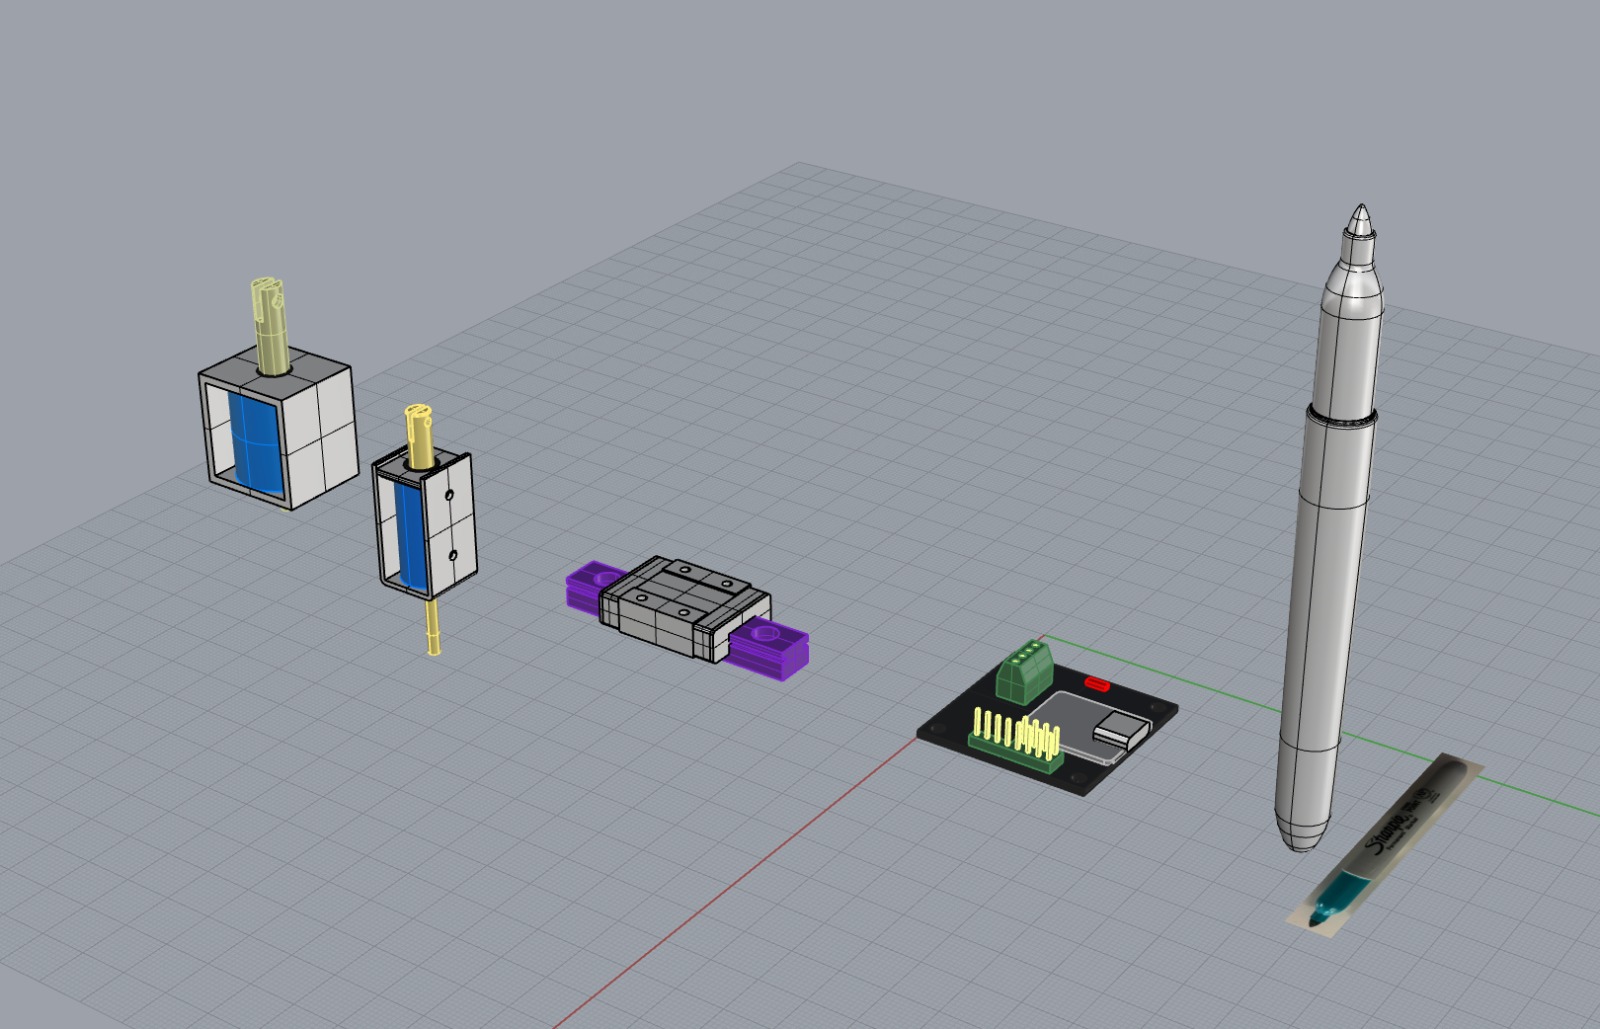
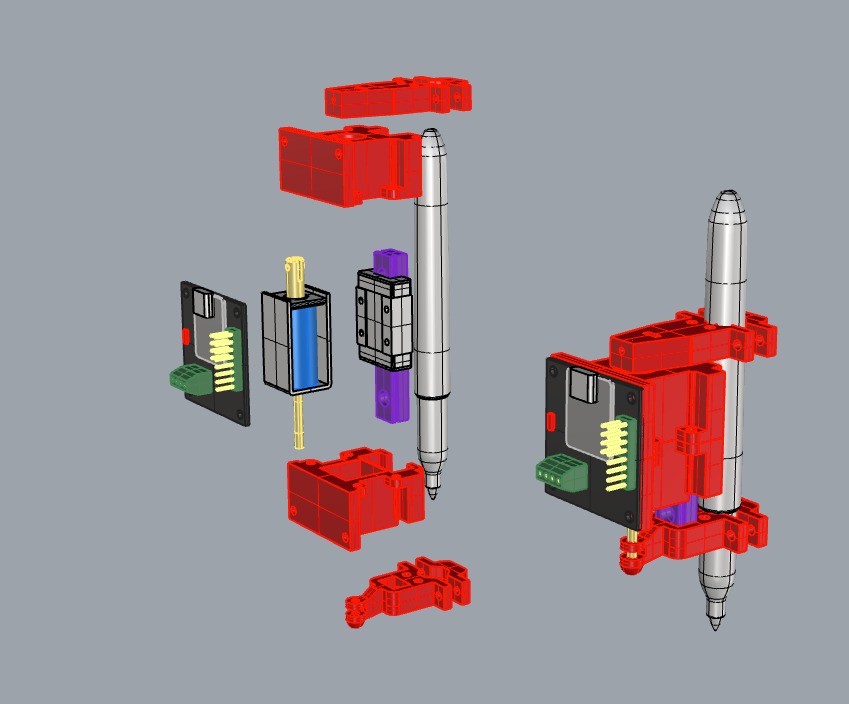
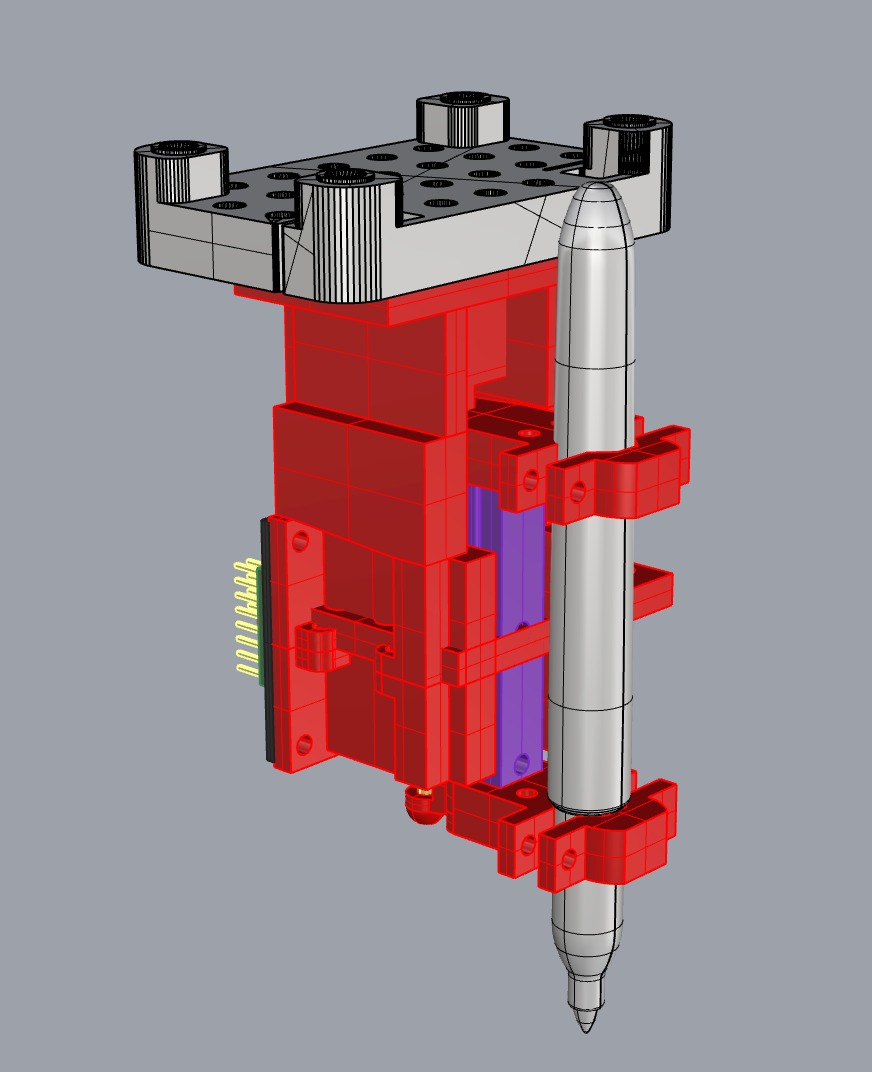
having all the components allowed me to put them together and design a housing for them to makethem work together. the rail of the linear rail would be attached to the pen clamps on one side and to the pin of the solenoid on the other. the wagon of the linear rail would be attached to the housing of the solenoid and would be mounted to the extruded aluminum (driven via belt through the stepper motors).
the first iteration of the actuator was done using a smaller actuator that would have been ideal for its form factor, and would run with 12 volt. but we soon would find out that the solenoid would not be strong enought to push more than its own pin.
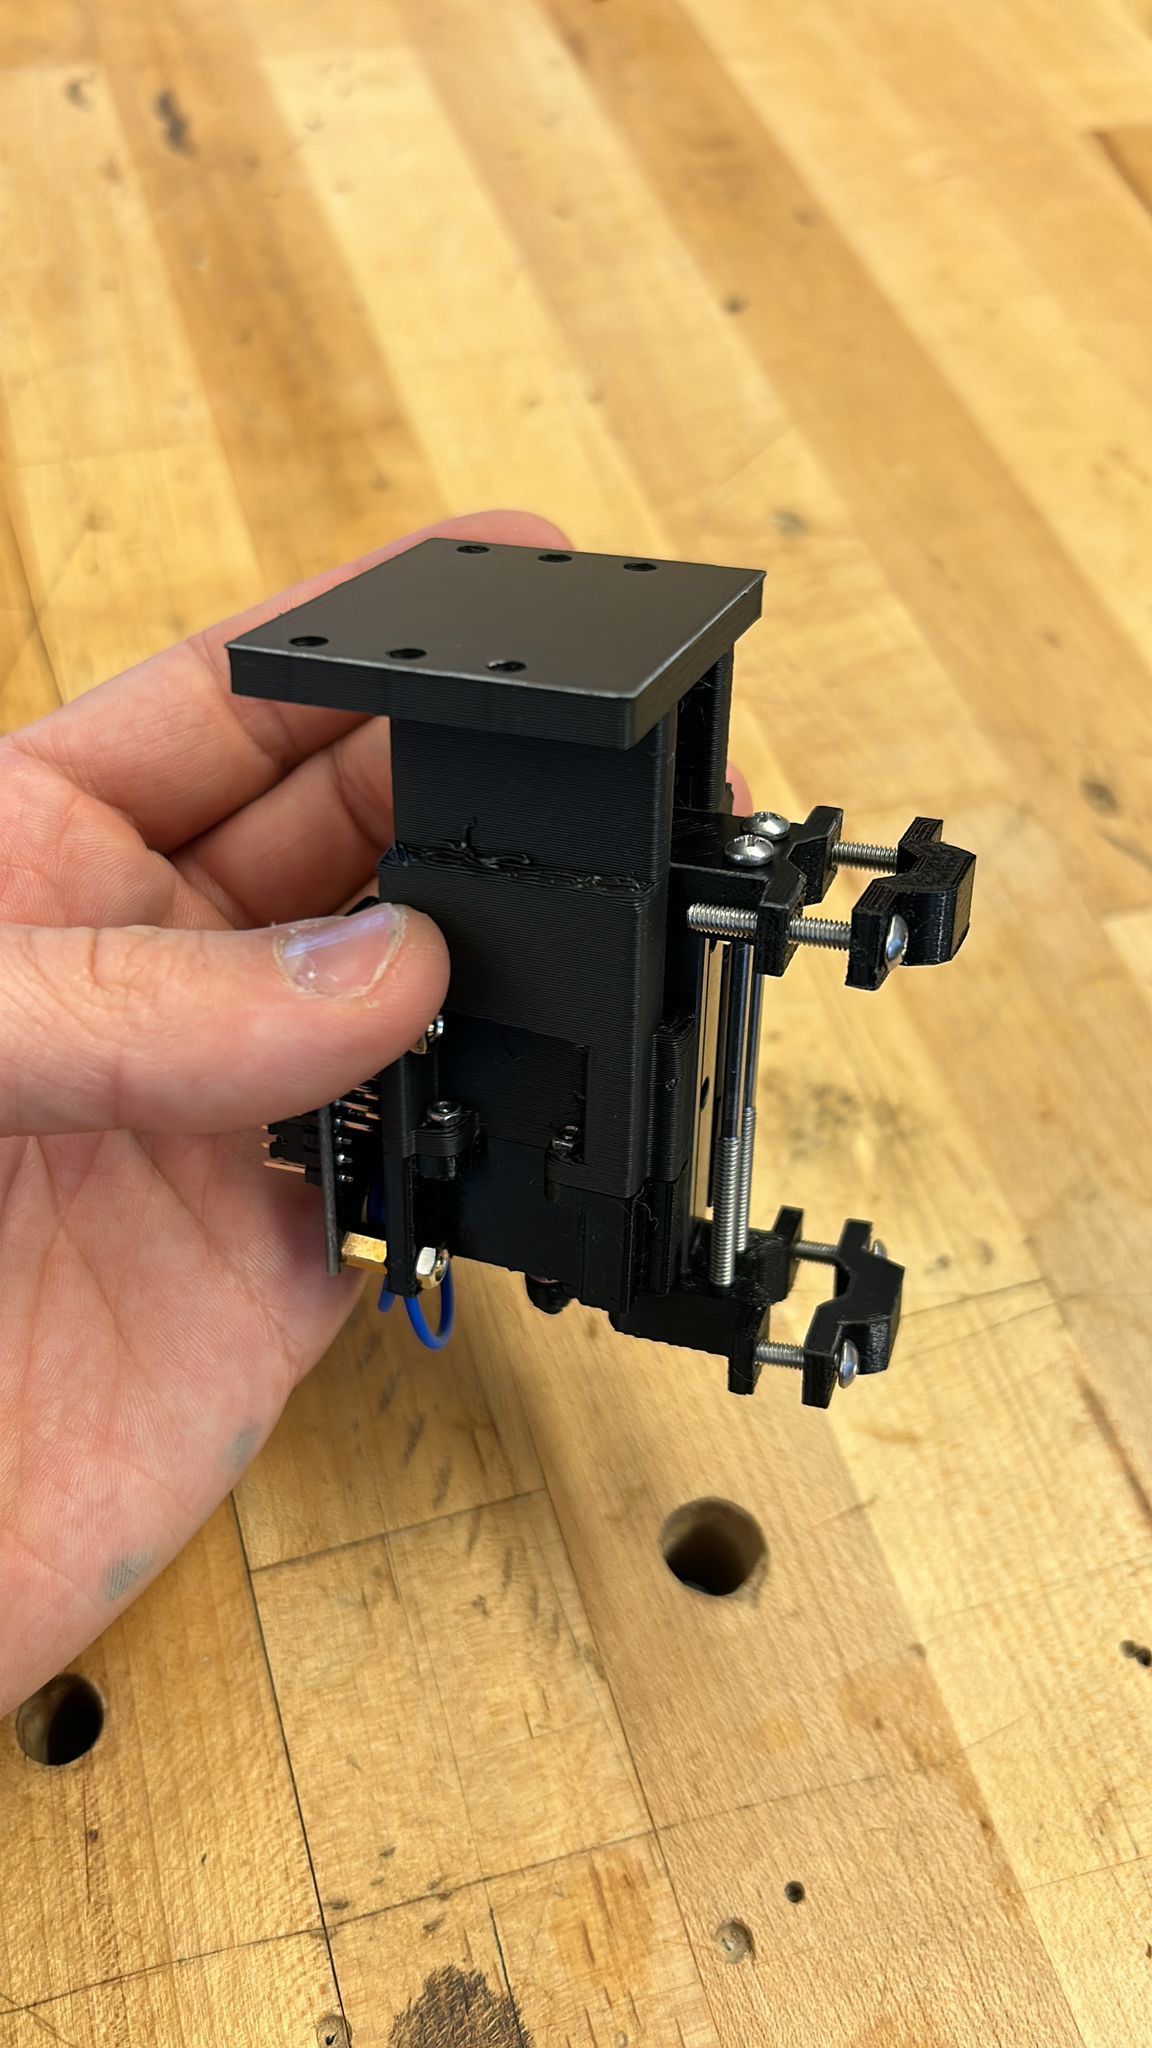
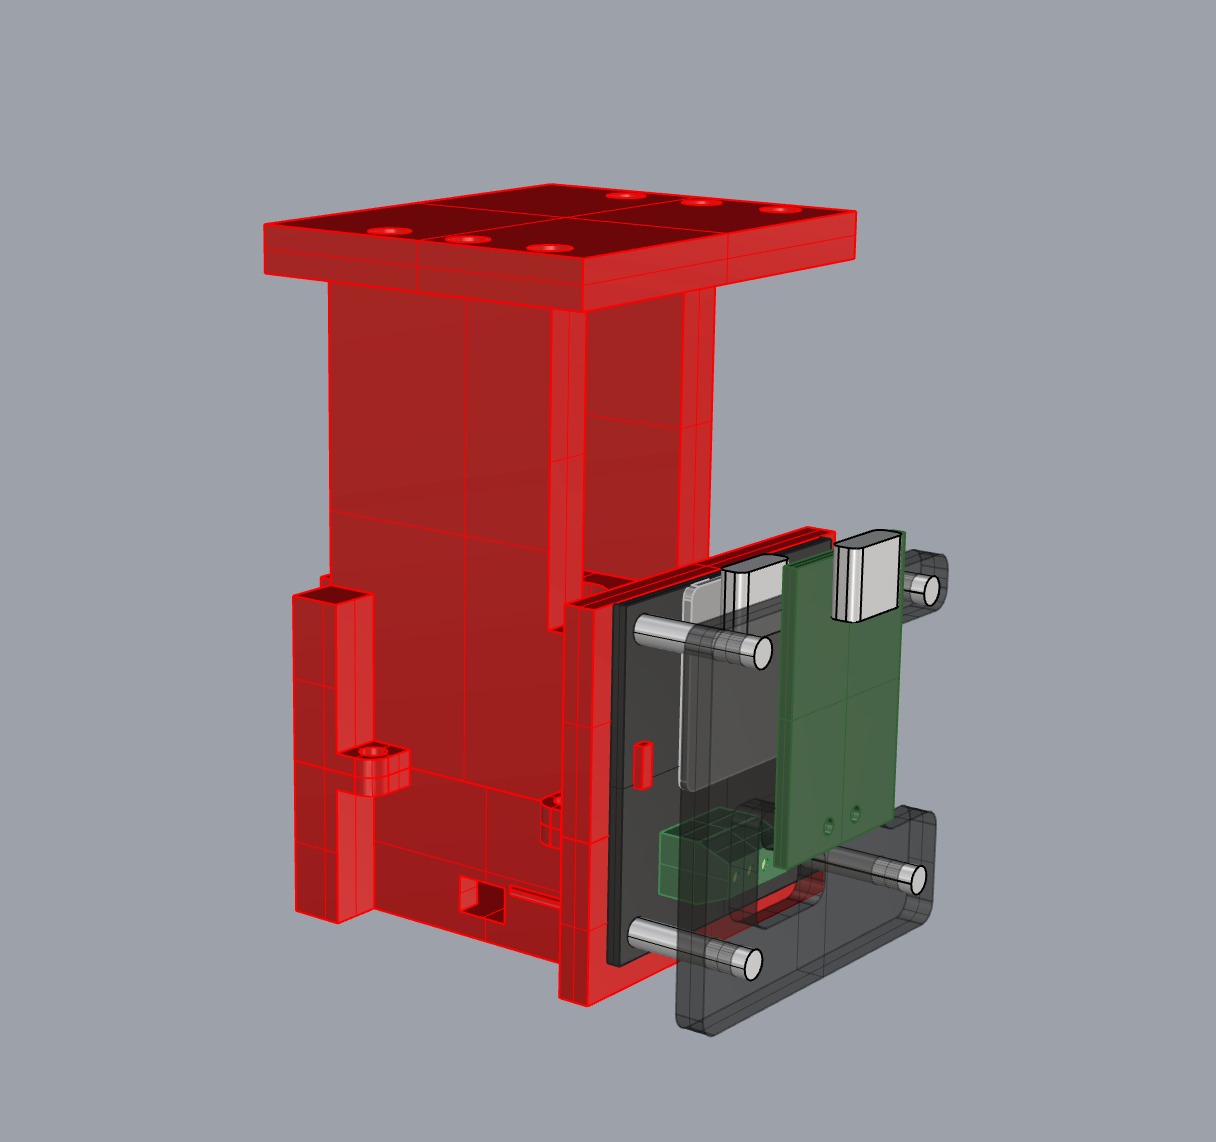
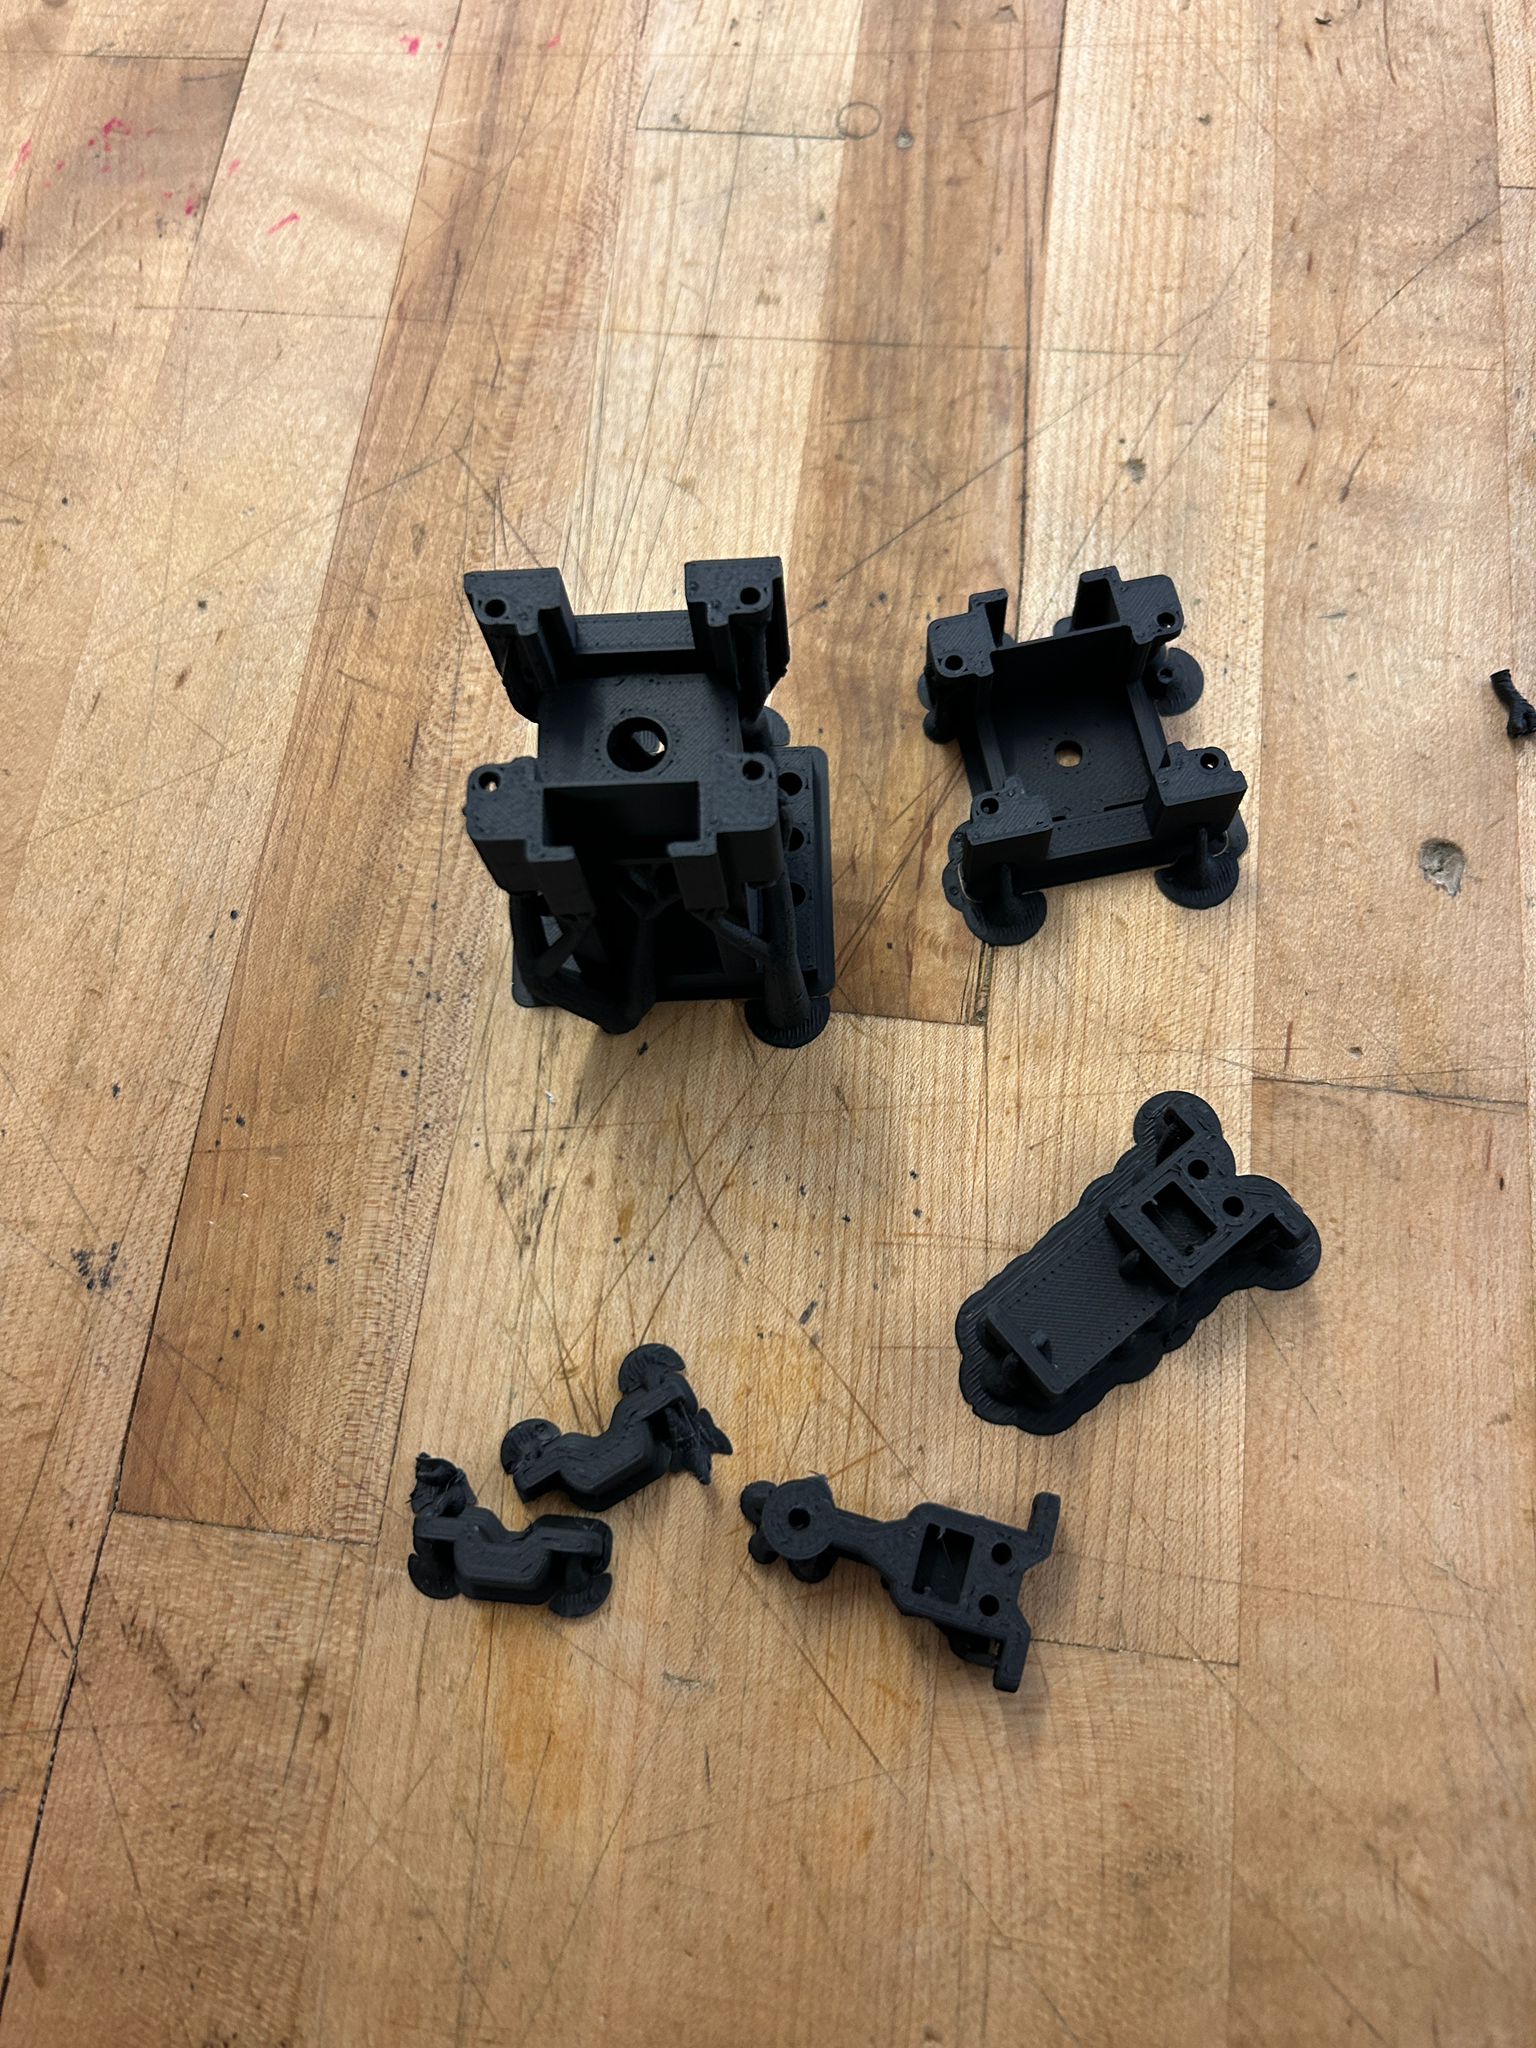
we decided it would be easies to 3d print the casing for the component and mount the pcb controller to the back of the case
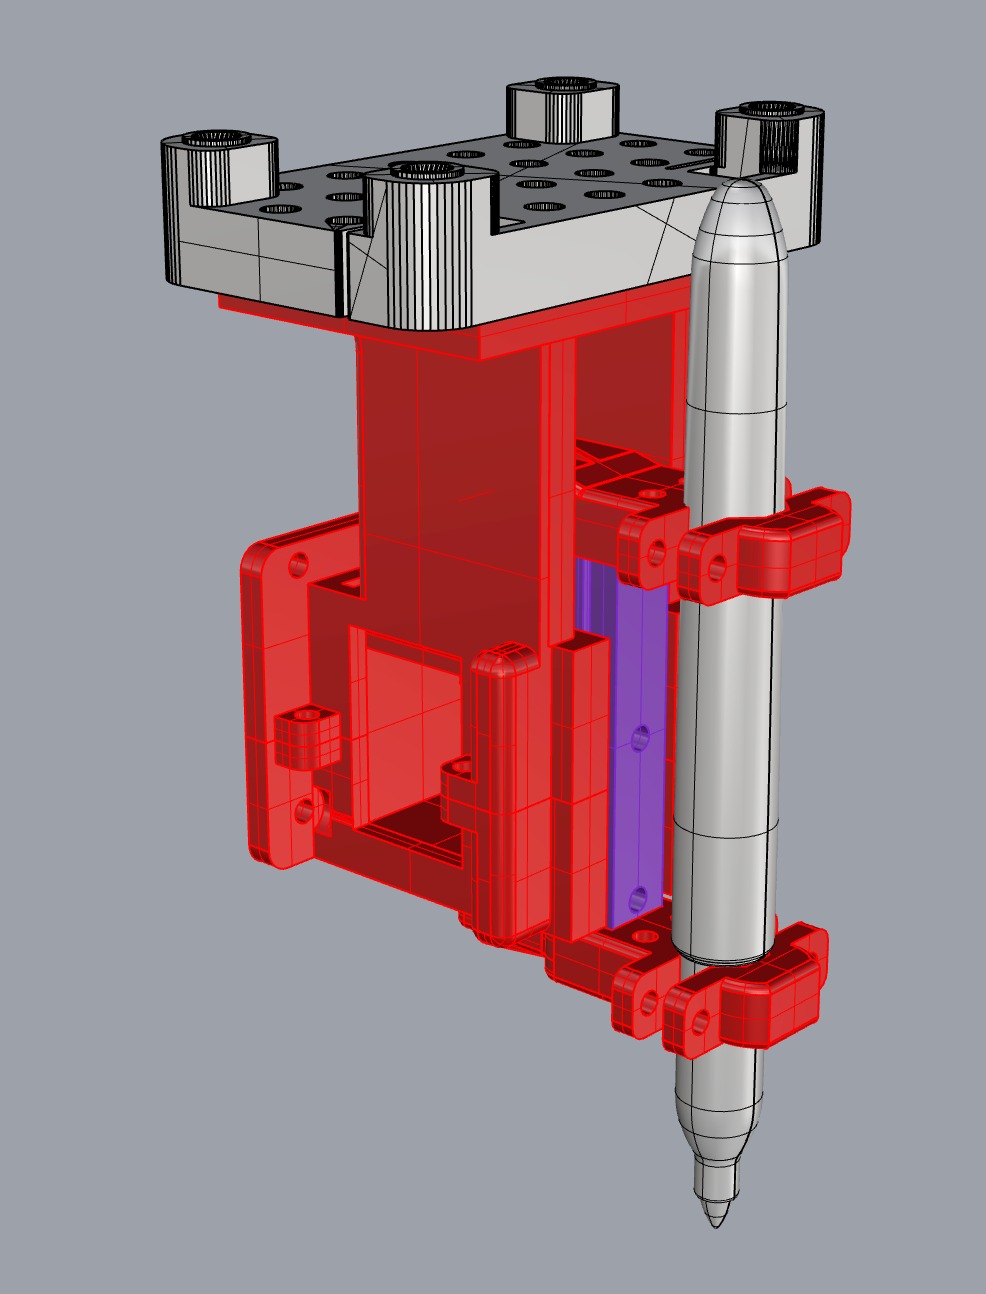
as mentioned earlier, the solenoid was not strong enough, so i went back to design a housing for a larger solenoid
once we were done with this it was time to print again and test it out.

alex tested this design with jake and realized we would need a higher voltage to run it, using 20v seemed to be adequate, running it through a 65W power brick
commonly used as fast chargers. However, to make the device actually deliver the voltage we want, we needed to add a charging decoy that would
deliver the 20 volt.
while running the solenoid on 20v we realized that not only would i need to find a place to add the decoy to the print head, but also we wanted to find a way to create more openings in the housing. as you see in the image above,
i had it completely incased inside the 3d print, but the higher voltage causes the solenoid to get quite hot. so i went back into the rhino model and tried to figure out how to add these additional design constraints into the latest version.
additionally, the spring that came with the solenoid was not strong enough to push the pen back up after the actuation, so we tried to make our own spring, that would be strong enough to push the pen back up, while still being weak enough to actuate with the solenoid running on 20v.
after figuring all these things out by printing it a final time, adding standoffs to the pcb in the back and onther set of standoffs for a custom acrylic piece that would hold the charge decoy, we were ready to implement the final design into the toilet paper plotter, aka. Daily Paper
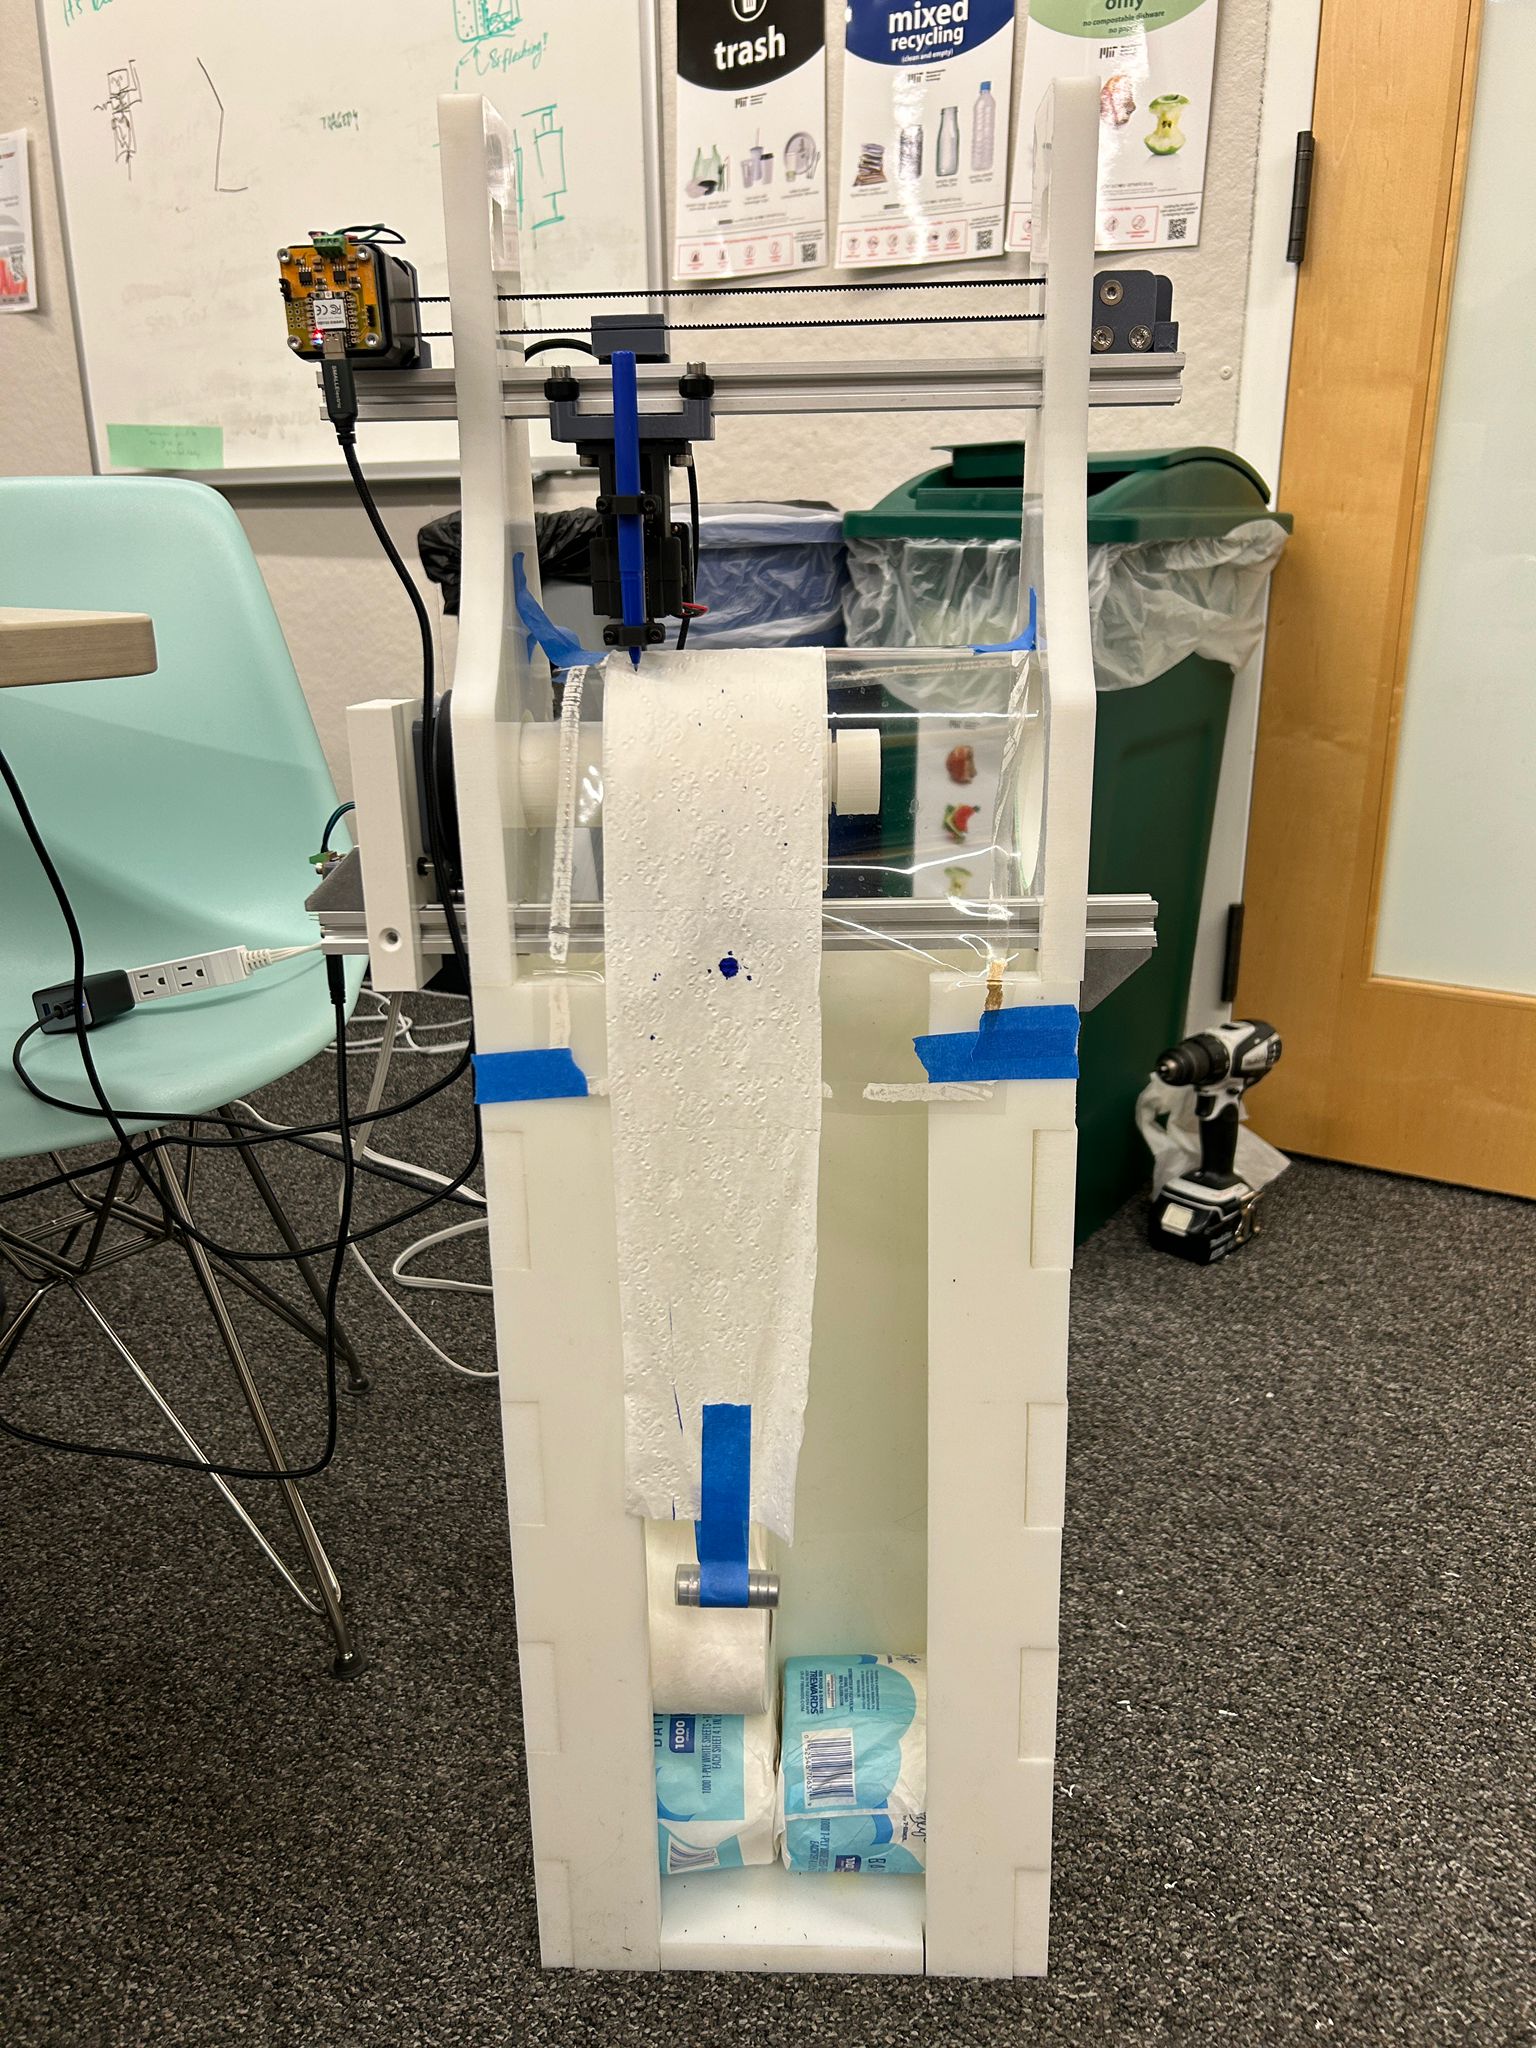
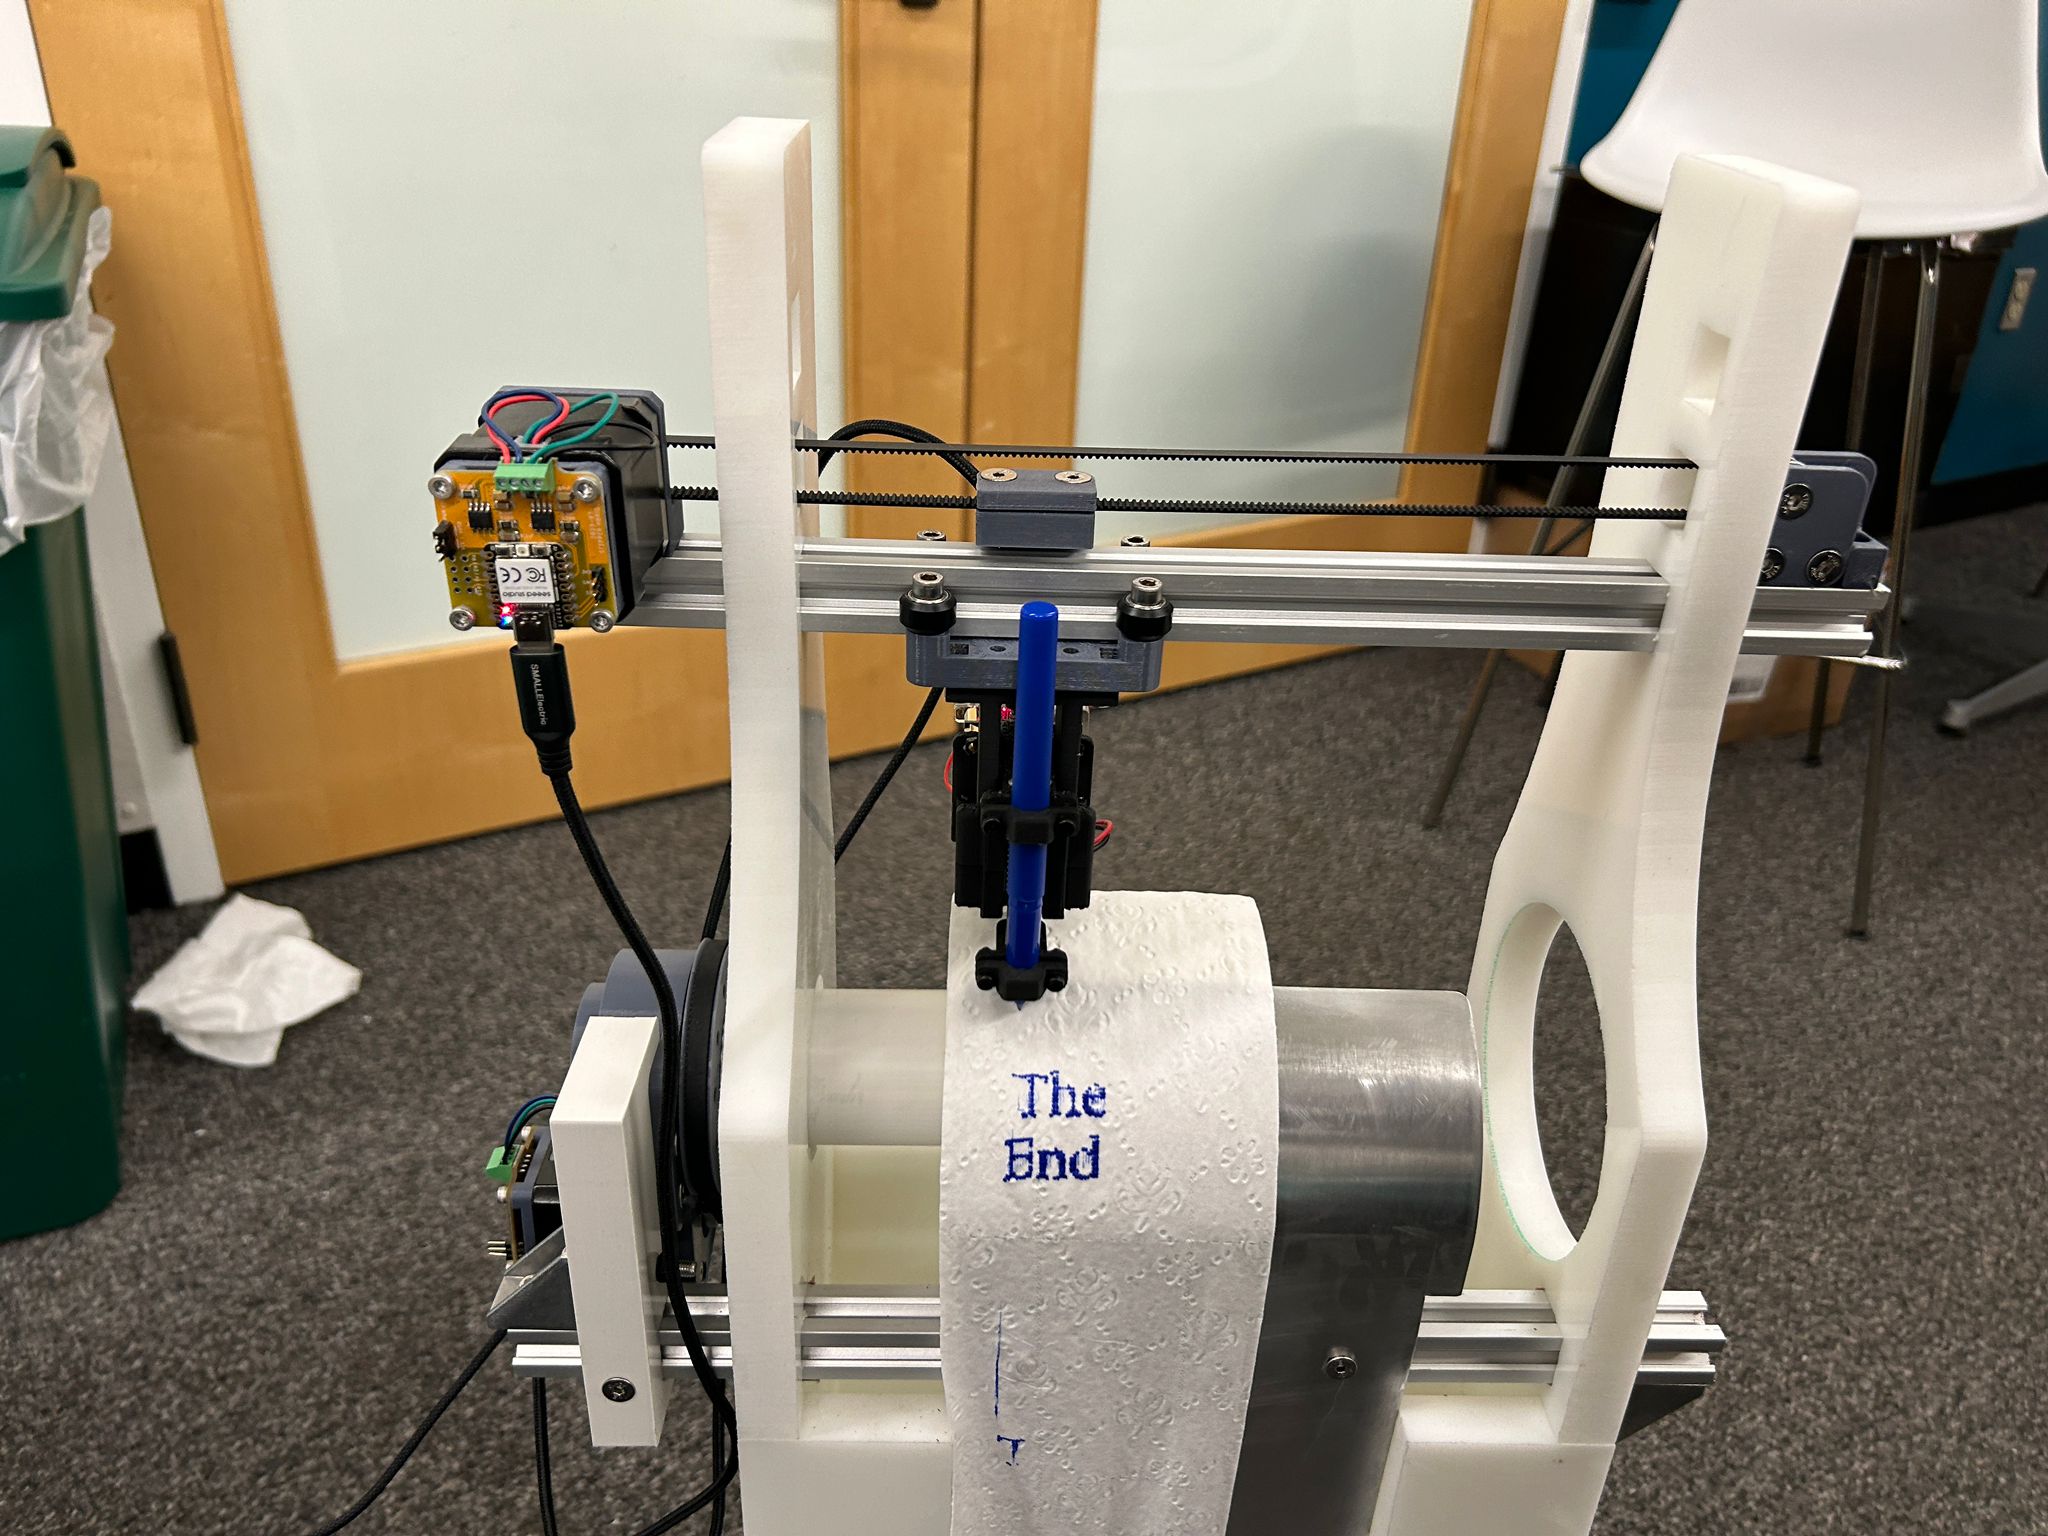
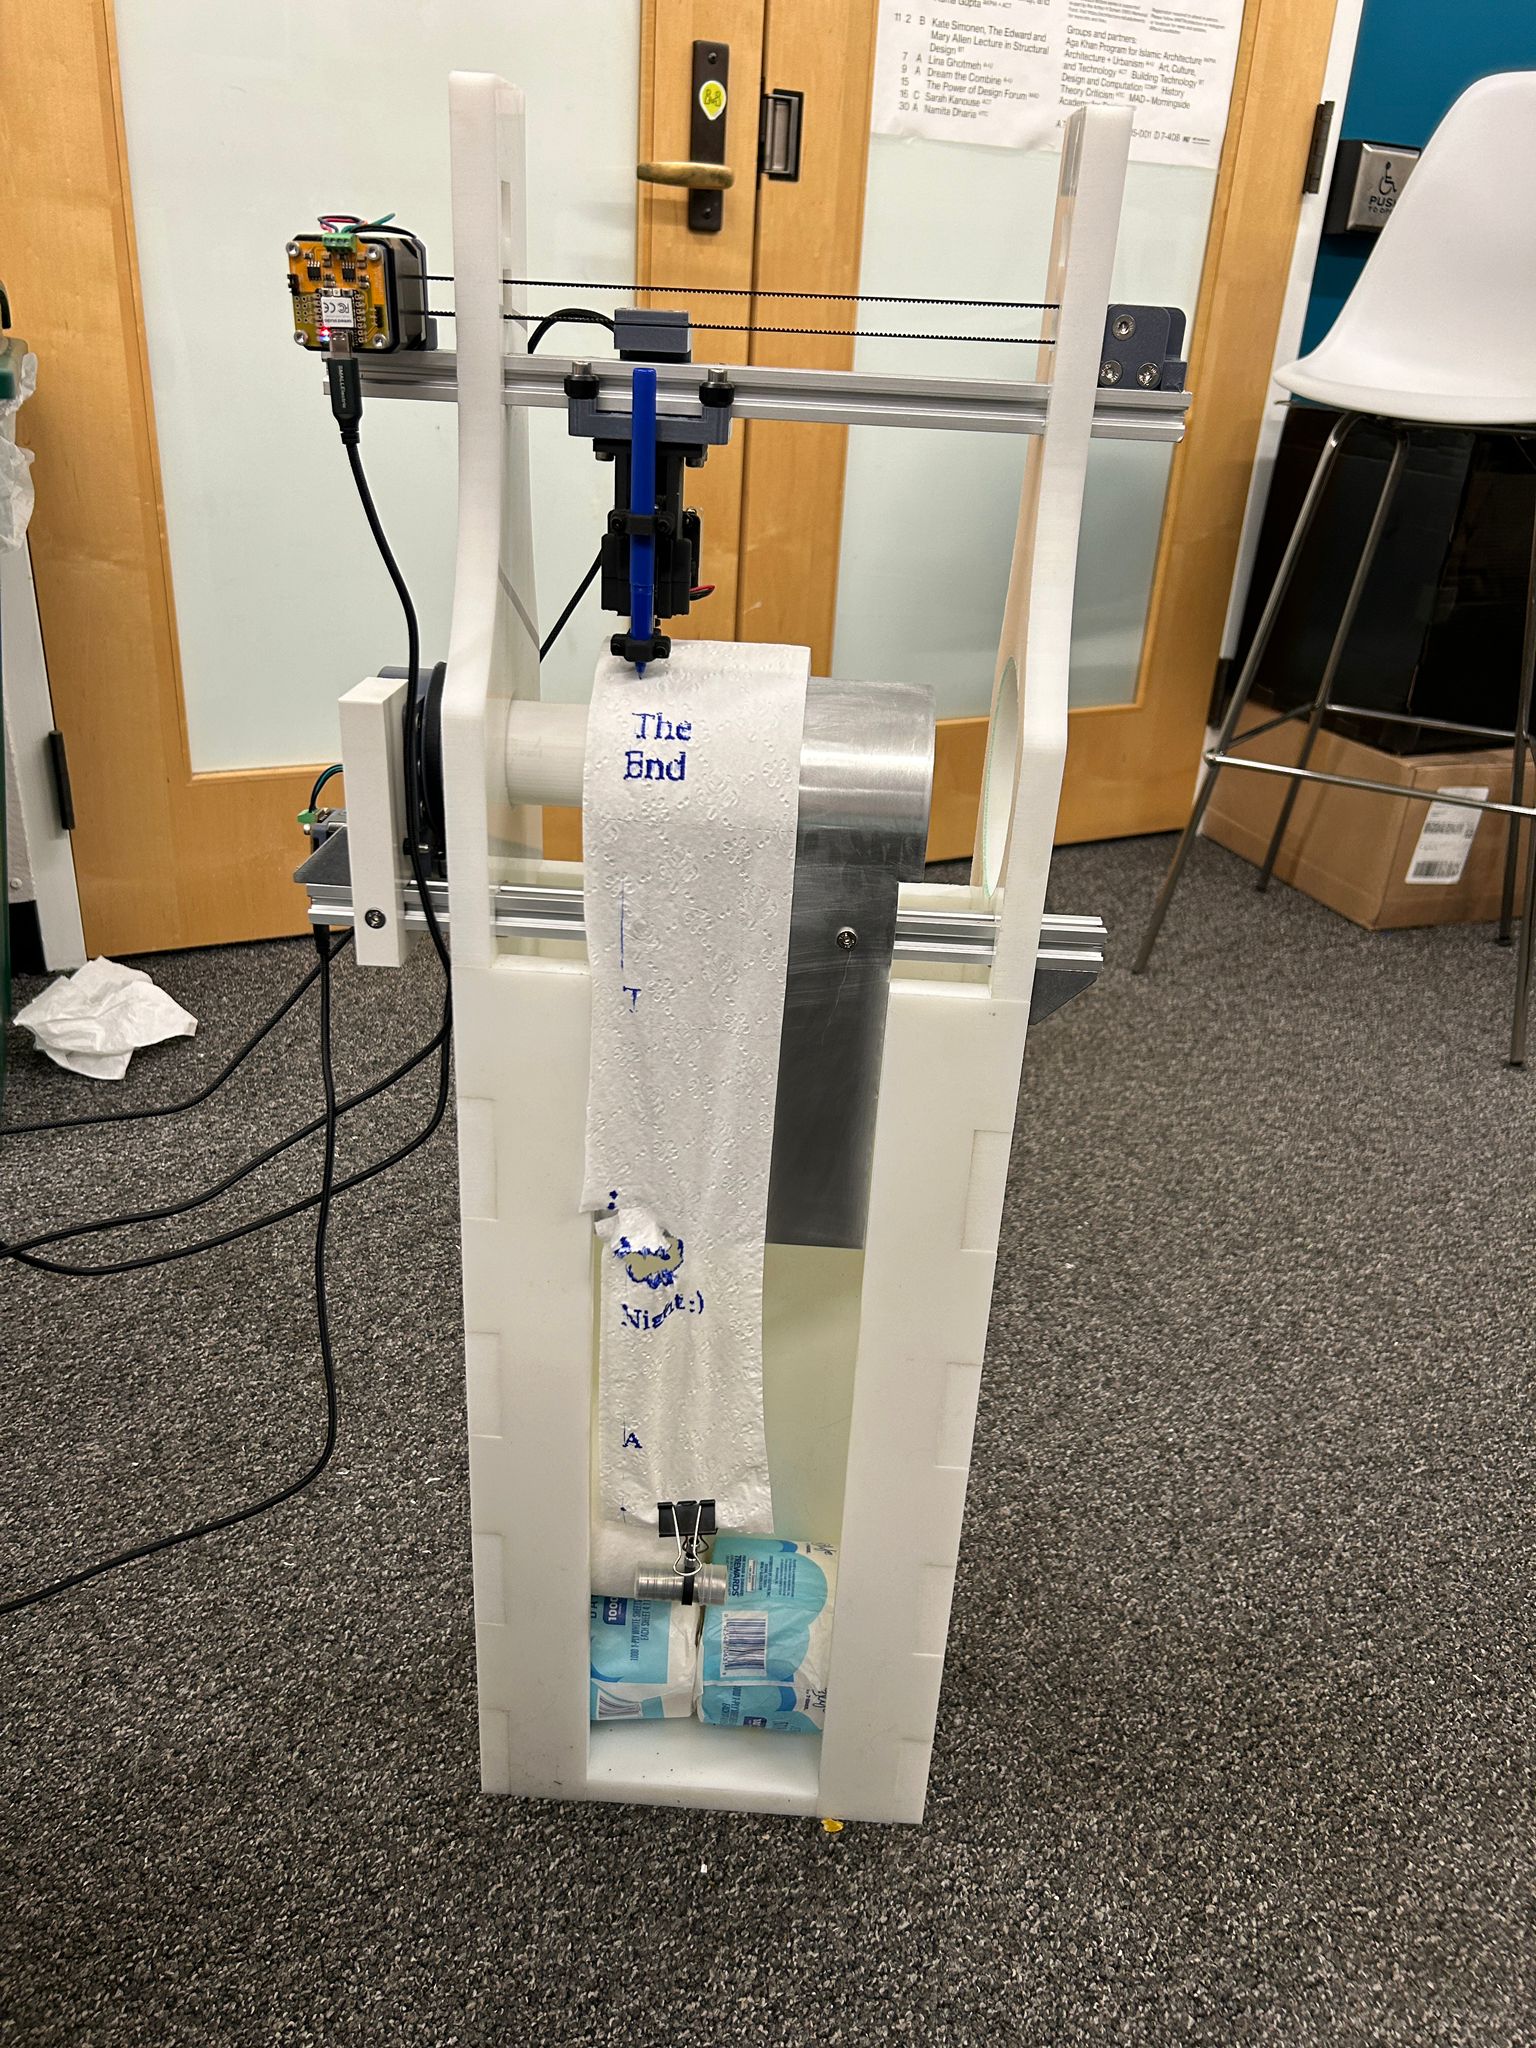
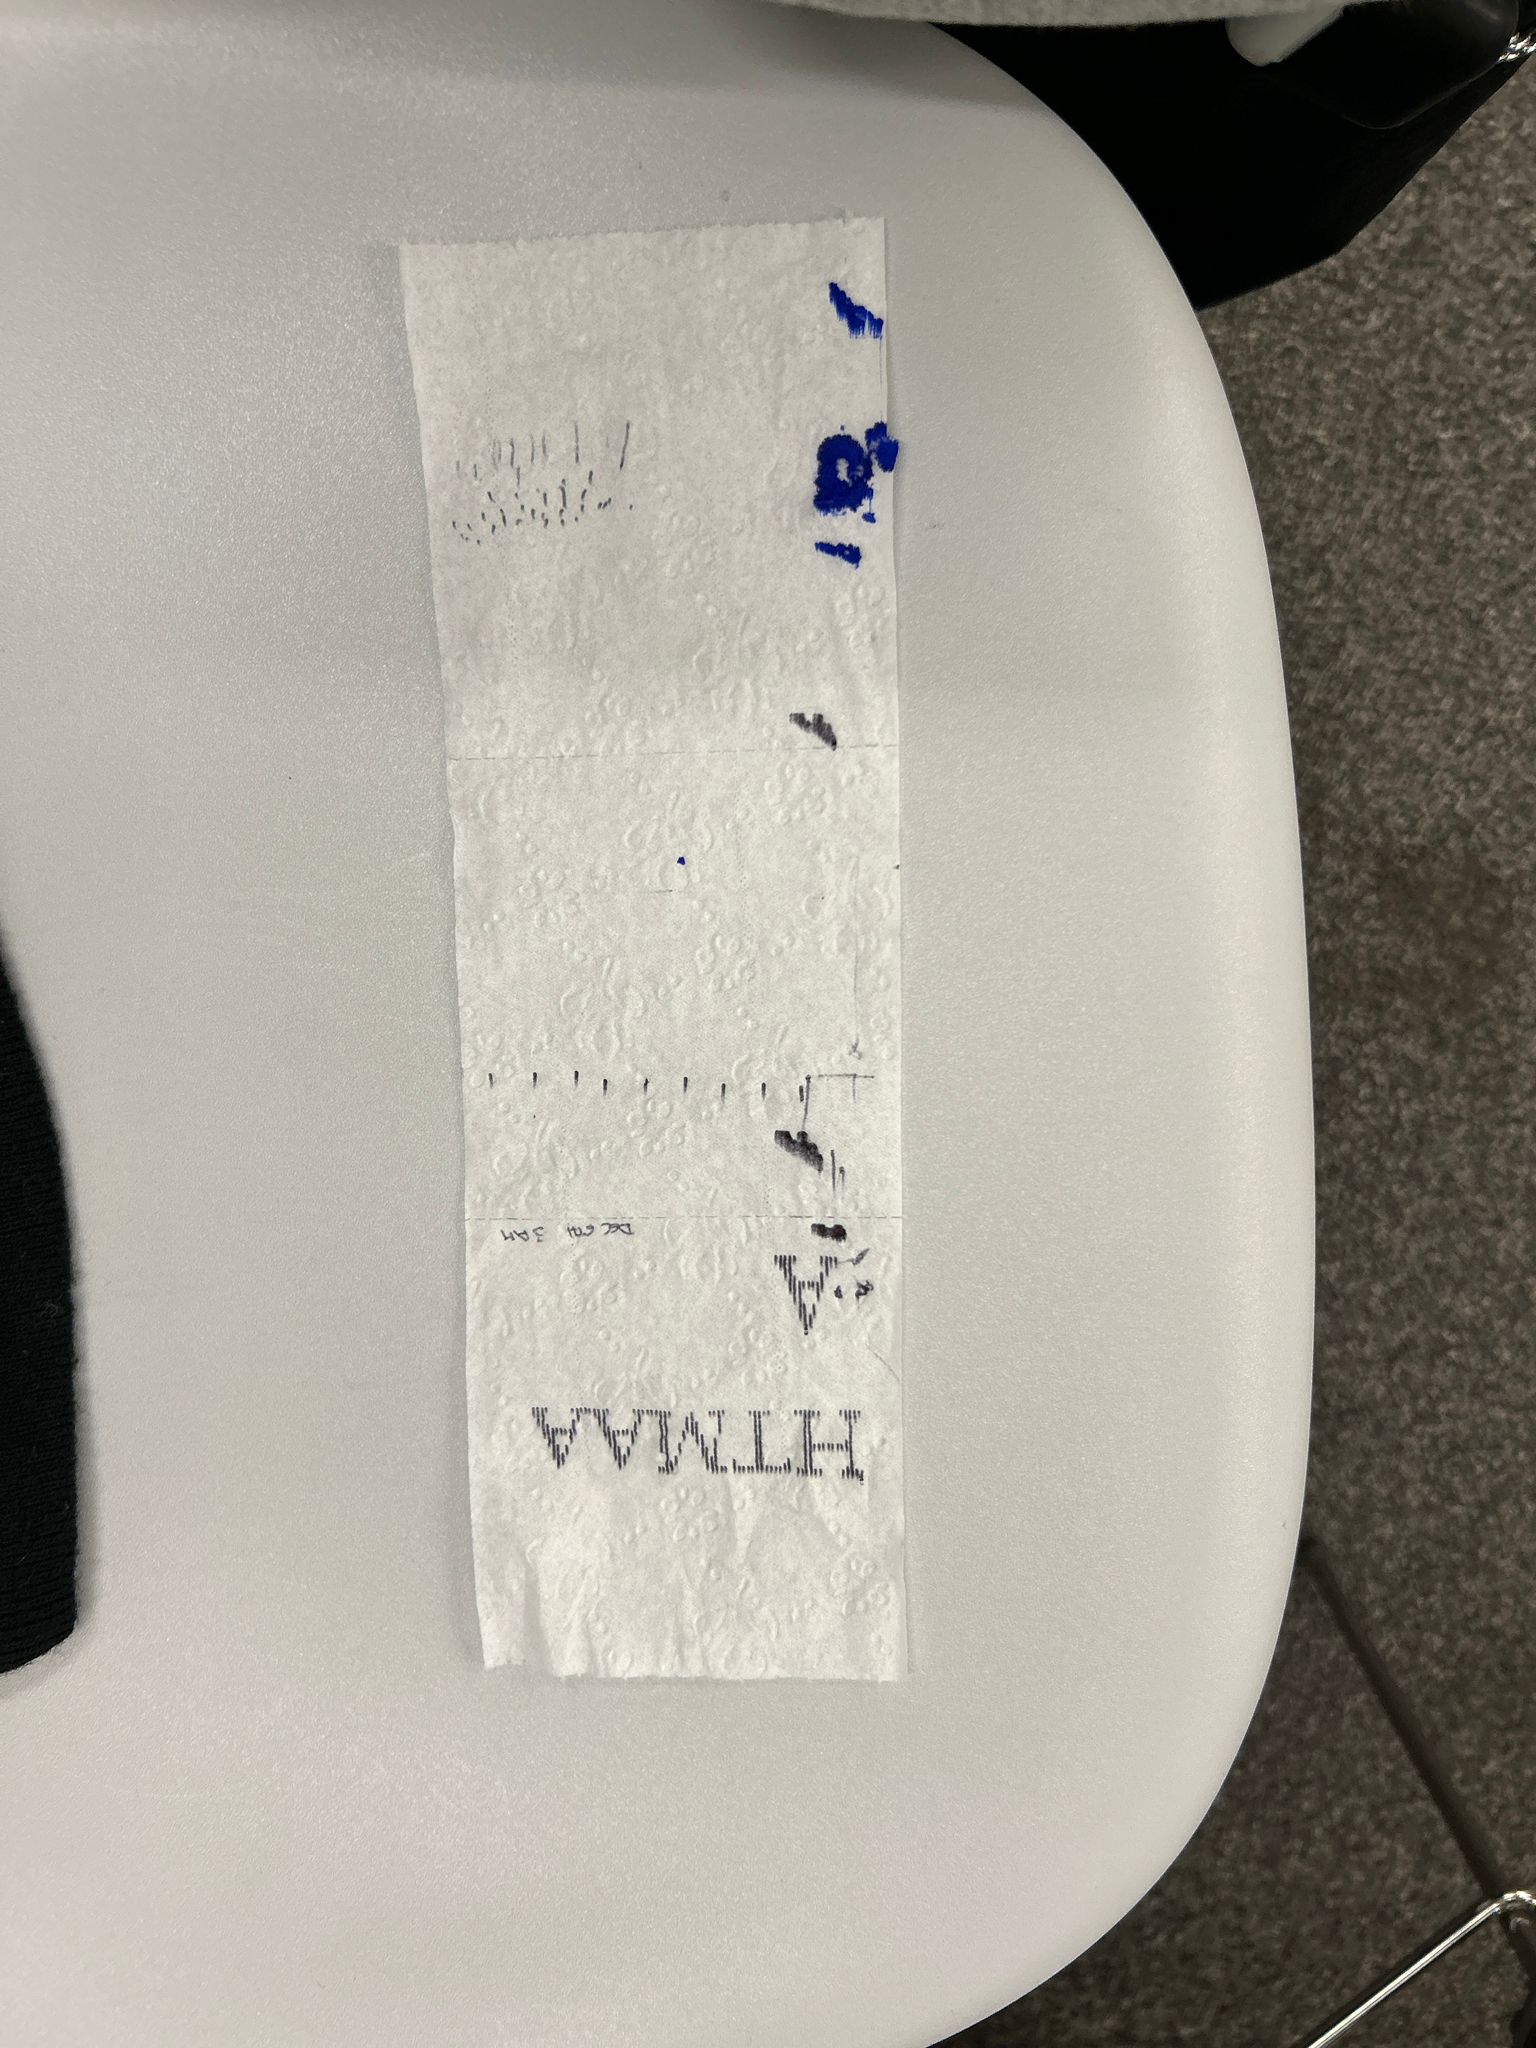
after a number of semi succesfull attempts, we realized that we needed a metal plate that is bend to the shape of the roll, that would enable a continuous surface for the pen to actuate on, as well as a weight that would pull the paper down and create a smooth surface for the pen. even if we decided to go with a stippling motion of the pen, the y axis (rolling the paper roll in and out) was faster than the extruded aluminum x axis, and instead of printing left to right for each line, it was better and faster to print each column one after the other from left to right - most of this code work was figured out by Se Hwan Jeon, without whom we would have not been able to bring it all together.
after two long nights we finally got the printer to write words. thanks to everyone in the team we were able to pull it together despite last minute alterations and adaptations in design and functionality.
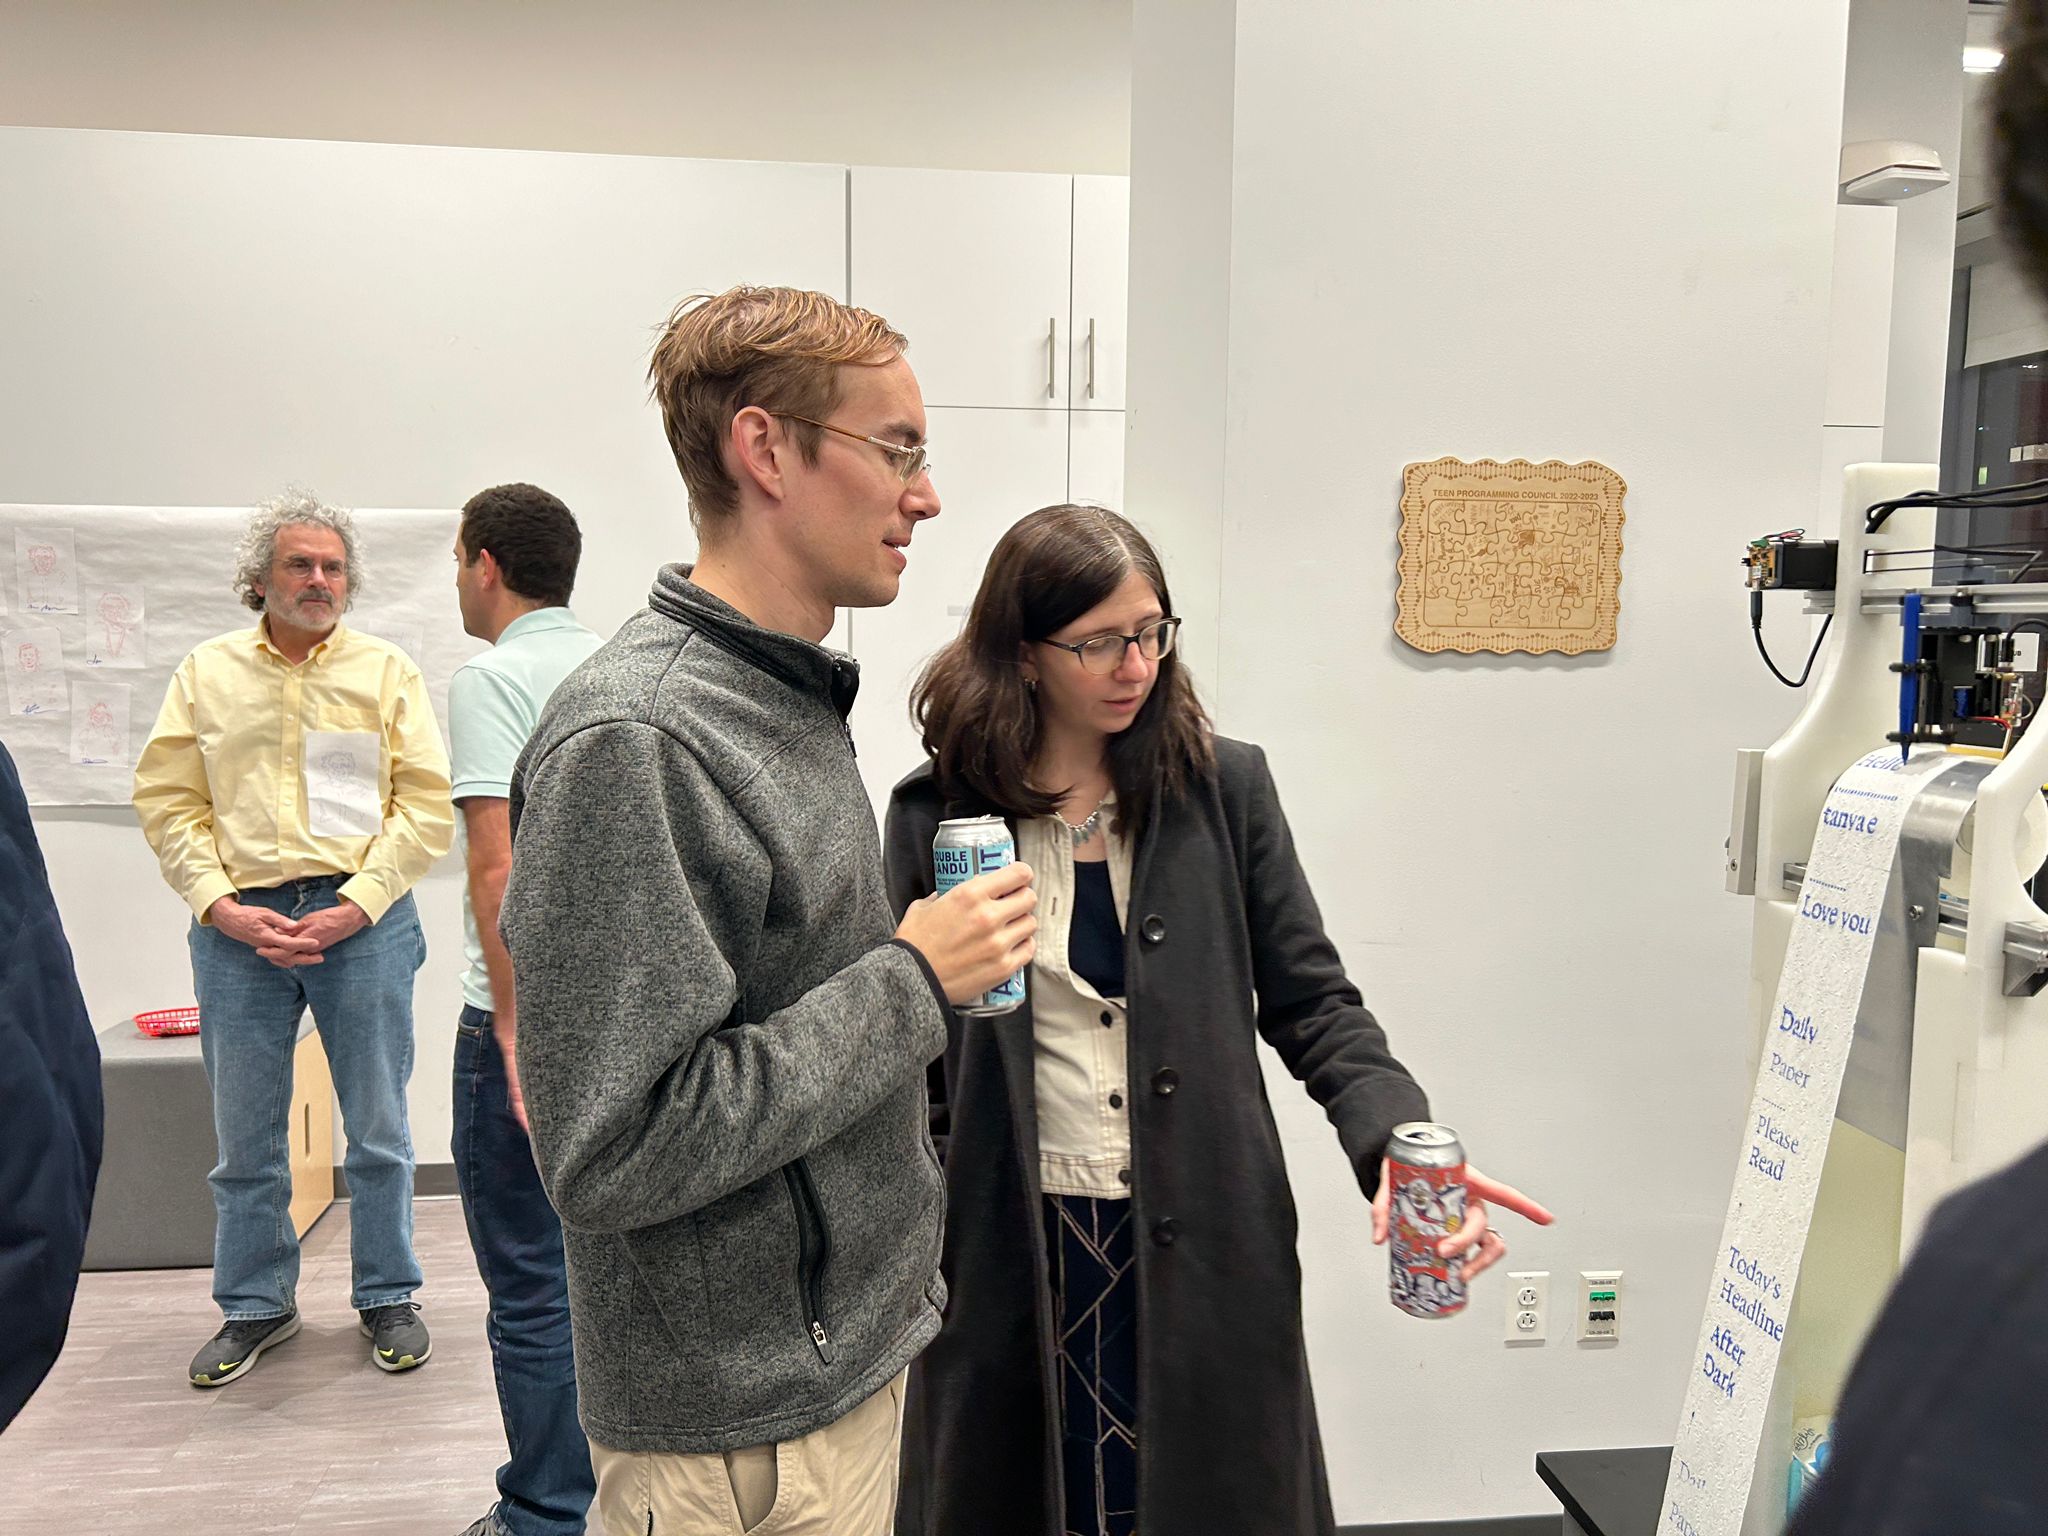
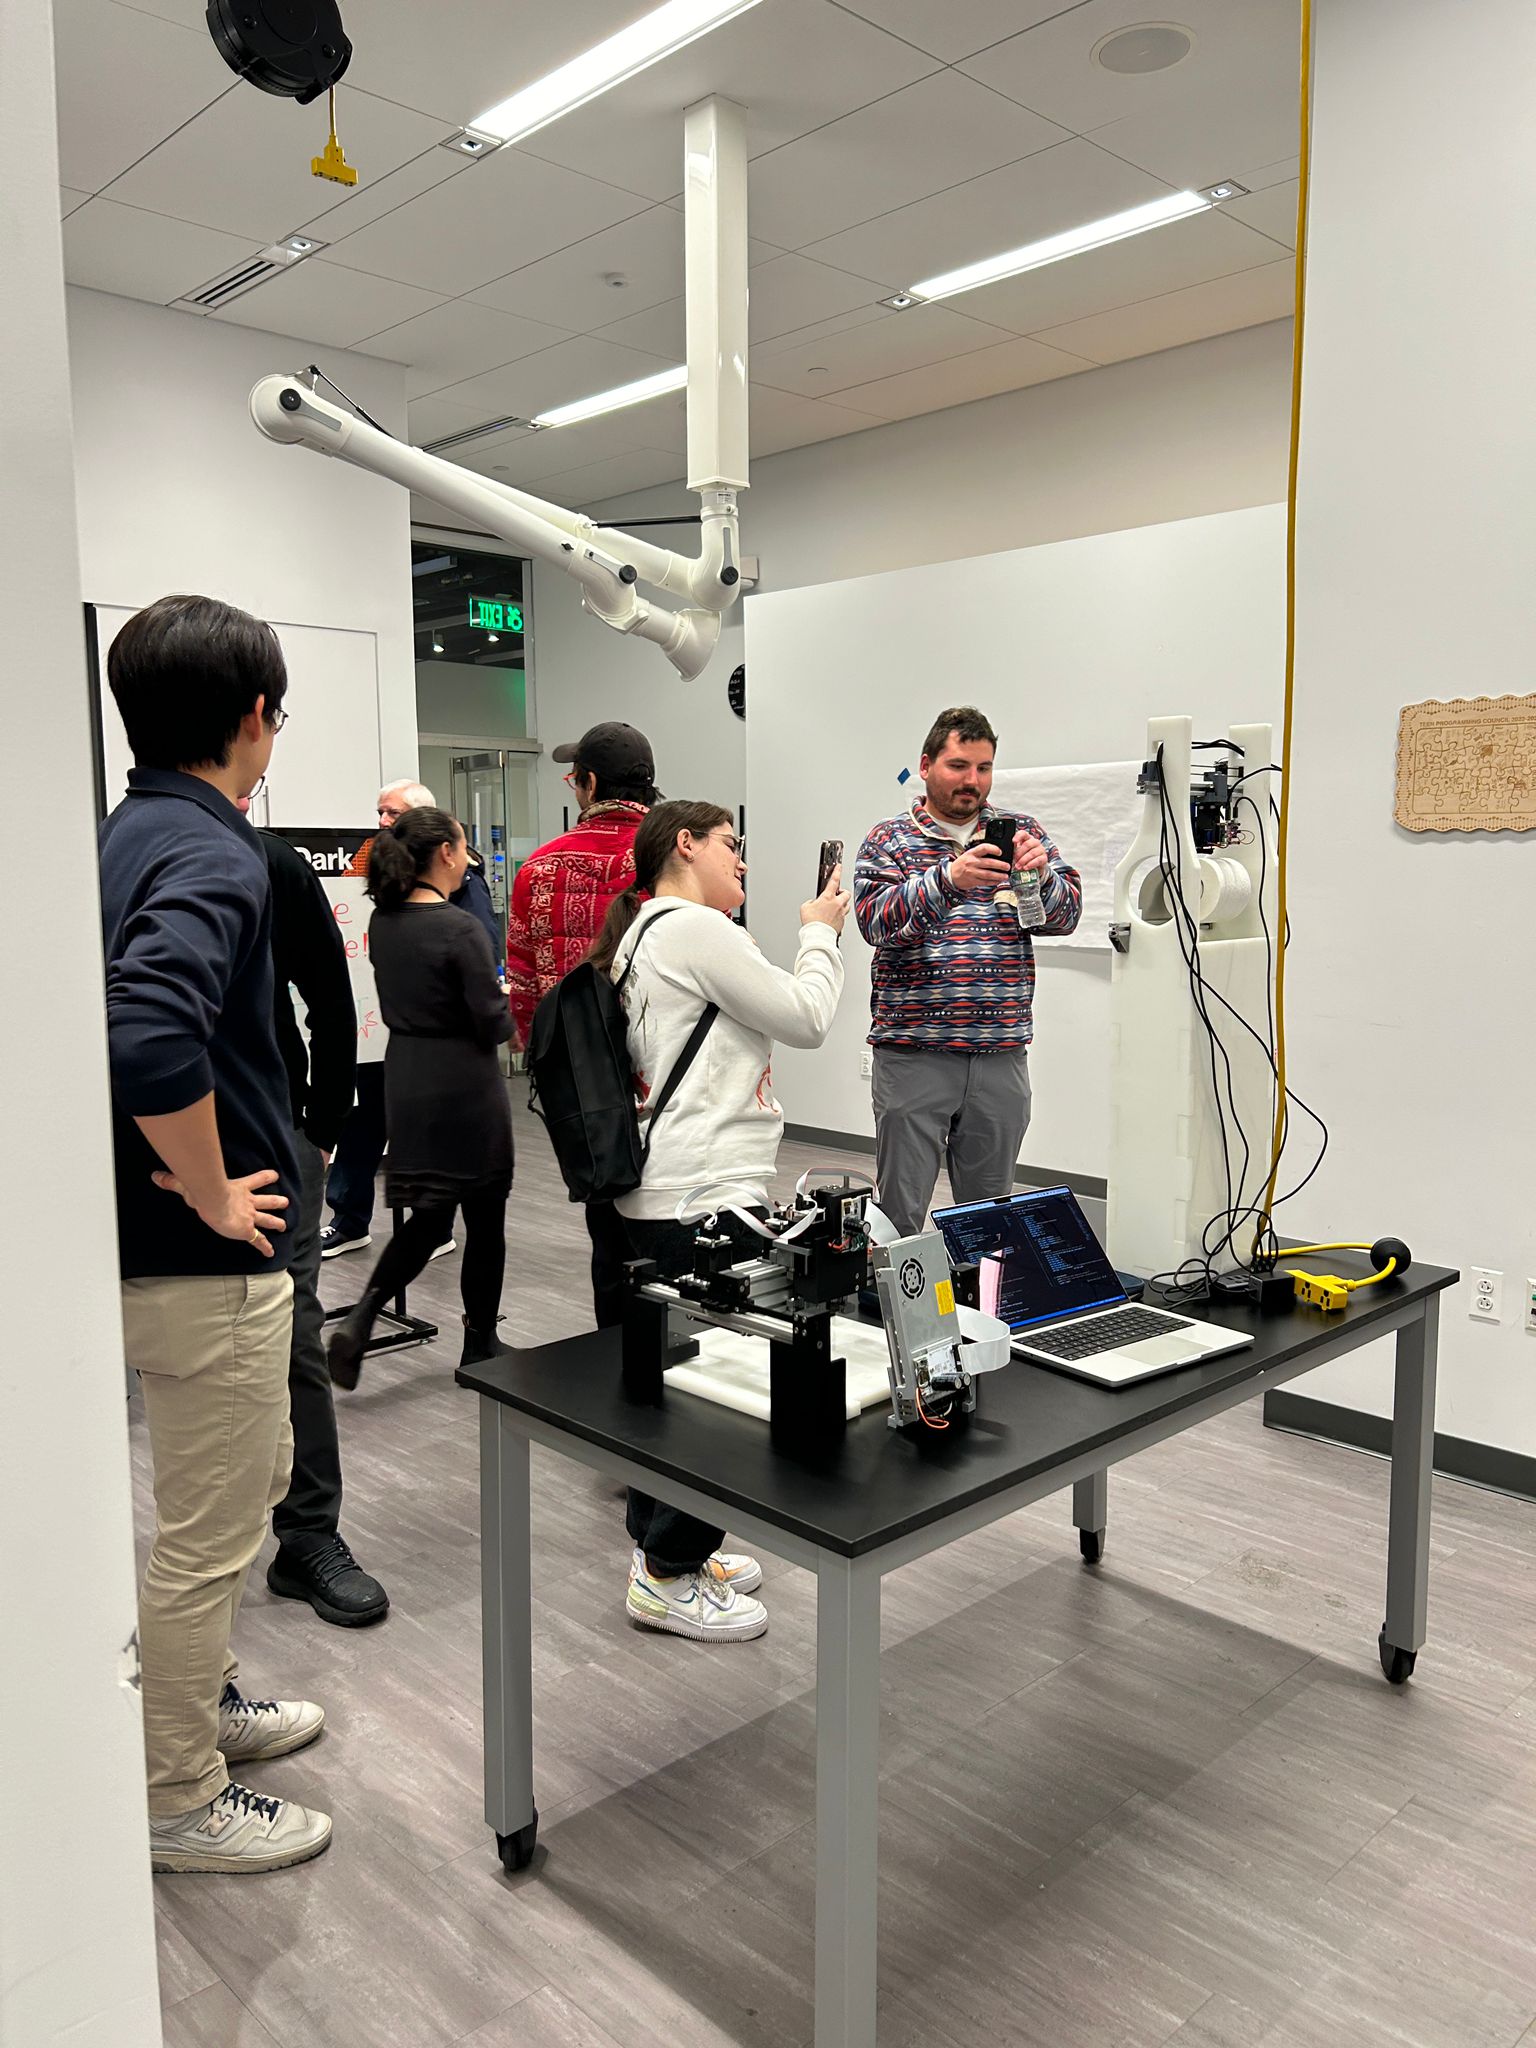
a few days later we were invited to bring our machine to the
"After Dark: Build" event at the MIT museum, together with a few other machines and historic prototypes that would develop into companies
like Formlabs.
thank you to neil, quenting, jake, and the MIT Museum staff for having us at the event