#6 th cast and mold
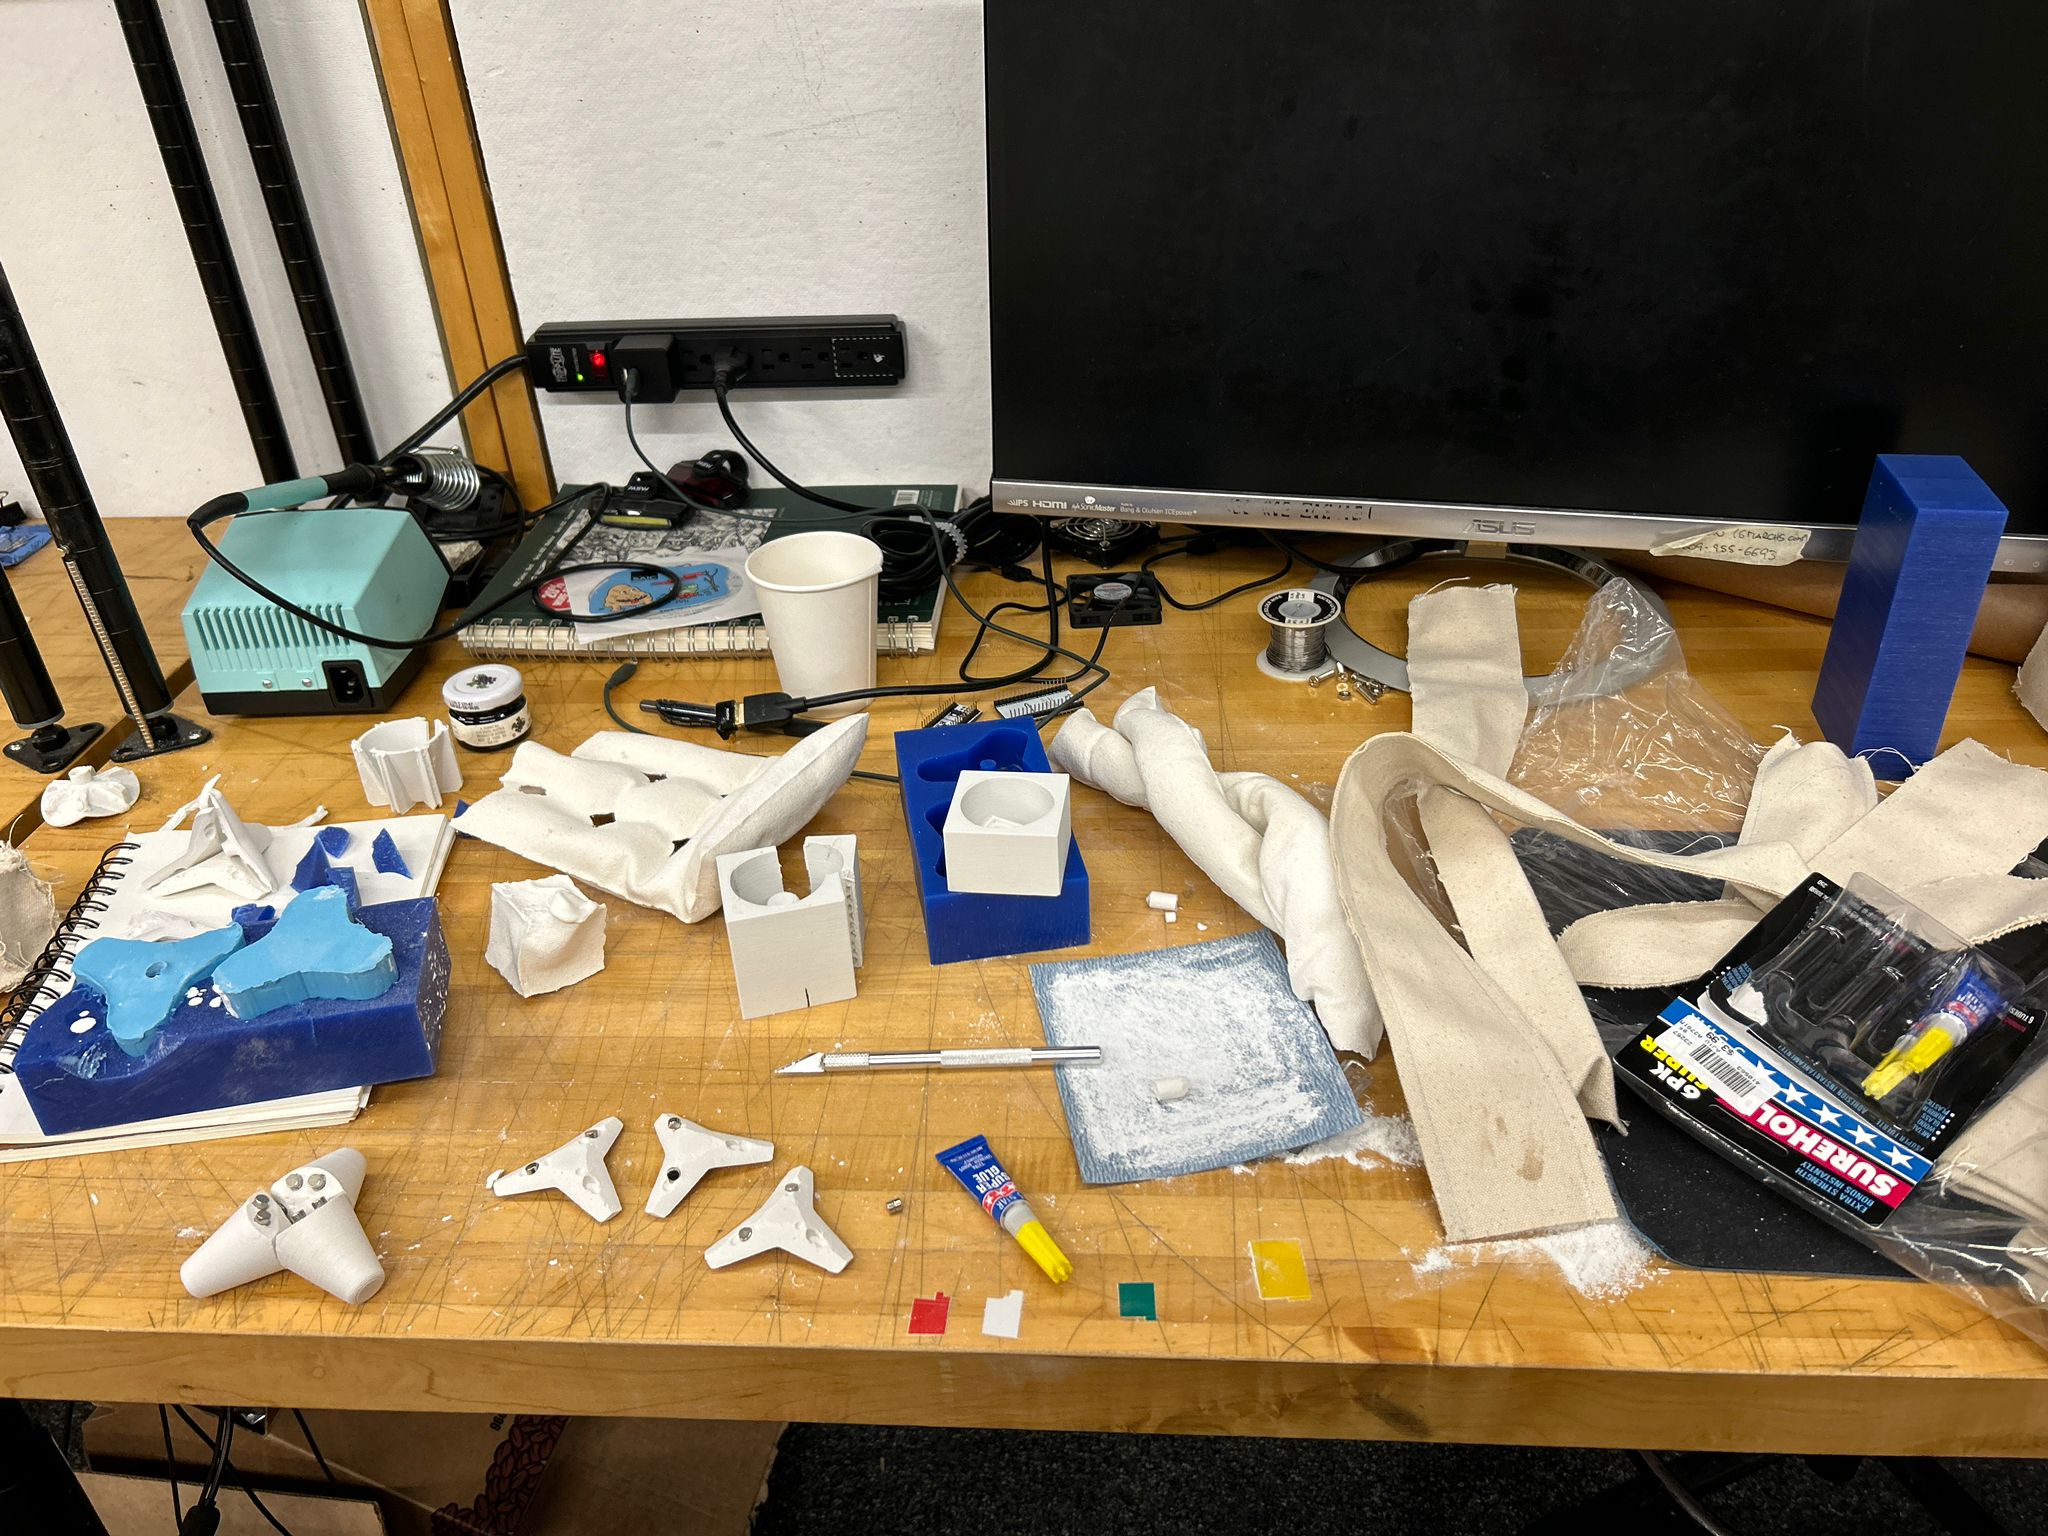
we started this week with an intro by Jen, to learn how to use the casting/spray painting room
in the arch shops, all the safety rules for keeping the shop clean and operational, but also about things
we should be aware of in terms of toxic materials, eye washing station, fire extinguishers etc.
to start off, we used some left-over wax blocks from the previous semesters (positive) to cast OOMOO 25 by Smooth-On in
to receive the mold (negative), in which we would be able to cast Drystone (positive).
it was definitely very useful to read through both, the OOMOO product overview document as well as OOMOO 25 safety data sheet
before using the material.
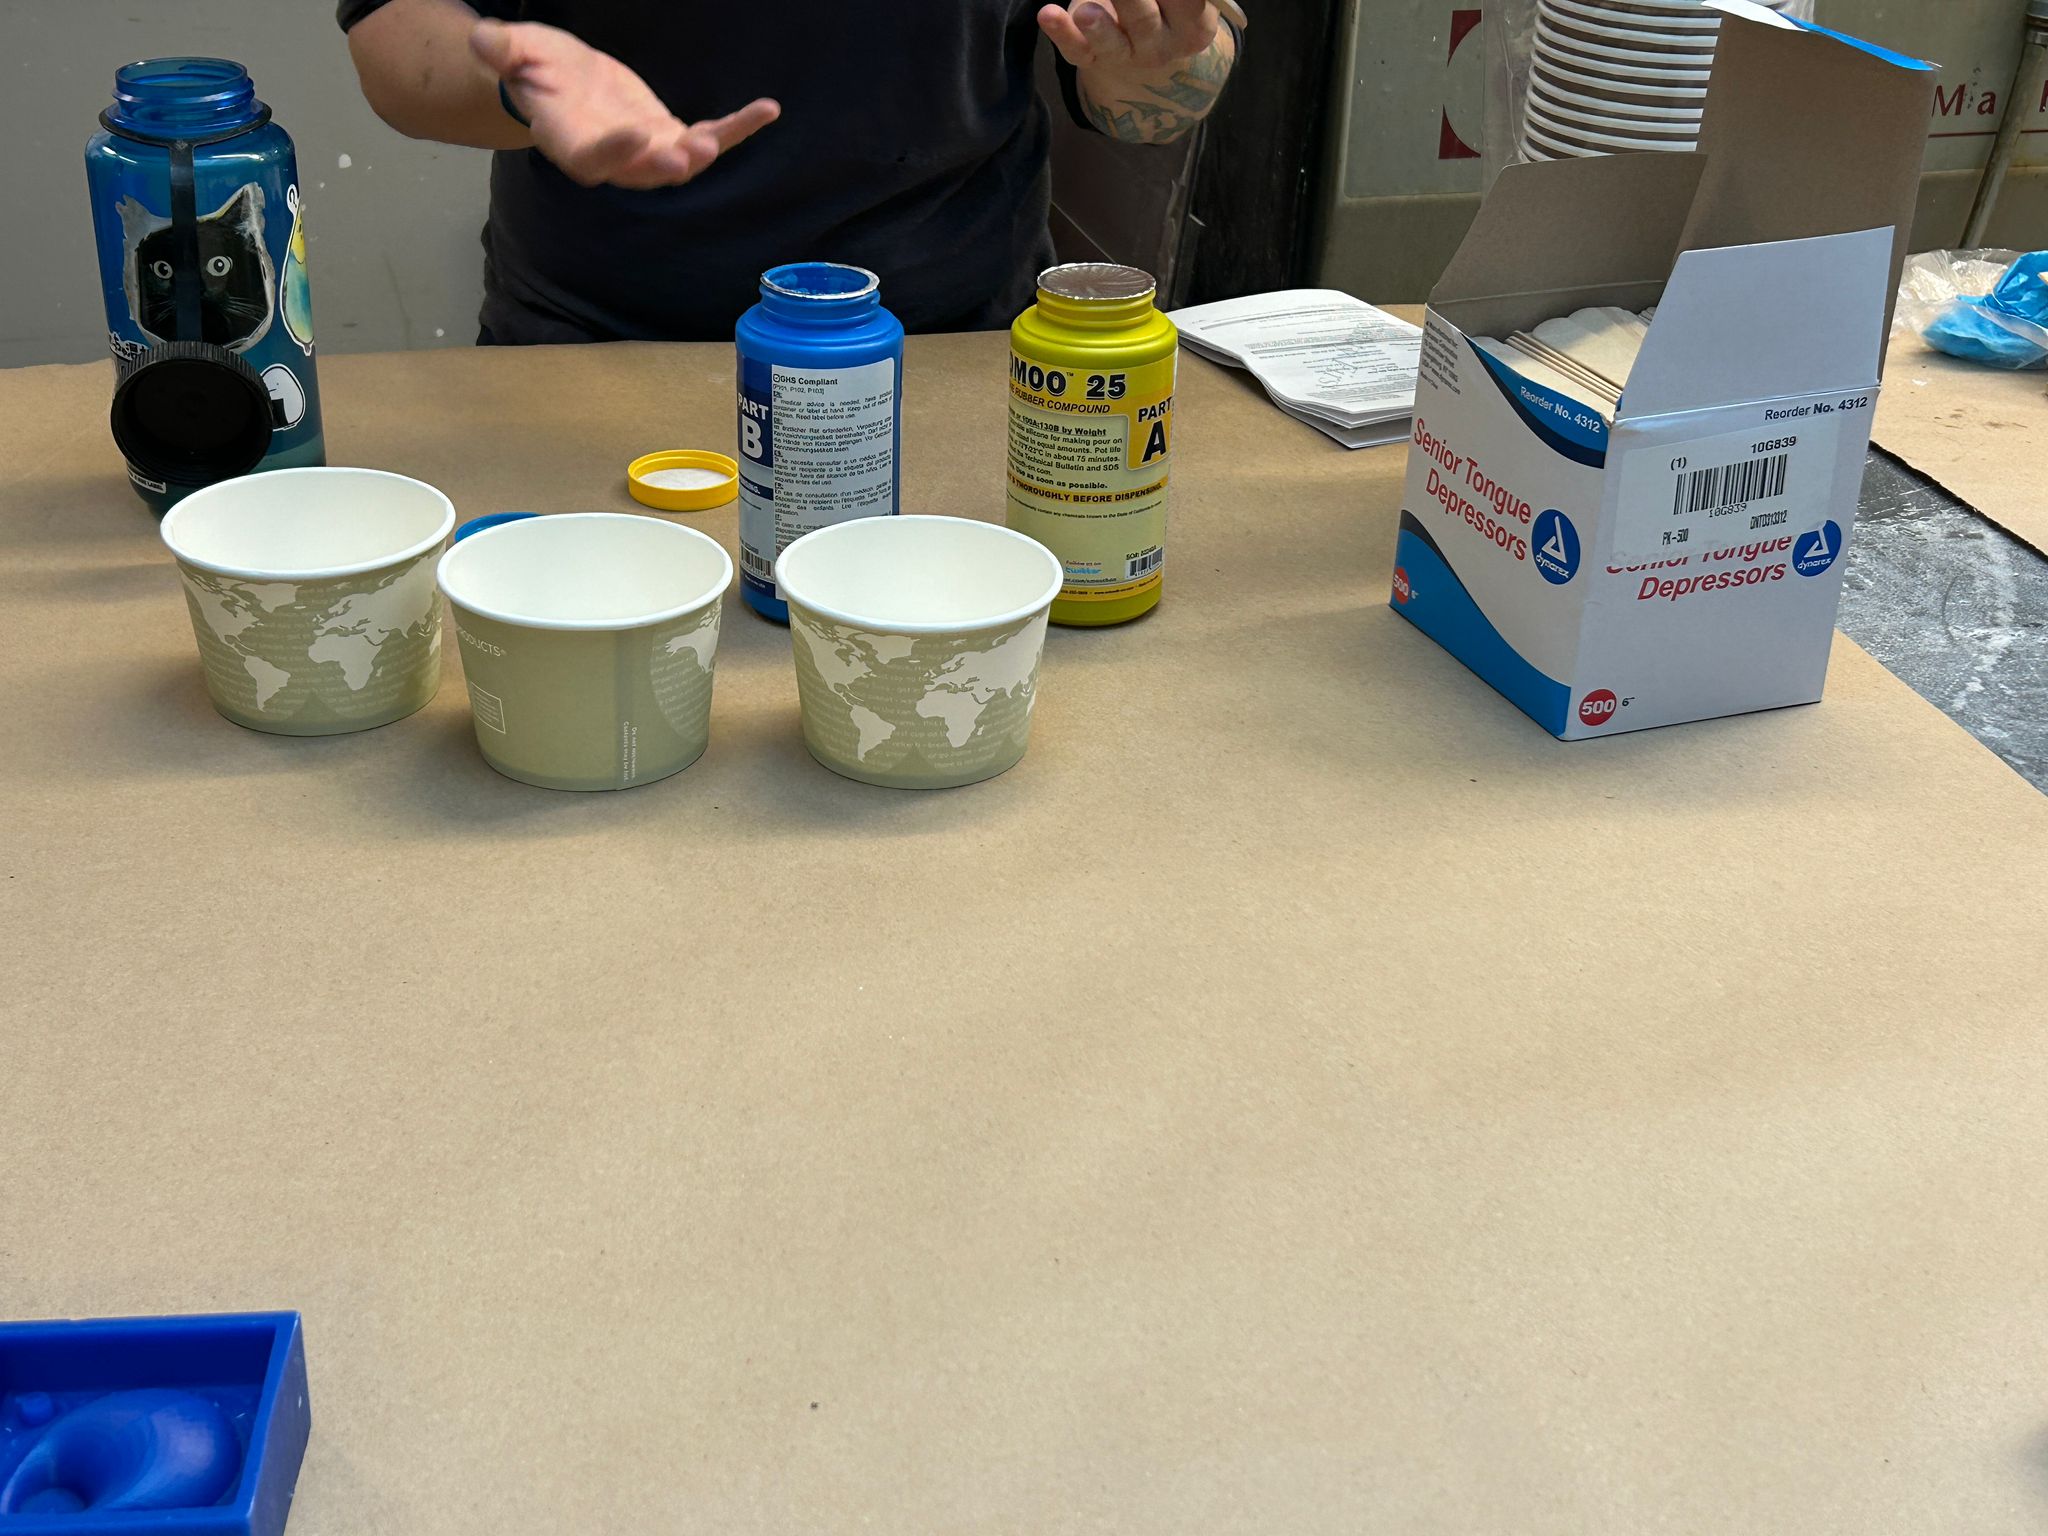
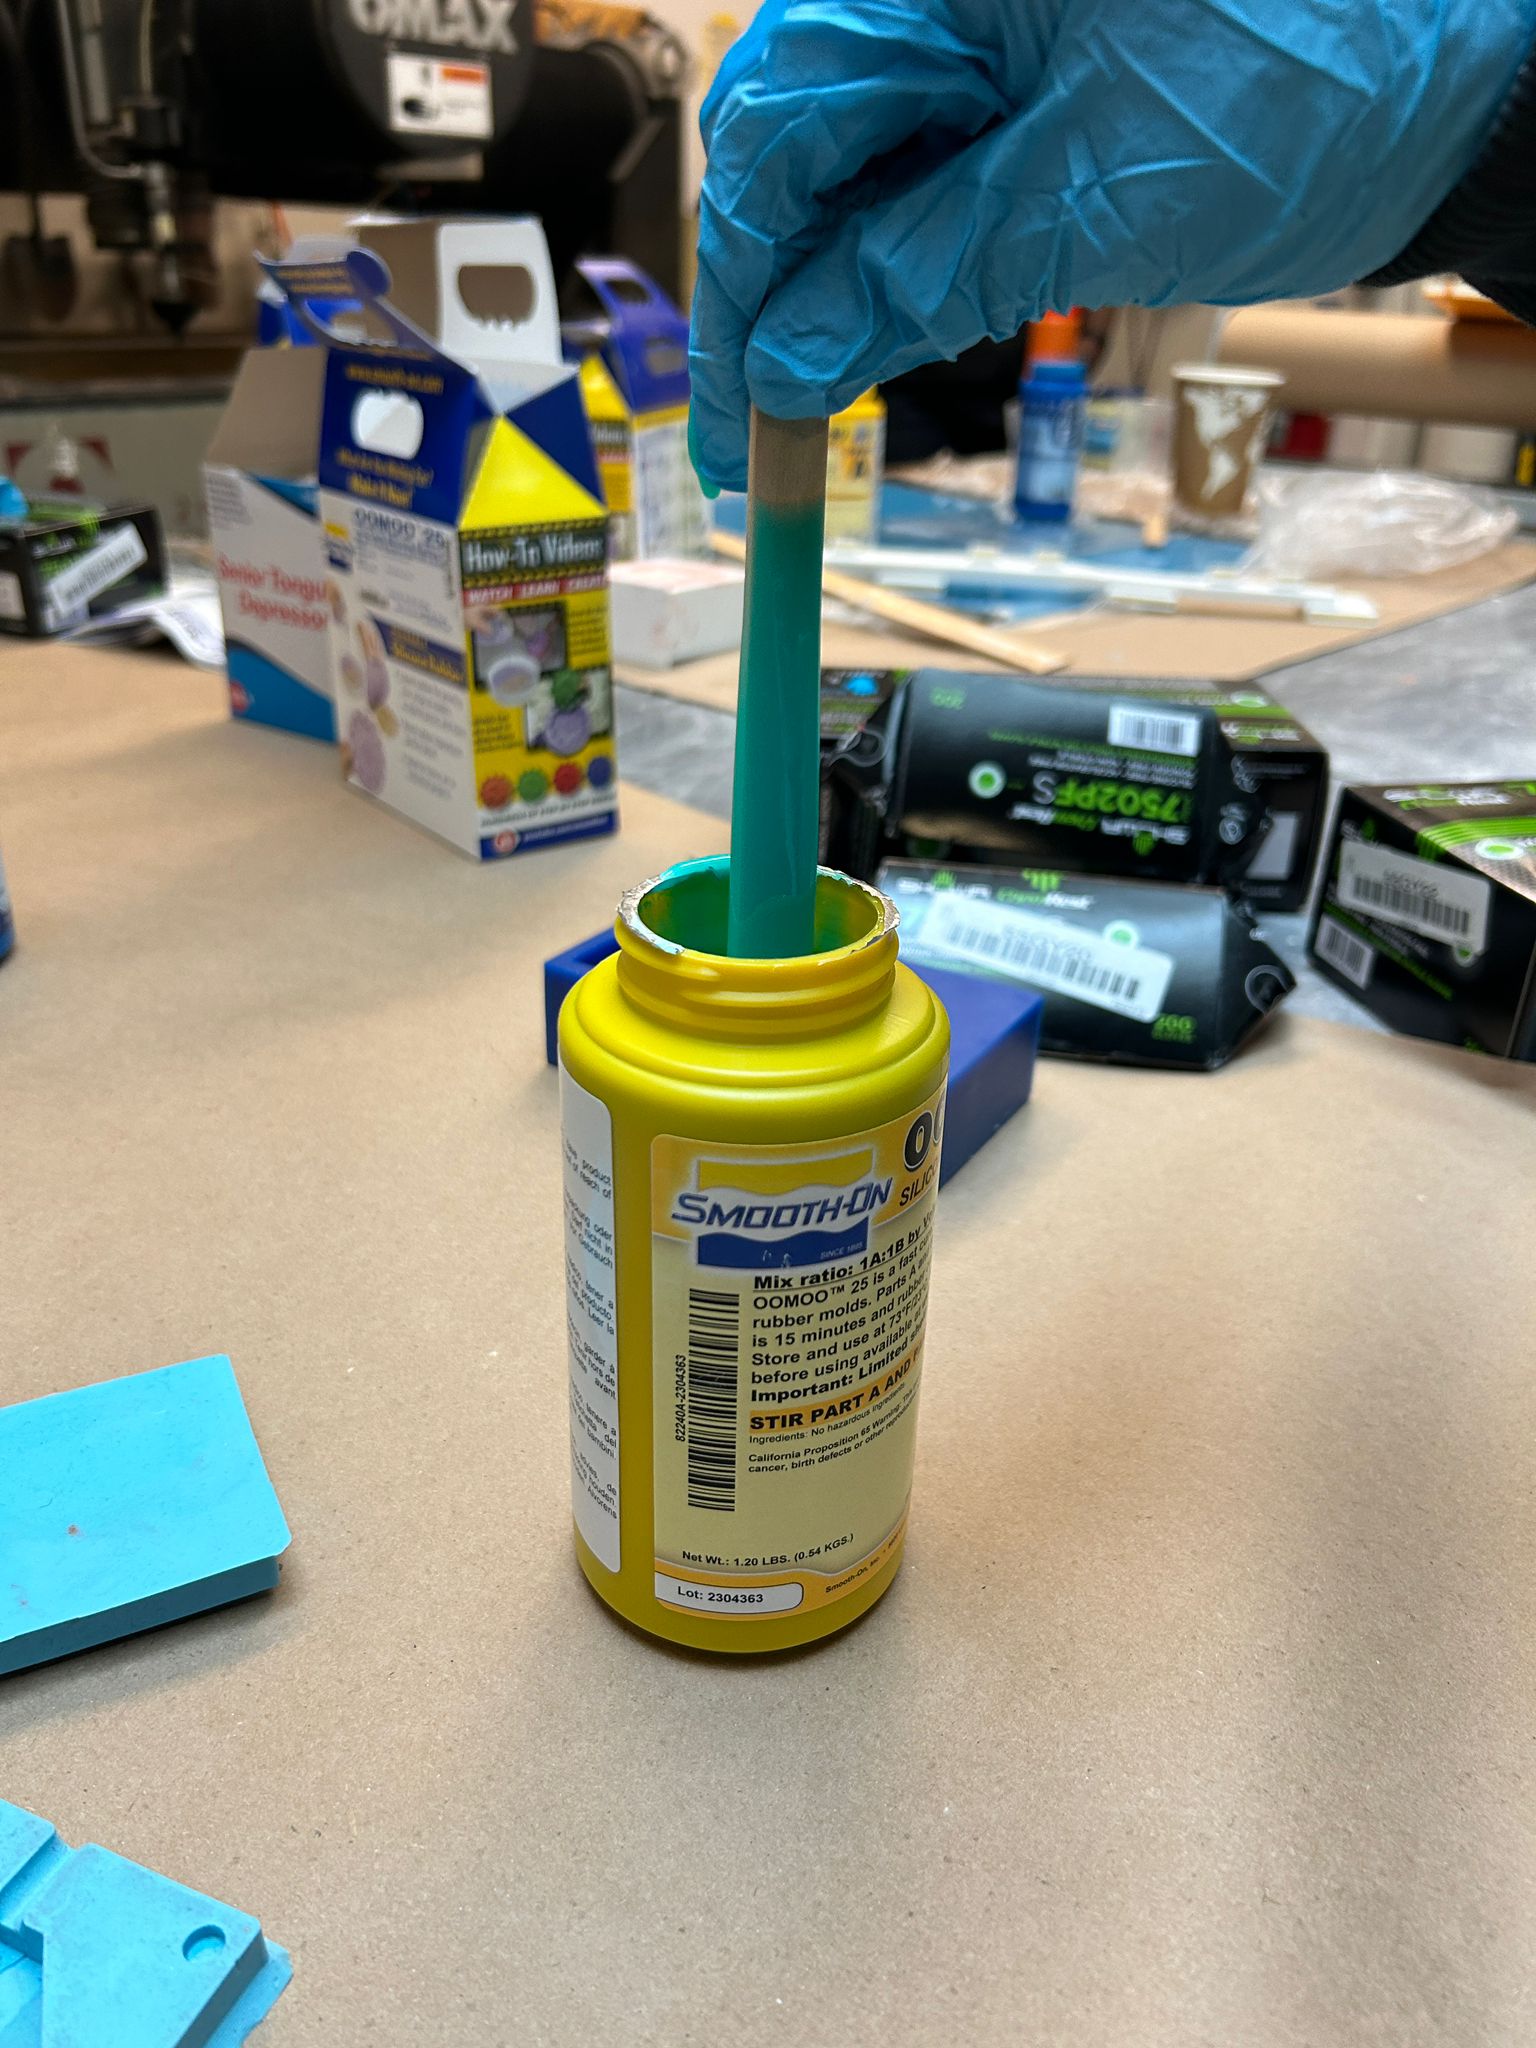
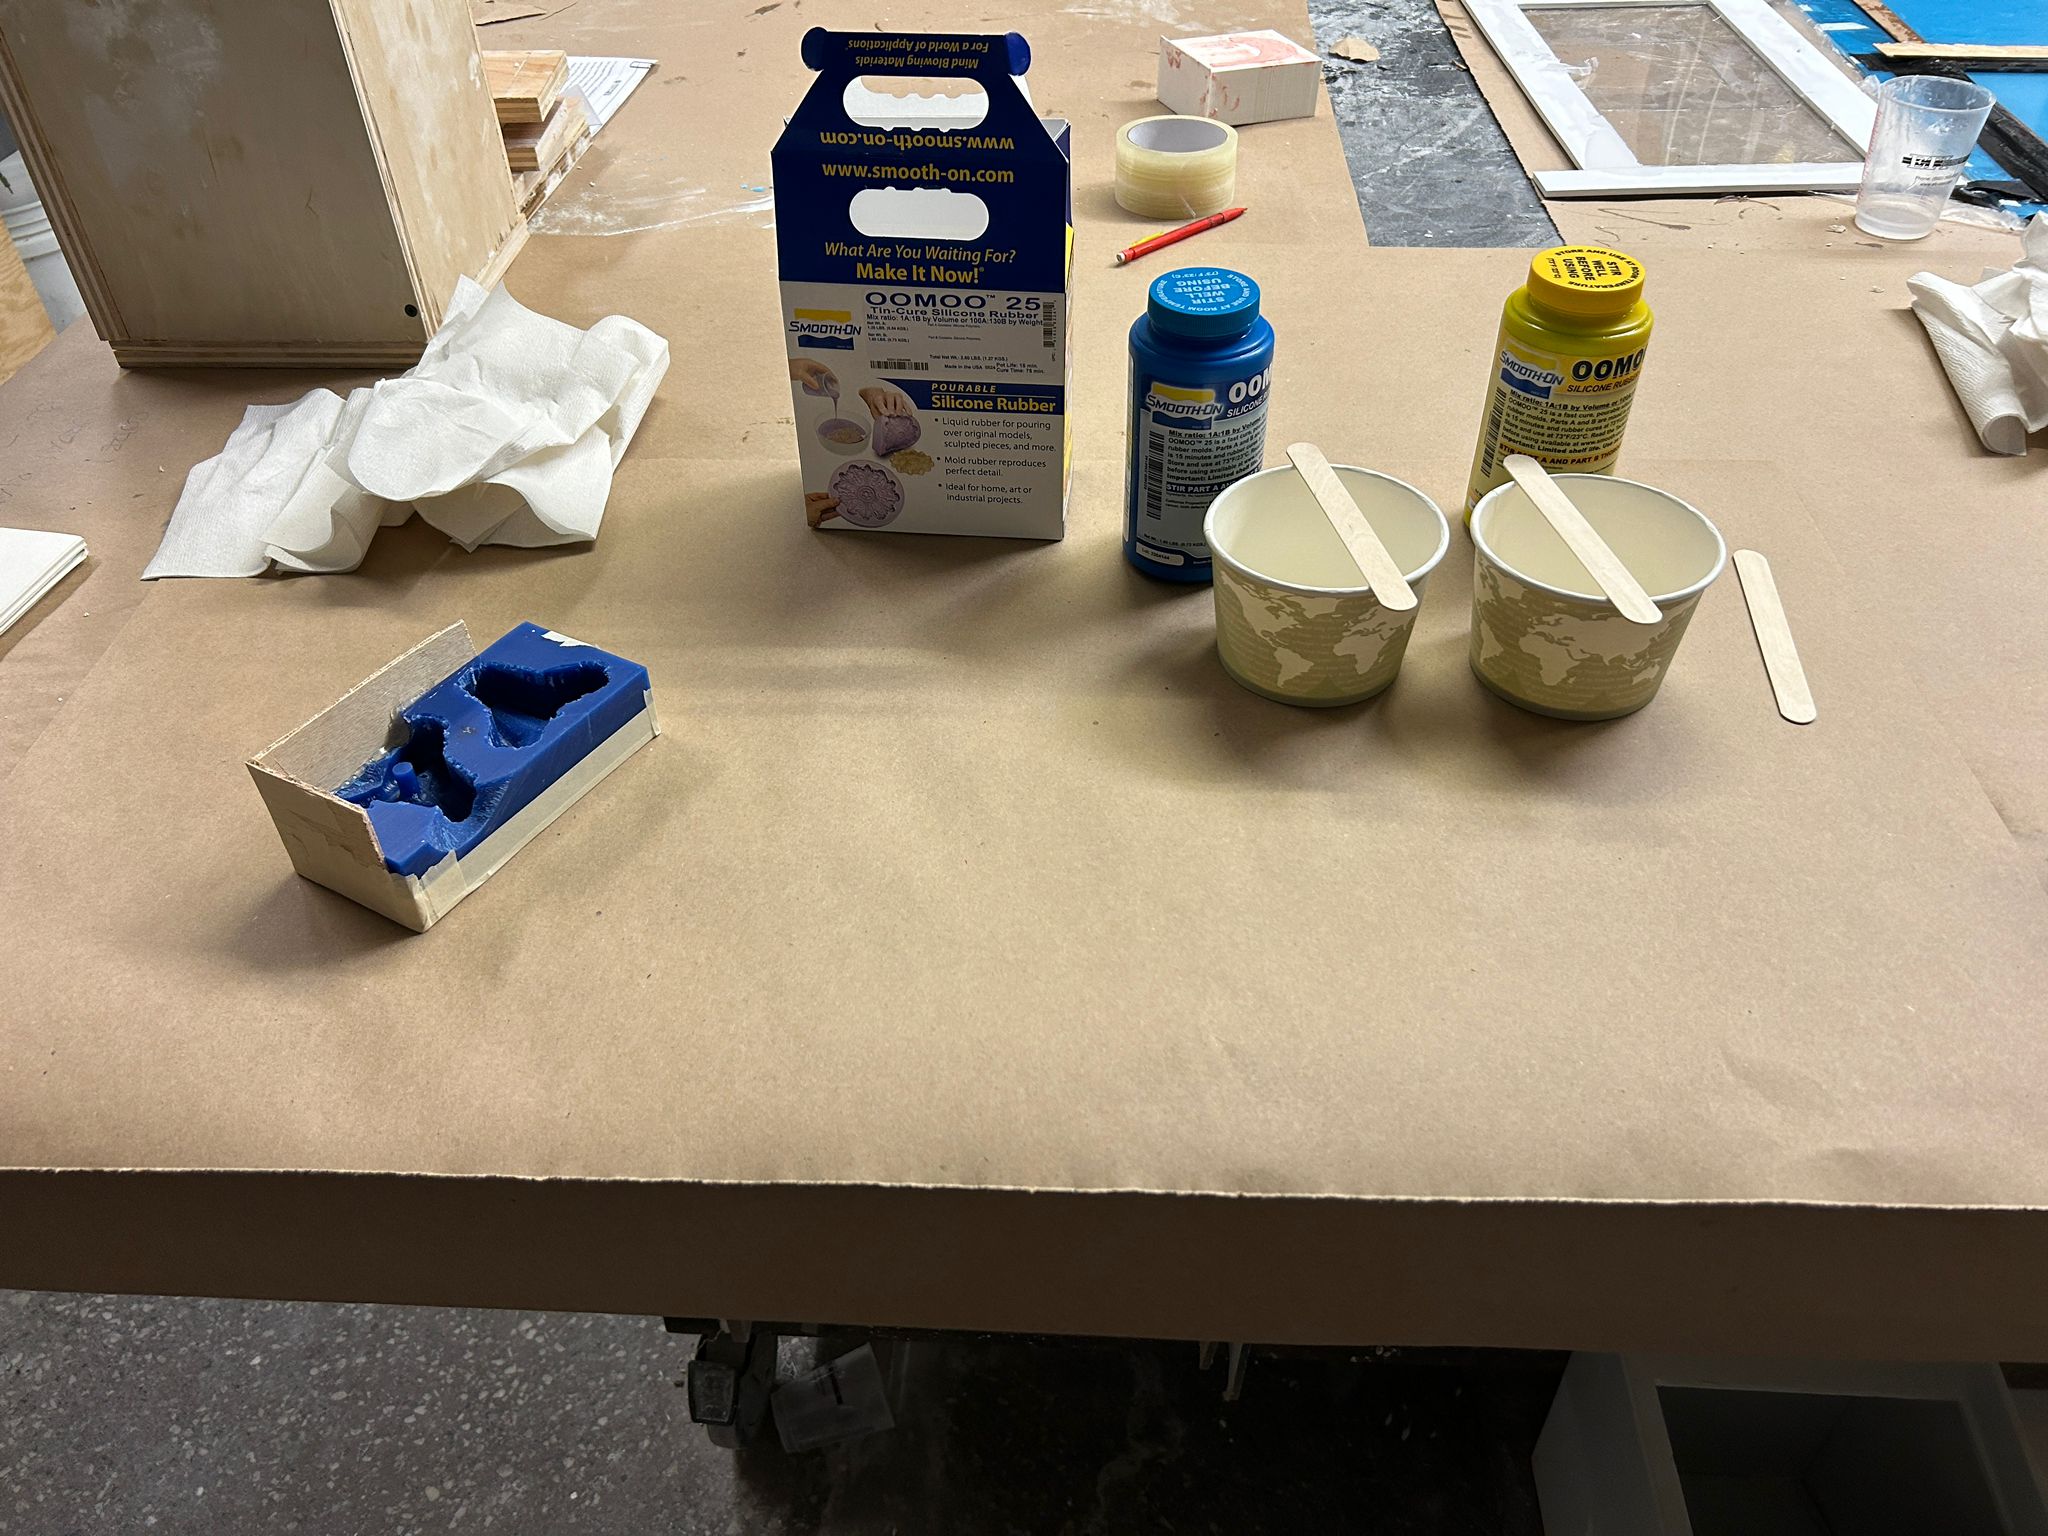
OOMOO is a two-part silicone elastomer that gets combined in a 1:1 ratio and a cure time of around 75 min. before starting, we started mixing up the individual components in their own respective containers and started pouring one after the other into a card cup, where we mix them slowly with wood popsicle sticks, trying not to get too much air into it, then pounring it in a thin stream into the mold and shake it/drop the mold slightly to have air bubbles rise to the top for a better result
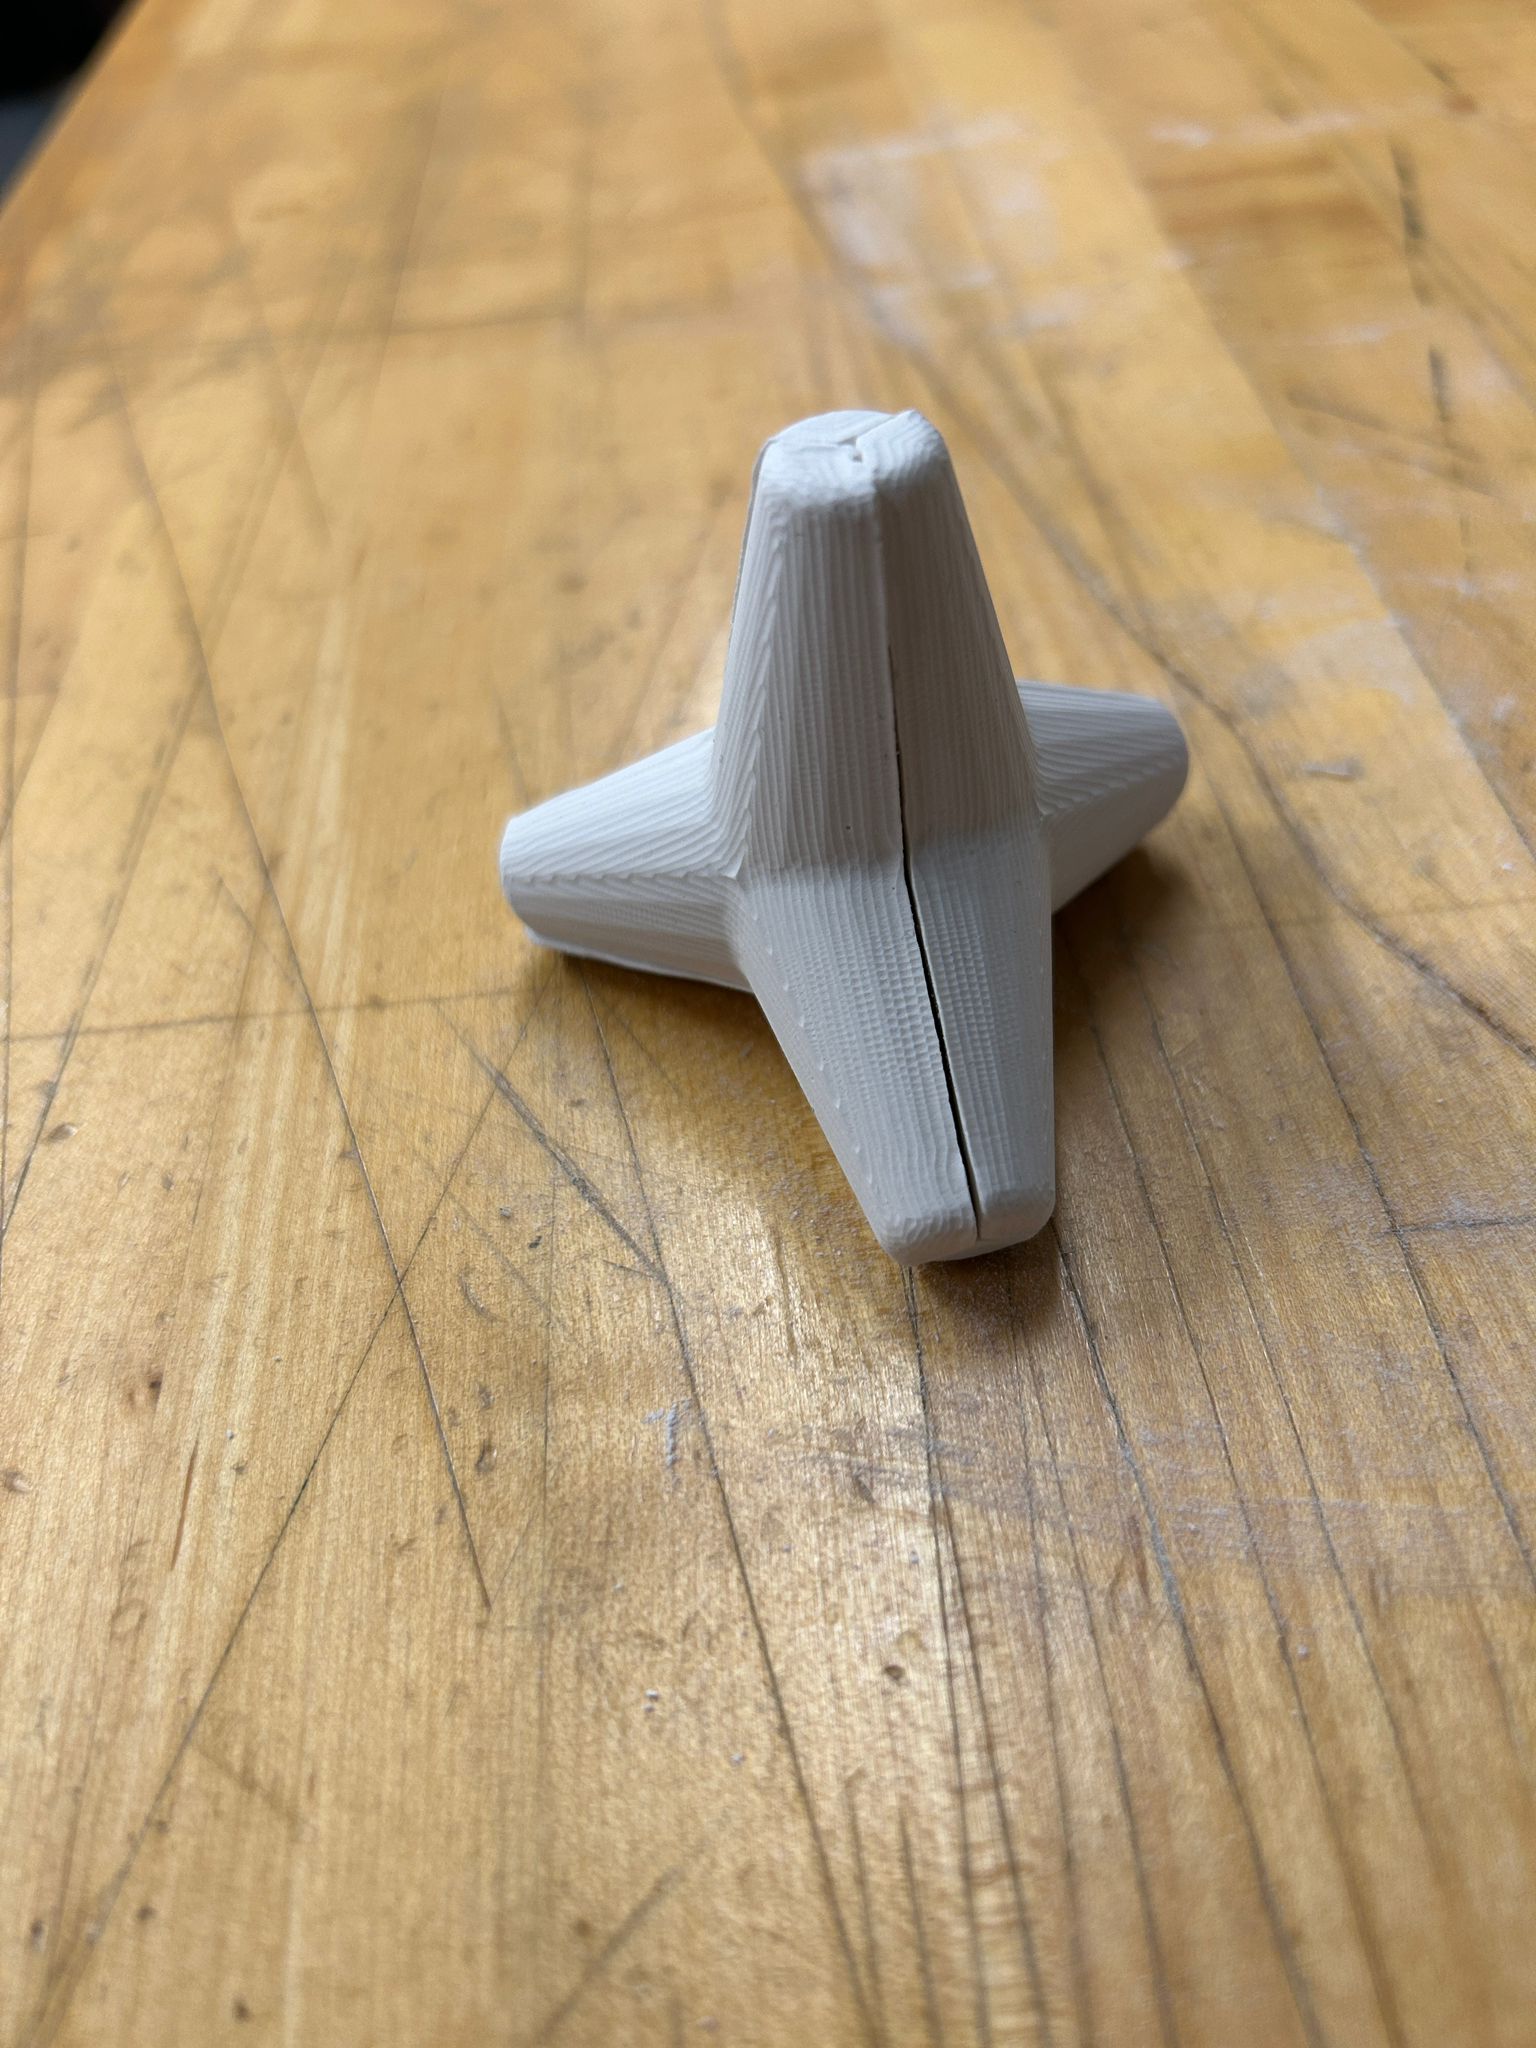
so it was time to think about what I wanted to do for this week. i decided upon a geometric shape that i thought would be both interesting and challenging to do. The tetrapods that are used as wave breakers in industrial harbor areas have been things i liked for a long time. since they are made of reinforced concrete, they are being cast as well. i found a few ways to split the geometry up, to make one self-repeating shape, and would cast it multiple times to combine it to the single tetrapod. This will require a two-sided mold to achieve the geometry.
prepping for the cnc machine required me to plan ahead, to have a min. of 1/4" thickness around all sides, to make sure the wax block not break while milling.
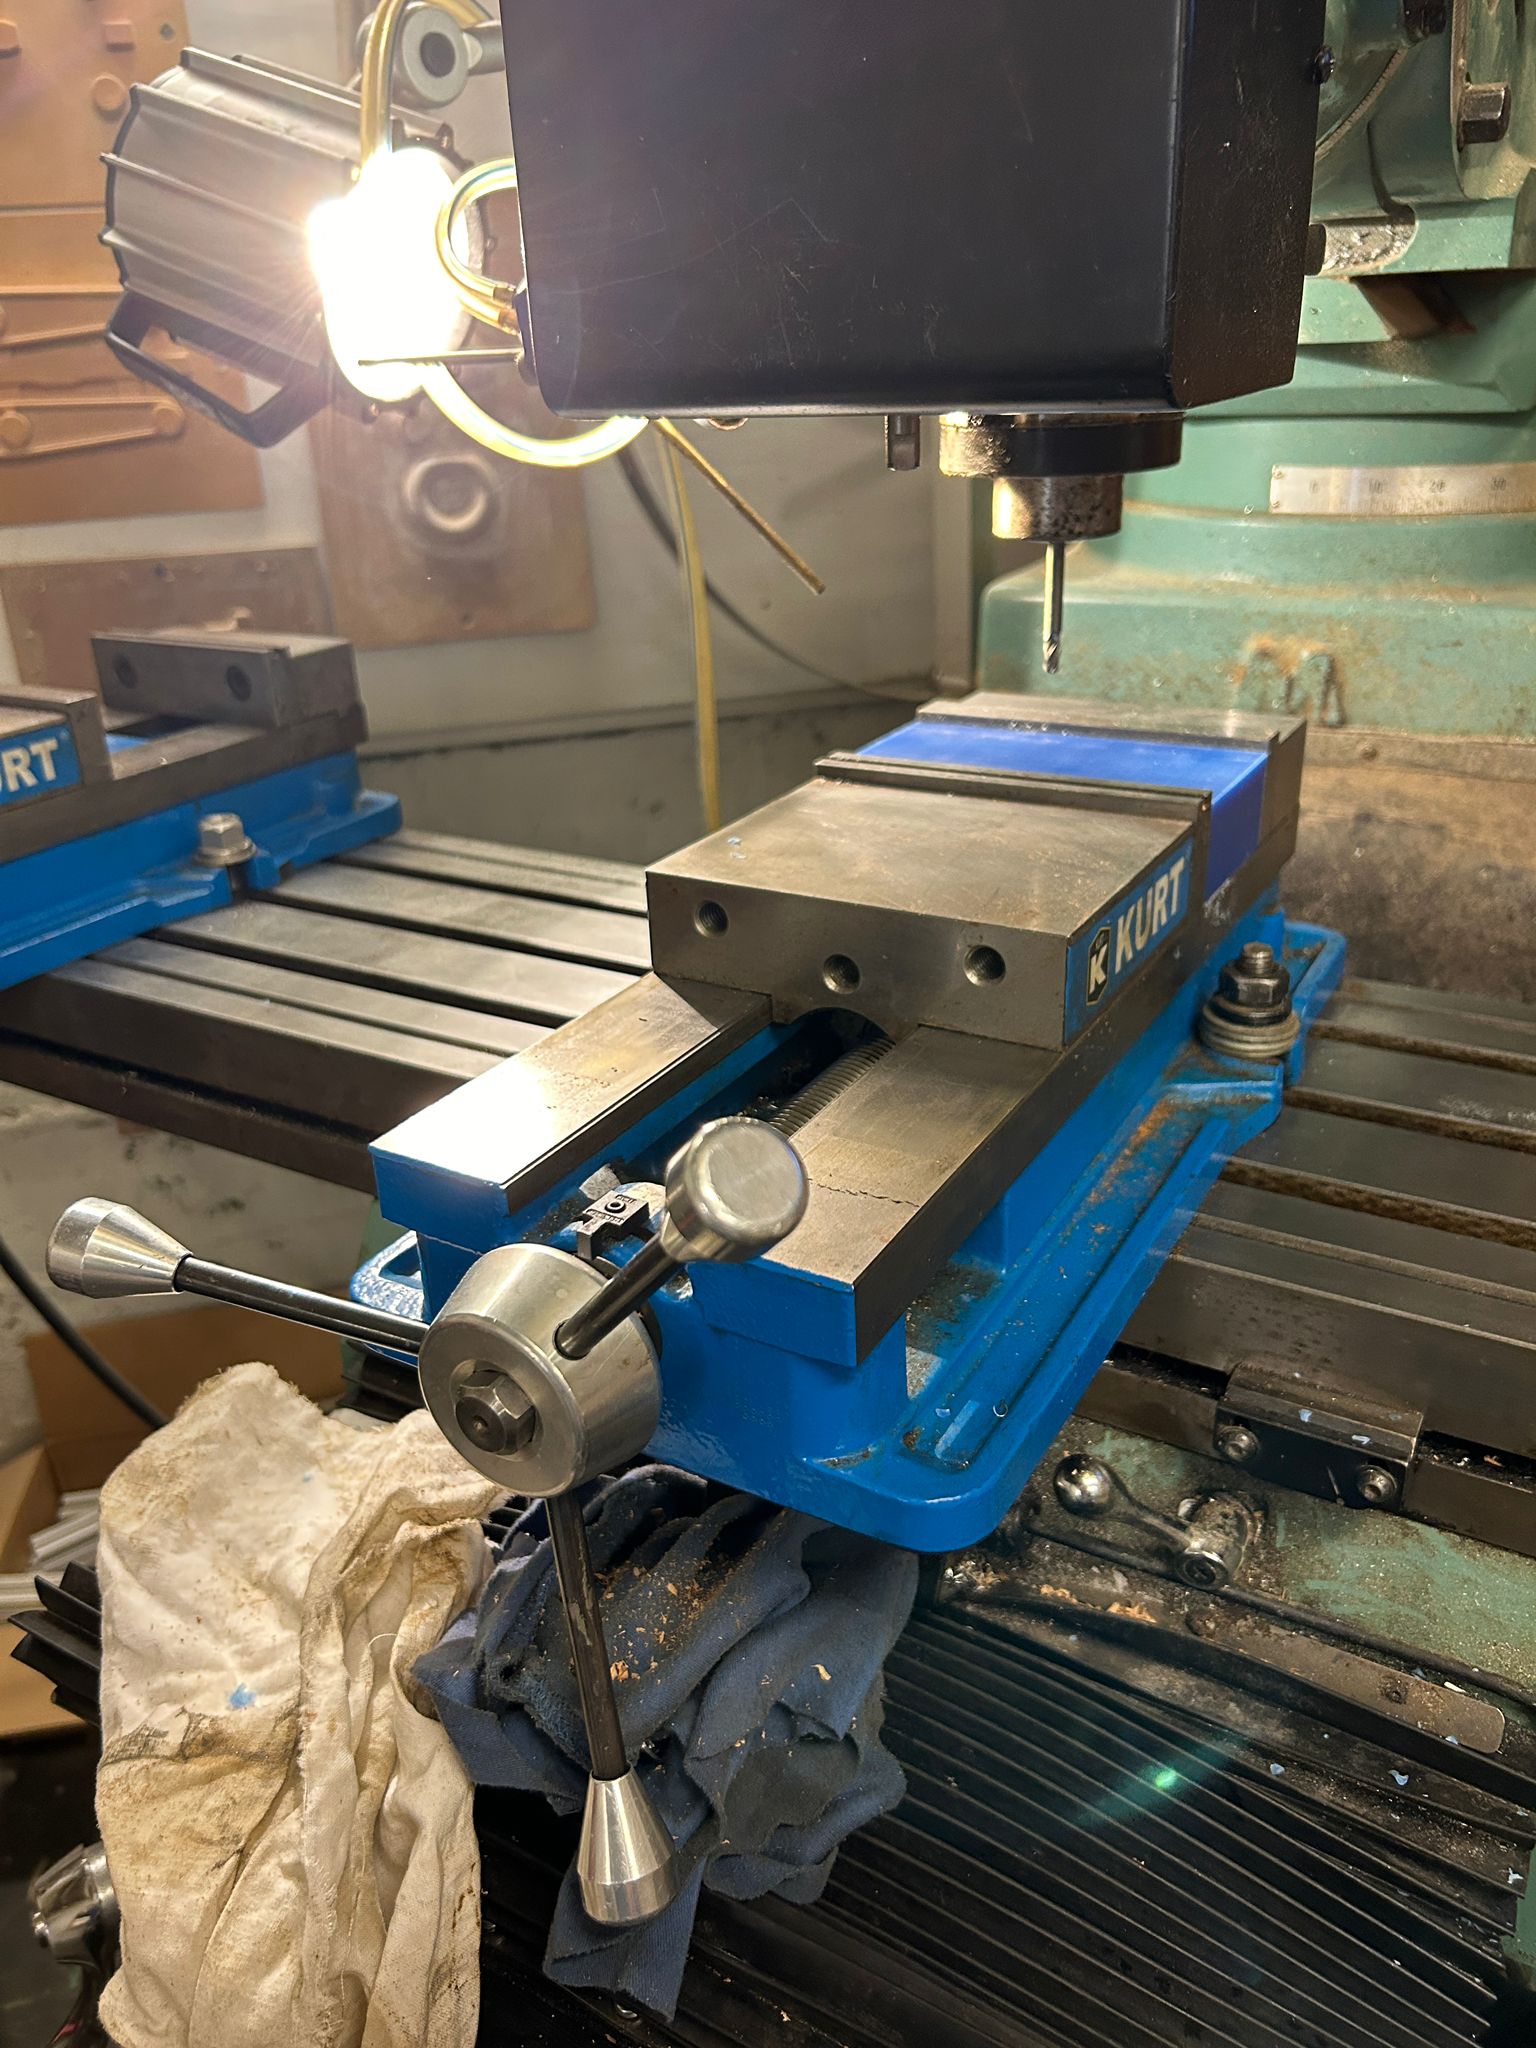
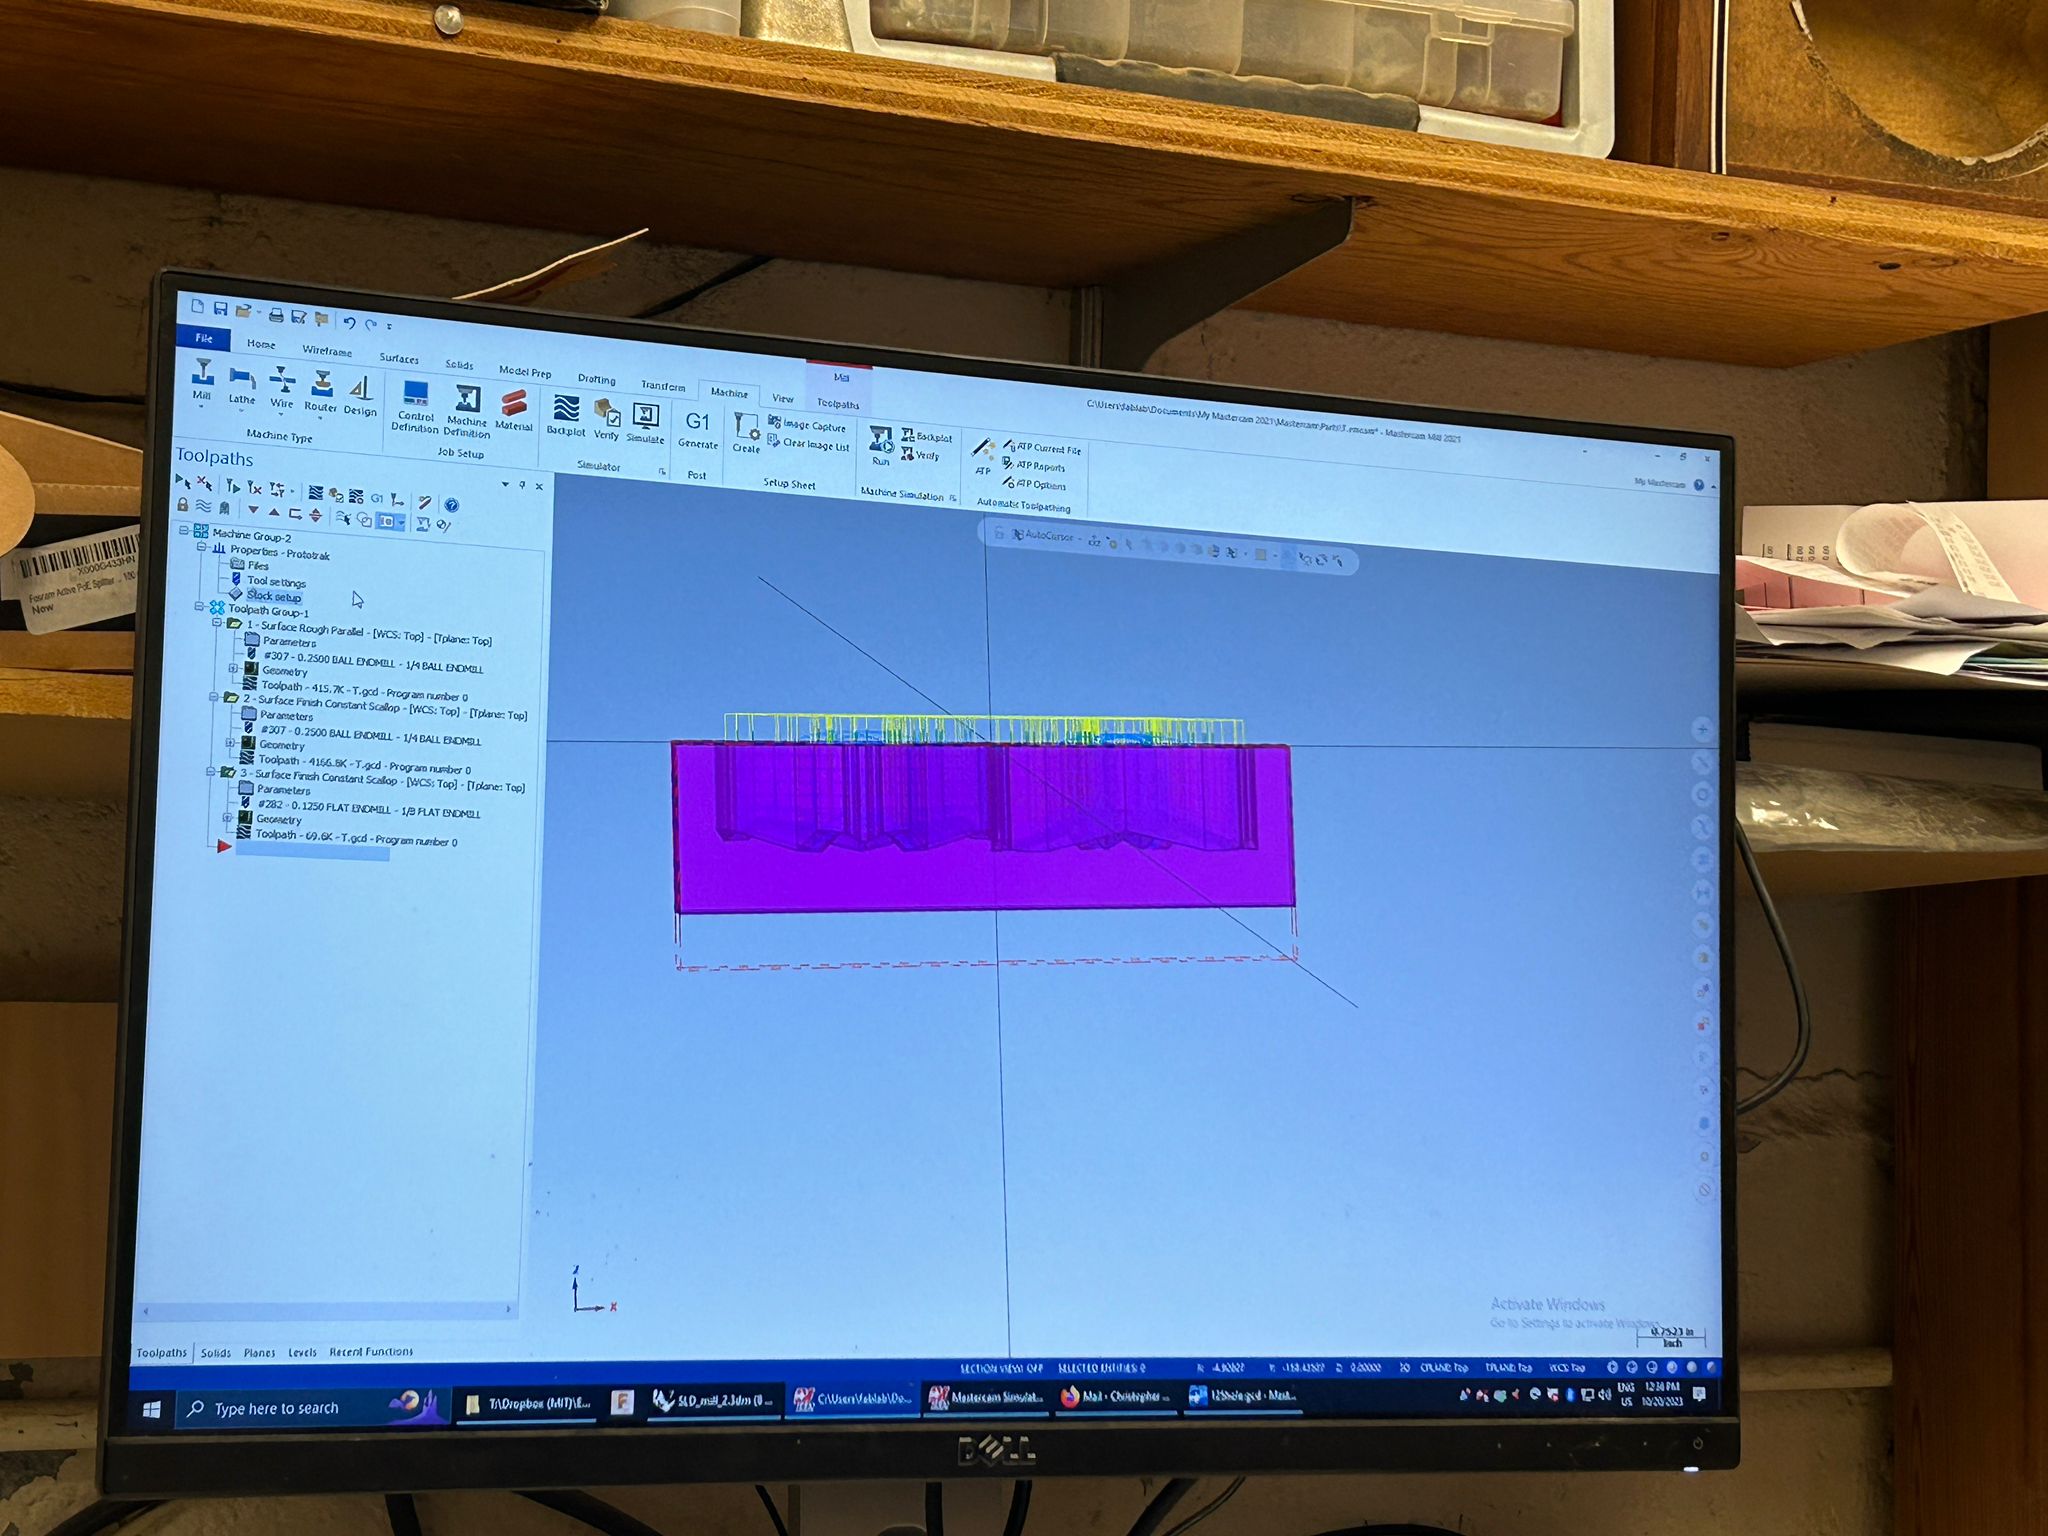
we were using the Trak Knee Mill K3 with Proto Trak SMX. we prepared the gcode in mastercam after having modeled it in rhino3d.
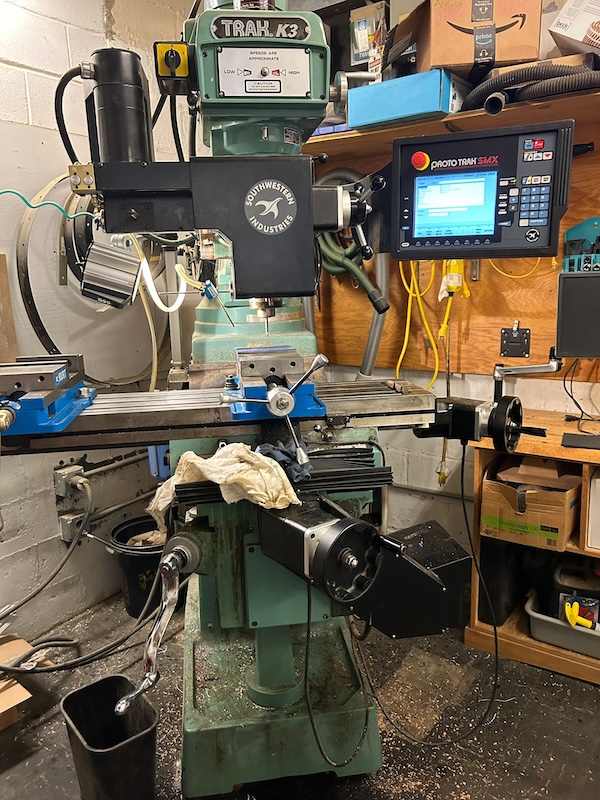
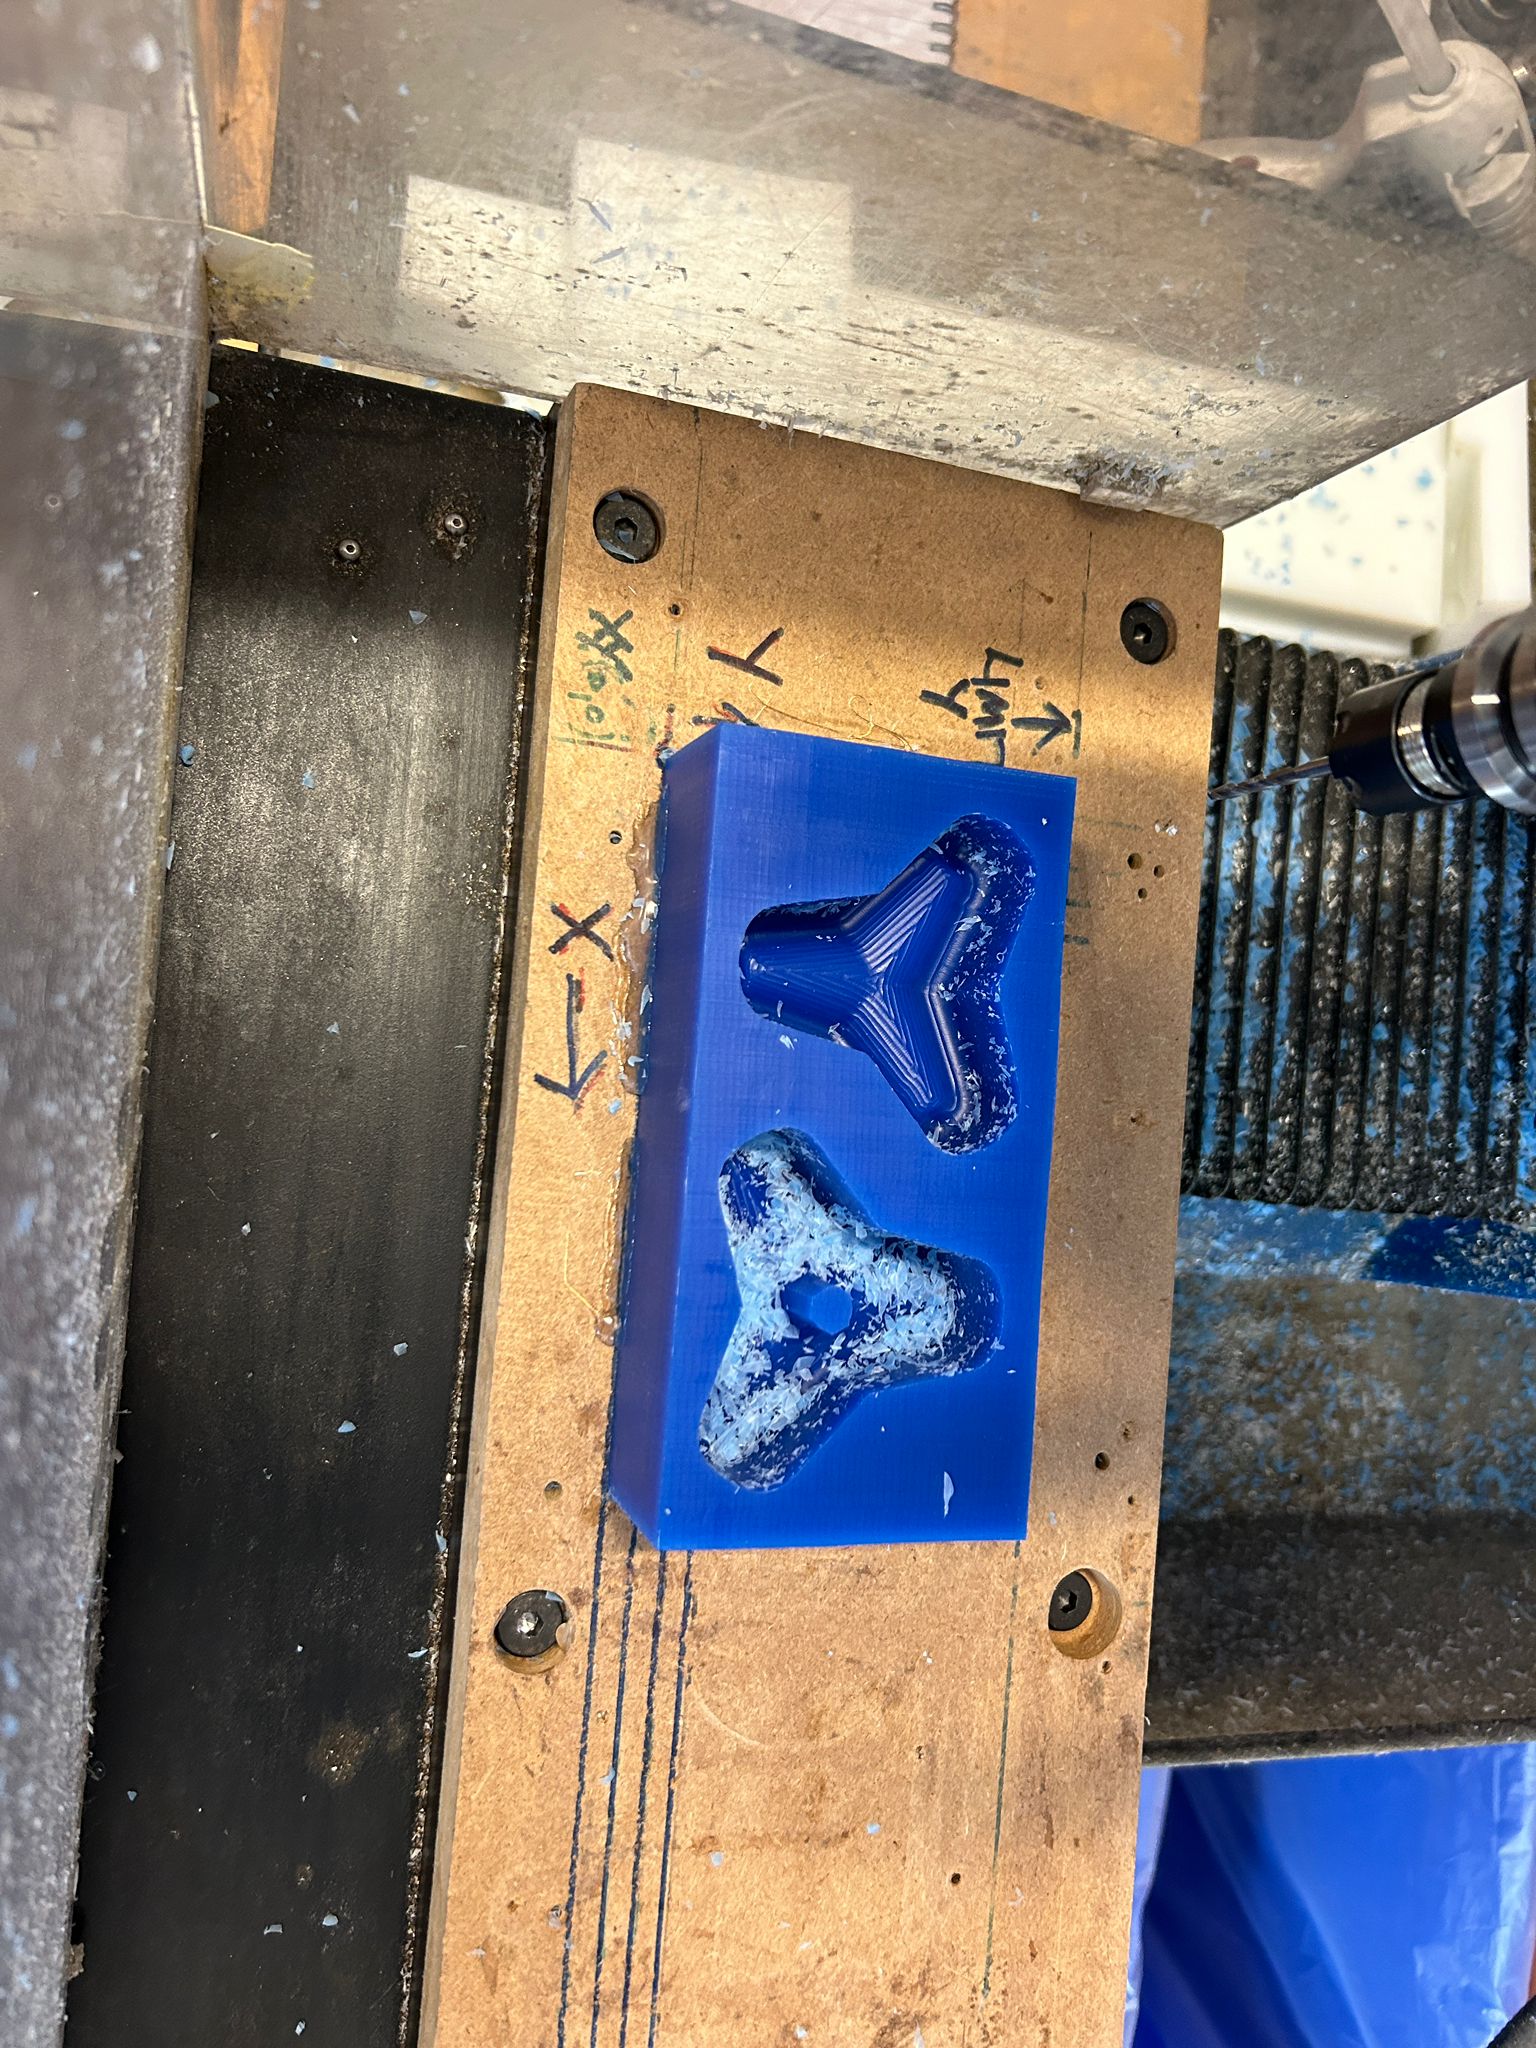
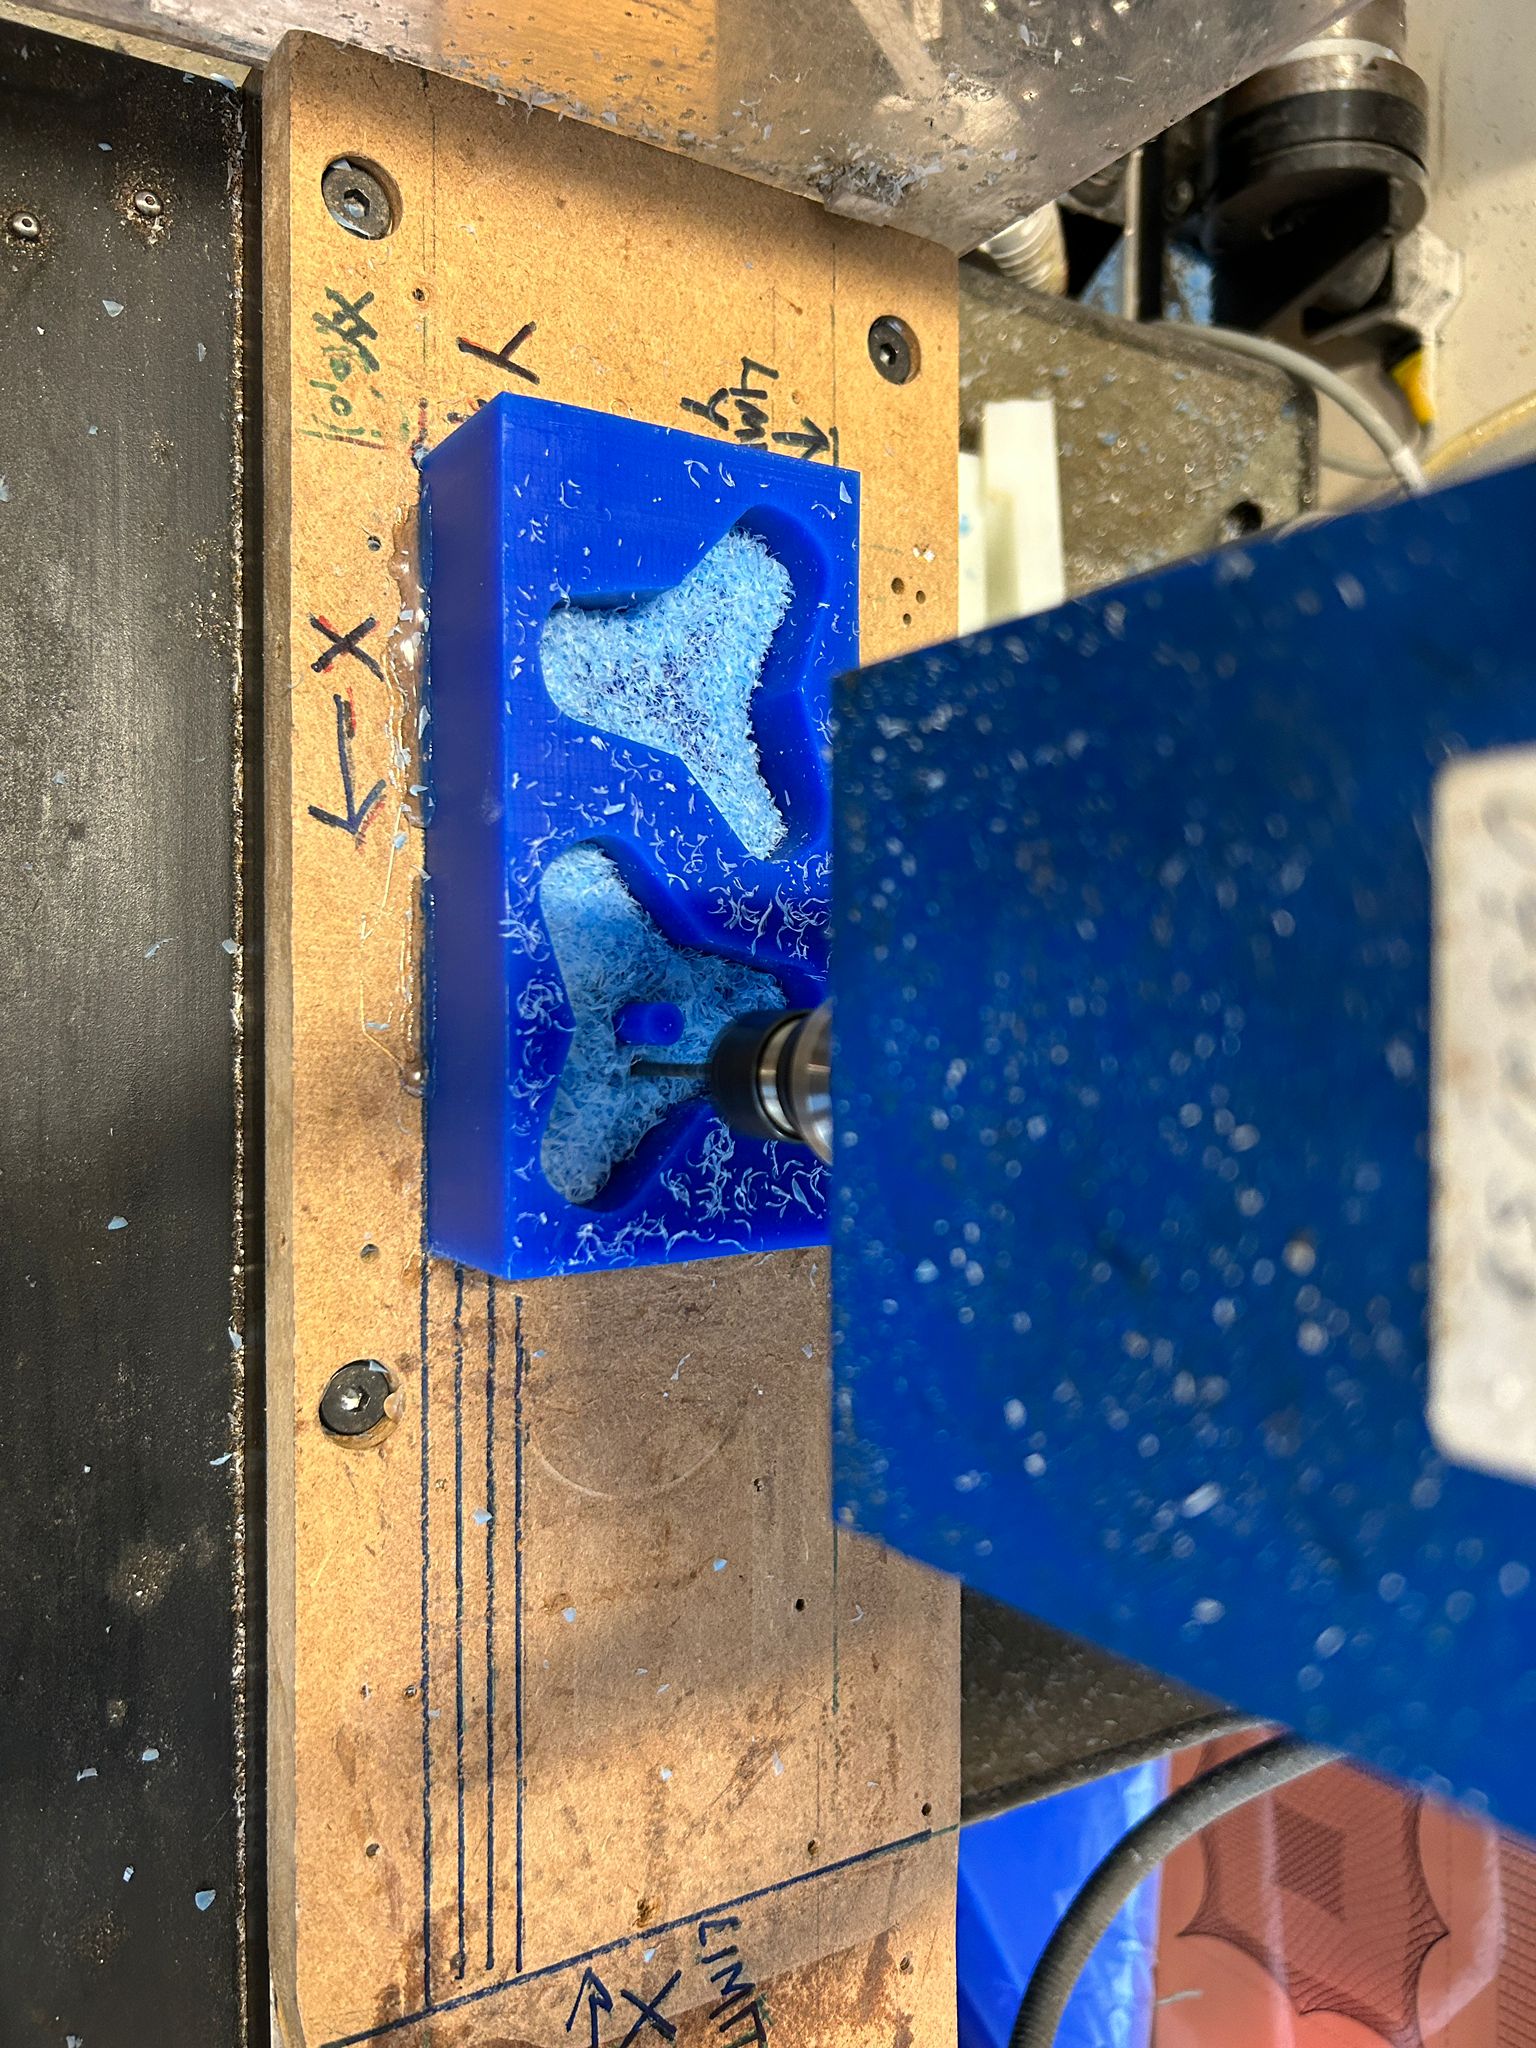
since the machine does not have a vacuum, we paused the job every so often to vacuum the wax chips out by hand, before contiuing the milling.

after the rough cut, everything seemed to go alright, we changed the bit to a round endmill and wanted to get a clean surface finish of my shape. having never used this machine, i was not sure about all the specifics, chris who runs the mill and the wood ship in the arch shop, set up most of the CAM file for me.

as we continued to mill, we head some cracking of the wax, but since it was in the vice, it was compressed well enough.

however, as soon we took it out of the vice all the pices fell off. the problem was that chris did not account for the depth of the mill job and how far down the deepest part would be after the rought cut. also, he set up the toolpath for the rough cut so there wer actual strong steps along the edges of the material, when we changed to the new bit for the final cut, the too short flutes had the flute-less part of the bit not cut, but squeeze past the rough cut parts of the job.
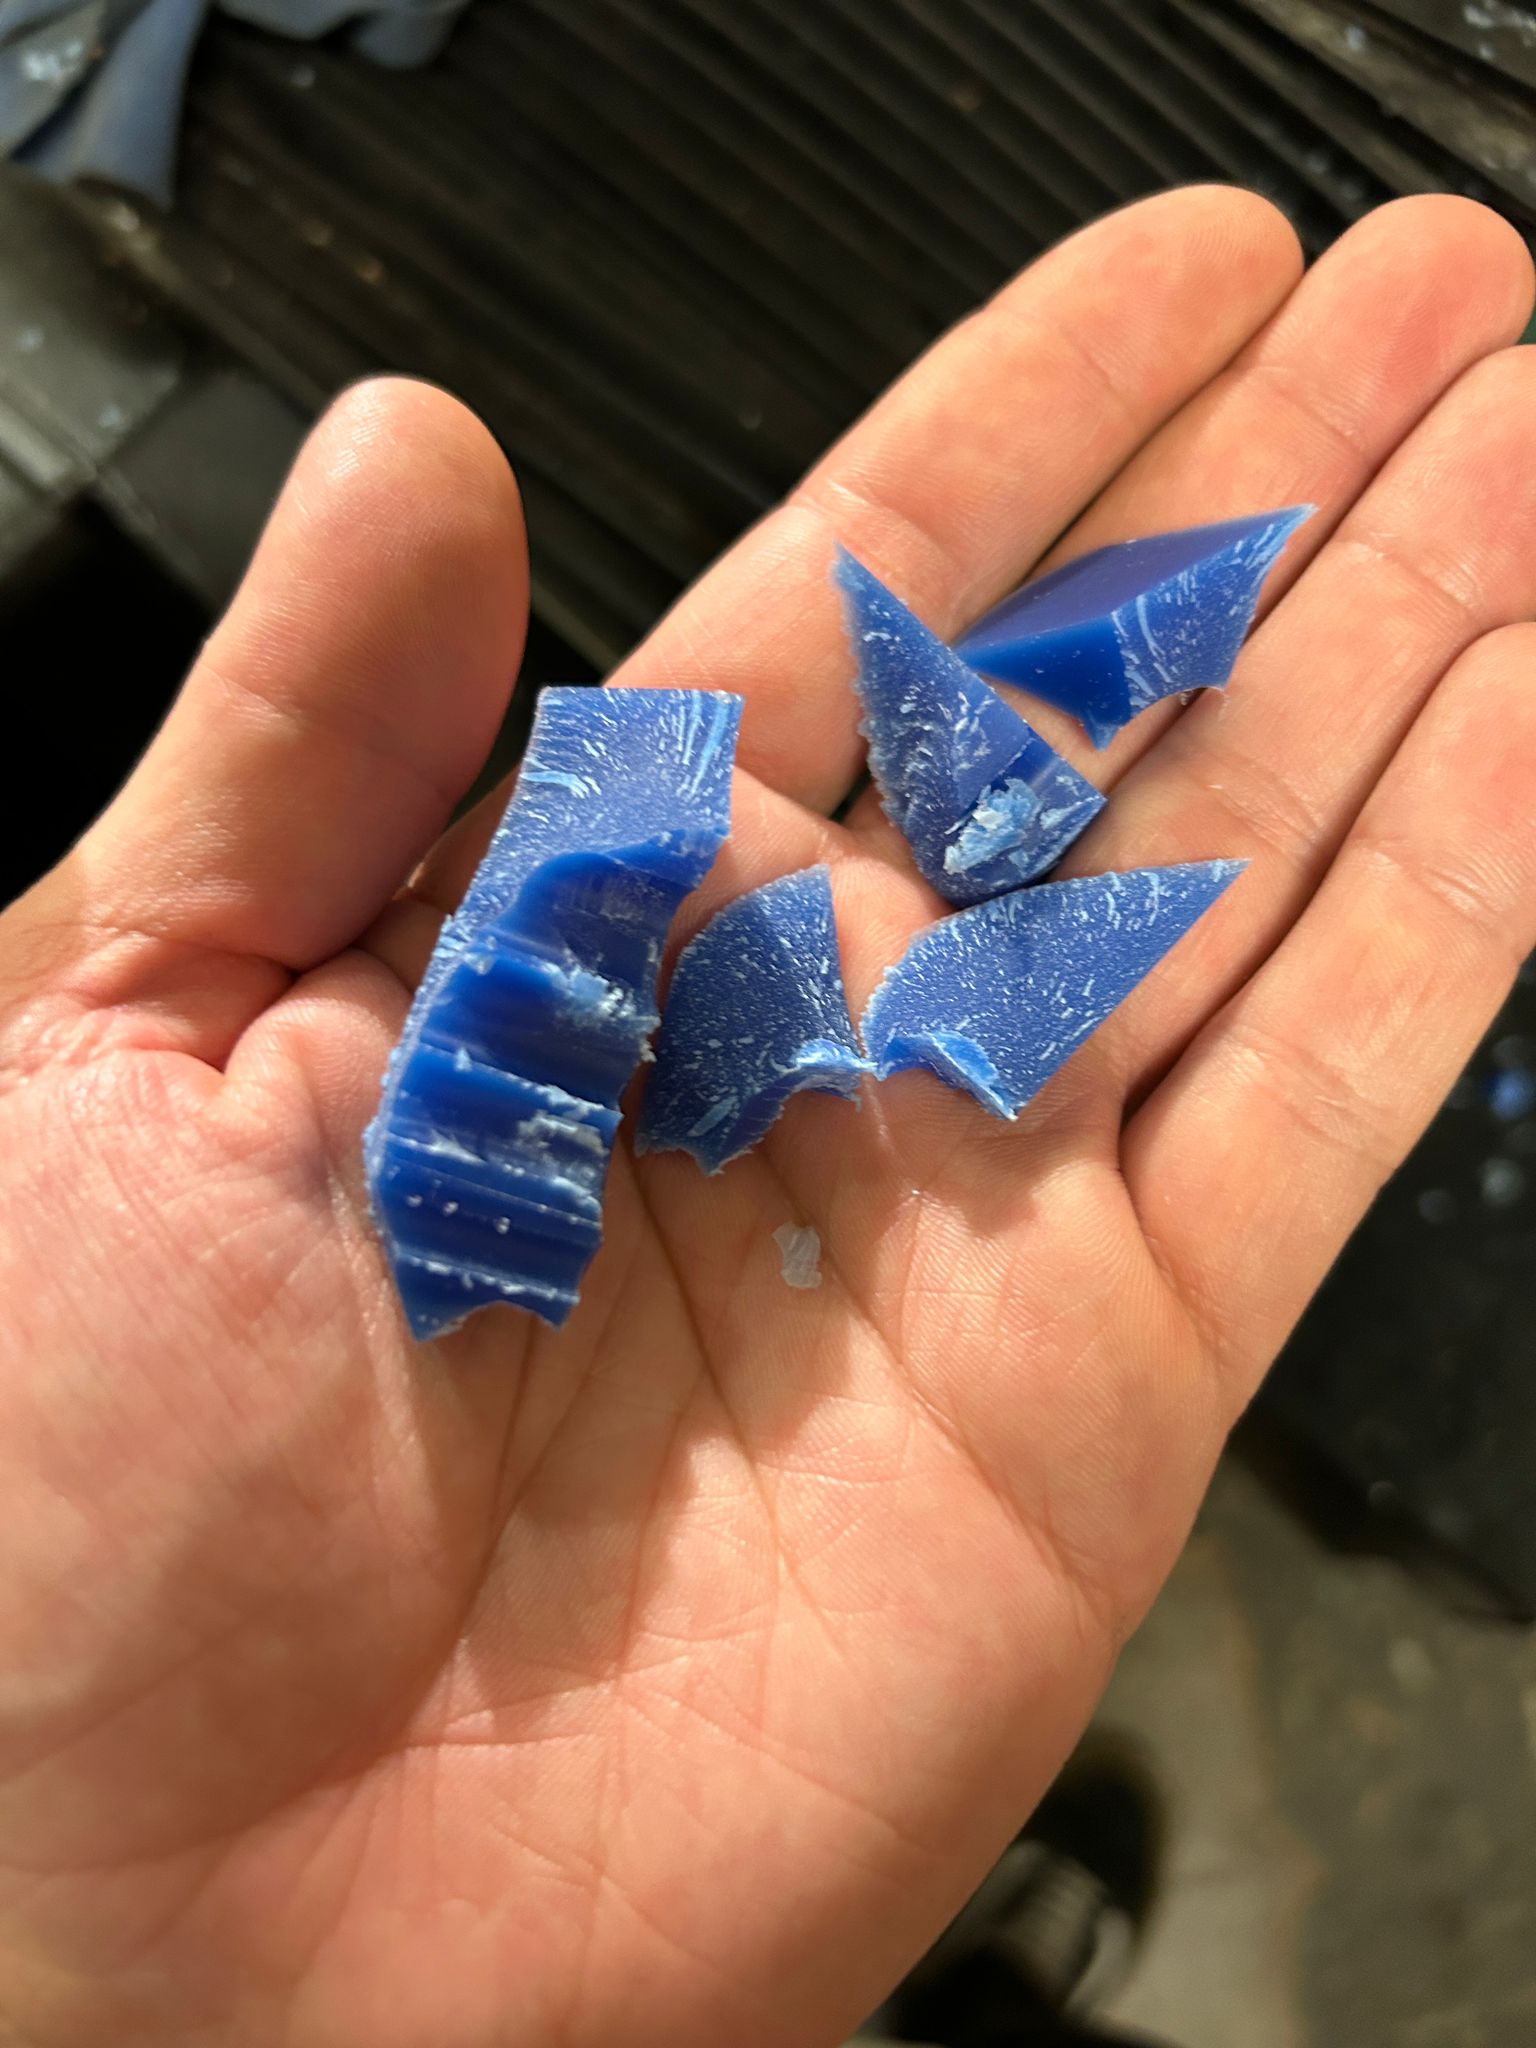
fortunately, the actual shape was far enough down the mold, so i would still be able to cast something in it.
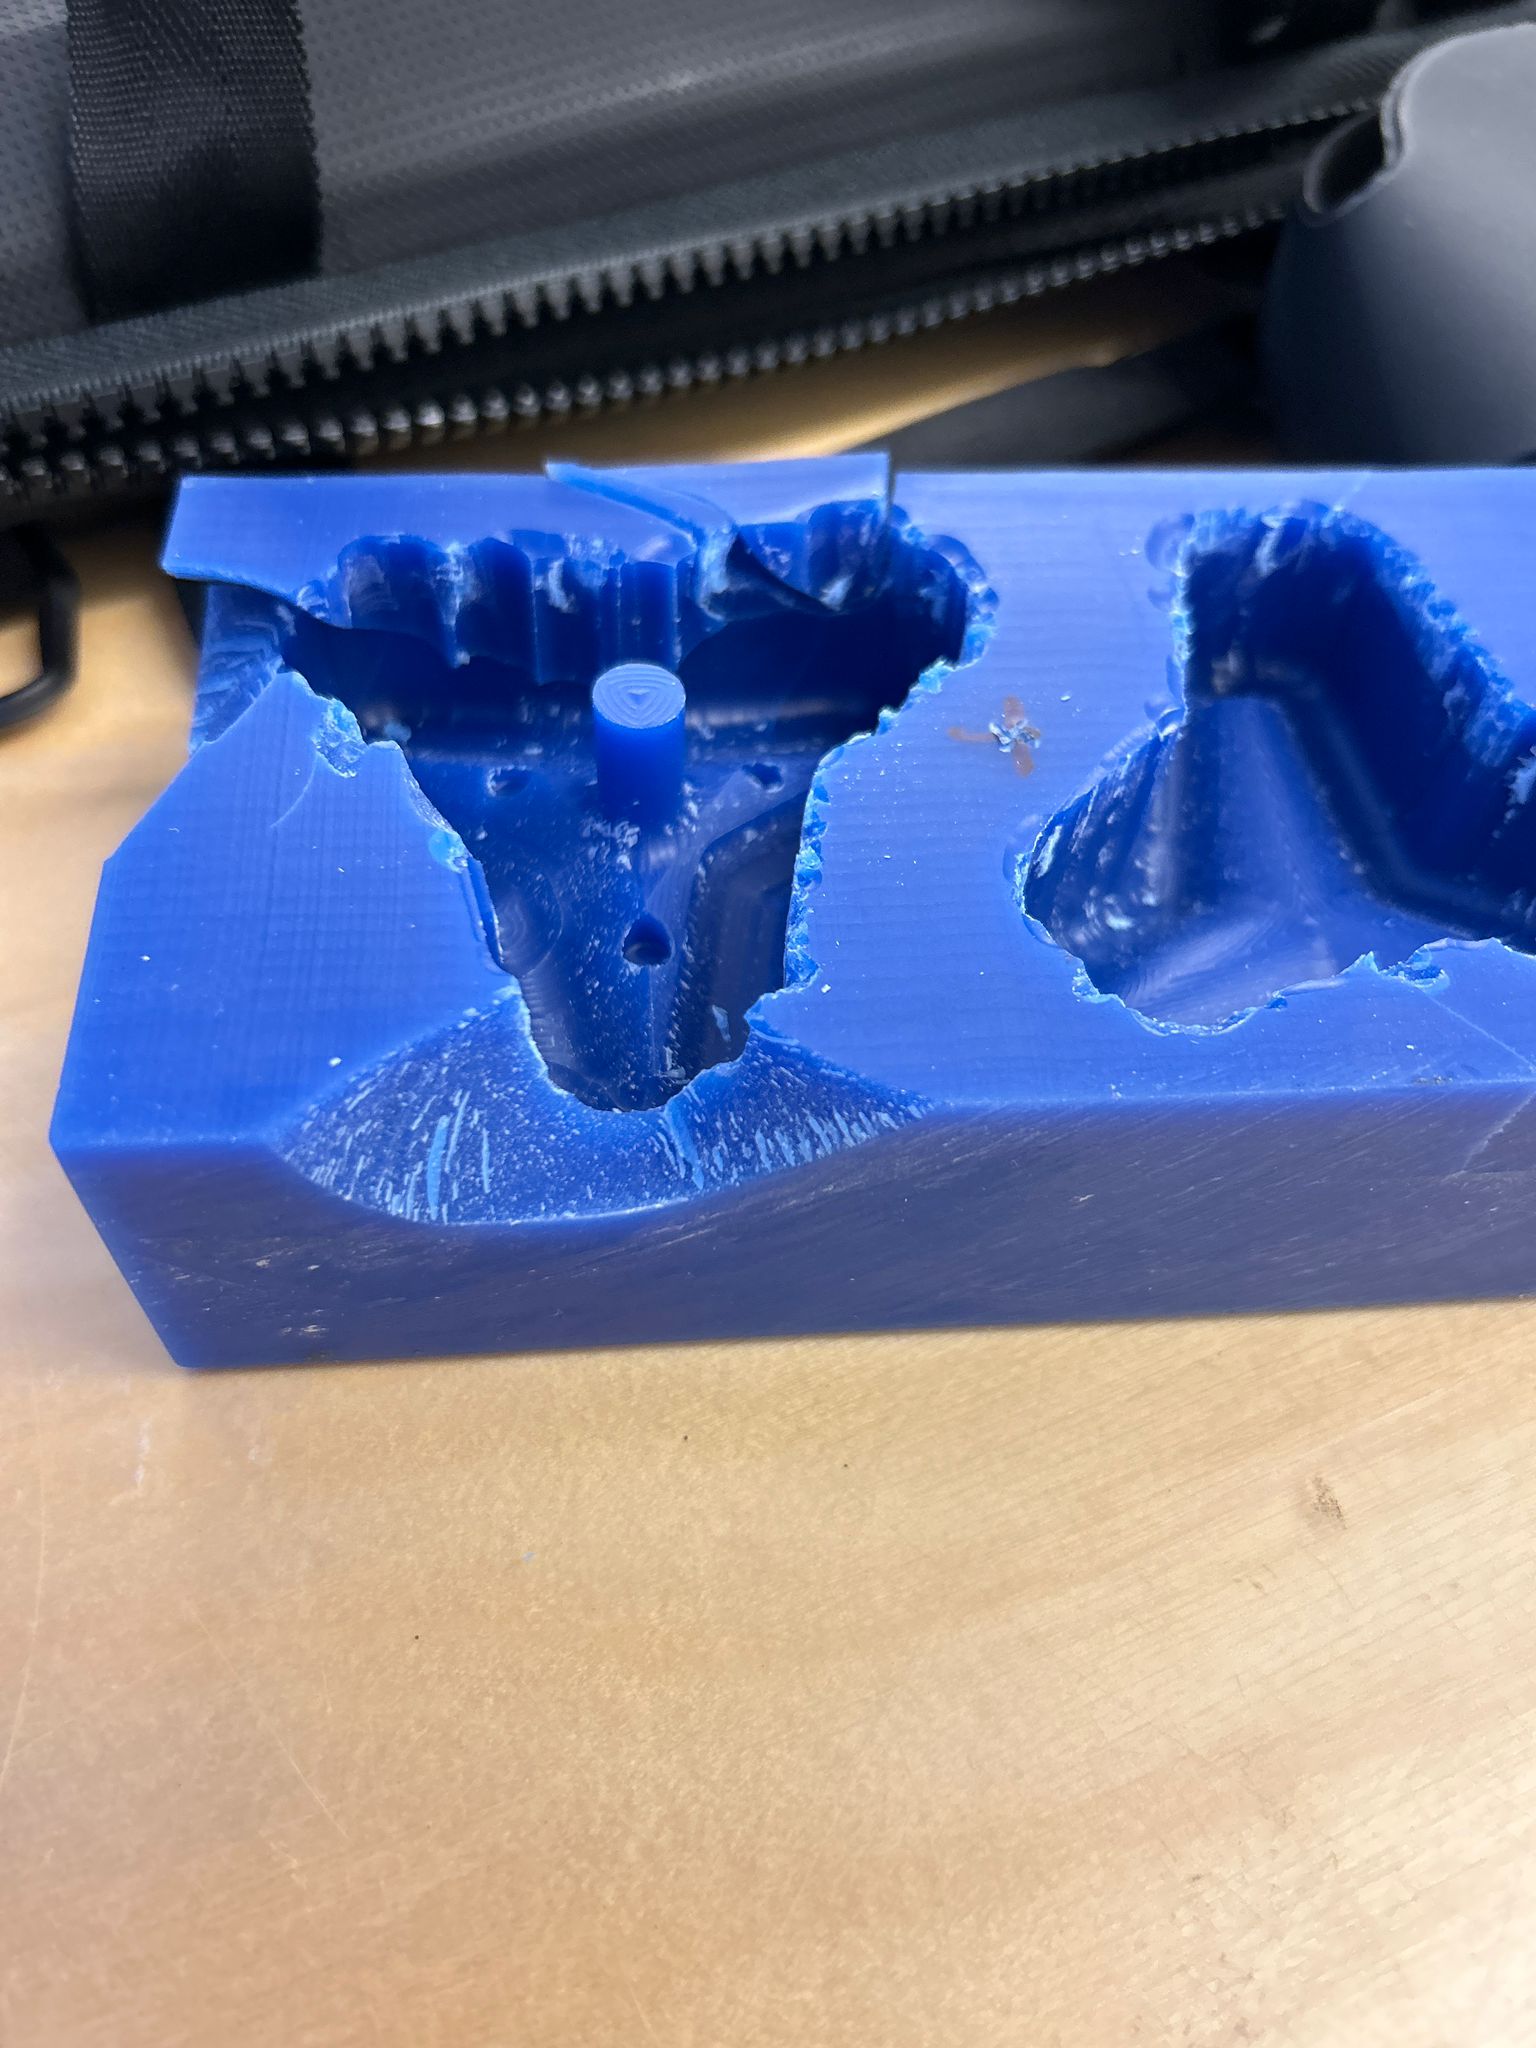
to make sure that I can cast something into it, i took some thin wood pieces and taped them to the wax block, then went around all the edges with hot glue, to make sure i have no leaks.
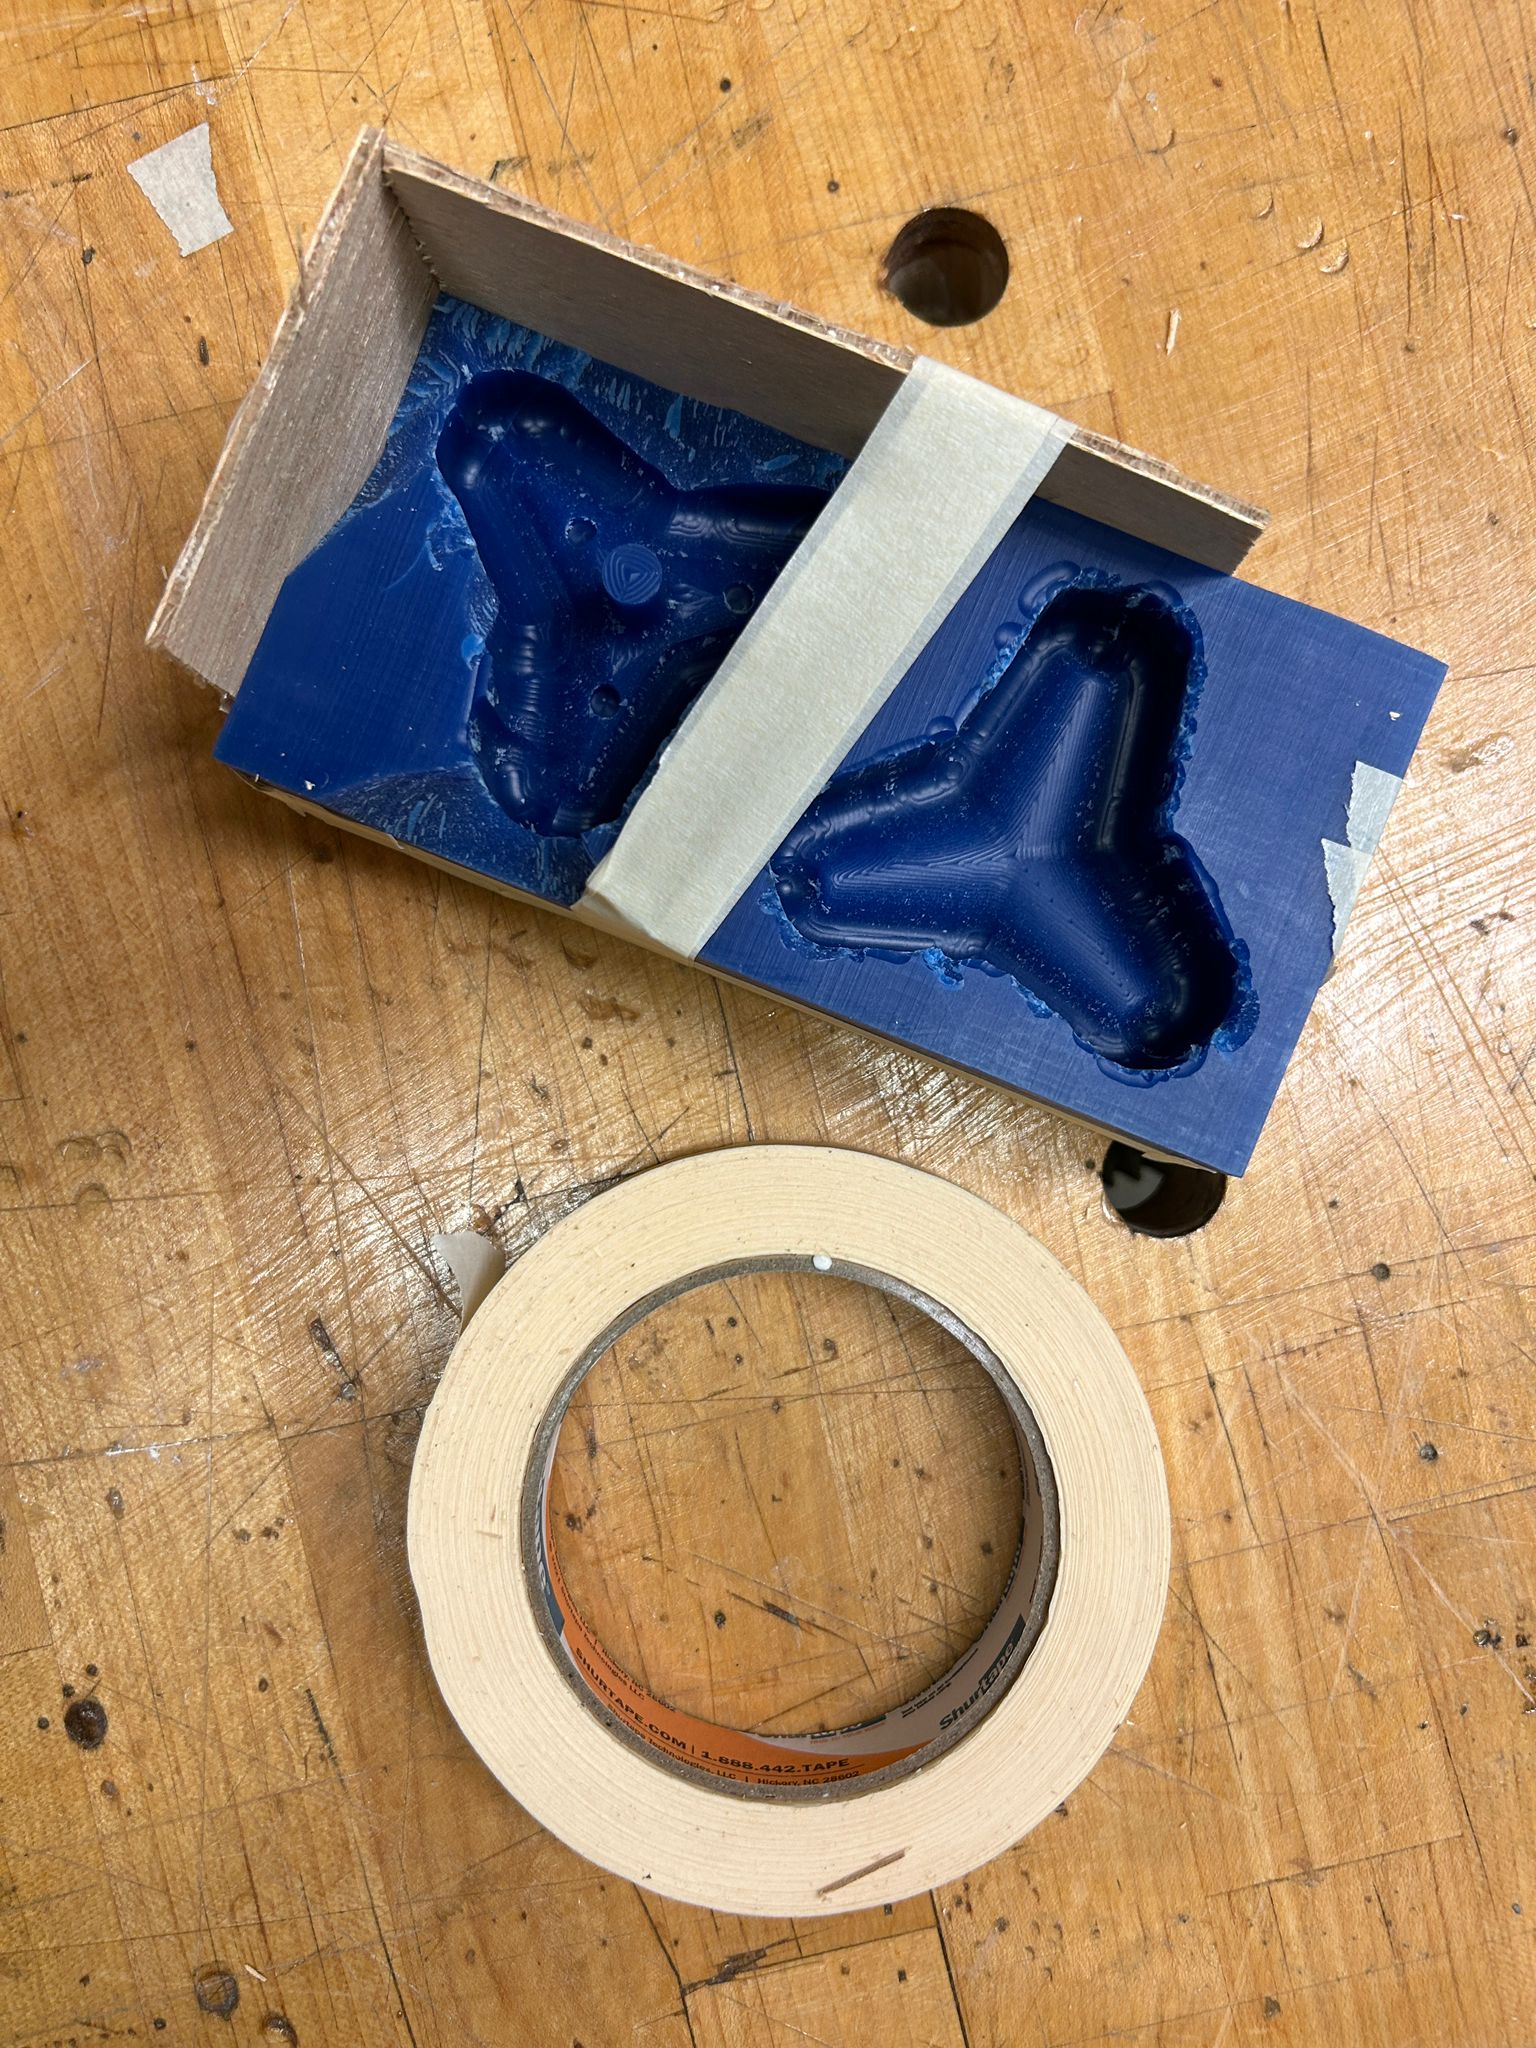
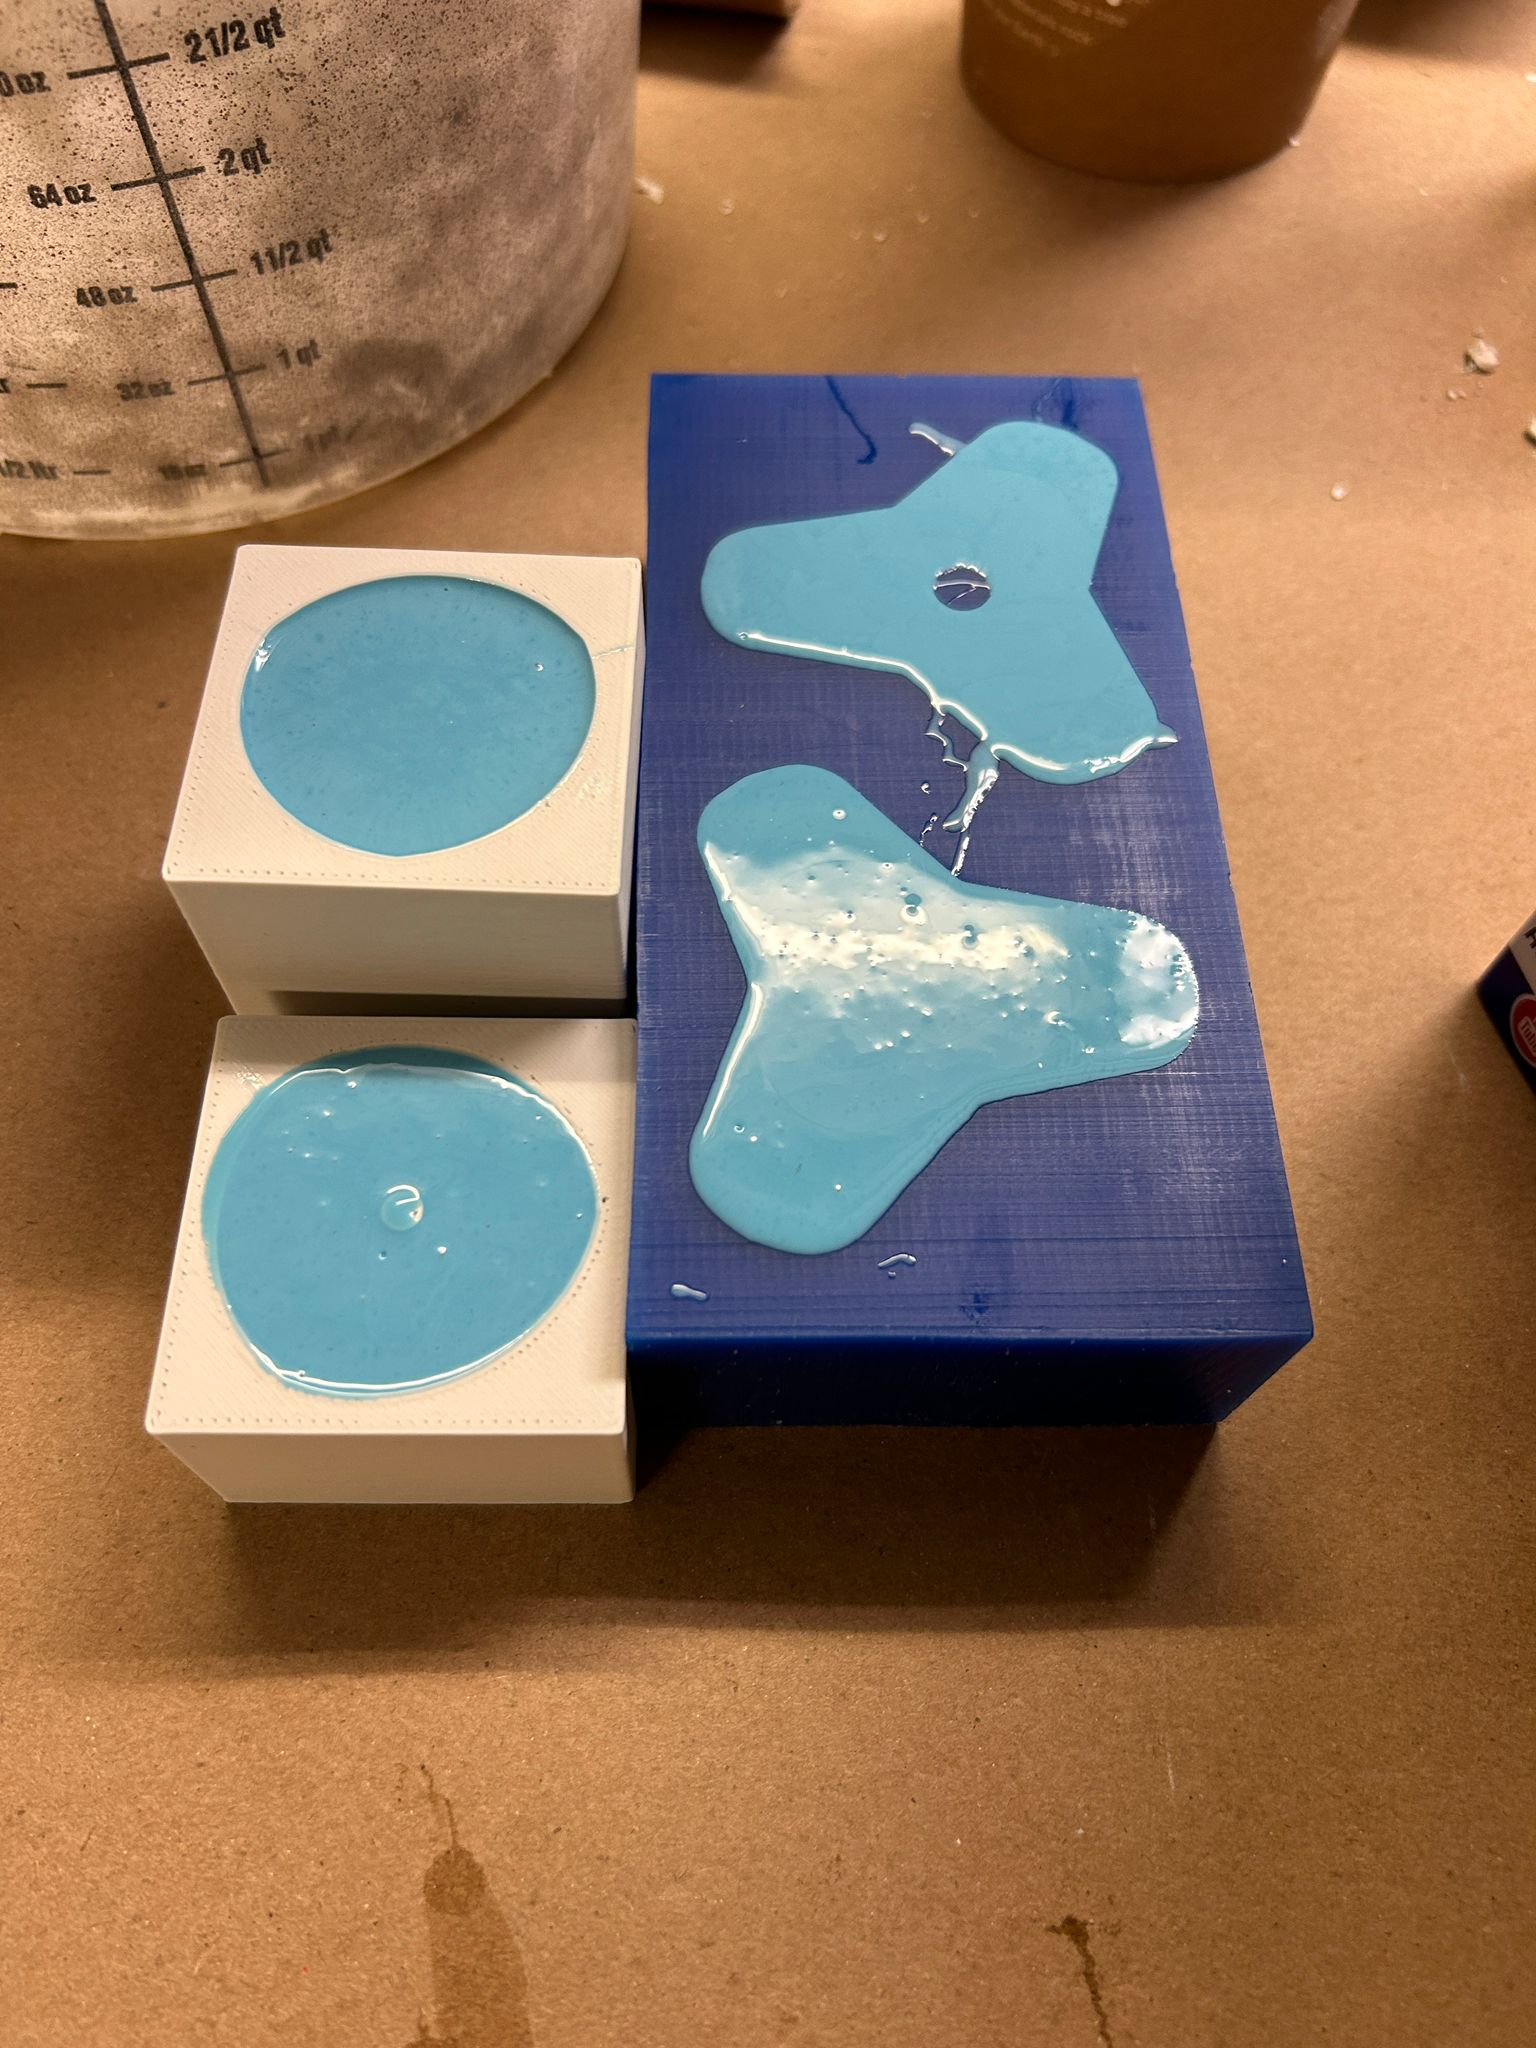
so it was time to make the mold using OOMOO.
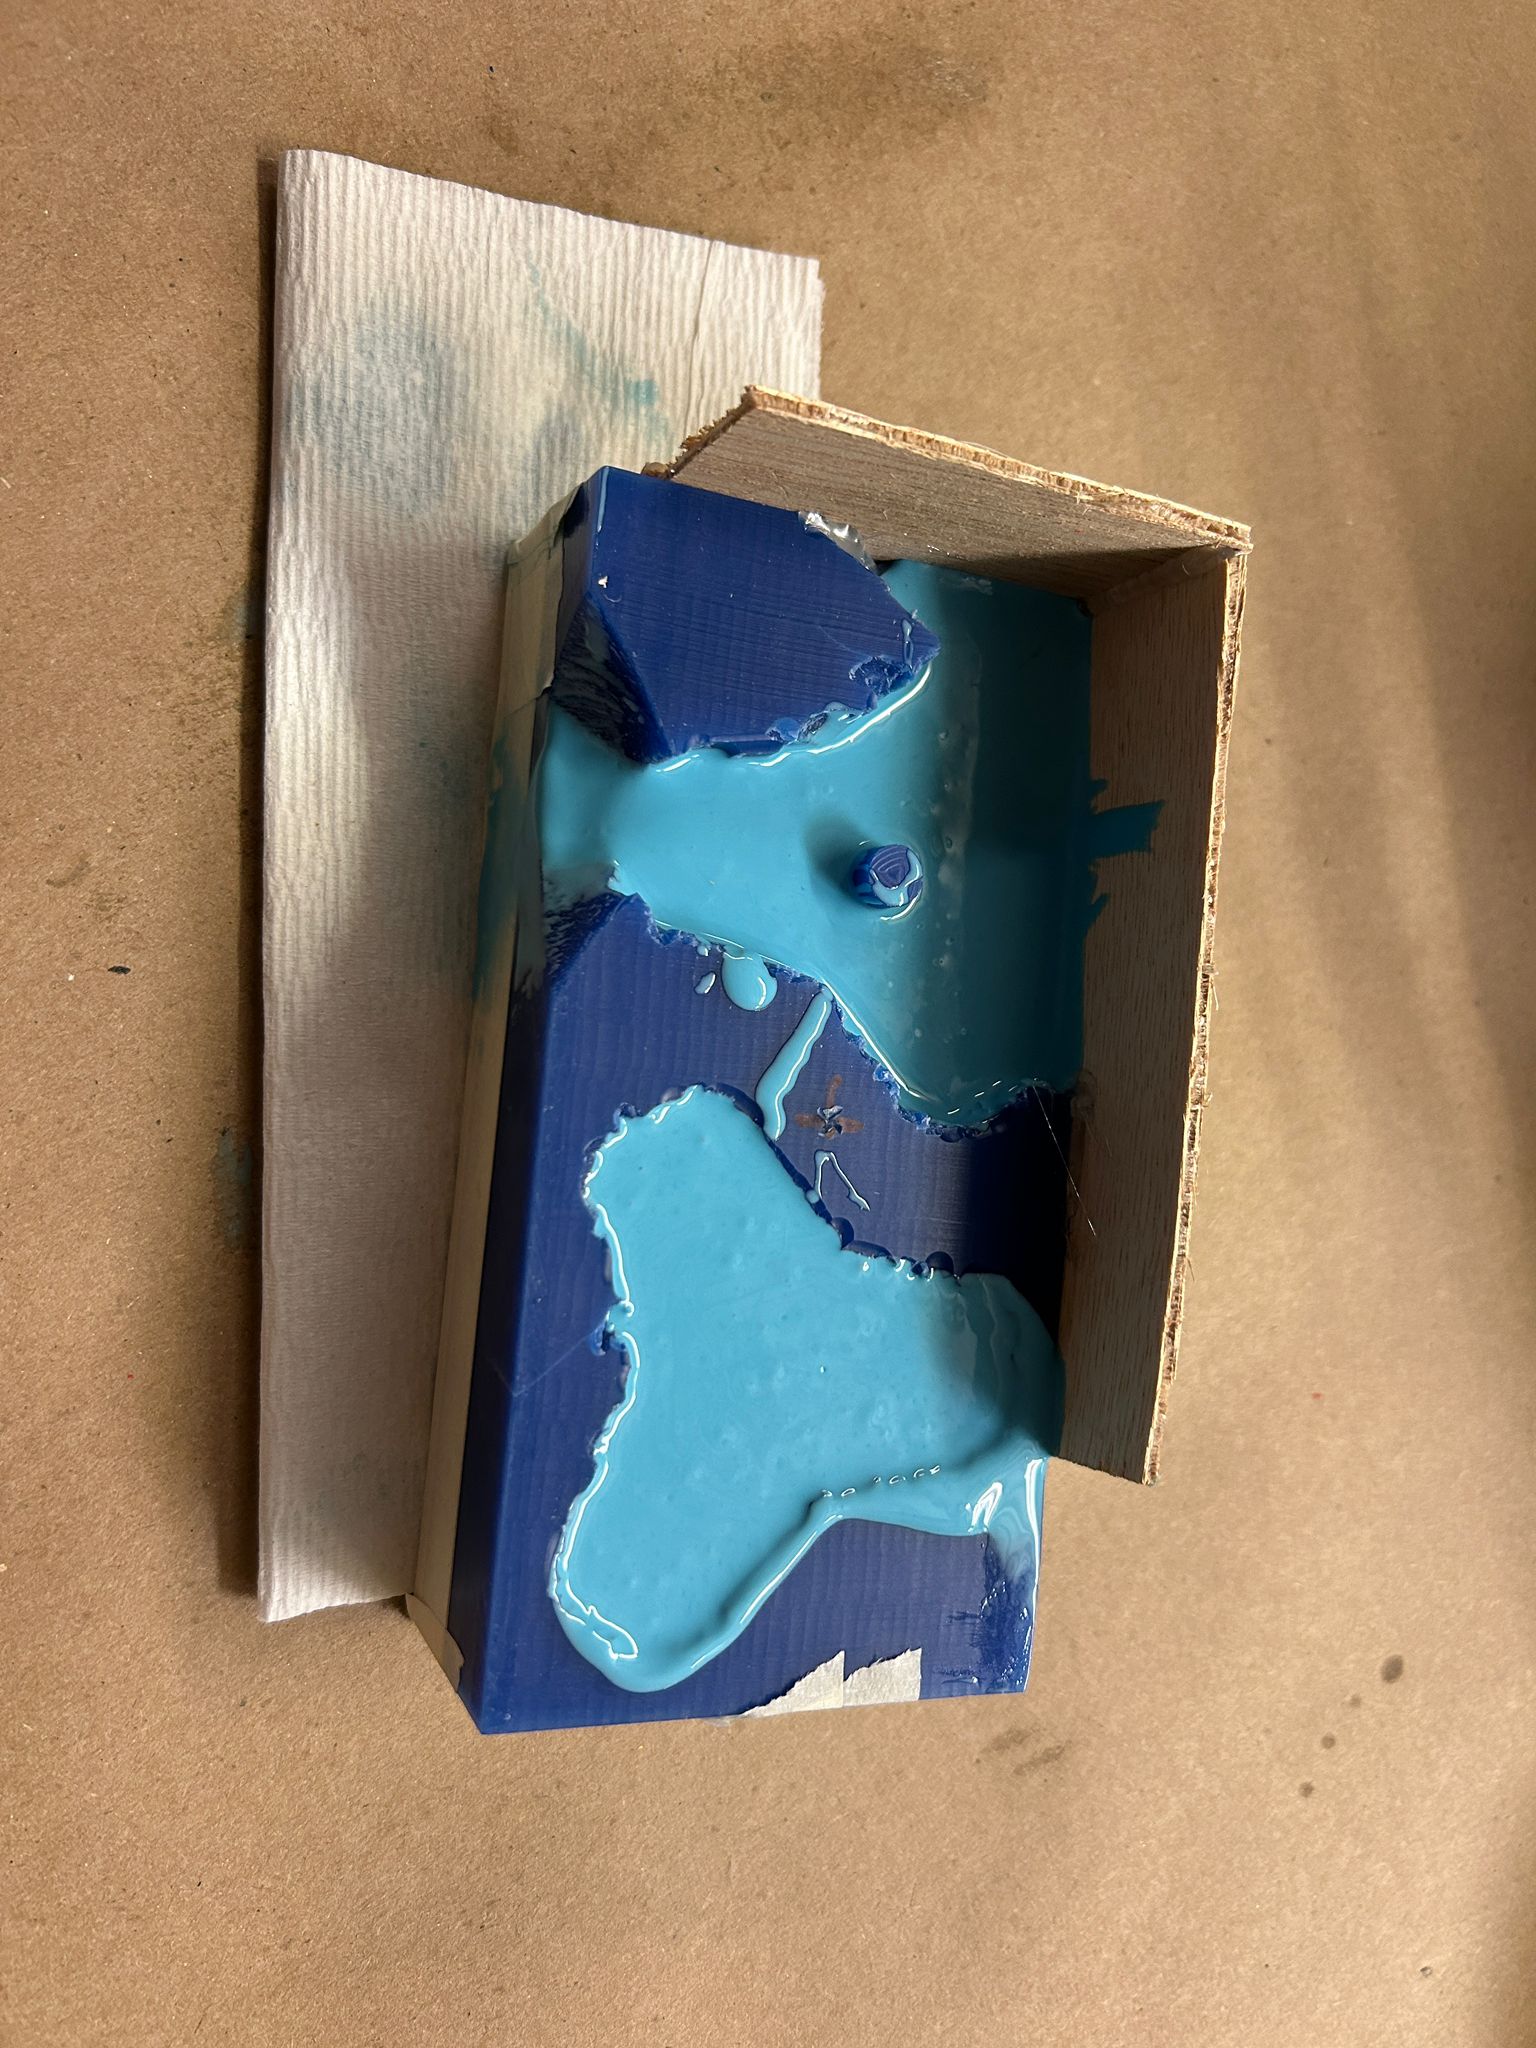
my patchwork for the mold seemed to work and keep the oomoo contained. after 75min. i was able to take the oomoo mold out of the wax block.
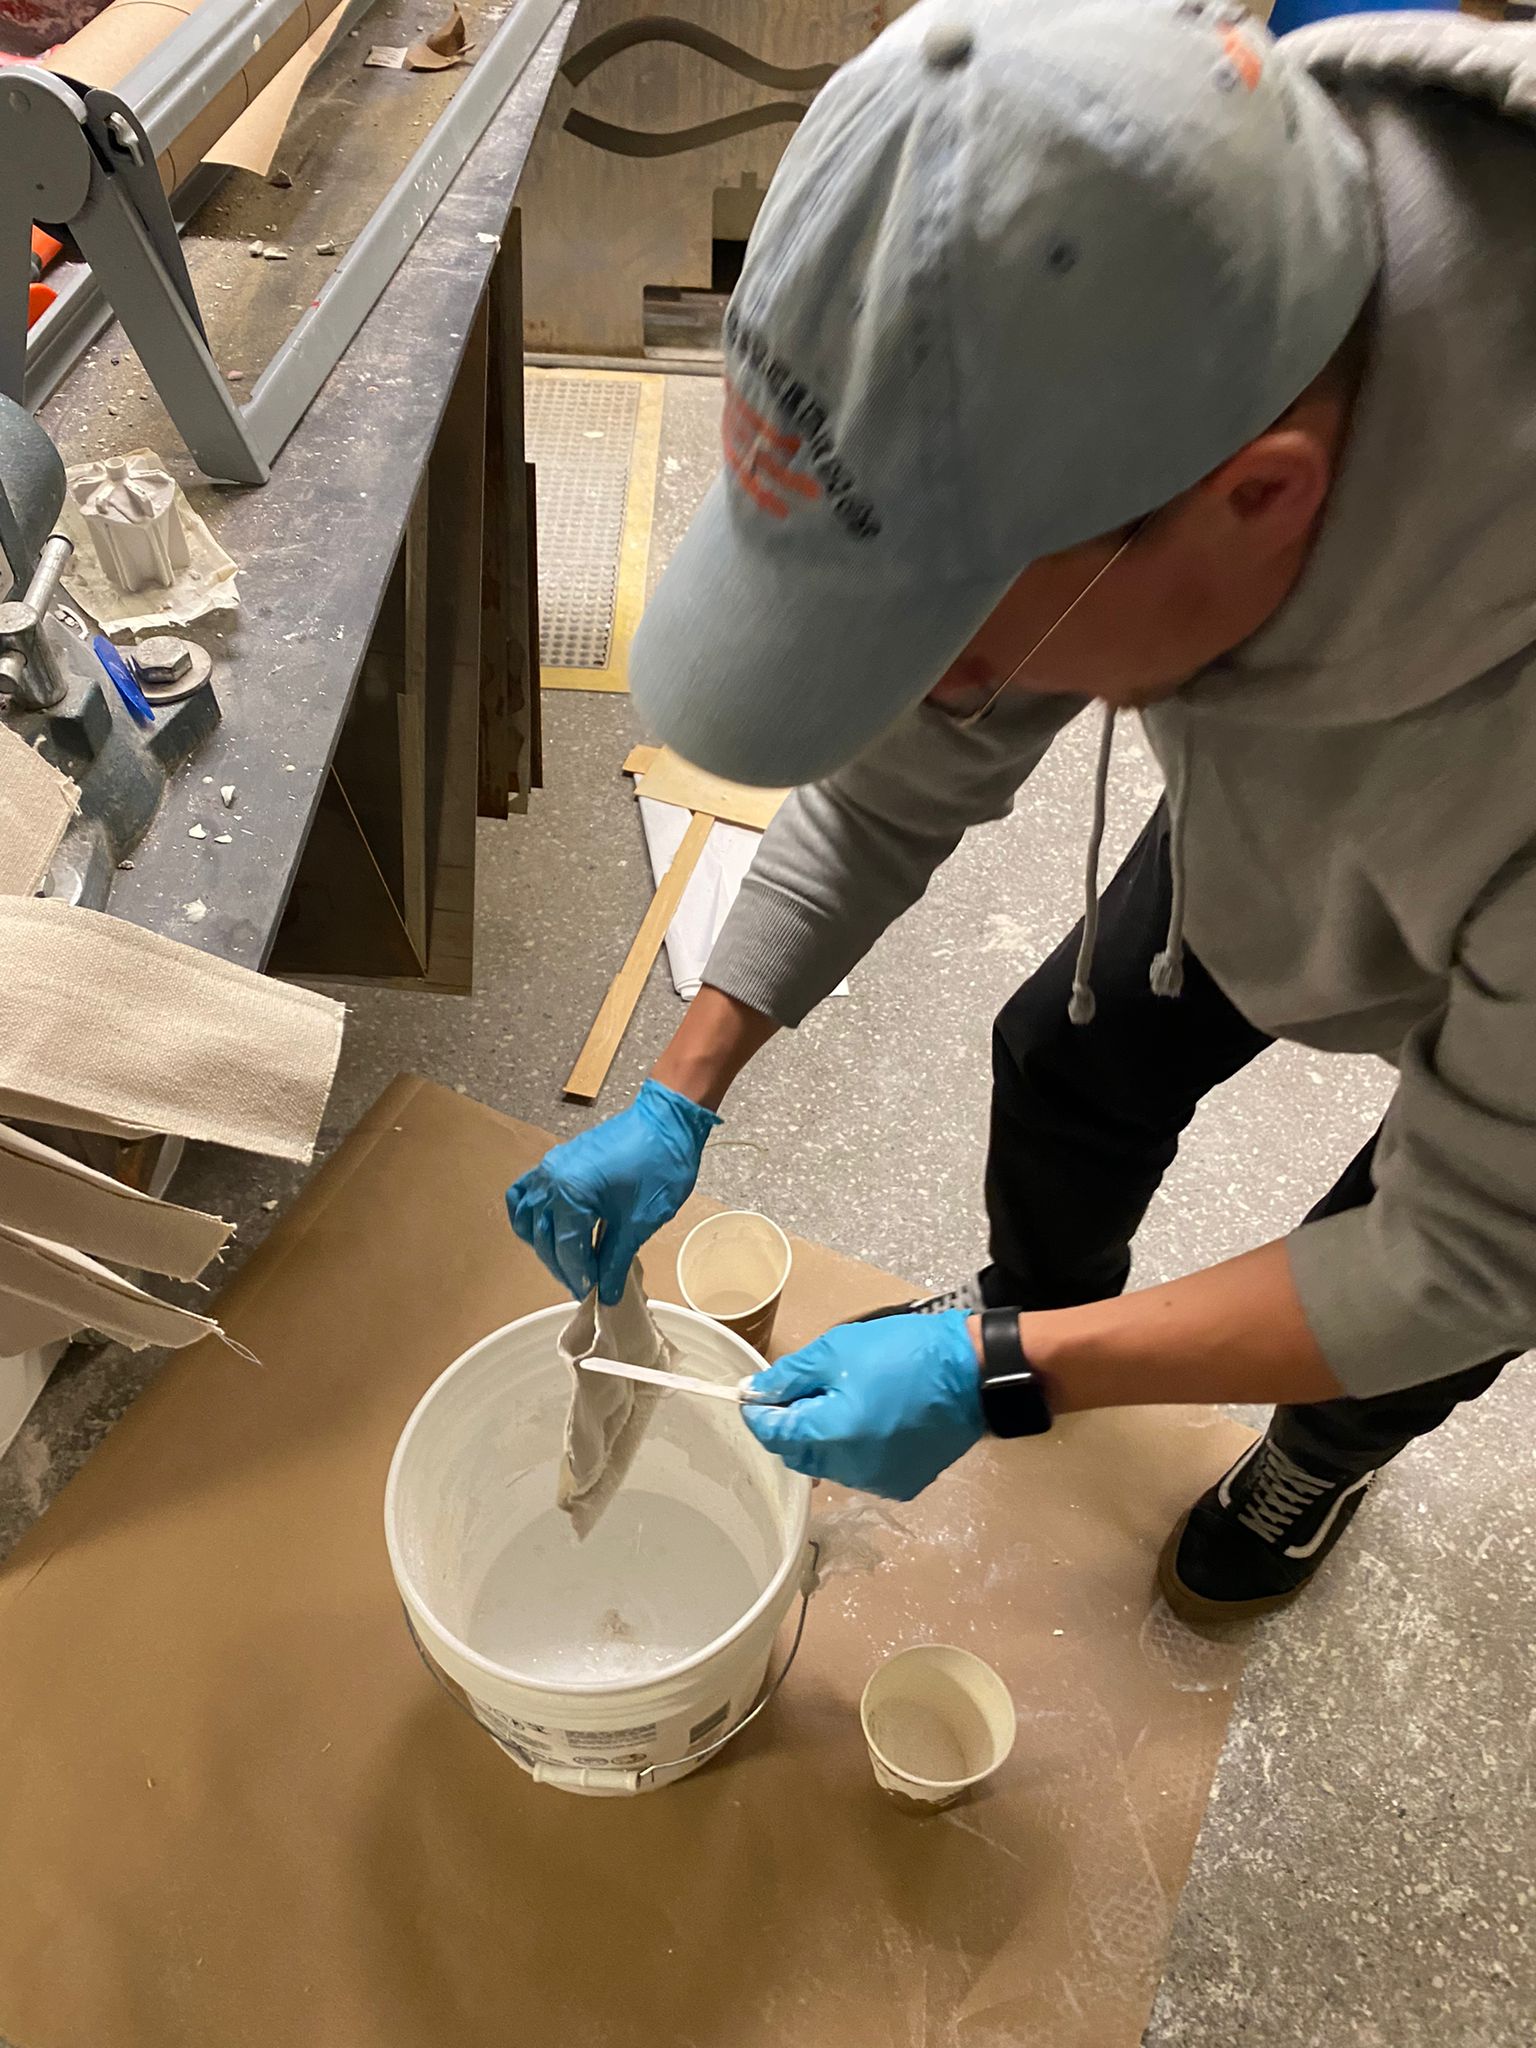
it was time to cast my first piece in Drystone. When mixing the drystone with water, it is important to note that it takes a lot more of it than you think. i found that if i start with less than i think i would use, i still end up with more than i need. in terms of consistancy and ratio, a good rule of thumb for me was to add drystone into the water and mix it continuously and dip my finger into it (wear gloves) until a thin film of it covers your finger and no blue latex is visible.
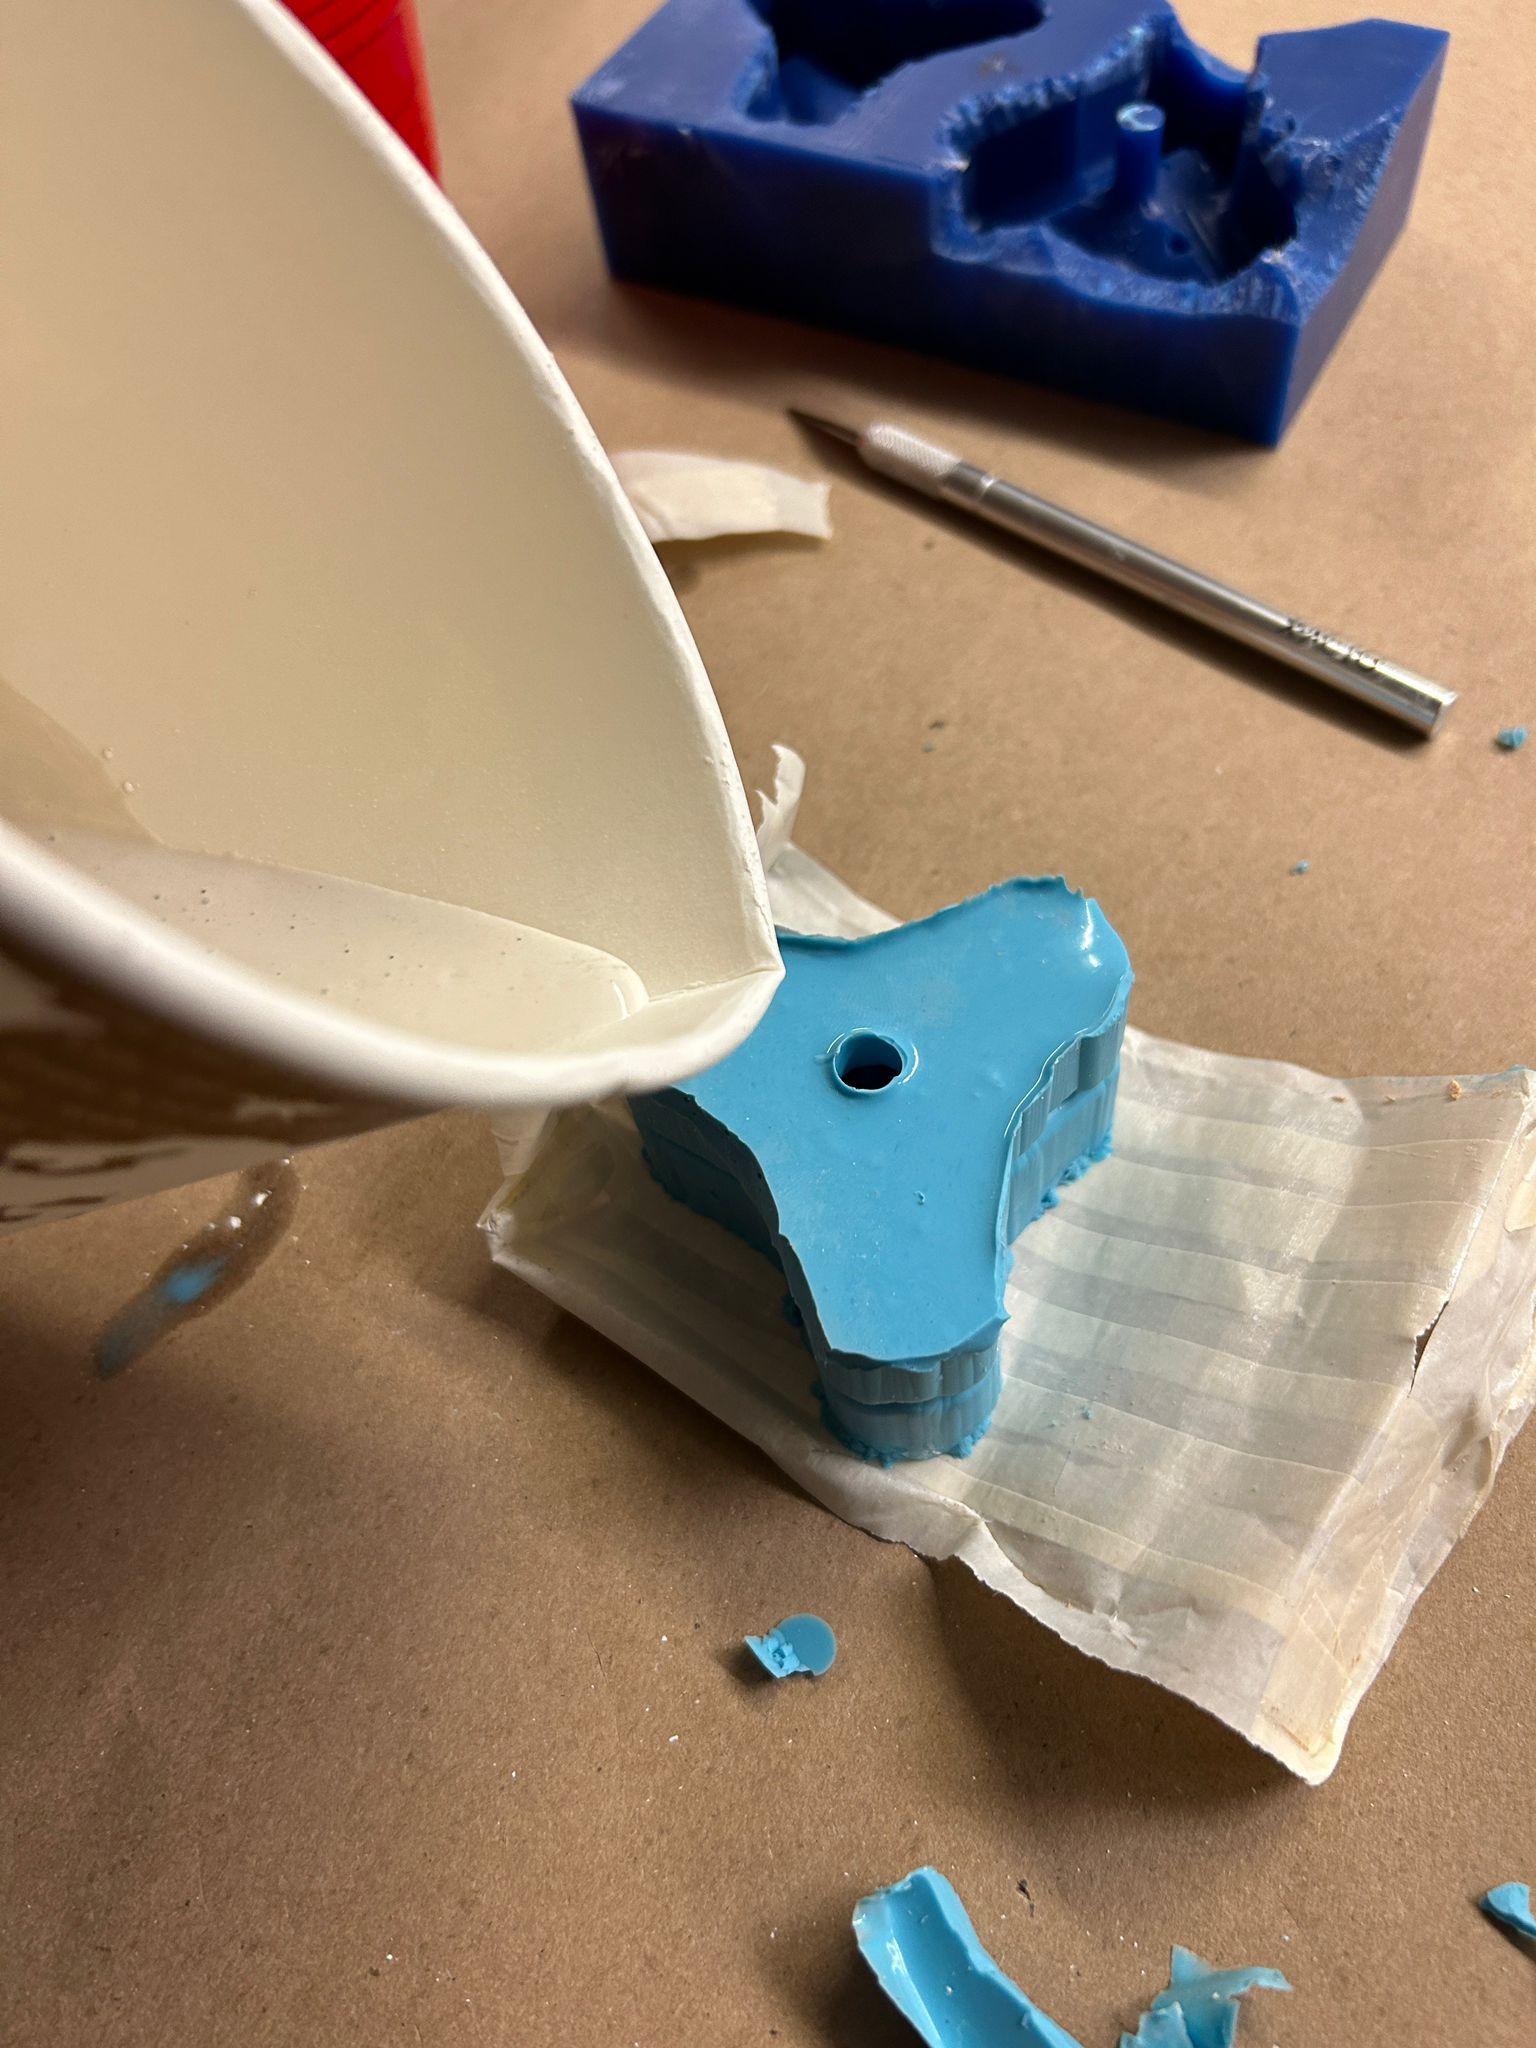
the second half of the mold has a hole that i left out in the wax block to be able to pour the drystone mix in.
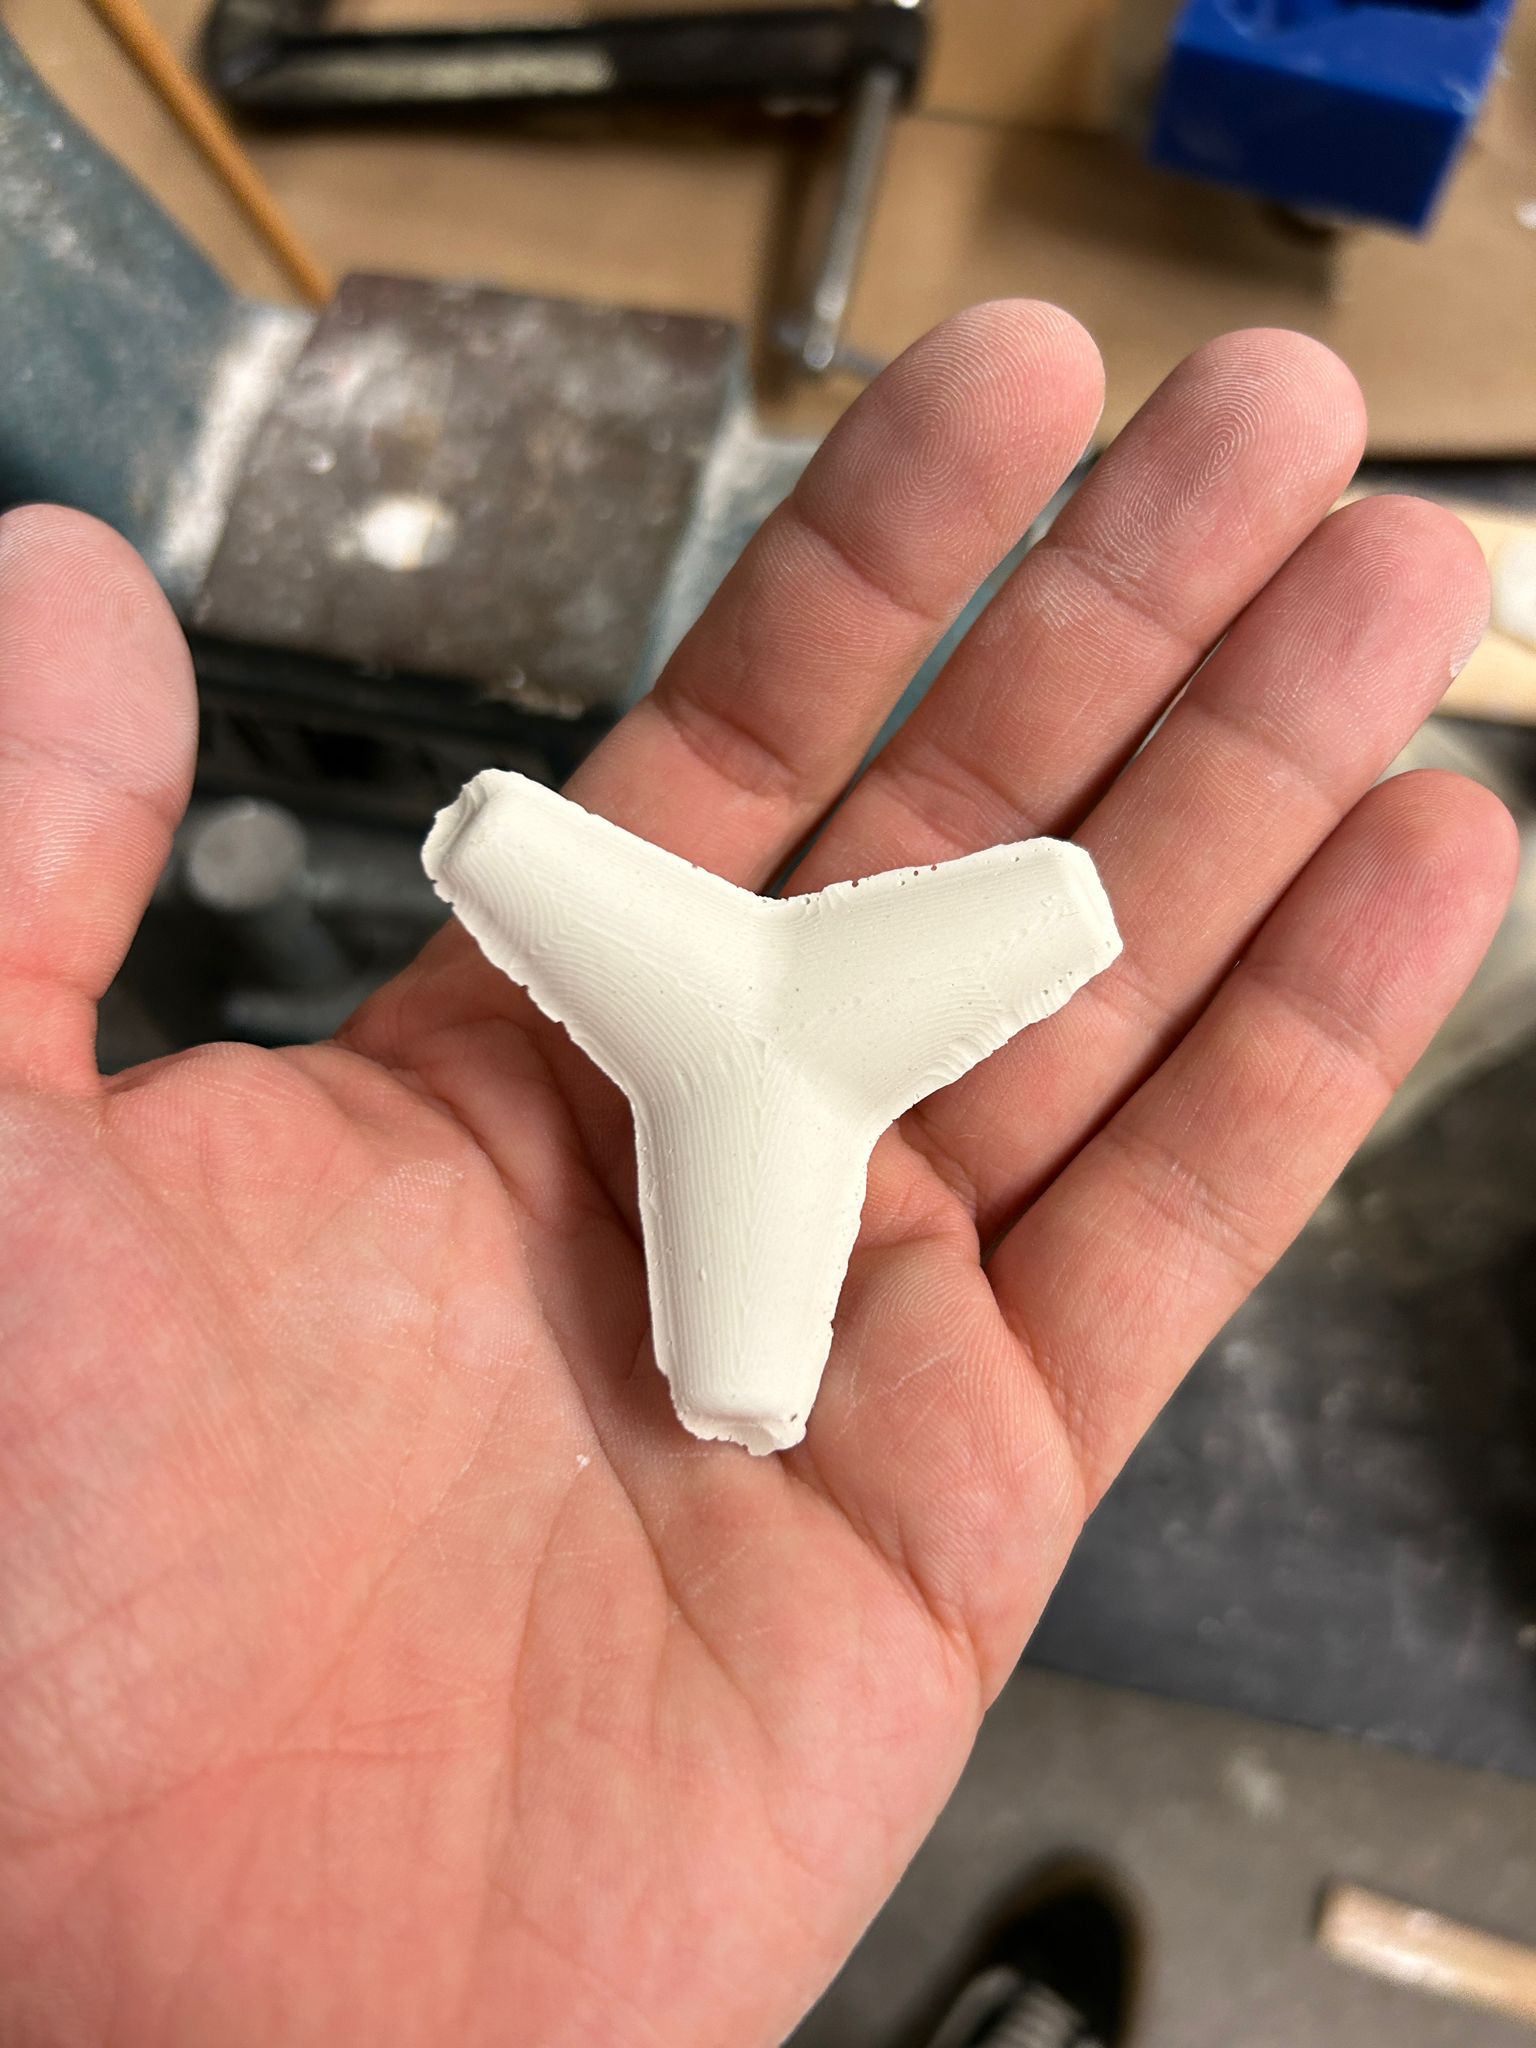
drystone cures fast, and this was the result.
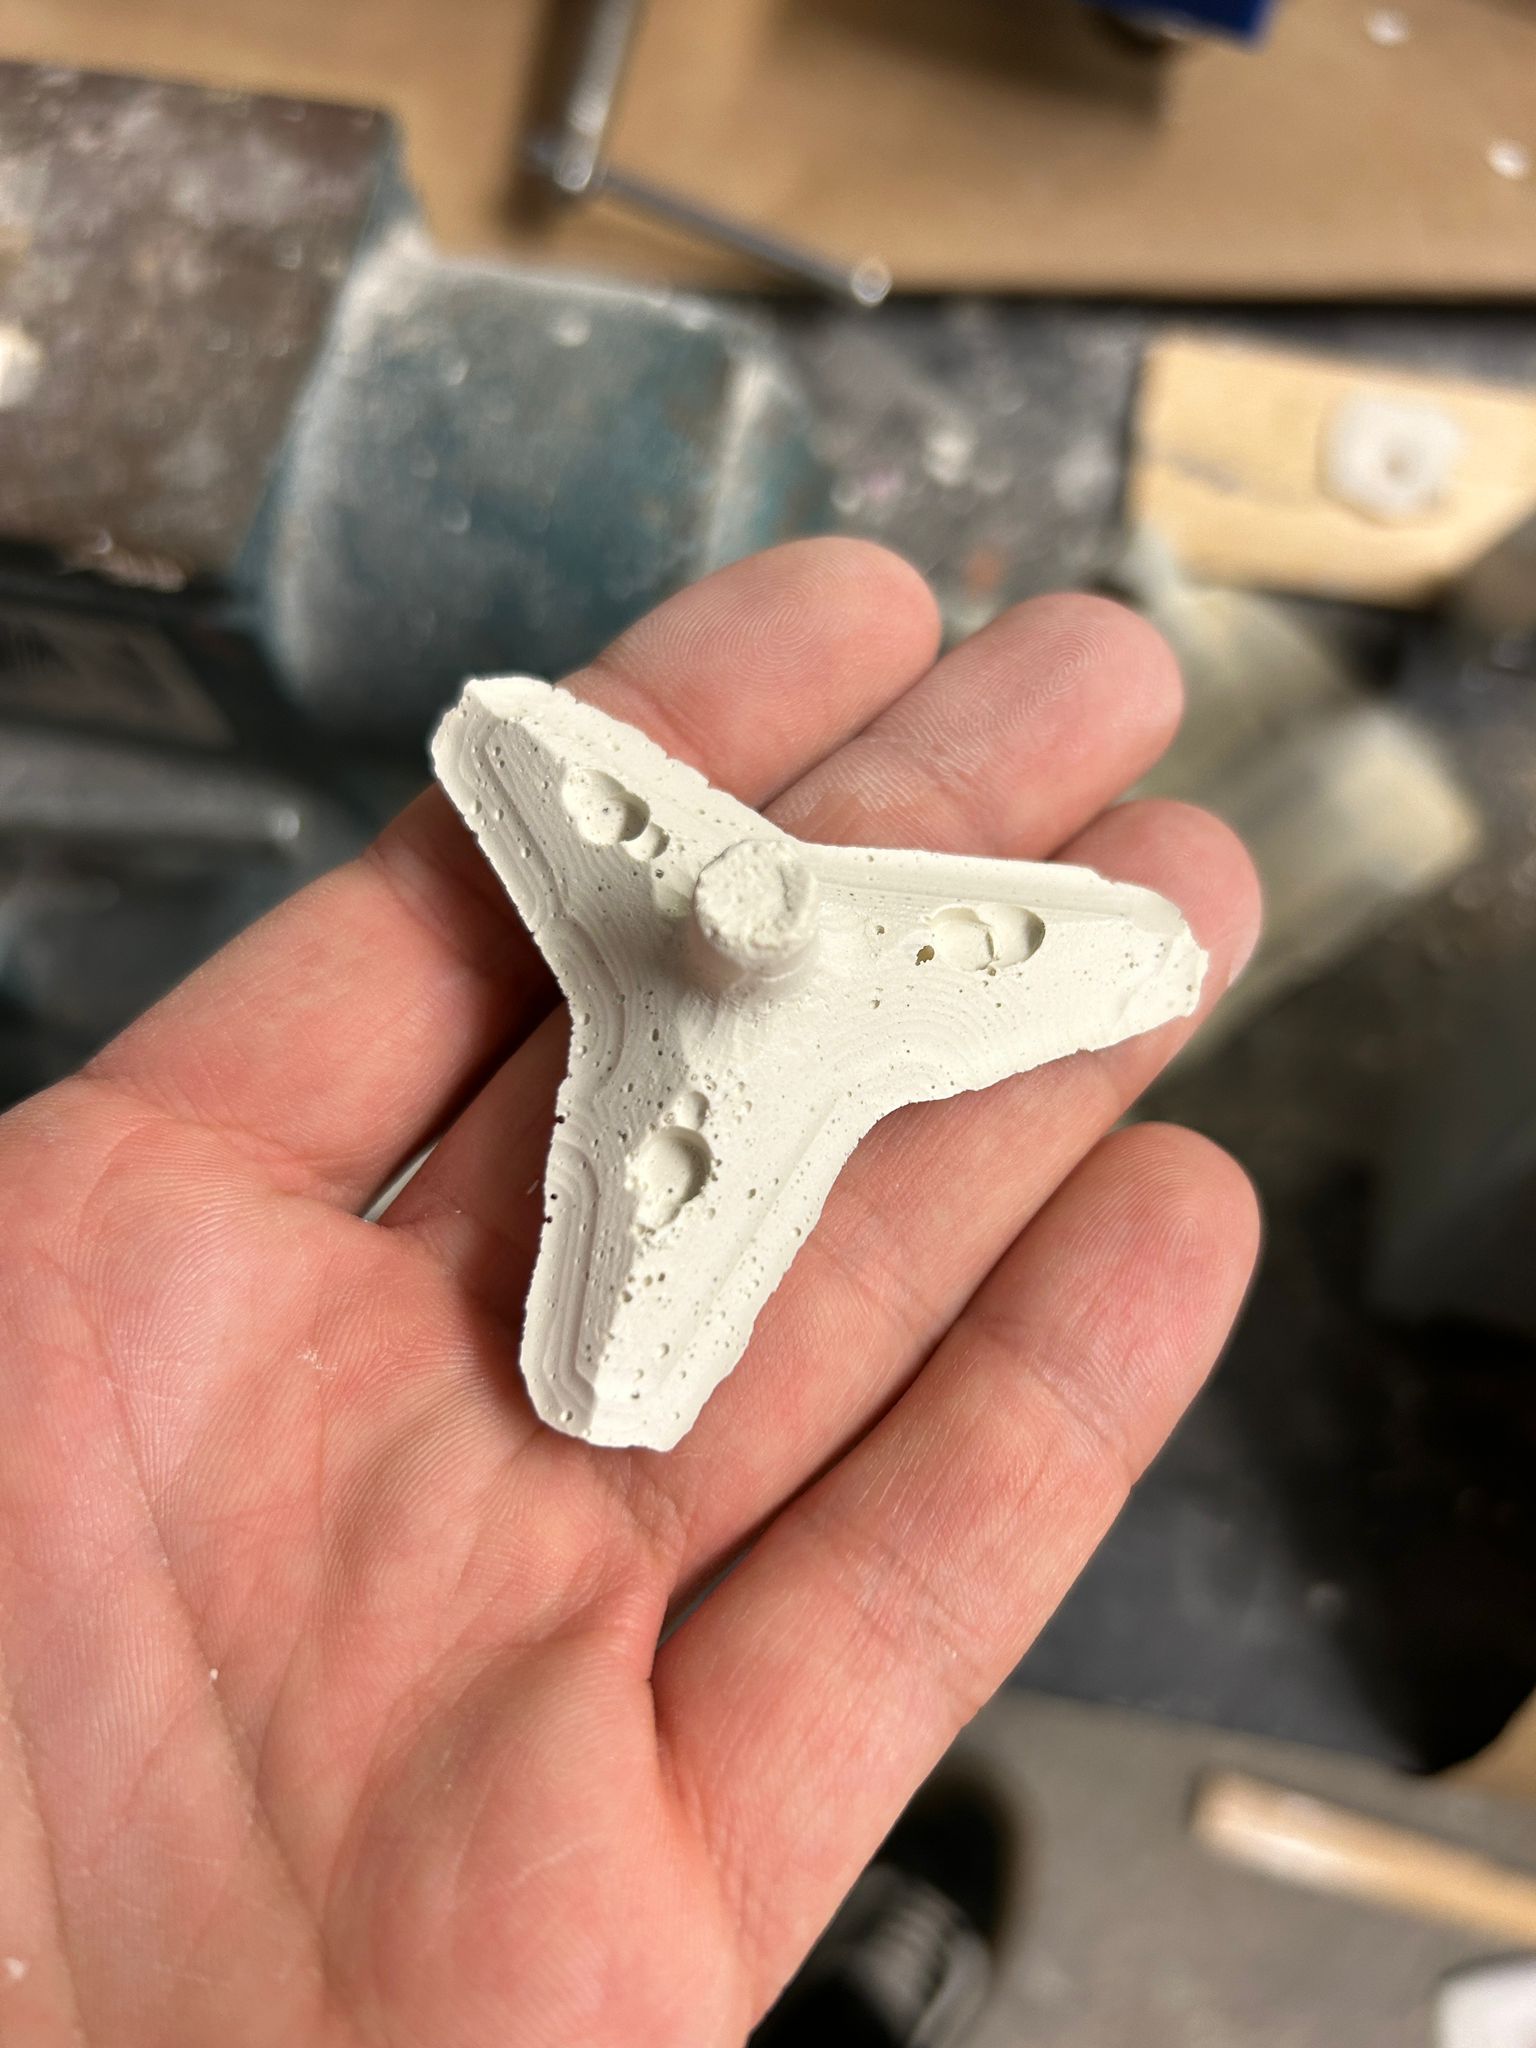
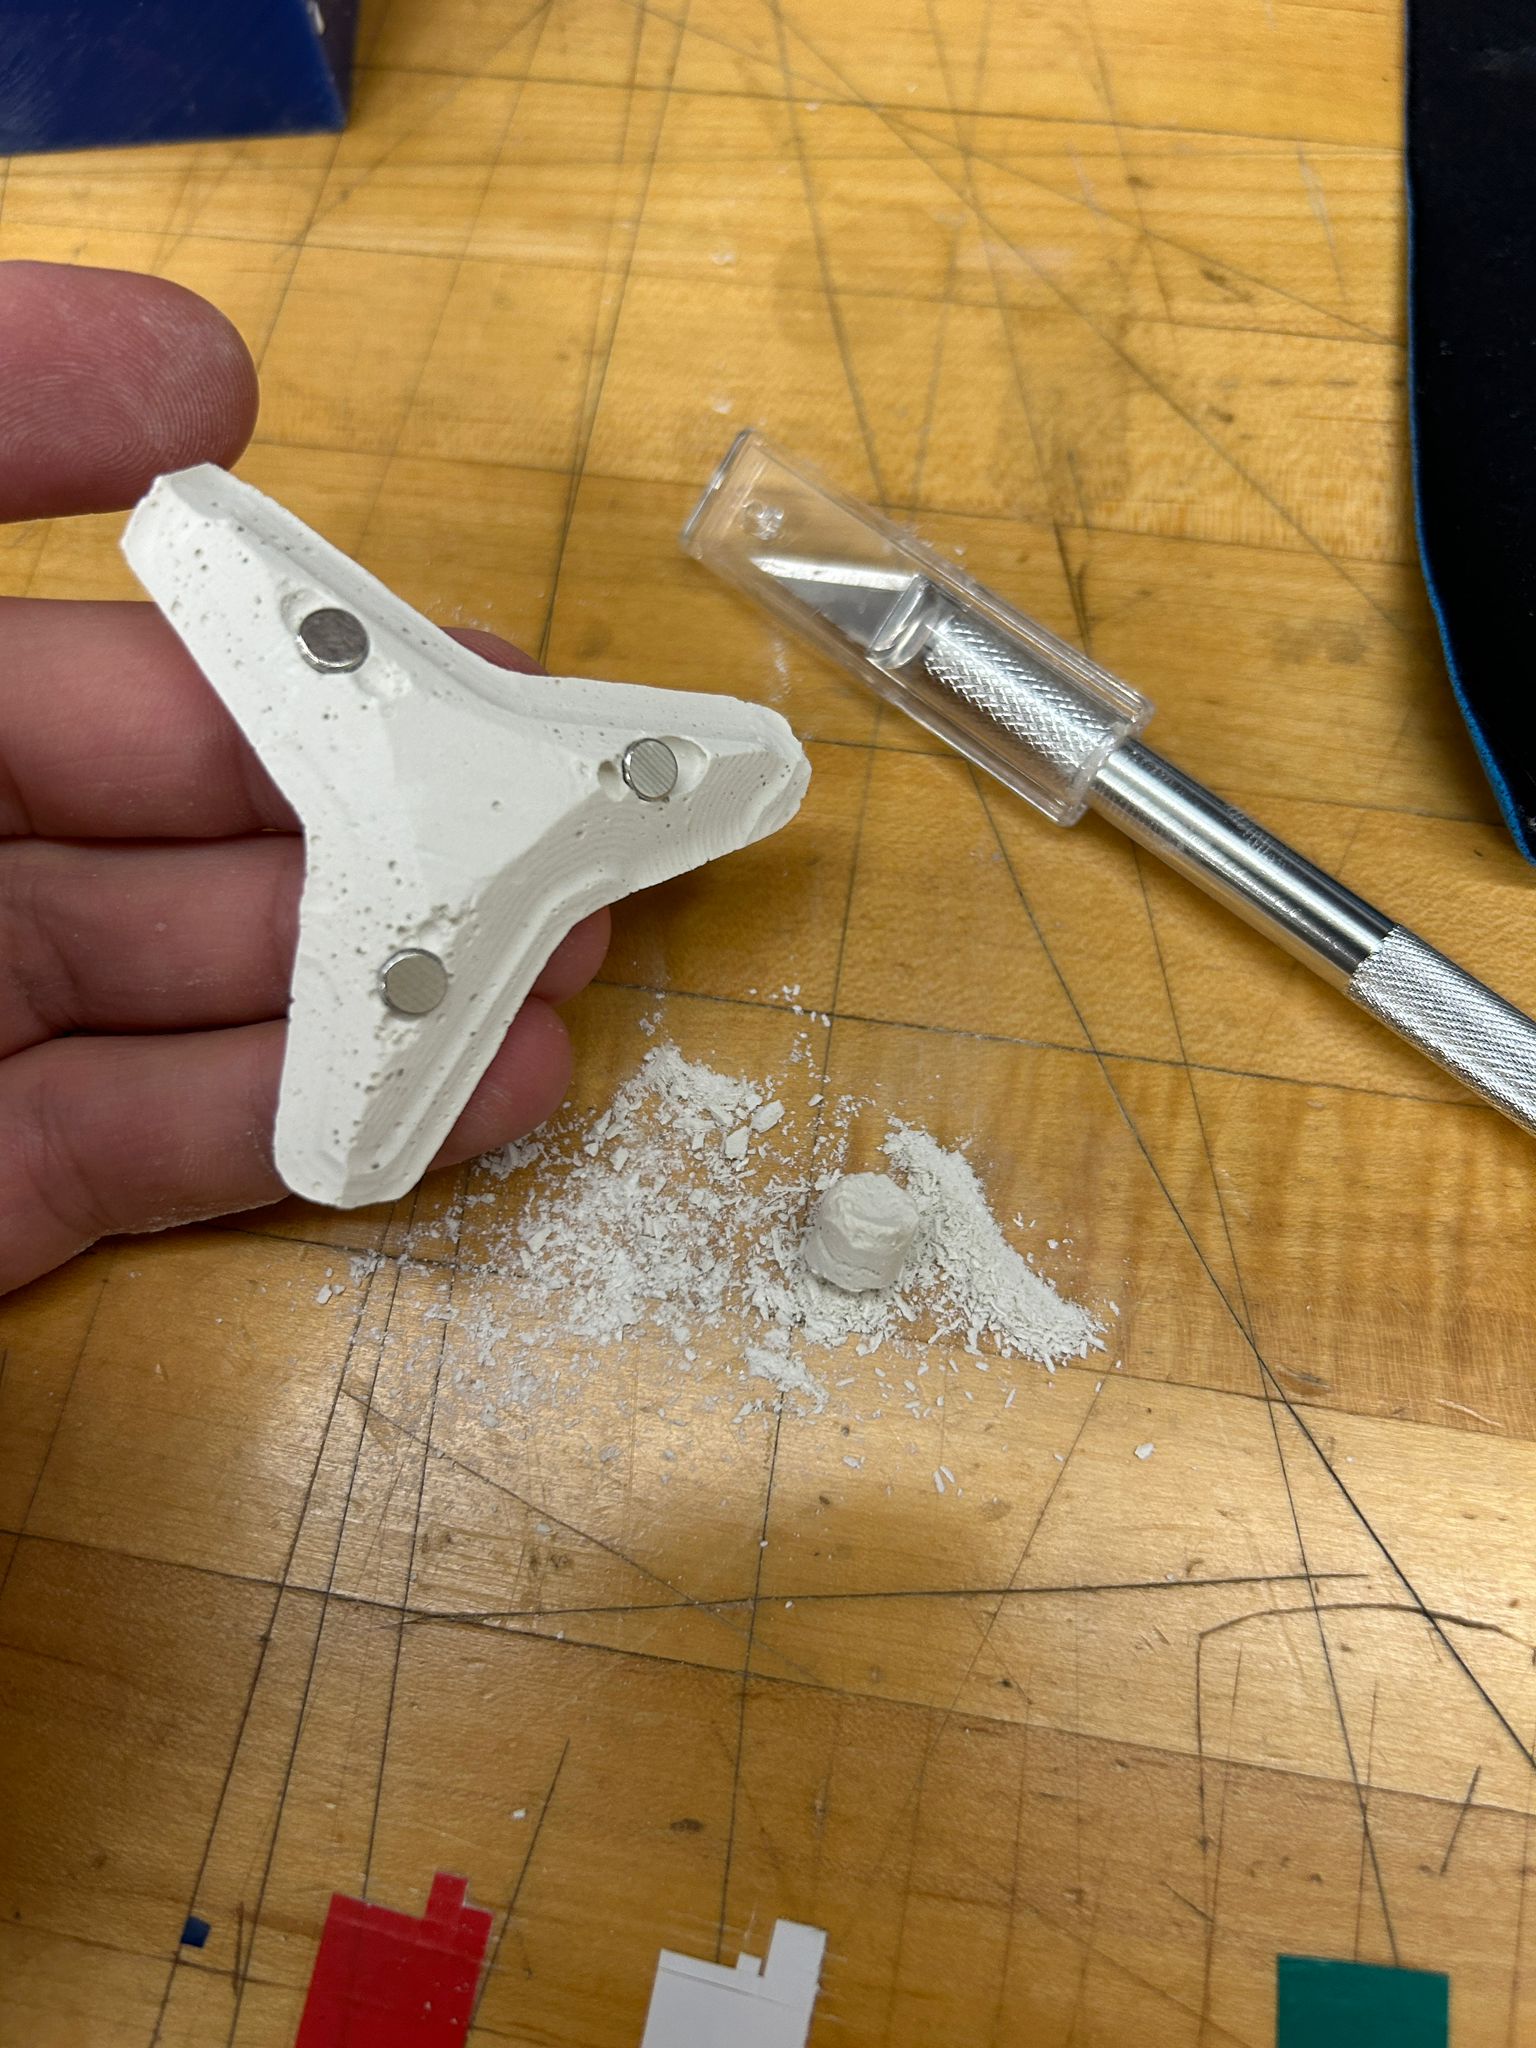
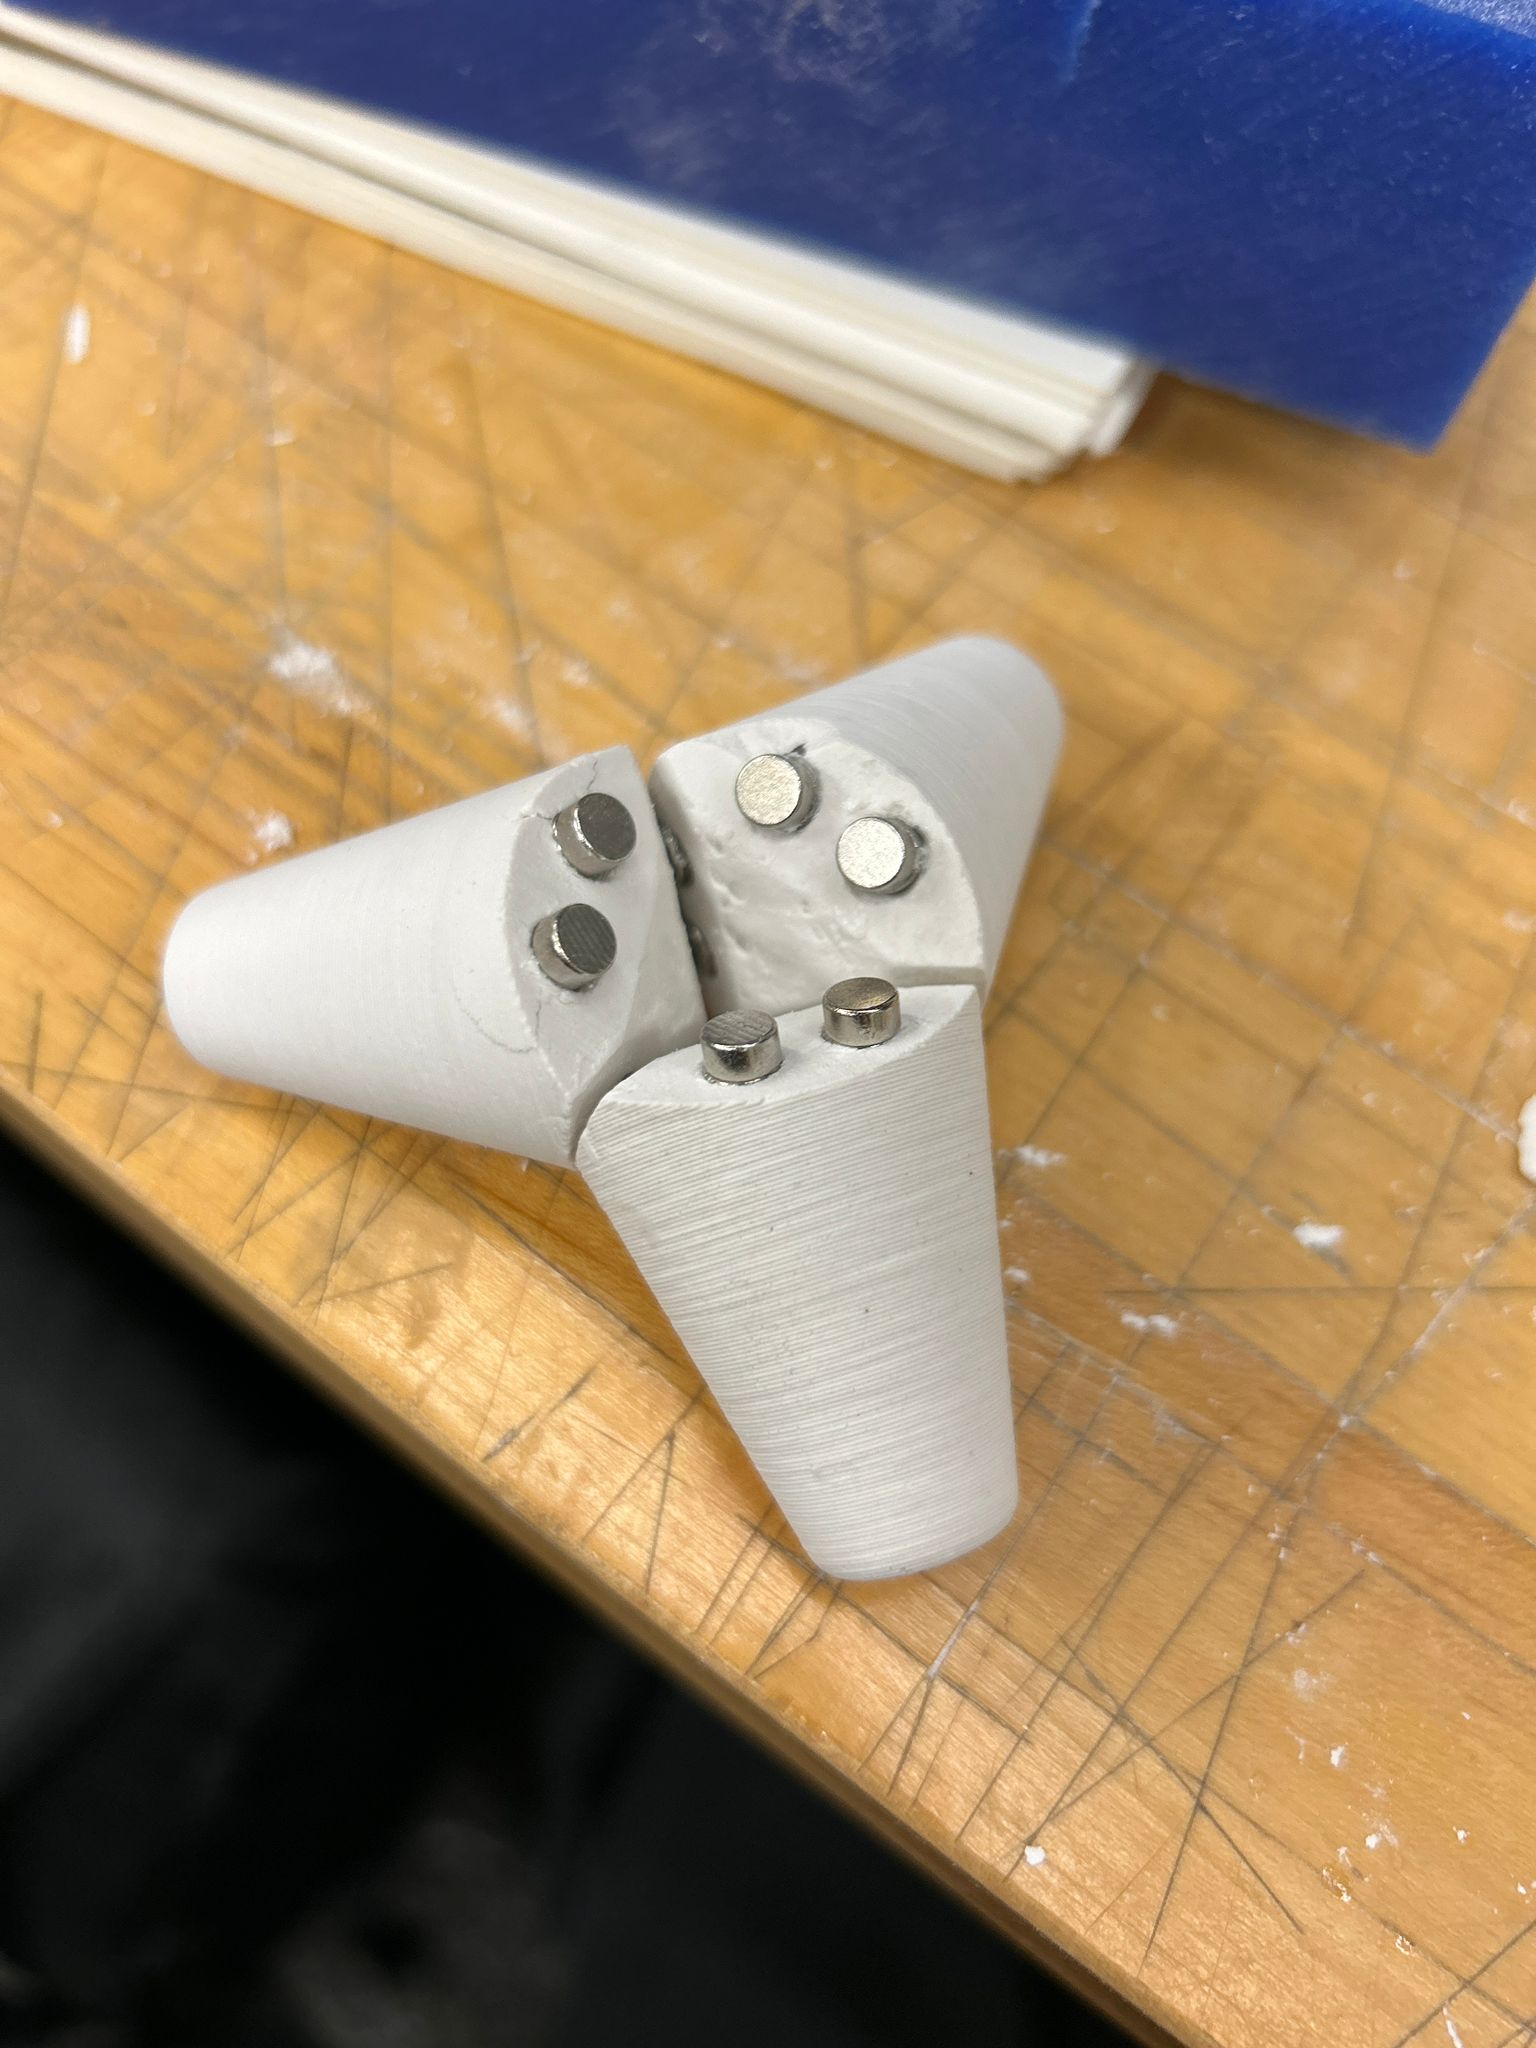
the back side was fairly clean as well. I was able to cut the pillar from the pour hole off with an exacto blade, but have noticed that, regardless of all my shaking and hammering on the mold, to release the air bubbles in the drystone, some still remained in the parts near the cavities that i designed to hold a button magnet after, holding the 4 individual pieces together.
i knew that something must have gone wrong with the tool path, since there were a lot of marks on the mold, and the drystone result was not all that good, but it came together ok, i would want to try it another time.
i wanted to test out some other forms of casting, so i went to Blick Art Materials by central square and got some unprimed canvas
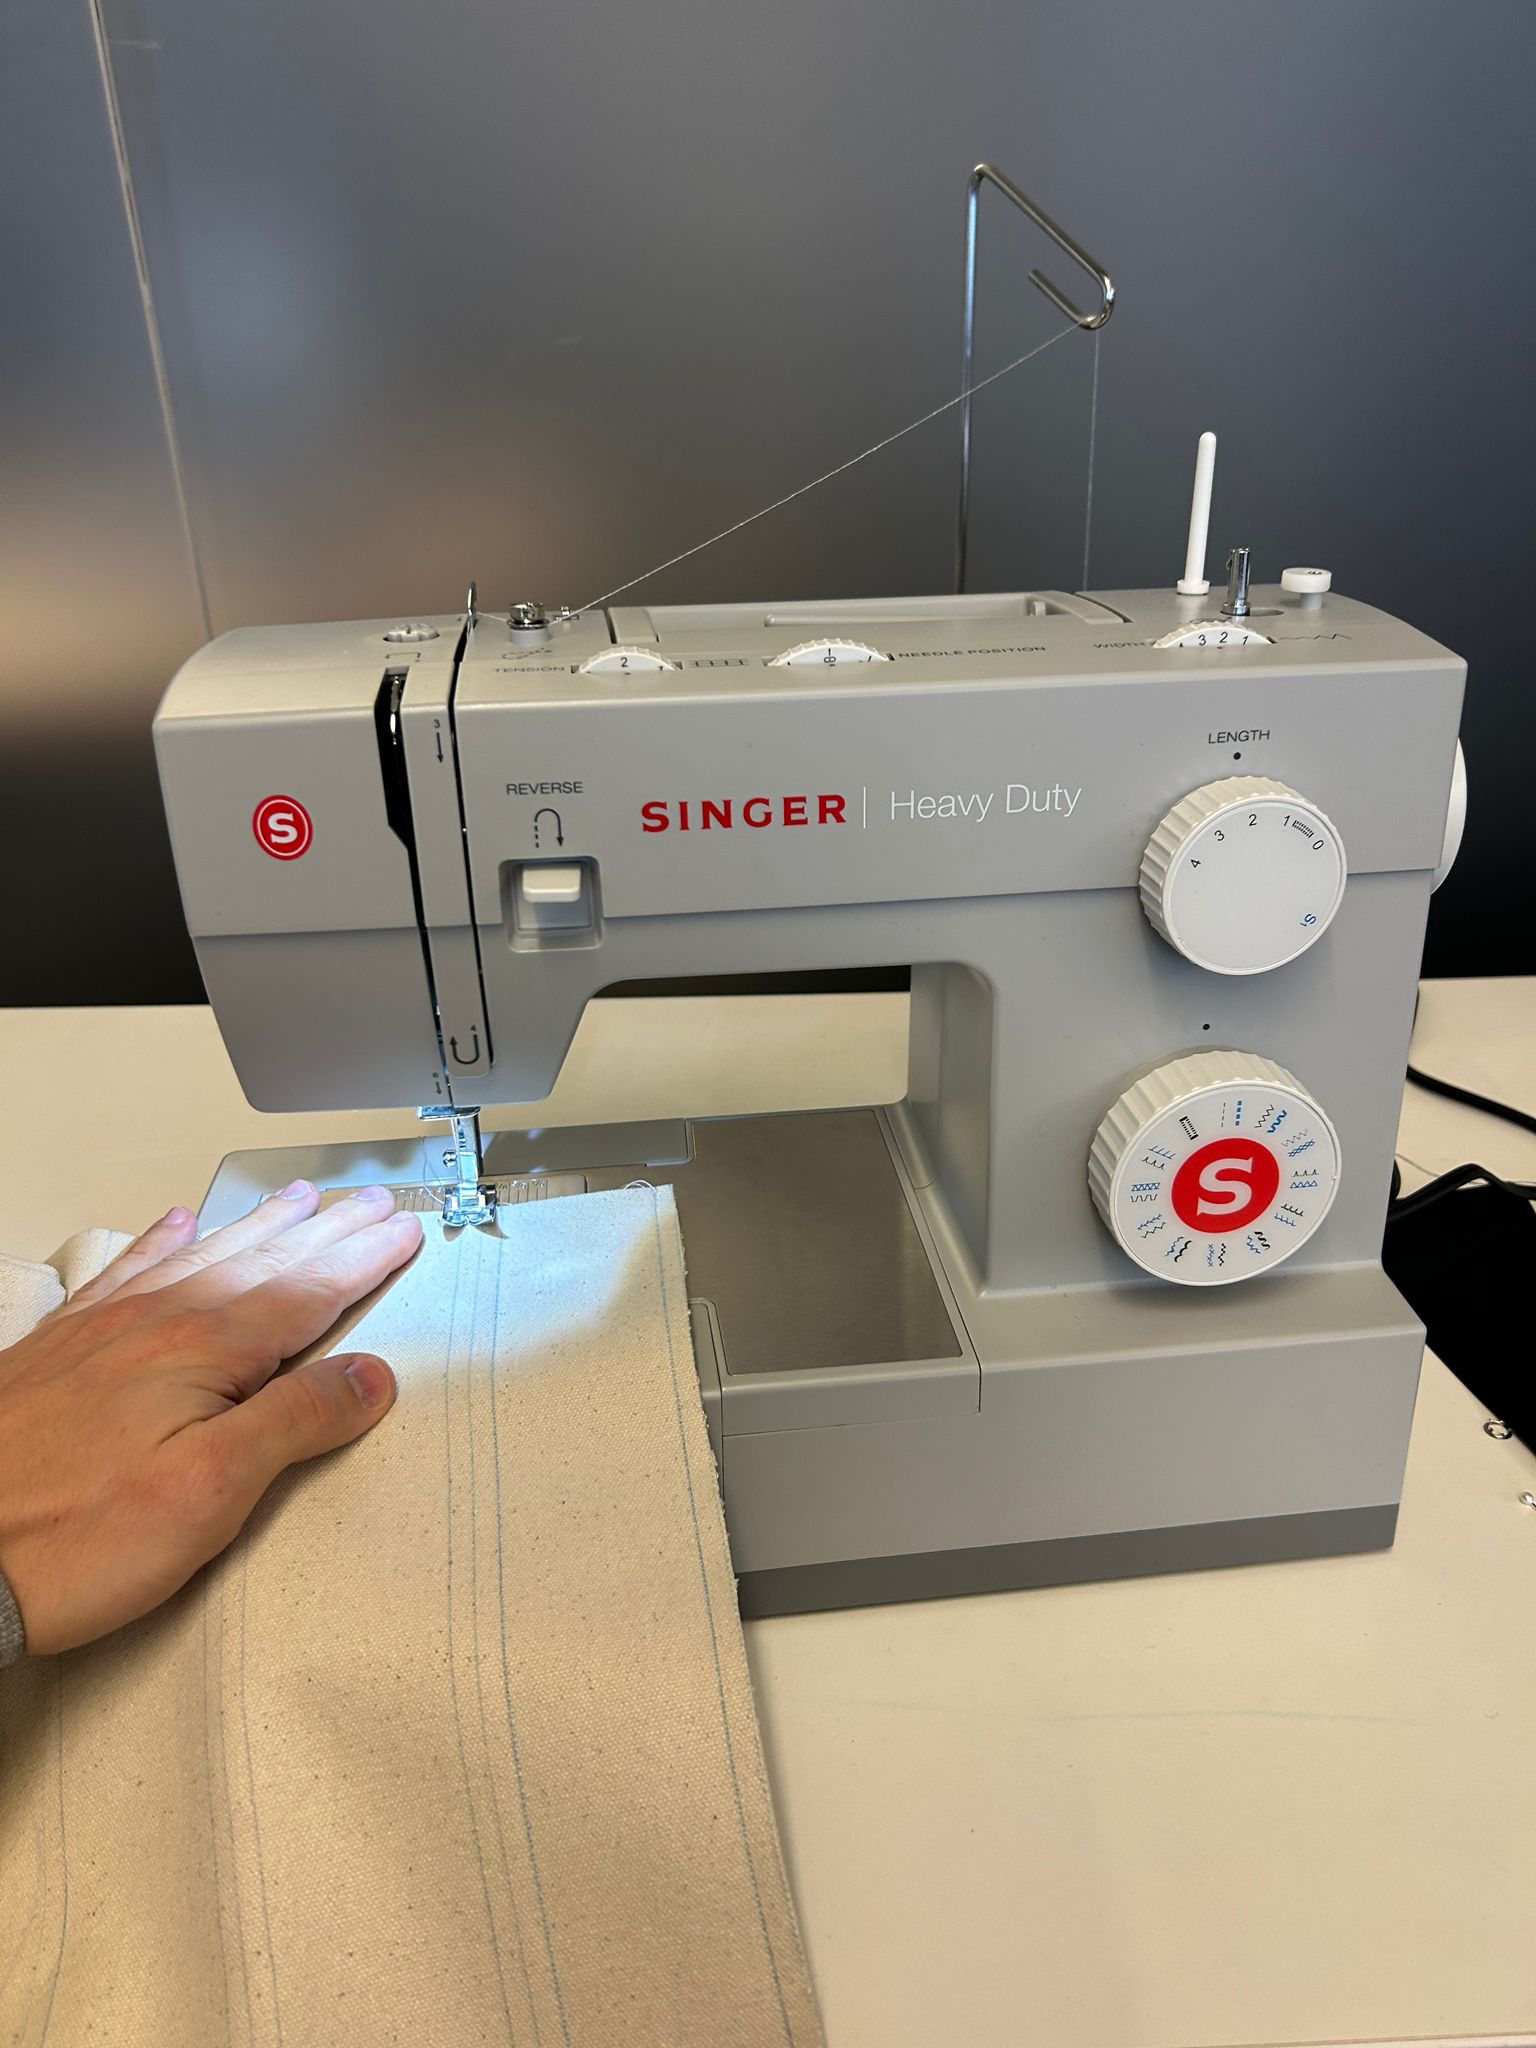
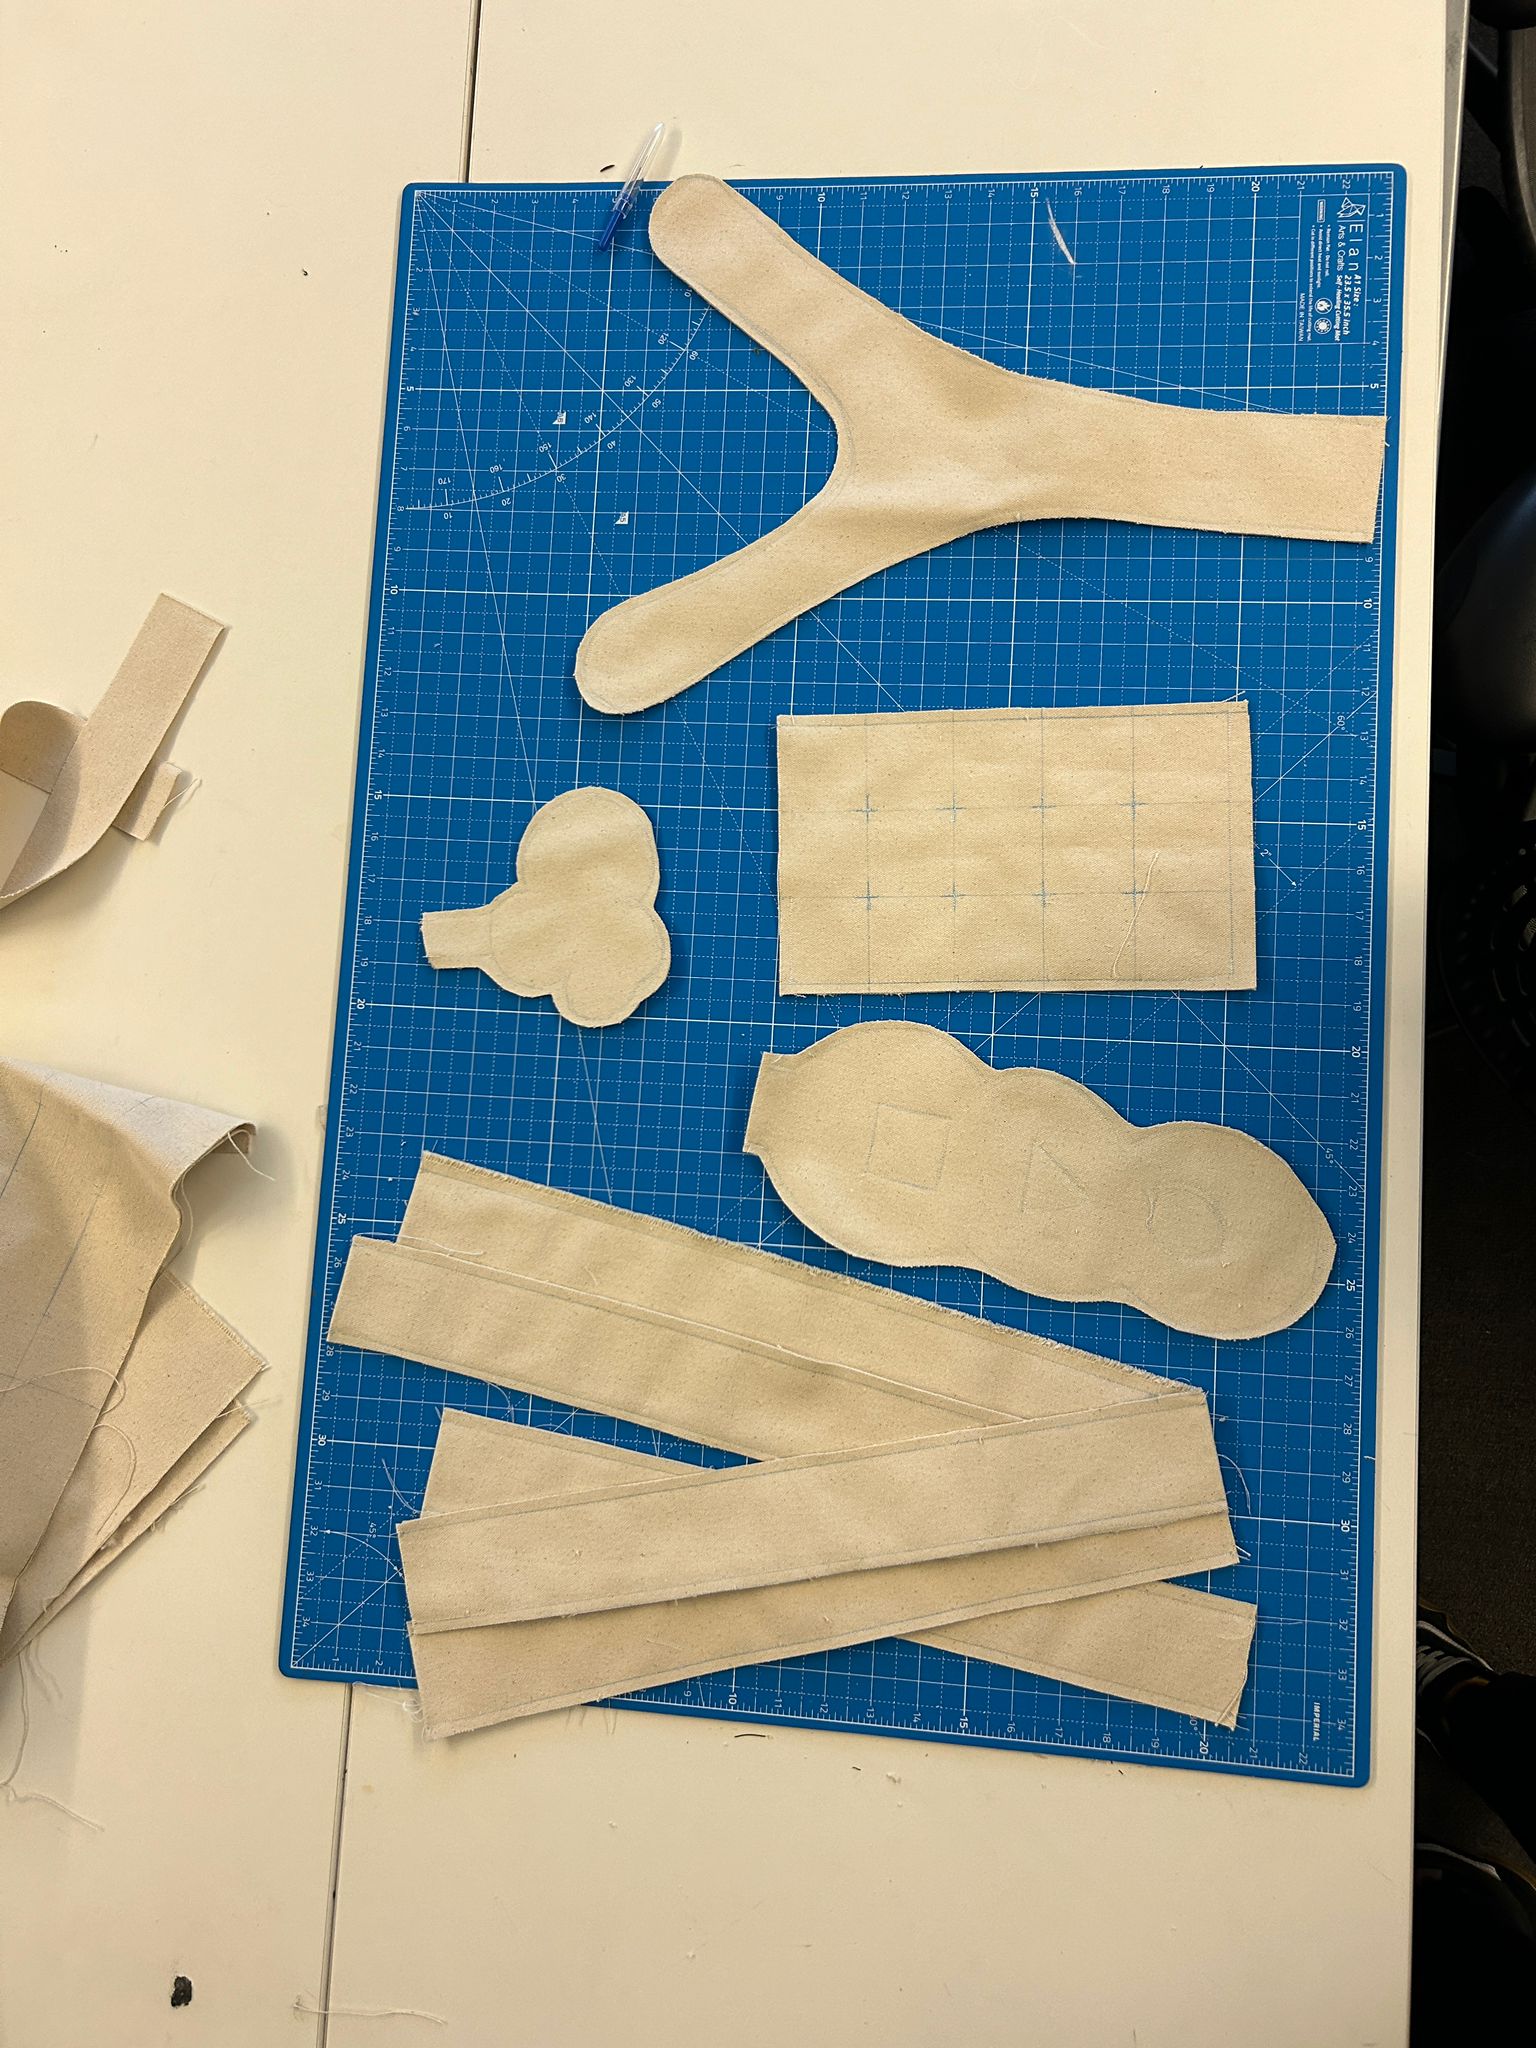
i had a couple of ideas of things i wanted to try, shapes, forms, assemblies made from textiles, so i went to sketch some ideas out, made some fast cut patterns and went sewing them together.
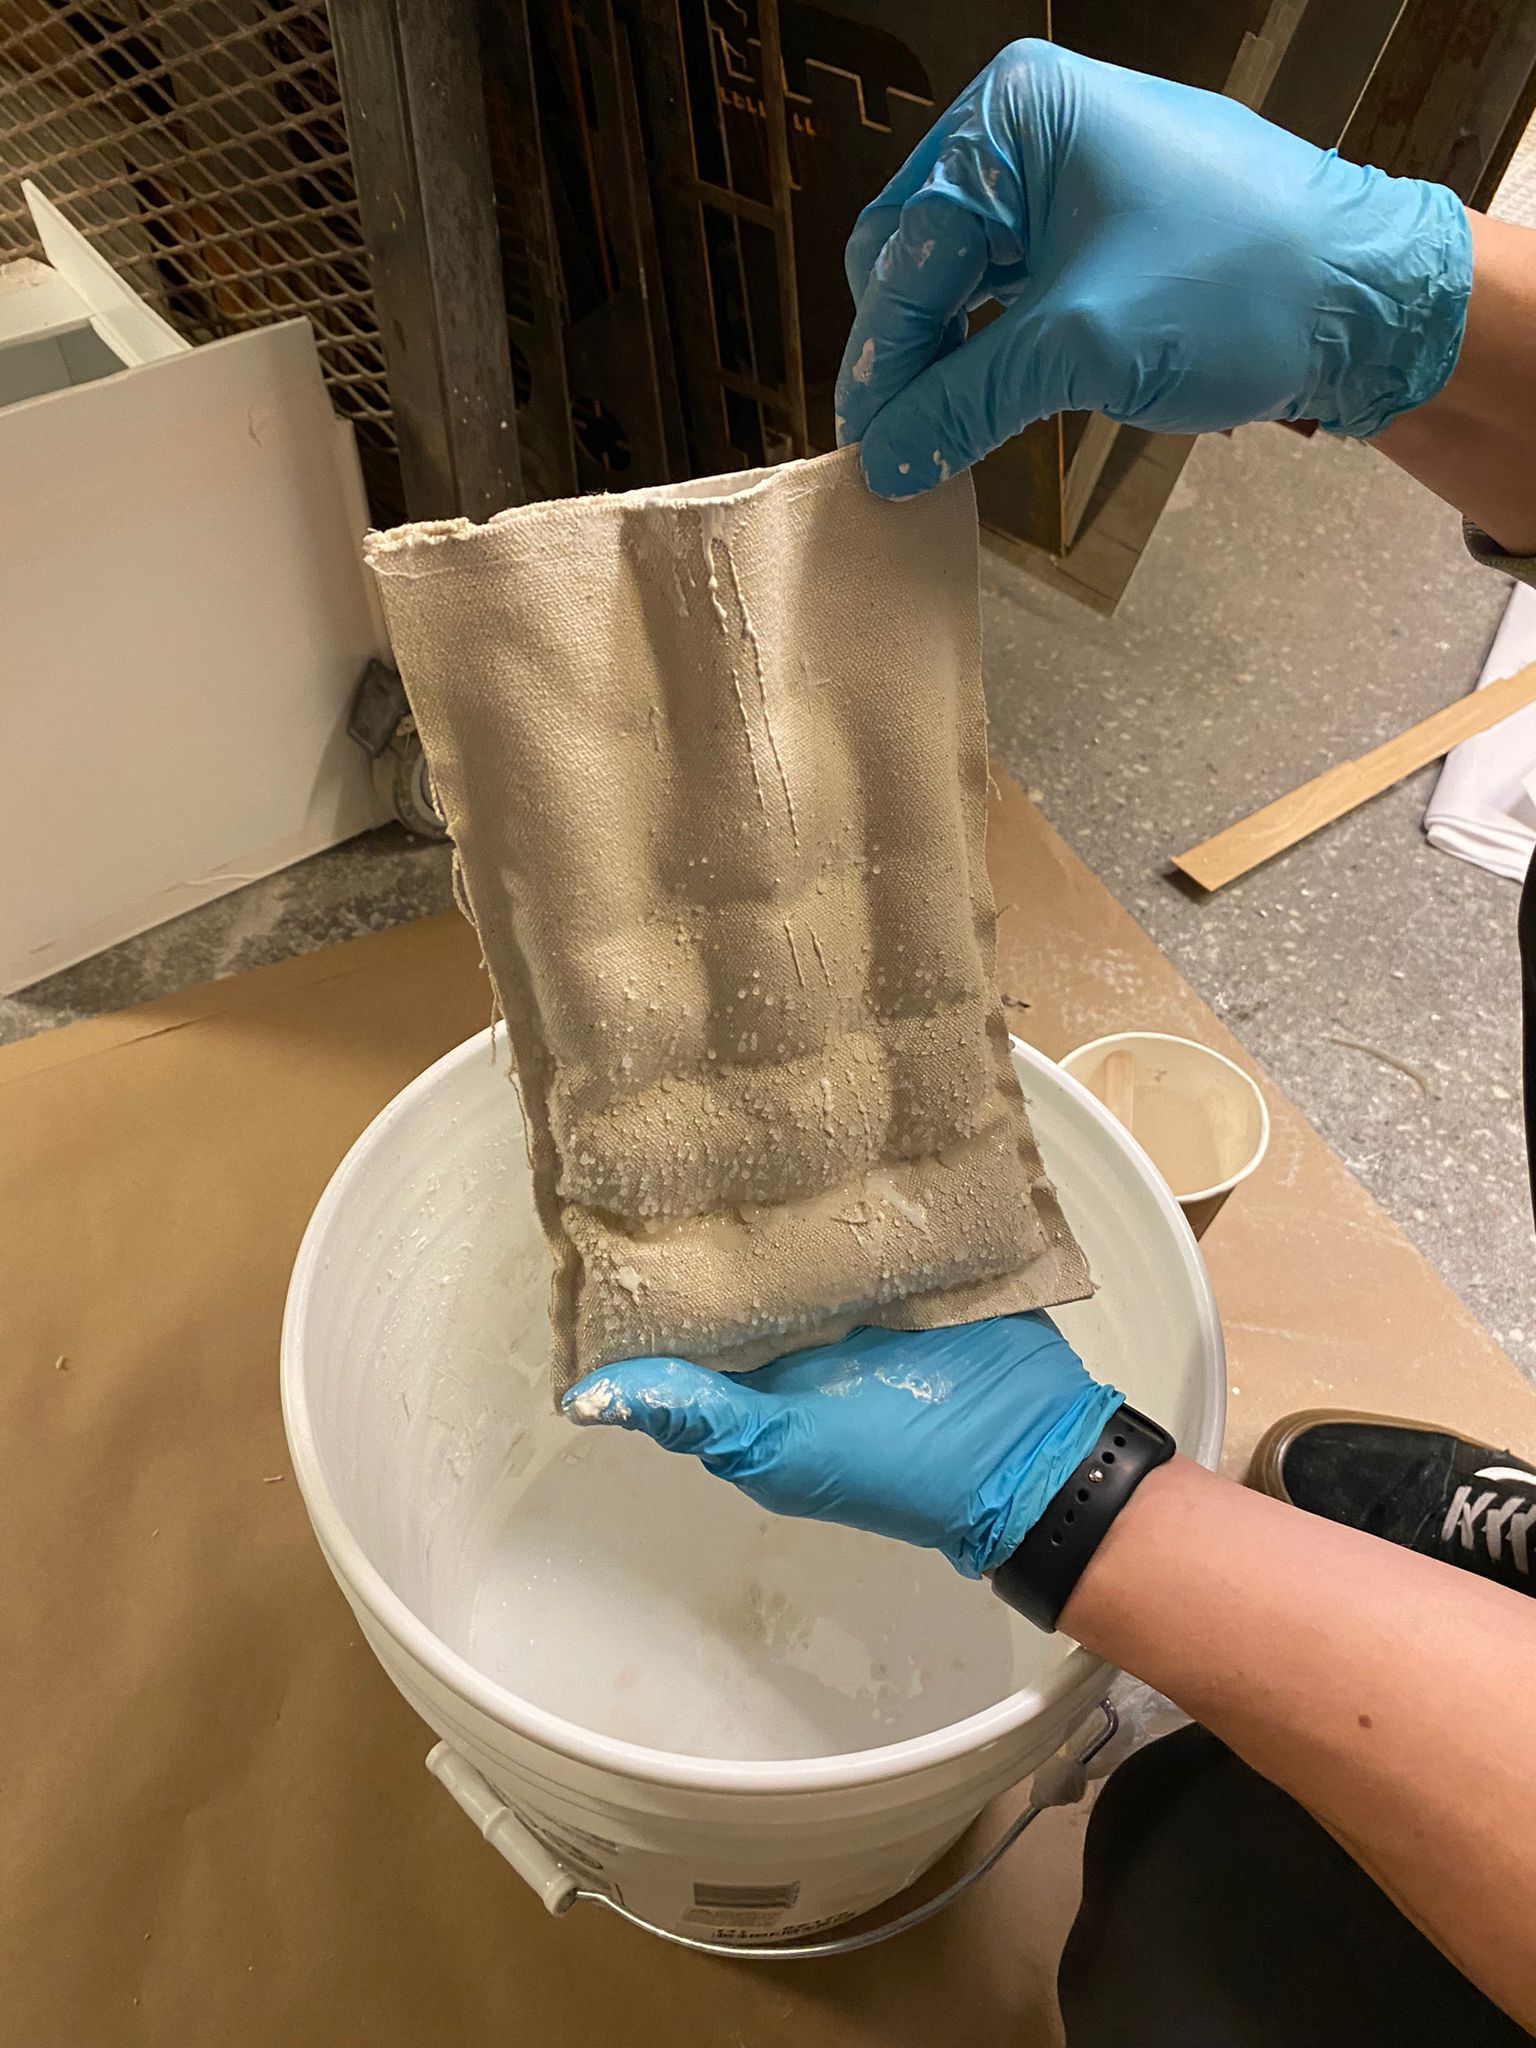
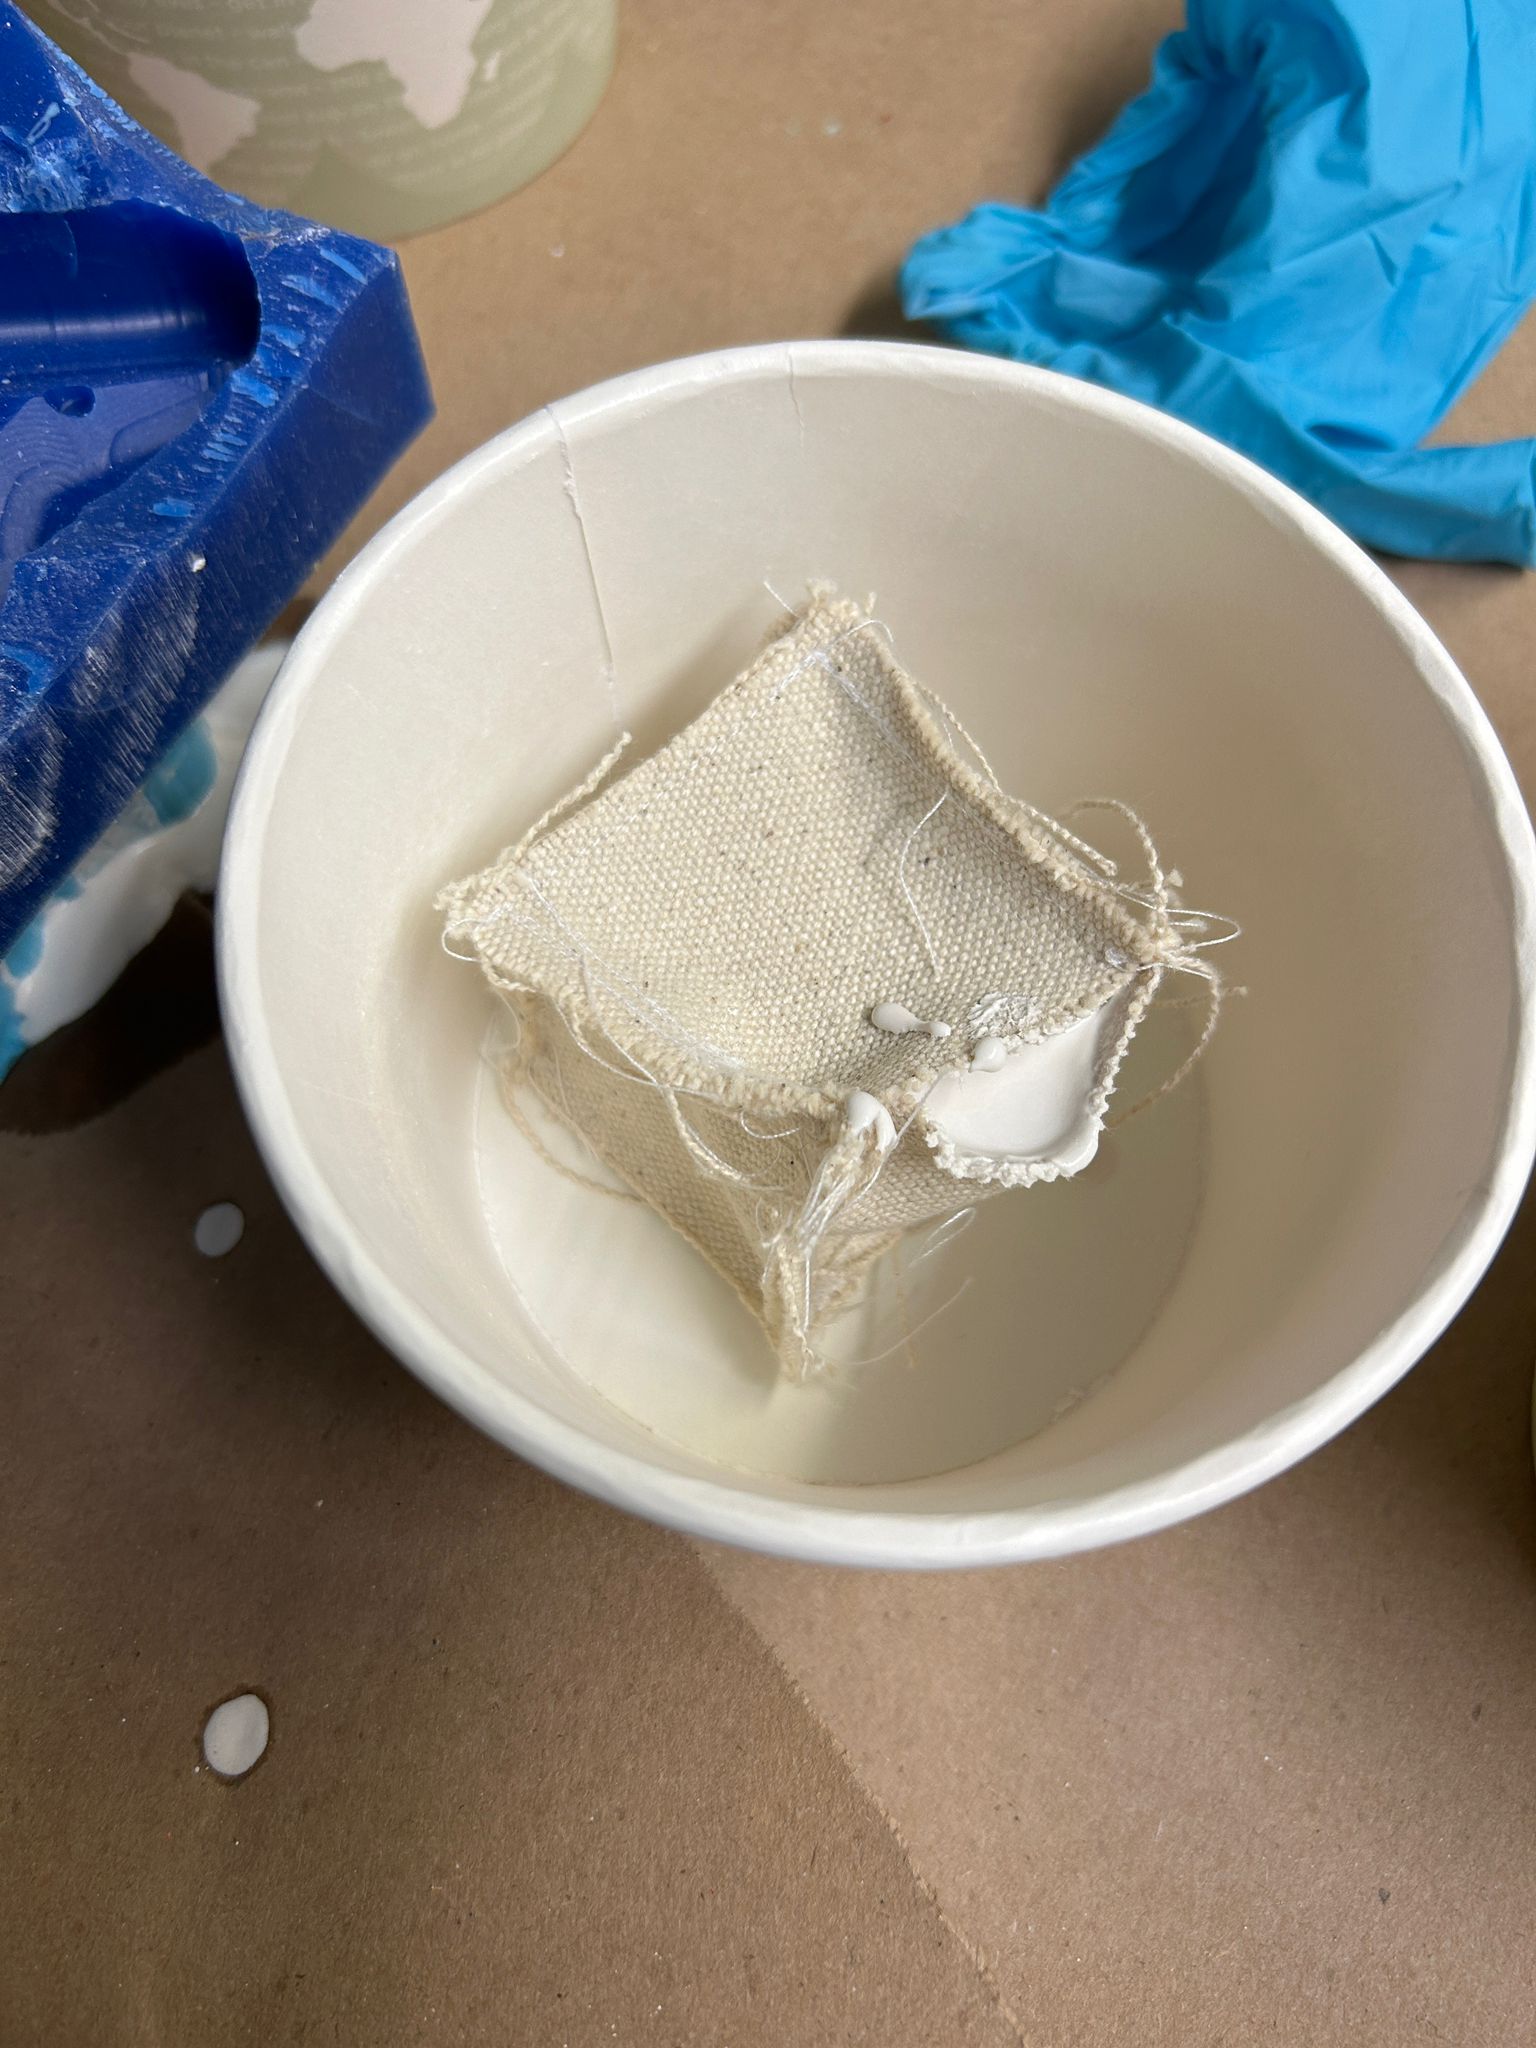
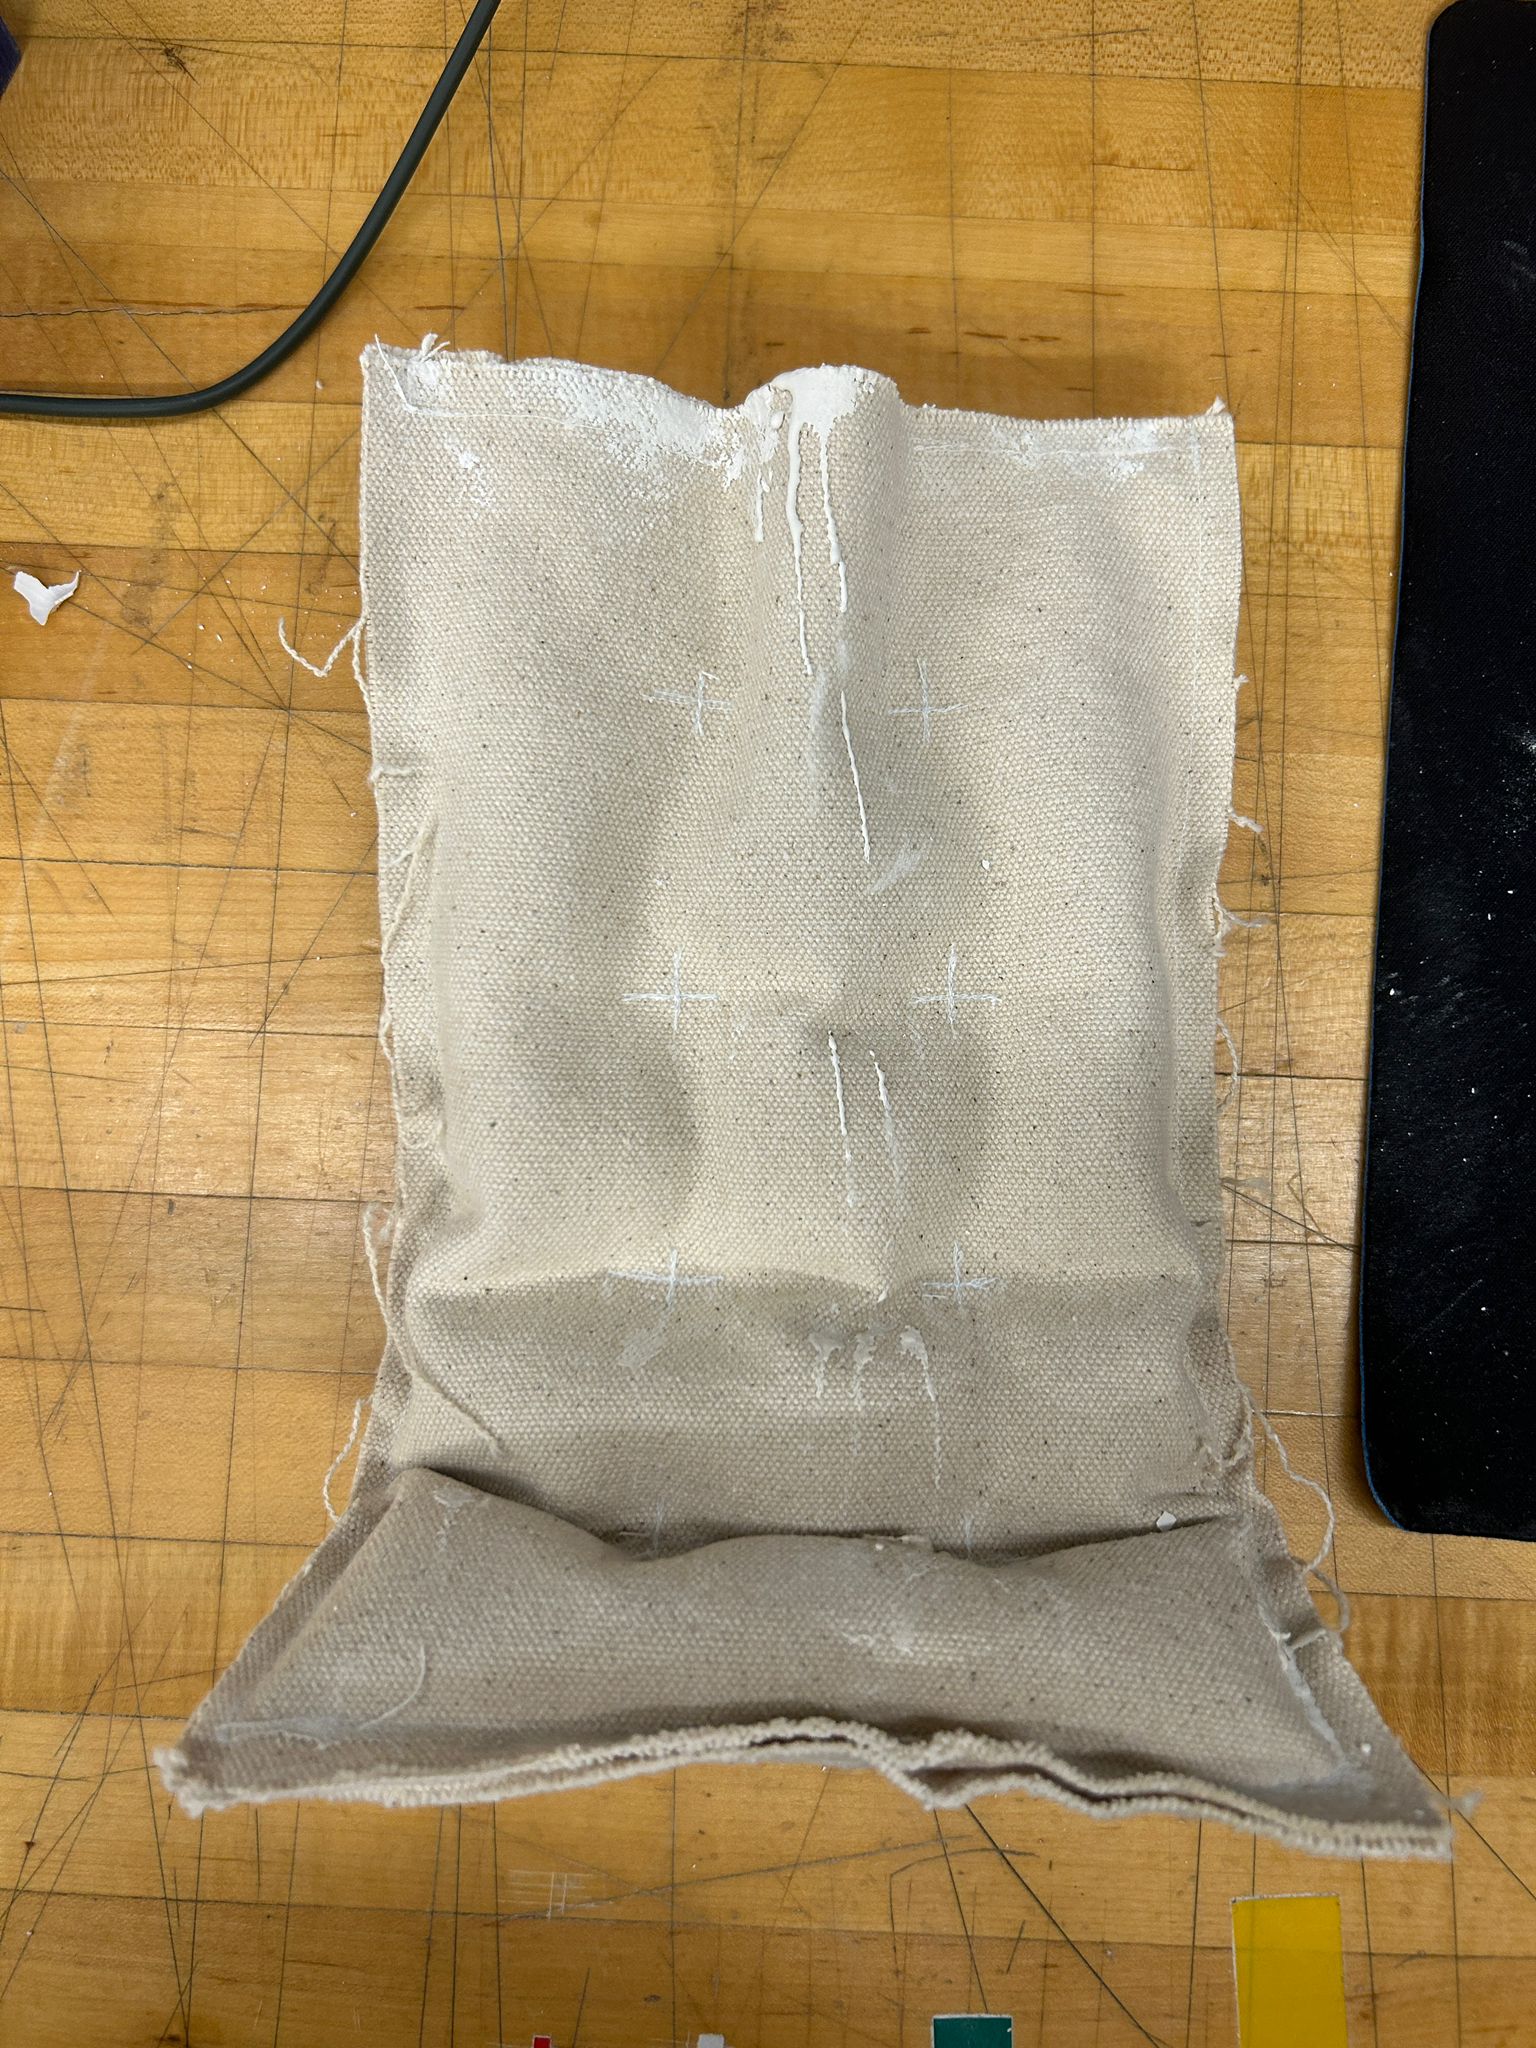
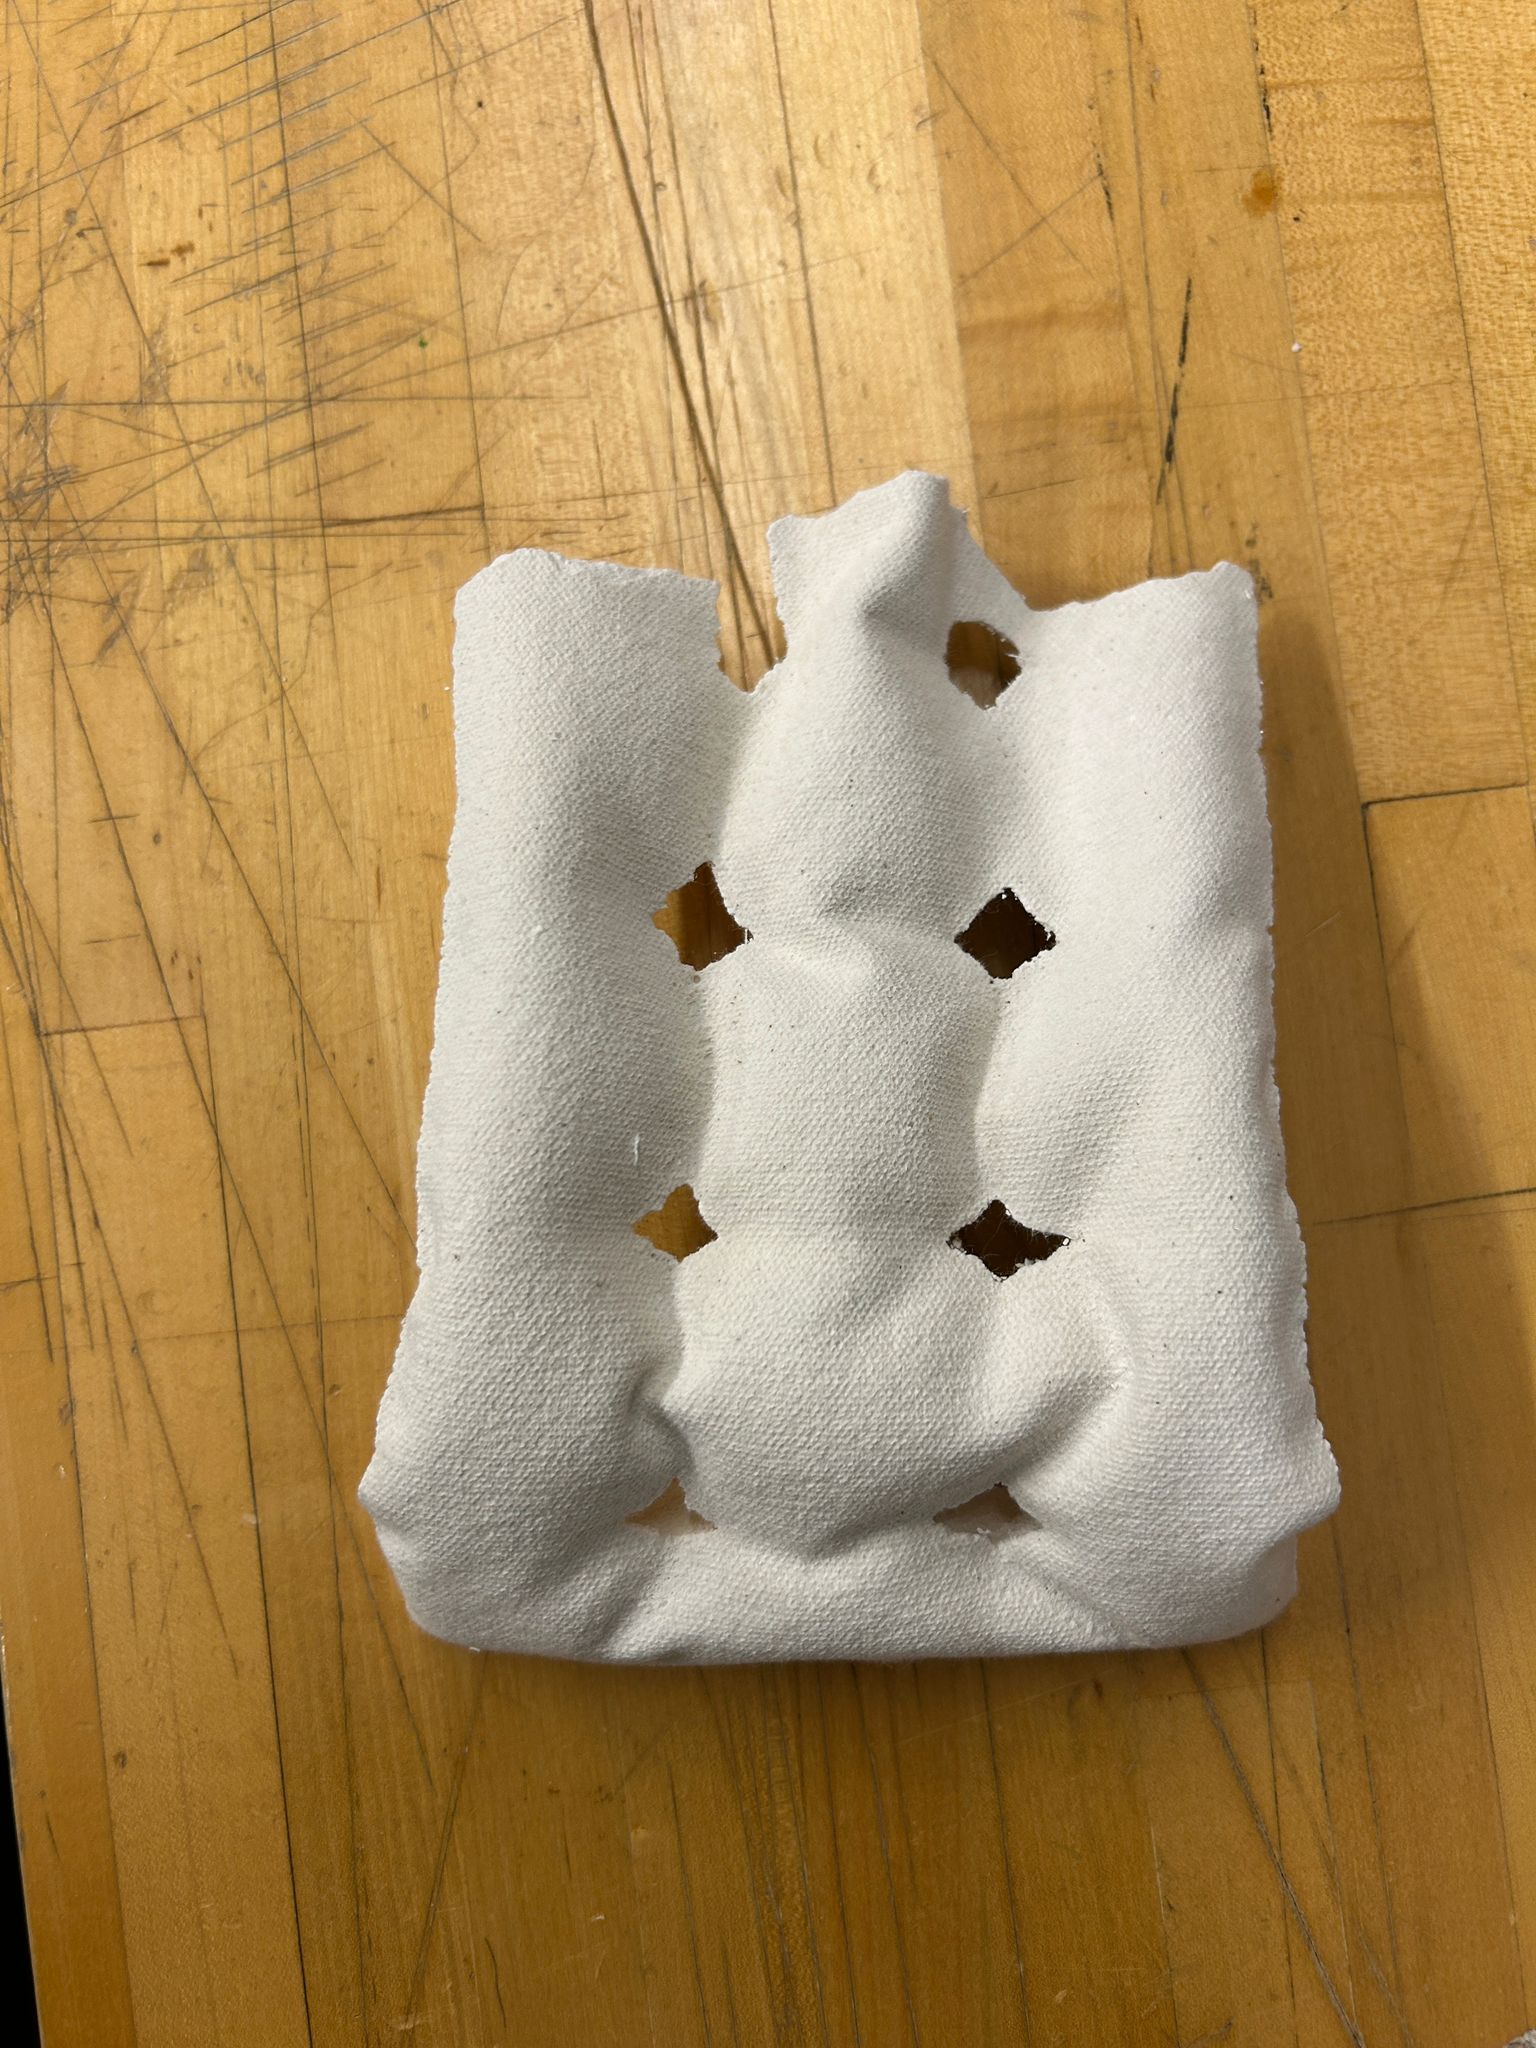
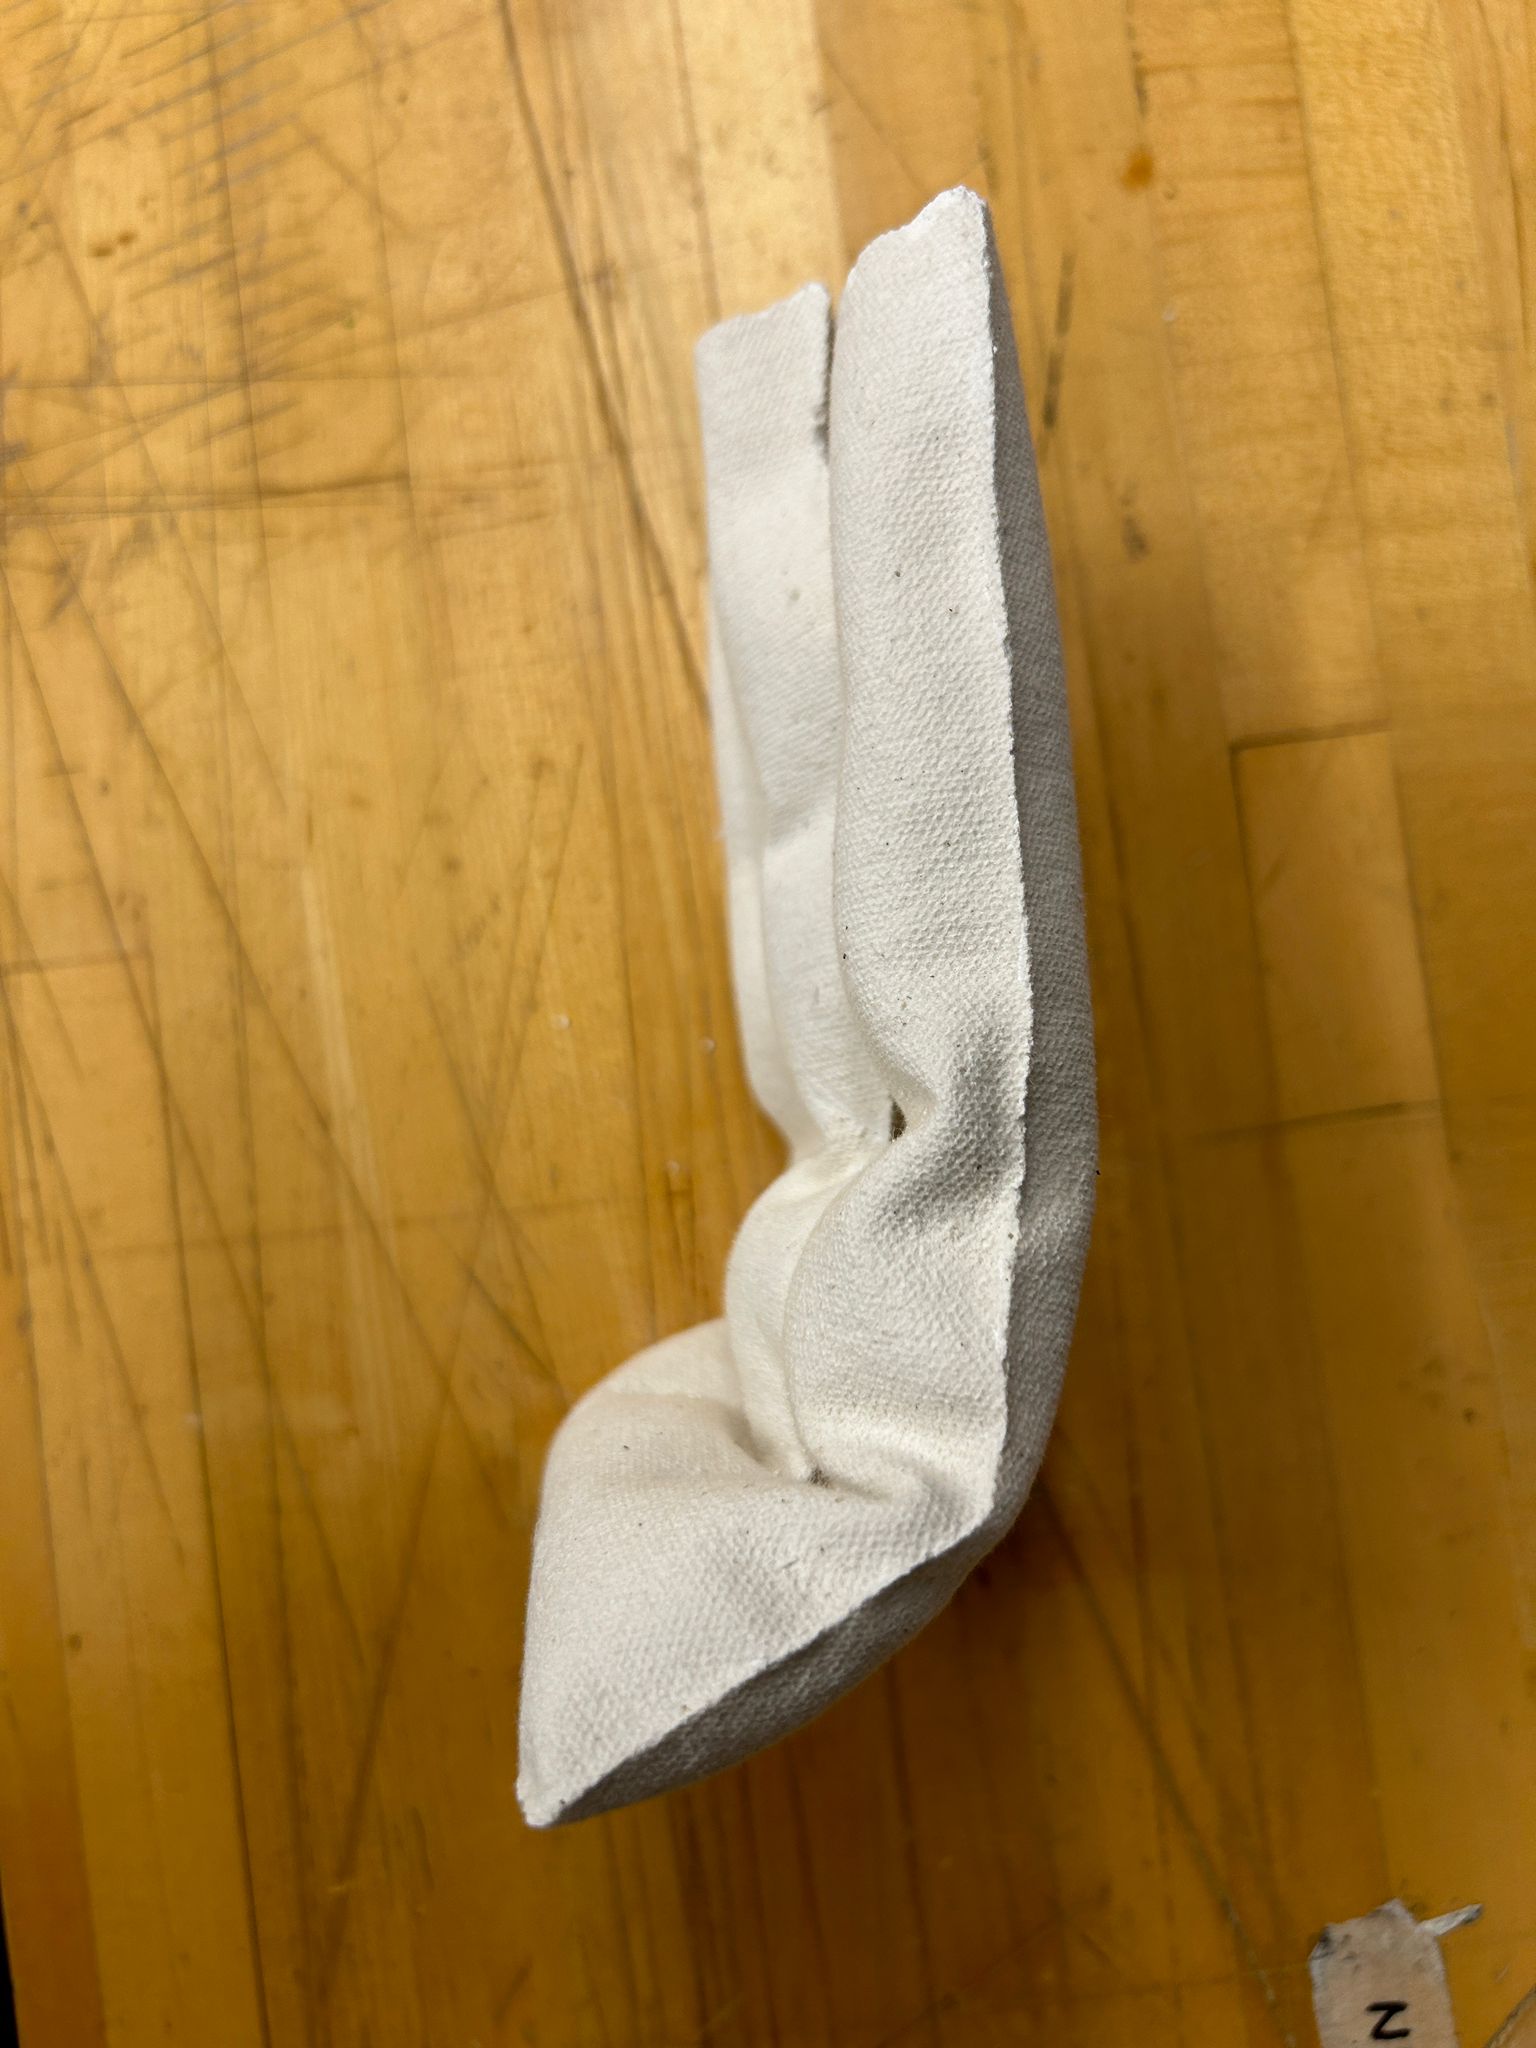
one of my favorite things to cast was the pillow. i made a grid pattern of small cross tracks that i was sewing into this canvas bag, and was amazed how the weight of the drystone i cast into it deforms the canvas differently at the bottom vs. the top. the canvas held water tight, but some water pearls came through the fabric.
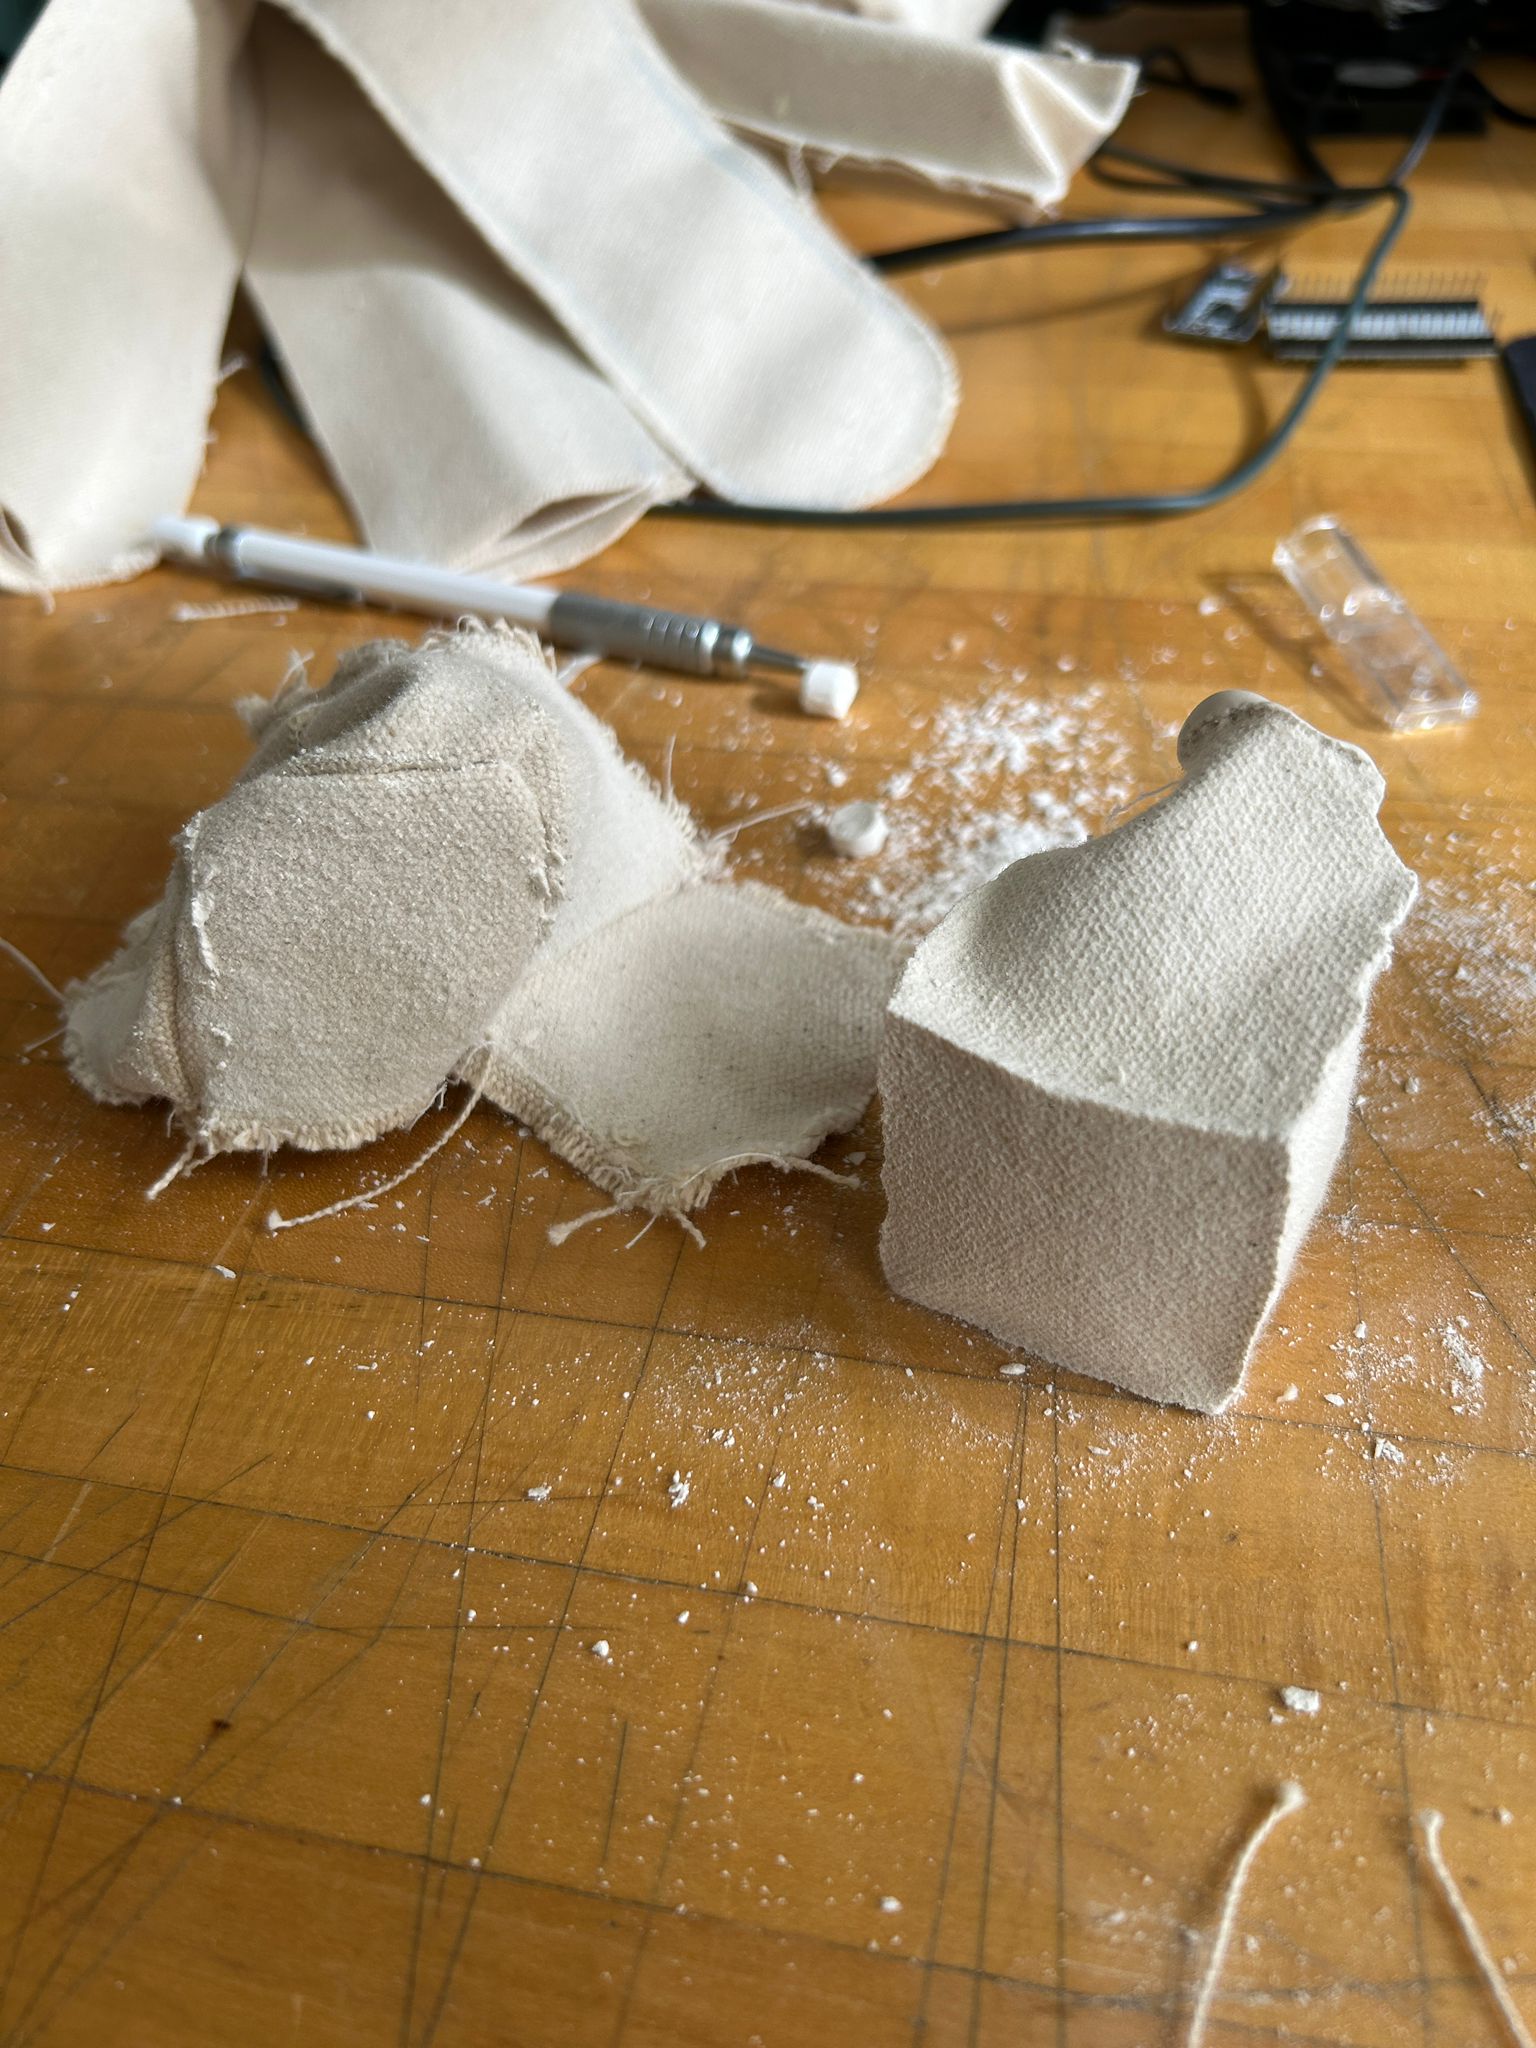
i also tried to make a cube with fabric
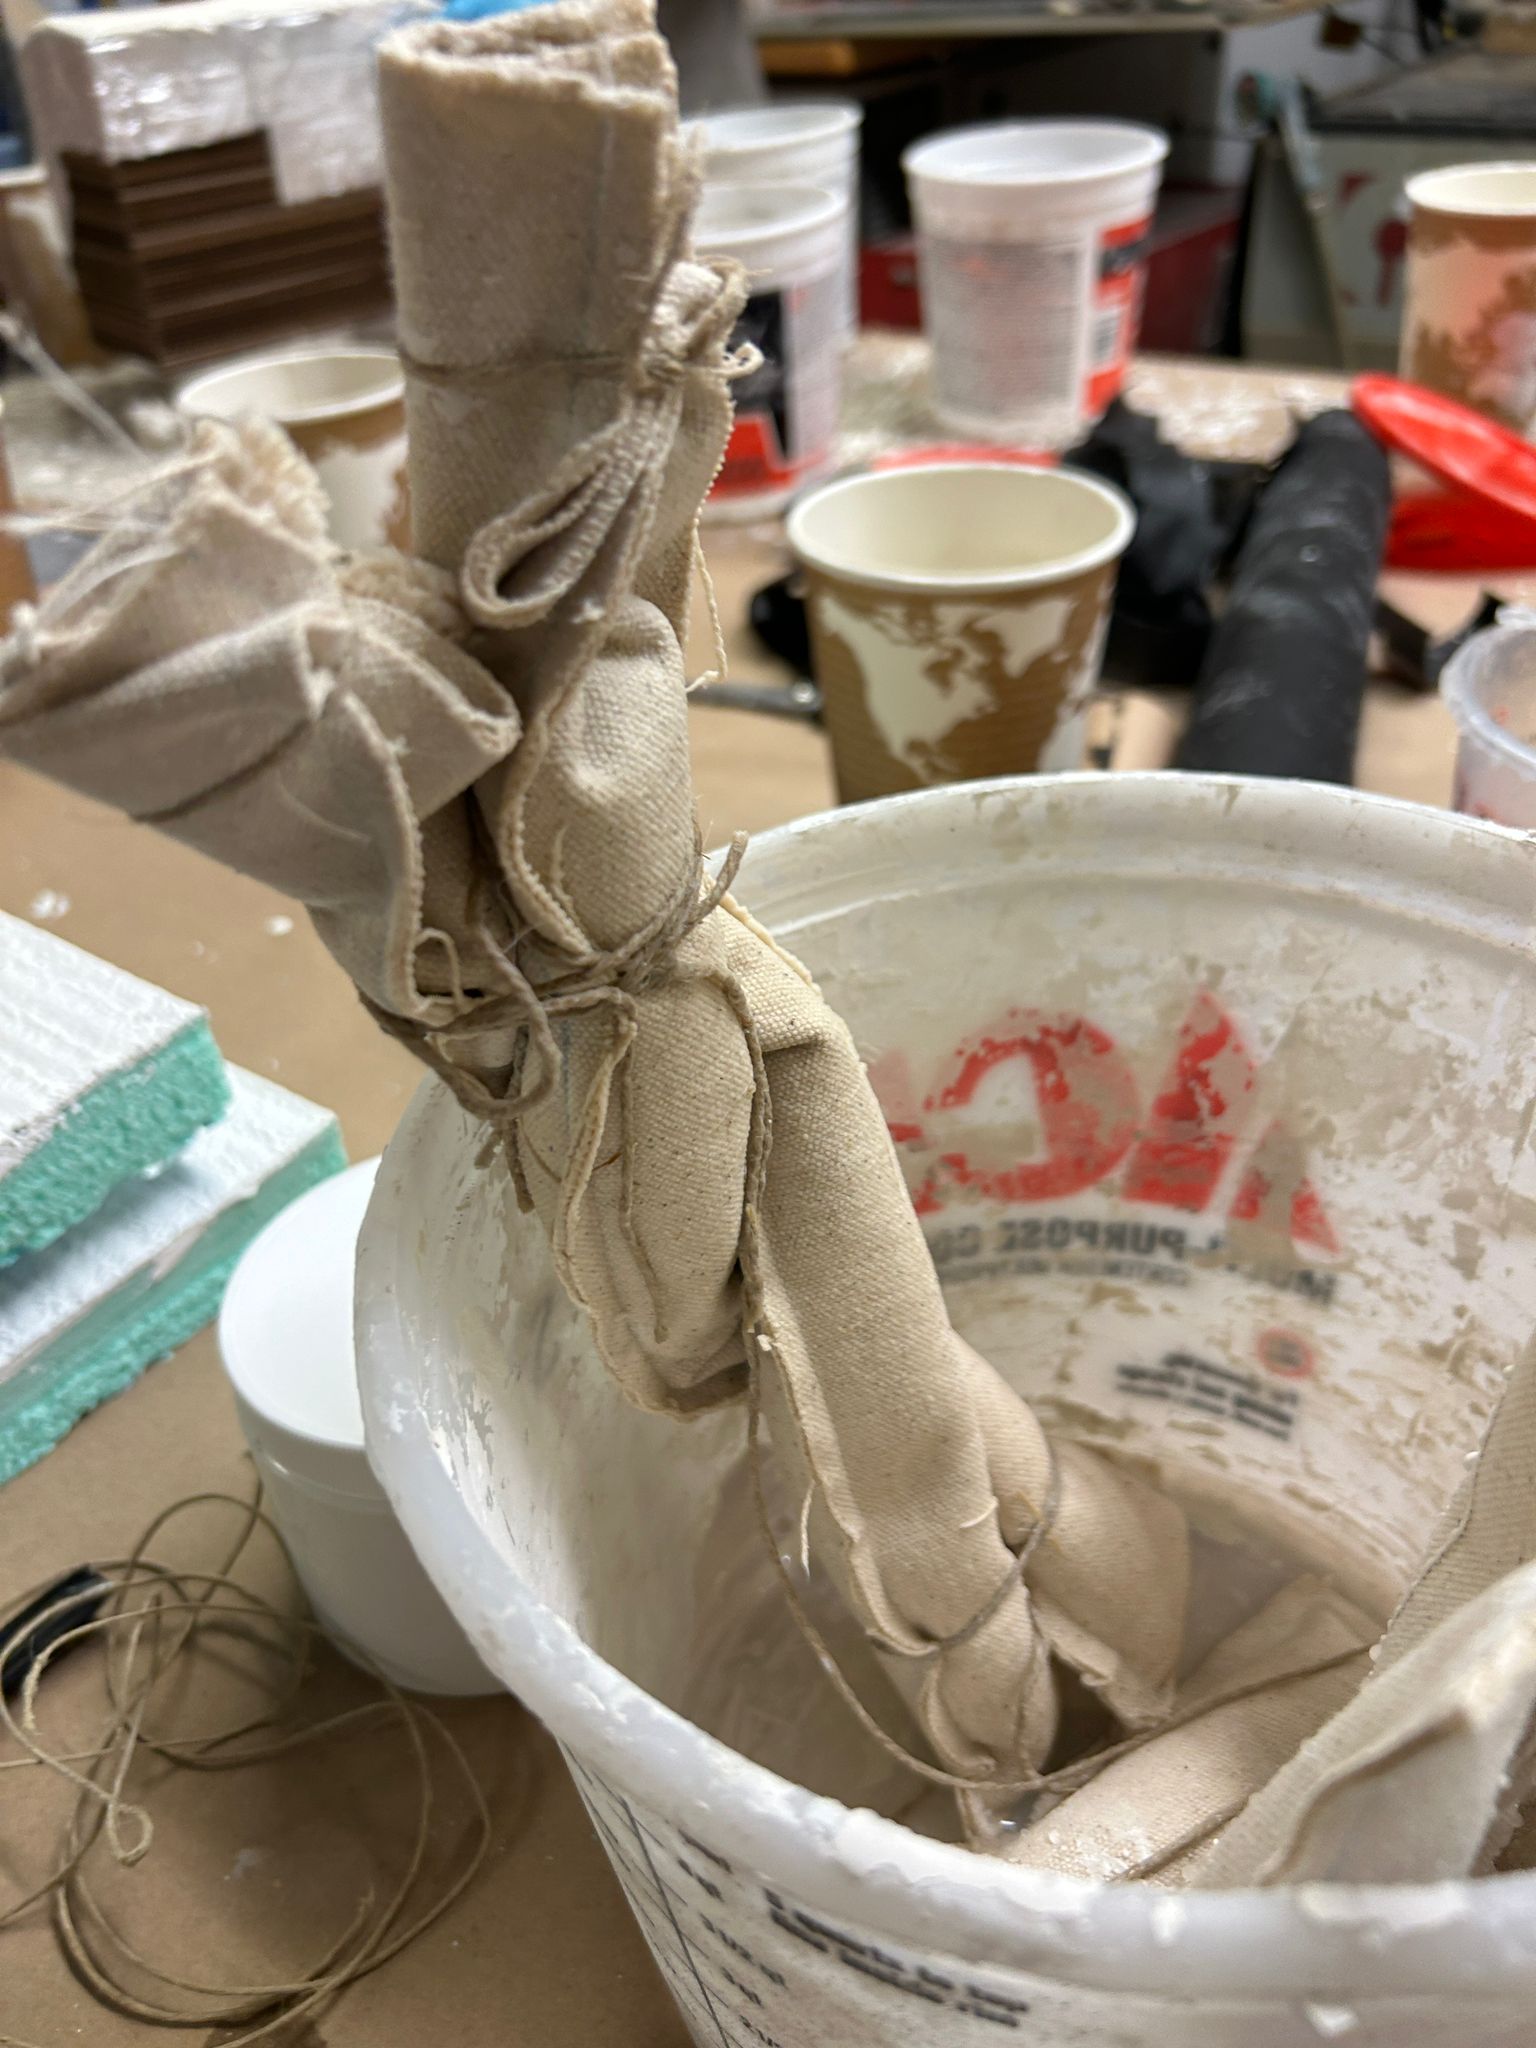
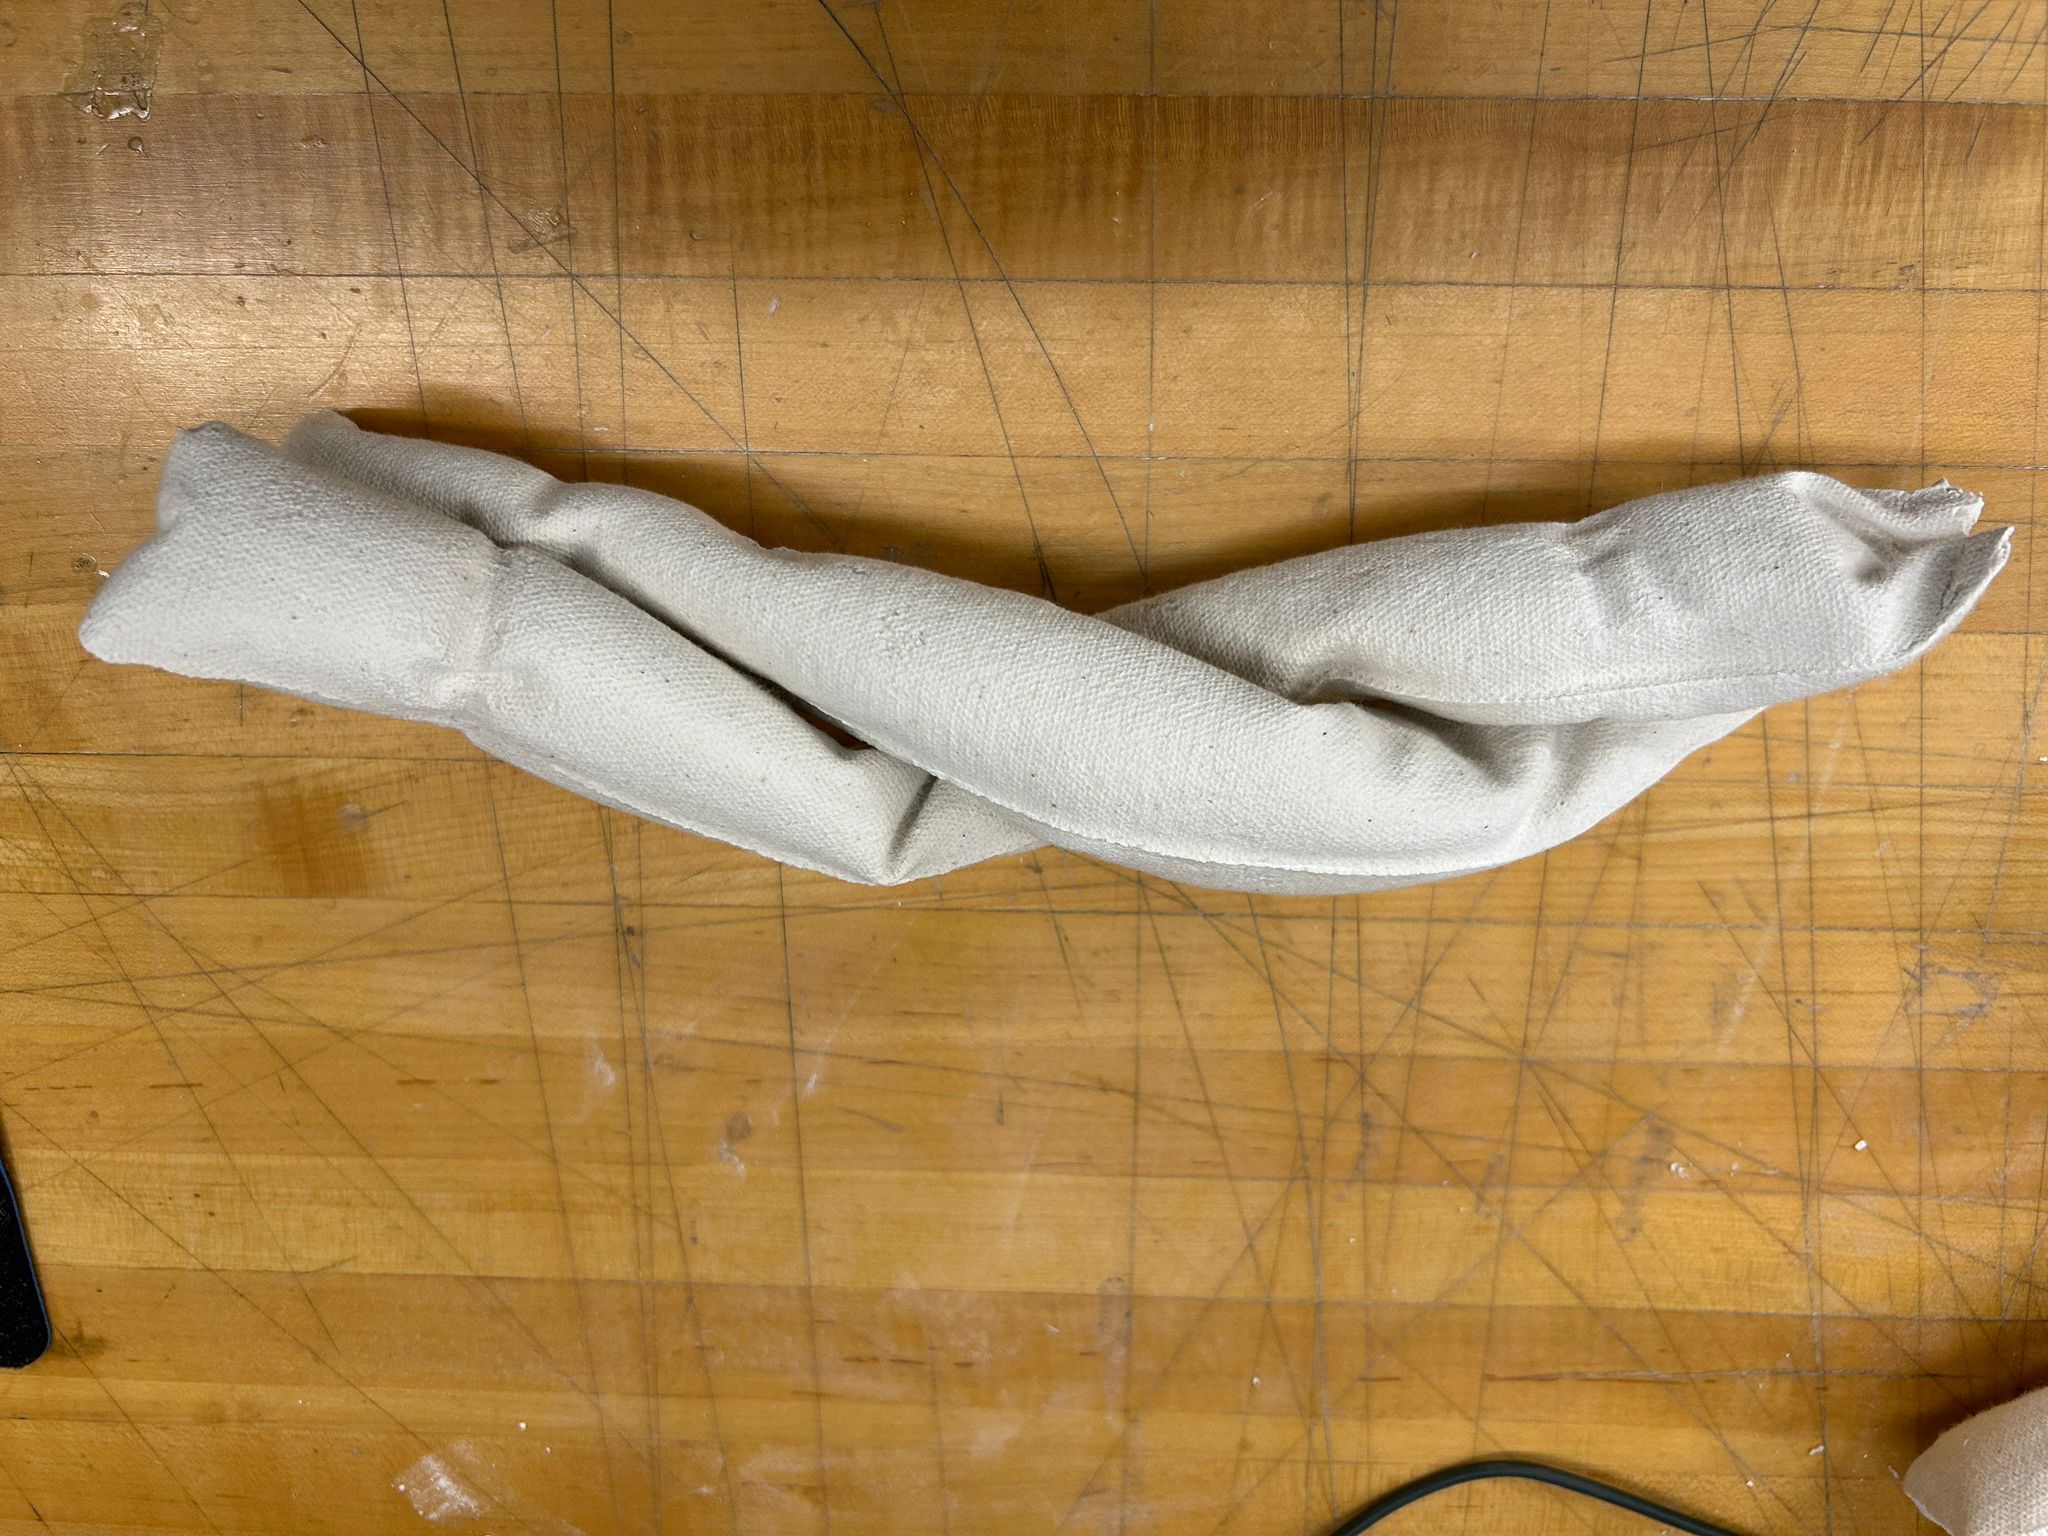
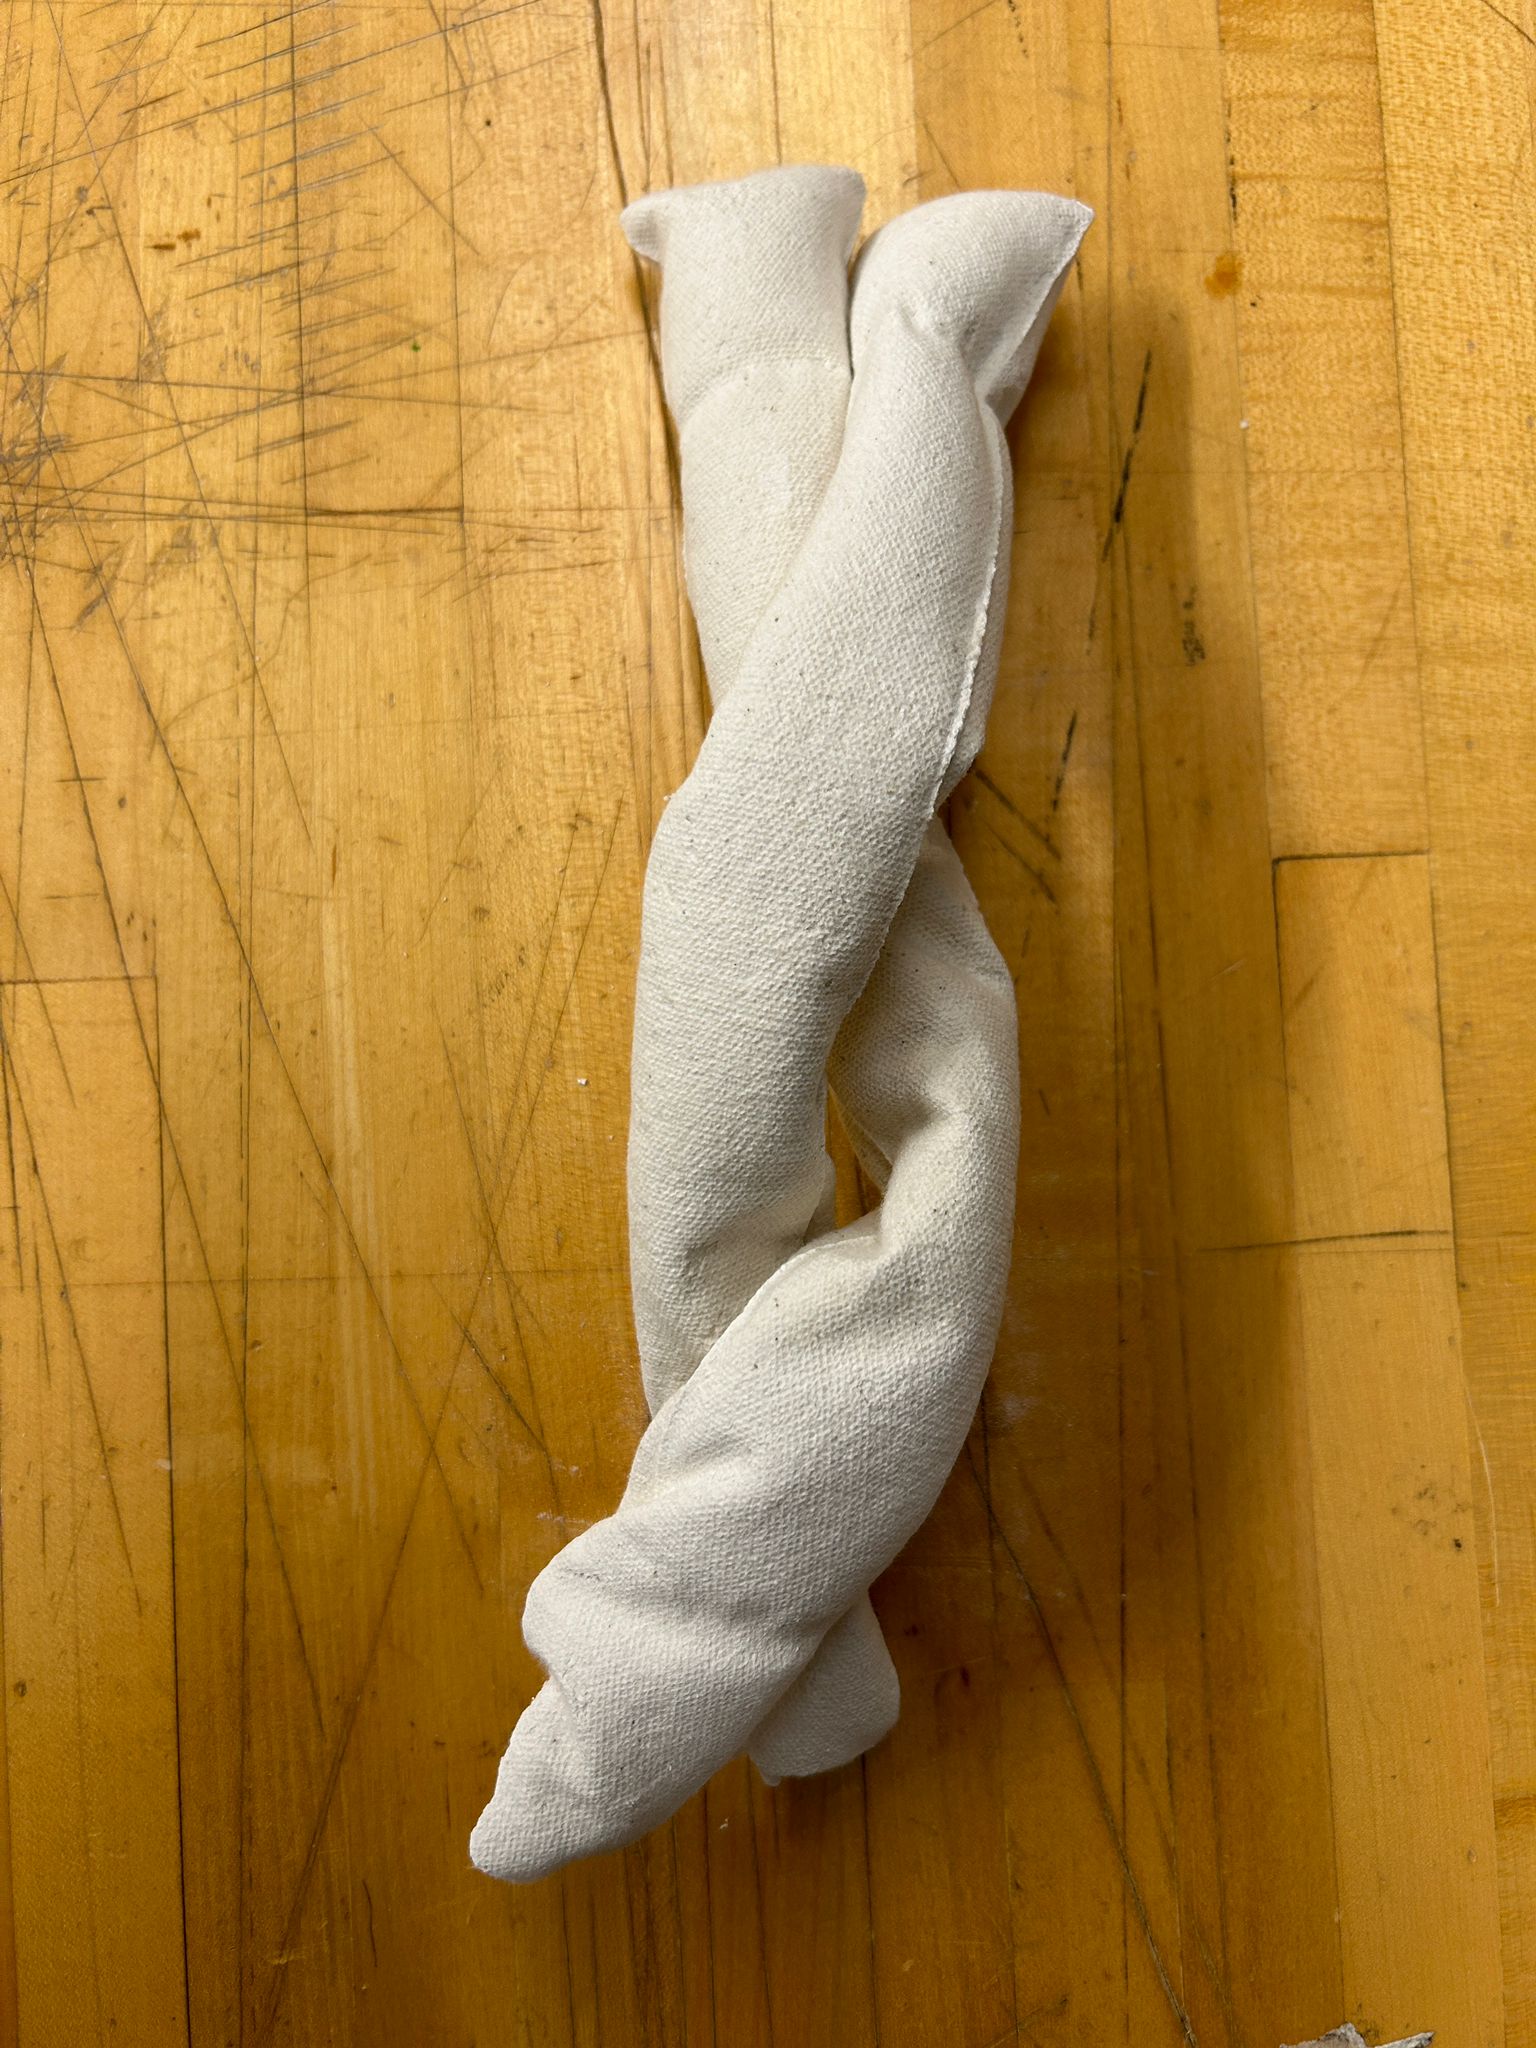
and casted some tubes that i twisted together and fixed with string to stay stable.
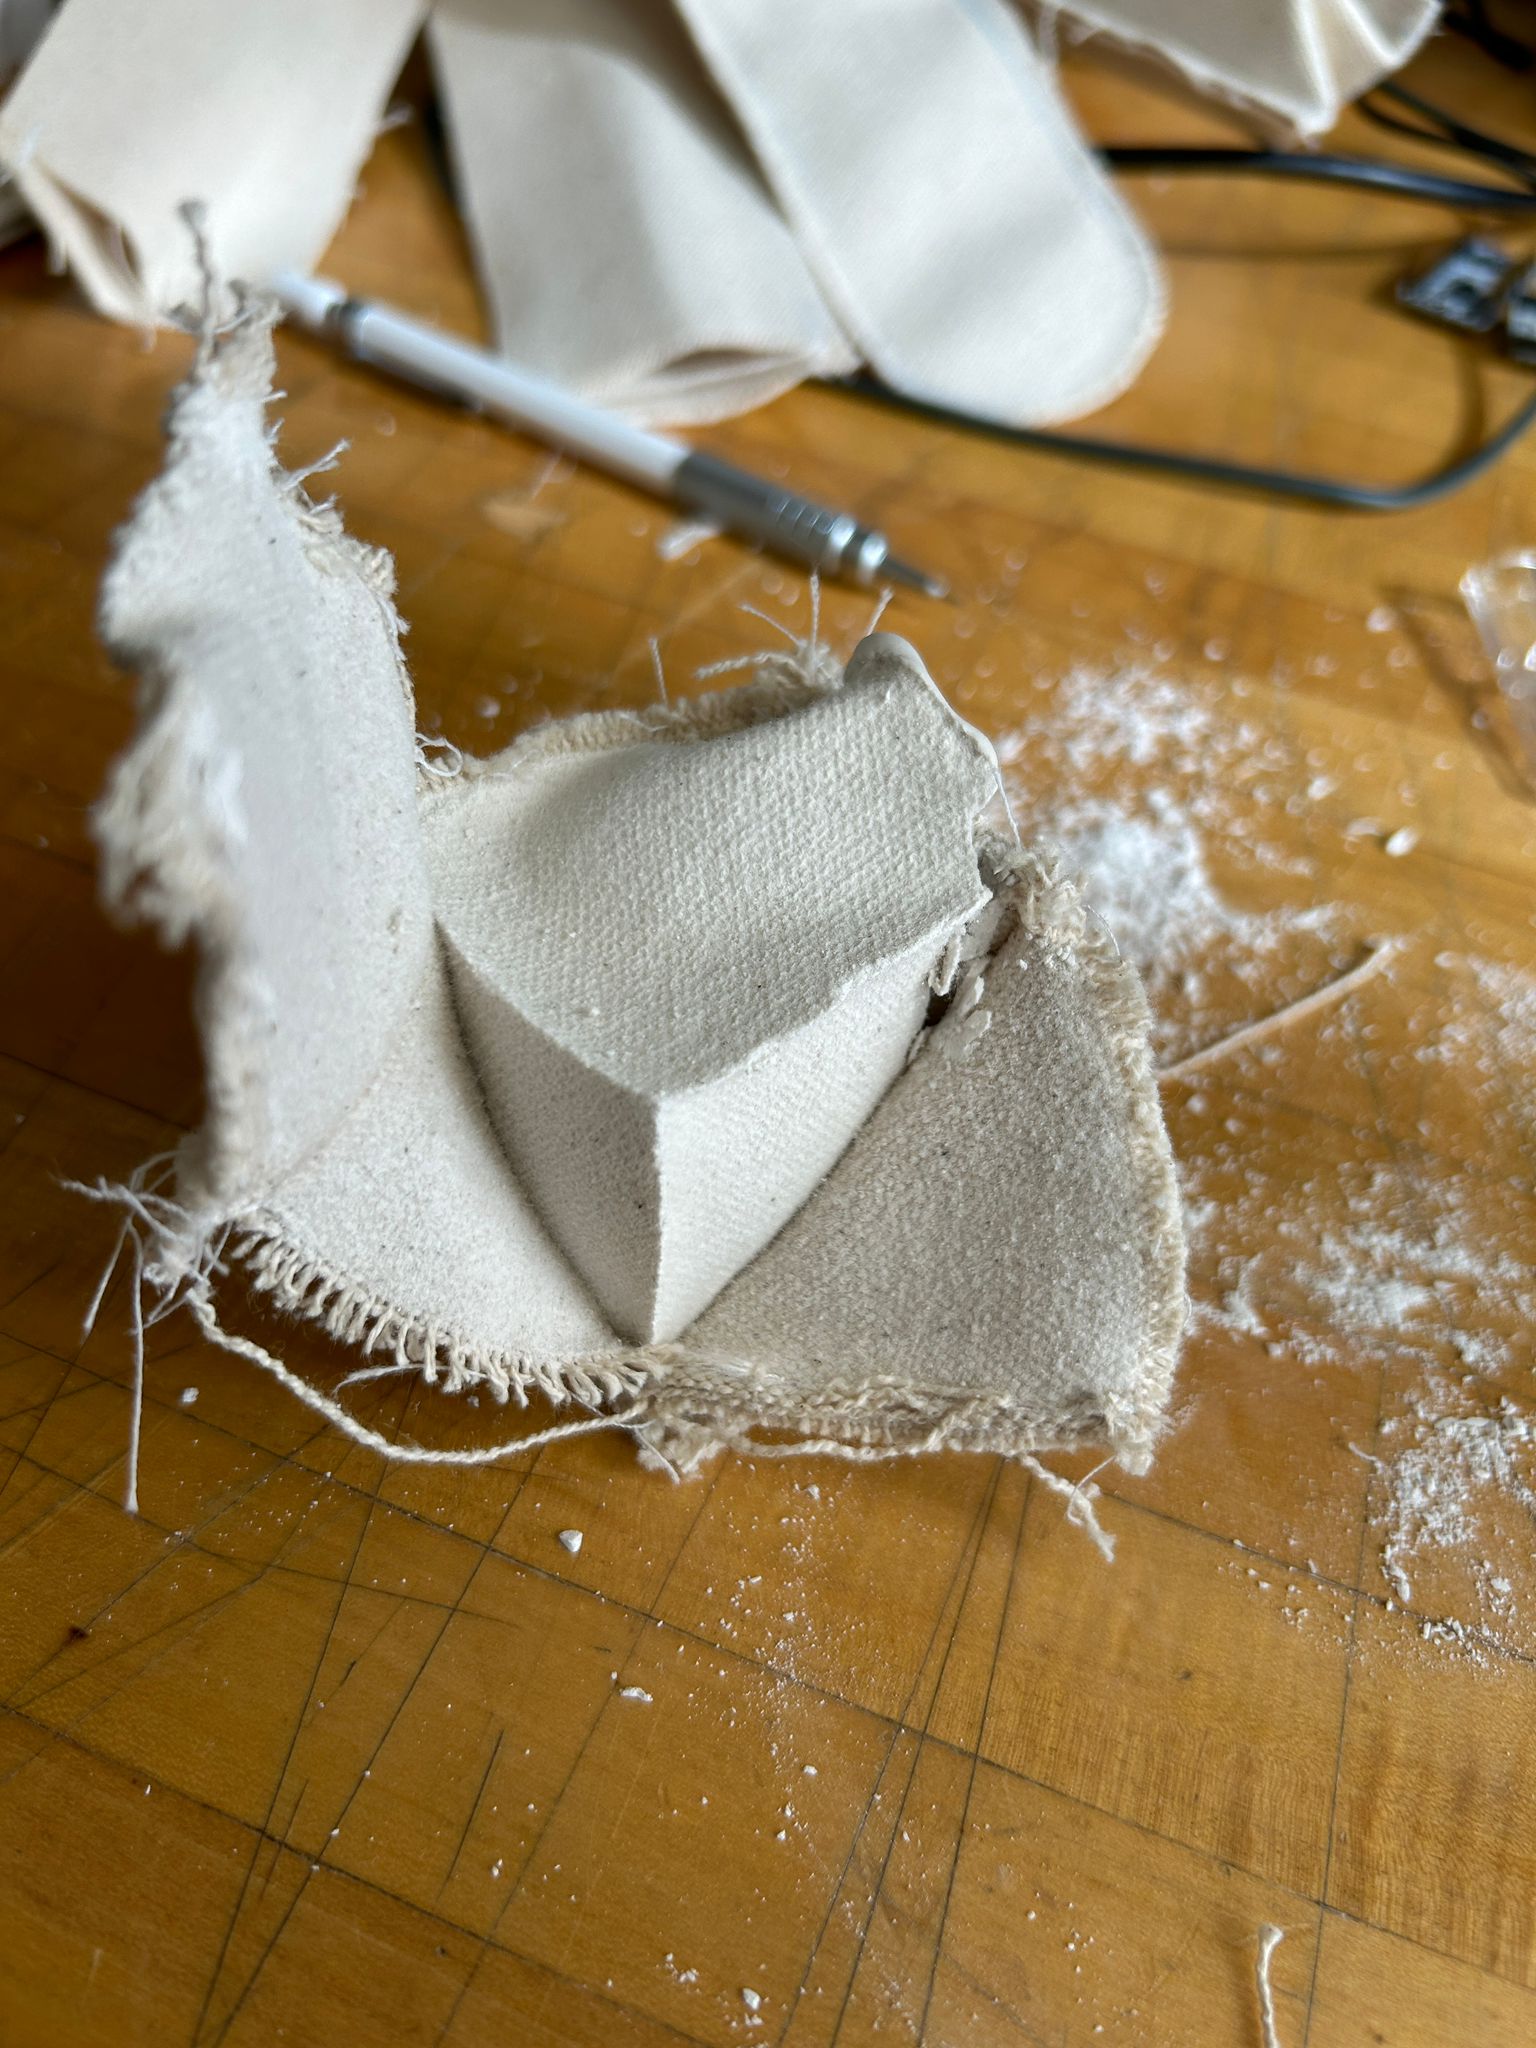
after a little while it was time to see if any of the experiments worked out. startig with the cube, it was a lot harder to taken the fabric off the dried drystone, since the course surface of the canvas created more surface for the gypsum mix to adhere while drying, but the result were soft looking hard sculptures.
the surface adhesion of the gypsum to the fabric seemed to be even more tricky for the pillow like cast.
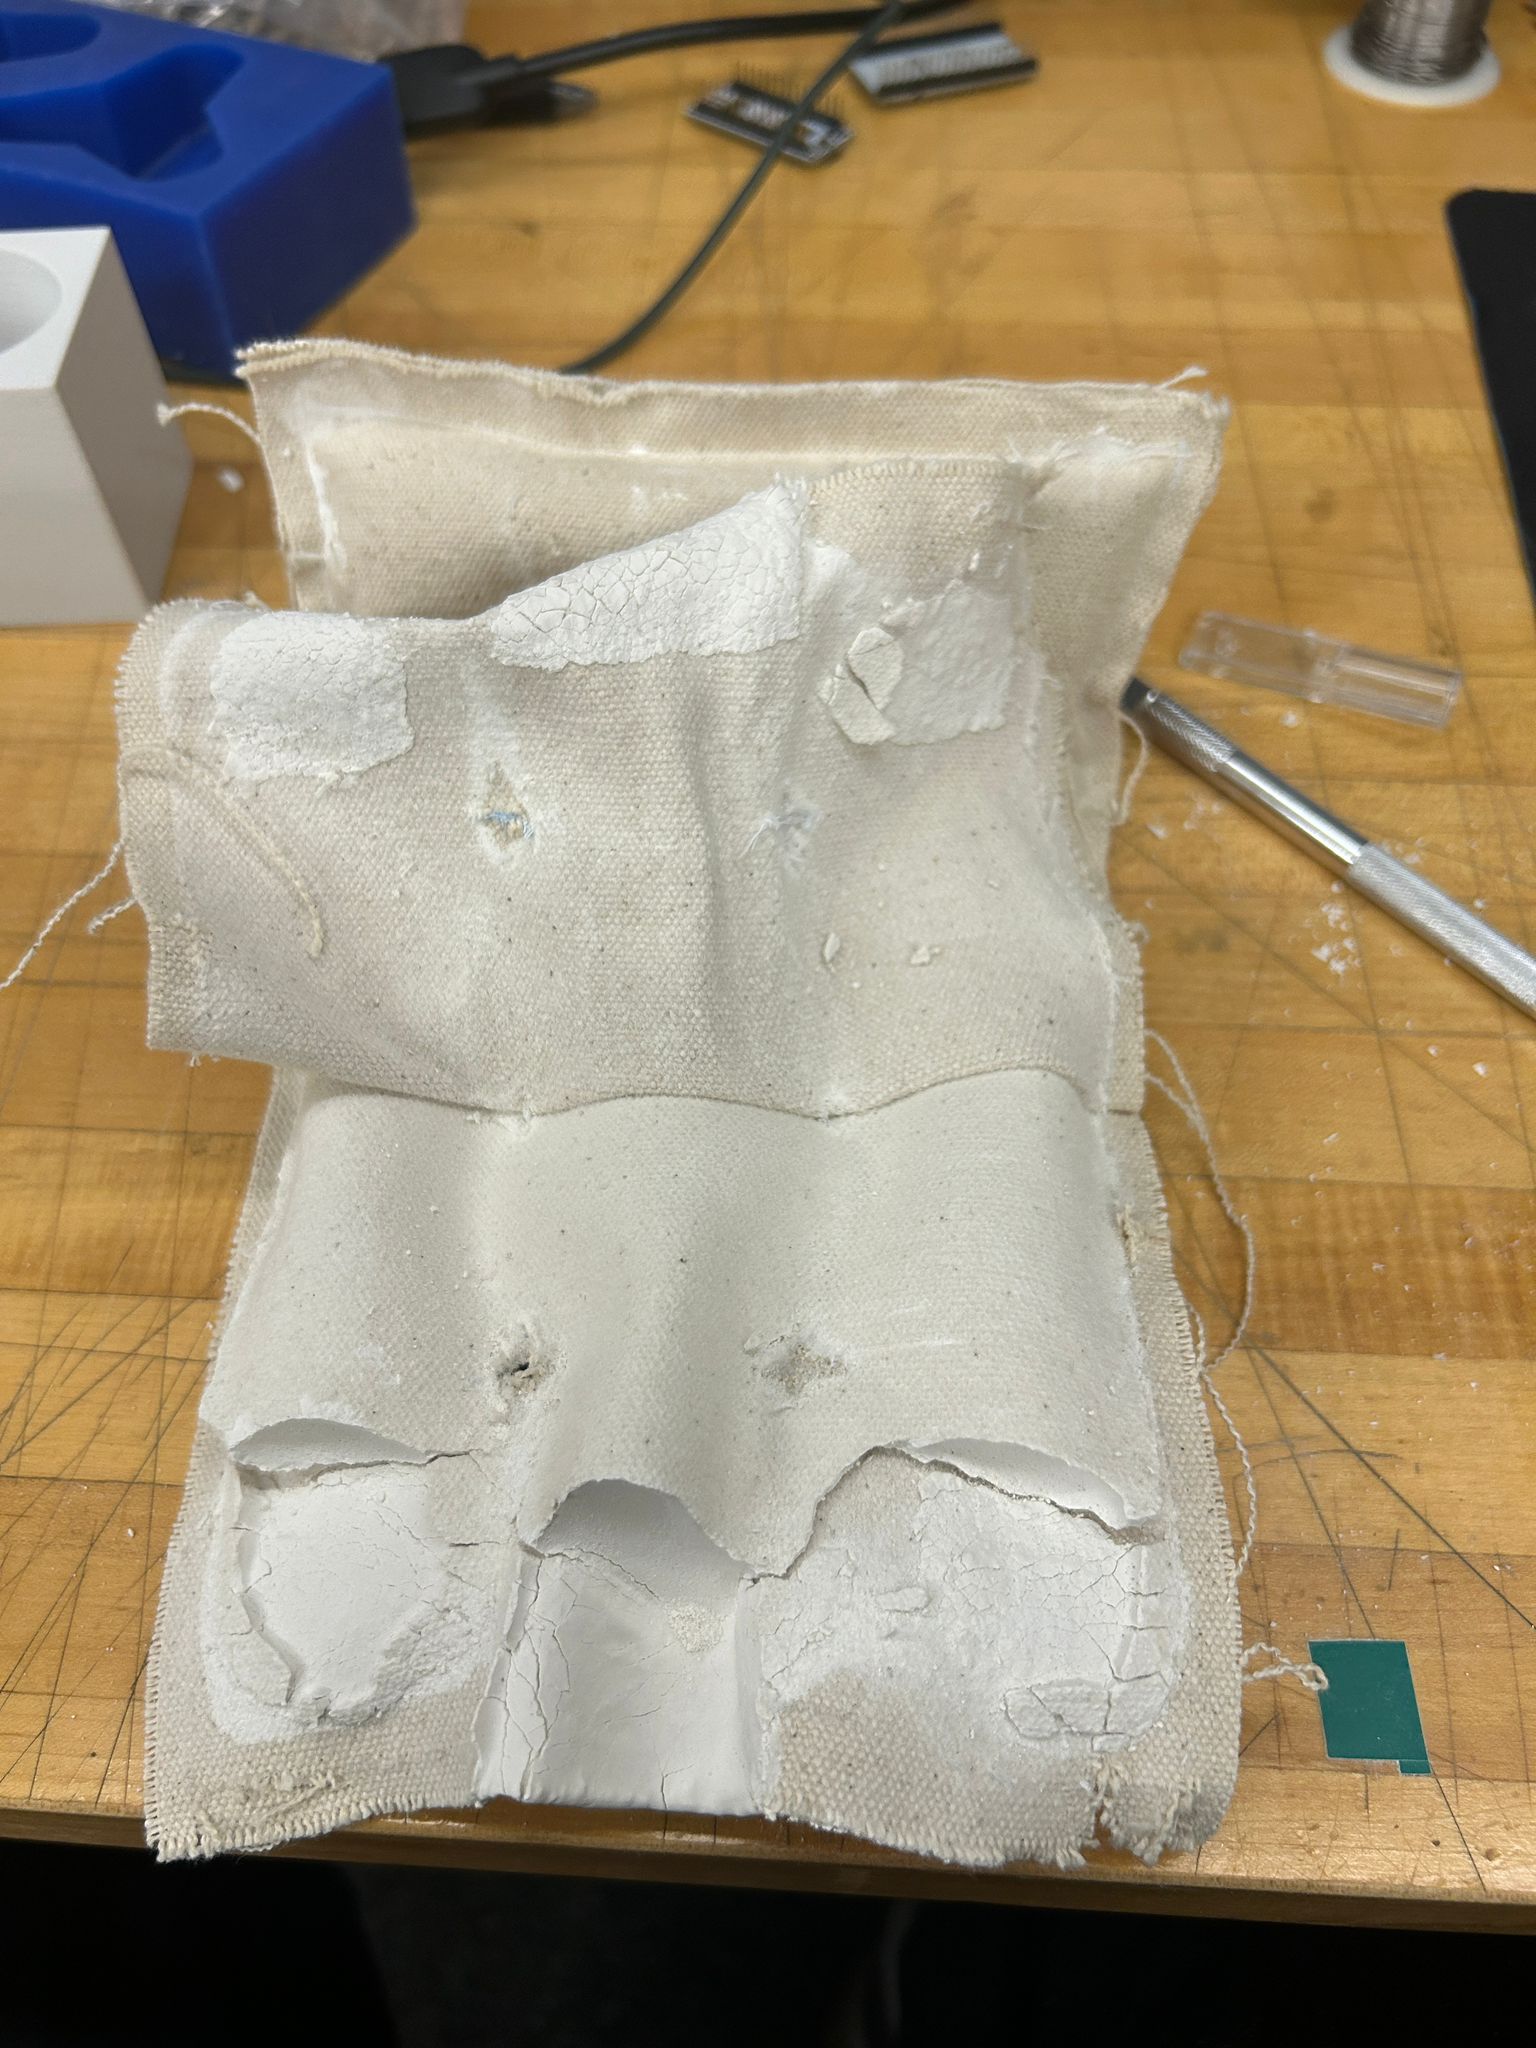
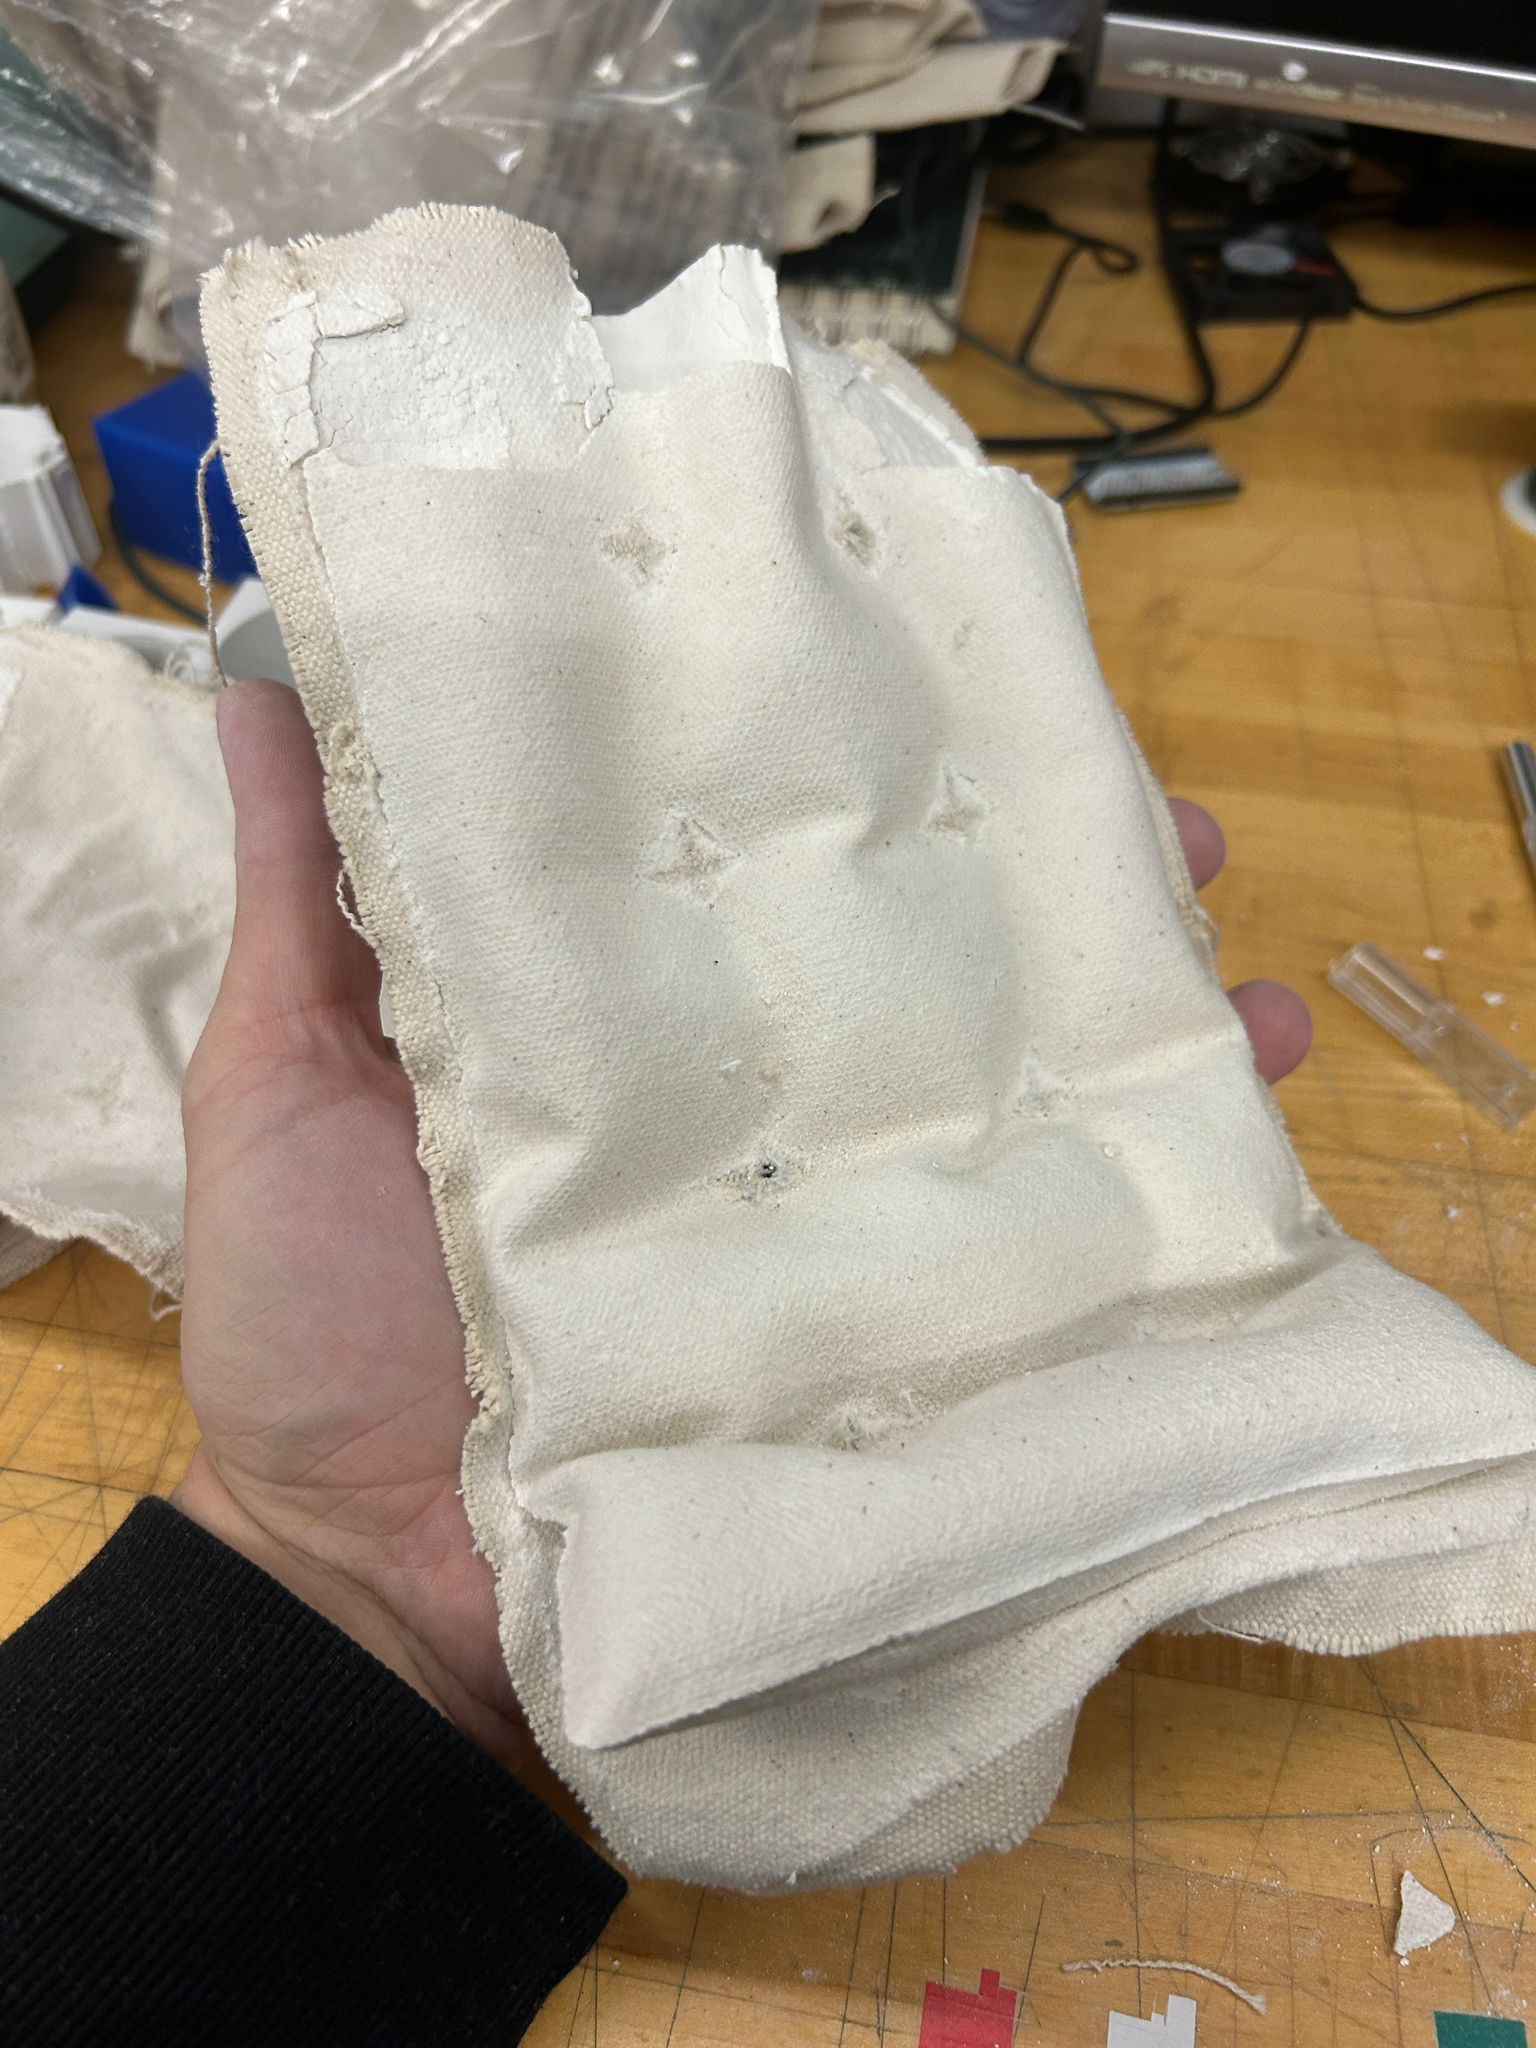
these were the results of my experiments:
since my first cnc milling job split apart and might have not been done with the best tool path, i decided to try the same shape again.
here is the rhino file for the tetrapods and the mold:
tetrapod rhino model

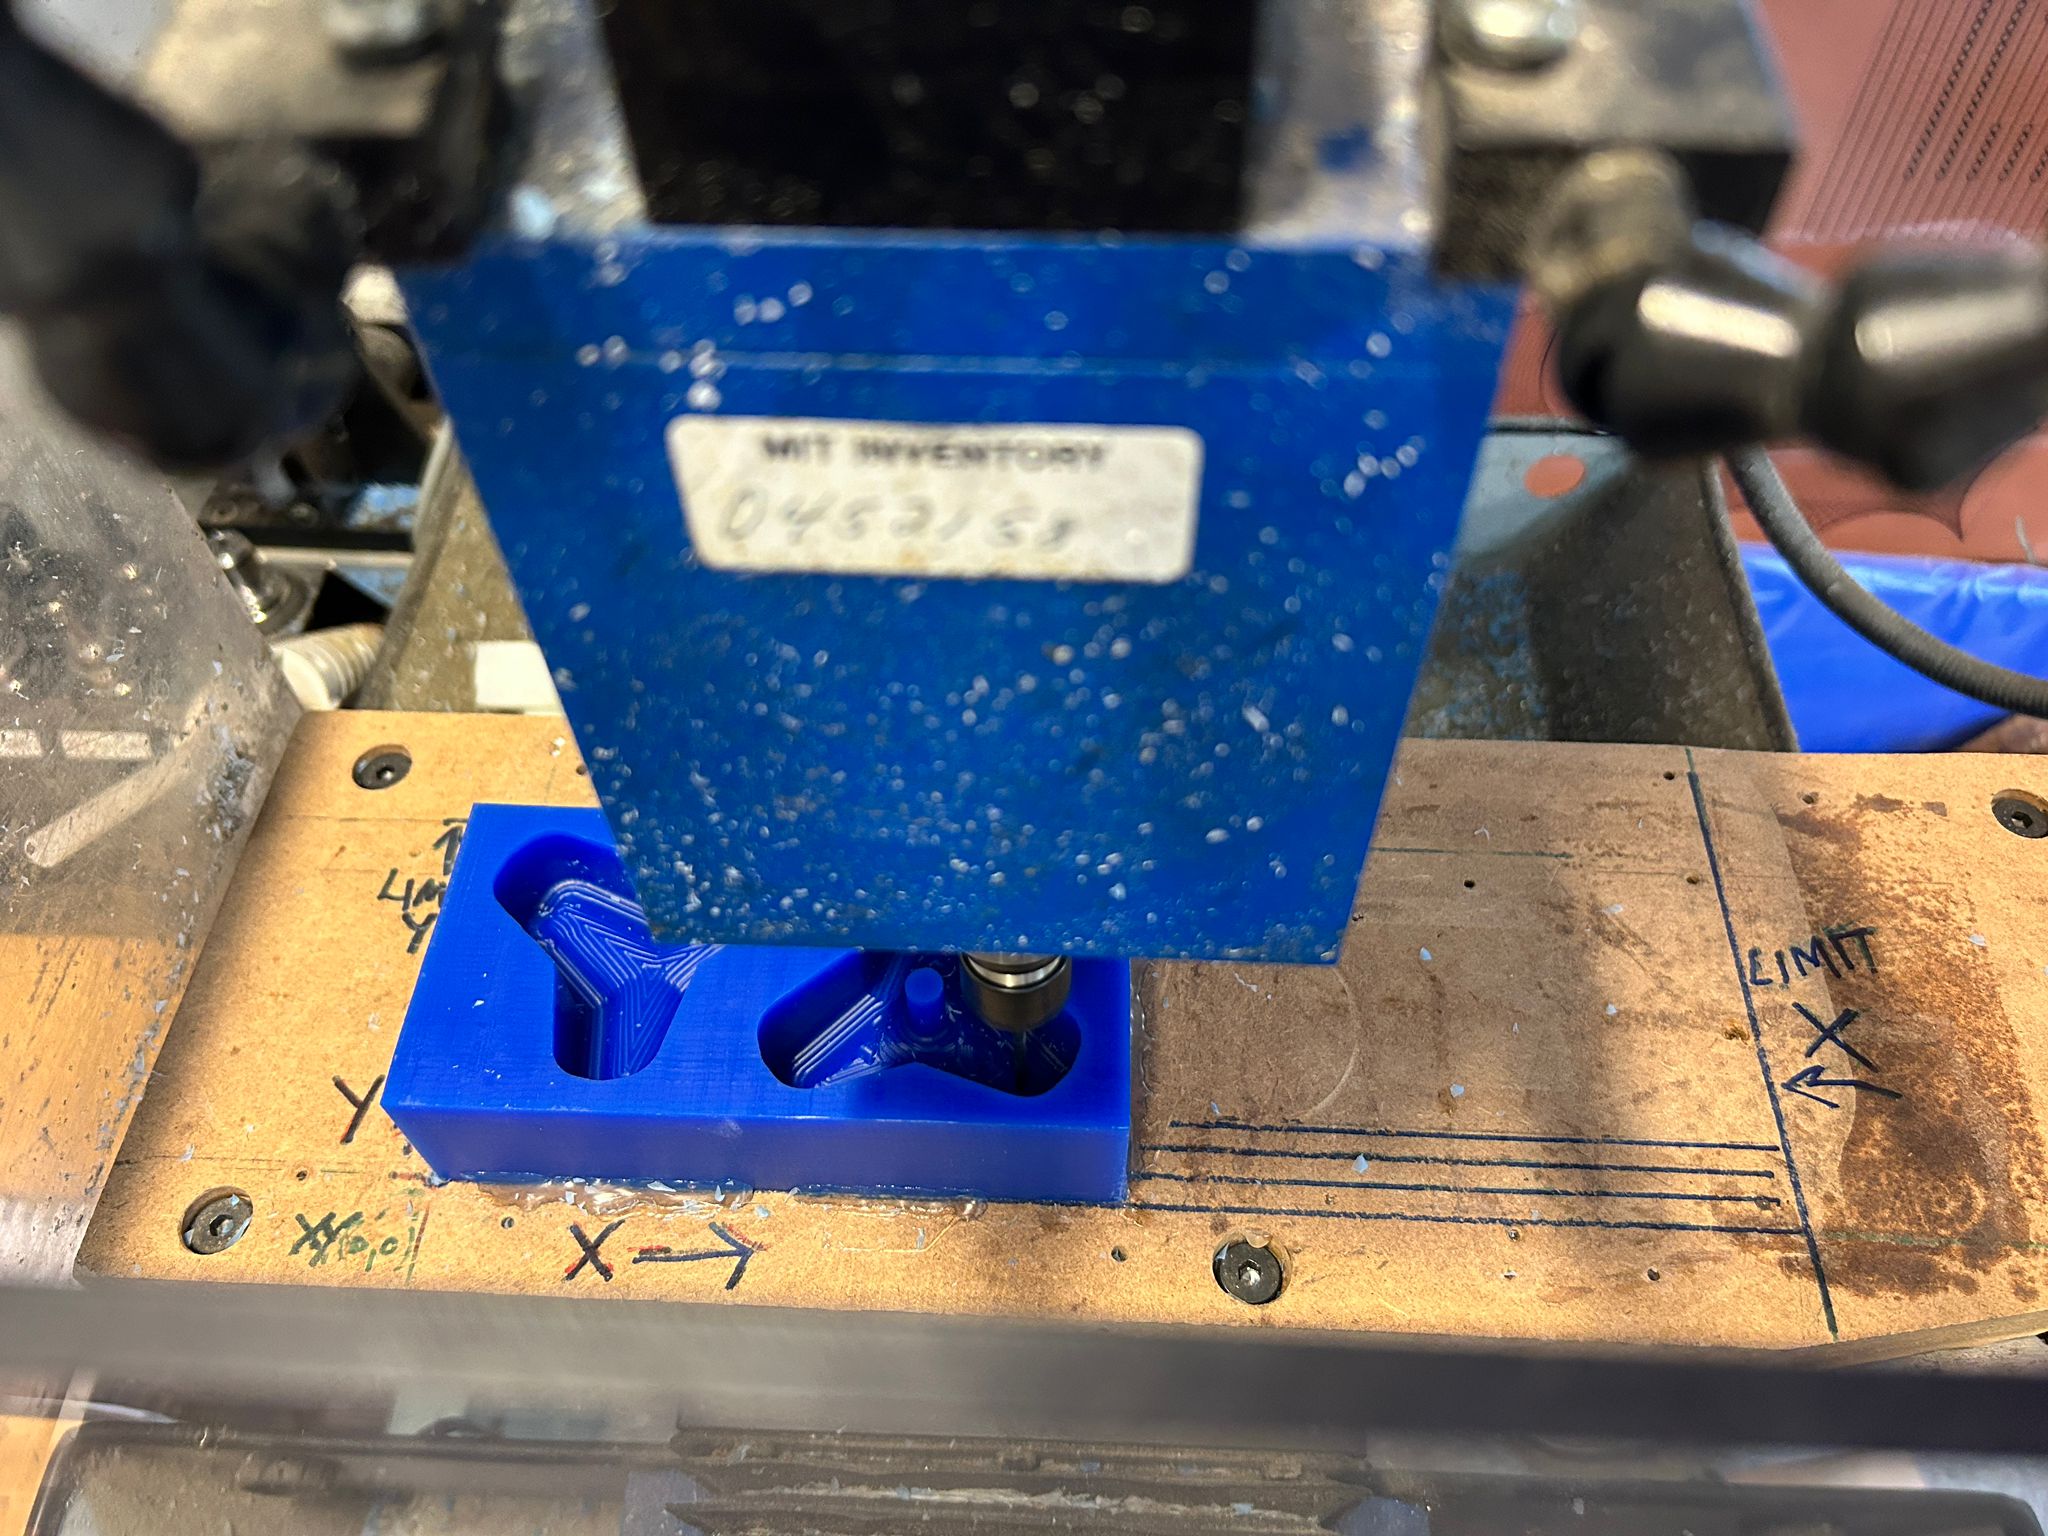
setting up a toolpath again in mastercam, this time we made sure that all the paths take into account the depth of the previous tool path
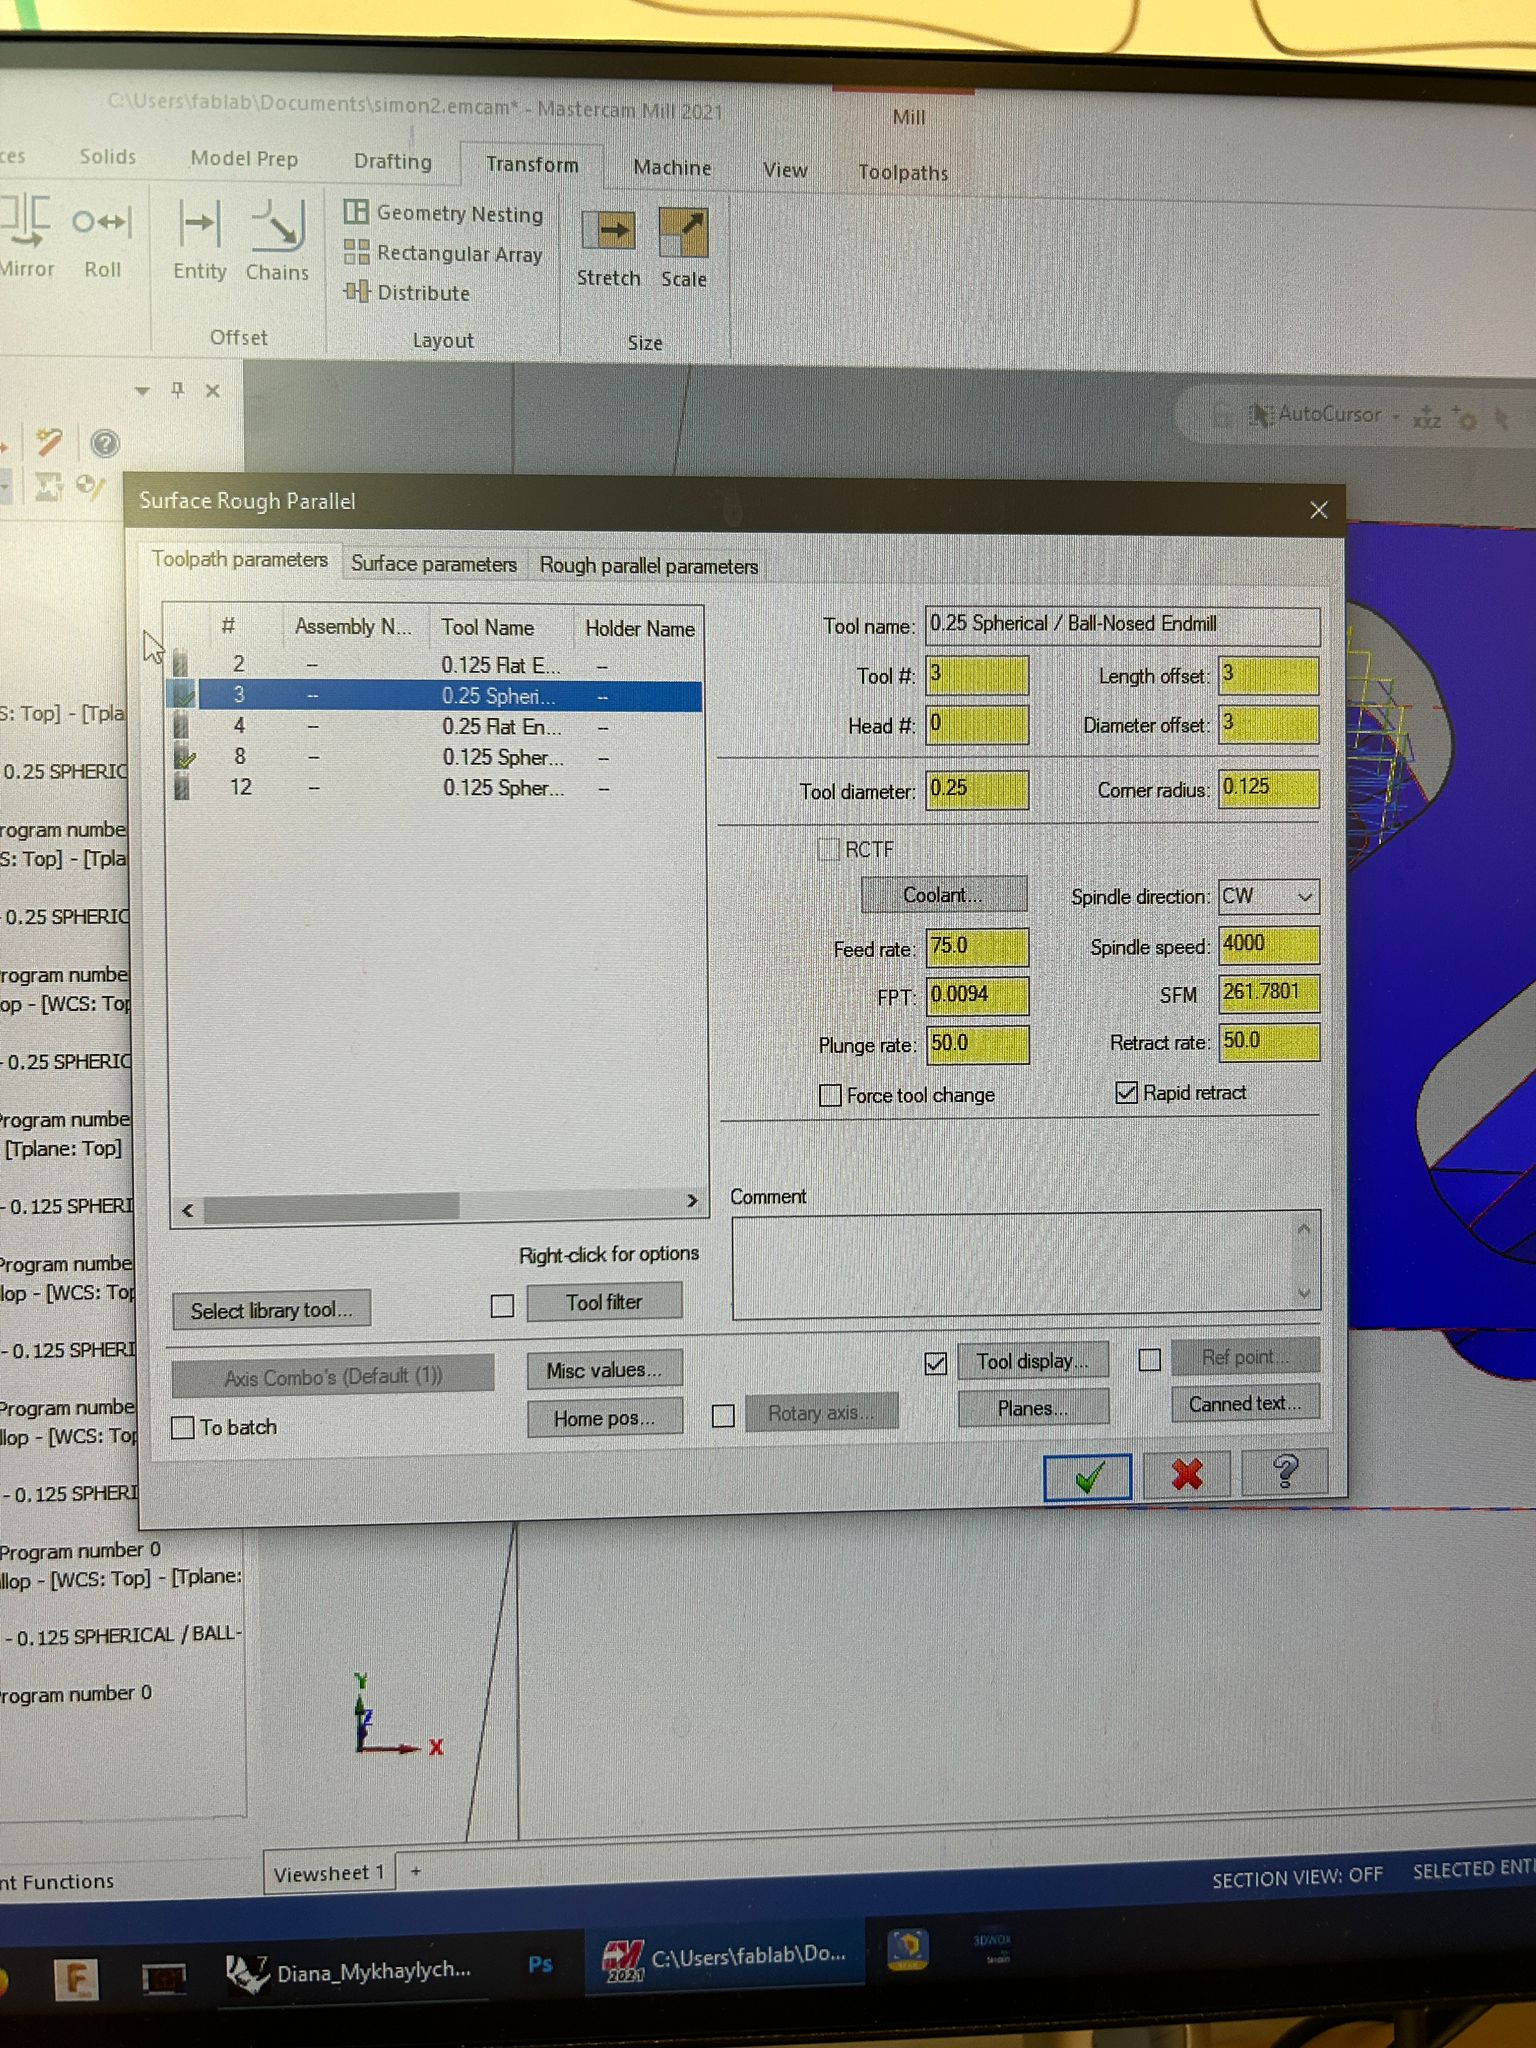
and the result was a lot better, even it took a lot longer to do all the different tool paths to clean up the geometry itself, but also a brim around it, the pouring hole as well as the little divits for the magnets would require different bits to get to a clean result.

from here it was time to make the oomoo cast again...
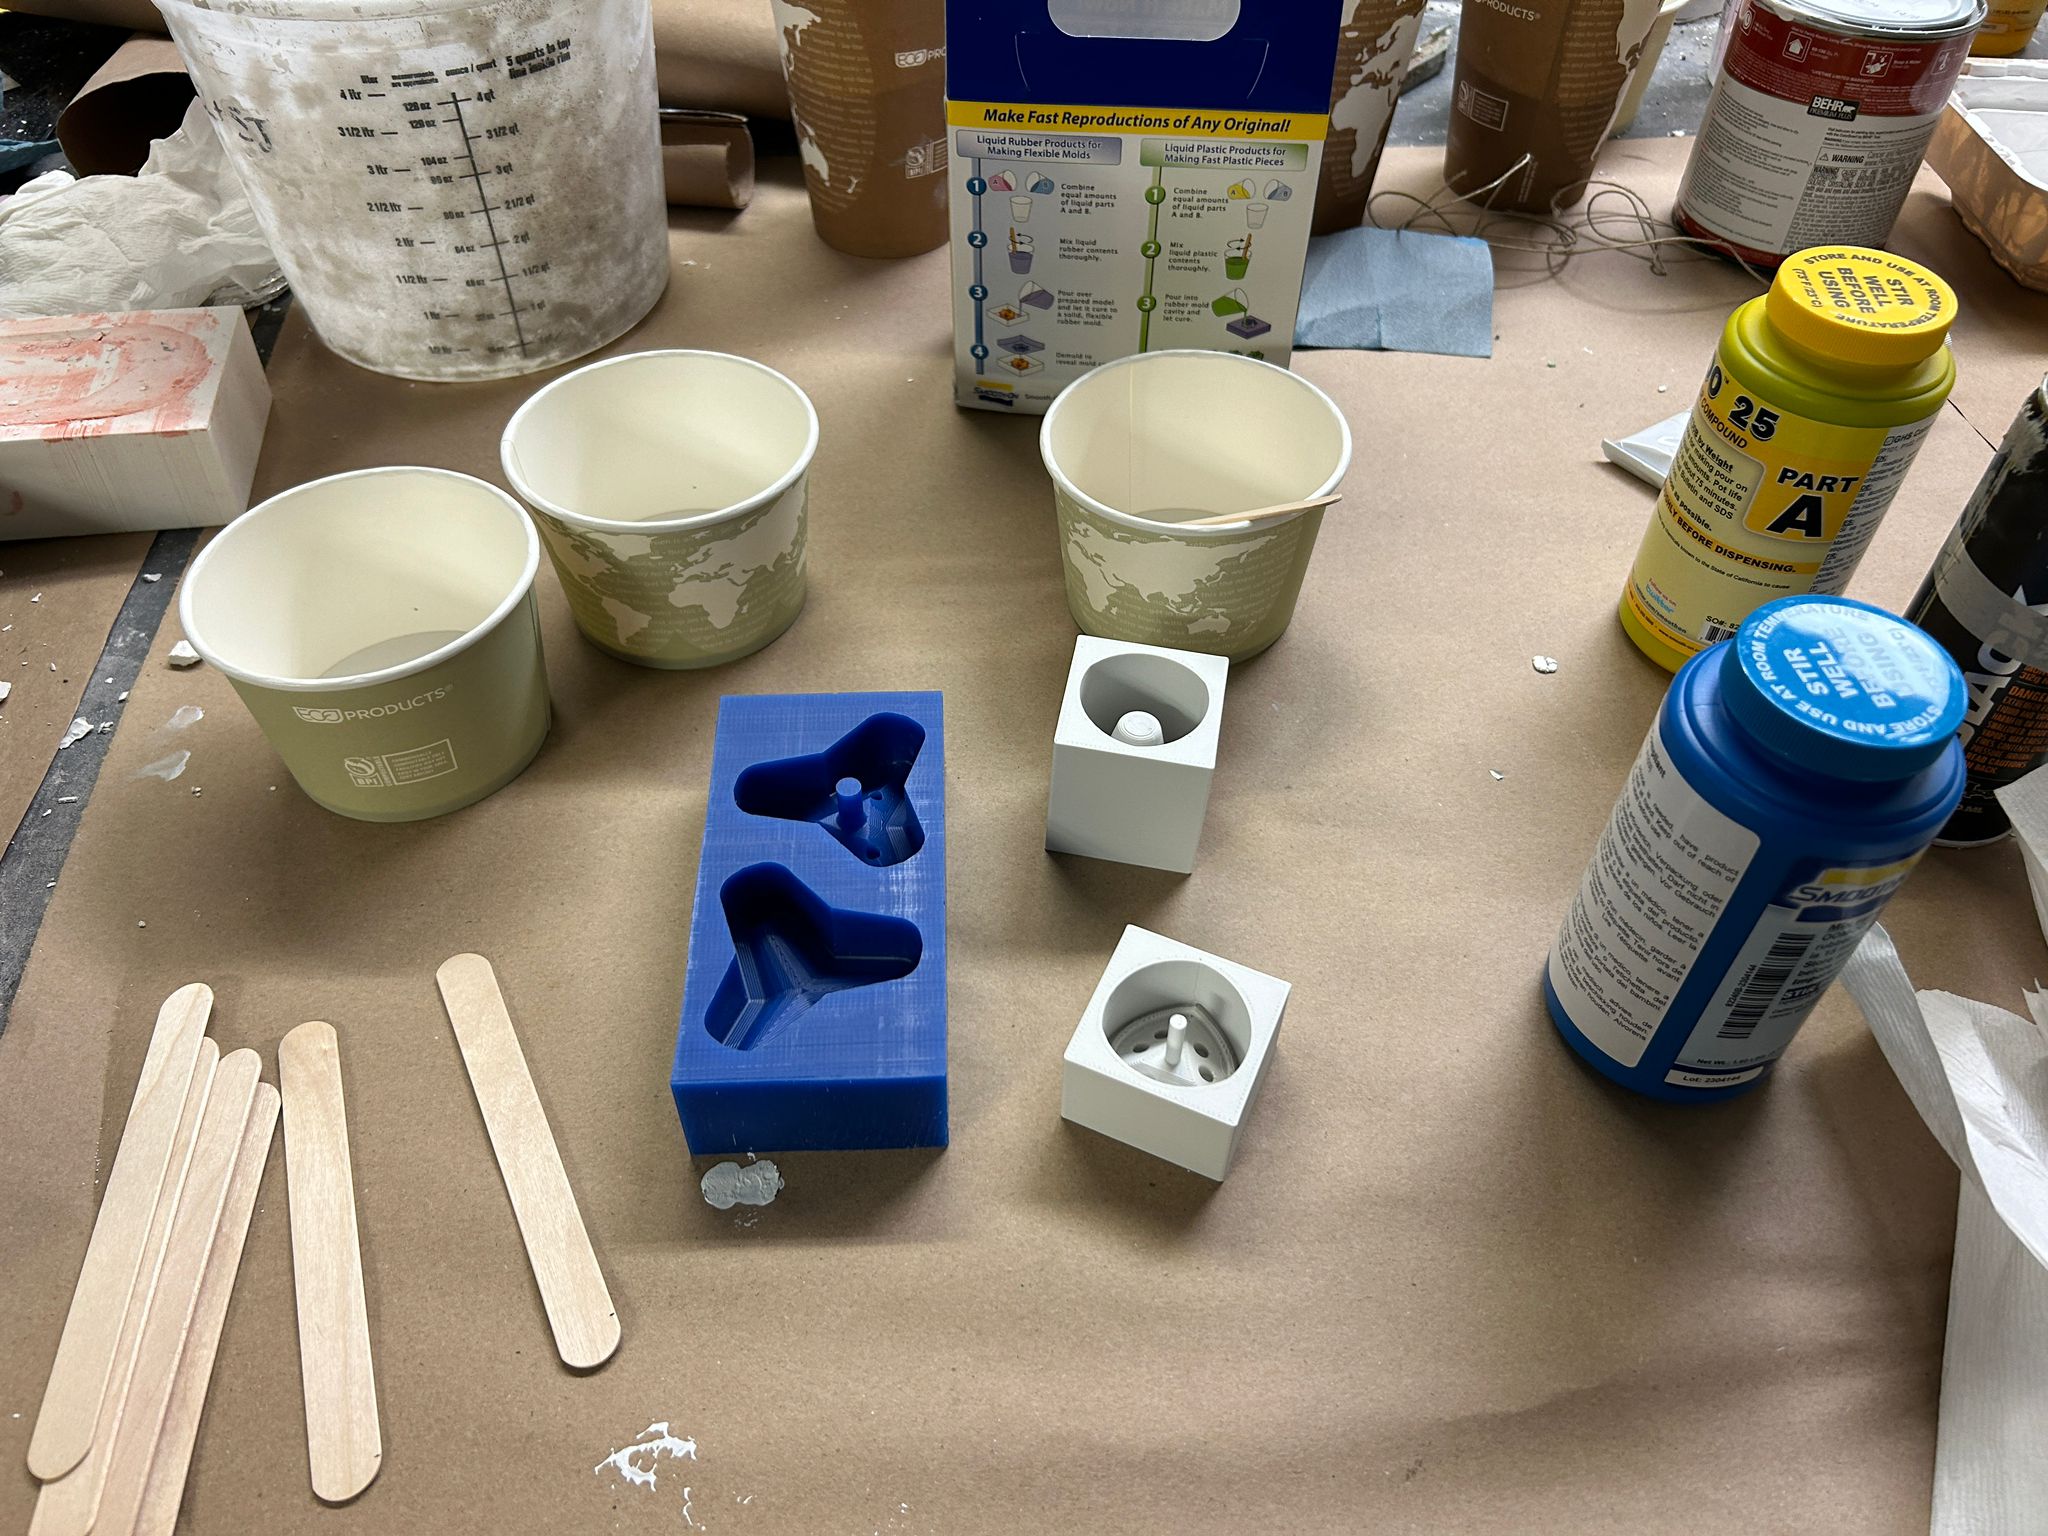
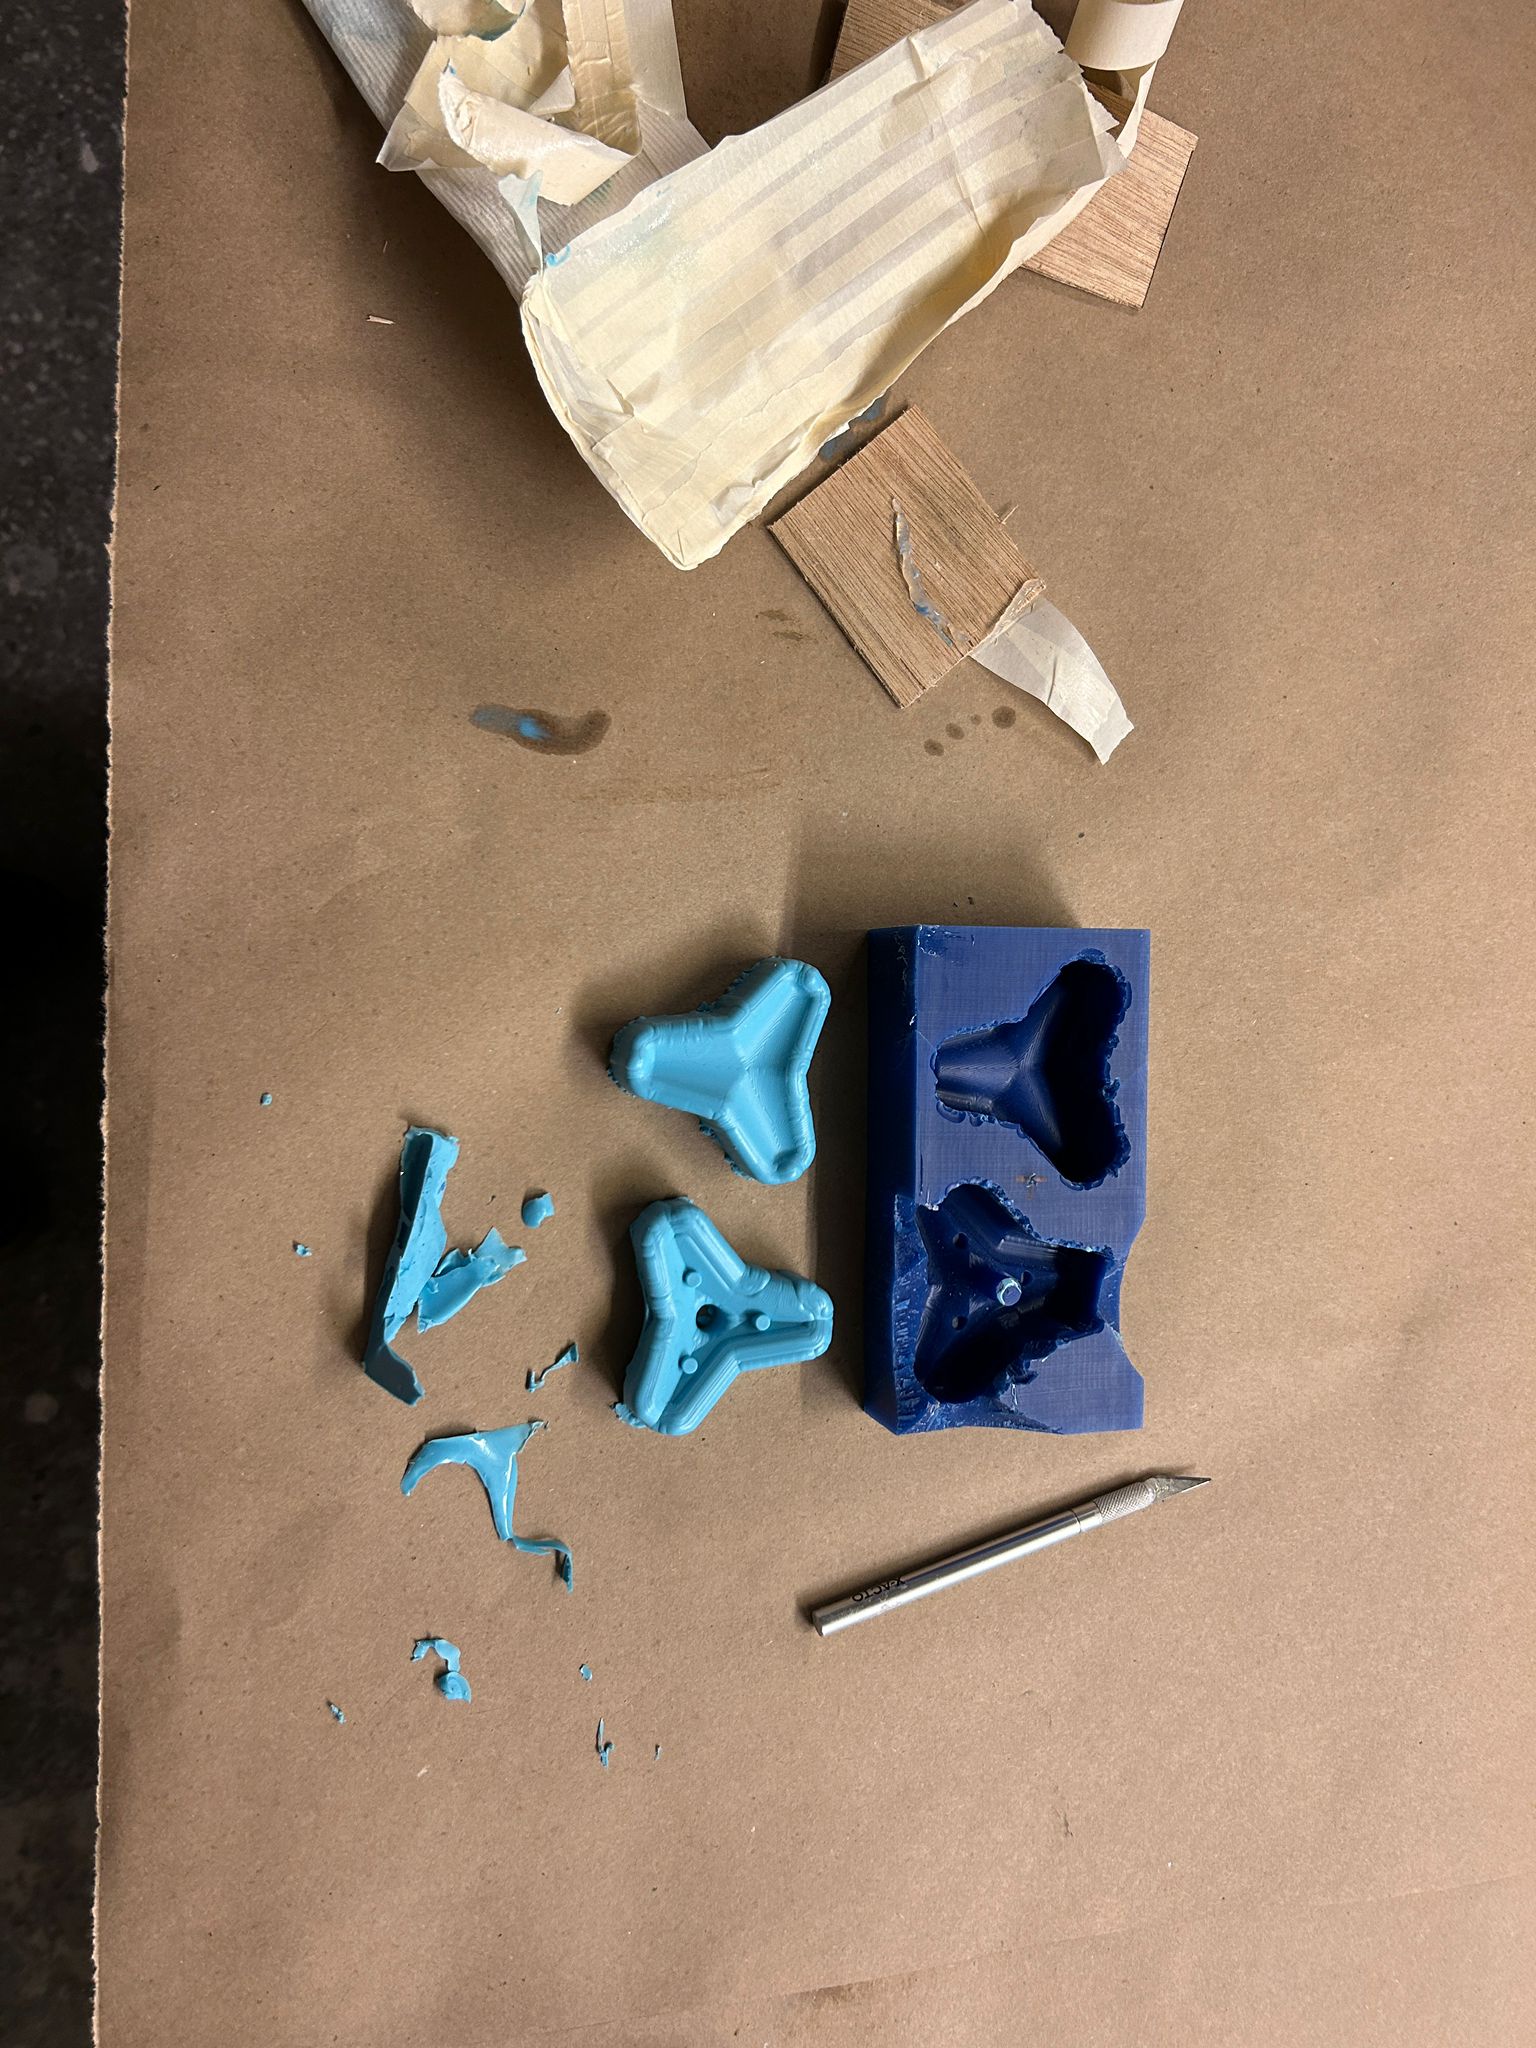
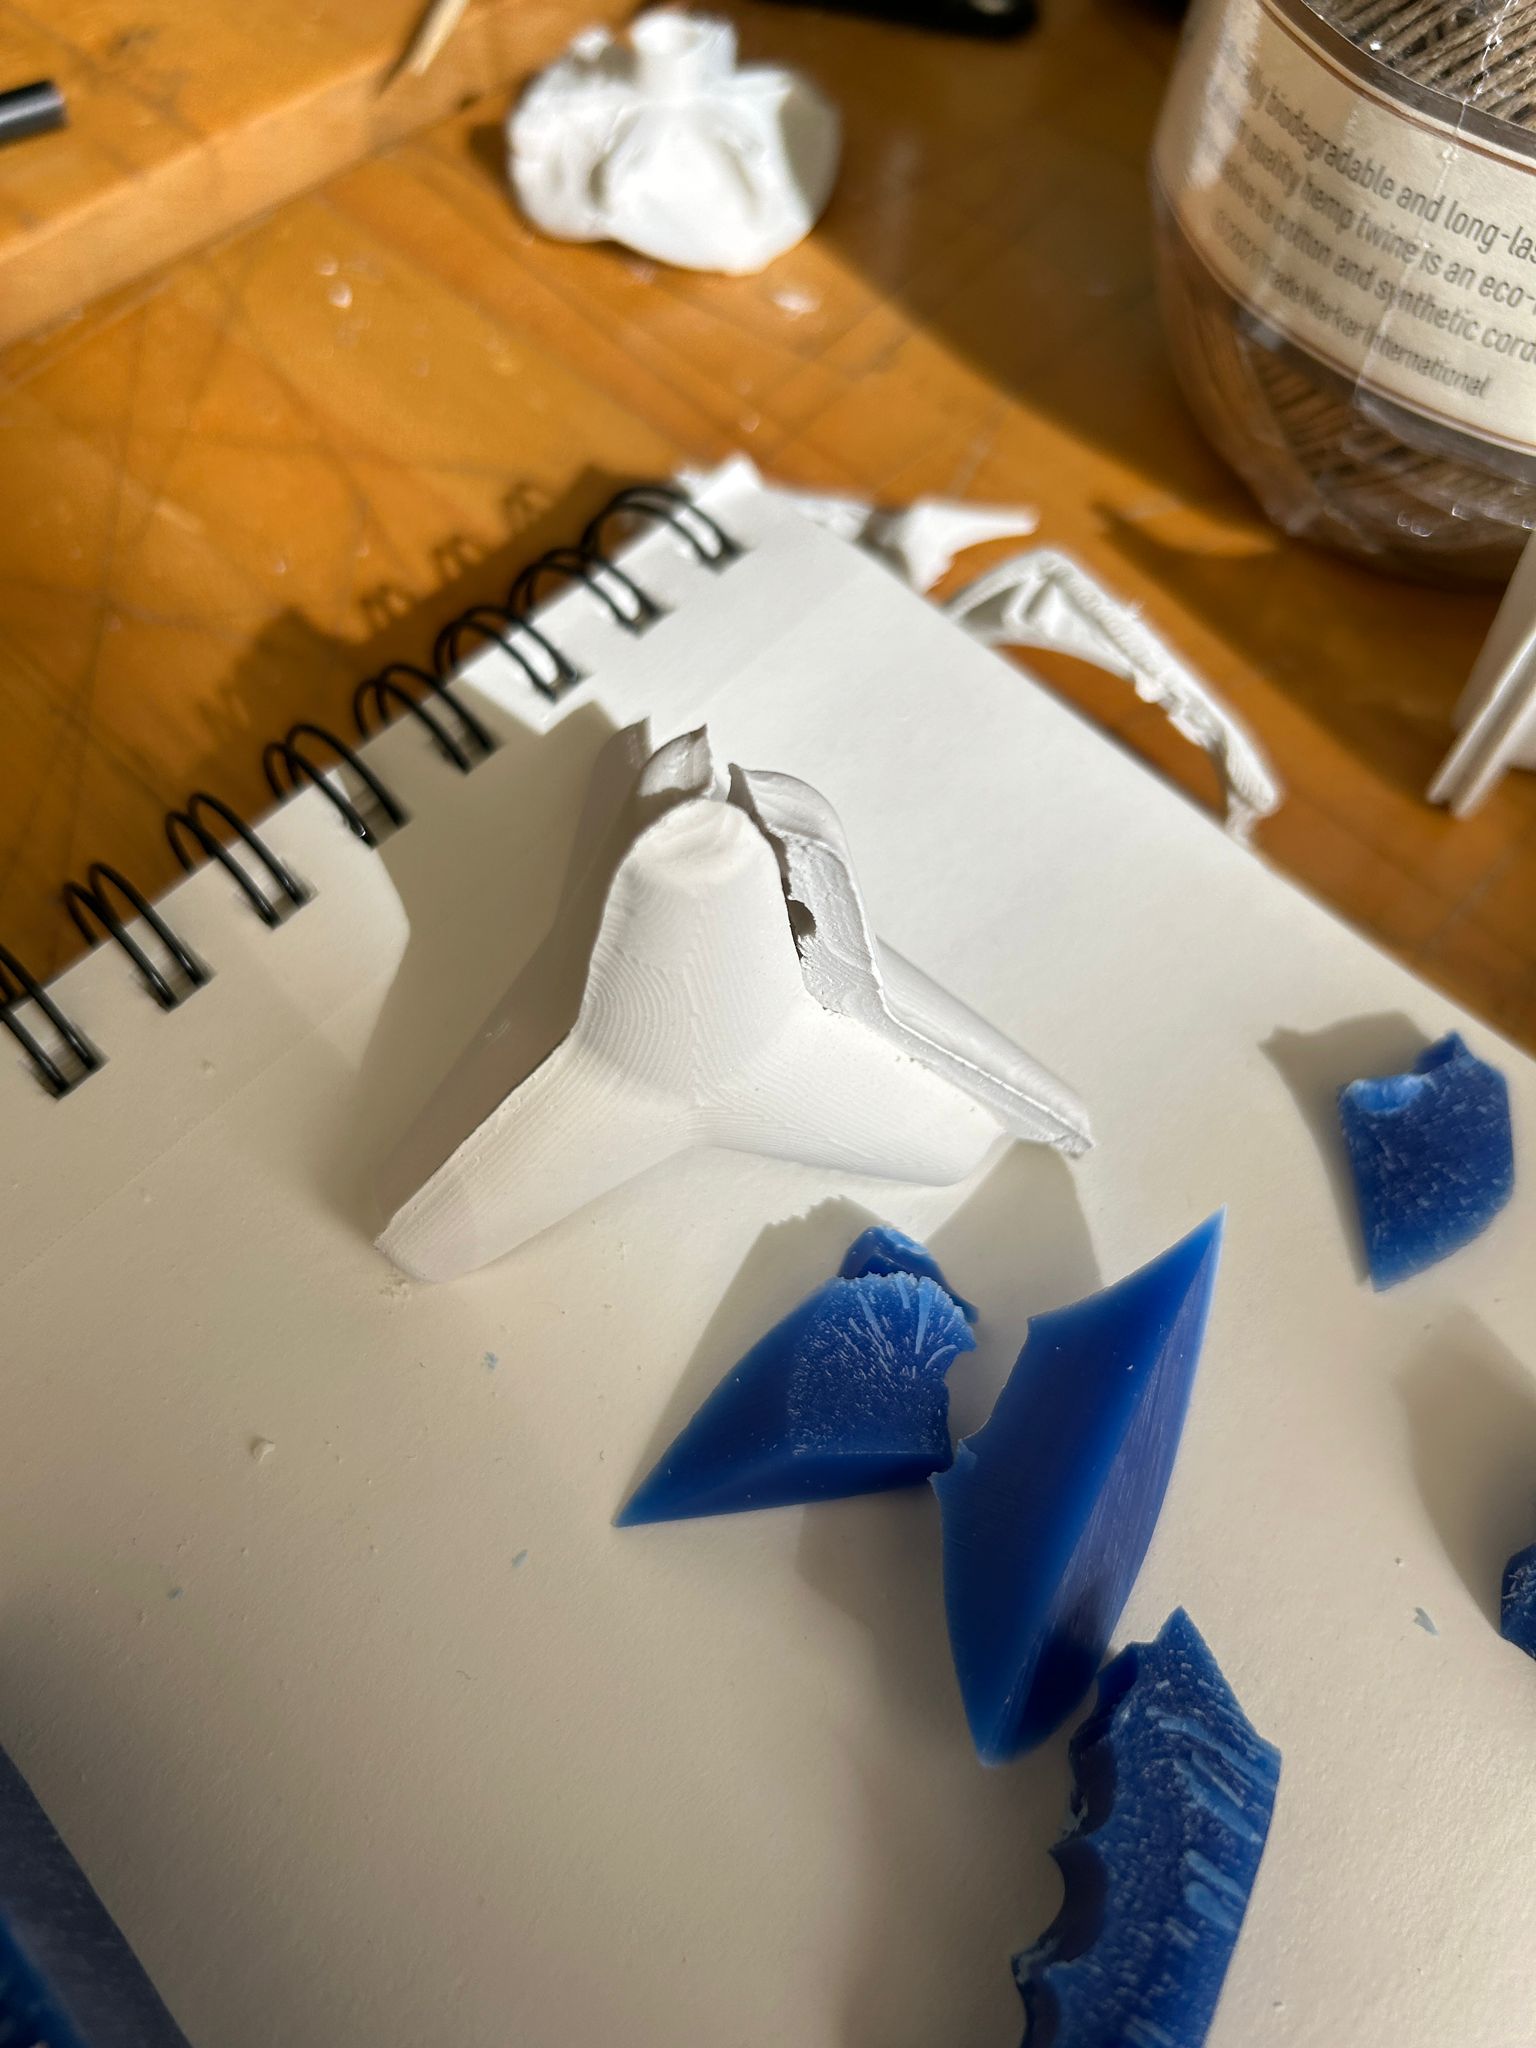
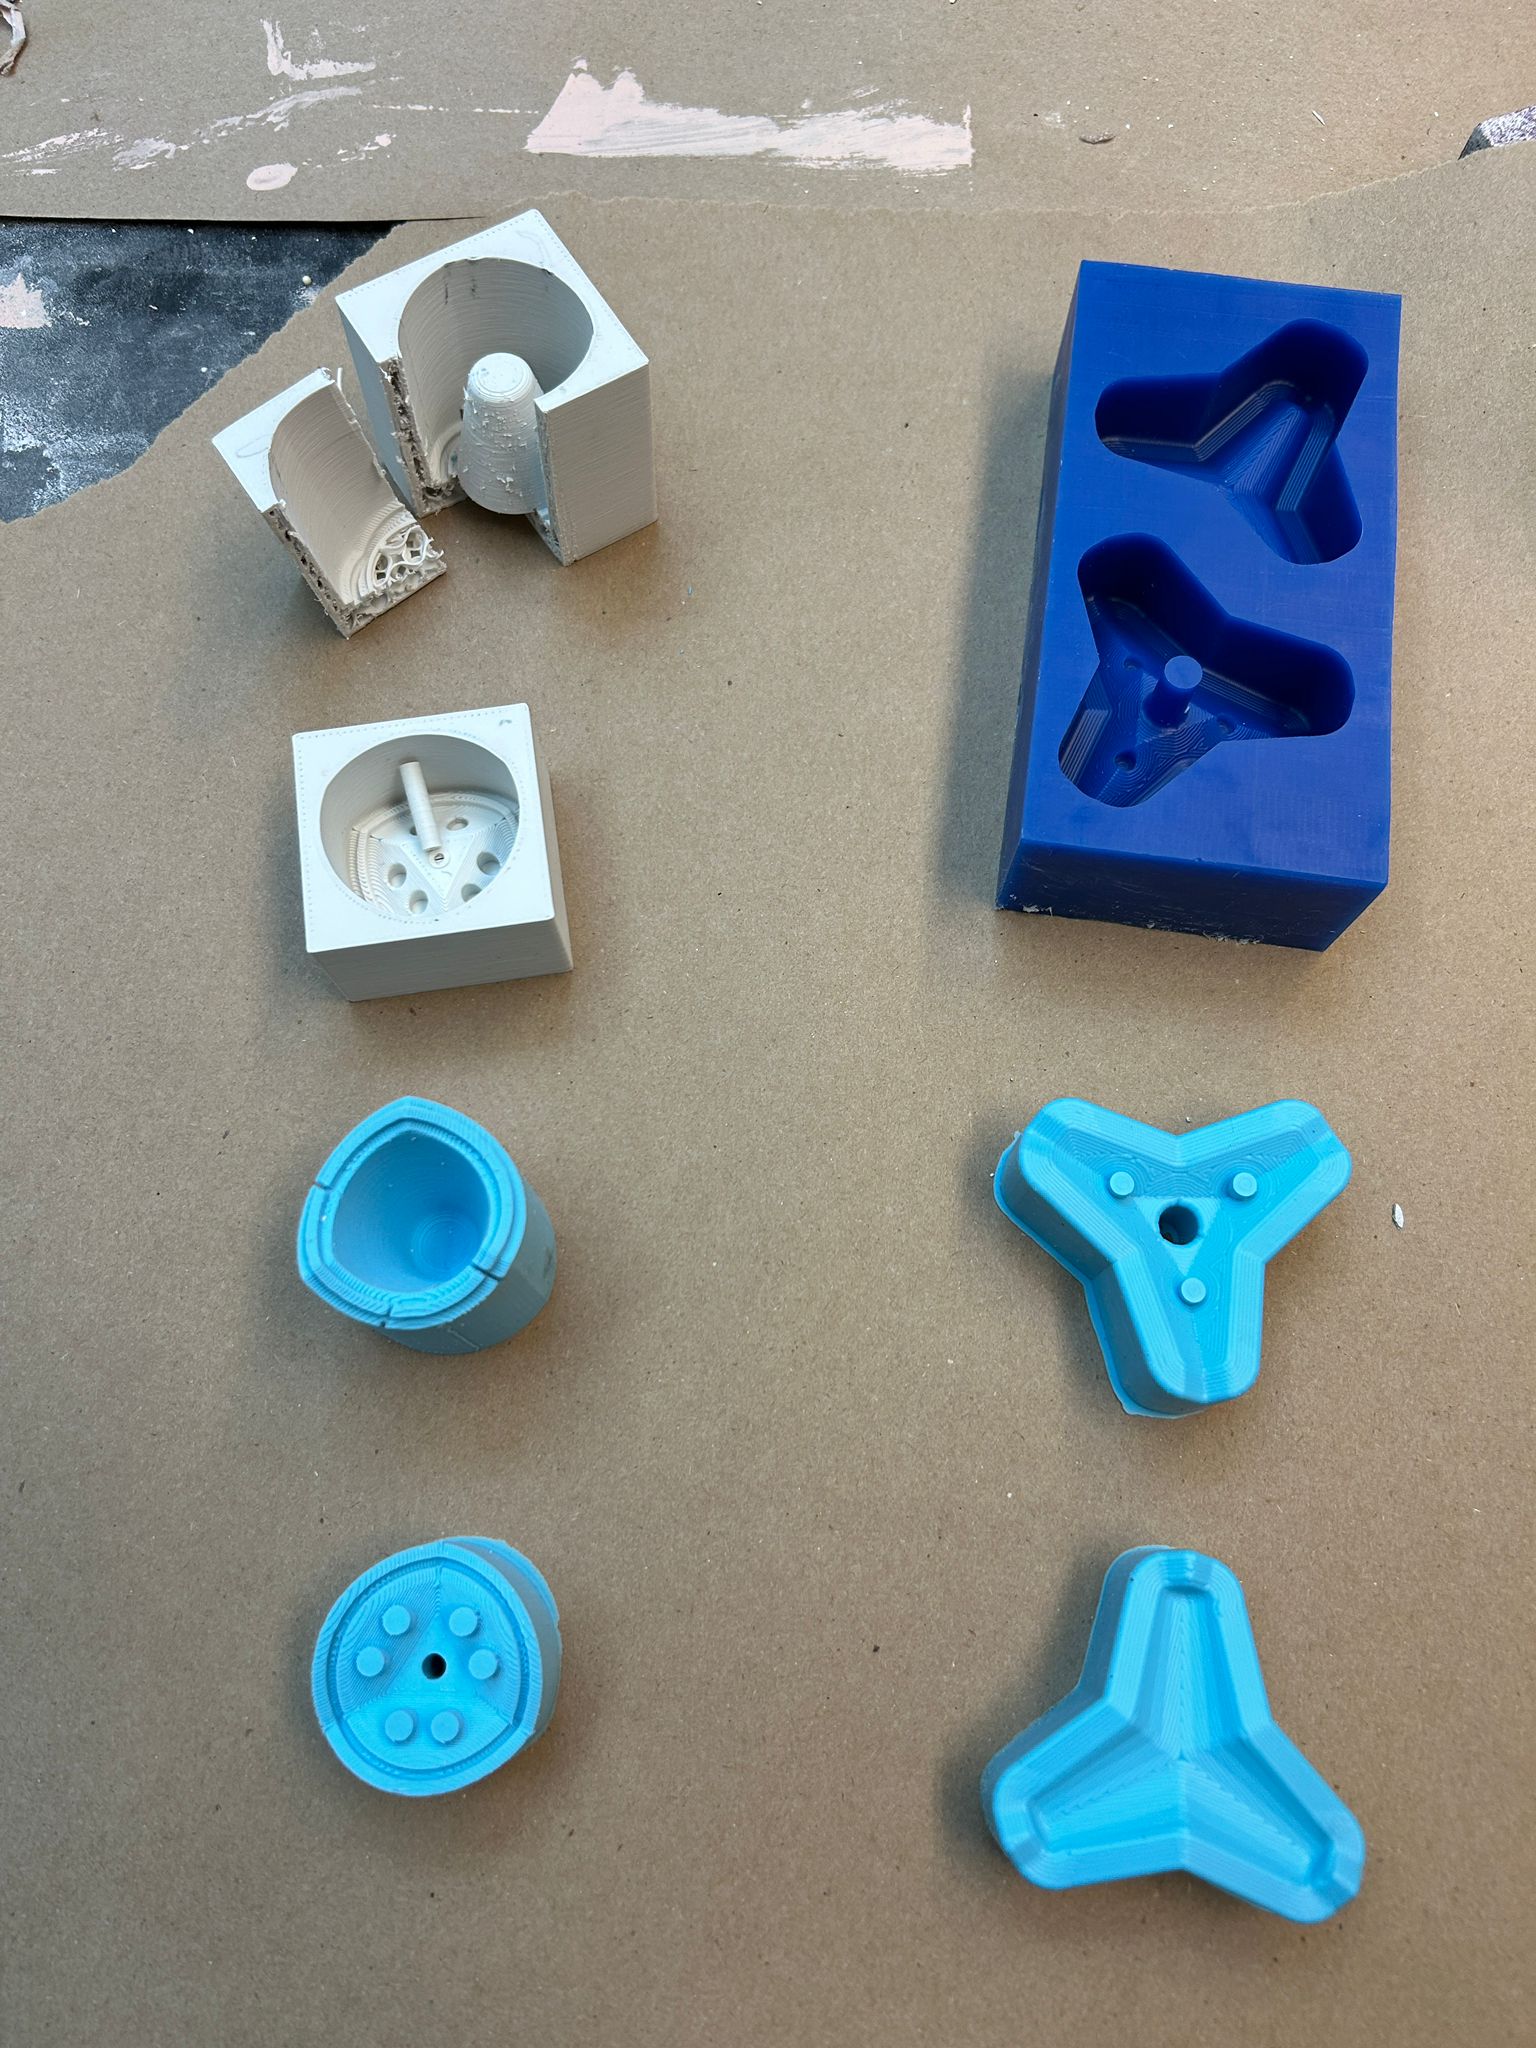
i also tried to make another 3d printed mold, in a different geometric subdivision from the wax one, where each "arm" of the tetrapod is getting
cast individualy.
see the 3d printed mold here:
3d printed cadst
the result looked promising.
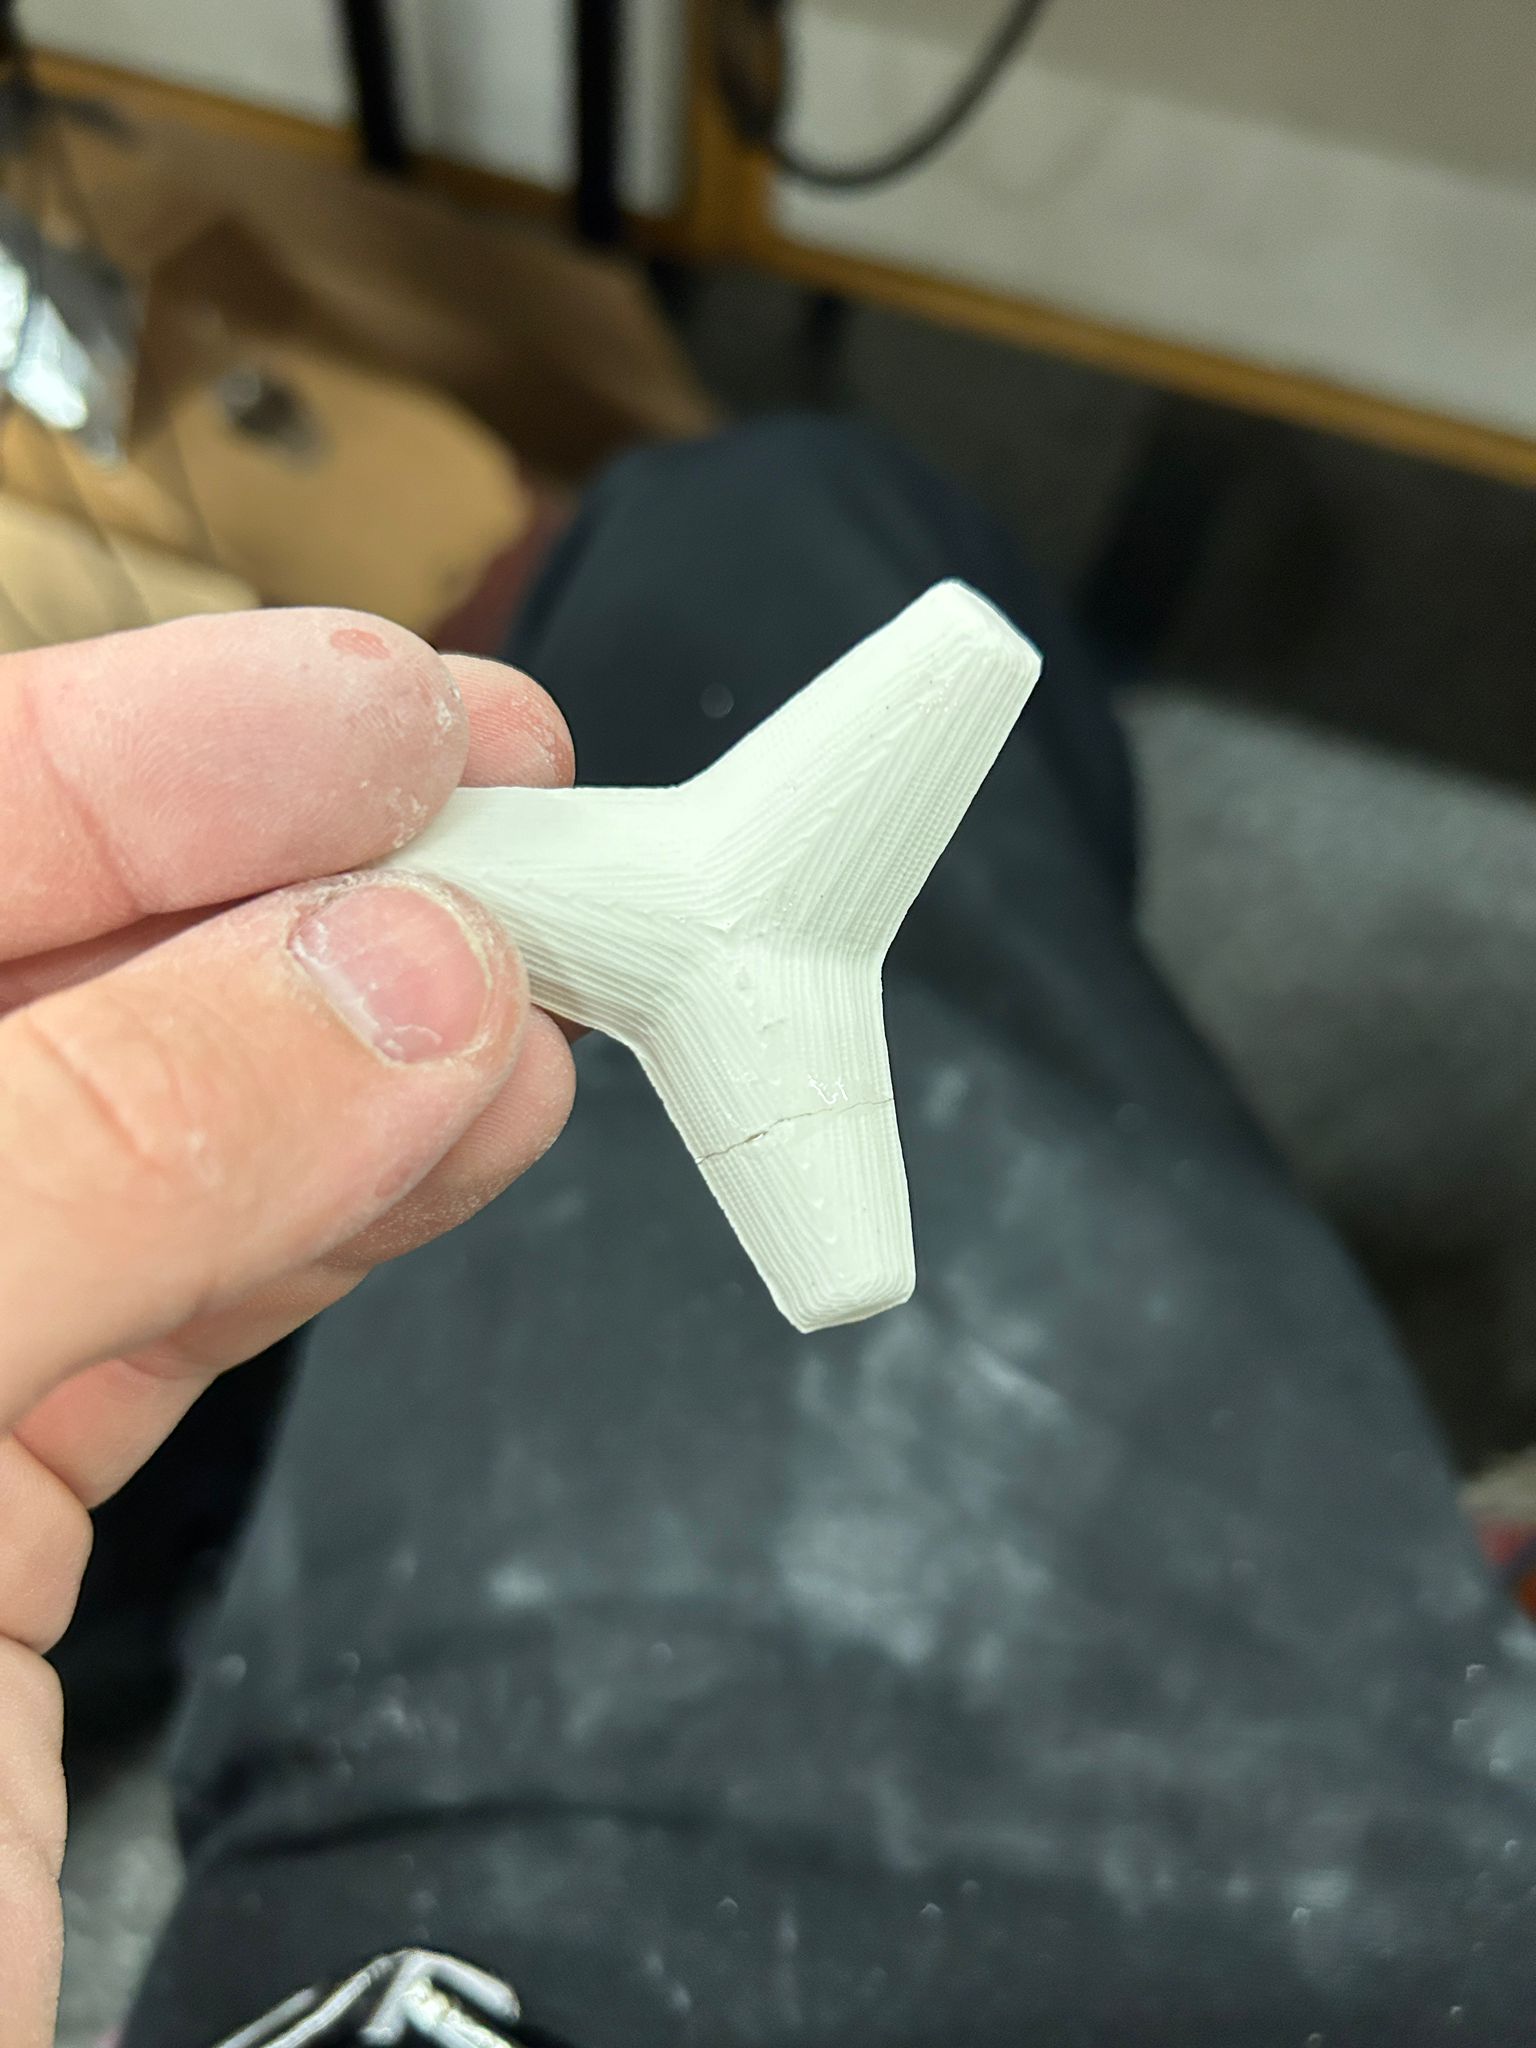
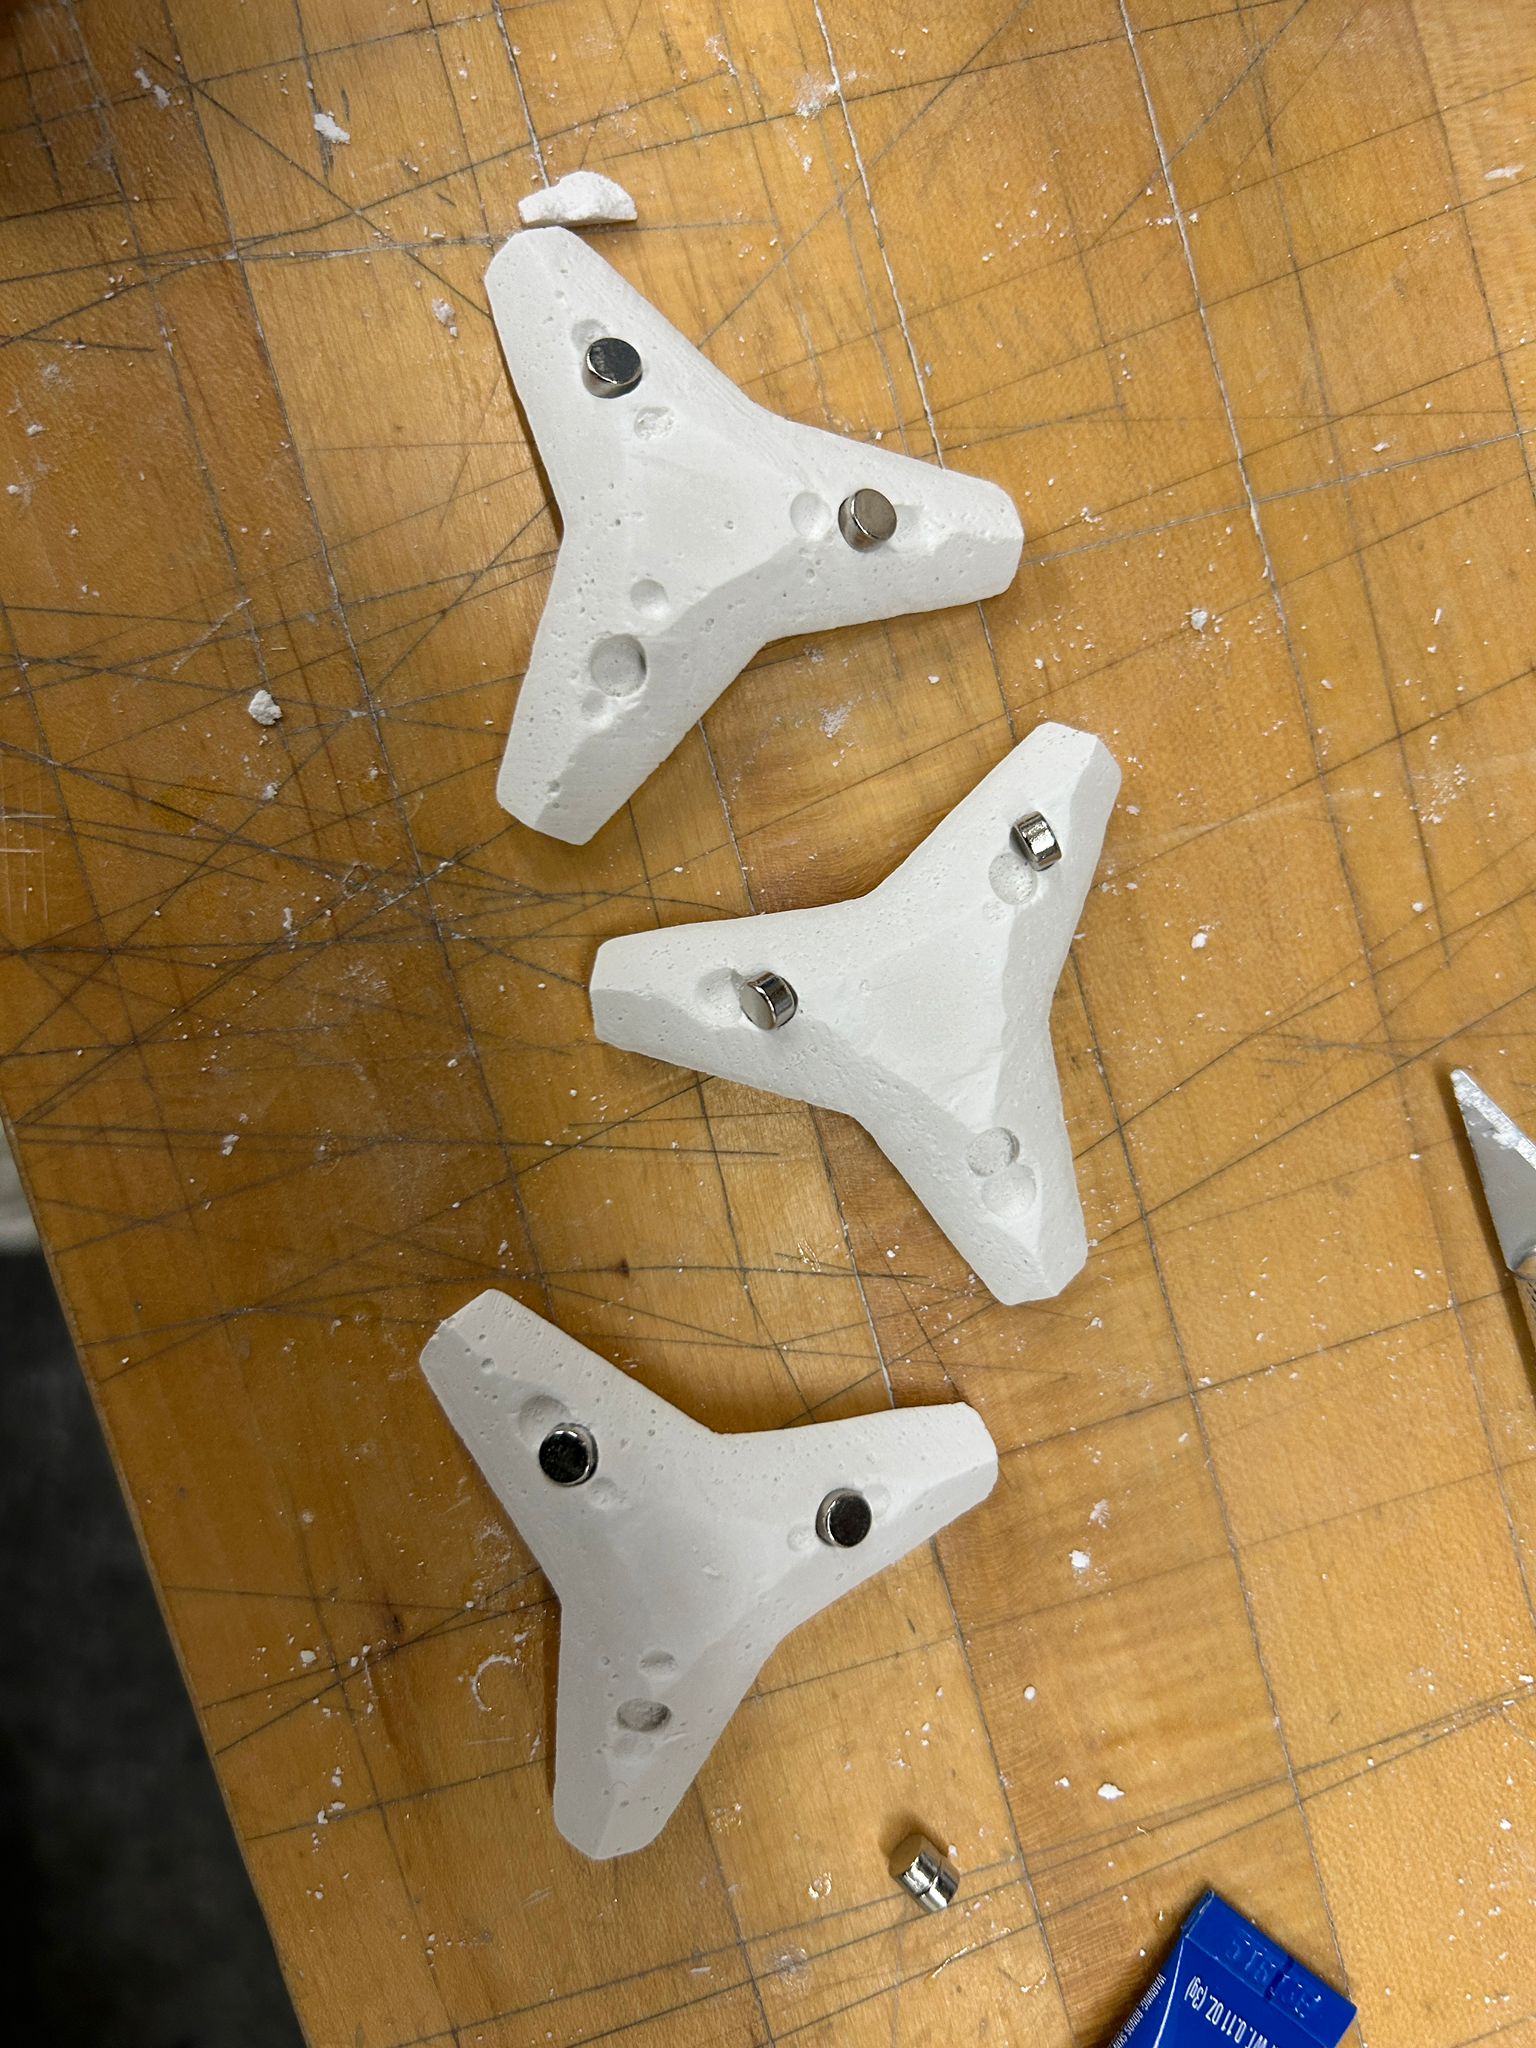
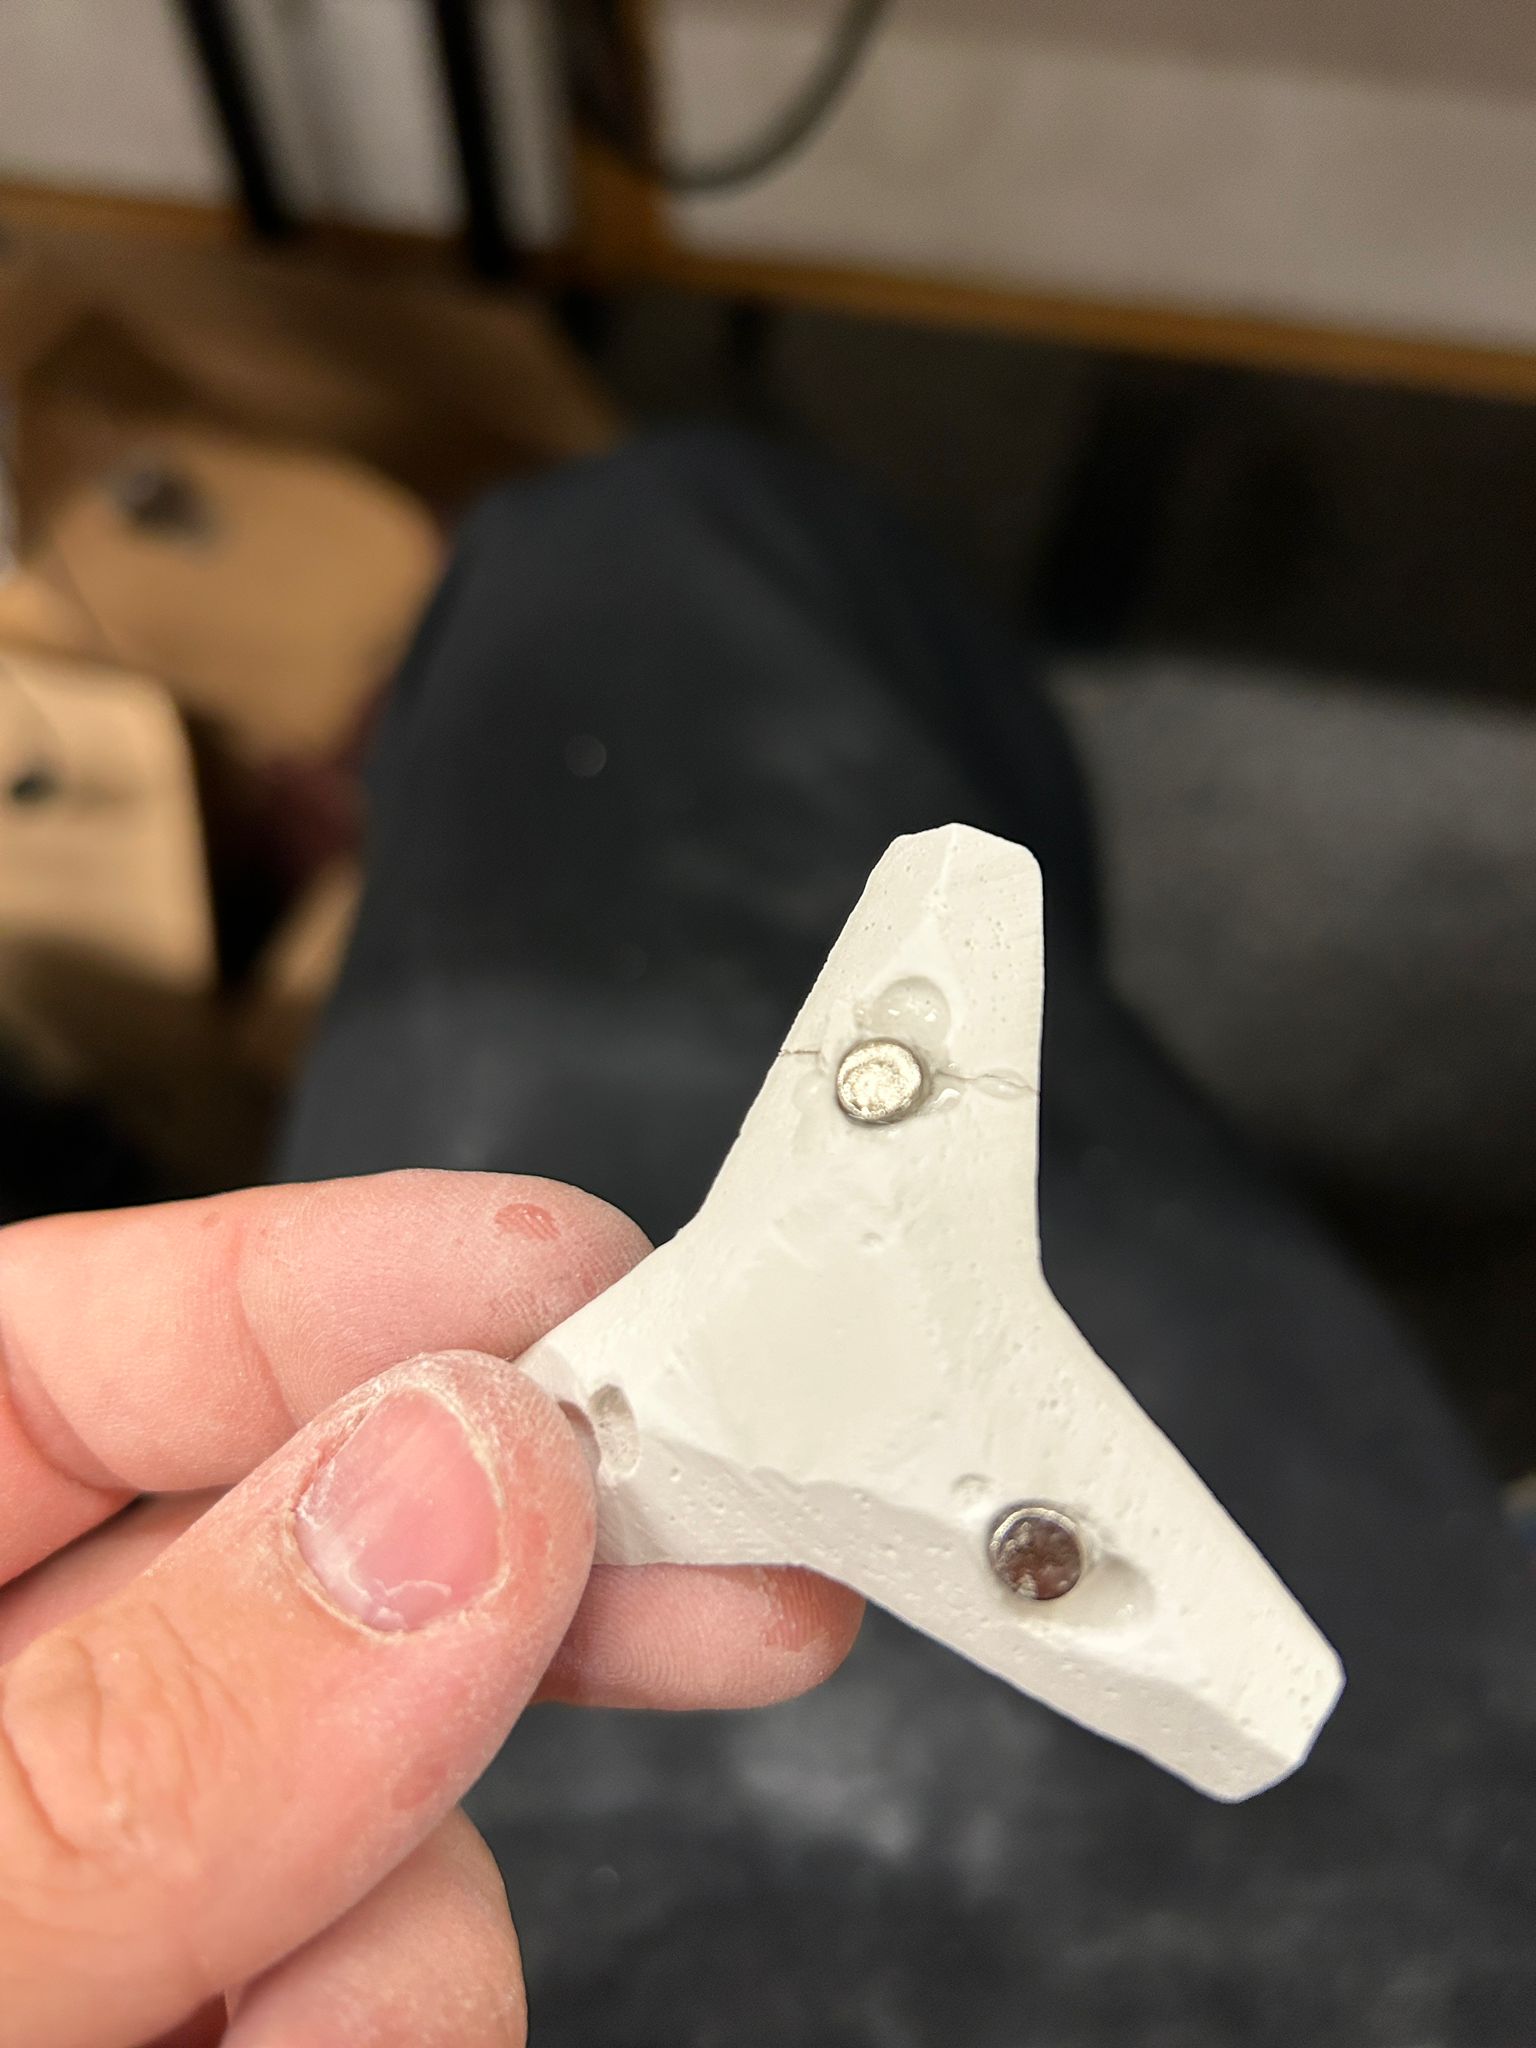
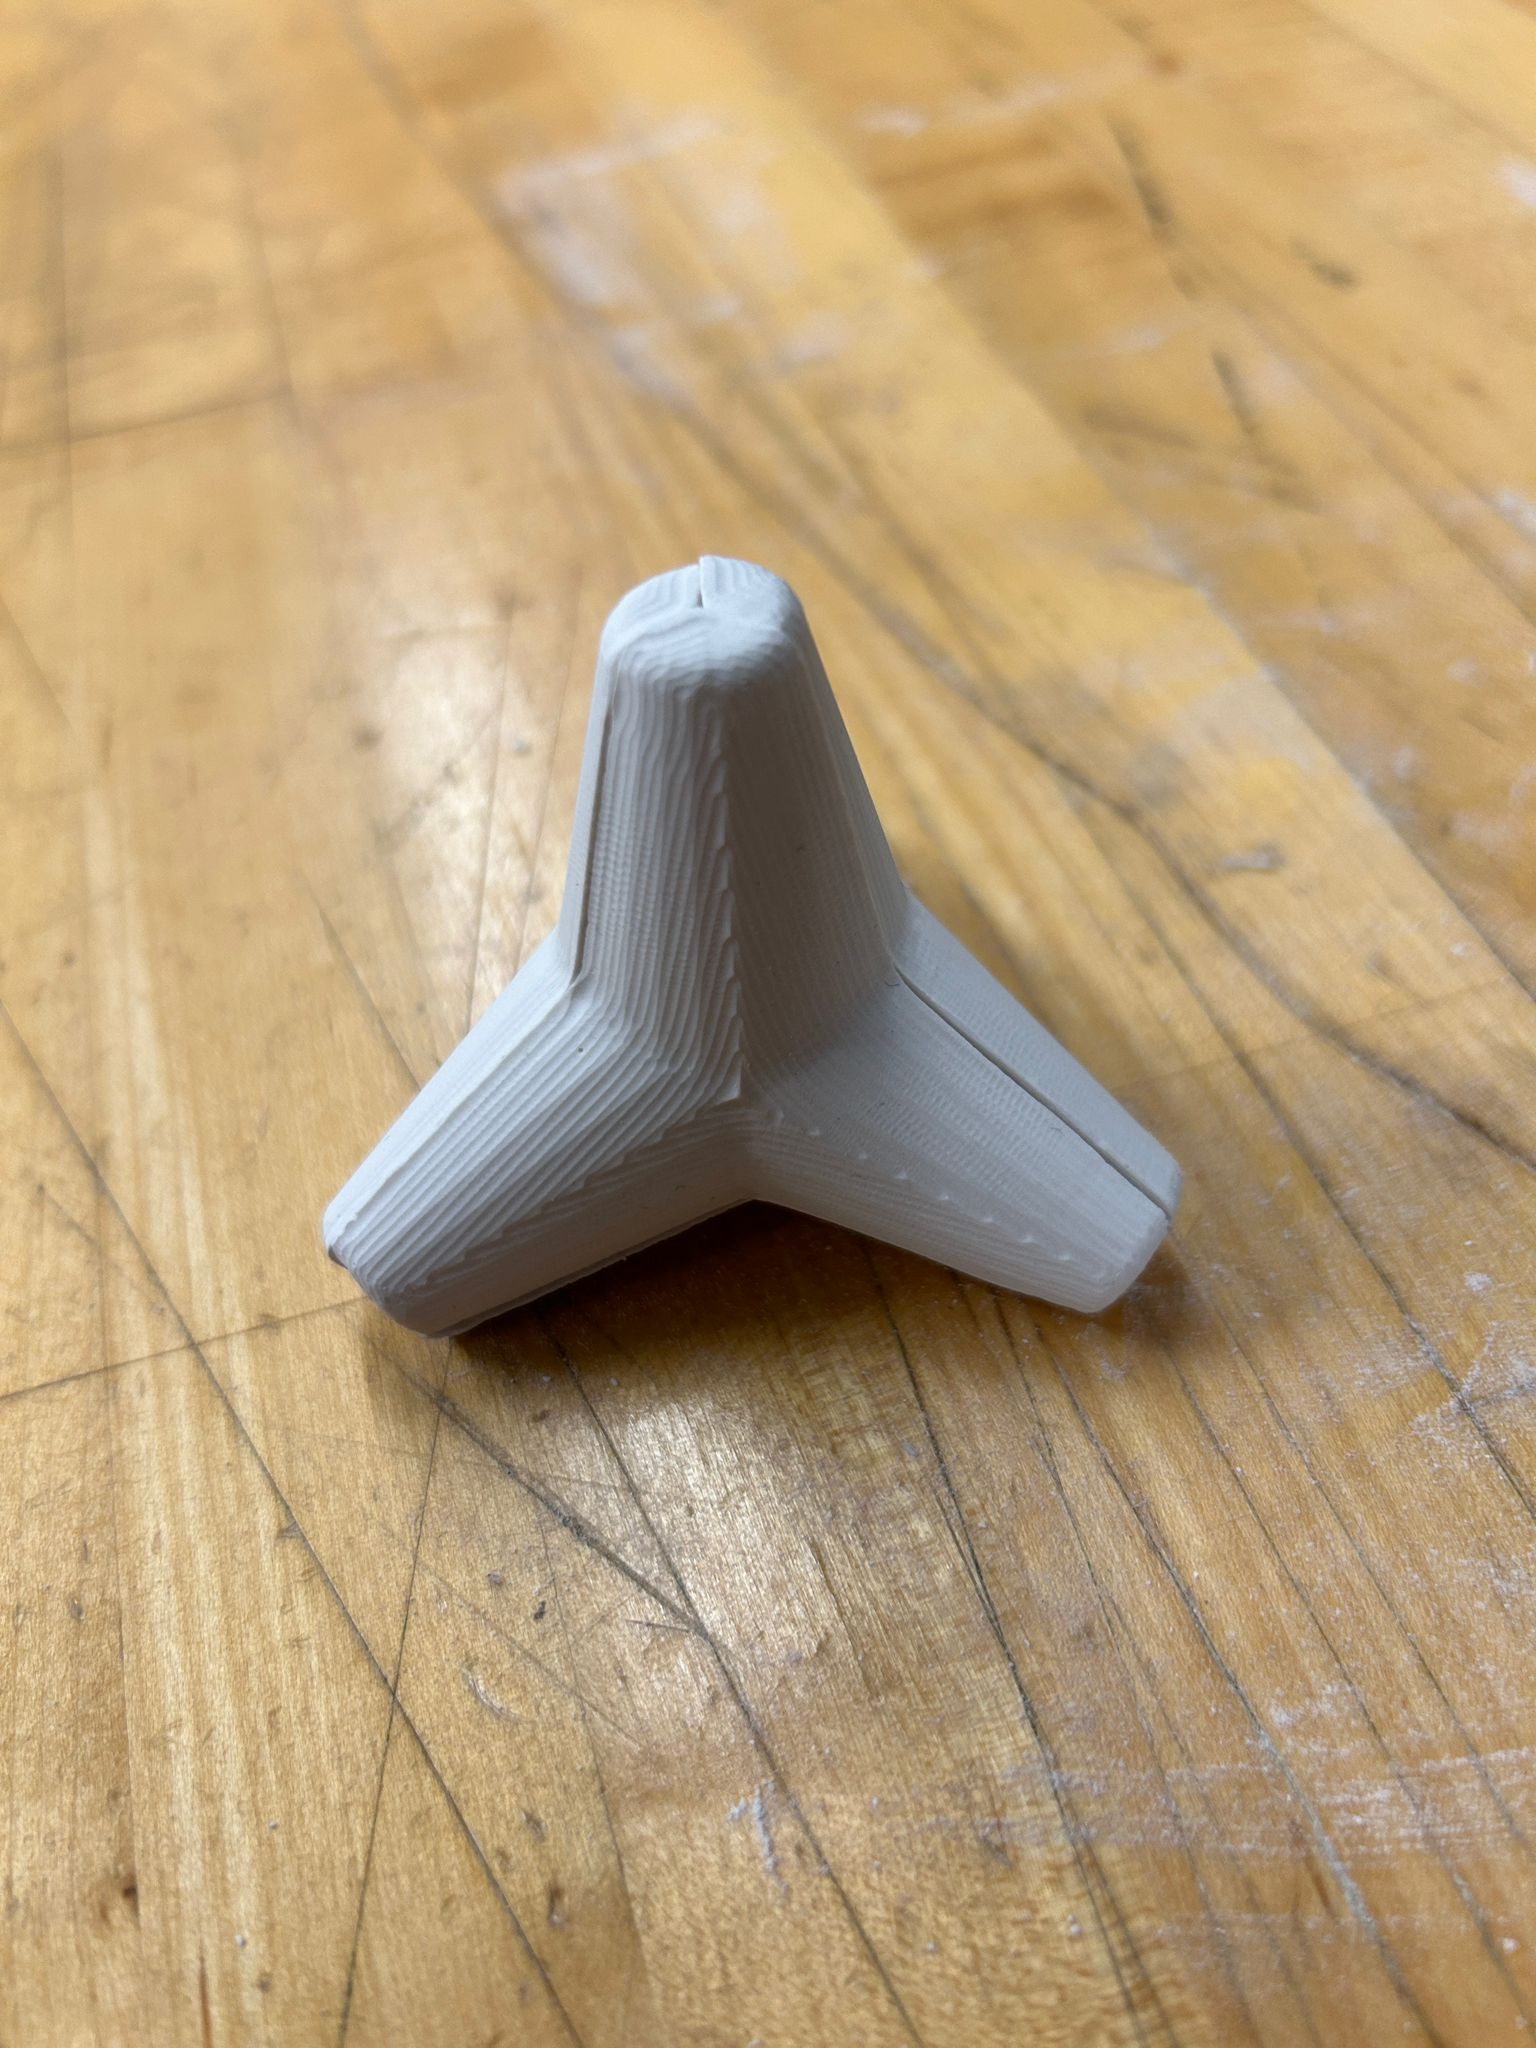
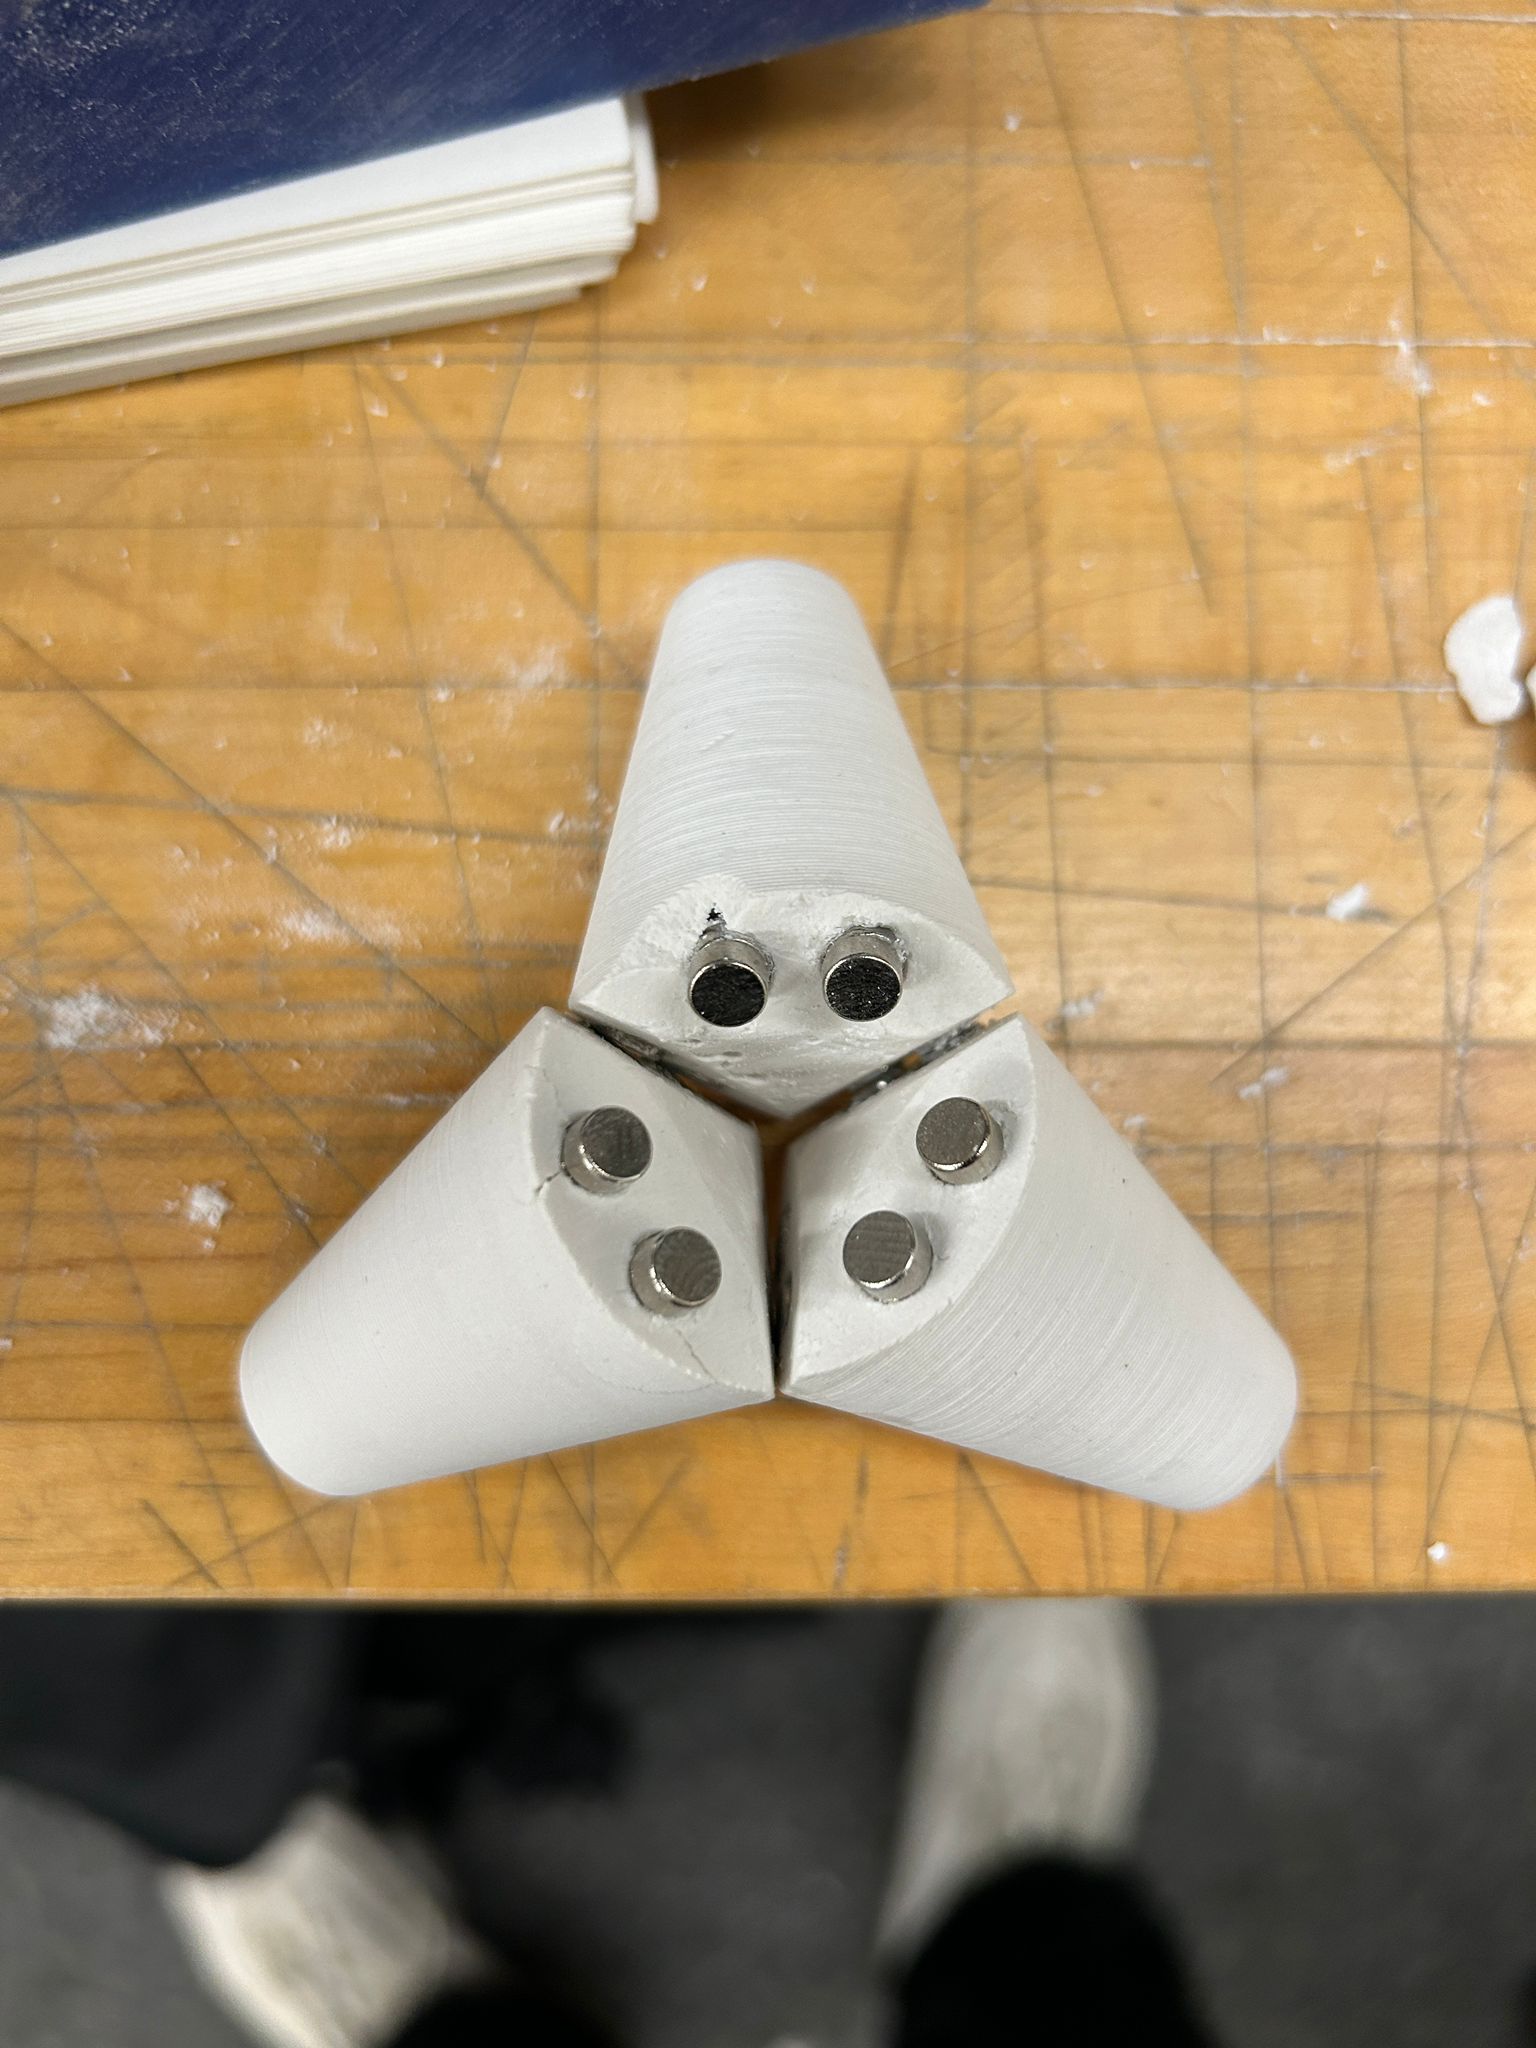
after casting the drystone, i was able to add the magnets, clear off the edges and assemble the parts
here are the results from the 3d printed part that i made the oomoo mold of:
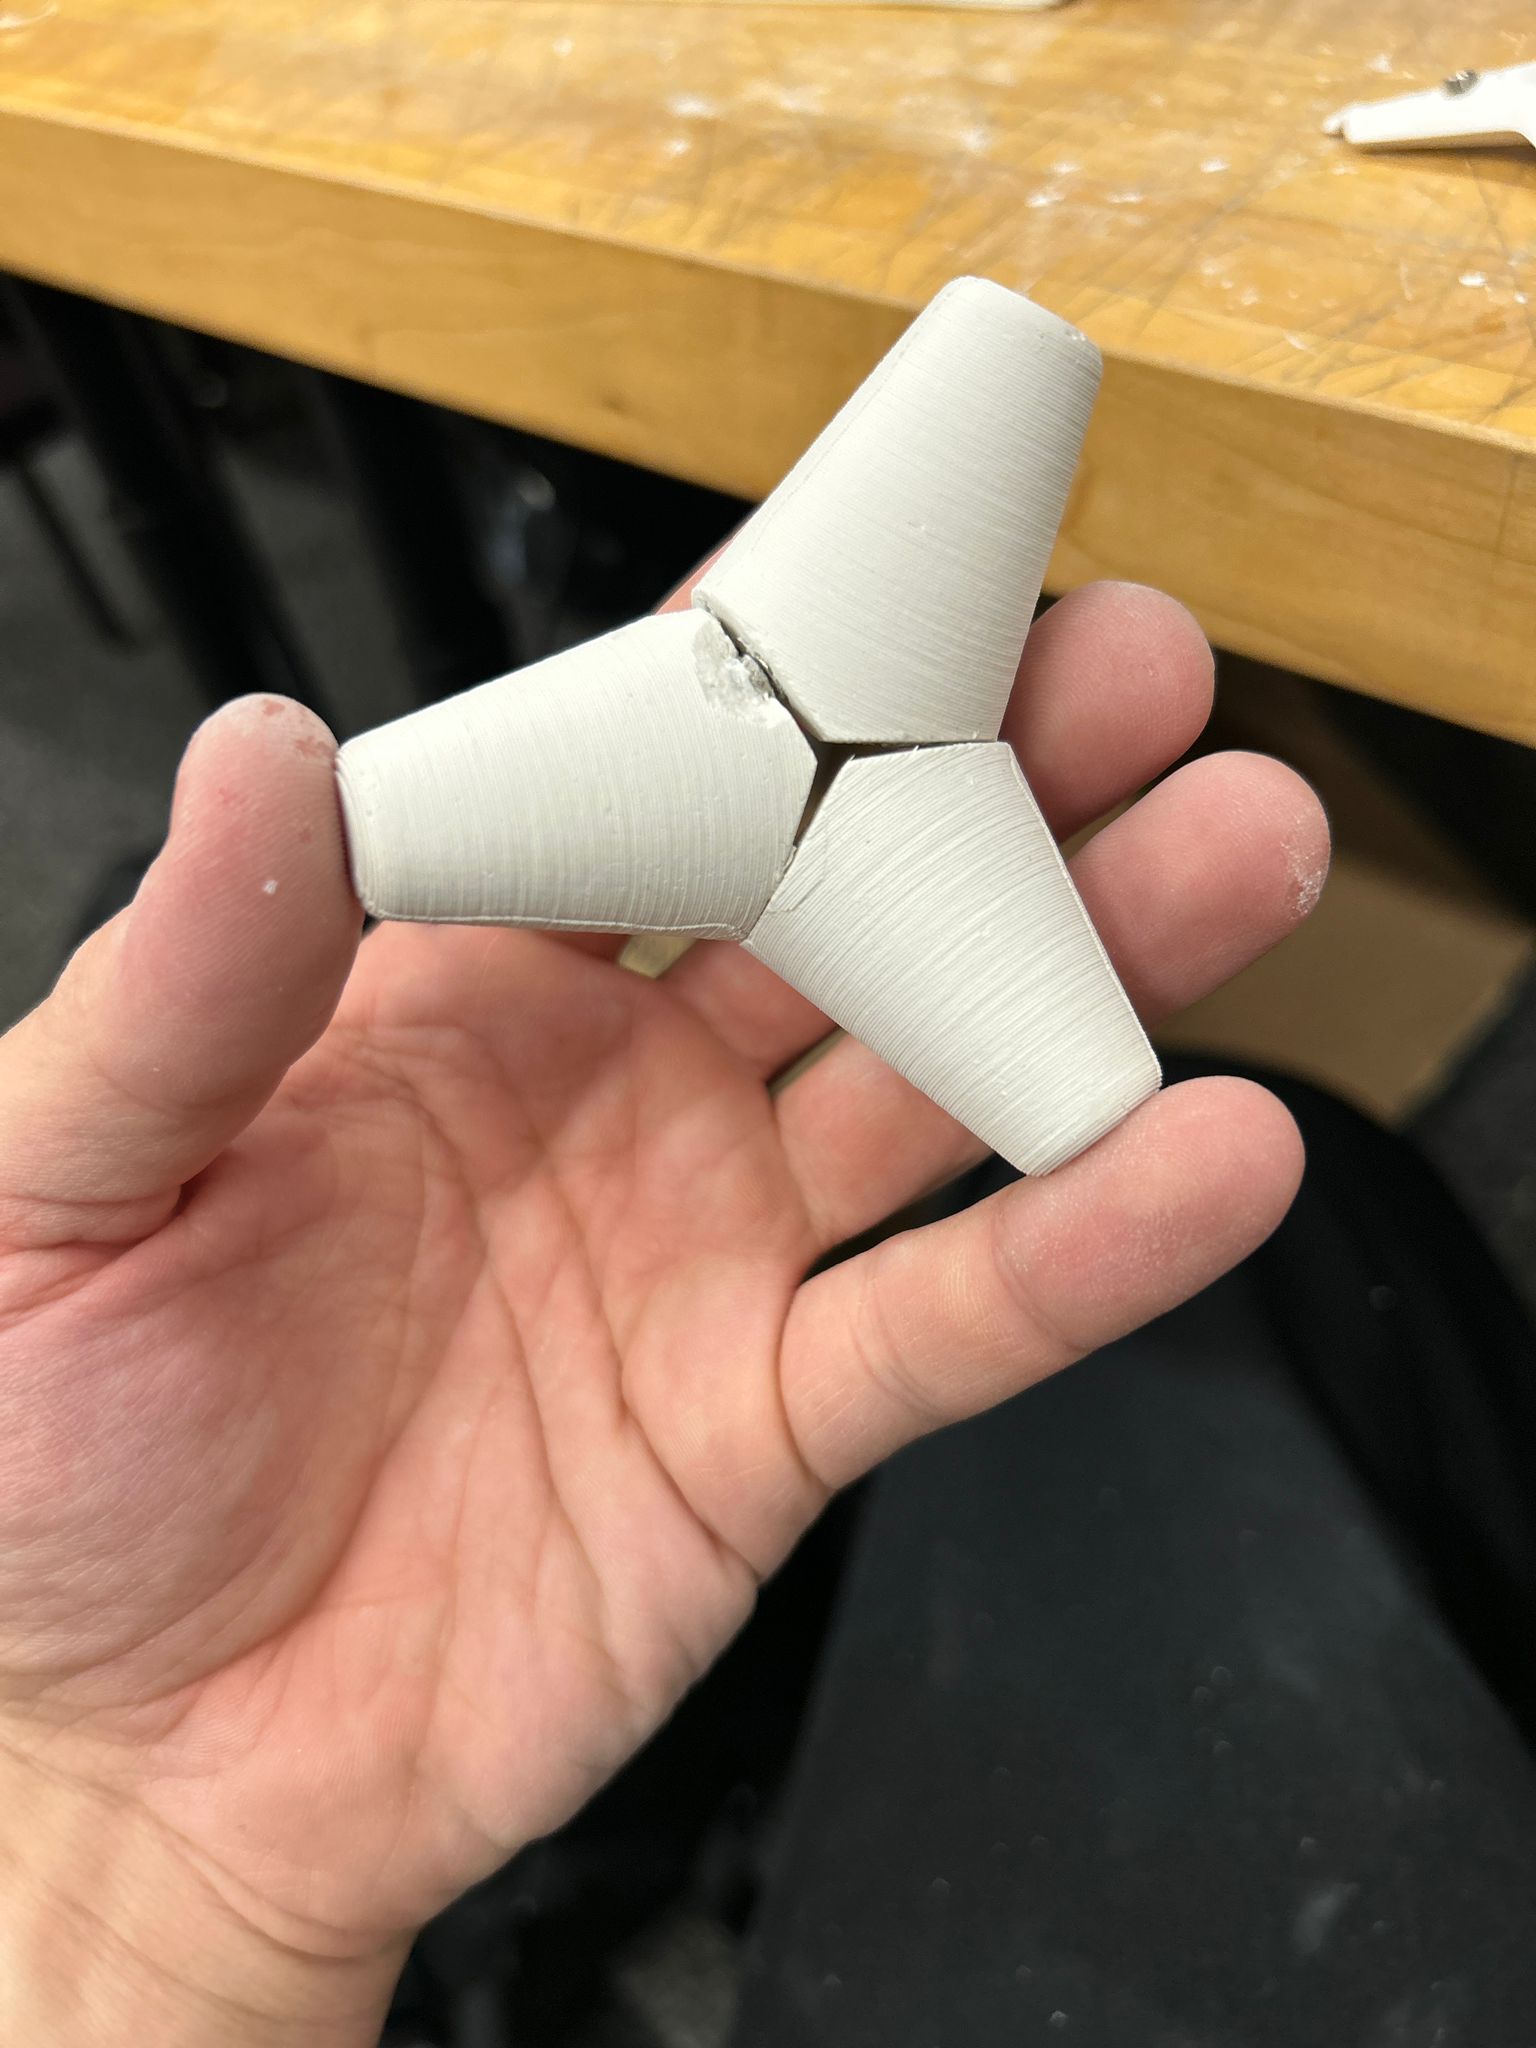
and here is the result of the wax mold: