| |
|
| |
 |
|
|
|
|
|
|
|
|
|
|
| |
HOW TO MAKE (ALMOST) ANYTHING MAS.863.12 |
|
|
|
|
|
PROJECTS |
ABOUT |
CONTACT |
|
|
| |
|
|
|
|
|
|
|
|
|
|
|
| |
| |
|
|
|
|
|
|
|
|
|
| |
 |
|
| |
|
|
| |
|
|
|
|
| COMPOSITES - week10 |
|
|
| This week we learned how to assemble a 3D mold, and lay up a fiber composite part in it. According to Kenny from the CBA, the materials we used was the 100% flax linen with the west systems 105, in a quasi-isotropic lay up, and an elastic modulus of ~4GPa.. Apparently, this performance would be similar to plywood. We learned to infuse fabrics with epoxy and cover objects to create light and strong shells. We used vacuum-forming. I decided to use a piece from my collaborative project, called Push-Pop. Gonglue Jiang and I 3D printed the shell earlier. It was a half sphere with holes on it. Covering a sphere with 2 dimensional plain seemed to be an interesting challenge. I found a paper, titled "Wrapping Spheres with Flat Paper" online and learned diverse methods such as k-petal wrappings. I ended up just randomly wrapping up the sphere though. The following pictures show the process of creating the composites structure. |
|
|
| |
|
|
 |
|
| |
|
|
|
|
 |
|
| |
 |
| |
|
|
|
|
| Vacuum-form |
|
|
| After mixing the epoxy and hardener(squeeze 5 times each, 1:1), I poured the mixture on the fabric thoroughly and carefully wrapped the sphere. Then I covered the structure, sealed all 4 sides, and vacuumed out all the air. It usually takes at least an hour before you can unwrap the structure. |
| |
|
|
 |
|
| |
|
|
|
|
 |
|
| |
|
|
|
|
| Unbagging |
|
| The unbagging process is pretty straight forward. Just as Kenny mentioned, it was similar to unwrapping Holiday gifts. Note: when you demold after a couple of hours, the part will still be a bit priable. It will take another day or twoto come to full strength and stiffness. |
|
| |
|
|
|
 |
|
| |
|
|
|
|
 |
|
 |
|
 |
| |
|
|
|
|

FINAL PROJECT PROPOSAL.
My ideas for the final project- week1
|
|
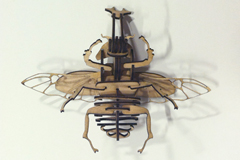
PRESS-FIT CONSTRUCTION KIT.
Learn how to make something using vinyl cutter and laser cutter - week2
|
|
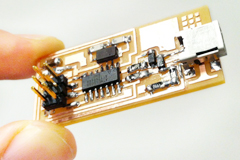
FAB ISP (IN-SYSTEM PROGRAMMER)
Learn how to make a custom PCB - week3 |
| |
|
|
|
|

3D SCANNING AND PRINTING.
Learn how to make 3D printed model - week4 |
|
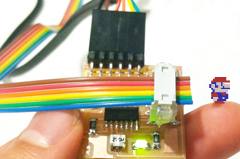
ELECTRONICS DESIGN.
Learn how to redraw the echo hello-world board - week5 |
|
MOLDING AND CASTING.
Learn how to design a 3D mold, machine it, and cast parts from it - week6 |
| |
|
|
|
|
EMBEDDED PROGRAMMING.
Learn how to program a custom board to do something - week7 |
|
MAKE SOMETHING BIG.
Learn how to make SOMETHING BIG through computer-controlled machining- week8 |
|
INPUT DEVICES.
Learn how to add sensor to a microcontroller board and read it - week9 |
| |
|
|
|
|
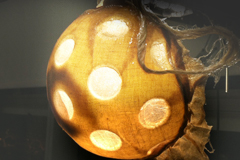
COMPOSITES.
Learn how to assemble a 3D mold, and lay up a fiber composite part in it - week10 |
|
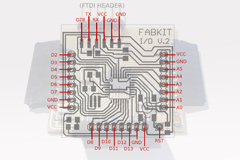
OUTPUT DEVICES.
Learn how to add an output device to a microcontroller board and program it to do something - week11 |
|
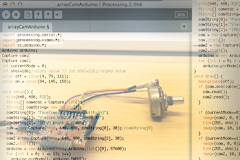
INTERFACE AND APPLICATION PROGRAMMING.
Learn how to write an application that interfaces with an input &/or output device - week12 |
| |
|
|
|
|
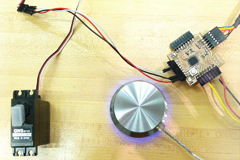
NETWORKING AND COMMUNICATIONS.
Learn how to build a wired &/or wireless network with at least two nodes - week13 |
|
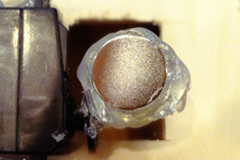
MECHANICAL/MACHINE DESIGN.
Learn how to design or modify a machine and automate the machine - week14 |
|
FINAL PROJECT.
My final project for How To Make (almost) Anything - week15, 16 |
| |
|
|
|
|

MAS.863
Learn about the How To Make (almost) Anything course at MIT |
|
|
|
|
| |
|
|
|
|
 |
|
 |
|
 |
| |
|
Copyright © 2012 by AUSTIN S. LEE |
|
|
| |
|
|
|
|
| |
|
| |
|
|
|


