| HOW TO MAKE (ALMOST) ANYTHING MAS.863.12 |
|
PROJECTS | ABOUT | CONTACT | ||||||||
 |
||||||||||||
|
|
|||||||||||
| MOLDING AND CASTING- week6 | ||||||||||||
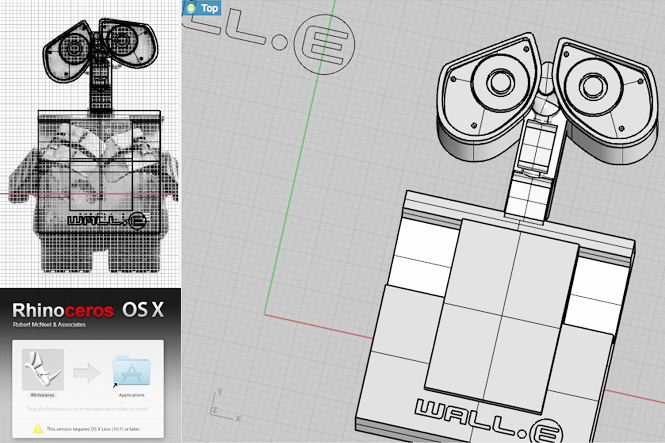
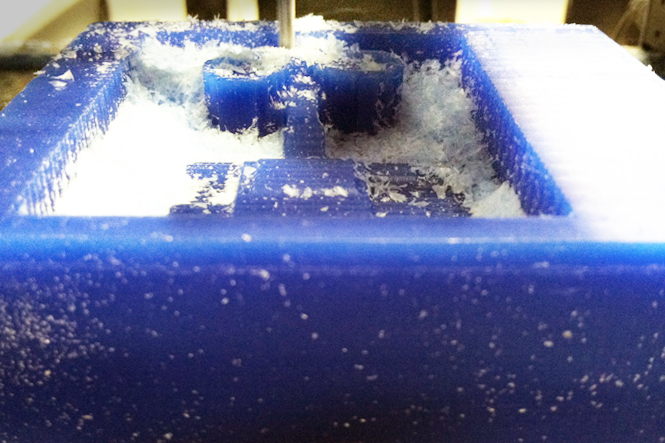
| This week I made Wall-E the robot through molding and casting. I used Modela Player4 software to run the modela machine. My first step was to use Rhino OSX for the virtual 3D modeling. As I have mentioned earlier in week 2, the Rhino for Mac is still in Beta version, which means that it is available for free download to any mac users. One problem is that you have to re-download and reinstall the most up-to-date version of Rhino frequently. Sam Luescher, my typography guru friend from Switzerland mentioned that most Sci-fi movie fonts are based on Bank Gothic. Turns out that Wall-E's logo was also based on Bank Gothic font family. Once I created the logo, I imported the AI file in my rhino and extruded the logo and merged them with my other 3D modeling. Once I was done with the modeling I resized the positive 3D model to fit inside a 3 by 3 inch cube (Our modeling wax was around that size). You can download my final stl file here. Steps on using Modela Player for 3D cutting: 1. Place the modeling wax on the metal plate using gluegun. 2. Run Modela Player, go to set menu and click model and check size of your file. 3. Go to set>new process. First check roughing path top form the z, next choose tool ball end 0.125 soft surface milling. 3. Partial area crop and depth. Make sure you select modeling wax for your material. 4. Check preview on the bottom right corner of the interface. Check simulation>estimate time. 5. Set>new process, select finishing path and go through the same procedure. 6. Cut! |
||||||||||||
 |
||||||||||||
 |
||||||||||||
 |
||||||||||||
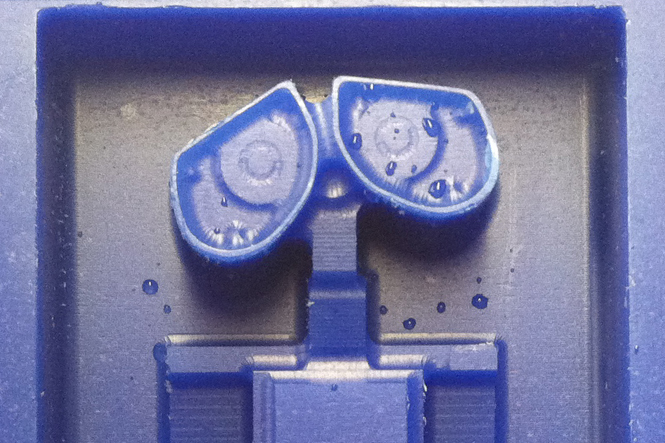
| Silicone & Gypsum Cement | ||||||||||||
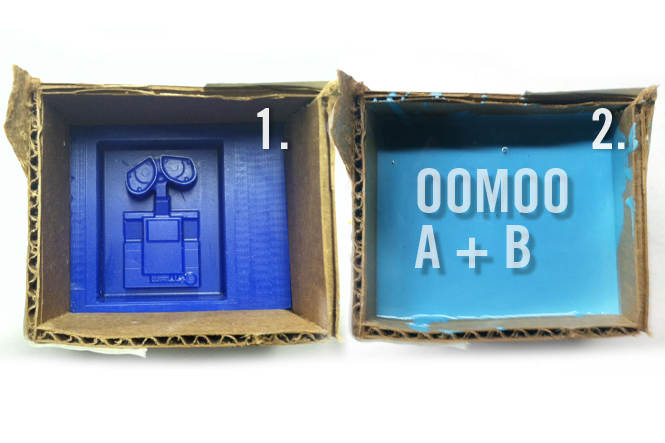
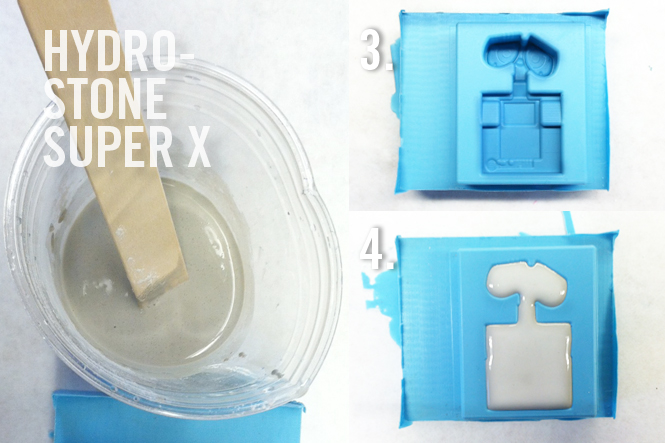
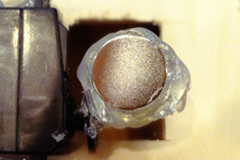
| Once the cutting was finished, I prepared my modeling wax for the silicone pouring by taping pieces of cardboard around it. Following the instructions on the oomoo silicone rubber's package, I mixed oomoo part A(blue bottle) with oomoo part B(yellow bottle) with equal amount and poured the liquid rubber on top of my prepared modeling wax. Some say it takes 2 hours to dry up but others say 4 hours. I left mine throughout the whole night. Once the silicone was ready for casting, I needed to prepare my gypsum cement. I blended 100 parts of Hydro-stone super x powder to 22 parts water, and then carefully poured the mixture from the bottom middle of my silicone mold. Approximate setting time was 20 minutes. | ||||||||||||
 |
||||||||||||
 |
||||||||||||
|
|
|||||||||||
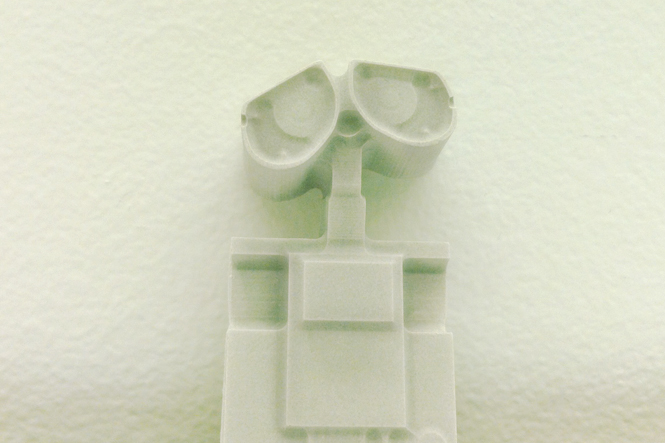
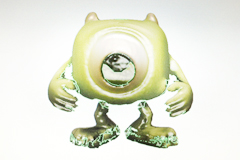
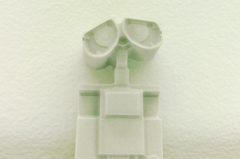
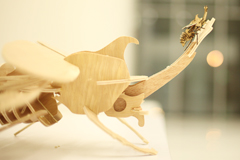
| Result | ||||||||||||
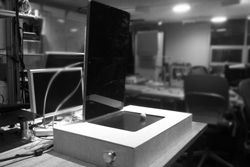
| I was surprised by the detailed quality of the final result. Relative to 3D printing, molding and casting was low cost and less time consuming. If it is possible, I would like to try creating Wall-E ice cubes in the future. The following image was shot at the Tangible Media Group's sand-scape demo area. | ||||||||||||
 |
||||||||||||
FINAL PROJECT PROPOSAL.
My ideas for the final project- week1 |
PRESS-FIT CONSTRUCTION KIT.
Learn how to make something using vinyl cutter and laser cutter - week2 |
FAB ISP (IN-SYSTEM PROGRAMMER) Learn how to make a custom PCB - week3 |
||||||||||
3D SCANNING AND PRINTING. Learn how to make 3D printed model - week4 |
ELECTRONICS DESIGN. Learn how to redraw the echo hello-world board - week5 |
MOLDING AND CASTING. Learn how to design a 3D mold, machine it, and cast parts from it - week6 |
||||||||||
EMBEDDED PROGRAMMING. Learn how to program a custom board to do something - week7 |
MAKE SOMETHING BIG. Learn how to make SOMETHING BIG through computer-controlled machining- week8 |
INPUT DEVICES. Learn how to add sensor to a microcontroller board and read it - week9 |
||||||||||
COMPOSITES. Learn how to assemble a 3D mold, and lay up a fiber composite part in it - week10 |

OUTPUT DEVICES. Learn how to add an output device to a microcontroller board and program it to do something - week11 |
INTERFACE AND APPLICATION PROGRAMMING. Learn how to write an application that interfaces with an input &/or output device - week12 |
||||||||||
NETWORKING AND COMMUNICATIONS. Learn how to build a wired &/or wireless network with at least two nodes - week13 |
MECHANICAL/MACHINE DESIGN. Learn how to design or modify a machine and automate the machine - week14 |
FINAL PROJECT. My final project for How To Make (almost) Anything - week15, 16 |
||||||||||

MAS.863 Learn about the How To Make (almost) Anything course at MIT |
||||||||||||
| Copyright © 2012 by AUSTIN S. LEE | ||||||||||||