| HOW TO MAKE (ALMOST) ANYTHING MAS.863.12 |
|
PROJECTS | ABOUT | CONTACT | |||||||||||||||||||||||||||||||
 |
|||||||||||||||||||||||||||||||||||
|
|
||||||||||||||||||||||||||||||||||
| INPUT DEVICES - week9 | |||||||||||||||||||||||||||||||||||
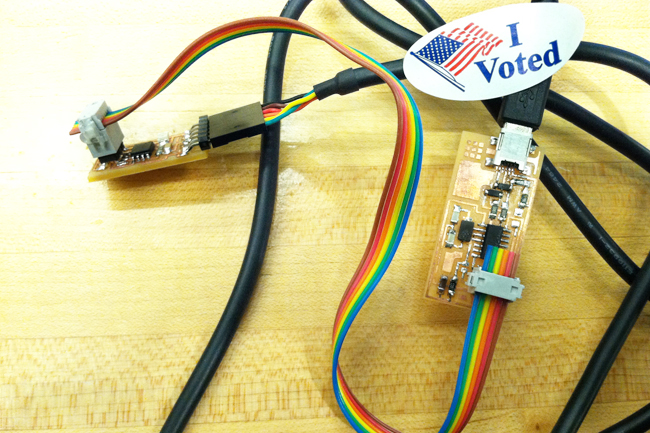
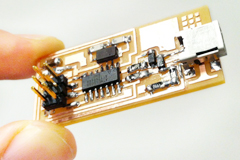
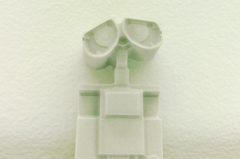
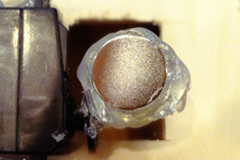
| This week I made the phototransistor board based on Fab resources. Milling and stuffing was same as usual. I believe I haven't mentioned in the earlier documentations on how it is good to rinse off the surface in water after the milling is done. The first attempt of my stuffing had some bug so I had to reflow the board. As mentioned in my week3 documentation, applying flux on each of the soldered parts was helpful when I created flows on the board. I used heatgun to desolder the header and re-soldered it back. Using heatgun for desoldering is pretty straightforward. You simply have to hold on to the component you want to desolder with a tweezer and the heatgun will do the rest. Once I was done debugging my board, I connected it to my fab ISP for programming. | |||||||||||||||||||||||||||||||||||
 |
|||||||||||||||||||||||||||||||||||
 |
|||||||||||||||||||||||||||||||||||
 |
|||||||||||||||||||||||||||||||||||
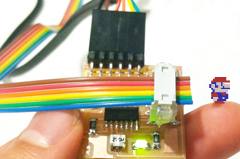
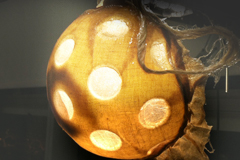
| Programming And The Result | |||||||||||||||||||||||||||||||||||
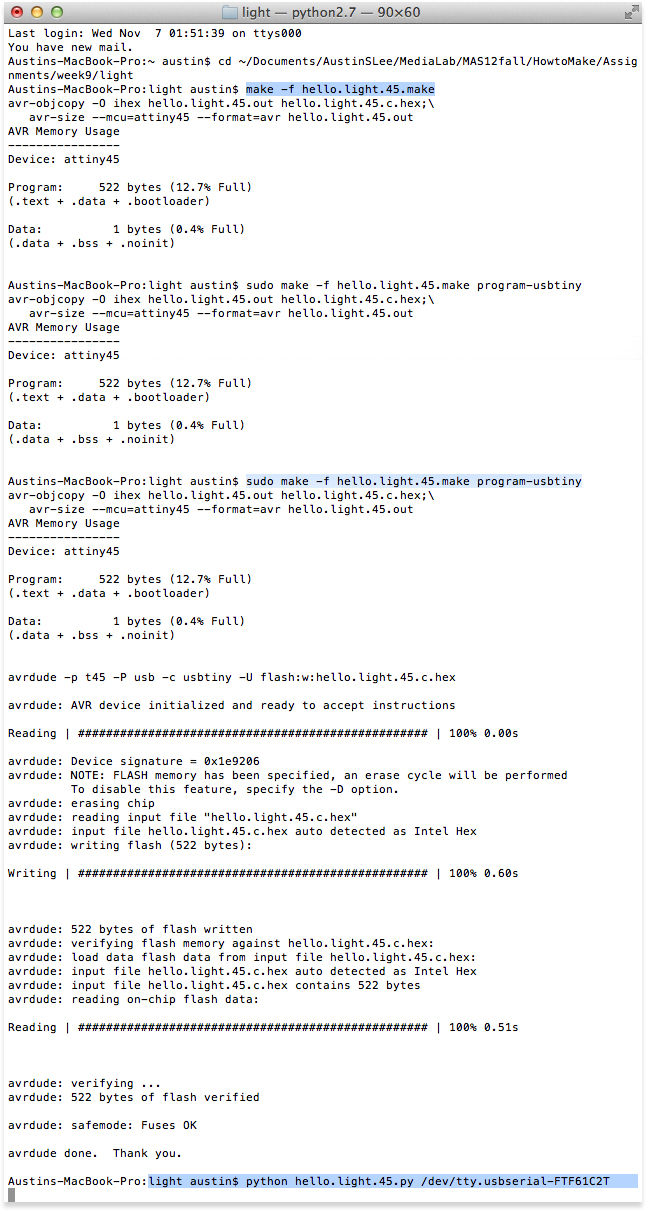
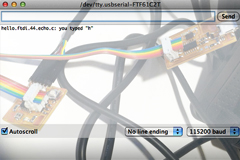
| I used C to run the sample phototransistor board. I've got to thank Dan Sawada for helping me learn how to apply the right usbserial number for the interaction. First run the terminal and go to the folder where you've saved the following files. Then type: (make -f hello.light.45.make), then type: (sudo make -f hello.light.45.make program-usbtiny), lastly type: (python hello.light.45.py /dev/tty.usbserial-FTF61C2T) Once you type in the last line, the system will start running. Here you can download the files you need to create the light sensor. | |||||||||||||||||||||||||||||||||||
 |
|||||||||||||||||||||||||||||||||||
|
|
||||||||||||||||||||||||||||||||||
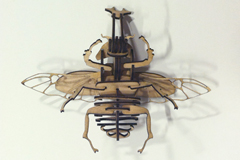
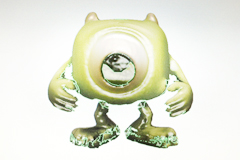
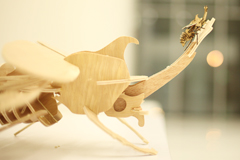
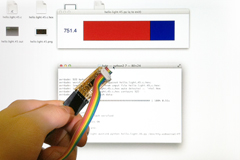
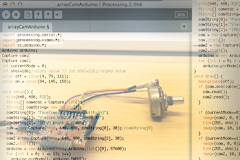
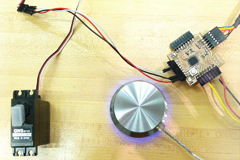
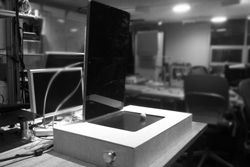
| Exploration Towards The Final Project | |||||||||||||||||||||||||||||||||||
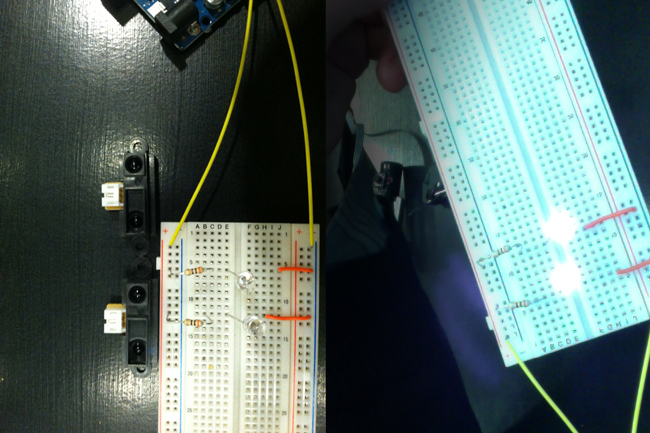
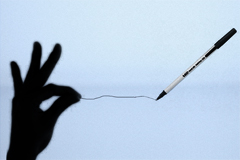
| I have done some experiments during the weekend to develop a prototype that demonstrates some of the features for my final project. As of now, I am using linear potentiometer to move the virtual content. However, for future stage, I plan to use IR sensor technology. I may create and use the fab-arduino for the project. | |||||||||||||||||||||||||||||||||||
 |
|||||||||||||||||||||||||||||||||||
FINAL PROJECT PROPOSAL.
My ideas for the final project- week1 |
PRESS-FIT CONSTRUCTION KIT.
Learn how to make something using vinyl cutter and laser cutter - week2 |
FAB ISP (IN-SYSTEM PROGRAMMER) Learn how to make a custom PCB - week3 |
|||||||||||||||||||||||||||||||||
3D SCANNING AND PRINTING. Learn how to make 3D printed model - week4 |
ELECTRONICS DESIGN. Learn how to redraw the echo hello-world board - week5 |
MOLDING AND CASTING. Learn how to design a 3D mold, machine it, and cast parts from it - week6 |
|||||||||||||||||||||||||||||||||
EMBEDDED PROGRAMMING. Learn how to program a custom board to do something - week7 |
MAKE SOMETHING BIG. Learn how to make SOMETHING BIG through computer-controlled machining- week8 |
INPUT DEVICES. Learn how to add sensor to a microcontroller board and read it - week9 |
|||||||||||||||||||||||||||||||||
COMPOSITES. Learn how to assemble a 3D mold, and lay up a fiber composite part in it - week10 |

OUTPUT DEVICES. Learn how to add an output device to a microcontroller board and program it to do something - week11 |
INTERFACE AND APPLICATION PROGRAMMING. Learn how to write an application that interfaces with an input &/or output device - week12 |
|||||||||||||||||||||||||||||||||
NETWORKING AND COMMUNICATIONS. Learn how to build a wired &/or wireless network with at least two nodes - week13 |
MECHANICAL/MACHINE DESIGN. Learn how to design or modify a machine and automate the machine - week14 |
FINAL PROJECT. My final project for How To Make (almost) Anything - week15, 16 |
|||||||||||||||||||||||||||||||||

MAS.863 Learn about the How To Make (almost) Anything course at MIT |
|||||||||||||||||||||||||||||||||||
| Copyright © 2012 by AUSTIN S. LEE | |||||||||||||||||||||||||||||||||||