| |
|
| |
 |
|
|
|
|
|
|
|
|
|
|
| |
HOW TO MAKE (ALMOST) ANYTHING MAS.863.12 |
|
|
|
|
|
PROJECTS |
ABOUT |
CONTACT |
|
|
| |
|
|
|
|
|
|
|
|
|
|
|
| |
| |
|
|
|
|
|
|
|
|
|
| |
 |
|
| |
|
|
| |
|
|
|
|
| MAKE SOMETHING BIG - week8 |
|
|
| This week I was able to use the shop-bot. For the assignment, I decided to make a bigger version of the beetle that I previously designed. First, I had to modify the thickness of each parts and also the 2 dimensional size. Instead of modifying the Rhino file, I went straight to my illustrator file. In my file, I had an additional layer that had the entire vector image of each joints. Click here to download my AI file I created. I modified the size of the gap instantly by changing the strokes of these vector images simultaneously. Once I prepared my file, Tom gave me advise on how we can create the laser-cut beetle's older brother. |
|
|
| |
|
|
 |
|
| |
|
|
|
|
 |
|
| |
 |
| |
|
|
|
|
| ShopBot |
|
|
| One important step was to properly secure my material on the shopbot surface. Once I screwed my wooden board on to the surface, Tom helped me Z the machine. Here is a good tutorial on how to use the shopbot. A crucial mistake I made was the size of my final parts. Apparently, shopbots are mainly used to cut out bigger pieces and my design was actually too small for the machine. Some of the smaller parts got sucked in towards the endmill. I had to click pause several times. Some of the parts were partially destroyed but I managed to build the beetle. |
| |
|
|
 |
|
| |
|
|
|
|
 |
|
| |
|
|
|
|
| Result |
|
| I was surprised by the detailed quality of the final result. It was definitely an easier build compared to the laser-cut version. I used wood-glue to make the structure more robust. |
|
| |
|
|
|
 |
|
| |
|
|
|
|
 |
|
 |
|
 |
| |
|
|
|
|
FINAL PROJECT PROPOSAL.
My ideas for the final project- week1
|
|
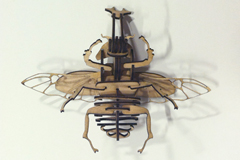
PRESS-FIT CONSTRUCTION KIT.
Learn how to make something using vinyl cutter and laser cutter - week2
|
|
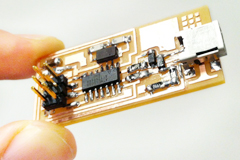
FAB ISP (IN-SYSTEM PROGRAMMER)
Learn how to make a custom PCB - week3 |
| |
|
|
|
|
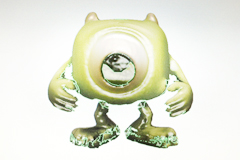
3D SCANNING AND PRINTING.
Learn how to make 3D printed model - week4 |
|
ELECTRONICS DESIGN.
Learn how to redraw the echo hello-world board - week5 |
|
MOLDING AND CASTING.
Learn how to design a 3D mold, machine it, and cast parts from it - week6 |
| |
|
|
|
|
EMBEDDED PROGRAMMING.
Learn how to program a custom board to do something - week7 |
|
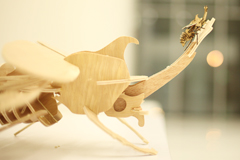
MAKE SOMETHING BIG.
Learn how to make SOMETHING BIG through computer-controlled machining- week8 |
|
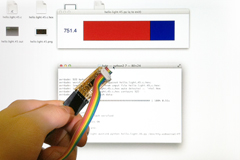
INPUT DEVICES.
Learn how to add sensor to a microcontroller board and read it - week9 |
| |
|
|
|
|
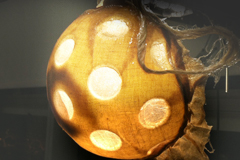
COMPOSITES.
Learn how to assemble a 3D mold, and lay up a fiber composite part in it - week10 |
|
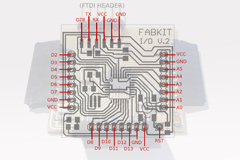
OUTPUT DEVICES.
Learn how to add an output device to a microcontroller board and program it to do something - week11 |
|
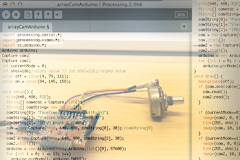
INTERFACE AND APPLICATION PROGRAMMING.
Learn how to write an application that interfaces with an input &/or output device - week12 |
| |
|
|
|
|
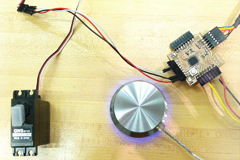
NETWORKING AND COMMUNICATIONS.
Learn how to build a wired &/or wireless network with at least two nodes - week13 |
|
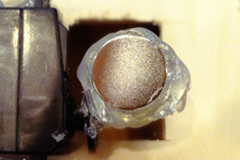
MECHANICAL/MACHINE DESIGN.
Learn how to design or modify a machine and automate the machine - week14 |
|
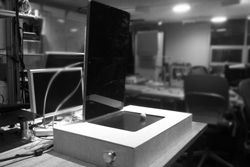
FINAL PROJECT.
My final project for How To Make (almost) Anything - week15, 16 |
| |
|
|
|
|

MAS.863
Learn about the How To Make (almost) Anything course at MIT |
|
|
|
|
| |
|
|
|
|
 |
|
 |
|
 |
| |
|
Copyright © 2012 by AUSTIN S. LEE |
|
|
| |
|
|
|
|
| |
|
| |
|
|
|


