This week I wanted to experiment with cement additives in order to make composites with Hydrostone. My goal was to explore ways to improve Hydrostone and complete my “something big” project from two weeks ago.
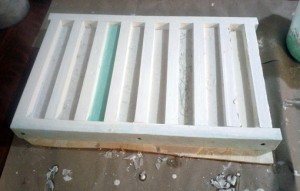
For the experimental phase, I decided to make simple column forms that are the same size as the edges of my cube design (1.5″ x 1.5″ x 12″). I made a pretty low-tech assembly for this: I cut leftover foam pieces with the bandsaw to form the dividers and glued and screwed them to a piece of scrap wood. To match my existing molds, I covered them with two coats of gesso.
For additives, I did some reading and brainstorming. I decided on:
- Linen pieces (approximately 1/2″ x 1/2″)
- Grass
- Blue foam bits
- Milk
- Food coloring (just for fun)
I focused on available and natural additives. I wanted to try aluminum powder, but couldn’t get it in time (and didn’t want to show up on terrorist watch lists). The milk one is pretty strange: I read online that ancient Romans used to add it to cement, so it seemed worth a shot. I used heavy whipping cream for maximum strength.
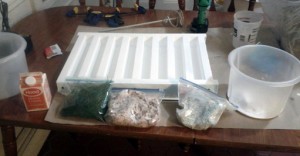
Here’s the testbed and additives ready to go:
I mixed the Hydrostone, but added more water because I wanted the additives to soak a bit better. It ended up being close to 1.5:1 by weight (the recommendation is 3:1 in favor of Hydrostone). I used a mixing drill attachment to mix mechanically (in the picture above).
For the milk one, I decided to go all out and use cream instead of water in the mixing. It formed a substance that failed to harden after 24 hours, shown here:
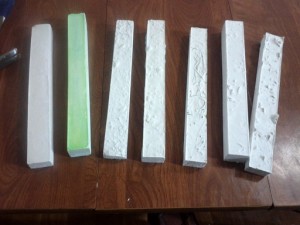
I used the mold release 500, but things still stuck pretty badly. I had to almost destroy the foam assembly to get the pieces out. Here’s the final set of test columns:
I’m open to suggestions on how to test their durability (but I feel a bit bad about breaking them).
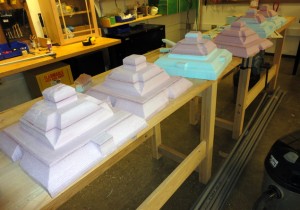
I wasn’t blown away by any of the additives (and I didn’t have enough of them in any case), but I went ahead and filled my finished molds from two weeks ago. Here are the finished molds before gesso:
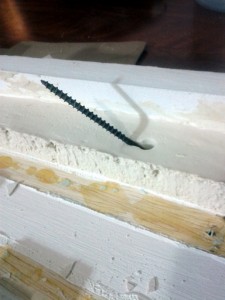
I added three coats of gesso and used vaseline as mold release. I hoped it would work better than the spray I used for the columns. I used a few screws and duct tape to hold the 6 molds together.
I used 30 pounds of (dry) Hydrostone and mixed it according to the recommended 3:1 (by weight) ratio with water in a 5 gallon bucket. Unfortunately, it sets up a lot quicker in big volumes when the heat can concentrate.
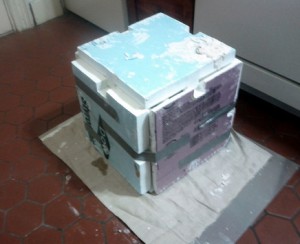
Here’s the curing molds:
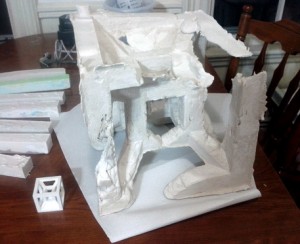
Sadly, the quicker set time really hurt the project. The mix didn’t flow into the bottom corners, even with tilting the mold, and it didn’t flow into the top corners from the single entry hole. The vaseline worked pretty well as a mold release, but the sandwich construction of the mold faces meant that pulling them straight off would delaminate each one. So the molds were effectively ruined after one go. Pretty disappointing all around.
Here’s the botched attempt and the original small version:
Due to the time required to make the molds and the amount of Hydrostone, I don’t think I will try to redo this. But if I did, here are my things to change:
- Use more water when mixing Hydrostone in big volumes and work more quickly.
- Or, don’t use Hydrostone at all. Regular concrete mix from Home Depot probably would’ve been fine for my purposes (and a fair bit cheaper).
- A few screws holding the laminated molds together might help them be reused.
- Using flexible (rubber) molds is better, if at all possible.
- Make a smaller object! Remember that volumes scale cubically with the length increase…

