3D Scanning
I was curious about the cloud-based 3D scanning from sets of photographs that 123D Catch offers. After installing the program on Windows, I started to scan some simple objects. I ran into problems when using pictures from my digital camera, even when resizing or changing the format. It perpetually gave me “the application is unable to access the remote server” errors. The only way I could get it to work was with pictures taken from an iPhone. My Android phone didn’t work, either.
For scanning, I followed most of the suggestions on their tutorial. In order to have a patterned background, I put my objects on a painting on my table. I rotated around the object at several heights, taking 30 pictures per object on average.
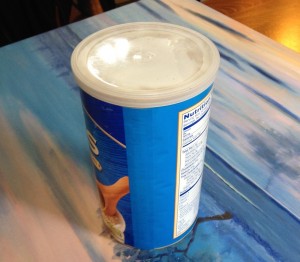
My first try with a cylinder:
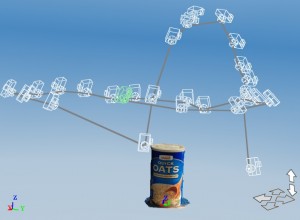
The 123D Catch application shows the inferred camera locations, along with the 3D reconstruction:
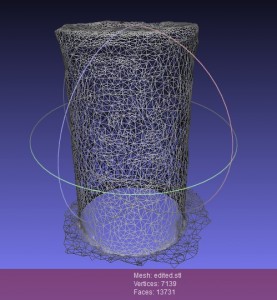
I removed some background scenery in the previous shot. I exported the files to OBJ, loaded them in Blender, and exported them as STL files. I loaded the STL files in Meshlab to edit the meshes and simplify the vertices. Cylinder in Meshlab:
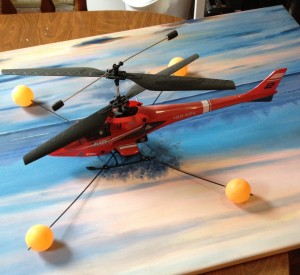
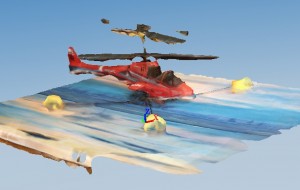
I tried to scan more complex objects in order to test the limits of the method. I tried to scan a model helicopter on the same stage:
The color and general shape of the helicopter turned out well, but the smaller components (like the blades) didn’t turn out so well.
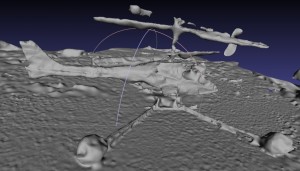
In Meshlab, the varying surface is more apparent:
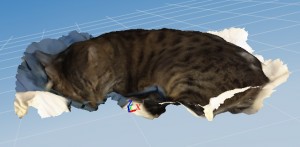
As soon as I started scanning, I had a prime target in mind. Unfortunately, the cat is very mobile and has the bad habit of staring at the camera as it moves around him. I had to wait until he fell asleep:
The capture worked pretty well, but the resolution around his face and body merged into the background too much.
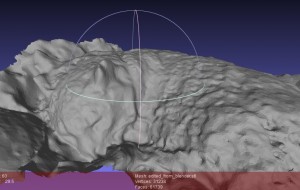
In the mesh, it results in a sort of cat Mount Rushmore:
3D Printing
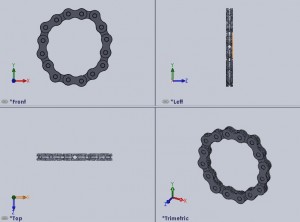
I wasn’t completely pleased with the level of detail of my scans, so I decided to print a designed object. I started with an existing design of a single chain link, and extended it into a small chain in SolidWorks. This required using the “Mate” function to make the pins and holes mate concentrically and the facing plates mate in parallel.
I’m not sure I got the tolerances correct, so my printed part might not be very mobile. We’ll see tomorrow!

